
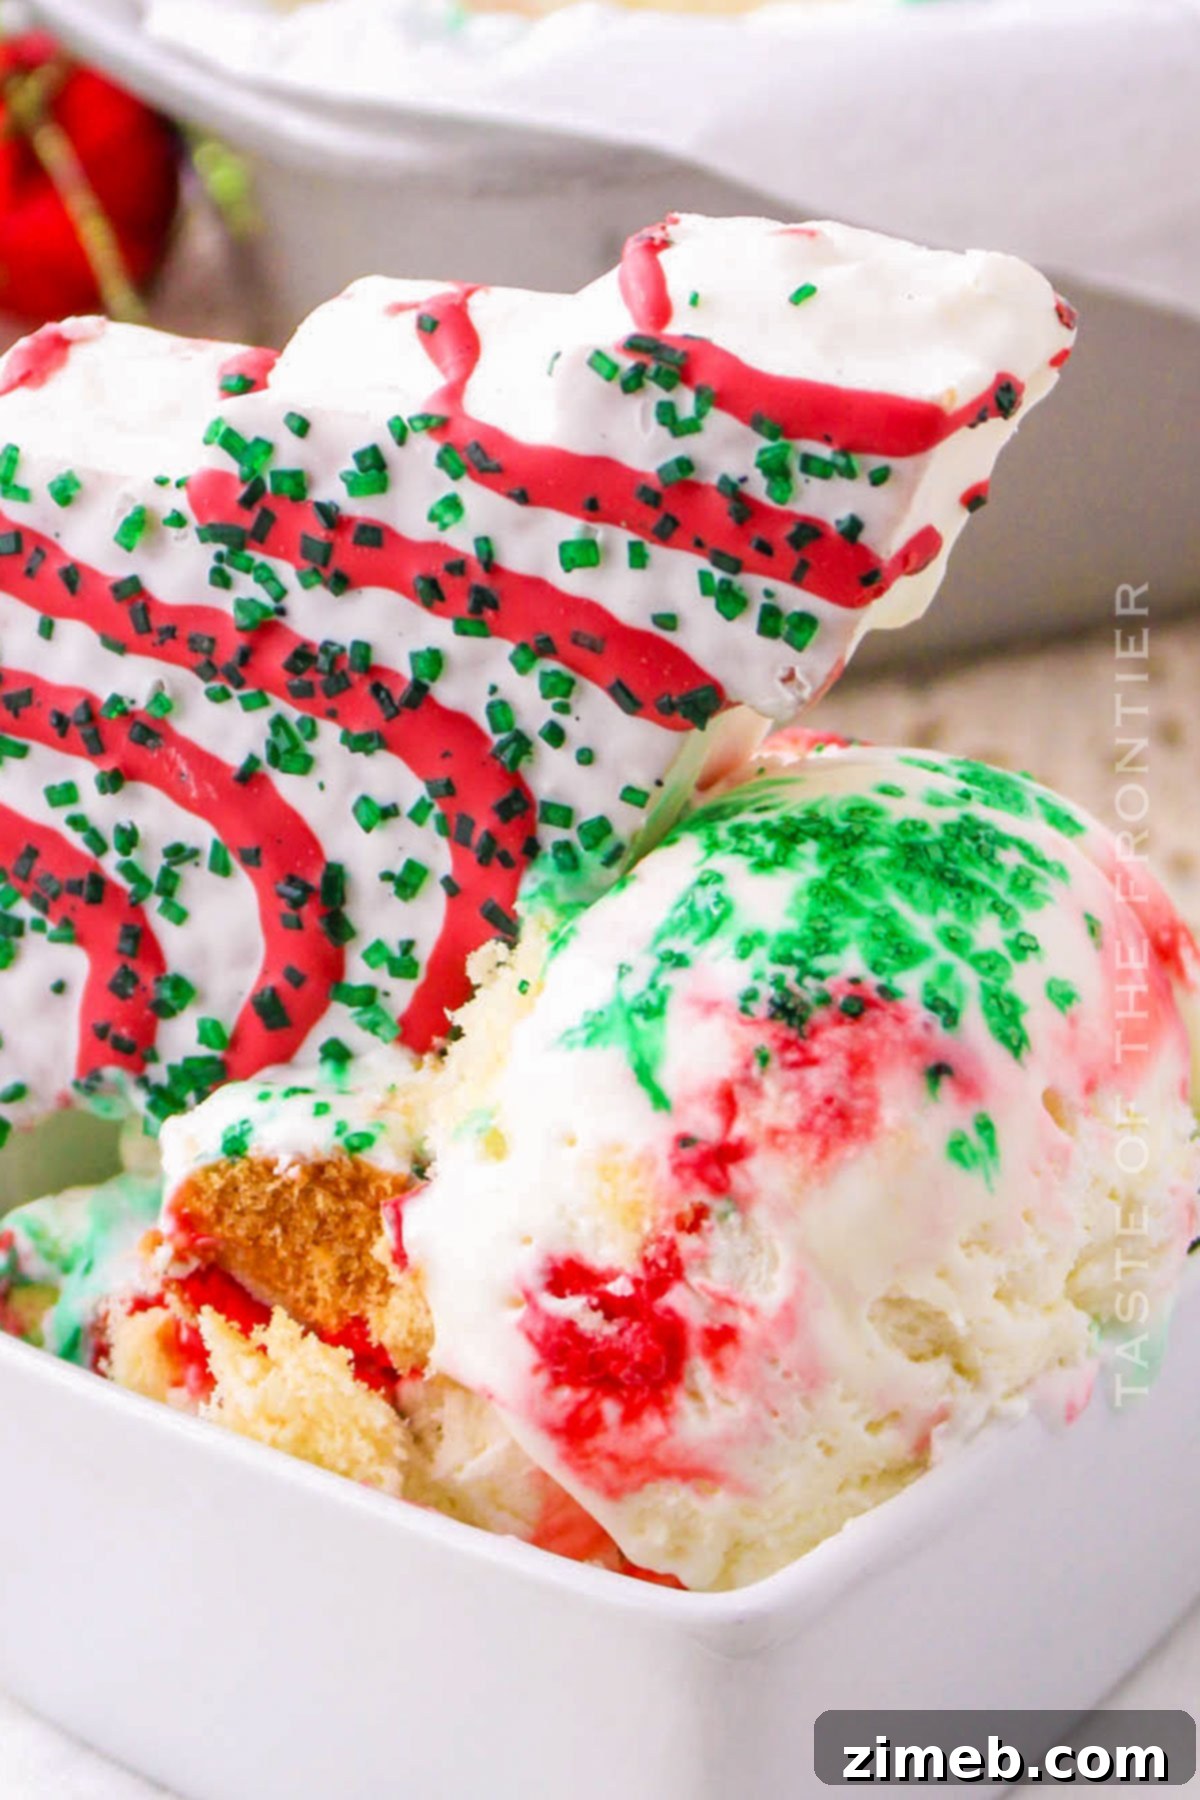
Get ready to infuse your holiday season with a sprinkle of nostalgia and a whole lot of deliciousness! This easy, no-churn Little Debbie Christmas Tree Ice Cream is the ultimate festive treat, perfect for pairing with all your other holiday goodies or enjoying on its own. Imagine the joy of those iconic Little Debbie Christmas Tree Cakes, transformed into a creamy, dreamy homemade ice cream. It’s a delightful concoction that promises to bring smiles and sweet memories to everyone who tries it.
For many of us, Little Debbie cakes were a beloved part of childhood. Those soft, sweet cakes, generously coated in a yummy frosting, simply melted in your mouth. They were a staple in lunchboxes and after-school snacks, marking special moments and everyday joys. Today, we’re taking that beloved memory and elevating it into an even more festive experience: Little Debbie Christmas Tree Ice Cream! This dessert isn’t just about satisfying a sweet tooth; it’s about recreating cherished childhood Christmases, one creamy scoop at a time.
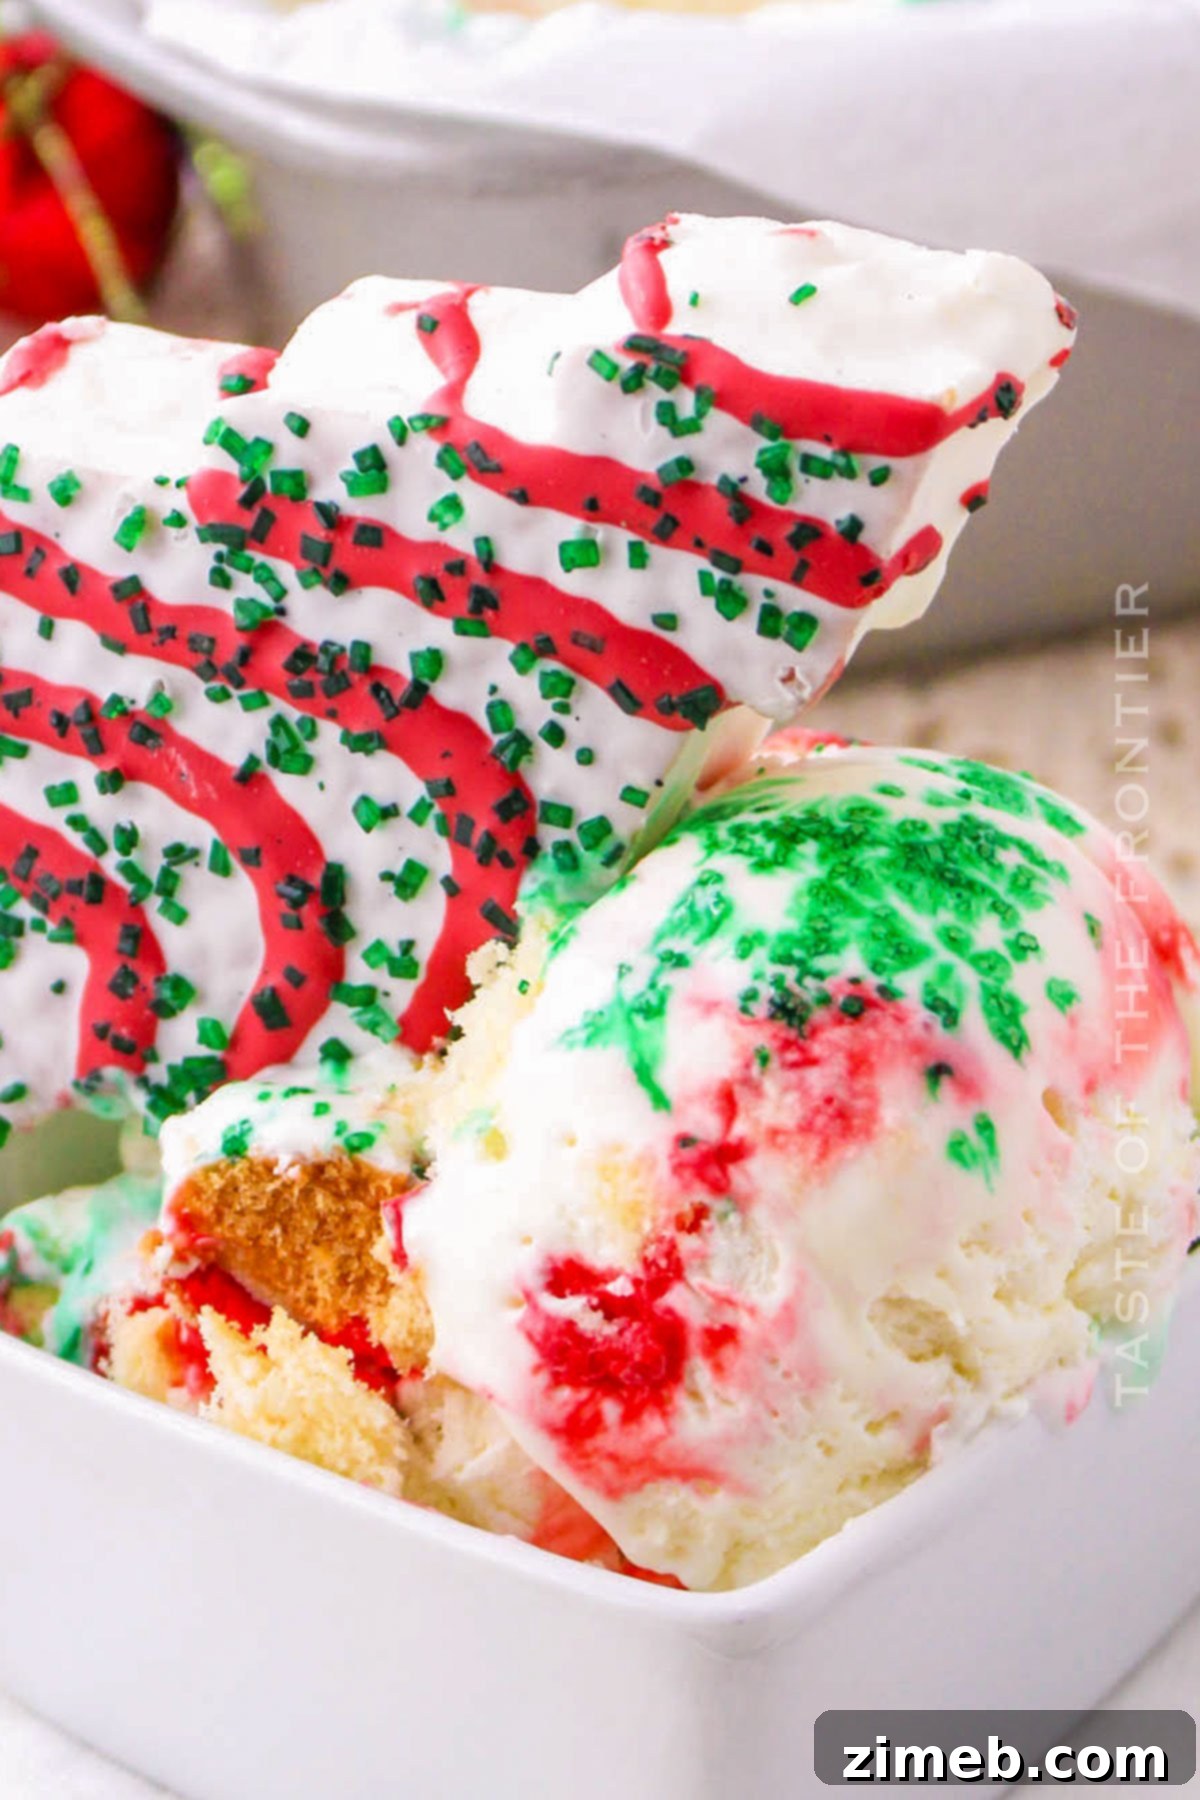
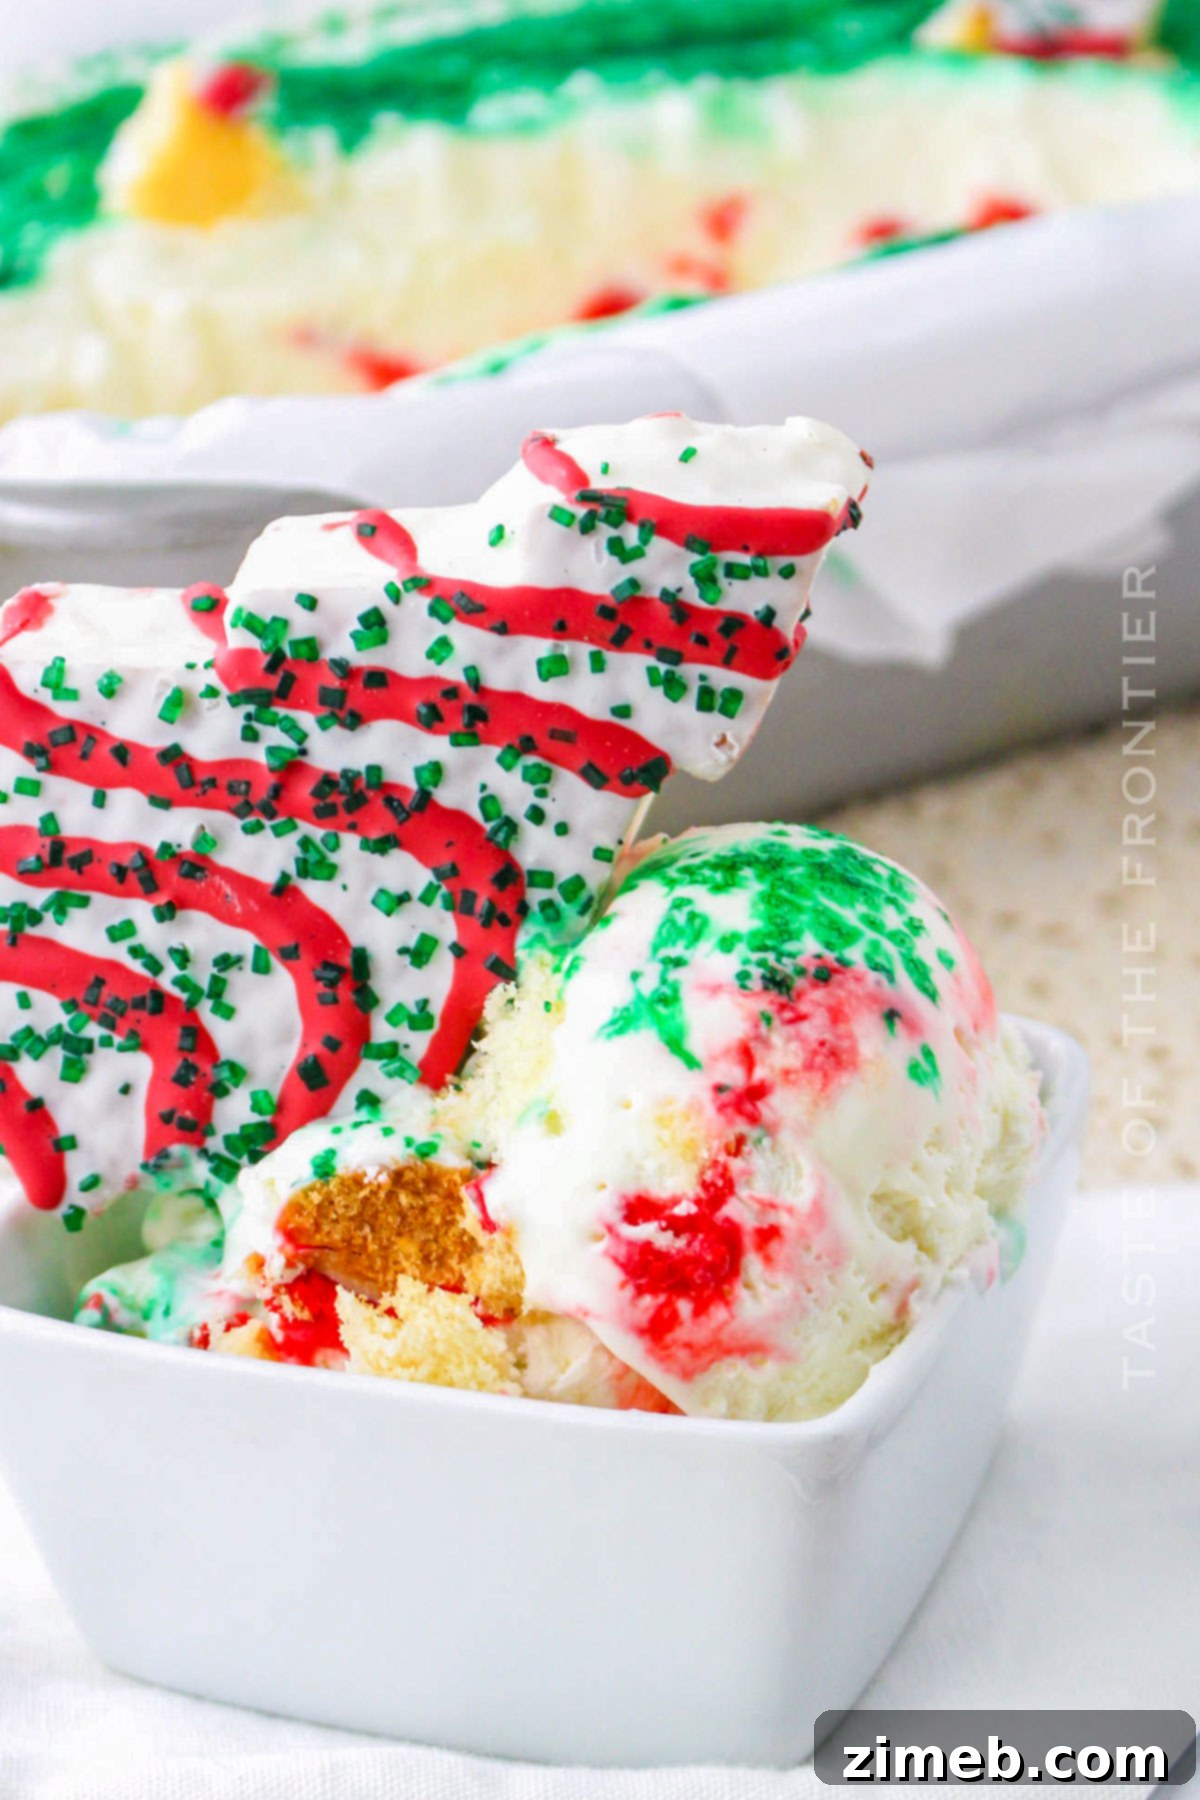
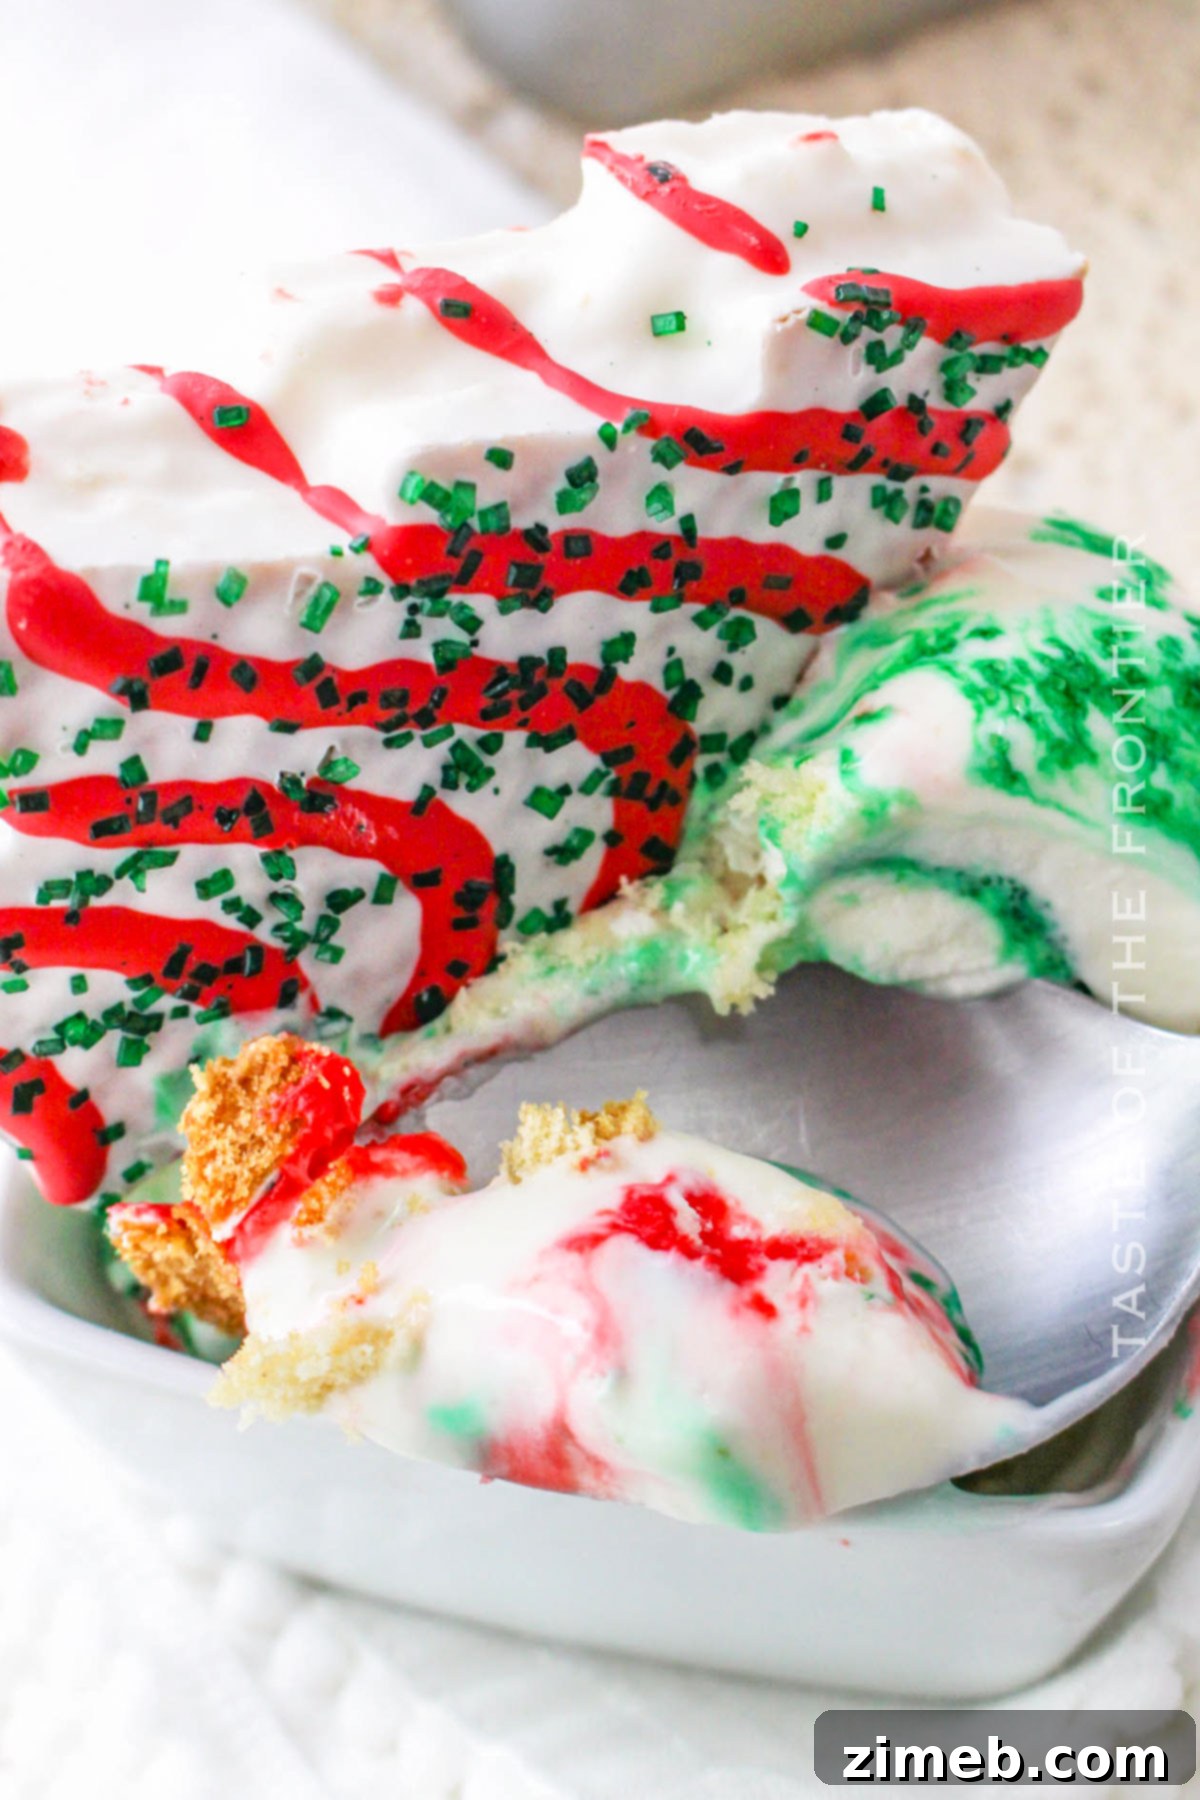
This Christmas Tree Ice Cream captures the essence of those classic Little Debbie Christmas Tree Cakes. Each spoonful is a merry holiday party in your mouth, bursting with decadent golden cake chunks, a rich vanilla base, and delightful swirls of red icing and vibrant green sprinkles. The combination of textures – the smooth, luscious ice cream, the tender cake pieces, and the playful crunch of the sprinkles – creates an irresistible experience. It’s more than just a dessert; it’s a nostalgic journey back to simpler times and joyful holiday celebrations. Whether you’re serving it at a festive gathering or enjoying a cozy scoop by the fireplace, this homemade ice cream is guaranteed to bring warmth and cheer to your holiday season.
One of the best things about this ice cream recipe is its incredible ease. There’s no need for a fancy ice cream maker or complicated churning processes. This is a “no-churn” recipe, which means it’s accessible to everyone, regardless of their kitchen gadget collection. Simply mix a few key ingredients, layer them with your favorite Little Debbie Christmas Tree Cakes, and let your freezer do the rest. It’s an excellent activity to get the whole family involved, especially the kids, who will love helping to create this magical dessert. So, gather your Little Debbie cakes, and let’s whip up some holiday spirit in the most delicious way possible!
Common Questions About Little Debbie Christmas Tree Ice Cream
Can I Use Other Little Debbie Cakes for This Recipe?
Absolutely! The beauty of this recipe lies in its versatility. While the Christmas Tree Cakes provide that iconic holiday flavor and look, you can certainly experiment with other Little Debbie treats to create your own unique versions. Imagine the possibilities: Cosmic Brownies for a rich chocolate twist, Nutty Bars for a delightful peanut butter crunch, or even Zebra Cakes for an extra layer of chocolate and vanilla cream. It’s a fantastic way to explore different flavor combinations and personalize this dessert to your liking. Don’t be afraid to get creative and discover your new favorite Little Debbie-infused ice cream!
How Long Does the Ice Cream Need to Freeze?
For the best possible texture, this homemade ice cream requires adequate freezing time. We recommend freezing it for at least 6 hours, but for that perfectly firm, scoopable consistency that truly sets it apart, overnight freezing is ideal. Planning ahead ensures you achieve a good, solid ice cream that holds its shape beautifully and melts slowly, allowing you to savor every delicious bite. Patience is key for truly amazing ice cream!
Can This Ice Cream Be Made Ahead of Time?
Absolutely! This homemade ice cream is an excellent make-ahead dessert, making it perfect for busy holiday preparations. You can prepare it a day or even a few days in advance. Simply store it in an airtight container in the freezer until you’re ready to serve it at your holiday dessert table. This allows you to focus on other aspects of your celebration, knowing that a delightful and impressive dessert is already taken care of. Just pull it out a few minutes before serving to let it soften slightly for easier scooping.
Storage Tips for Your Festive Ice Cream
Having extra ice cream on hand is always a good idea, especially during the holiday season! This recipe is easy to double or triple if you’re expecting a crowd or just want to enjoy this delicious treat for days. When preparing larger batches, ensure you have enough freezer-safe containers.
Refrigerator
Storing this ice cream in the refrigerator is definitely not recommended, as it will melt and lose its creamy consistency. Ice cream needs to be kept at freezing temperatures to maintain its structure and enjoyable texture. Keep it chilled!
Freezer
To keep your Little Debbie Christmas Tree Ice Cream at its best, transfer it to an airtight container or cover the loaf pan tightly with plastic wrap before placing it in the freezer. Proper storage helps prevent freezer burn and maintains its fresh flavor and creamy texture. When stored correctly, your homemade ice cream will keep well for up to 2 weeks, allowing you to enjoy a taste of holiday cheer long after the festivities.
Tips for Making the Best Little Debbie Christmas Tree Ice Cream
Making this Christmas ice cream is a truly rewarding experience. The beauty of creating something homemade means you get to enjoy unique and amazing flavors that you simply won’t find in the freezer aisle at the store. Here are some key tips to ensure your Little Debbie Christmas Tree Ice Cream turns out perfectly every time:
- **Uniform Cake Pieces:** Cut the Little Debbie cakes into evenly sized bite-sized pieces. This ensures a consistent texture throughout the ice cream, so every scoop has a balanced distribution of cake goodness.
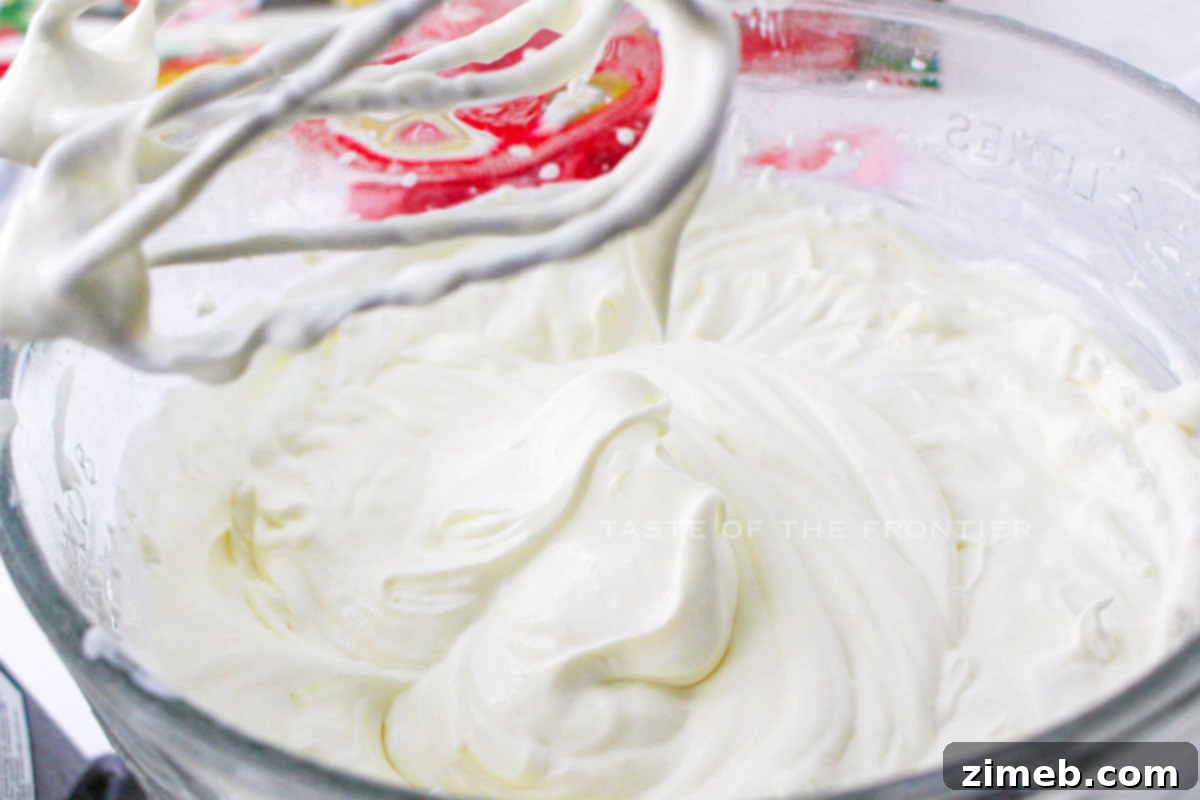
- **Whip Cream to Stiff Peaks:** Use heavy whipping cream and beat it until stiff peaks form. This step is crucial for achieving that light, airy, and creamy base for your no-churn ice cream. Over-whipping can lead to a grainy texture, so keep an eye on it!
- **Gentle Layering:** When layering the ice cream and cake pieces, be gentle. You want to maintain the distinct layers and the integrity of the cake chunks, not smash them into a paste. This creates beautiful visuals and a delightful textural contrast.
- **Gradual Milk Incorporation:** Incorporate the sweetened condensed milk gradually into the whipped cream. This ensures it’s fully and smoothly blended, creating a homogenous and rich ice cream base without deflating the whipped cream.
- **Chill Your Bowl and Whisk:** For even faster and more stable whipped cream, chill your mixing bowl and whisk attachment in the freezer for about 15-20 minutes before you start whipping the heavy cream.
- **Don’t Overmix:** Once the sweetened condensed milk and vanilla are added, mix just until combined. Overmixing can cause the mixture to lose its airiness, resulting in a less creamy ice cream.
Essential Ingredients for a Magical Treat
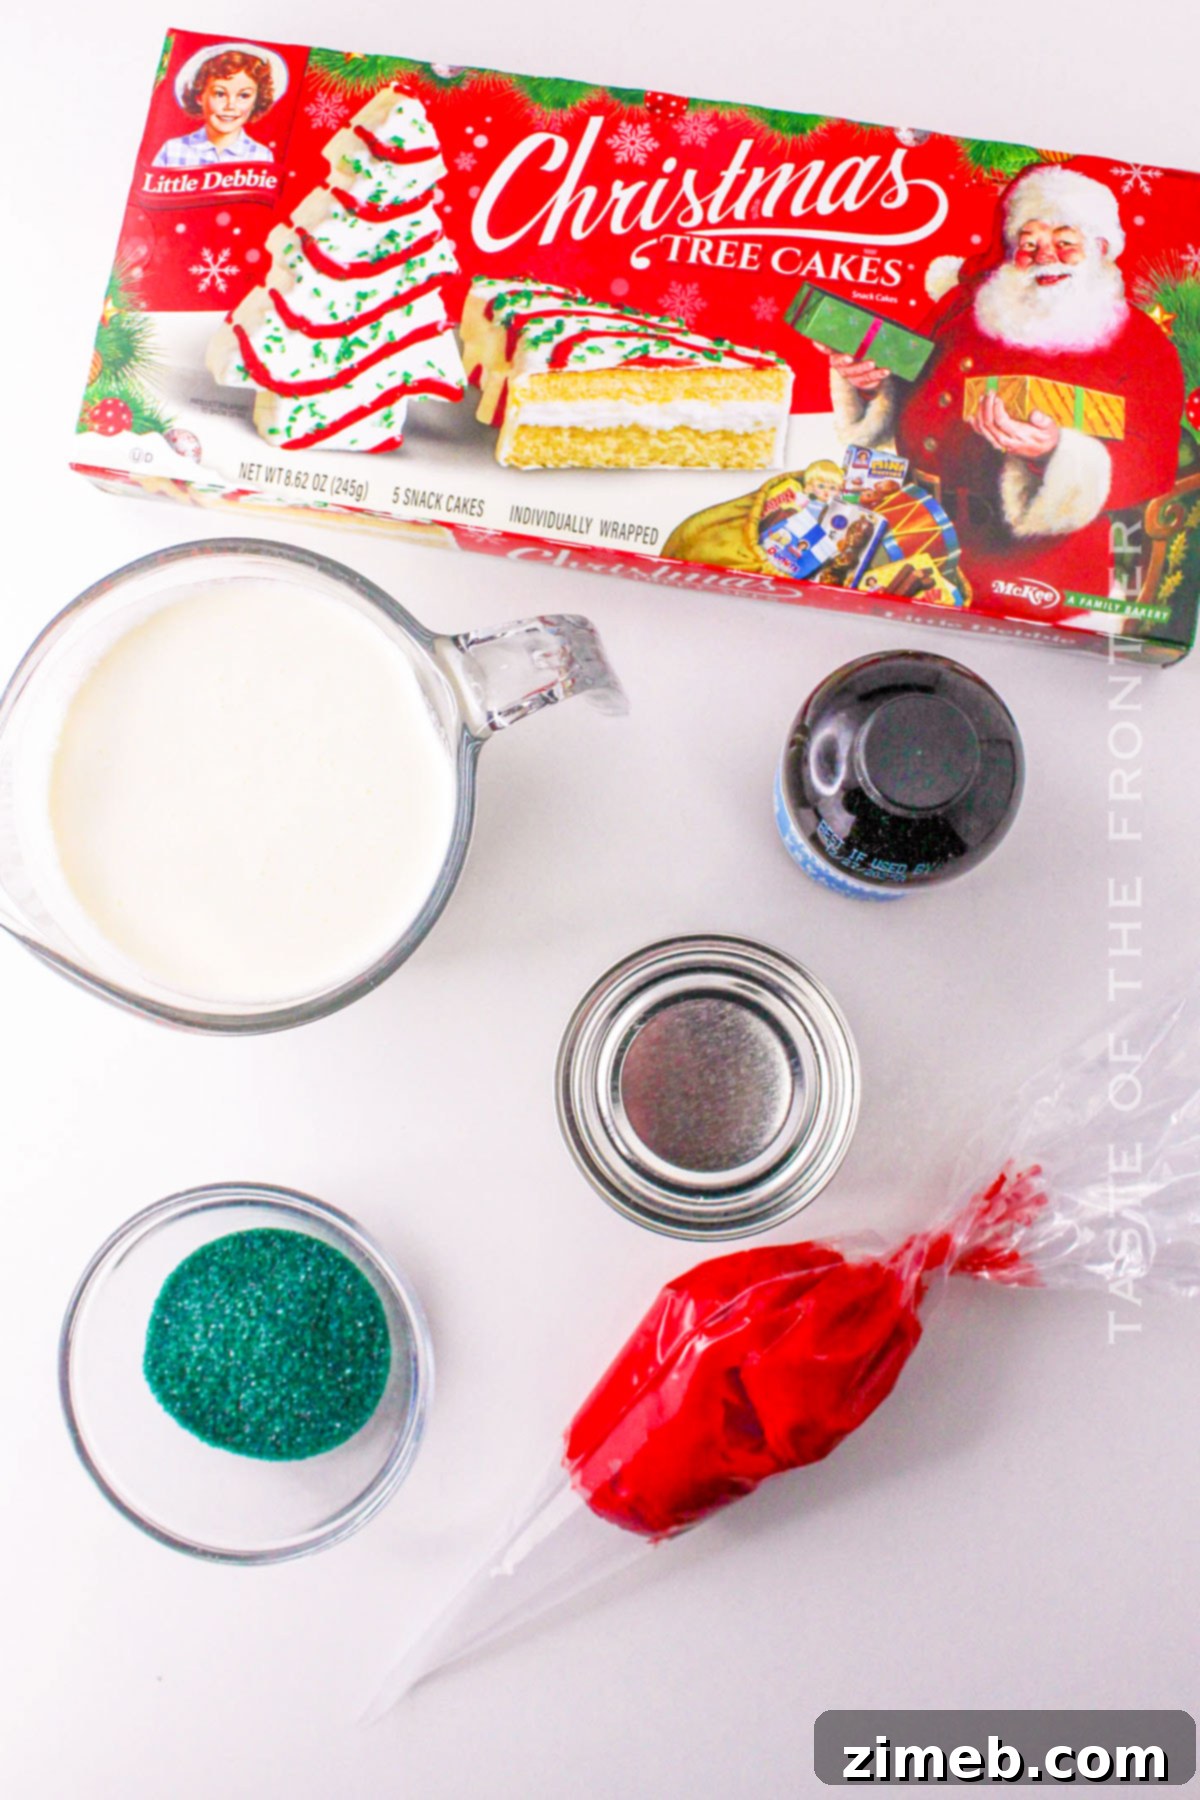
Just by looking at these simple ingredients, you can tell that this homemade ice cream is going to be incredibly special and delicious. Each component plays a vital role in creating that perfect balance of sweetness, creaminess, and festive flavor:
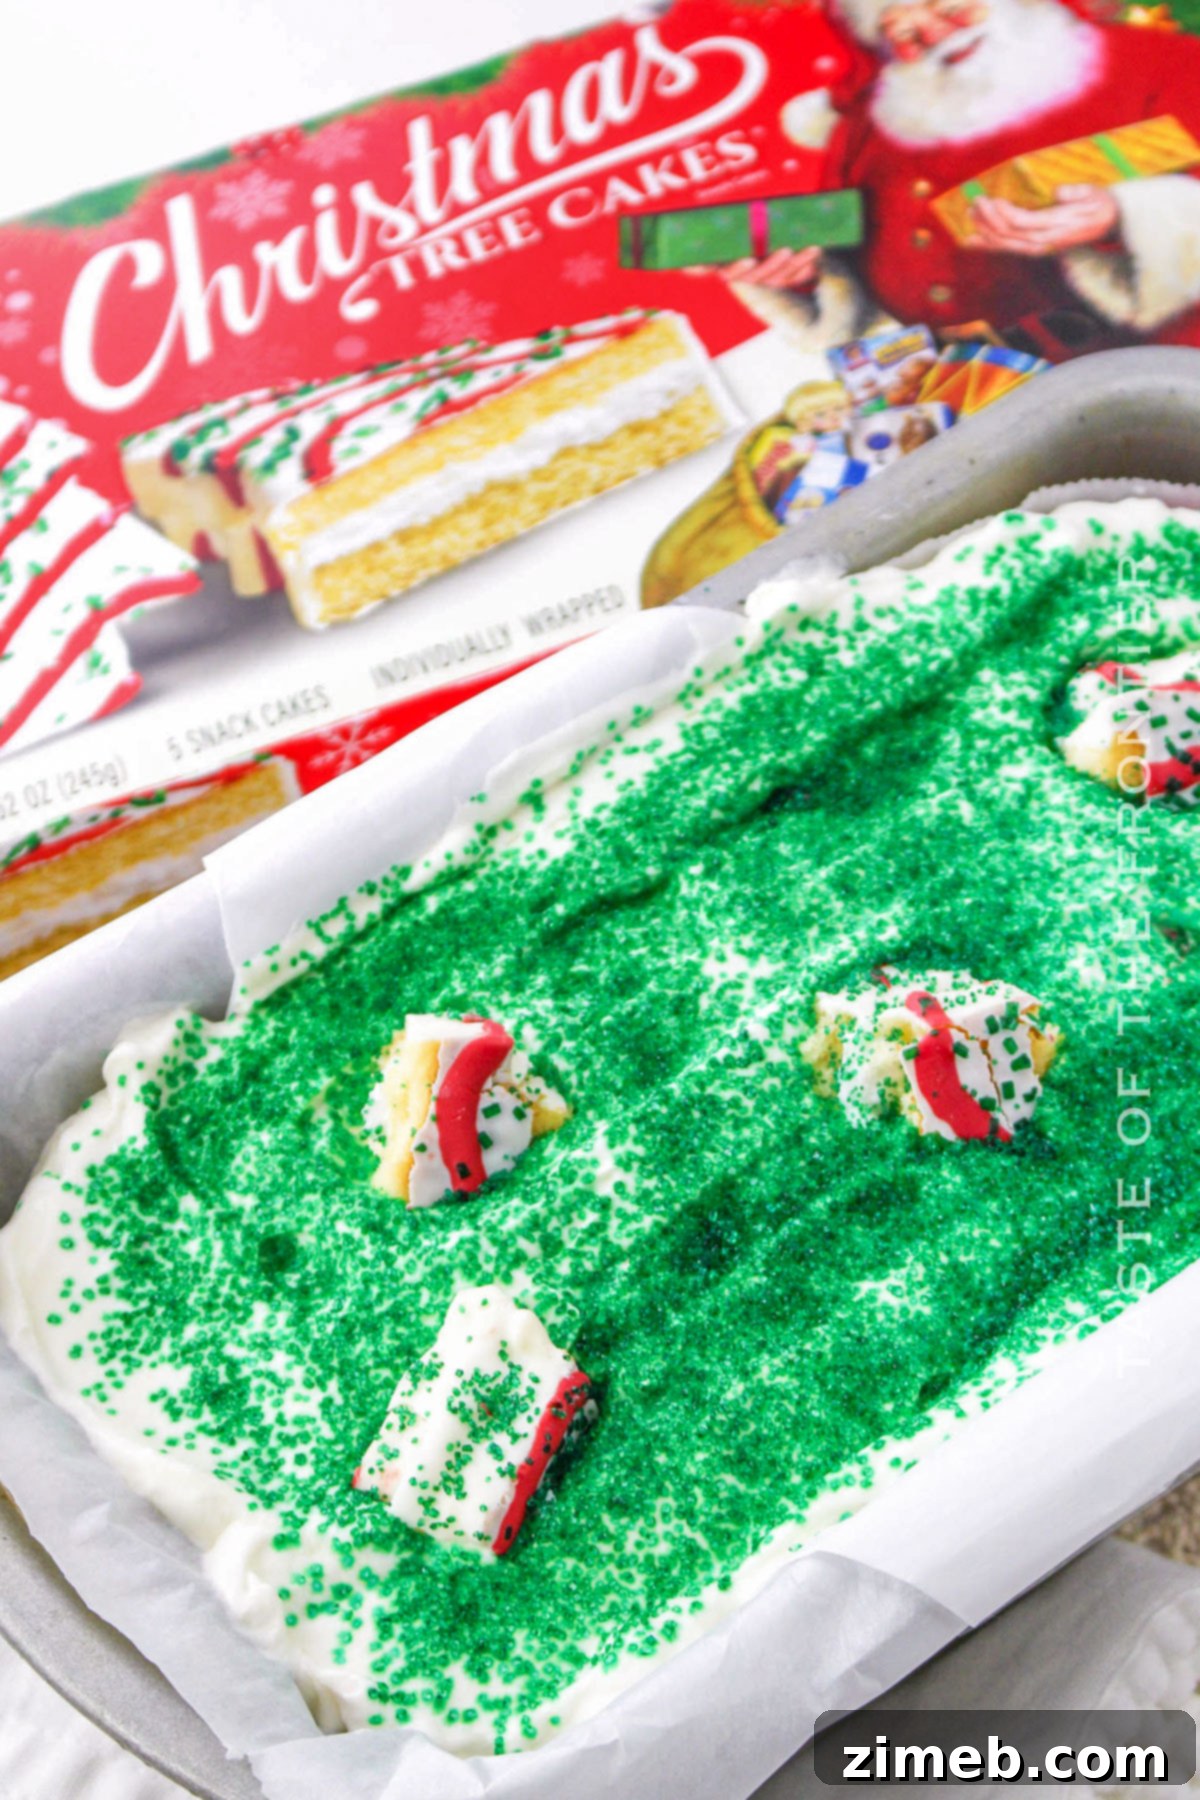
- **Little Debbie Christmas Tree Cakes:** The star of our show! These iconic cakes provide the nostalgic flavor, festive colors, and tender cake chunks that make this ice cream so unique. You can adjust the quantity based on how much cake swirl you prefer.
- **Heavy Cream:** This is the base of our no-churn ice cream, providing the richness and body. When whipped, it creates the airy texture that mimics traditionally churned ice cream.
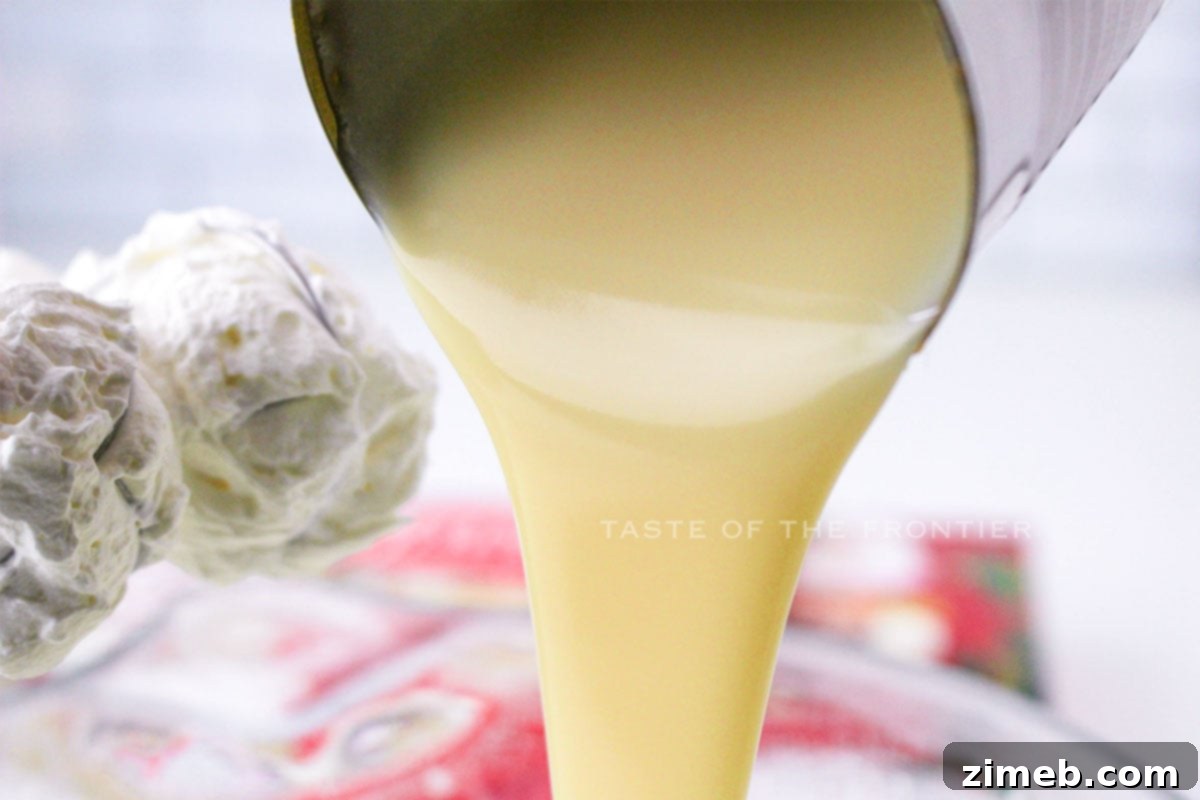
- **Sweetened Condensed Milk:** This ingredient is key to the no-churn magic. It adds sweetness and a smooth, creamy consistency without the need for an ice cream machine.
- **Vanilla Extract:** A touch of vanilla enhances all the other flavors, adding a warm, comforting note that complements the cake perfectly.
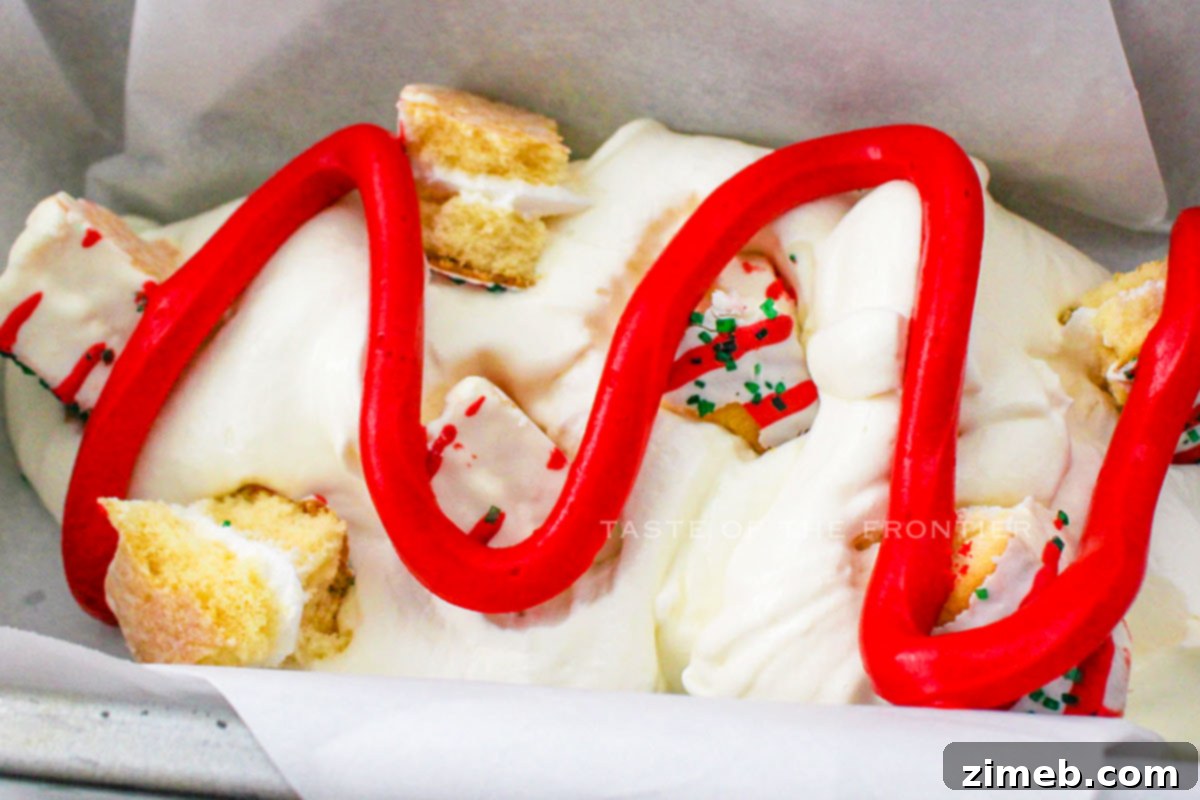
- **Red Frosting:** This vibrant red frosting is used for decorative swirls, mimicking the icing on the original Little Debbie cakes and adding a beautiful pop of holiday color. Pillsbury Funfetti is a great choice for its bright hue.
- **Green Sanding Sugar:** For the final festive touch! These sparkling green sprinkles add visual appeal and a slight sugary crunch, making each scoop look and feel like a true Christmas celebration.
How to Make Little Debbie Christmas Tree Ice Cream: A Simple Guide
Creating this festive Little Debbie Christmas Tree Ice Cream is an enjoyable process, and the best part is, no ice cream maker is needed! Layer by layer, you’ll build an unforgettable ice cream experience. This is also a fantastic recipe to involve the kids – they absolutely love helping out and watching the magic happen!
- **Prepare the Cakes:** Unwrap the Christmas Tree Cakes and cut them into small, bite-sized pieces. Set these aside; they will be folded into the creamy base.
- **Whip the Cream:** In a large mixing bowl, beat the heavy cream using an electric mixer until stiff peaks form. The cream should be thick and hold its shape when you lift the beaters.
- **Combine with Sweetened Condensed Milk:** Gradually pour in the sweetened condensed milk while continuing to beat the mixture on low speed. Mix until just combined and smooth.
- **Add Vanilla:** Stir in the vanilla extract until it’s evenly incorporated throughout the creamy base.
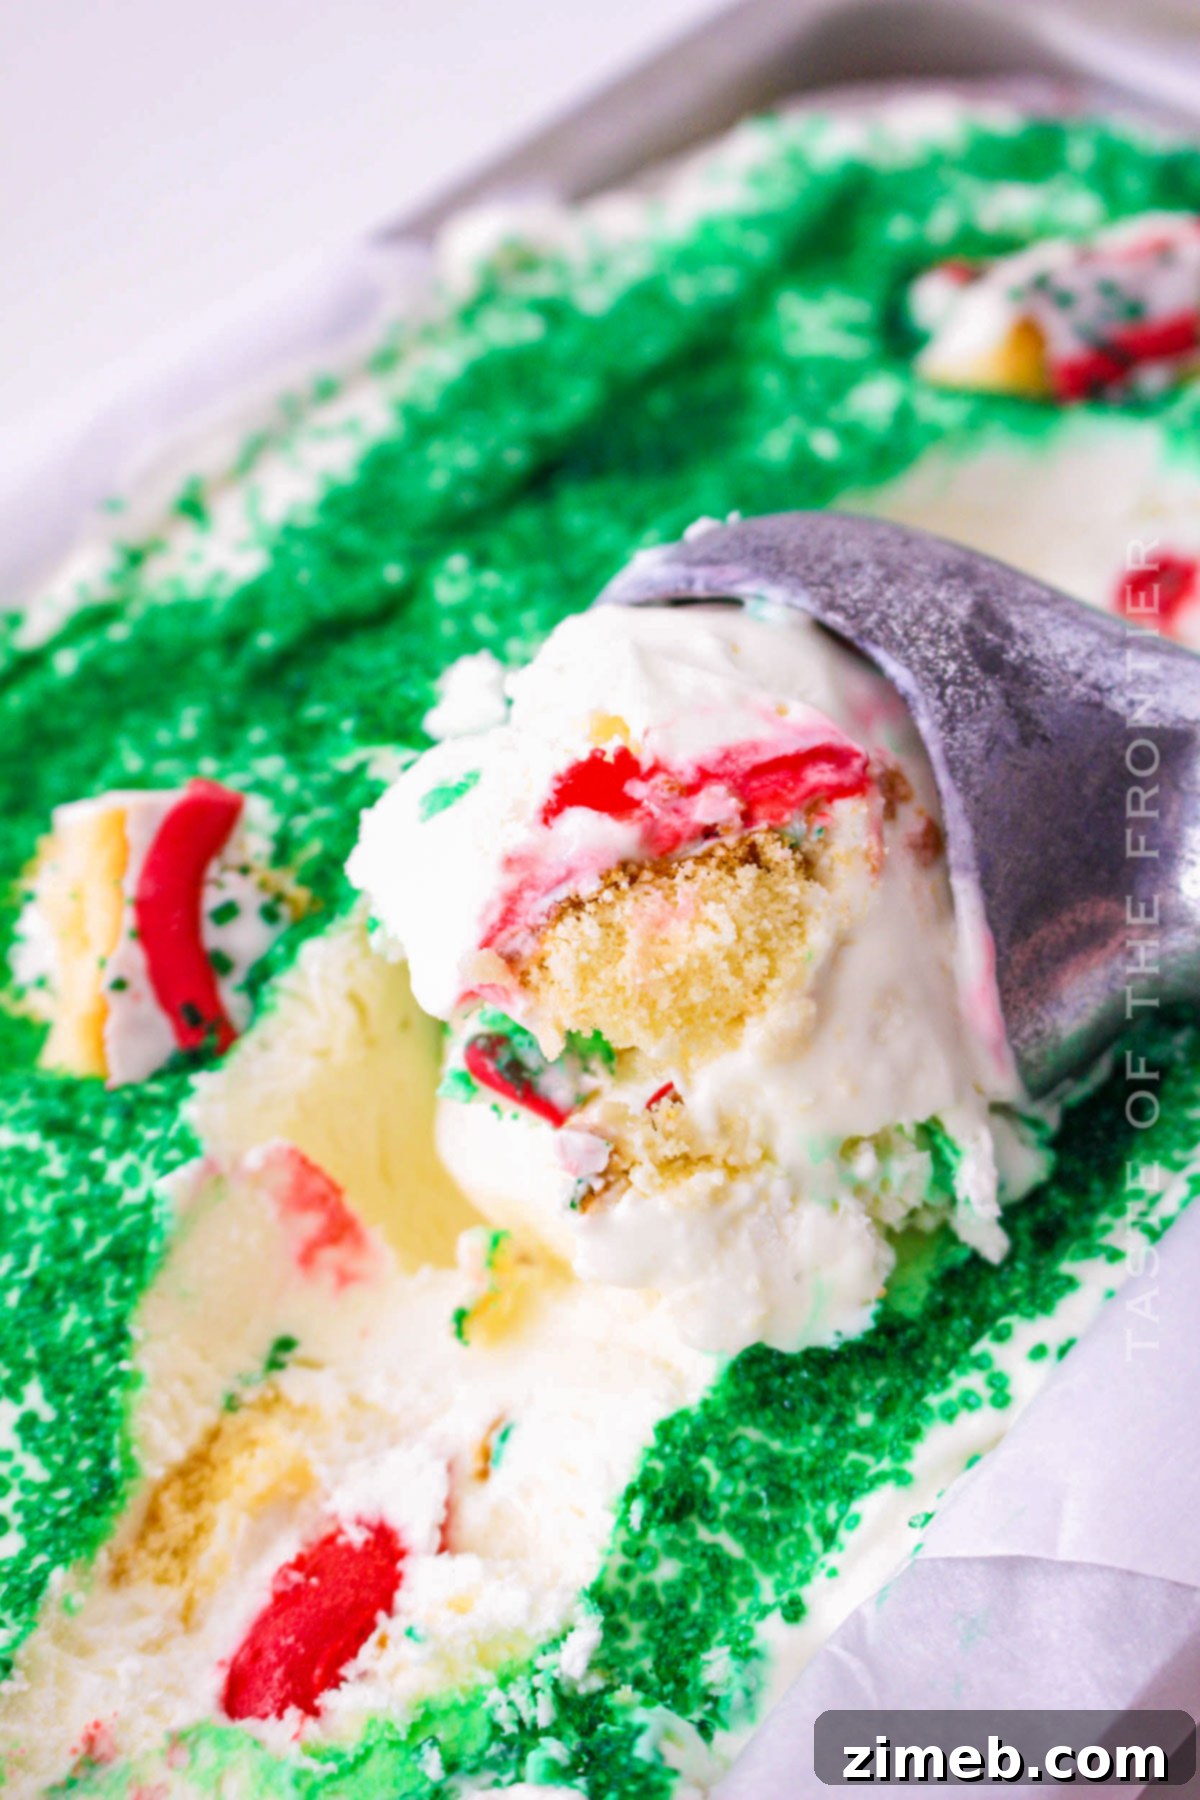
- **First Layer Assembly:** Transfer half of the ice cream mixture into a loaf pan or any other freezer-safe container. Gently press some of the cake pieces into the ice cream. Then, pipe or drizzle the red icing over the ice cream and cake pieces, creating festive swirls.
- **Second Layer and Final Touches:** Continue creating layers, alternating between the remaining ice cream mixture, cake pieces, and red icing, ending with a final layer of the smooth ice cream mixture.
- **Sprinkle with Green Sugar:** Generously top the final layer with the vibrant green sanding sugar for an extra festive look.
- **Freeze for Firmness:** Cover the pan tightly with plastic wrap to prevent ice crystals from forming. Freeze for at least 6 hours, or ideally overnight, until the ice cream is firm and scoopable.
- **Serve and Enjoy:** When ready to serve, scoop the homemade Christmas Tree Ice Cream into bowls or cones.
- **Garnish (Optional):** Garnish each serving with additional green sugar sprinkles, if desired, to enhance the holiday presentation.
Note: The preparation time for this recipe does not include the essential freezing time. Make sure to plan ahead and allow ample time for the ice cream to freeze to its desired creamy and firm consistency before you intend to serve it.
Kitchen Supplies You’ll Need for Little Debbie Christmas Tree Ice Cream
Making this delightful dessert is straightforward, and you likely have most of the necessary kitchen supplies already. That little red frosting stripe you create when layering adds such a beautiful, festive, and delicious touch! Here’s what you’ll need:
- **Electric mixer or stand mixer:** Essential for whipping the heavy cream to stiff peaks, creating the airy base for your no-churn ice cream.
- **Large mixing bowl:** To comfortably combine and beat your ingredients without spills.
- **Loaf pan or freezer-safe container:** The vessel in which your ice cream will set. A loaf pan works wonderfully for easy slicing and scooping, but any shallow freezer-safe container will do.
- **Spatula for layering:** A rubber or silicone spatula is perfect for gently folding and layering the ice cream mixture and cake pieces without deflating the whipped cream.
- **Plastic wrap for covering:** Crucial for tightly covering the ice cream during freezing, preventing ice crystals and freezer burn.
- **Measuring cups and spoons:** For accurate ingredient measurements.
- **Sharp knife:** To neatly cut the Little Debbie Christmas Tree Cakes into bite-sized pieces.
What to Serve With Little Debbie Christmas Tree Ice Cream
This festive ice cream is absolutely delightful on its own, a complete dessert in every scoop. However, for those looking to elevate the experience further or offer a more elaborate holiday spread, it pairs beautifully with several additional treats. Consider serving it alongside warm slices of **pound cake** for a comforting texture contrast. A generous drizzle of **caramel sauce** or **hot fudge** can add an extra layer of indulgent sweetness. For a truly decadent holiday offering, consider a sprinkle of toasted pecans or crushed peppermint candies. A dollop of extra whipped cream is always a welcome addition, and a side of festive sugar cookies would complete the holiday dessert dream. This ice cream is also fantastic served with a warm mug of hot cocoa or coffee, providing a wonderful hot and cold contrast.
Why You Should Make Little Debbie Christmas Tree Ice Cream This Holiday Season
This ice cream isn’t just a dessert; it’s an experience that transports you back to simpler times – days filled with school lunches, joyful snack breaks, and the pure delight of childhood treats. It’s a taste of nostalgia, wrapped in a creamy, festive package. Here are even more reasons why this recipe should be at the top of your holiday baking list:
- It’s a **playful and irresistibly delicious** twist on a fan-favorite Little Debbie product, transforming a classic snack into an exciting new dessert.
- Perfect for adding an abundance of **holiday cheer** and vibrant festive colors to your dessert table, making it a standout treat.
- **Incredibly easy to make and requires no churning equipment**, making it accessible for home cooks of all skill levels and a wonderful project for the whole family to enjoy together.
- It brings a **beloved holiday snack cake** to life in an entirely new and exciting ice cream form, offering a unique way to savor those familiar flavors.
- The **nostalgic appeal** makes it a conversation starter and a joyful reminder of cherished childhood memories.
- Its **make-ahead convenience** frees up valuable time during busy holiday preparations, allowing you to relax and enjoy the festivities.
- The combination of creamy texture, tender cake pieces, and colorful sprinkles offers a **delightful sensory experience** with every scoop.
Variations and Creative Add-Ins for Your Little Debbie Christmas Tree Ice Cream
The world of Little Debbie snacks is vast and full of delicious possibilities, making this recipe incredibly adaptable. While the classic Christmas Tree Cakes are perfect for the holidays, don’t hesitate to experiment with other treats and add-ins to create your personalized frozen delight. Let your imagination run wild, and be sure to share your brilliant ideas in the comments section!
- **Chocolatey Christmas Twist:** For chocolate lovers, stir in chunks of **Chocolate Christmas Tree Cakes** or even add some crushed chocolate cookies to the mix for a rich, cocoa-infused version.
- **Fruity Cherry Swirl:** Introduce a vibrant fruity flavor by adding a swirl of **cherry pie filling** or small chunks of maraschino cherries throughout the ice cream base.
- **Extra Cakey Goodness:** Enhance the cake factor by sprinkling in bits of **Zebra Cakes** or **Swiss Rolls** for additional texture and flavor layers. The creamy filling of these snacks would melt beautifully into the ice cream.
- **Unique Flavor Profiles:** Get adventurous with crushed **honey buns** for a sticky, sweet, and cinnamon-kissed ice cream, or incorporate **oatmeal crème pies** for a comforting blend of oatmeal cookie and creamy filling.
- **Nutty Crunch:** For an added layer of texture and flavor, fold in chopped pecans, walnuts, or even candied almonds.
- **Candy Mix-Ins:** Add mini chocolate chips, holiday-themed M&M’s, or crushed candy canes for an extra festive touch and delightful crunch.
- **Different Frosting Colors:** While red frosting is traditional, consider using green frosting swirls for a different holiday look, or even a blend of both!
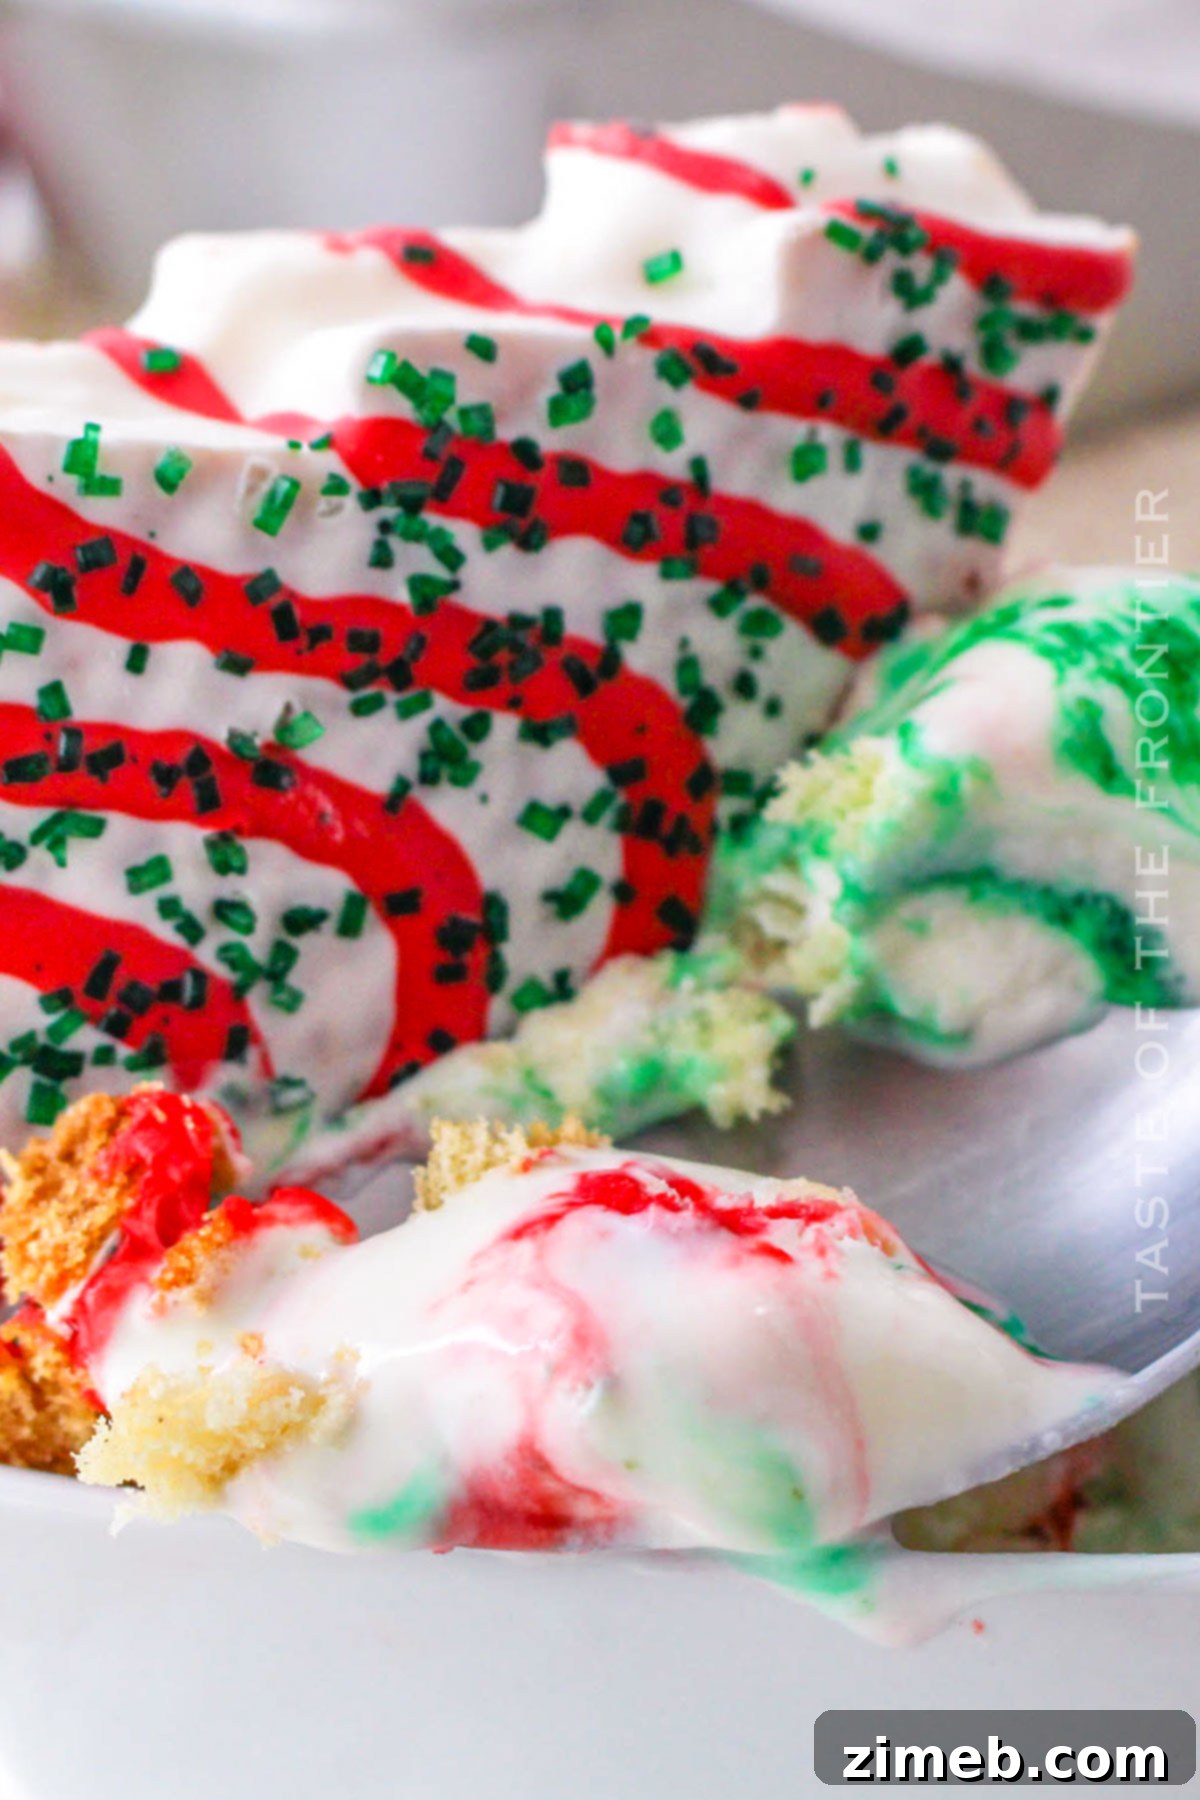
If you enjoy this **easy no-churn ice cream recipe**, you’re going to love these other delightful homemade ice cream creations too. Click each link below to explore more easy, printable recipes that are perfect for any occasion!
Butterscotch Ice Cream
You’ll love the nostalgic flavor of this easy-to-make, no-churn Butterscotch Ice Cream. Smooth and creamy, it’s the perfect fall dessert!
Check out this recipe

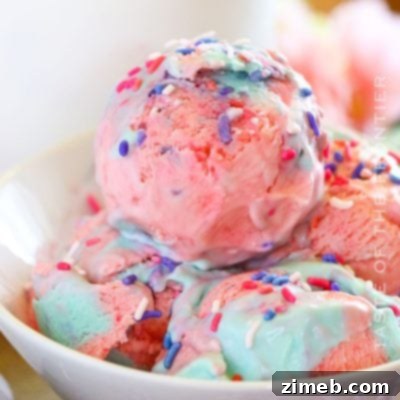
Cotton Candy Ice Cream
Loaded with your favorite carnival flavor, this homemade Cotton Candy Ice Cream is a great cool-down dessert for the hot summer months.
Check out this recipe
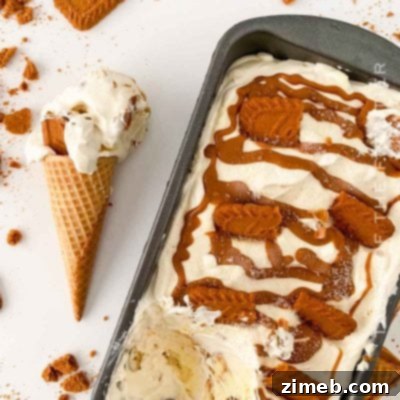
Biscoff Ice Cream
Biscoff Ice Cream is an easy, no-churn, homemade ice cream recipe that is perfect for Biscoff cookie lovers and loaded with Biscoff flavor.
Check out this recipe
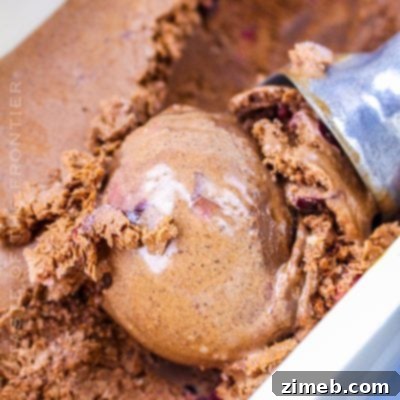
Black Forest Ice Cream
Homemade Black Forest Ice Cream packed full of sweet cherries and hot fudge. This decadent favorite is an easy-to-make summer treat.
Check out this recipe
Turtle Ice Cream
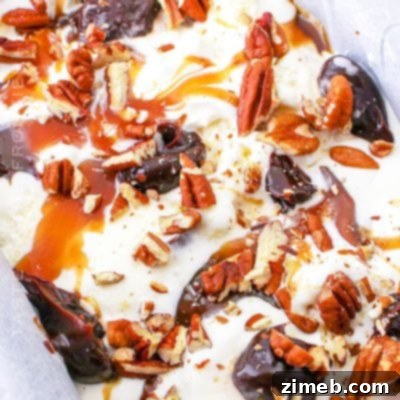
Homemade Turtle Ice Cream is a sweet and creamy treat. It’s loaded with Turtle Bites candy, fudge sauce, caramel syrup, and toasted pecans.
Check out this recipe
More Great Ice Cream Recipes
Craving more homemade ice cream goodness? Explore these fantastic recipes to expand your frozen dessert repertoire:
Birthday Cake Ice Cream
Mississippi Mud Ice Cream
Ice Cream Bar
Coffee Ice Cream – No Churn
CONNECT WITH YUMMI HAUS!
Be sure to follow us on social media, so you never miss a post!
Substack, FB, Pinterest, IG, Email Subscription
Little Debbie Christmas Tree Ice Cream
Course: Dessert
Servings: 10
You’ll love this easy, no-churn Little Debbie Christmas Tree Ice Cream. It is the perfect treat to pair with all your other holiday goodies!
Prep Time: 20 mins
Freeze Time: 8 hrs
Total Time: 8 hrs 20 mins
Ingredients
- 2-3 Little Debbie Christmas Tree Cakes (depending on desired cake amount)
- 2 cups heavy cream
- 14 ounces sweetened condensed milk (1 can)
- 1 teaspoon vanilla extract
- ½ cup red frosting (Pillsbury Funfetti pictured)
- Green sanding sugar (for decoration)
Instructions
- Unwrap the Christmas Tree Cakes and cut them into small bite-sized pieces. Set aside.
- In a large mixing bowl, beat the heavy cream using an electric mixer until stiff peaks form.
- Gradually pour in the sweetened condensed milk while continuing to beat the mixture.
- Add the vanilla extract.
- Transfer half of the ice cream mixture into a loaf pan or any other freezer-safe container. Press some of the cake pieces into the ice cream. Pipe the red icing over the ice cream and cake pieces.
- Continue creating layers, ending with a layer of the ice cream mixture.
- Top with the green sugar.
- Cover the pan with plastic wrap and freeze for at least 6 hours or until the ice cream is firm.
- When ready to serve, scoop the Christmas Tree Ice Cream into bowls or cones.
- Garnish each serving with green sugar sprinkles.
Notes
The prep time is an estimate, as the freezing time can vary. Depending on your appliances and conditions, it could take more or less time for the ice cream to set. Make sure to plan ahead and allow enough time for the ice cream to freeze to the desired consistency before serving.
Nutrition (Approximate)
Serving: 1g | Calories: 399kcal | Carbohydrates: 42g | Protein: 5g | Fat: 24g | Saturated Fat: 13g | Cholesterol: 67mg | Sodium: 103mg | Potassium: 193mg | Sugar: 41g | Vitamin C: 1mg | Calcium: 144mg | Iron: 0.1mg | Net Carbohydrates: 23g
Nutritional information for the recipe is provided as a courtesy and is approximate. Please double-check with your own dietary calculator for the best accuracy. We cannot guarantee the accuracy of the nutritional information given for any recipe on this site.
Love this recipe?
Follow @KleinworthCo for even more tasty recipes!