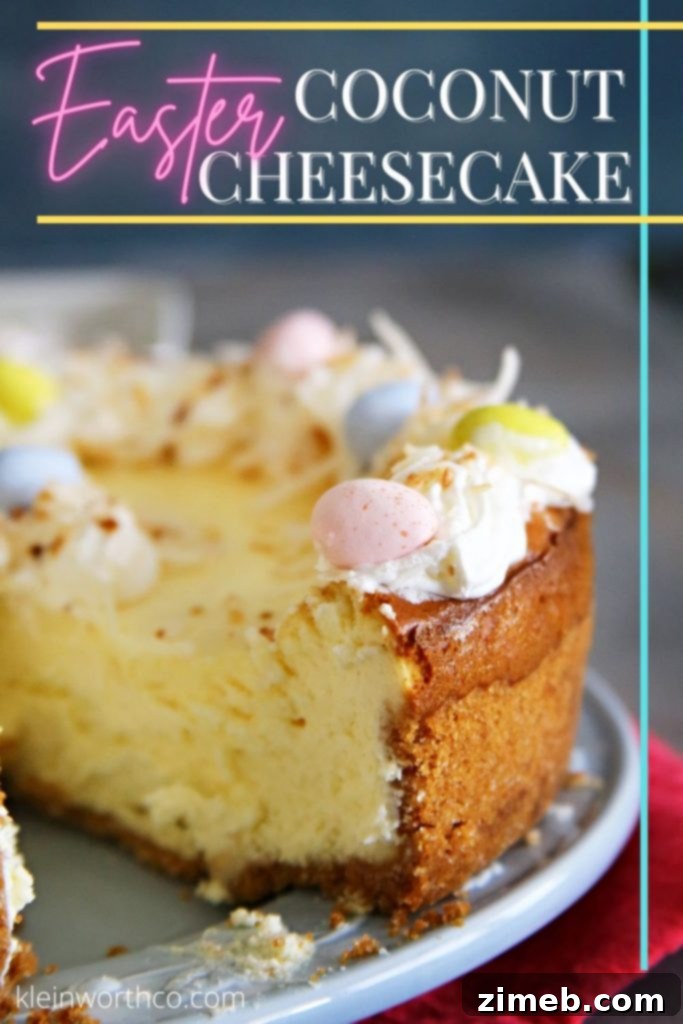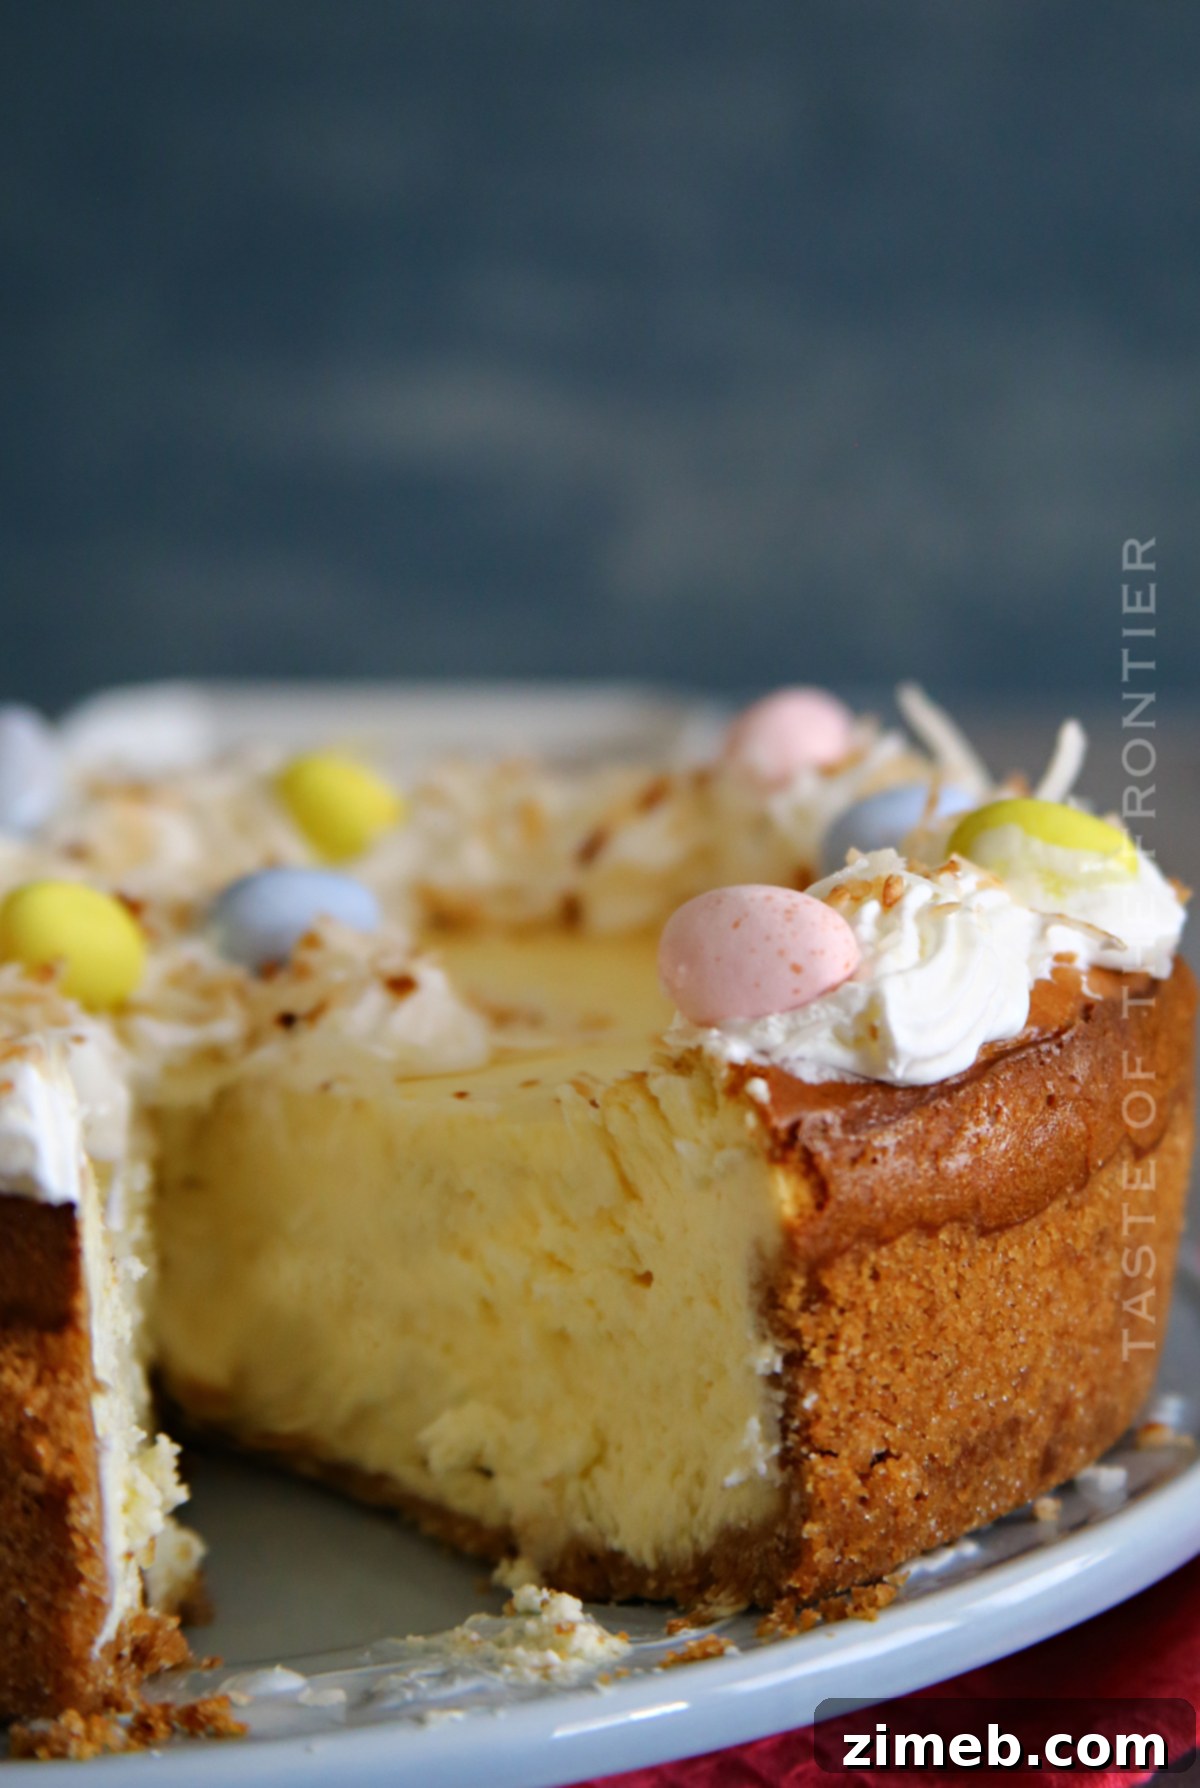
Indulge in the creamy delight of our Easter Egg Coconut Cheesecake, a dessert recipe that perfectly captures the spirit of spring. This easy-to-make cheesecake features a velvety smooth coconut filling, topped with golden toasted coconut flakes and festive chocolate Easter eggs, making it the ultimate treat for your holiday celebrations. Prepare to impress your family and friends with this stunning and delicious creation!
We’re thrilled to share a special family recipe with you today, one that holds a heartwarming story and promises to bring joy to your Easter table. This delightful creation was a collaborative effort, born from a simple craving and perfected through passion for baking. We invite you to join us on this culinary journey and discover the magic of homemade cheesecake.
The Inspiration: A Family’s Cheesecake Craving
Every great recipe often begins with a simple desire, and for this Coconut Cheesecake, the inspiration was my dad’s unwavering love for cheesecake. It seemed as though a cheesecake craving was a permanent fixture in our household. His subtle (and sometimes not-so-subtle) hints often involved an increasing supply of cream cheese and graham crackers appearing in the pantry, a clear signal to my mom. Eventually, her resolve would melt, just like the butter for our crust, and the kitchen would transform into a cheesecake-making haven.
This particular adventure wasn’t without its learning curves. Our first attempt at this specific Coconut Cheesecake, while delicious, taught us a valuable lesson about pan sizes. My mom, usually a pro, inadvertently used her tried-and-true recipe for a larger 10-inch springform pan in a slightly smaller, brand-new Flexipan. The result, though still incredibly tasty, wasn’t quite the picture-perfect dessert we envisioned. But as any seasoned baker knows, sometimes the most memorable creations come from happy accidents.
Discovering the Magic of the Flexipan for Perfect Cheesecake
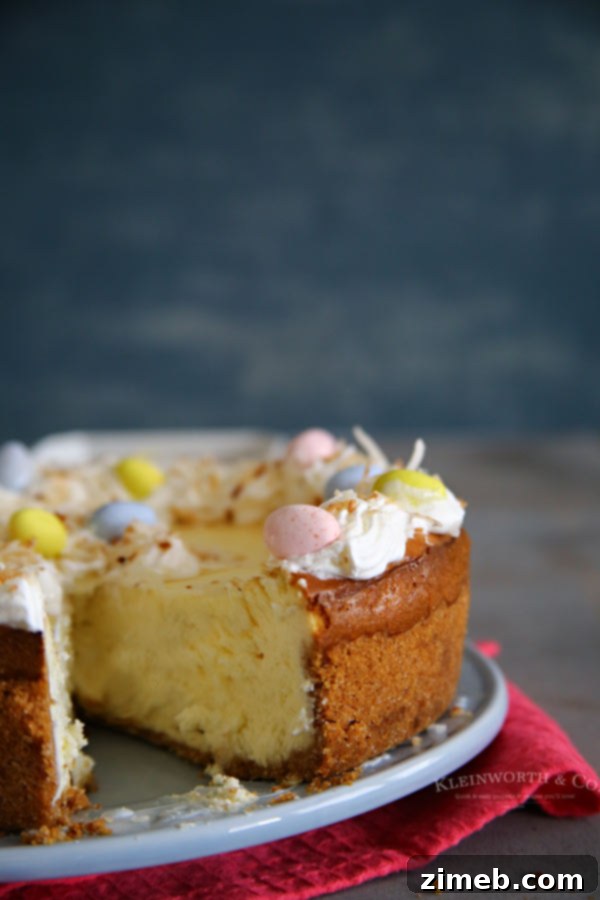
The quest for the perfect cheesecake led us to the discovery of the Flexipan, a true game-changer in the world of baking. Made by the same company renowned for the original Silpat baking mats, this silicone baking pan is specifically designed to excel in cheesecake creation. Its innovative material and construction mean that cheesecakes release effortlessly, a feat often challenging with traditional pans. The most remarkable advantage? No water bath required! This eliminates a common source of stress for many home bakers, simplifying the process while still ensuring that incredibly smooth, crack-free texture that cheesecake lovers adore.
Given the slight sizing mishap on our first try, we went back to the drawing board, adjusting the recipe to perfectly fit our new Flexipan. The second attempt was a resounding success, yielding a cheesecake that was not only flawlessly structured but also incredibly creamy and rich. This experience solidified our belief that any excuse to bake more cheesecake is a good one, especially when the results are this spectacular.
Crafting Your Festive Easter Cheesecake
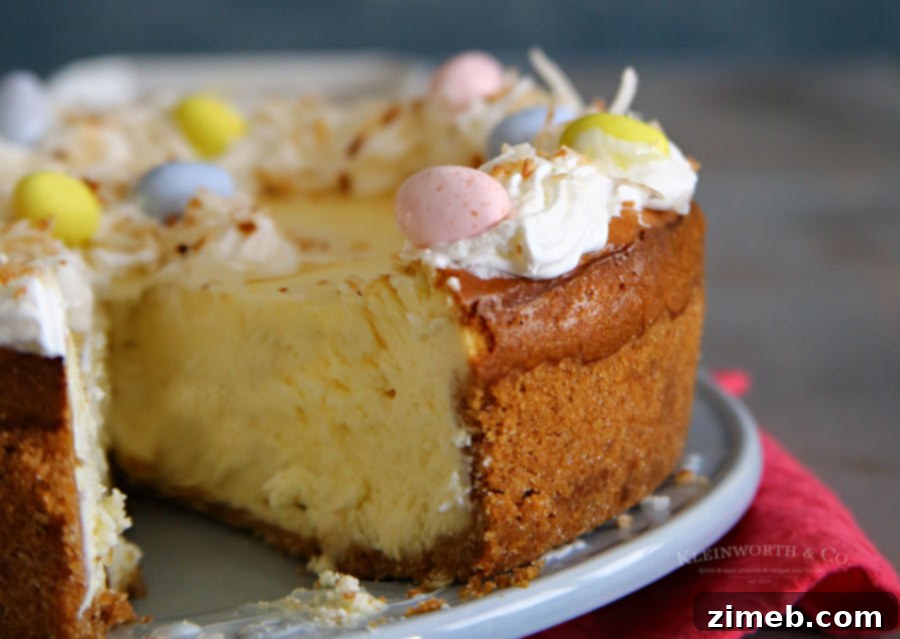
To give this exquisite dessert its festive Easter flair, we decided on a beautiful, yet simple, decoration. A delicate border of whipped topping, piped around the edge and a small circle in the center, not only added an elegant touch but also served a practical purpose: it created the perfect base for our generous scattering of toasted coconut. The combination of the rich, creamy cheesecake, the subtle crunch of the toasted coconut, and the vibrant colors of chocolate Cadbury mini eggs (a favorite of my mom’s!) made for an irresistible treat. Each bite delivered a harmonious blend of flavors and textures, making it a truly memorable Easter dessert.
The appeal of coconut in springtime is undeniable. Its light, tropical essence pairs beautifully with the fresh, celebratory mood of Easter, offering a refreshing alternative to heavier desserts. The addition of toasted coconut elevates the flavor profile, adding a nutty depth and an appealing aroma that fills the kitchen as it bakes. This Easter Egg Coconut Cheesecake isn’t just a dessert; it’s an experience – a testament to family, delicious flavors, and the joy of homemade treats.
Frequently Asked Questions About Coconut Cheesecake
Before you dive into baking this incredible Easter Egg Coconut Cheesecake, here are some common questions we often receive, along with helpful tips to ensure your dessert turns out perfectly.
What is the best way to store leftover cheesecake?
To maintain its exquisite taste and creamy texture, always keep your cheesecake refrigerated. It will stay fresh for up to 7 days when properly chilled. Make sure not to leave it at room temperature for extended periods, as this can compromise its quality and safety.
What is a Flexipan and why is it ideal for cheesecake?
The Flexipan is a premium silicone baking mold, a sibling product to the famous Silpat baking mats. It’s specifically designed to offer superior non-stick properties and even heat distribution, which are crucial for cheesecake. Its flexibility allows for effortless unmolding, eliminating the need to run a knife around the edges or deal with a potentially leaky springform pan. In fact, its effectiveness is so recognized that it’s the pan of choice at The Cheesecake Factory for all their renowned cheesecakes.
How do you move the Flexipan once it is filled with batter?
This is a clever design feature! The company that makes Flexipan also offers a perforated baking sheet, which is highly recommended. You simply place the Flexipan directly onto this sheet before filling it. This provides a stable, flat surface for easy transfer to and from the oven. As an added bonus, the perforated sheet doubles as a cooling rack once removed from the oven. Just remember to use oven mitts or hot pads, as the sheet will be just as hot as the pan after baking.
Can this cheesecake be frozen for later enjoyment?
Absolutely! This Easter Egg Coconut Cheesecake freezes beautifully. For best results, we recommend freezing it before adding the whipped topping and mini chocolate eggs. Once the cheesecake is completely cooled and firm, wrap it tightly with several layers of plastic wrap, then an additional layer of aluminum foil. This will protect it from freezer burn. When properly wrapped, you can freeze it for up to 3 months. Thaw it overnight in the refrigerator before decorating and serving.
I have a Le Creuset ceramic pie dish. Would that work instead of a Flexipan?
While beautiful, a ceramic pie dish generally isn’t ideal for baking a tall cheesecake like this one. The main challenge lies in removal: unlike a springform or Flexipan, you can’t easily remove the sides, making it very difficult to get a spatula underneath for serving clean slices. Furthermore, this cheesecake recipe is designed to be quite tall, which might overflow a standard pie dish. If you don’t have a Flexipan or springform, a regular cake pan with tall sides could be an option. Line it generously with parchment paper, ensuring ample overhang on all sides. This “sling” will allow you to lift the cooled cheesecake out of the pan. For added stability when using this method, bake it well in advance and freeze it until firm before lifting. This prevents it from sinking or cracking. Once removed, let it thaw in the refrigerator.
Tips for Achieving a Crack-Free Cheesecake
Cracks in cheesecake are a common concern for bakers, but with the Flexipan, this recipe already has an advantage as it doesn’t require a water bath. To further minimize cracks:
- **Room Temperature Ingredients:** Ensure your cream cheese and eggs are at room temperature. This helps them mix smoothly and prevents over-beating, which can incorporate too much air.
- **Don’t Over-mix:** Beat the cream cheese and sugar until just smooth. Once the eggs are added, mix only until combined. Over-mixing introduces air, which expands during baking and contracts during cooling, leading to cracks.
- **Cool Slowly:** The biggest secret to a crack-free cheesecake is gradual cooling. After baking, turn off the oven and leave the cheesecake inside with the door slightly ajar for about an hour. Then, remove it and let it cool completely at room temperature before refrigerating.
- **Avoid Sudden Temperature Changes:** Drastic temperature shifts are the enemy of smooth cheesecake surfaces. Be patient and allow the cheesecake to cool in stages.
Easter Egg Coconut Cheesecake Recipe

Rate this Recipe
Easter Egg Coconut Cheesecake
Ingredients
Crust
- 9-10 graham cracker rectangles
- 6 tbsp butter – melted
- ⅓ cup granulated sugar
Filling
- 32 ounces cream cheese (room temperature, four 8-ounce blocks)
- 1¼ cup granulated sugar
- 4 eggs – room temperature
- ¾ cup sour cream
- 1 tbsp coconut extract
Garnish
- 2 cups whipped topping
- ⅓ cup toasted coconut
- 10-12 chocolate Cadbury mini eggs
Instructions
Make the Crust
-
In a food processor, pulse the graham crackers until they form fine, even crumbs. Avoid over-processing to prevent the crust from becoming too dense.
-
Remove the blade, then add the granulated sugar and melted butter to the crumbs. Stir thoroughly with a fork until all the crumbs are evenly moistened and resemble wet sand.
-
Transfer the moist crumb mixture to a large Flexipan (placed on a perforated baking sheet for stability). Press the crumbs firmly and evenly into the bottom of the pan using the flat bottom of a glass or your fingers to create a compact crust.
-
Place the prepared crust in the freezer to set while you prepare the filling. This helps create a firm base that won’t crumble when sliced.
Prepare the Filling
-
In a large mixing bowl, beat together the room temperature cream cheese and granulated sugar on medium speed until the mixture is completely smooth and creamy, with no lumps remaining.
-
Scrape down the sides of the bowl to ensure everything is incorporated. Add the eggs one at a time, beating only briefly after each addition until just combined. Avoid over-beating the eggs, as this can introduce too much air, leading to cracks in the final cheesecake.
-
Stir in the sour cream and coconut extract until they are well combined into the cheesecake batter. The coconut extract enhances the tropical flavor beautifully.
-
Carefully pour the creamy batter into the chilled graham cracker crust. Bake at 350°F (175°C) for 55-65 minutes, or until the edges are set and slightly puffed, but the center still has a slight “jiggle” when gently shaken. This is the beauty of the Flexipan – no water bath is needed for perfect results!
-
Once baked, remove the cheesecake from the oven and allow it to cool at room temperature for 30 minutes. Then, transfer it to the refrigerator to continue cooling for at least 6 hours, or preferably overnight. It is crucial to let it cool completely and solidify before attempting to remove it from the pan.
-
Once fully cooled and firm, carefully remove the cheesecake from the Flexipan. Place the whipped topping in a frosting bag fitted with a star tip and pipe an attractive border around the edge of the cheesecake and a small decorative circle in the center.
-
Generously top the whipped topping with toasted coconut flakes and artfully arrange the chocolate Cadbury mini eggs for a charming Easter presentation.
-
Keep refrigerated until you are ready to serve this delightful Easter Egg Coconut Cheesecake.
Nutritional information for the recipe is provided as a courtesy and is approximate. Please double-check with your own dietary calculator for the best accuracy. We at Yummi Haus cannot guarantee the accuracy of the nutritional information given for any recipe on this site.
Serving Suggestions and Variations
This Easter Egg Coconut Cheesecake is a showstopper on its own, but you can also enhance the experience with a few simple serving suggestions:
- **Fresh Fruit:** A side of fresh berries like strawberries, raspberries, or blueberries adds a tart contrast to the rich sweetness of the cheesecake.
- **Chocolate Drizzle:** For the ultimate chocolate lover, a light drizzle of melted dark or white chocolate over the top before serving adds an extra layer of decadence.
- **Coconut Flake Variations:** Instead of just toasted coconut, try a mix of toasted coconut and white chocolate shavings for a more complex texture and flavor.
- **Extract Experimentation:** While coconut extract is key here, feel free to experiment with a hint of almond or vanilla extract in the filling for a slightly different flavor profile.
Explore More Delightful Coconut and Easter Recipes!
If you enjoyed this creamy coconut cheesecake, you’re in for a treat with these other fantastic recipes. Each one offers a unique way to savor the delicious flavors of coconut or celebrate the Easter season. Click on the links below to discover easy-to-follow, printable recipes that are perfect for any occasion.
- Chocolate Coconut Macaroons: A classic chewy cookie with a chocolate twist.
- Coconut Poke Cake: A moist cake infused with coconut milk and topped with creamy frosting.
- Easy Coconut Cupcakes: Simple, fluffy cupcakes bursting with coconut flavor.
- Coconut Bread: A quick and easy sweet bread, perfect for breakfast or dessert.
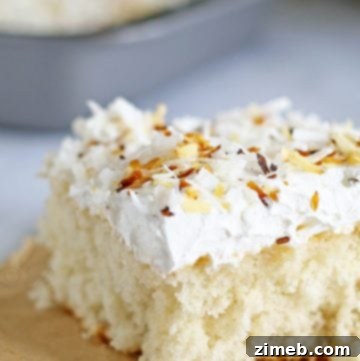
- Coconut Cream Cake: Layers of light cake and rich coconut cream, a true indulgence.
- Banana Coconut Bundt Cake: A tropical-inspired bundt cake combining two beloved flavors.
- Banana Coconut Donuts: Delicious homemade donuts with a delightful banana and coconut combination.
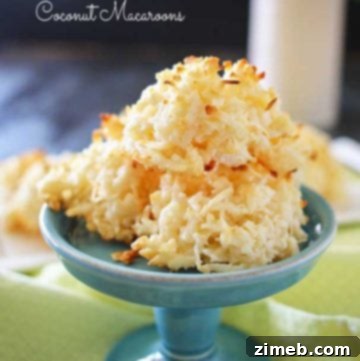
- Coconut Macaroons: The traditional, irresistibly chewy coconut cookies.
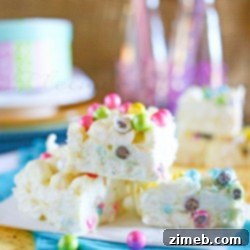
- Cadbury Magic Bars: A magical combination of chocolate and other sweet treats, perfect for Easter.
Doesn’t this Easter Egg Coconut Cheesecake look absolutely inviting? We genuinely hope you adore baking and enjoying it as much as we do!
If you fall in love with this easy cheesecake recipe, you’ll definitely want to explore these other delightful treats. Click each link below for an easy, printable recipe!
Check out this recipe
Check out this recipe
Check out this recipe
Looking for more great Easter ideas?
If you love this recipe for Coconut Cheesecake as much as we do, please consider leaving a five-star review below. Your feedback helps us share our passion for delicious food with more people! Be sure to help us share on Facebook and Pinterest so more can enjoy this amazing dessert.
CONNECT WITH YUMMI HAUS!
Be sure to follow us on our social media channels, so you never miss a post!
Substack, Facebook, Pinterest, Instagram, Email Subscription