
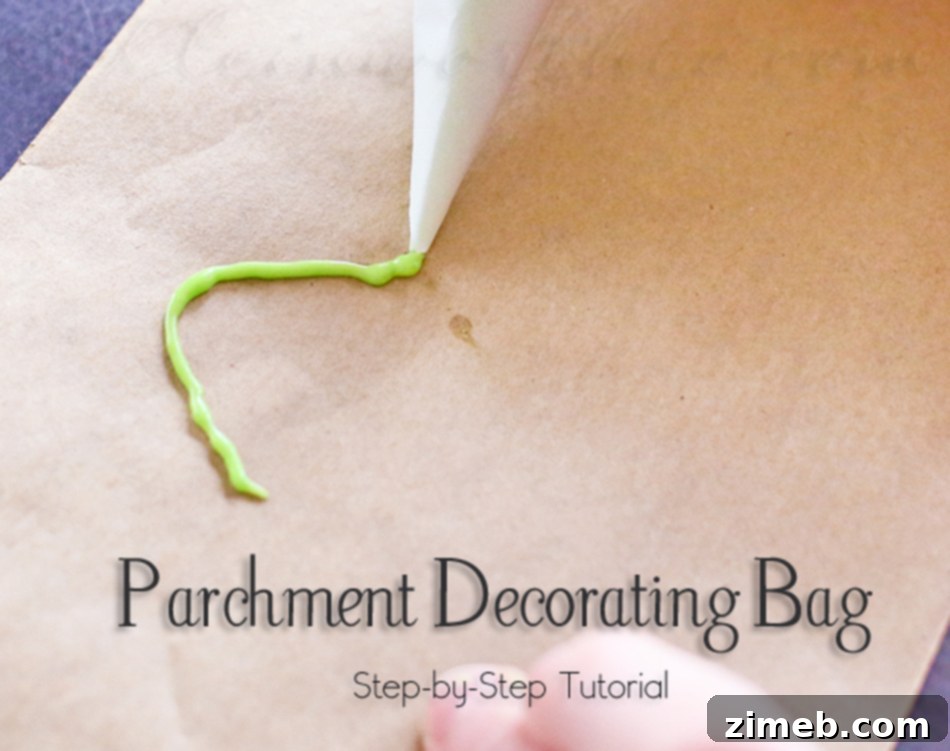
Welcome to a timeless kitchen technique that has graced generations of bakers and decorators! Today, we’re diving into the art of creating your very own Parchment Decorating Bags – a simple yet indispensable tool for anyone who loves to adorn cakes, cookies, and pastries with delicate precision. This isn’t just another crafting guide; it’s a journey back to the fundamentals, a skill passed down through families, and a secret weapon for achieving professional-looking results right from your home kitchen. My own inspiration comes directly from my mother, a true maestro of cake decorating. I vividly recall watching her transform ordinary cakes into edible masterpieces. Her workspace would be dotted with these ingenious little parchment bags, each filled with a different vibrant frosting color, ready to bring her creative visions to life. They were everywhere – a beautiful, colorful chaos that always resulted in breathtaking confections. These disposable bags were her go-to for intricate details, offering just the right amount of control and convenience for those fine lines and delicate swirls. Today, I’m thrilled to share her wisdom and show you exactly how to master this fabulous little tool, ensuring your decorating endeavors are both joyful and effortlessly elegant.
Why Choose Homemade Parchment Decorating Bags?
While many modern alternatives exist, the traditional parchment decorating bag holds a special place for good reason. Unlike reusable piping bags, which require thorough cleaning and can harbor bacteria if not properly maintained, parchment bags are perfectly disposable, eliminating any cleanup hassle. They are also significantly more robust than standard plastic zip-top bags, which often burst at the seams or stretch under pressure, leading to messy accidents and frustrating decorating experiences. The inherent stiffness of parchment paper provides superior control and stability, allowing you to create sharp lines, intricate details, and consistent patterns with confidence. This rigidity prevents the tip from stretching, ensuring your design remains precise from start to finish. Furthermore, when working with multiple colors or small batches of frosting for delicate work, parchment bags are incredibly cost-effective and allow for quick changes without wasting product or time. They are ideal for royal icing, melted chocolate, glazes, and various buttercream consistencies. Mastering this simple technique will not only elevate your decorating skills but also add an element of timeless craftsmanship to your baking repertoire, echoing the methods of professional decorators and home bakers for decades.
Essential Materials for Your DIY Piping Bag
Before we begin crafting our versatile decorating cones, gather these basic supplies. The beauty of this method lies in its simplicity and accessibility. You’ll primarily need good quality parchment paper, which is readily available in most grocery stores. A sharp pair of scissors will ensure clean, precise cuts, essential for forming a well-structured cone. Optionally, a small piece of tape can offer extra security for your finished bag, though it’s often not necessary. Of course, you’ll also need your chosen frosting or icing and, if desired, a decorating tip and coupler. Now, let’s transform a flat sheet of paper into your next favorite decorating instrument.
Step-by-Step Guide: Crafting Your Parchment Decorating Bag
Step 1: Preparing Your Parchment Triangle
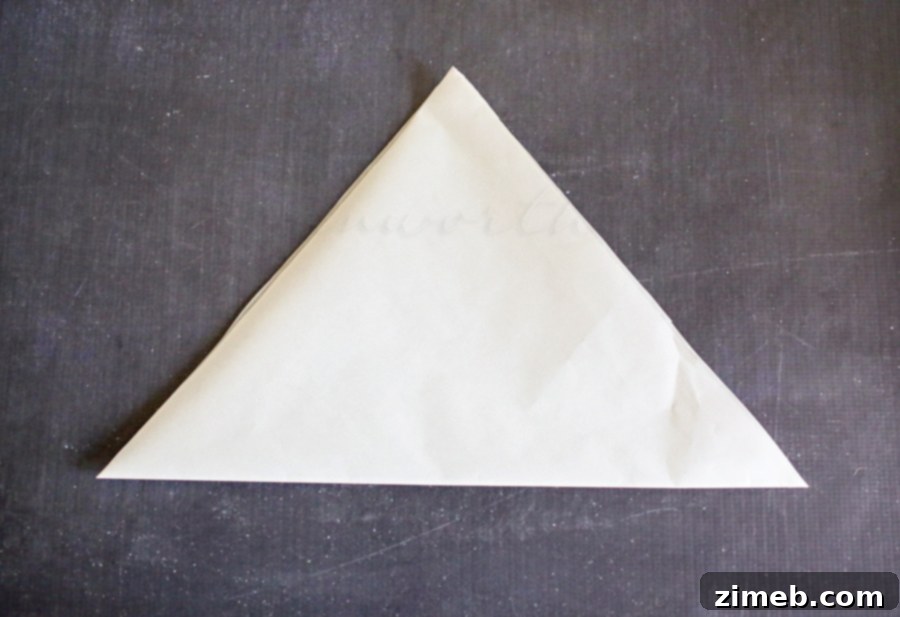
The foundation of our decorating bag is a perfectly cut parchment triangle. Start with a rectangular sheet of parchment paper, typically found in a roll. For most decorating tasks, a sheet roughly 12 to 15 inches long is ideal. To create your triangle, first, fold one corner of the parchment paper diagonally across to the opposite long edge, forming a large square. Then, cut off any excess paper, leaving you with a perfect square. Now, cut this square diagonally from corner to corner, resulting in two large triangles. You’ll only need one triangle per bag. Place one of these triangles on a clean, flat work surface. It’s crucial that the longest edge is positioned away from you, at the top, and the sharpest point of the triangle is facing directly towards your body. This orientation is key to forming the cone correctly. If your image shows it the other way, simply flip your paper around so the point is inward-facing and ready for the next step. My sincerest gratitude goes to my son, whose helpful hands made photographing these precise steps possible. His assistance ensures you have a clear visual guide throughout this tutorial.
Step 2: Forming the First Curl
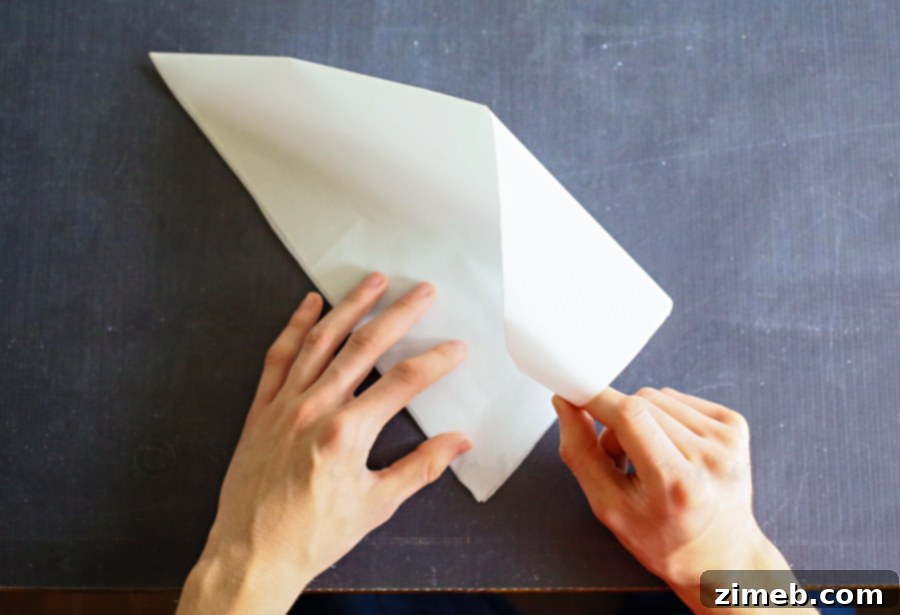
With your parchment triangle correctly oriented (point facing you, long edge at the top), we’ll begin to shape the cone. Take the rightmost point of the triangle. Gently curl it up and under itself, bringing it towards you. As you curl, guide this point inward, towards the central point of the triangle that’s closest to your body. The goal is for the curled edge from the right point to lie smoothly on top, creating the initial curve of your decorating bag. Ensure this curl is relatively snug, as this will determine the tightness and stability of your finished cone. Practice this motion a few times to get a feel for how the paper rolls and aligns.
Step 3: Completing the Cone
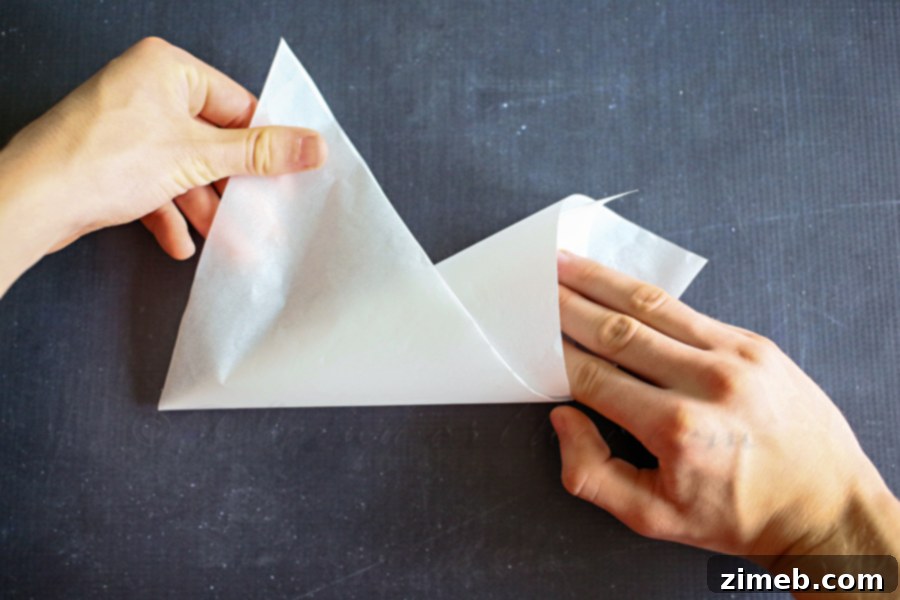
Now that you have the first curl in place, it’s time to incorporate the third point of the triangle to complete the cone structure. Take the remaining free point, which should be on the left side of your paper. Wrap this point around the back of the cone, bringing it forward until it meets and aligns perfectly with the other two points you just brought together. When done correctly, all three points of your original triangle should converge precisely at the bottom, forming a single, sharp, and tightly sealed point. This unified point is critical, as it will be the opening from which your frosting will be piped. Adjust the paper gently until the cone feels firm and secure, with no gaps at the bottom. This complete formation now gives you the basic structure of your parchment decorating bag.
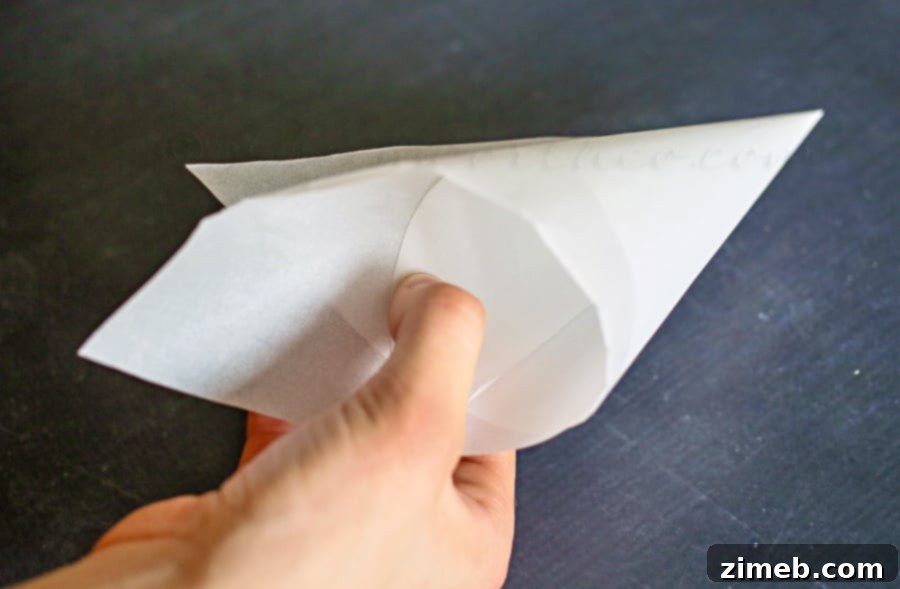
Step 4: Securing the Cone’s Shape
You’ve successfully created the fundamental cone shape of your decorating bag! To ensure it holds its form securely, especially when filled with frosting, we need to lock the top edges in place. The three points that met at the bottom now have corresponding edges at the top opening of the bag. Carefully fold these points of the bag down into the interior of the cone. This action not only secures the structure but also creates a clean, reinforced edge for filling. For added stability, particularly if you’re new to this technique or plan on applying significant pressure, you can add a small piece of tape along the seam where the edges overlap. While this step is entirely optional and many experienced decorators skip it, it provides an extra layer of reassurance that your bag won’t unravel during use. The key is a tight, neat fold that keeps the bag’s integrity intact.
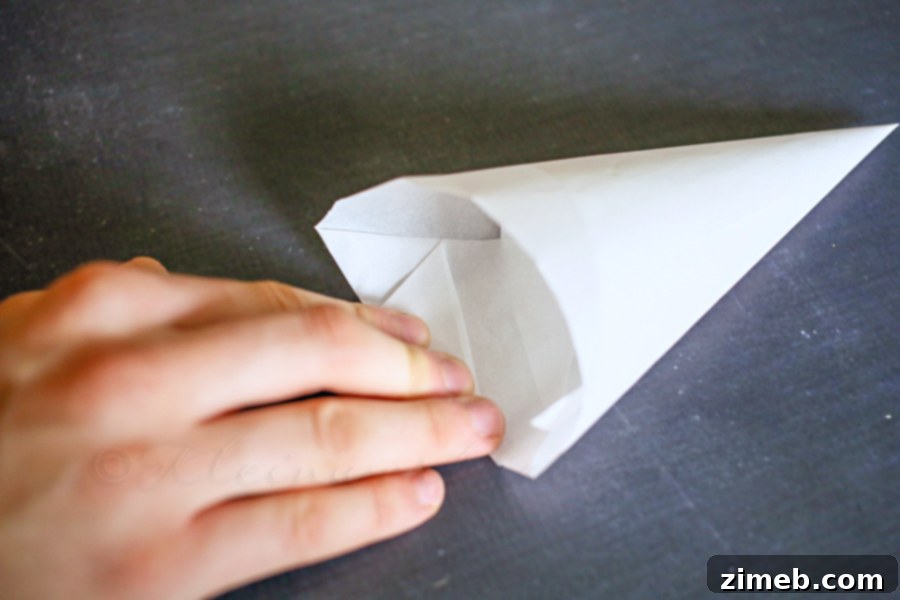
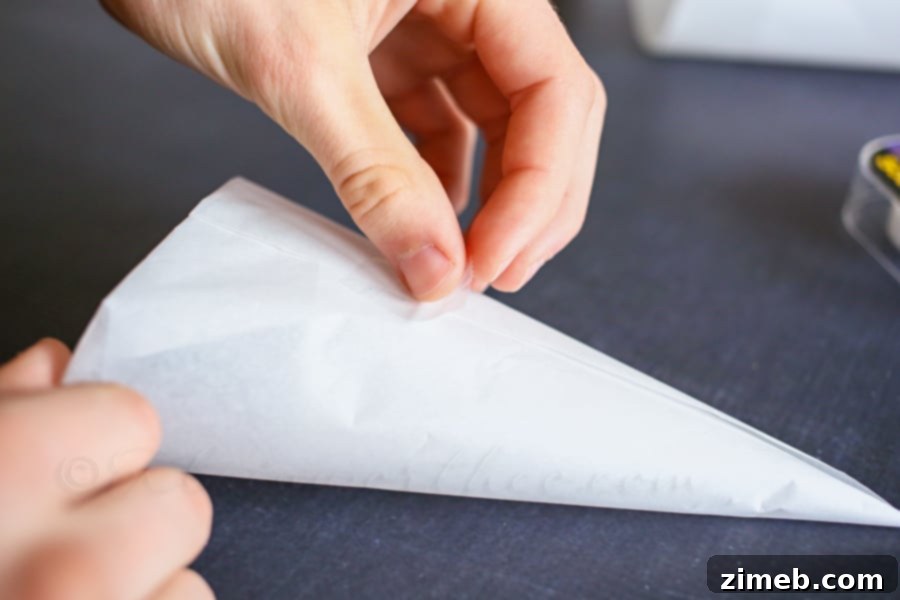
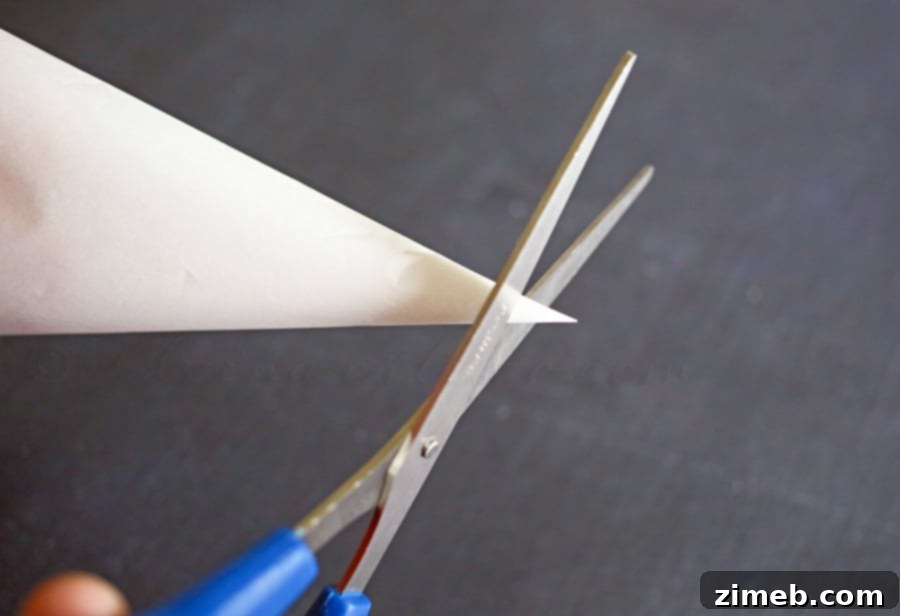
Step 5: Preparing for Decorating Tips
Now that your parchment cone is perfectly formed, it’s time to prepare it for piping. You have two main options for incorporating decorating tips, depending on your preference and the tools you have on hand. The first method is to use a decorating tip without a coupler. This is a straightforward approach often favored for quick jobs or when you only need one specific tip. To do this, simply cut approximately 3/4 inch off the very pointed end of the bag. Once cut, take your chosen metal or plastic decorating tip and drop it into the bag, narrow end first. Gently push it down until the tip is snugly fitted and the opening is completely filled by the tip. Don’t worry if it feels a little loose initially; once you fill the bag with icing, the pressure of the frosting will hold the tip firmly in place, preventing any leakage. This method is great for consistent designs where you don’t anticipate changing tips mid-project.
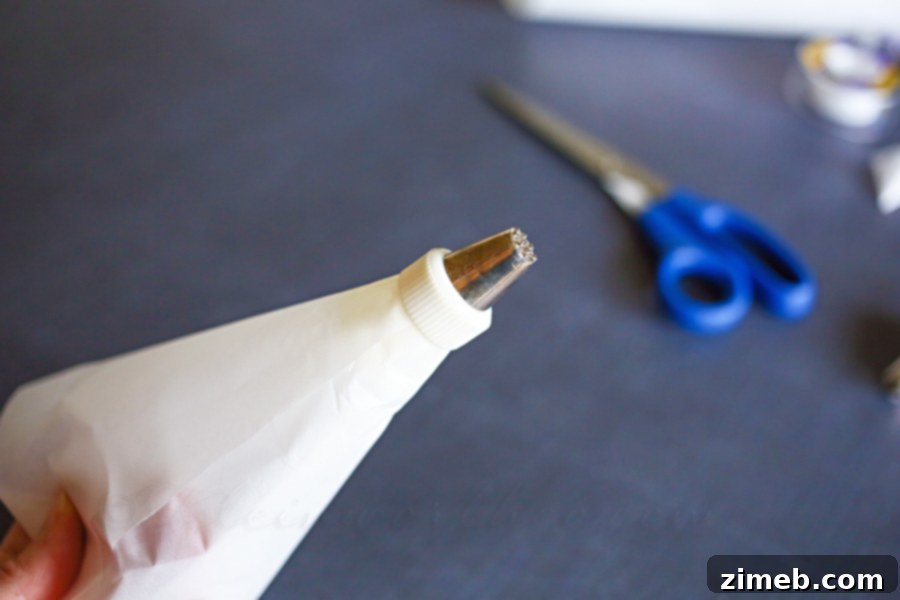
The second method involves using a coupler, which offers the flexibility to change decorating tips without emptying your bag or preparing a new one. To use a coupler, first, separate its two parts: the base and the ring. Place the coupler base, narrow end first, into the bottom of your parchment bag. Push it down until the threads of the coupler are visible from the outside of the bag’s point. With a pair of scissors, carefully snip off the end of the parchment bag, cutting just enough so that the threads of the coupler are exposed but the paper still holds it securely. Then, add your desired decorating tip over the coupler threads, and finally, screw the coupler ring tightly over the tip to secure it in place. This method is excellent for projects that require multiple tip styles or when you want to experiment with different patterns using the same frosting color. Both methods provide a secure setup for effective piping, so choose the one that best fits your decorating needs.
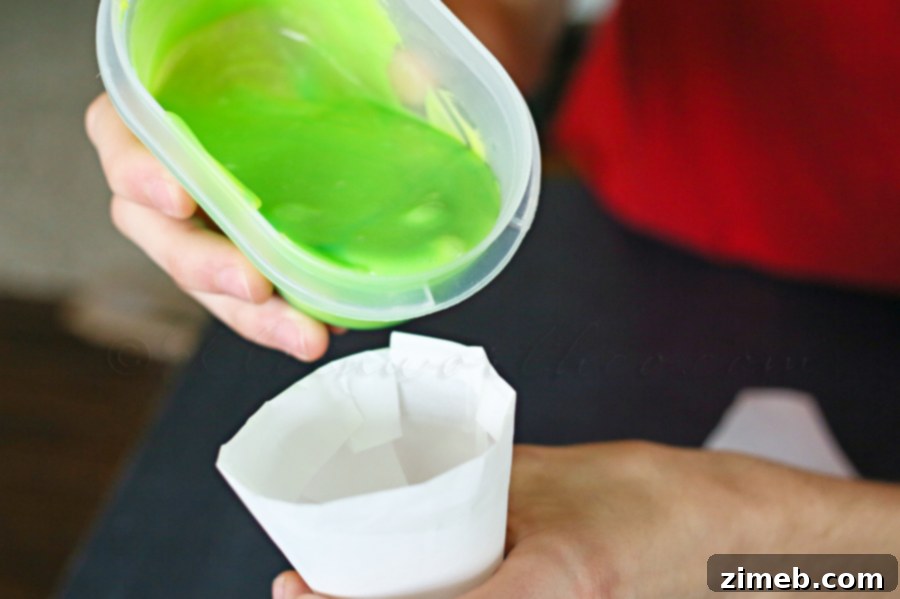
Step 6: Filling and Sealing Your Bag
Properly filling and sealing your parchment bag is crucial for a mess-free and efficient decorating experience. Once your tip (or no tip) is ready, hold the bag with one hand, folding down the top edges slightly to create a wider opening. Using a spatula or spoon, carefully fill the bag with your chosen icing. It’s important not to overfill it; aim for about halfway full, or even less for very small, detailed jobs. Overfilling can lead to frosting squeezing out the top, making it difficult to handle, and reducing your control. These parchment bags are particularly excellent for small piping jobs and intricate details, not for frosting entire cupcakes or cakes, which typically require larger, sturdier bags. Once filled, gently push the frosting down towards the tip to remove any air pockets. Then, unfold the top edges. To seal the bag, begin by folding in each corner of the top opening. After folding in the corners, bring the two side edges together and fold the top edge over, rolling it down incrementally until the frosting is securely contained and the bag is sealed tightly. This creates a secure closure that prevents frosting from escaping from the top while you apply pressure during piping. A well-sealed bag means more control and less mess.
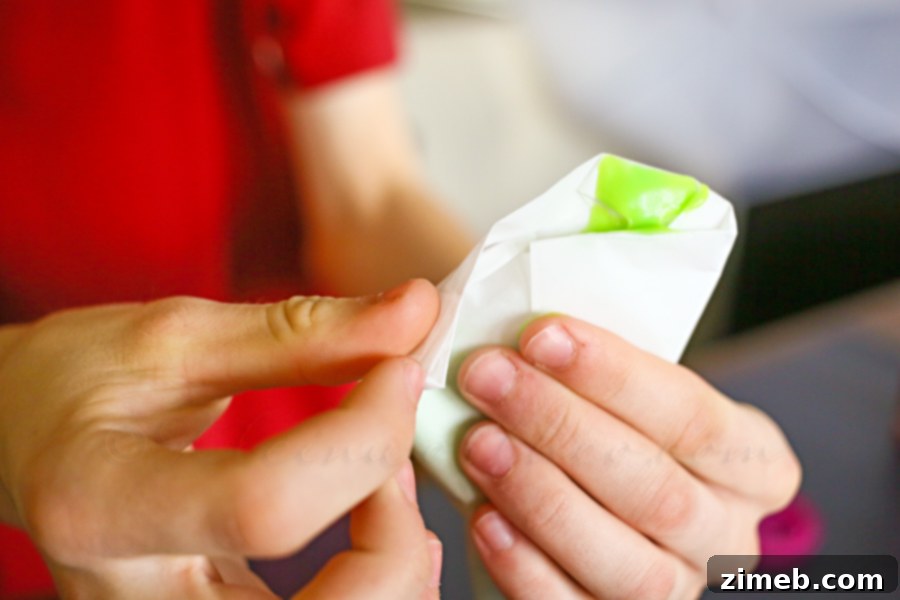
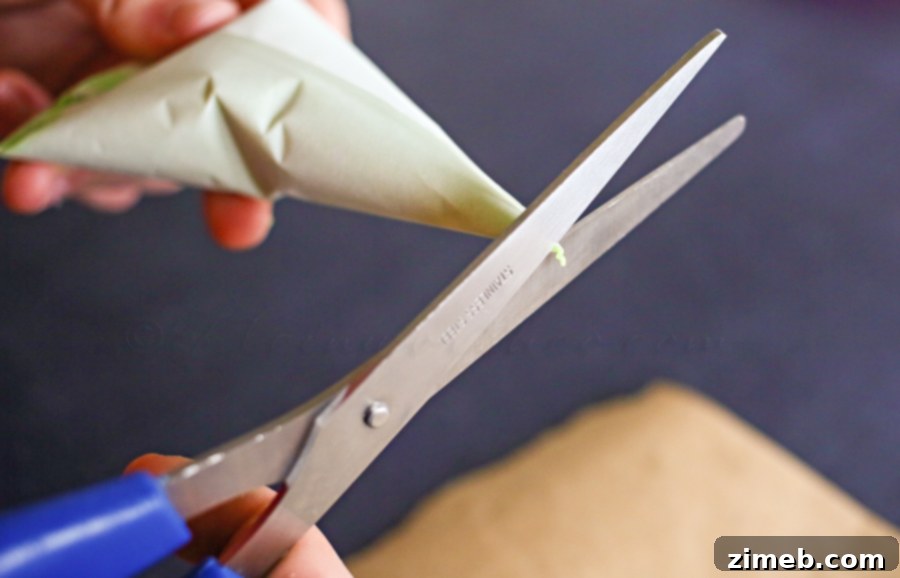
Step 7: The Simplest Method – No Tip Needed!
Sometimes, the most elegant solutions are the simplest. For certain decorating tasks, you don’t even need a decorating tip or coupler. This method is incredibly versatile for fine writing, delicate outlines, or creating small dots and details. In fact, it was often my preferred approach, especially when working on intricate designs where ultimate precision was key. To use this method, simply form and fill your parchment bag as described, but skip the step of inserting a metal or plastic tip. Instead, once your bag is filled and sealed, use a pair of sharp scissors to snip off just the very, very tip of the parchment cone. The size of the hole you cut will directly determine the thickness of the line you pipe. A tiny snip creates a super-fine line, perfect for intricate script or delicate filigree, while a slightly larger snip yields a thicker line. This direct control over the opening allows for incredible flexibility, making it ideal for tasks that demand a custom line thickness without the need for specialized tips. When you’re done, the entire bag is disposable, leaving you with absolutely no mess to clean up!
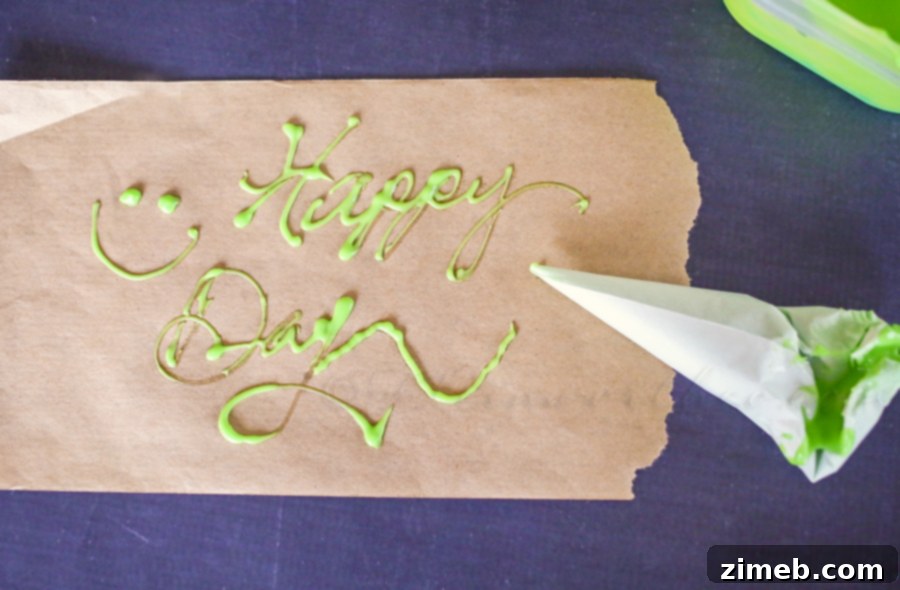
Step 8: Time to Decorate!
With your parchment decorating bag prepared, filled, and sealed, you are now ready to unleash your creativity! Hold the bag comfortably in your dominant hand, gently squeezing from the top where it’s sealed, allowing the frosting to flow evenly through the opening. Practice on a piece of wax paper or a spare plate first to get a feel for the pressure needed and the flow of your icing. Whether you’re adding elegant script, intricate patterns, delicate borders, or simple dots, the control offered by a parchment bag is unparalleled. You’ll find it far more responsive and precise than many other options, especially for detailed work. The joy of seeing your designs come to life with such ease is incredibly rewarding. And when your masterpiece is complete, the convenience continues: simply discard the used bag. No mess, no fuss, just beautiful decorations!
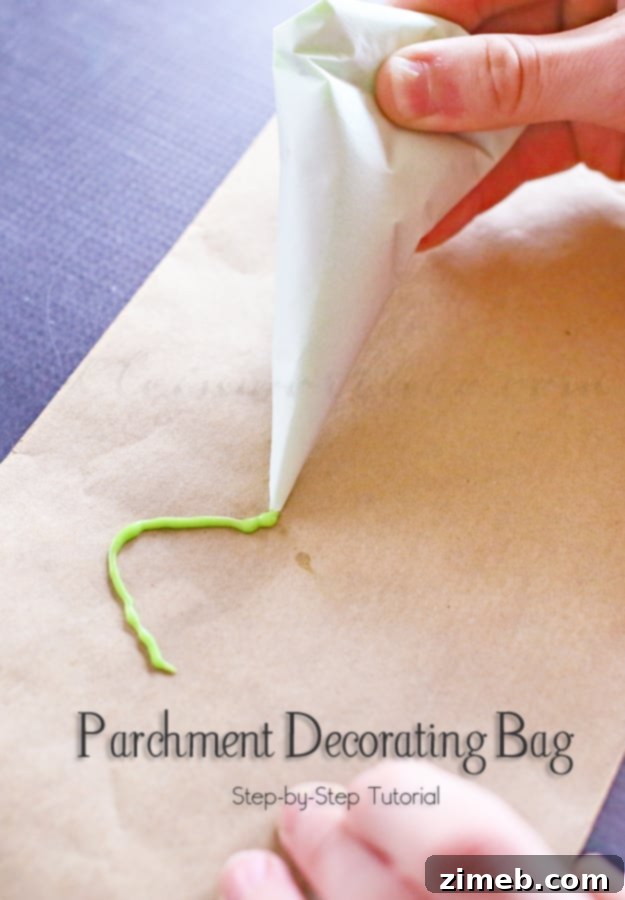
Tips for Perfect Piping with Parchment
Achieving flawless results with your homemade parchment decorating bags is easier with a few expert tips. Firstly, always ensure your frosting or icing has the right consistency. It should be smooth and pliable enough to flow easily but firm enough to hold its shape. If it’s too stiff, it will be hard to pipe; too runny, and your designs will spread. Secondly, never overfill your bag. A half-filled bag provides optimal control and reduces the chances of frosting oozing from the top. Thirdly, when cutting the tip (especially for the no-tip method), start with a very small snip; you can always enlarge it, but you can’t make it smaller. Always cut clean, straight edges to ensure a consistent flow. Fourthly, if you find your hands warming the frosting too much, causing it to soften, take a short break or consider chilling the bag briefly. Finally, practice makes perfect! Don’t be afraid to experiment with different pressures and angles on a spare surface before decorating your final product. This simple skill will open up a world of decorating possibilities.
Beyond Cakes: Versatile Uses for Parchment Bags
While these bags are a star in cake and cookie decorating, their utility extends far beyond just frosting. Consider using parchment piping bags for precise chocolate work, such as drizzling melted chocolate over desserts, creating intricate chocolate garnishes, or tempering chocolate for delicate decorations. They are excellent for applying royal icing to cookies, enabling fine lines and flood-filling techniques. For savory applications, they can be used to pipe mashed potatoes onto shepherd’s pie, create decorative deviled eggs, or add a swirl of cream cheese to appetizers. In the craft room, these disposable cones are perfect for applying glue in fine lines, dispensing glitter, or even for small painting projects where precise application is needed. Their disposability makes them ideal for any medium that might be difficult to clean from a reusable bag, making them a truly versatile tool in both the kitchen and beyond.
Conclusion: Embrace the Art of Homemade Decorating
As you can see, creating your own parchment decorating bags is incredibly simple, yet it unlocks a world of precision and creative freedom in your kitchen. This time-honored technique is not only far more durable than relying on flimsy plastic baggies – which often burst at the seams and stretch under pressure, compromising your delicate work – but it also provides a superior level of control. The inherent stiffness of parchment paper ensures that your tip remains firm and consistent, unlike plastic that can distort. Now, armed with this essential skill, you can confidently craft your own decorating bags whenever inspiration strikes or a baking project calls. Embrace the tradition, enjoy the precision, and let your culinary artistry shine. This simple skill, passed down through generations, truly makes a significant difference in the quality and enjoyment of your decorating endeavors!
Pair Your New Skill with These Delicious Recipes!
Now that you’re a pro at making parchment decorating bags, it’s time to put your skills to the test! These recipes are perfect canvases for your newfound decorating prowess, ensuring your creations are as delightful to look at as they are to eat. Get ready to impress with beautiful designs and incredible flavors!
My Favorite Buttercream Frosting Recipe
Every great decoration starts with a perfect frosting. This buttercream recipe is my absolute favorite – it’s smooth, stable, and pipes beautifully, making it the ideal companion for your new parchment bags. Its rich flavor and creamy texture will make your desserts irresistible.
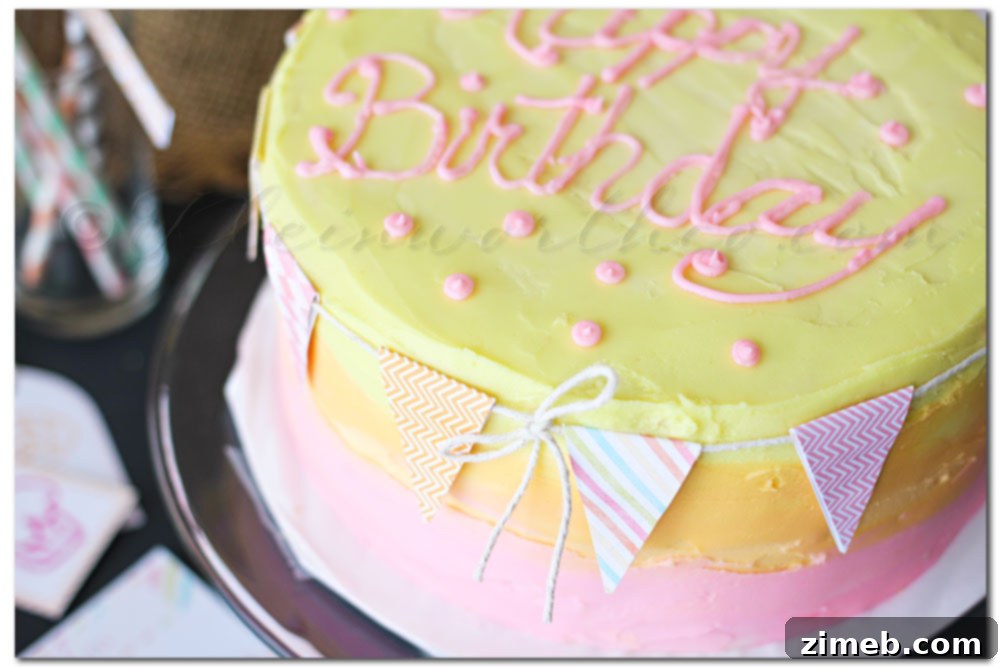
Click for the Best Buttercream Frosting Recipe!
Decorate These Seasonal Delights!
What better way to showcase your intricate piping than on these delightful seasonal treats? Whether it’s the cozy charm of fall or the festive spirit of gingerbread, these recipes provide the perfect base for your creative decorating touches. Let your parchment bag work its magic!
Fall Sugar Cookies
These soft sugar cookies are an absolute dream to decorate. Their smooth surface and delicious flavor make them the ideal candidate for practicing your delicate piping work. Imagine beautiful leaves, acorns, or intricate fall patterns brought to life with your new skills.

Get the Recipe for Delicious Fall Sugar Cookies!
Chocolate Gingerbread Cookie Bars
Add a touch of elegance to these rich and flavorful chocolate gingerbread cookie bars. A simple piped design can elevate them from a comforting treat to a showstopping dessert, perfect for holiday gatherings or a special indulgence.
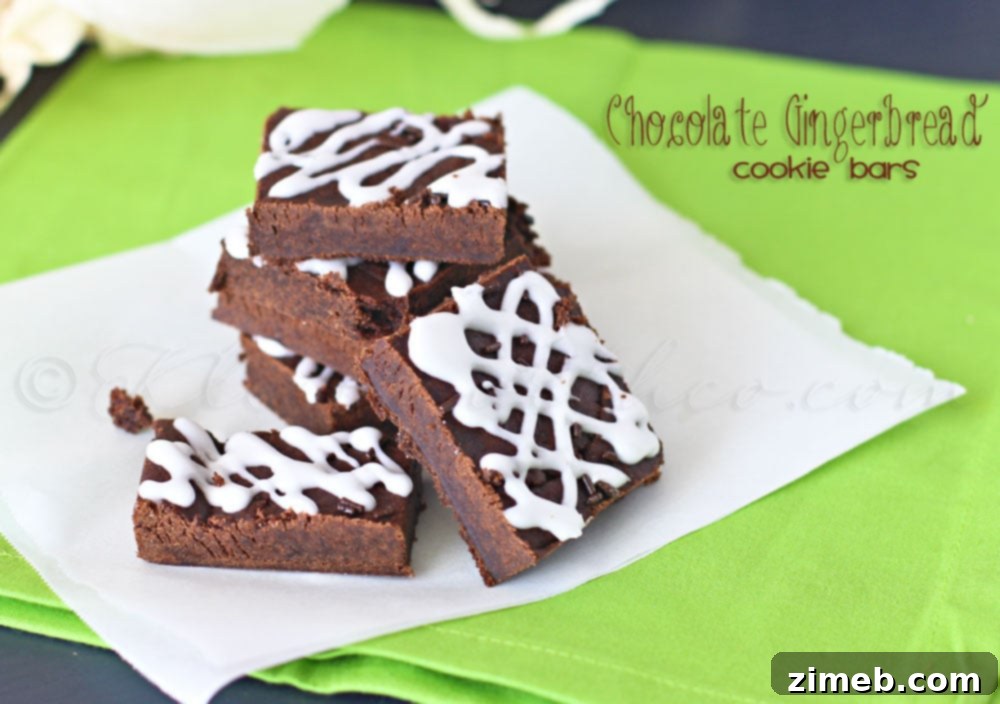
Discover the Recipe for Chocolate Gingerbread Cookie Bars!
To see where I am linking today, feel free to visit this page.