
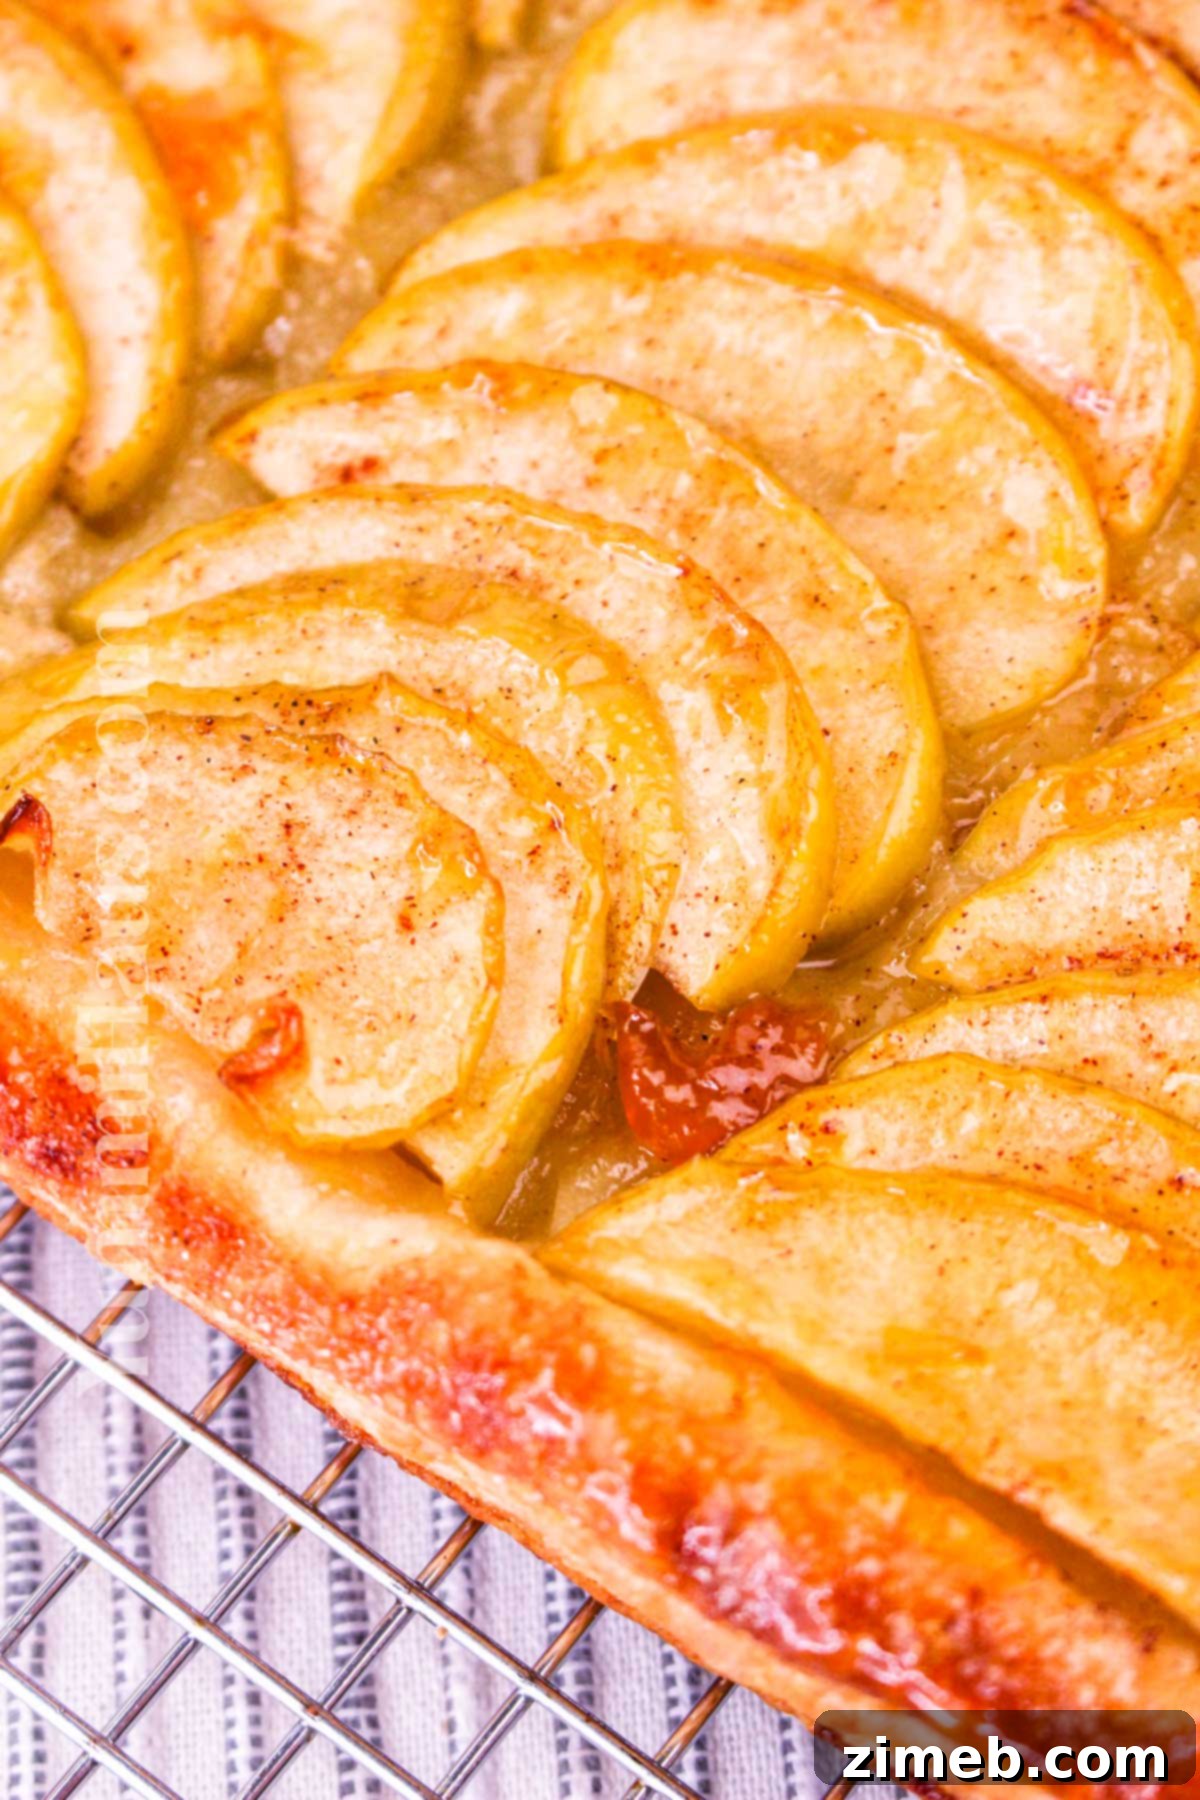
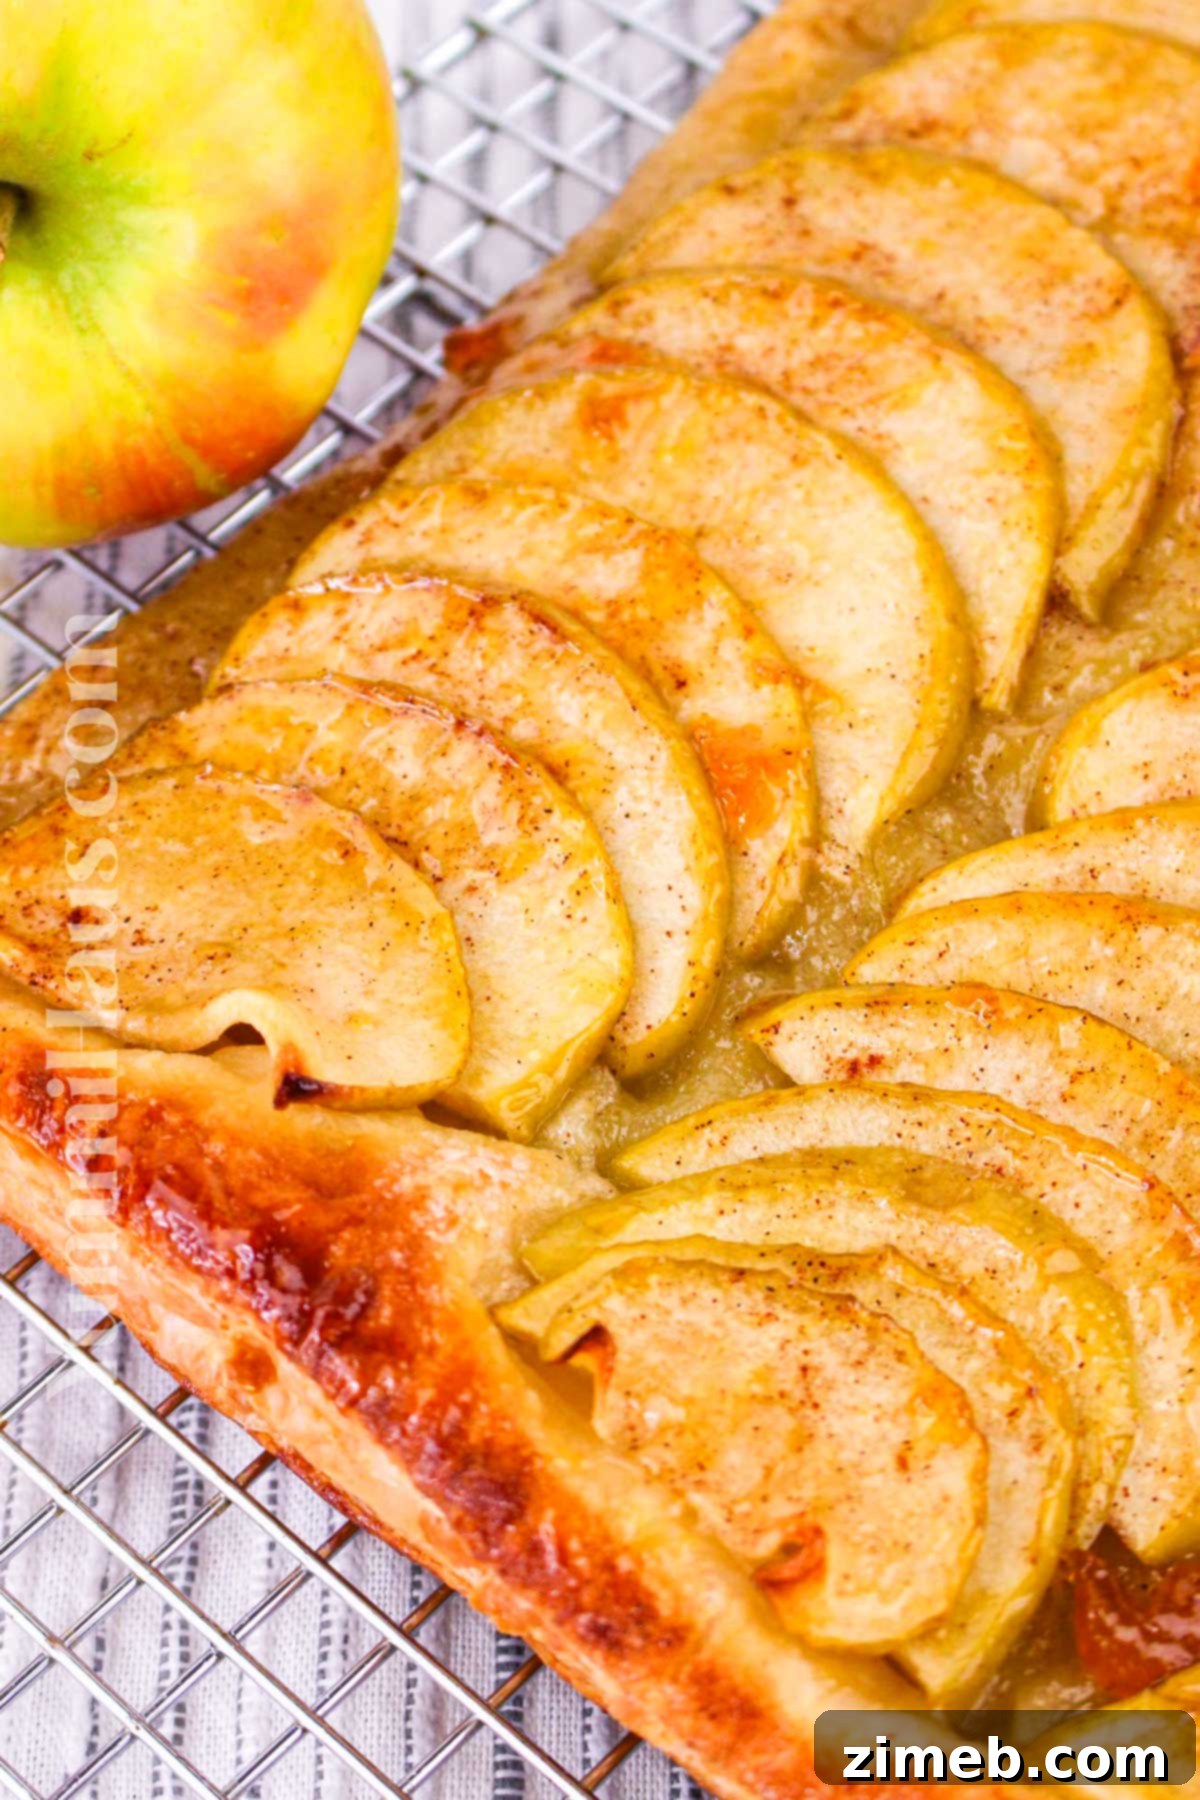
Welcome to the ultimate guide for creating a truly delightful dessert: the **Easy Puff Pastry Apple Tart**. Imagine crisp, golden, flaky pastry cradling tender, caramelized apple slices, all brought together with a shimmering, sweet apricot glaze. This isn’t just a recipe; it’s an invitation to experience pure baking bliss. Whether you’re a seasoned baker or a kitchen novice, this straightforward recipe promises an impressive result that’s both elegant and incredibly delicious. Perfect for apple season, yet wonderfully adaptable for year-round enjoyment, this apple tart is a versatile treat that fits any occasion, from a casual afternoon tea to a sophisticated dinner party dessert.
The timeless combination of apples and flaky pastry is a culinary match made in heaven. The buttery layers of puff pastry provide a light, airy base that perfectly complements the rich, juicy sweetness of baked apples. While traditionally considered a quintessential fall dessert, there’s no reason to limit this exquisite creation to just one season. Fresh apples are available year-round, making this a perfect sweet treat to enjoy whenever the craving strikes.
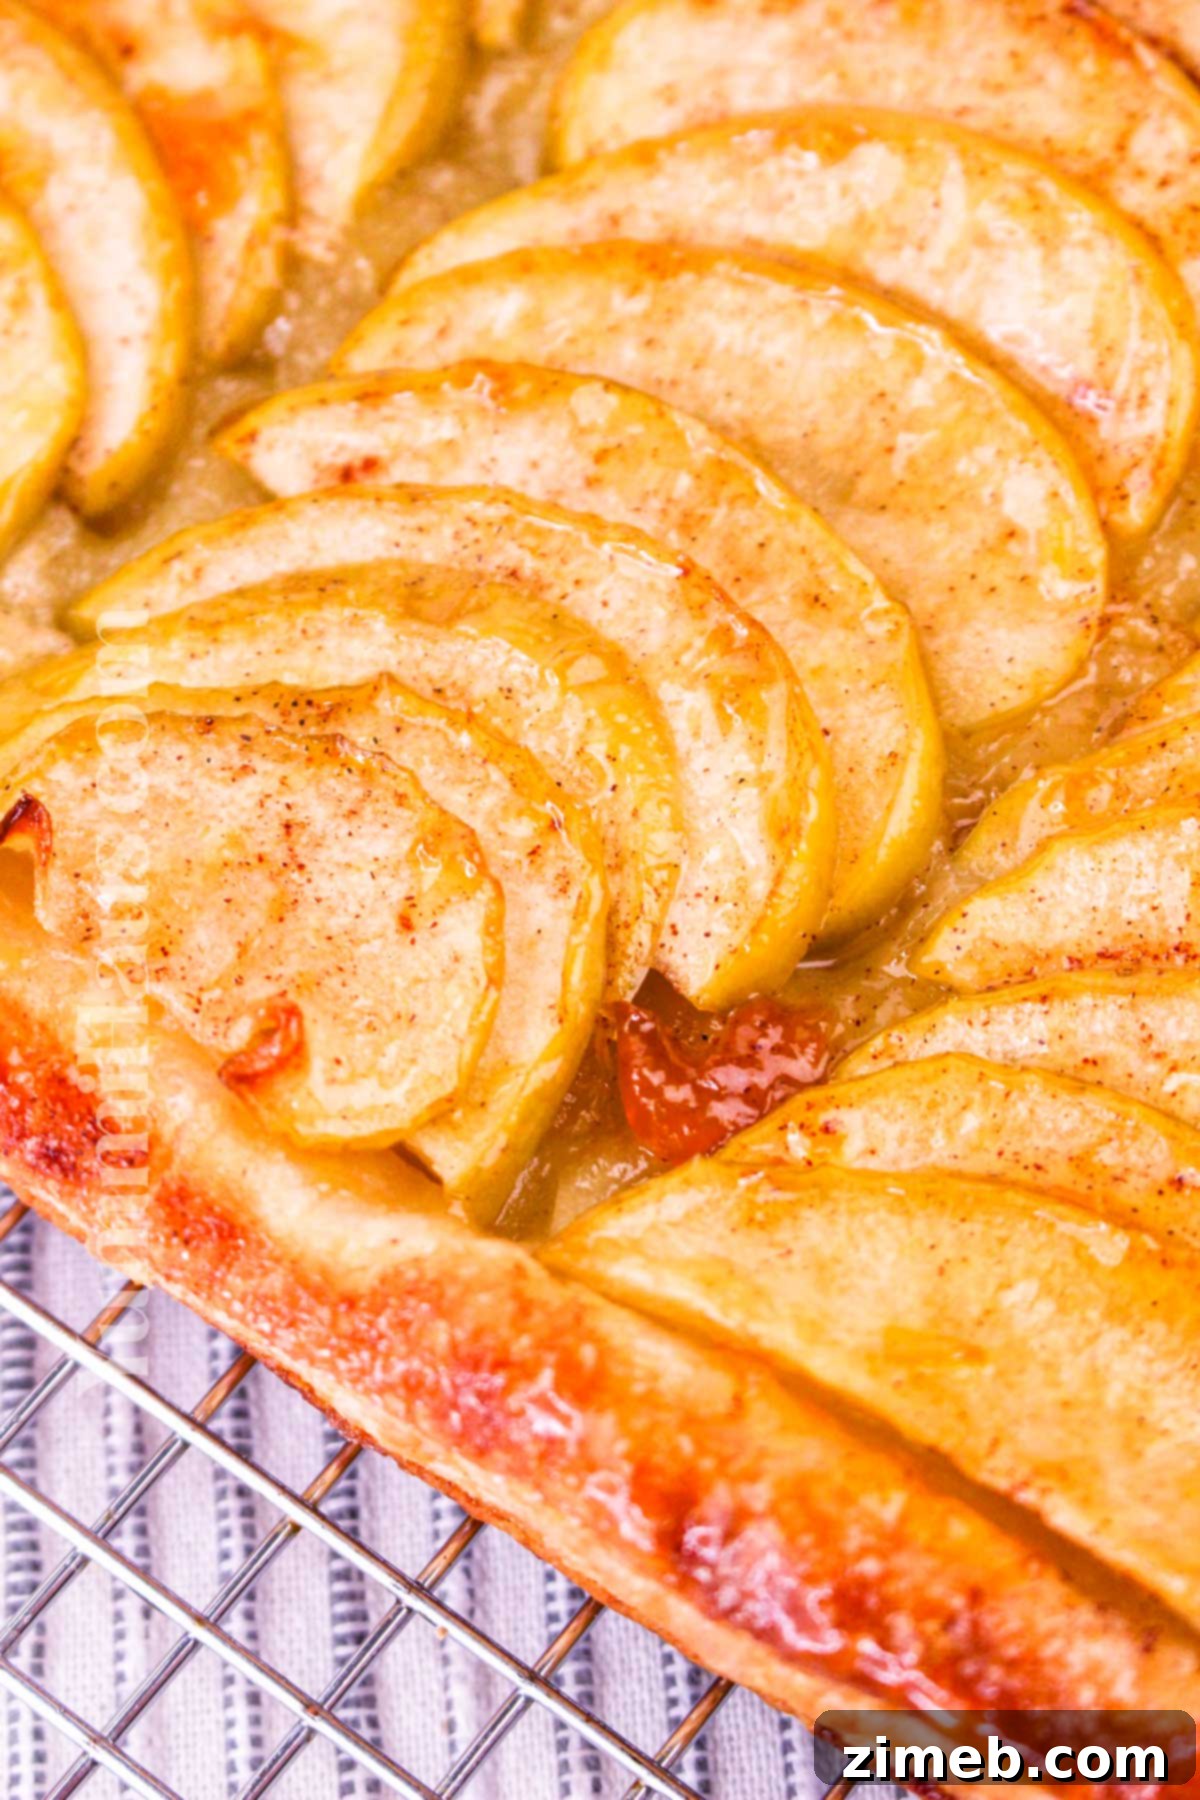
One of the greatest advantages of this recipe is its incredible speed and simplicity. In less than 45 minutes, you can transform readily available ingredients – like a sheet of frozen puff pastry and a couple of fresh, crisp apples – into an amazing, bakery-quality dessert. This makes it an ideal choice for busy weeknights, last-minute gatherings, or whenever you desire a comforting homemade treat without spending hours in the kitchen.
Why This Easy Apple Tart Recipe is a Must-Try
There are countless reasons to add this Puff Pastry Apple Tart to your baking repertoire. It’s more than just a dessert; it’s a delightful experience waiting to happen:
- Unforgettably Delicious: Prepare for a sensory delight! The buttery, flaky puff pastry melts in your mouth, perfectly complementing the sweet, juicy apples that caramelize beautifully during baking. A rich apricot jam glaze adds an extra layer of sweetness and a beautiful, glossy finish, elevating this simple tart to an extraordinary level of deliciousness.
- A Celebration of Apples: When apples are in season, this recipe offers a fantastic and flavorful way to utilize your bounty. It highlights the natural sweetness and slight tartness of fresh apples, transforming them into a warm, comforting dessert that truly embodies the essence of the harvest. Even outside of peak season, readily available apples ensure this treat is always within reach.
- Effortless Simplicity: Forget complicated baking techniques and endless ingredient lists. This is an incredibly easy recipe, requiring just six basic ingredients and a few straightforward steps. It’s designed for minimal fuss and maximum flavor, making it accessible for bakers of all skill levels. No advanced pastry skills or special equipment are needed to achieve a stunning result.
- Quick & Convenient: With pre-made puff pastry, this apple tart comes together remarkably fast. From prep to oven, you’ll be enjoying a warm, homemade dessert in under an hour. It’s the perfect solution for a quick weeknight treat or an impromptu dessert when guests arrive.
- Versatile & Customizable: While delicious as is, this recipe is also a fantastic canvas for customization. Easily adapt it with different spices, fruit combinations, or serving accompaniments to suit your preferences and seasonal availability.
Essential Ingredients for Your Perfect Apple Tart
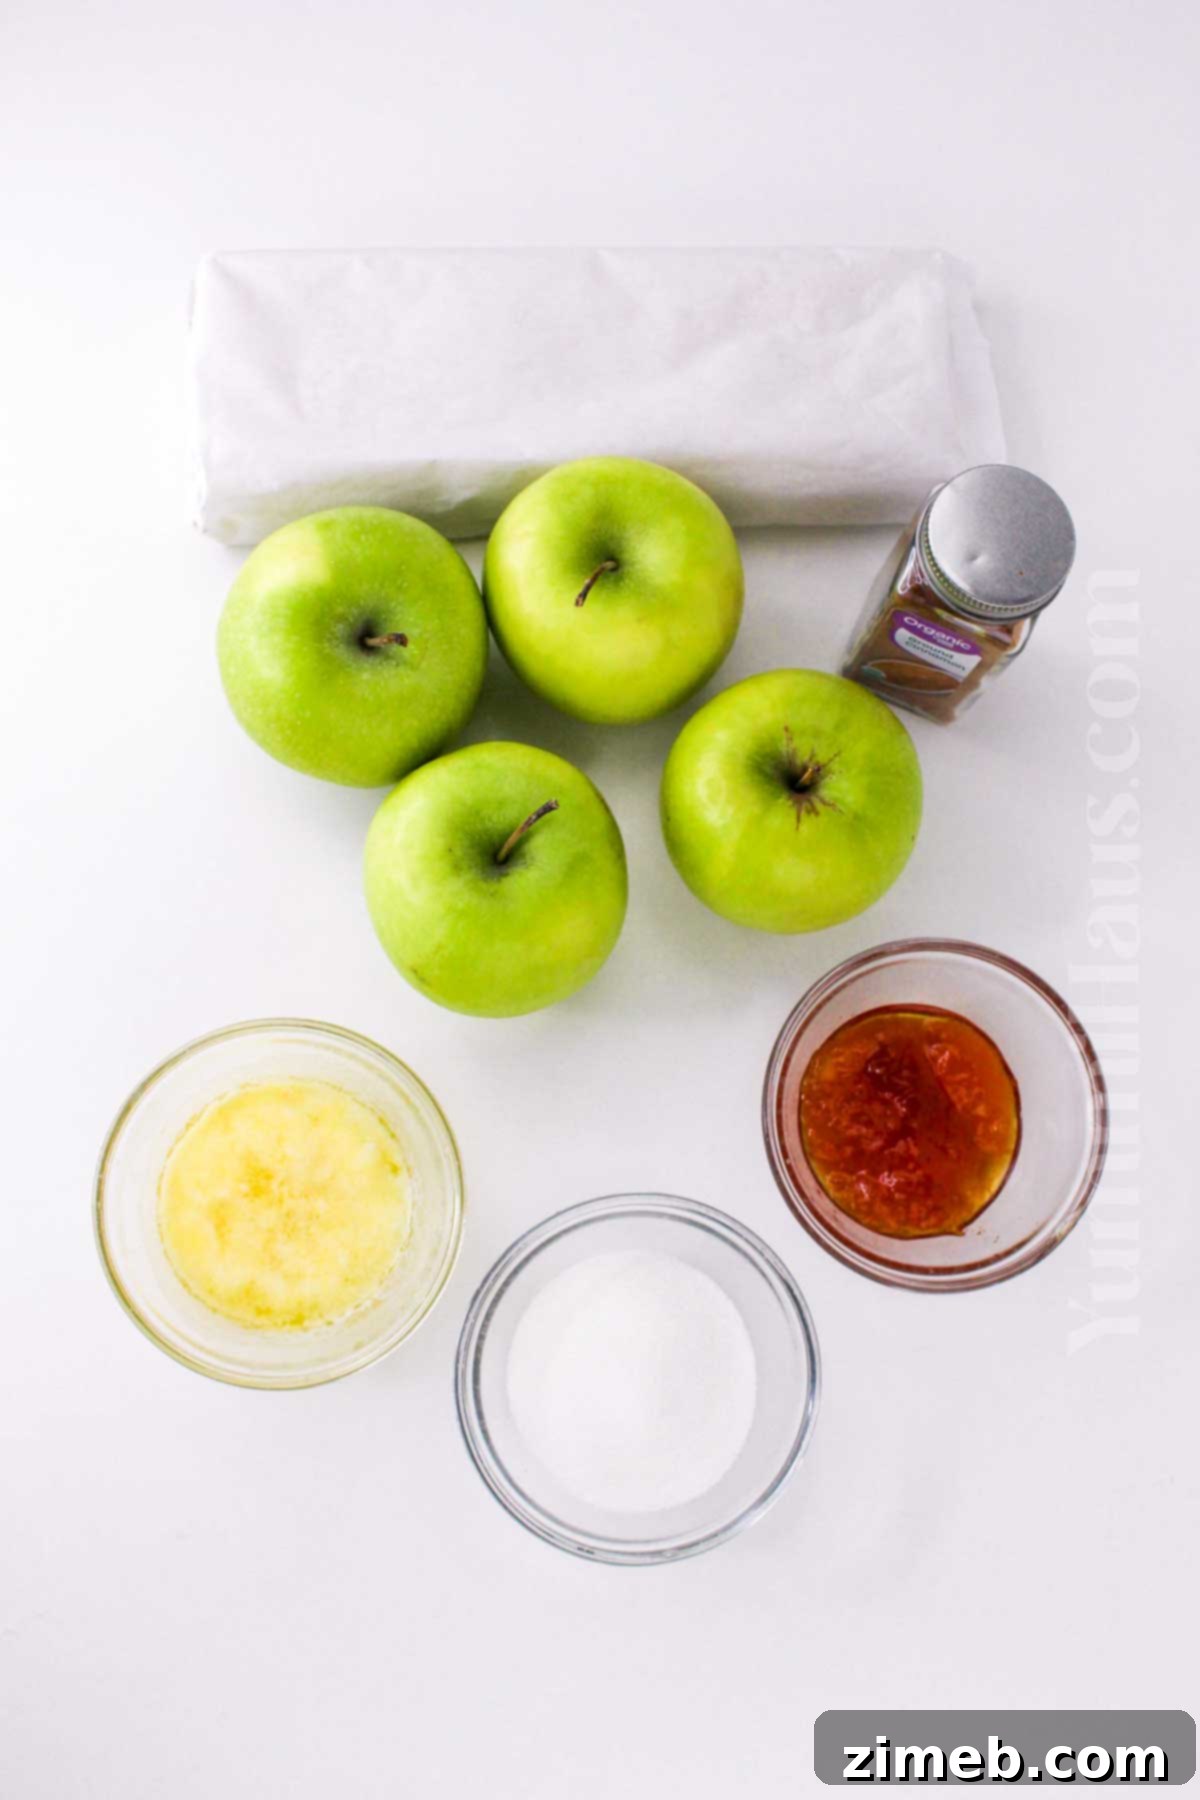
Crafting this incredible apple tart requires just a handful of accessible ingredients. Each plays a crucial role in building the layers of flavor and texture that make this dessert so irresistible:
- Puff Pastry Sheet: One sheet of thawed puff pastry is the foundation of this easy tart. You can opt for high-quality store-bought puff pastry for ultimate convenience (brands like Pepperidge Farm, Jus-Rol, or Dufour are excellent choices) or, if you’re feeling ambitious, use homemade puff pastry. Remember to thaw frozen puff pastry properly: either in the refrigerator overnight or on the kitchen counter at room temperature for about 40-50 minutes, until it’s pliable but still cold.
- Fresh Apples: You’ll need about two medium apples, peeled, cored, and thinly sliced. The choice of apple variety greatly influences the tart’s flavor and texture. Sweet apples, such as Gala or Fuji, will yield a sweeter tart, while a combination of sweet and tart varieties, like Granny Smith mixed with Honeycrisp, offers a more balanced flavor profile. Thin slices ensure even cooking and a tender bite.
- Unsalted Butter (Melted): Two tablespoons of melted unsalted butter will be brushed over the apples. Using unsalted butter gives you control over the overall sodium content and allows the pure buttery flavor to shine. Melting it ensures an even distribution over the apple slices, creating a rich foundation for caramelization.
- Granulated Sugar: A couple of tablespoons of granulated sugar are sprinkled over the apples before baking. This sugar combines with the apple juices and butter to create a delightful caramelized layer, enhancing the natural sweetness of the fruit.
- Ground Cinnamon: ½ teaspoon of ground cinnamon adds a warm, inviting “fall flavor” that beautifully highlights the apples. Cinnamon is a classic pairing with apples, bringing a comforting aroma and taste. If you’re a fan of other warm spices, a pinch of nutmeg or a blend of apple pie spice can also be used.
- Apricot Jam (Optional, for Glaze): One tablespoon of apricot jam is brushed over the hot tart after baking to create a beautiful, glossy finish and an extra touch of sweetness. While optional, it adds a professional sheen and a subtle fruity tang that complements the apples wonderfully.
Choosing the Best Apples for Your Apple Tart
The type of apple you choose can significantly impact the final texture and flavor of your tart. For the best results, select apples that hold their shape well during baking and offer a good balance of sweetness and tartness. Excellent choices for this recipe include:
Golden Delicious: These apples are naturally sweet with a mellow flavor and become wonderfully tender when baked. They provide a beautiful golden color.
Pink Lady: Known for their crisp texture and sweet-tart flavor, Pink Lady apples hold their shape well and add a vibrant taste.
Gala: Sweet, crisp, and with a mild flavor, Gala apples are a popular choice for baking as they soften nicely without becoming mushy.
Granny Smith: If you prefer a tart flavor to balance the sweetness of the pastry and glaze, Granny Smiths are an excellent option. They maintain their firm texture beautifully.
Fuji: Fuji apples are very sweet and exceptionally crisp. They contribute a lovely flavor and good structure to the tart.
Honeycrisp: A favorite for their juicy, super crisp texture and sweet flavor. Honeycrisp apples bake wonderfully and add a delightful crunch even when cooked through.
Consider using a mix of sweet and tart apples to achieve a more complex and nuanced flavor profile in your tart. This blend ensures a delightful eating experience that isn’t overly sweet or too sharp.
Essential Kitchen Equipment for Apple Tart Success
Gathering your tools before you start baking will make the process smooth and enjoyable. Here’s what you’ll need:
- Baking Sheet: Essential for baking the tart evenly. Lining it with parchment paper prevents sticking and makes cleanup a breeze.
- Parchment Paper: Crucial for preventing the puff pastry from sticking and for easy transfer.
- Sharp Knife: For peeling, coring, and thinly slicing the apples efficiently and safely.
- Cutting Board: Provides a stable surface for preparing your apples.
- Vegetable Peeler: For quickly and easily peeling the apples.
- Apple Corer (Optional): Makes coring apples quick and neat, though a knife can also be used.
- Rolling Pin: To gently roll out the puff pastry, ensuring an even thickness and smoothing out creases.
- Small Bowl: For melting butter and mixing sugar and cinnamon.
- Pastry Brush: Ideal for evenly applying melted butter and the apricot glaze.
- Measuring Spoons and Cups: For accurate measurement of ingredients.
Step-by-Step Guide: How to Make Puff Pastry Apple Tart
Creating this stunning apple tart is a surprisingly simple process. Follow these detailed steps to achieve a perfect, golden-brown dessert:
1: Prep Work – Get Ready to Bake
- Begin by preheating your oven to 400°F (200°C). This ensures the oven is at the correct temperature for the puff pastry to achieve its characteristic rise and flakiness.
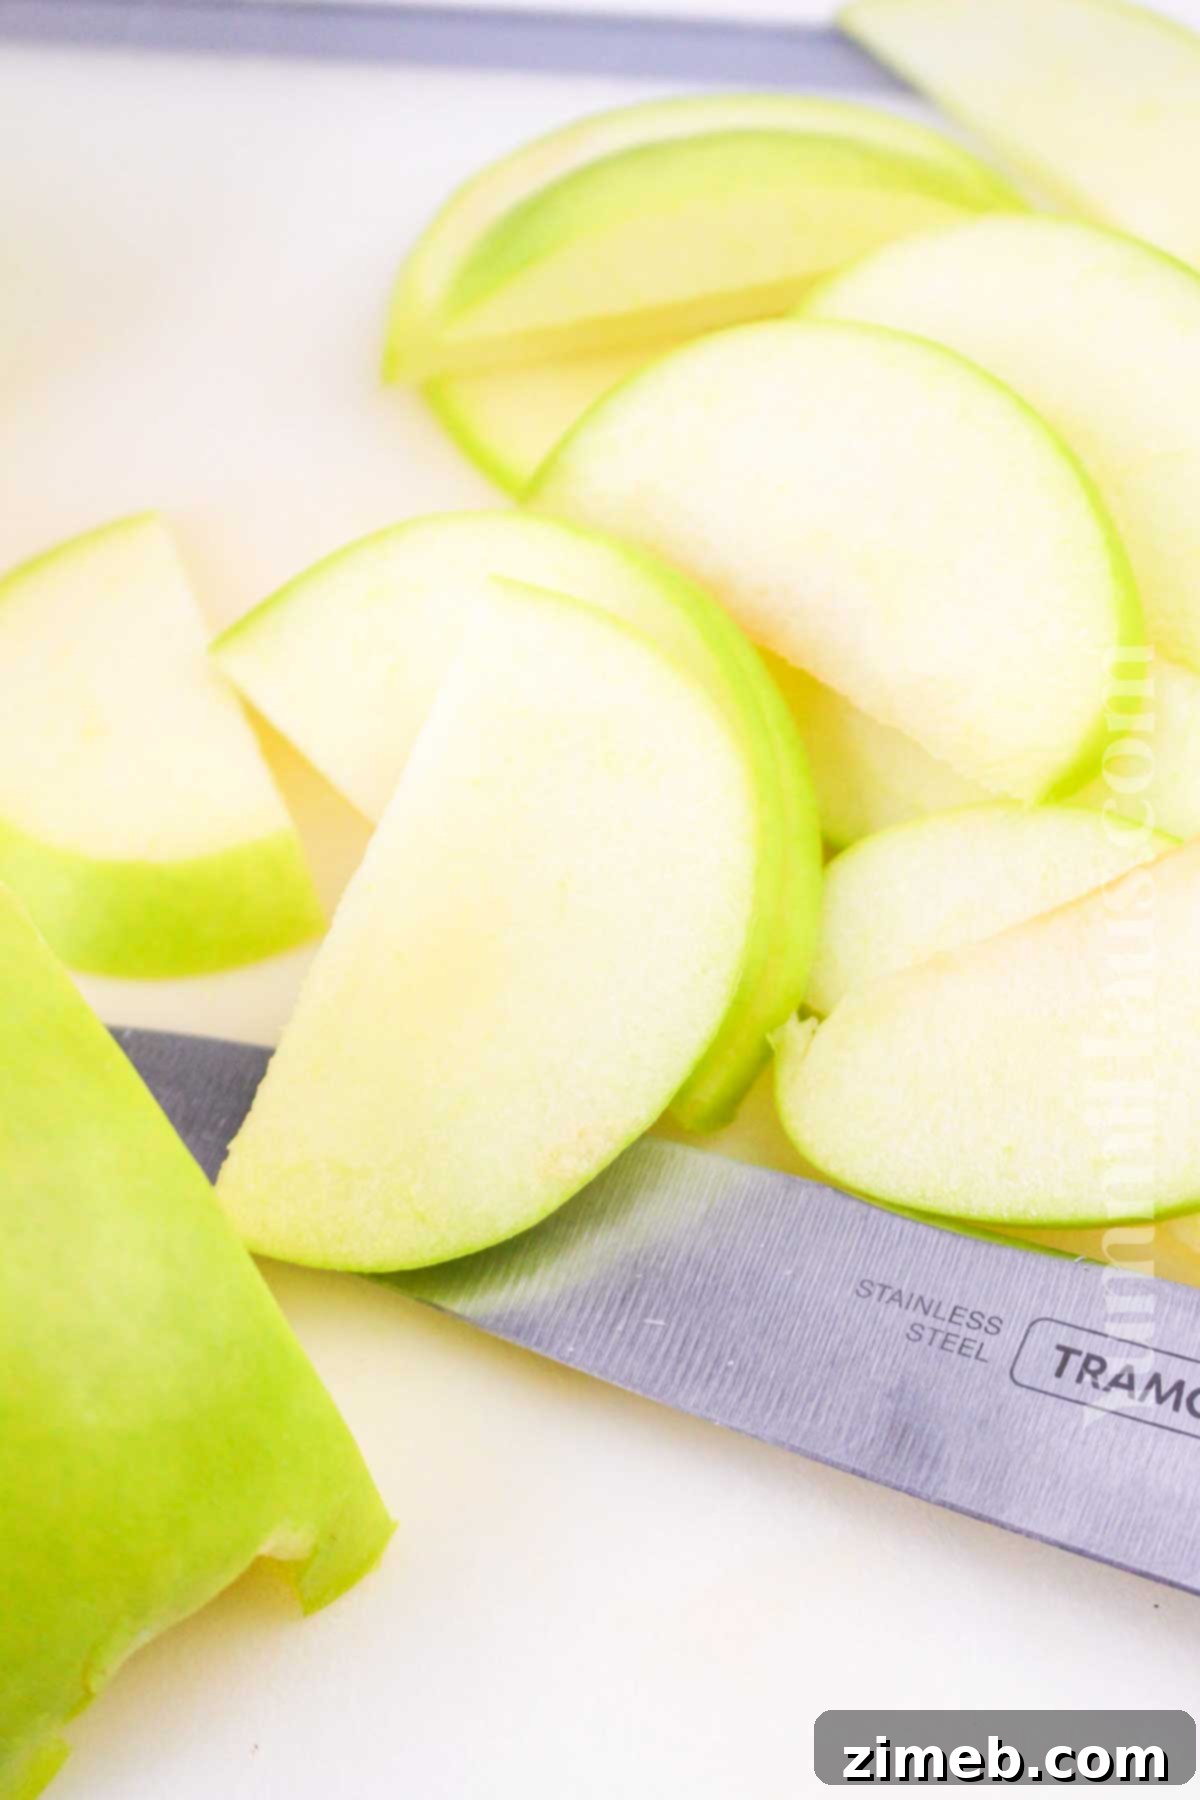
- Carefully peel your apples, then core them, and finally slice them thinly. Aim for slices that are about 1/4 inch thick to ensure they cook evenly and become tender. If you’re preparing the apples ahead of time, toss the sliced apples in a small amount of lemon juice. This simple trick prevents them from oxidizing and turning brown, preserving their fresh appearance.
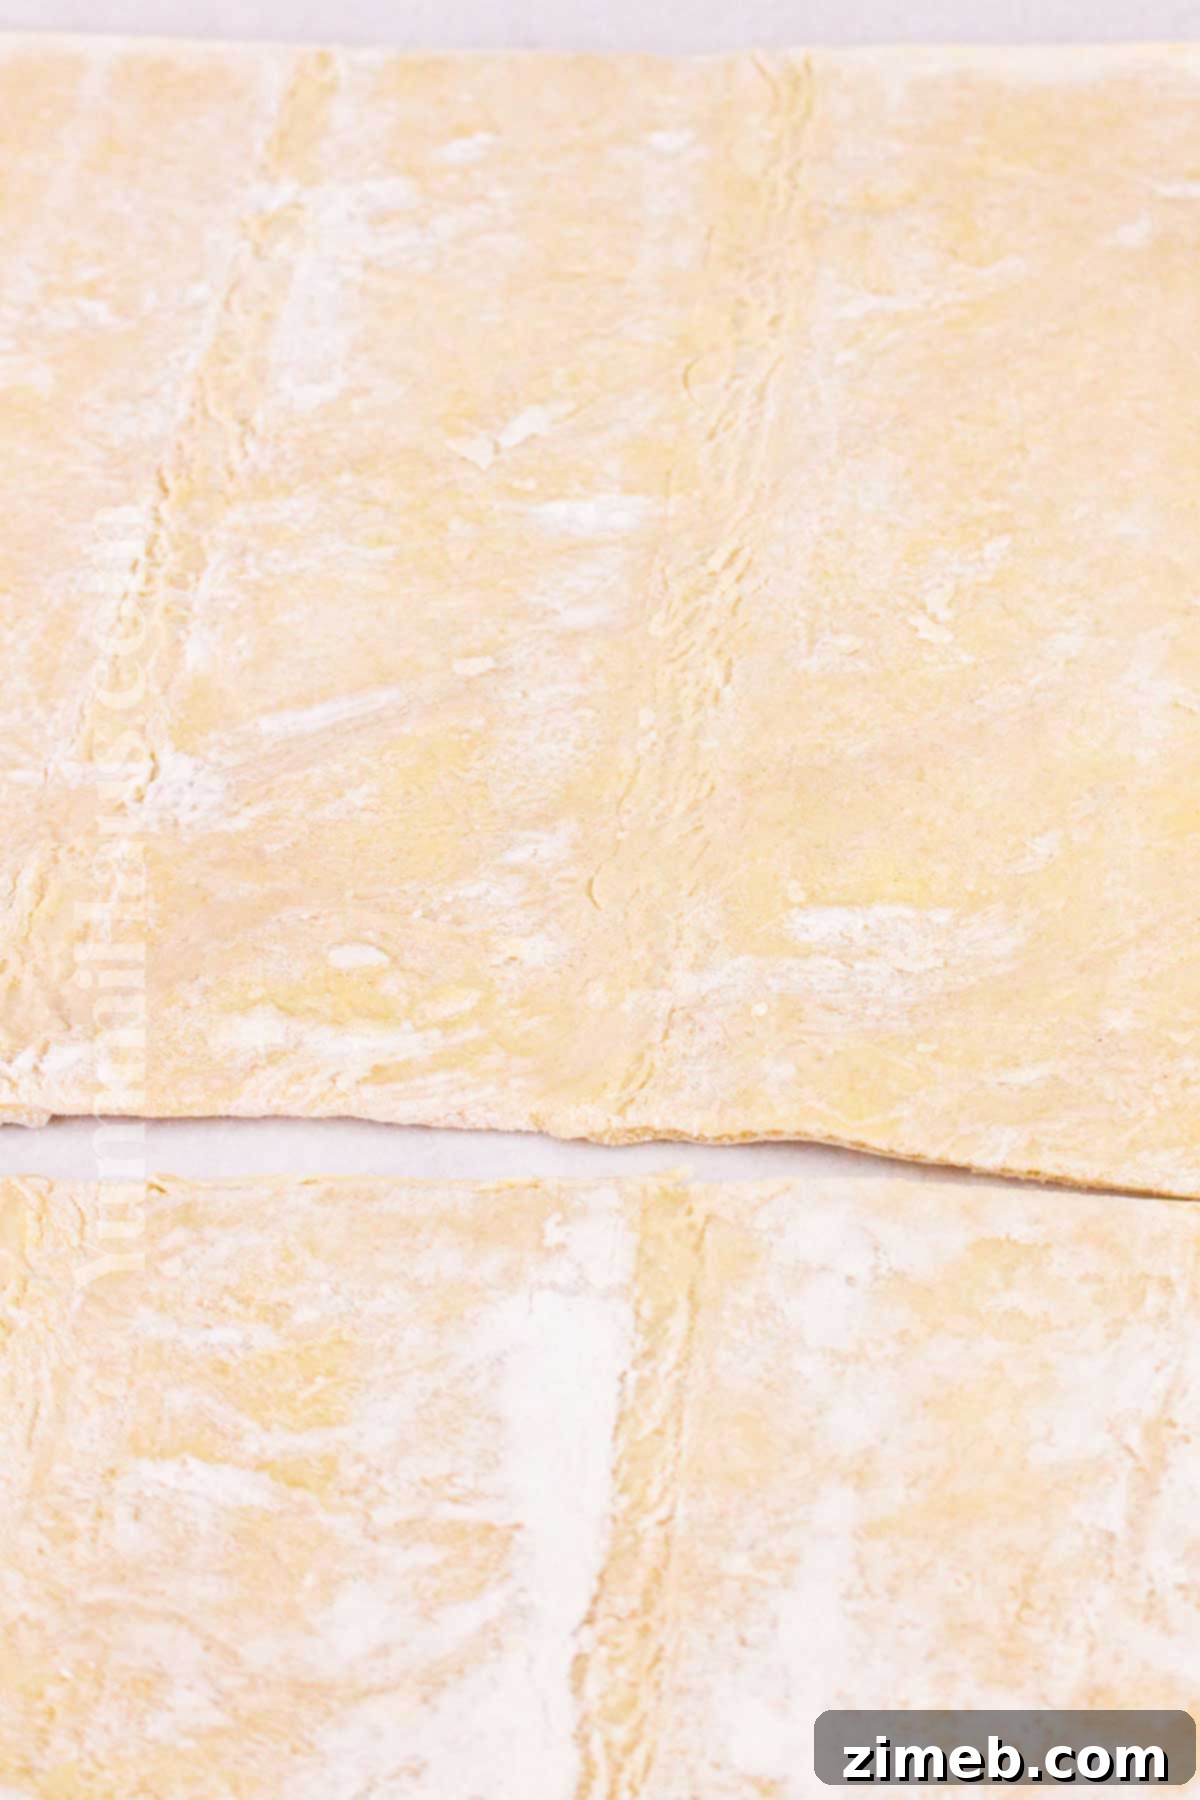
- Unroll your thawed puff pastry sheet onto a piece of parchment paper. The parchment paper is crucial for preventing the pastry from sticking to your work surface and for easy transfer to the baking sheet.
- Lightly flour your working surface if needed. Using a rolling pin, gently roll out the puff pastry crust. This helps to smooth out any creases that may have formed during thawing and creates an even base for your tart. Be careful not to overwork the pastry, as this can inhibit its flakiness.
- Once rolled, carefully transfer the pastry, still on its parchment paper, to your prepared baking sheet. This ensures the tart can be easily moved into and out of the oven.
2: Artfully Arrange the Apples
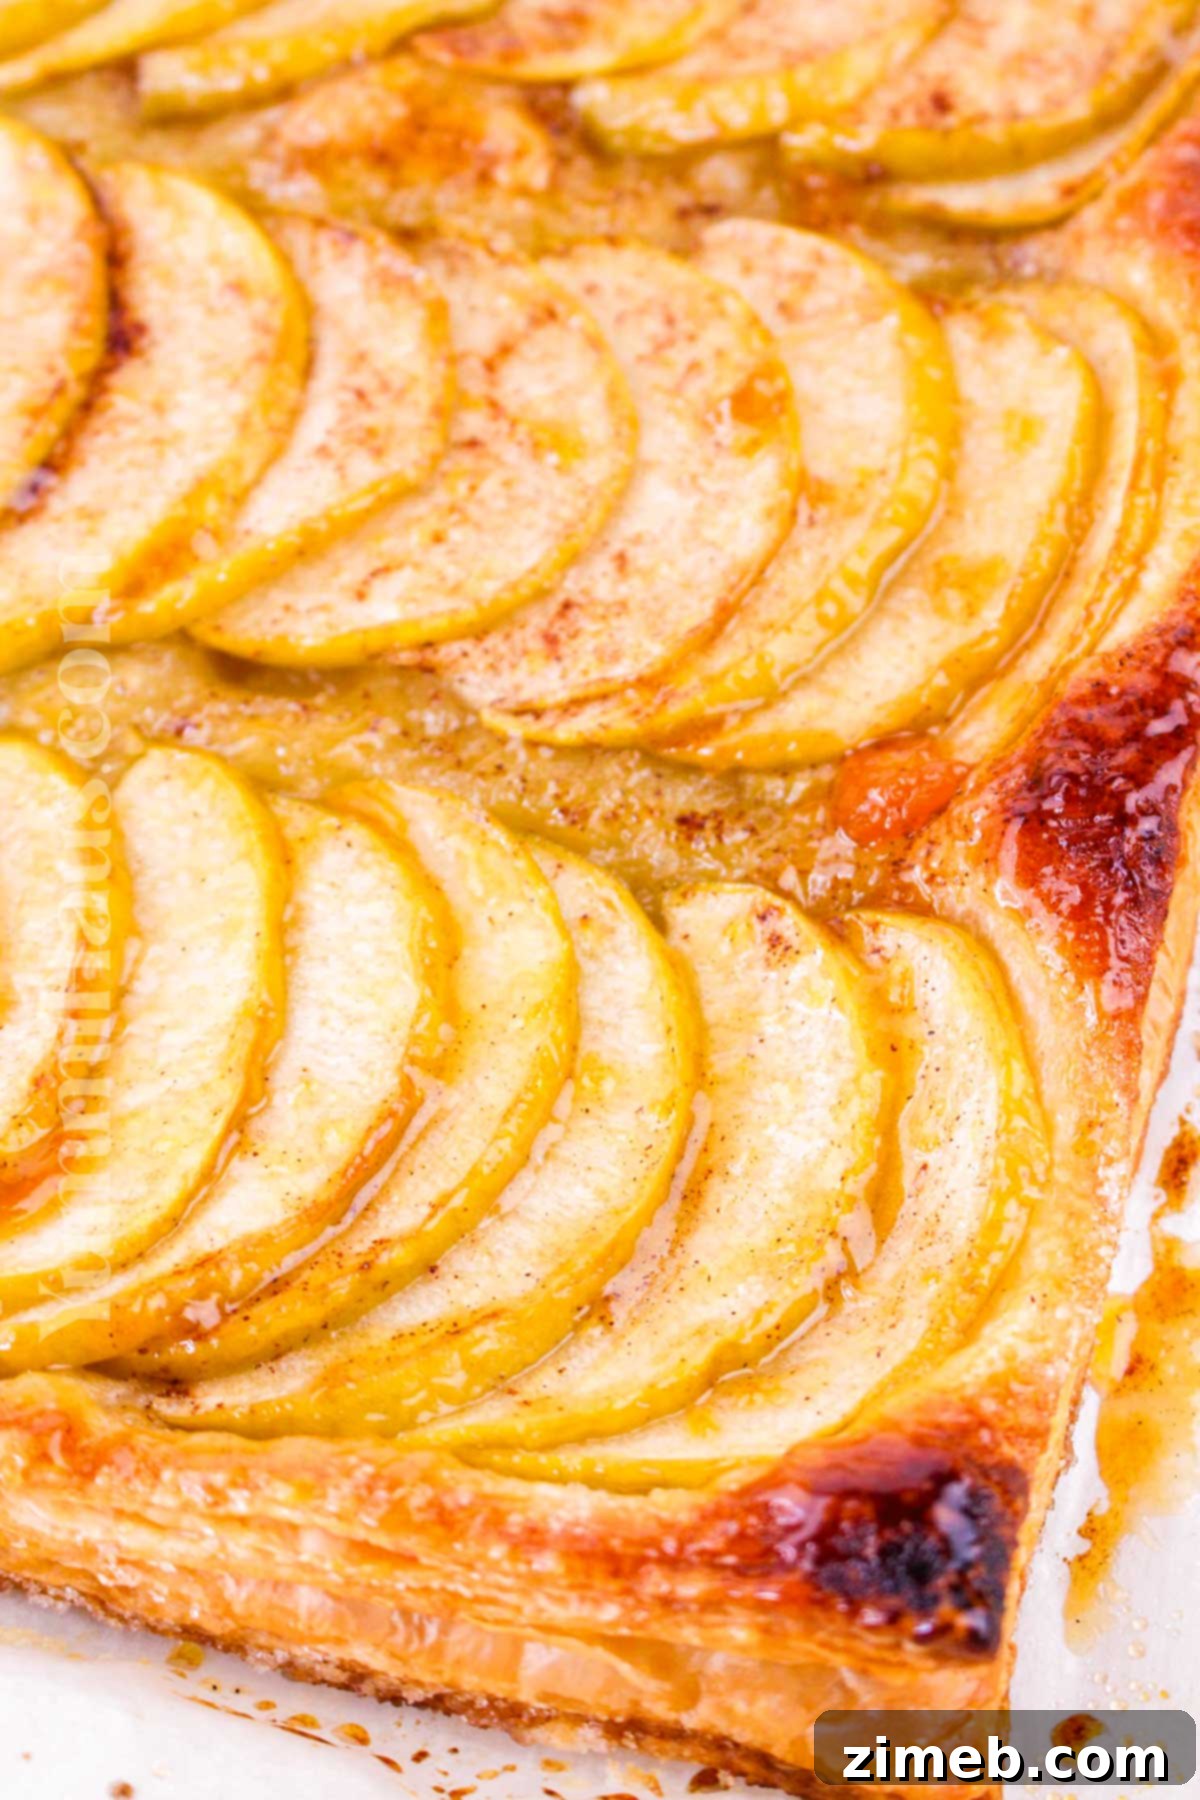
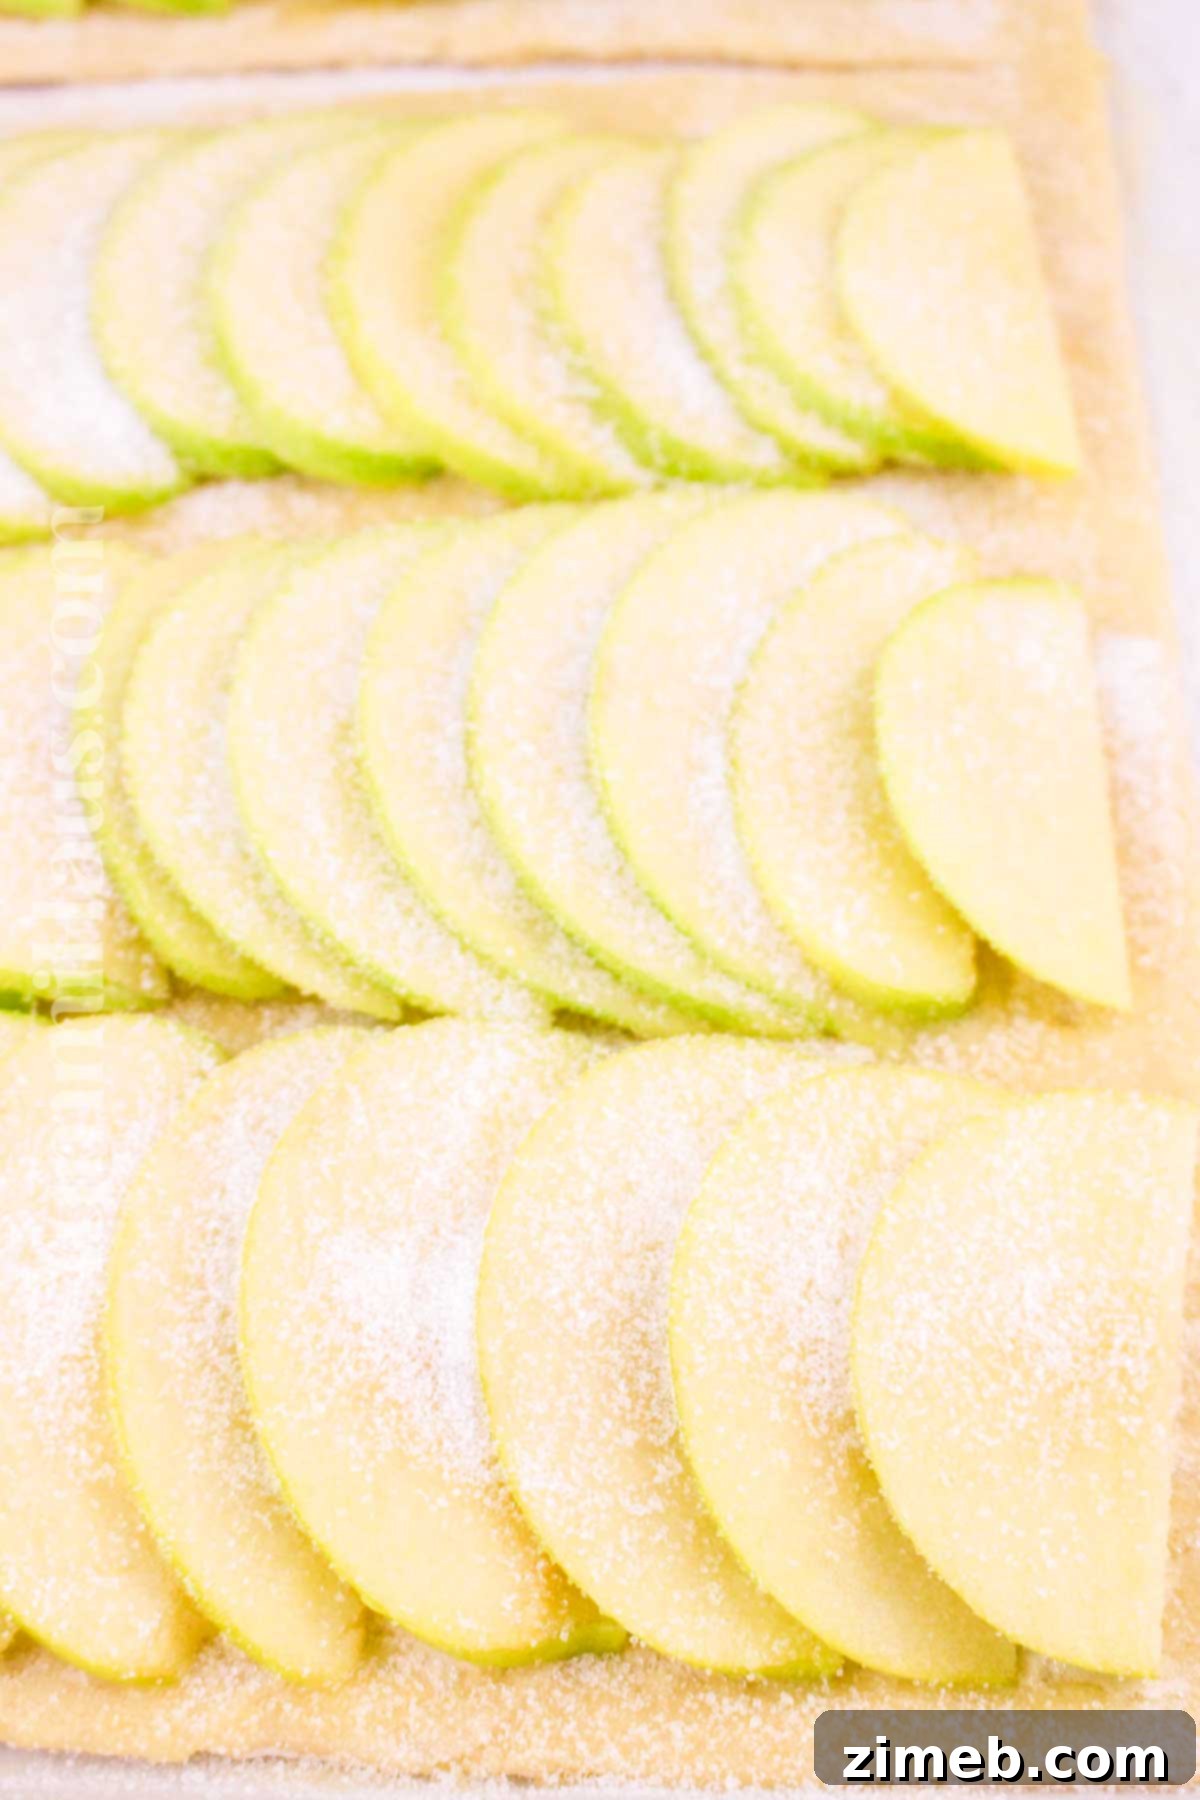
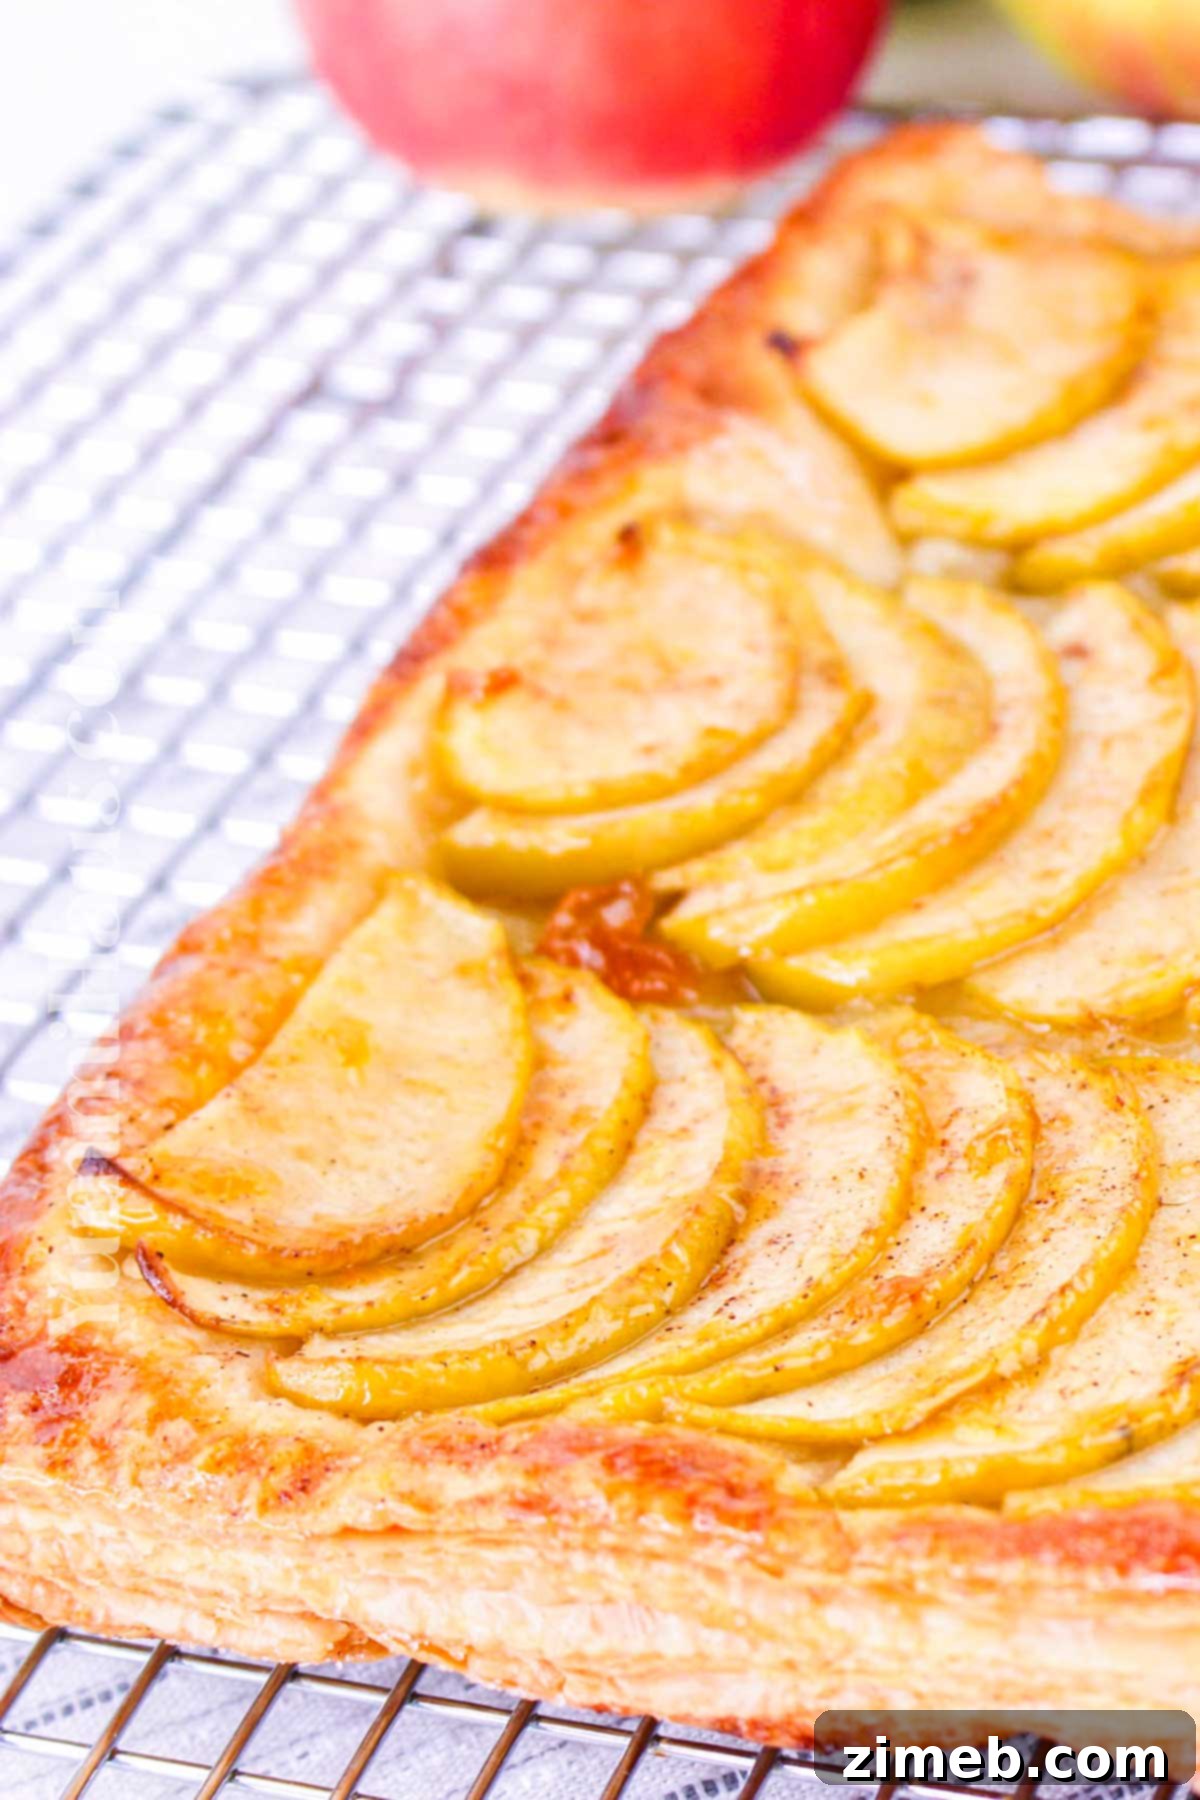
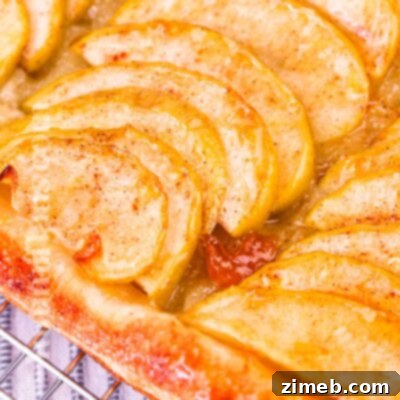
Now for the artistic part! Arrange the thinly sliced apple pieces into neat, overlapping rows across the puff pastry. Think of it like fanning out a deck of cards. This overlapping technique not only looks beautiful but also ensures an even distribution of apples in every bite. Most importantly, remember to leave a clear border of about 1 inch around the edges of the pastry. This border will puff up to create a lovely, golden crust, holding in the delicious apple filling and preventing any juices from bubbling over and burning.
3: Enhance with Cinnamon Sugar and Butter
- With the apples arranged, gently brush the melted butter over all the apple slices. This buttery layer will help the sugar and cinnamon adhere, creating a richer flavor and contributing to the beautiful caramelization during baking.
- Immediately after brushing with butter, generously sprinkle the granulated sugar and ground cinnamon evenly over the buttered apples. This mixture will infuse the apples with warmth and sweetness, transforming them into a tender, flavorful filling. If you prefer not to melt the butter, you can also dot small cubes of cold unsalted butter here and there over the apple mixture. However, using melted butter offers a more consistent and uniform distribution of that rich, buttery flavor throughout the tart.
4: Bake to Golden Perfection
- Place your assembled apple tart into the preheated oven and bake for 25-30 minutes. The baking time may vary slightly depending on your oven, so keep an eye on it. You’ll know it’s ready when the puff pastry has risen beautifully, turned a deep golden brown, and the apples appear tender when pierced with a fork.
- As the tart bakes, a magical transformation occurs. The heat from the oven, combined with the butter, cinnamon, and sugar, works to caramelize the apples. This process deepens their natural sweetness and creates a sticky, flavorful syrup that coats each slice, making them incredibly delicious.
5: Apply the Apricot Glaze (Optional but Recommended)
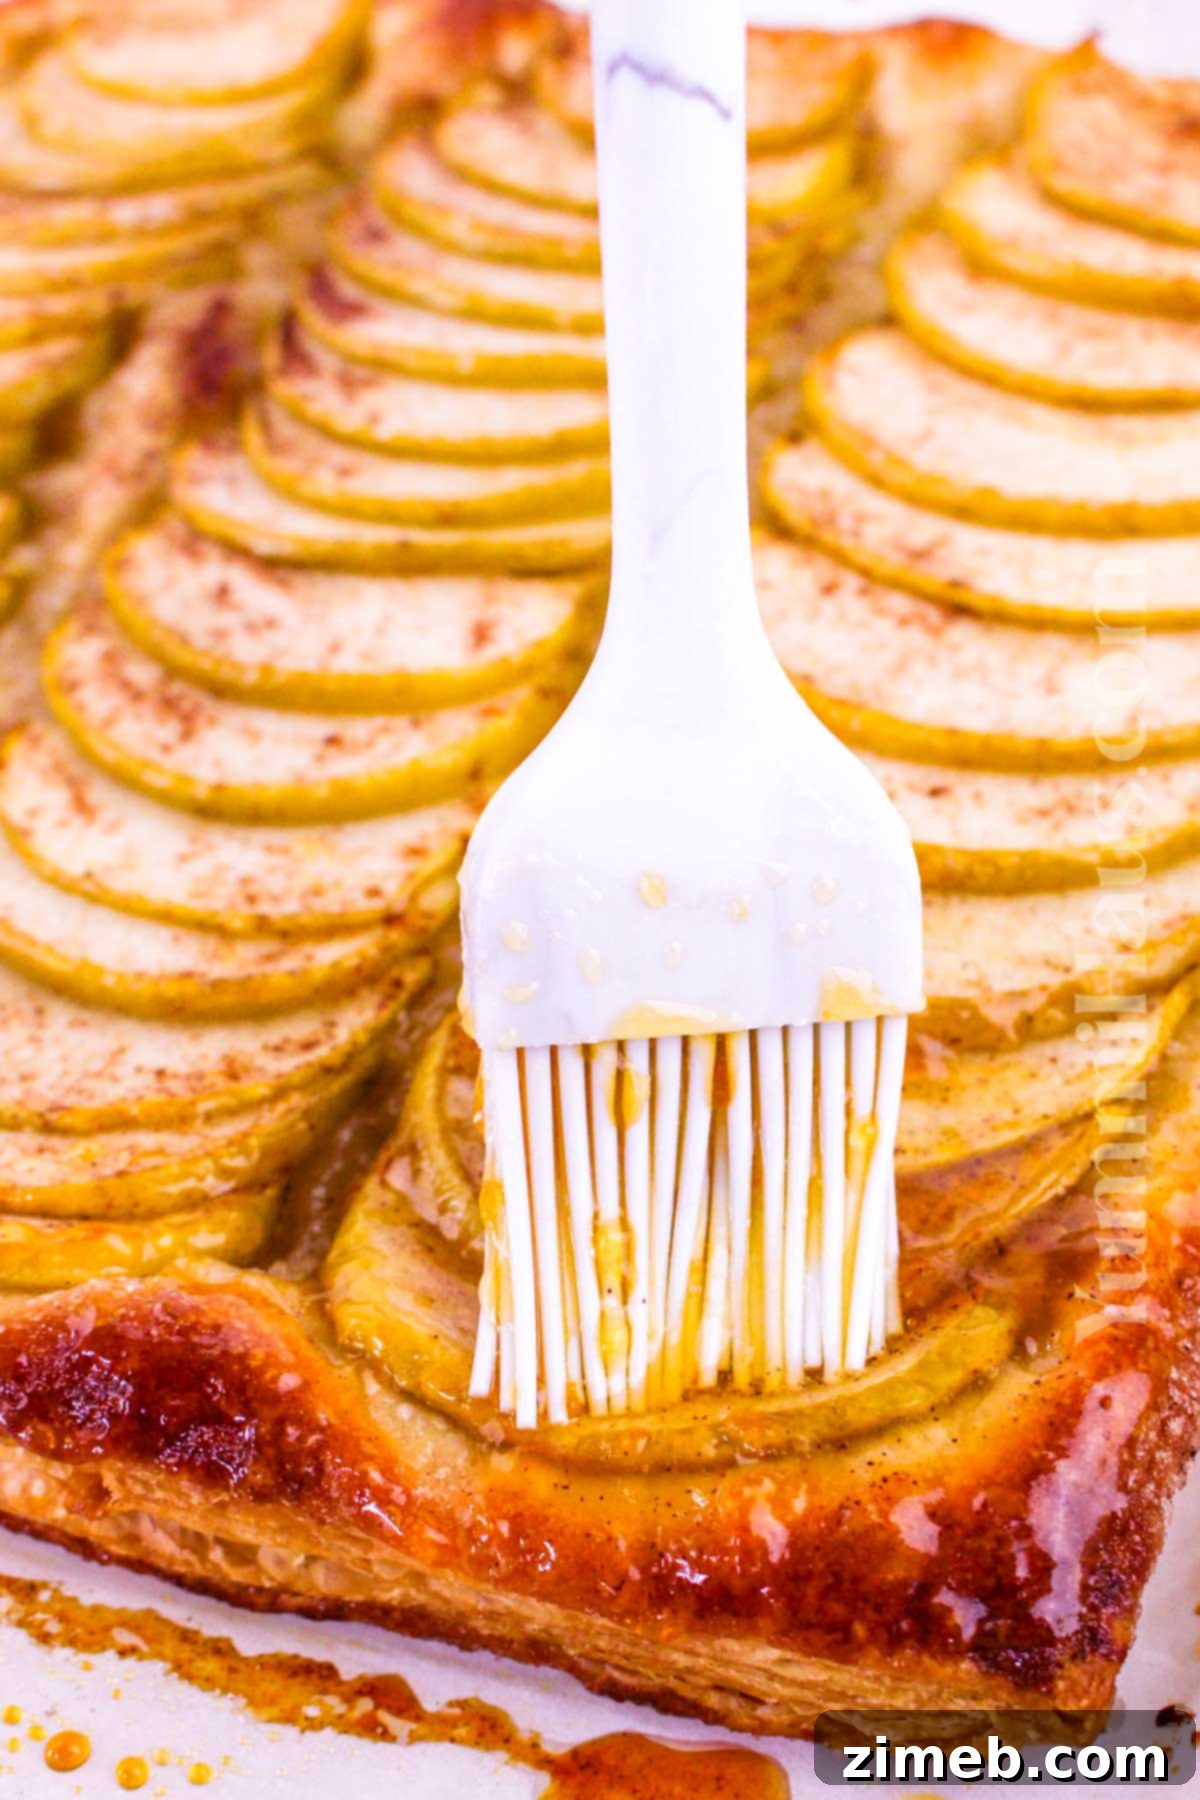
If you’re using the apricot glaze, this step happens immediately after baking. As soon as you remove the tart from the oven, while it’s still piping hot, gently brush the apricot jam over the top of the apples and the pastry edges. The residual heat will melt the jam slightly, allowing it to spread easily and create a gorgeous, shiny, and slightly sticky gloss. This glaze not only adds an extra layer of subtle fruit flavor but also gives the tart a professional, appetizing finish.
6: Cool, Slice, and Savor
- While tempting to dive right in, allow the tart to cool slightly on the baking sheet for at least 10-15 minutes before attempting to cut and serve. This cooling period allows the tart to set, making it easier to slice neatly without the filling falling apart.
- Serve your exquisite apple tart warm for the best experience. It’s truly heavenly on its own, but you can elevate it further with popular accompaniments. A scoop of creamy vanilla ice cream (or your favorite flavor) provides a delightful contrast in temperature and texture. A dollop of freshly whipped cream adds a luscious, airy touch. For an extra decadent treat, a drizzle of warm caramel sauce pairs exceptionally well with the apple and cinnamon flavors.
- If you prefer to keep things elegantly simple, a light dusting of powdered sugar over the cooled tart is always a beautiful and classic finishing touch.
Storing Your Apple Tart for Maximum Freshness
While this puff pastry apple tart is undeniably best enjoyed fresh on the day it’s baked, you can absolutely save any delicious leftovers. Here’s how to ensure they remain as tasty as possible:
Storing Leftovers: Any remaining apple tart should be stored in an airtight container. This prevents the pastry from drying out and the apples from deteriorating. Place the airtight container in the refrigerator, where the tart will stay fresh for 2-3 days. Reheat gently in a warm oven for a few minutes to crisp up the pastry before serving again, or enjoy it chilled.
Freezing Cooked Tart: It’s generally not recommended to freeze a cooked puff pastry apple tart. The delicate, flaky texture of the puff pastry can become soggy and lose its crispness once thawed, detracting from the overall enjoyment. It’s best to enjoy cooked tarts within a few days.
Freezing Unbaked Tart for Later: If you want to prepare ahead, you can freeze an unbaked, assembled apple tart! Simply arrange the apples on the pastry as instructed, add the butter, sugar, and cinnamon mixture, but do not bake. Wrap the entire tart tightly with plastic wrap, then an additional layer of aluminum foil to prevent freezer burn. It can be stored in the freezer for 2-3 months. When ready to bake, there’s no need to thaw; simply remove from the freezer, unwrap, and bake directly from frozen at the specified temperature (you may need to add an extra 5-10 minutes to the baking time).
Creative Variations & Delicious Substitutions
This Easy Puff Pastry Apple Tart recipe is wonderfully versatile, allowing for many creative twists and substitutions to suit your taste or what you have on hand:
- Apricot Glaze Alternatives: While apricot jam creates a classic, beautiful glaze, you can easily substitute it with other fruit preserves. Peach or orange marmalade would offer a similar sweetness and sheen. For a slightly different flavor, you can also gently melt some apple jelly or a simple sugar syrup.
- Customizing the Apple Mixture: The recipe calls for sprinkling the sugar and cinnamon mixture on top of the apples. For a more integrated flavor, you can combine the thinly sliced apples with the granulated sugar, ground cinnamon, and a squeeze of fresh lemon juice in a bowl and toss them gently before arranging them on the pastry. If you’re looking for an even richer apple flavor and a slightly softer base, spread a thin layer of homemade applesauce or apple butter on the bottom of the puff pastry crust before adding the sliced apples.
- Other Fruit Jams or Preserves: Don’t limit yourself to apricot! Instead of apricot jam for the glaze or even as a thin layer under the apples, consider fig preserves for an earthy sweetness, raspberry jam for a vibrant tartness, or even cherry preserves for a darker, richer fruit note.
- Add More Flavor Dimensions: Infuse your tart with additional aromatic notes. A splash of vanilla extract can be added to the melted butter or even brushed on the apples before baking. For a nutty aroma and subtle crunch, sprinkle toasted, slivered almonds over the apples before baking, or add a few drops of almond extract to the butter mixture.
- French Apple Tart Style: For an adult twist reminiscent of a classic French apple tart, “booze it up” by adding a tablespoon of bourbon, rum, or apple brandy (like Calvados) to your apricot glaze or even lightly spritzing over the apple filling before baking. The alcohol will cook off, leaving behind a sophisticated depth of flavor.
- Brown Sugar Bliss: To introduce a subtle caramel note and a slightly deeper flavor, substitute some or all of the granulated sugar with light or dark brown sugar in your cinnamon-sugar mixture. This will also contribute to a richer, darker caramelization of the apples.
- Individual Apple Tartlets: Create adorable portion-sized desserts by cutting the puff pastry sheet into smaller squares or circles before arranging the apples. Squares measuring about 4.5×4.5 inches are a good size for individual apple tartlets. Adjust baking time slightly for smaller tarts.
Crafting Homemade Puff Pastry Dough (For the Ambitious Baker)
While store-bought puff pastry makes this recipe incredibly easy, the ambitious baker might enjoy the satisfaction of making puff pastry from scratch. It’s a labor of love, but the result is unparalleled flakiness and flavor. This is my go-to recipe for both sweet and savory applications:
- What truly makes puff pastry exceptional is the generous amount of butter. Full-fat puff pastry offers the best flavor and flakiness, far superior to many store-bought varieties that often use oil or shortening as substitutes.
- For the dough, you will need 1 and 1/3 cups of all-purpose flour, 1 teaspoon of granulated sugar, a pinch of salt, 1.5 sticks (12 tablespoons) of unsalted cold butter (cut into small cubes), and cold water.
- In a large bowl, combine the flour, sugar, and salt. Add the cold butter cubes and, using your fingertips or a pastry blender, work the butter into the flour mixture until it’s just warmed by your hands, but still in chunky, pea-sized pieces. It’s crucial that the butter remains cold and distinct.
- Begin adding 1 tablespoon of ice water at a time, gently combining with your hands until the dough just comes together and is hydrated, but the butter pieces are still visible and chunky. Avoid overmixing.
- Transfer the shaggy dough to a lightly floured surface. Press the dough down gently to form a 1-inch thick rectangle. Now, perform the first “turn”: fold the dough like a letter or a towel into three sections (fold one-third over the middle, then the other third over that). Wrap the folded dough tightly in plastic wrap and chill it in the fridge overnight. This chilling period allows the gluten to relax and the butter to firm up.
- The next day, remove the dough from the fridge. On a lightly floured surface, roll it out again to about 1/2 inch thick, keeping a rectangular shape. Perform another “turn” by folding it into thirds, then re-wrap and chill for at least 2 hours, or preferably overnight again.
- After the second chilling and turn, your homemade puff pastry dough is ready to be used for your apple tart or any other delicious creation.
Expert Tips for the Best Puff Pastry Apple Tart
Achieving a bakery-worthy apple tart is easy with these insider tips and tricks:
- The Golden Touch with Egg Wash: While optional, an egg wash (one egg beaten with a tablespoon of water or milk) brushed over the exposed puff pastry edges (the border around the apples) before baking will give your pie crust a beautiful, deep golden-brown color and a lovely sheen. Apply it lightly and carefully to avoid dripping onto the apples.
- Apple Slicing Precision: For ideal results, use medium to smaller apples. After coring them, cut each apple in half, then proceed to thinly slice each half into uniform pieces. Aim for slices that are approximately 1/4 inch thick. Consistency in thickness is key to ensuring all apple slices cook through at the same rate, resulting in a perfectly tender, not mushy or undercooked, filling.
- Perfecting Puff Pastry Thawing: Thawing puff pastry takes patience. In the refrigerator, a sheet can take up to 3 hours to fully defrost, so plan accordingly. For a faster method, you can leave it at room temperature for about 40-50 minutes, or use the defrost setting on your microwave for short bursts, being careful not to cook it. The pastry is ready when it unfolds easily without cracking or tearing, but still feels cold to the touch. It should be pliable, not sticky or overly soft.
- Preventing Soggy Crust and Burnt Edges: The apple juices naturally release during baking. To prevent these juices from running off the edges, making the crust soggy or potentially burning, always leave about a 1-inch border around the perimeter of the puff pastry when arranging the apple slices. You can also lightly lift and crimp the edges of the pastry to create a slightly raised barrier. Chilling the assembled tart for 15-30 minutes before baking can also help firm up the butter in the pastry, making it less prone to leaking.
- Even Baking: For uniform browning and cooking, especially if your oven has hot spots, consider rotating your baking sheet halfway through the baking time. This ensures all sides of the tart receive equal heat exposure.
- Don’t Overload: While it’s tempting to pile on the apples, resist the urge to overload the tart. Too many apples can release excessive moisture, leading to a soggy bottom crust and a longer baking time. A single, neat layer with slight overlapping is ideal.
- Clean Slicing: Once the tart has cooled slightly, use a sharp chef’s knife or even a pizza cutter to slice it into neat portions. The pizza cutter can be particularly effective for clean cuts through the crispy pastry and tender apples.
Frequently Asked Questions About Apple Tarts
Here are answers to some of the most popular questions about making delicious apple tarts, especially with puff pastry:
What’s the Difference Between Apple Pie and an Apple Puff Pastry Tart?
The primary distinction between an apple pie and an apple puff pastry tart lies in their crust structure and overall presentation. An apple pie typically features both a bottom crust (which can range from a buttery shortcrust to a flaky pastry) and a full top crust, often latticed or solid, completely encasing the apple filling. In contrast, an apple tart recipe, especially one using puff pastry, usually calls for only a bottom crust. Tarts are often open-faced, showcasing the beautifully arranged fruit. This open design not only makes the apple puff pastry tart visually stunning but also generally quicker and easier to prepare than a traditional apple pie, as it eliminates the need for a complex top crust.
Is Blind Baking Necessary for a Puff Pastry Apple Tart?
For this specific apple tart recipe, there’s no need to blind-bake the puff pastry first. The thinness of the apple slices and the relatively quick baking time allow both the pastry and the apple mixture to cook through perfectly together. The puff pastry will crisp up and become beautifully golden brown without pre-baking. Blind baking is typically reserved for tarts with very wet fillings or those that require a crisp, fully cooked crust to stand up to an uncooked filling, which isn’t the case here.
How Can I Prevent My Puff Pastry Tart from Becoming Soggy?
A soggy bottom crust is a common concern with fruit tarts, but there are several effective strategies to keep your puff pastry tart wonderfully crisp:
- Create a Border: As instructed in the recipe, always leave at least a 1-inch border around the edges when arranging your apple slices. This prevents excess apple juices from bubbling over and seeping under the crust, which can lead to sogginess and even burning of the pastry edges.
- Thin Apple Slices: Ensure your apple slices are consistently thin (about 1/4 inch). Thinner slices cook faster and release less moisture during baking, reducing the risk of a wet filling.
- Chill Before Baking: After assembling the tart, chill it in the refrigerator for 15-30 minutes before placing it in the oven. This step helps to firm up the butter in the puff pastry, creating a stronger structure that is more resistant to moisture from the apples and promotes a better rise and flakiness.
- Consider a Barrier (Optional): For extra insurance, you can sprinkle a very thin layer of fine breadcrumbs, ground almonds, or crushed cornflakes over the puff pastry before arranging the apples. This creates an absorbent barrier that can soak up any excess moisture released by the fruit, further safeguarding against a soggy bottom.
What Are the Best Ways to Utilize Puff Pastry?
Puff pastry is an incredibly versatile ingredient, making it a fantastic staple to keep in your freezer. Its ability to puff up into countless flaky layers makes it ideal for both sweet and savory dishes. Beyond this amazing apple tart, here are some of the best ways to use puff pastry:
- Sweet Desserts: Beyond fruit tarts, you can create elegant palmiers (elephant ears), fruit turnovers, individual pastry cups for custards, simple fruit streusels, chocolate croissants, or even sweet twists with cinnamon sugar.
- Savory Appetizers and Main Courses: Puff pastry shines in savory applications. Think about making quick quiches, savory hand pies, sausage rolls, cheese straws, vol-au-vents with creamy fillings, beef wellington, or a delightful spanakopita. It can also form the top crust of a chicken pot pie or a creamy fish pie.
- Quick Bites: For fast snacks, cut puff pastry into strips, twist them with Parmesan cheese and herbs, and bake for crunchy cheese twists. Or simply cut into squares, top with a spoonful of pesto and a cherry tomato, and bake for instant canapés.
Its ease of use and impressive results make puff pastry a true kitchen hero!
If you’ve fallen in love with this cozy and comforting apple tart, you’re sure to enjoy these other delightful fall-inspired favorites too. Click each link below to discover easy, printable recipes that bring warmth and flavor to your table!
Check out this recipe
Check out this recipe
Check out this recipe
Check out this recipe
Check out this recipe
More Great Apple Treats to Explore
Apple and Blueberry Crumble
Apple Butter Cruffins
Mini Apple Pies
Apple Cobbler Cake
CONNECT WITH YUMMI HAUS!
Be sure to follow me on my social media, so you never miss a post!
Substack, FB, Pinterest, IG, Email Subscription
Rate this Recipe
Easy Puff Pastry Apple Tart
Ingredients
- 1 sheet puff pastry thawed
- 2 apples – medium – peeled, cored, and thinly sliced
- 2 tablespoons butter melted – unsalted
- 2 tablespoons granulated sugar
- ½ teaspoon ground cinnamon
- 1 tablespoon apricot jam optional, for glaze
Instructions
-
Preheat the oven to 400 degrees Fahrenheit (200°C).
-
Prepare the apples by peeling, coring, and slicing them thinly (about 1/4 inch thick).
-
Unroll the thawed puff pastry sheet onto a piece of parchment paper. Use a rolling pin to gently smooth out any creases and ensure an even thickness.
-
Transfer the puff pastry on the parchment paper to a baking sheet.
-
Arrange the thinly sliced apples into neat, overlapping rows on the pastry, leaving a 1-inch border around the edges for the crust.
-
Brush the arranged apples with the melted unsalted butter, then sprinkle evenly with granulated sugar and ground cinnamon.
-
Bake for 25-30 minutes, or until the puff pastry is golden brown and the apples are tender and caramelized.
-
If using, immediately brush the apricot jam over the top of the hot tart after removing it from the oven to create a glossy glaze.
-
Allow the tart to cool slightly on the baking sheet before slicing and serving warm.
Nutrition
Nutritional information for the recipe is provided as a courtesy and is approximate. Please double-check with your own dietary calculator for the best accuracy. We at Yummi Haus cannot guarantee the accuracy of the nutritional information given for any recipe on this site.