
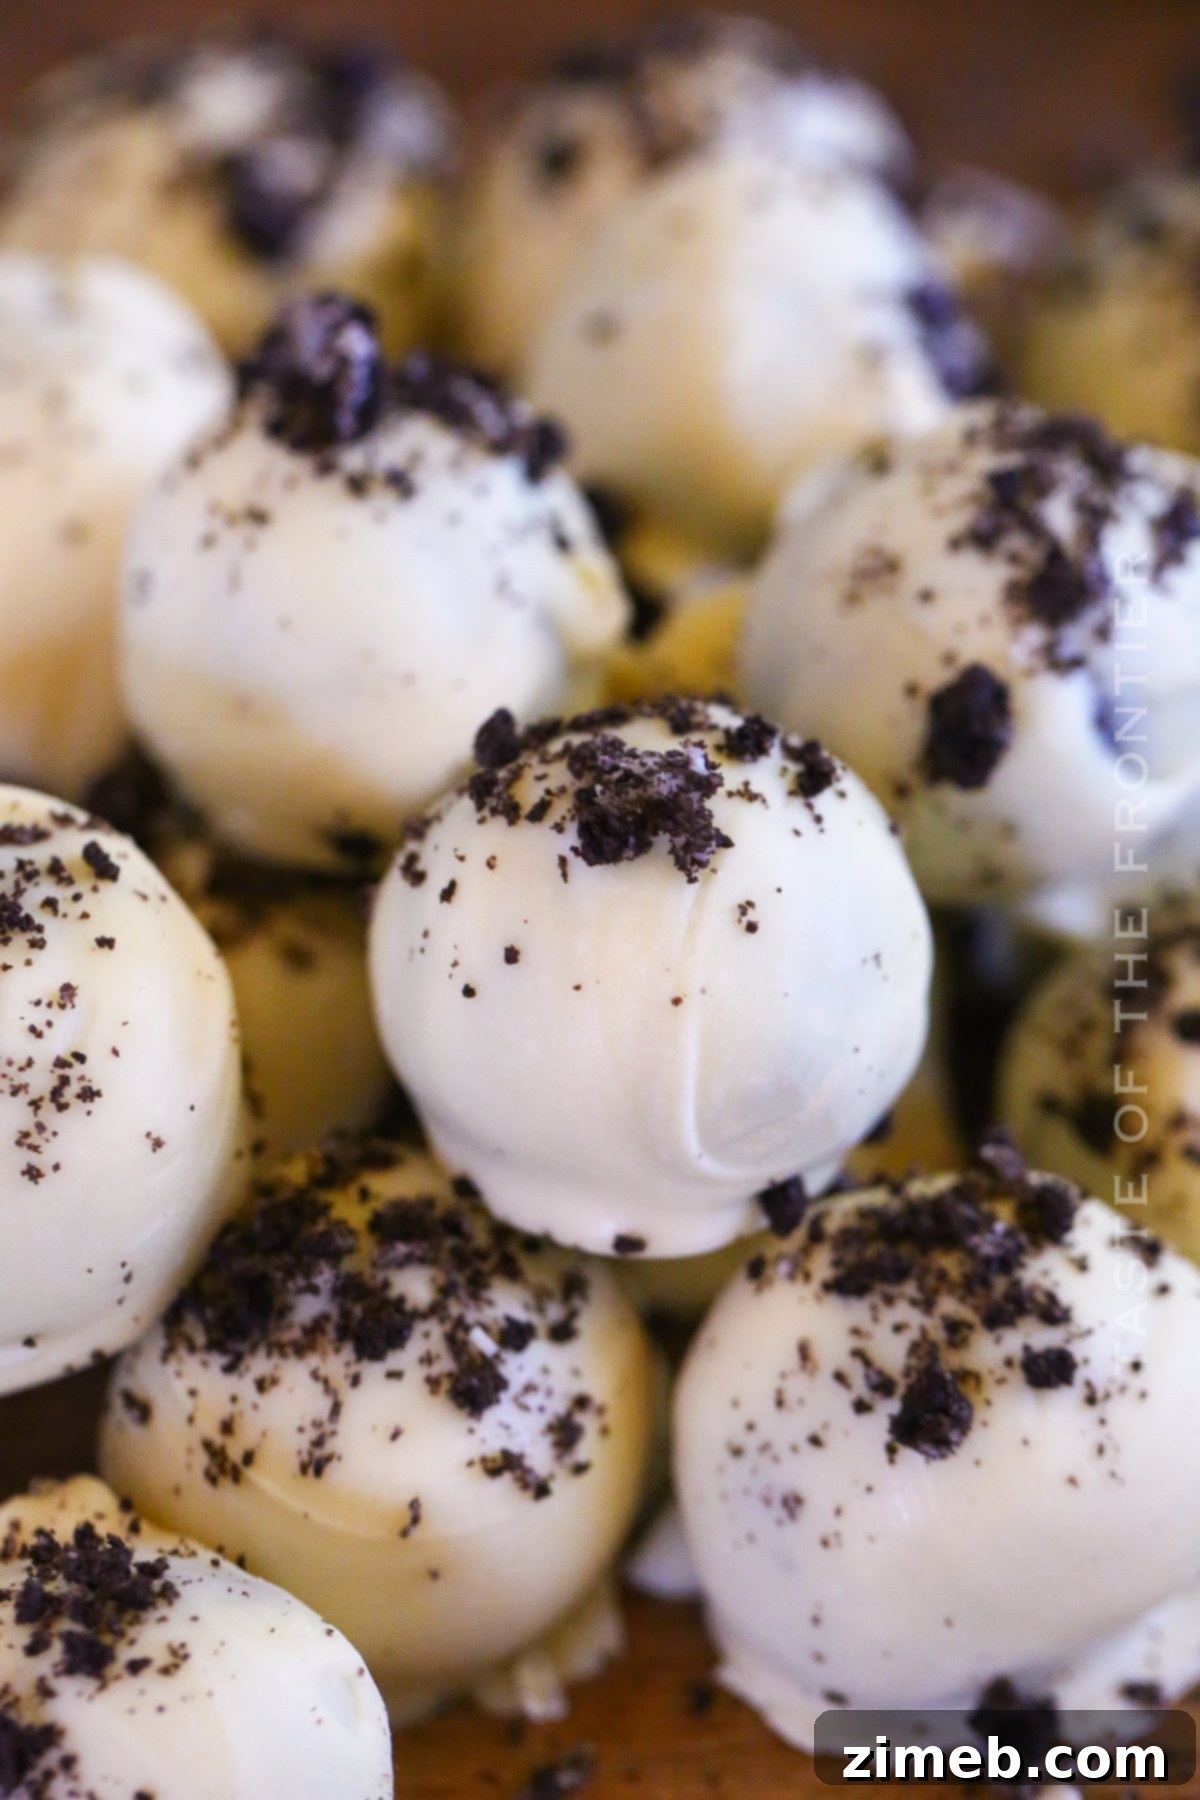
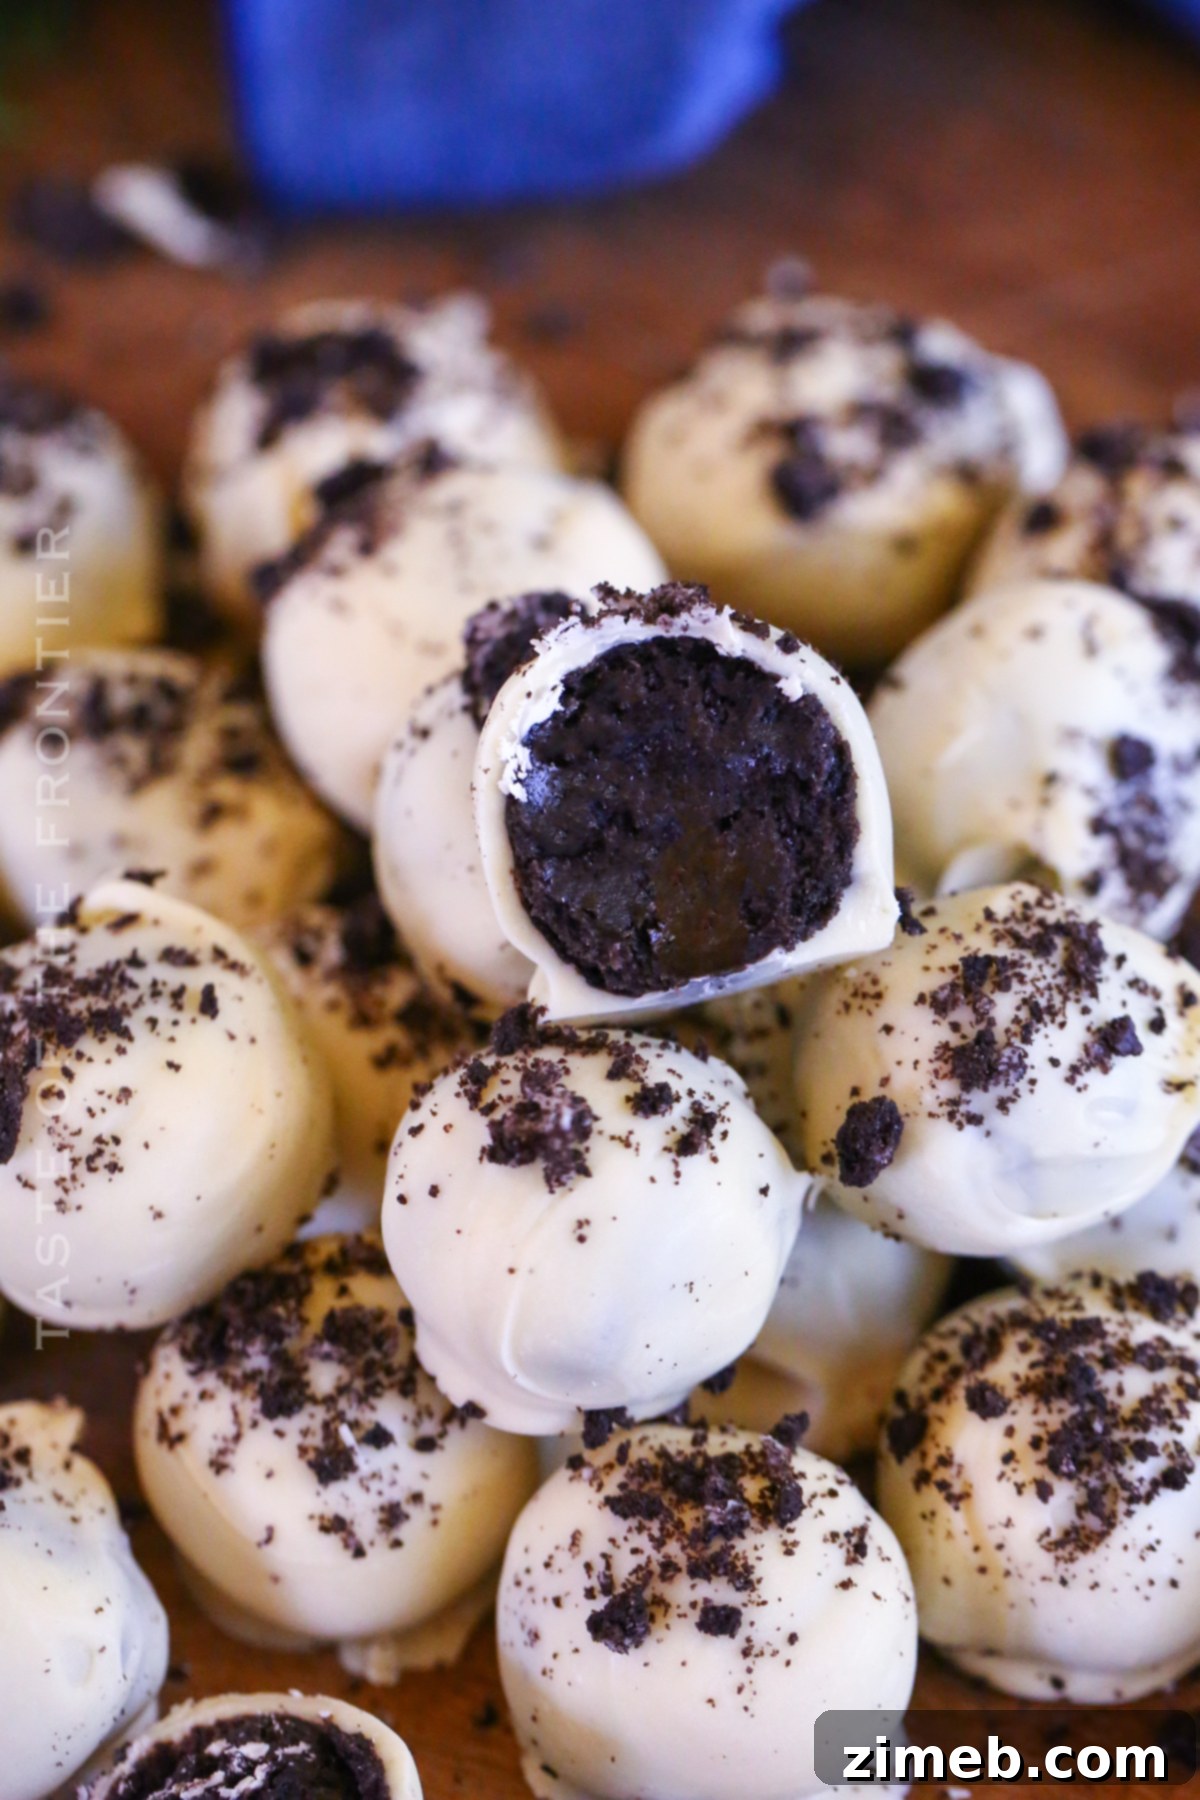
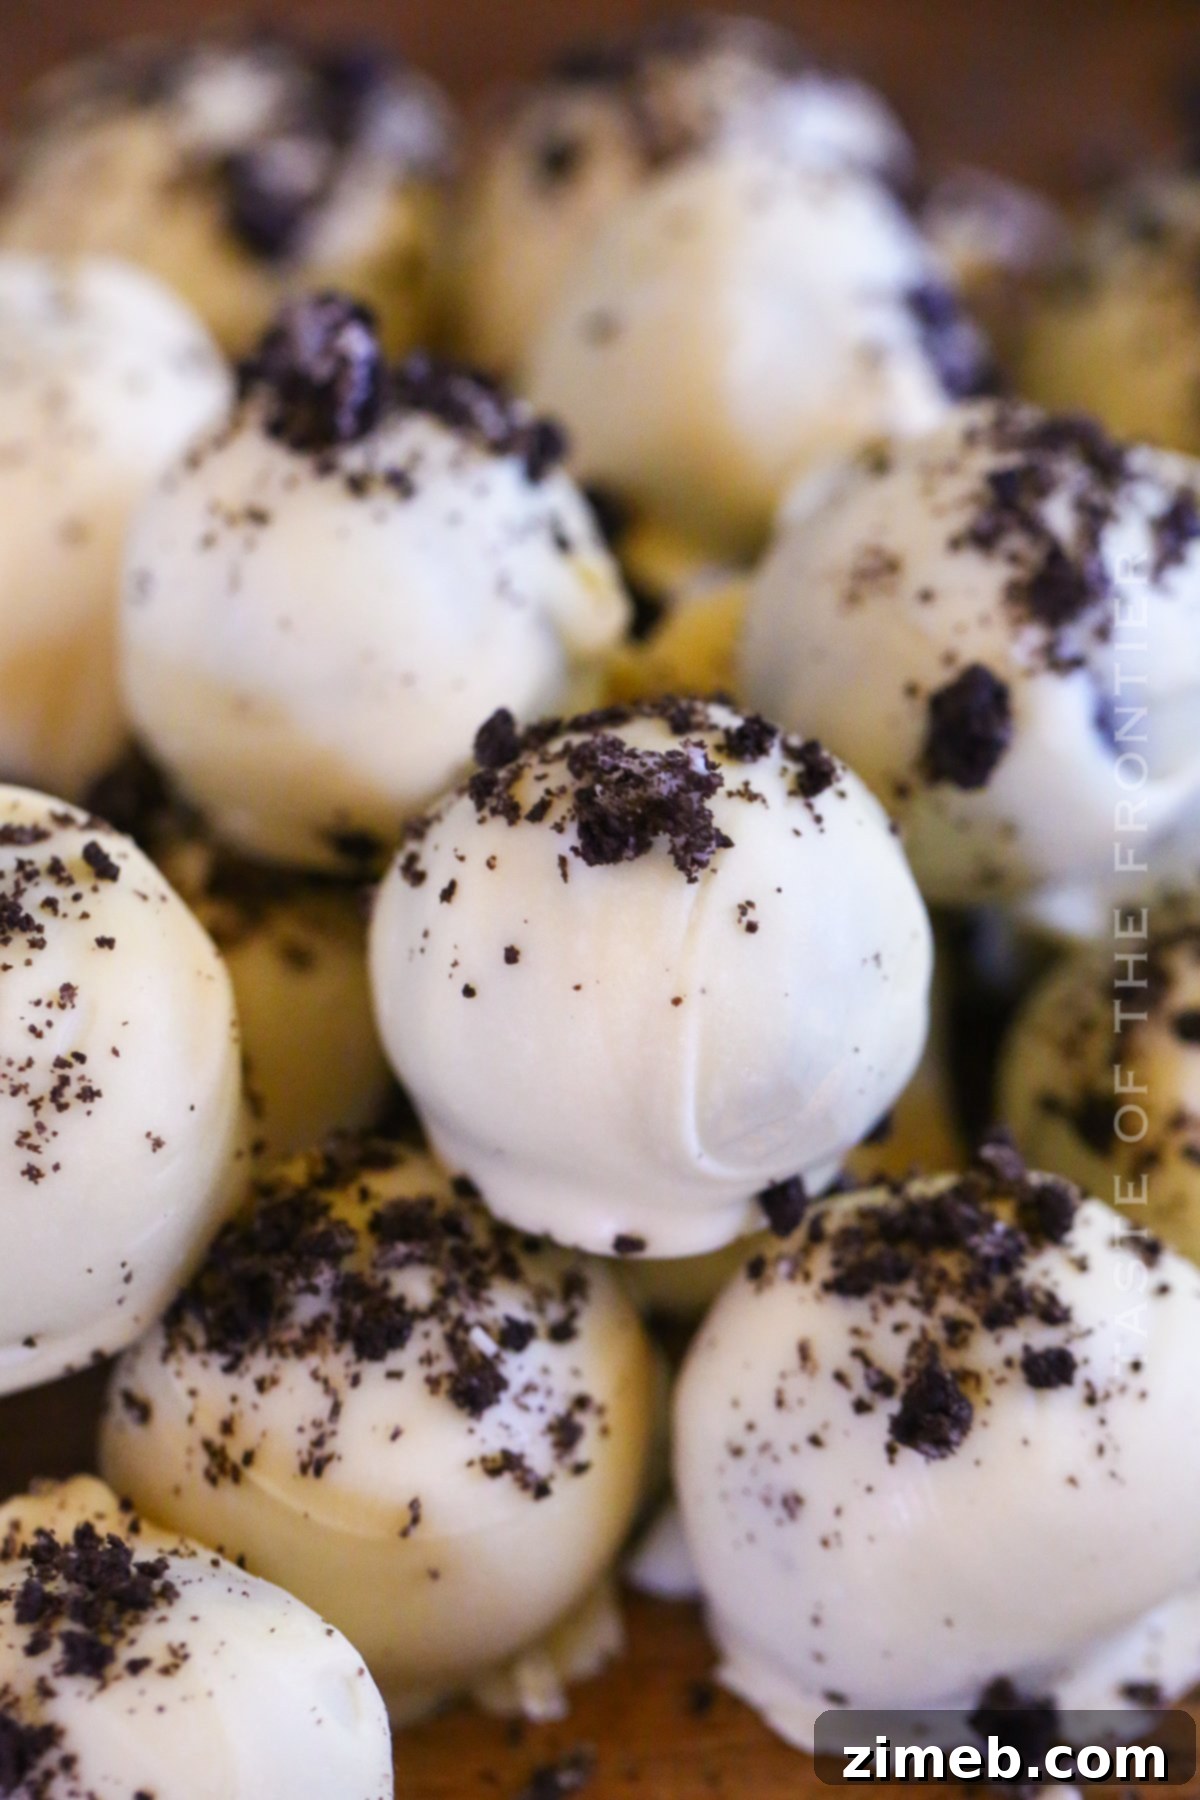
Welcome to the world of easy, no-bake delights! Our irresistible Oreo Balls, also known as Oreo Truffles, are the ultimate 3-ingredient treat that can be effortlessly customized for any holiday or special occasion. Prepare for a flavor explosion that will have everyone asking for more!
Oreo Balls are more than just a dessert; they are a sweet and simple sensation, perfect for bringing joy to any gathering. If you’re searching for a quick, straightforward, and undeniably impressive sweet treat, look no further. These delectable chocolate and Oreo spheres are guaranteed to captivate your taste buds and leave a lasting impression on friends and family alike.
The beauty of this simple recipe lies in its minimal requirements – just three core ingredients and a few minutes of your time are all you need to create these heavenly bites. Who could possibly resist the rich, creamy combination of classic Oreos blended with smooth cream cheese, all enveloped in a luscious chocolate coating? Whether you’re planning a grand celebration, hosting an intimate dinner party, or simply craving a delightful snack for movie night, these Oreo Balls are crafted to perfectly satisfy every sweet desire.
Through the years, I’ve had the pleasure of sharing these delightful truffles with neighbors during the holidays, and their reactions are consistently heartwarming. Messages pour in expressing their sheer enjoyment, often followed by playful requests for “just one more batch!” These treats truly are a universal crowd-pleaser, regardless of how you choose to decorate them. Their simplicity in preparation belies their incredibly addictive taste – they are, without a doubt, CRAZY GOOD!

Irresistible Oreo Truffles: A No-Bake Sensation
Do you harbor a deep affection for Oreo cookies? Most people do, and for good reason! But have you ever ventured into making Oreo Balls? If not, you’re missing out on one of the easiest and most satisfying no-bake desserts imaginable. These truffles have become a personal favorite of mine, a go-to recipe for quick indulgence or impressive entertaining.
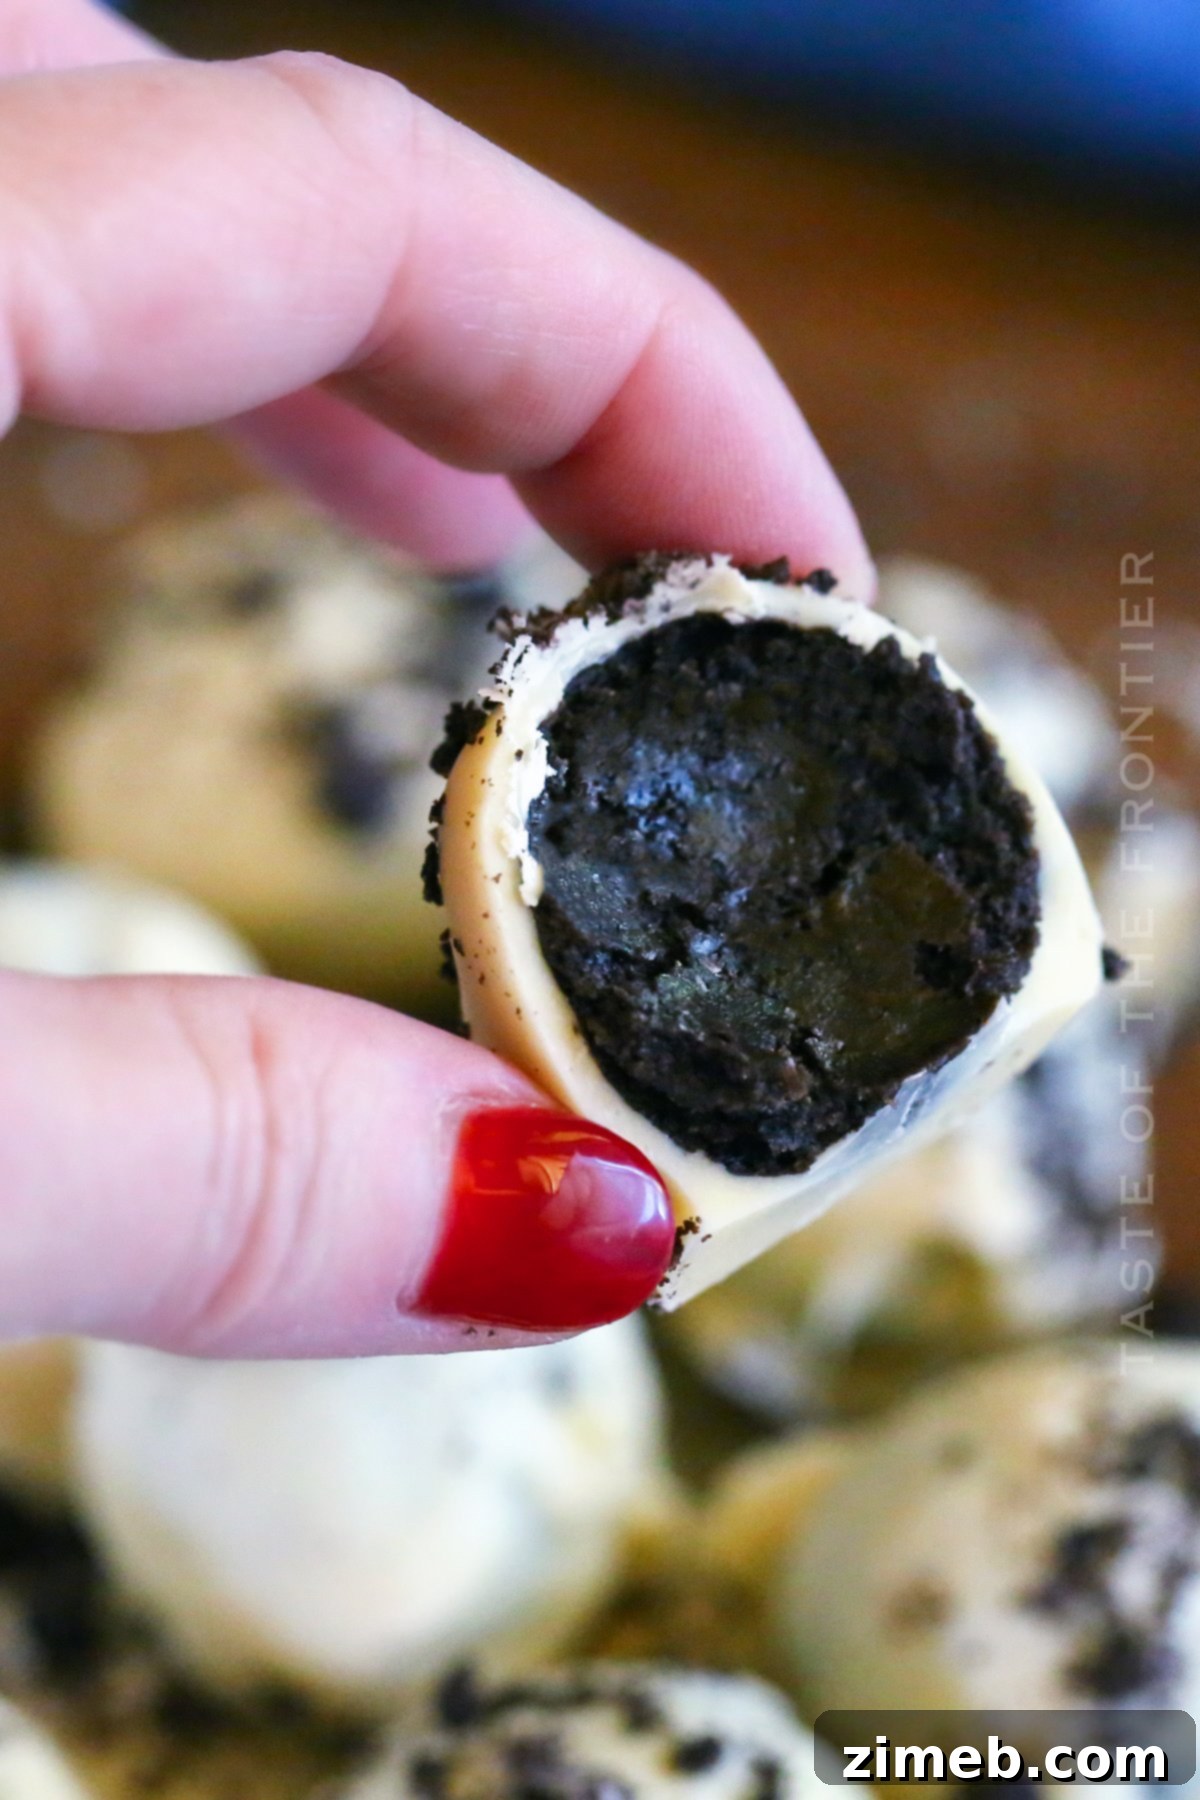
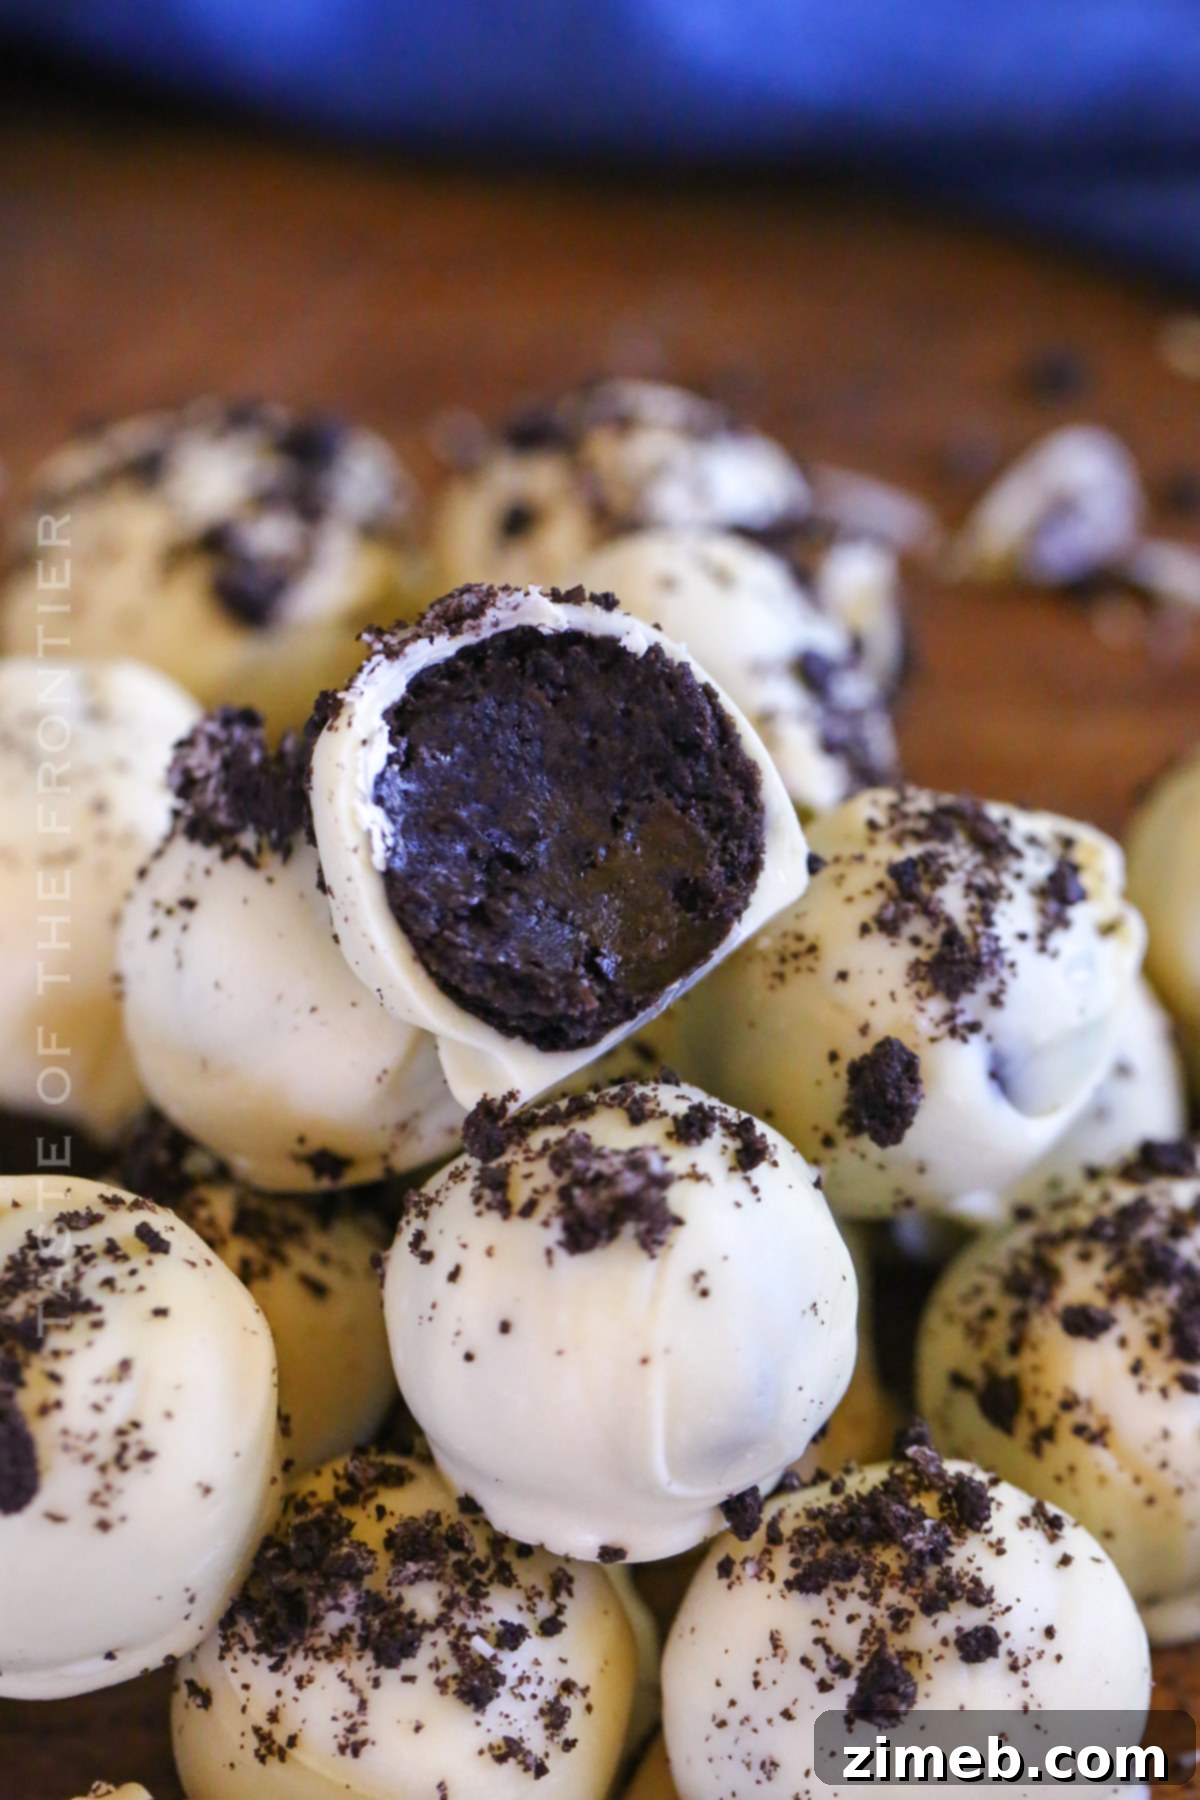
The process is incredibly straightforward: simply combine crushed Oreo cookies with softened cream cheese, roll the mixture into perfectly bite-sized balls, and then dip them into a coating of melted chocolate. The result is a rich, creamy, and wonderfully decadent truffle that tastes far more complex than its humble ingredient list suggests. They are utterly delicious and remarkably easy to prepare, making them an ideal choice when you need a fantastic dessert without the hassle of baking.
Their universal appeal lies in the familiar and beloved flavor of Oreo cookies, elevated by the smooth tang of cream cheese and the luxurious blanket of chocolate. This combination creates a texture that is both delightfully crumbly and wonderfully smooth, melting in your mouth with every bite. From impromptu sweet cravings to planned party centerpieces, these delightful treats offer a perfect balance of convenience and gourmet taste.
Oreo Truffles: Your Ultimate Party Dessert
Frequently Asked Questions About Oreo Truffles
Creative Decorating Ideas and Variations for Oreo Cookie Balls
One of the most exciting aspects of making Oreo cookie balls is their incredible versatility when it comes to decoration. While the base recipe remains a simple three-ingredient wonder, the possibilities for customization are endless, allowing you to tailor them for any holiday or theme. Beyond the classic chocolate dip, here are some popular and creative variations:
- Festive Snowmen Truffles: Dip your chilled Oreo balls in melted white chocolate for a pristine base. Once hardened, use edible markers or melted dark chocolate to draw on eyes, a carrot nose, and a button smile, transforming them into charming snowmen.
- Whimsical Christmas Tree Truffles: Again, a white chocolate coating provides a perfect canvas. While the white chocolate is still wet, add green or red decorating gels in zigzag patterns, or sprinkle with green sanding sugar and tiny edible stars to create adorable mini Christmas trees.
- “Easier Dipping” Truffles with a Twist: For a simple yet flavorful decoration, dip truffles in your chosen chocolate, then immediately roll them in crushed cinnamon candies, mini chocolate chips, or colorful sprinkles. This not only adds visual appeal but also an extra layer of texture and taste.
- Holiday-Specific Designs:
- For Halloween, use orange or purple candy melts and add spooky sprinkles or edible googly eyes.
- For Valentine’s Day, dip in pink or red candy melts and top with heart-shaped sprinkles.
- For patriotic celebrations, use white chocolate and decorate with red and blue sprinkles, or create stripes.
- Flavor Infusions: While the classic is perfect, experiment with different Oreo flavors like mint, peanut butter, or golden Oreos. You can also mix a tiny amount of extract (like peppermint or almond) into the cream cheese mixture for an added flavor dimension before dipping.
Why Oreo Cookie Balls Are a Must-Have for Your Party
When it comes to entertaining, choosing a dessert that’s both delicious and convenient can be a challenge. That’s where Oreo cookie balls shine, making them an indispensable addition to any party menu. Their popularity isn’t just a coincidence; it’s a testament to their inherent qualities:
- Effortless Preparation: They are incredibly easy to make, requiring no baking, which saves you valuable time and oven space, especially during busy holiday seasons.
- Minimal Ingredients: With just three primary ingredients, the shopping list is short, and the cost is low, making them a budget-friendly option.
- Guaranteed Crowd-Pleaser: Everyone loves Oreos! These truffles tap into that universal adoration, ensuring they are always a huge hit with guests of all ages. Their bite-sized nature also makes them perfect for mingling.
- Unforgettable Taste: The rich, creamy, and sweet flavor profile is simply irresistible. The combination of crunchy cookie, smooth cream cheese, and a chocolate shell creates a delightful textural and taste experience.
- Highly Customizable: As mentioned, their adaptability for various decorations means they can perfectly match any party theme or color scheme, adding a personal touch to your spread.
Proper Storage and Make-Ahead Tips for Oreo Cookie Balls
Planning ahead is key for stress-free entertaining, and Oreo cookie balls are wonderfully cooperative in this regard. Their robust nature allows for excellent make-ahead and storage options:
To maintain the freshness and delightful texture of your Oreo cookie balls, proper storage is essential. The best method is to store them in an airtight container in the refrigerator. This environment helps prevent them from drying out or becoming stale, keeping them perfectly creamy for up to three weeks. For best results, arrange them in a single layer or separate layers with parchment paper to prevent sticking.
For longer-term storage, Oreo balls are freezer-friendly! Simply place them in an airtight, freezer-safe container, again separating layers with parchment paper if necessary, to prevent freezer burn. They can be safely stored in the freezer for up to two months. When you’re ready to enjoy them, simply transfer them to the refrigerator to thaw for a few hours, or let them sit at room temperature for about 15-20 minutes for a softer texture. Freezing them also offers the fun possibility of creating various shapes, sizes, and even experimenting with different flavors or colors, ensuring a delightful variety for any future occasion.
The Simple Oreo Balls Recipe
Ingredients for Your Delicious Oreo Balls
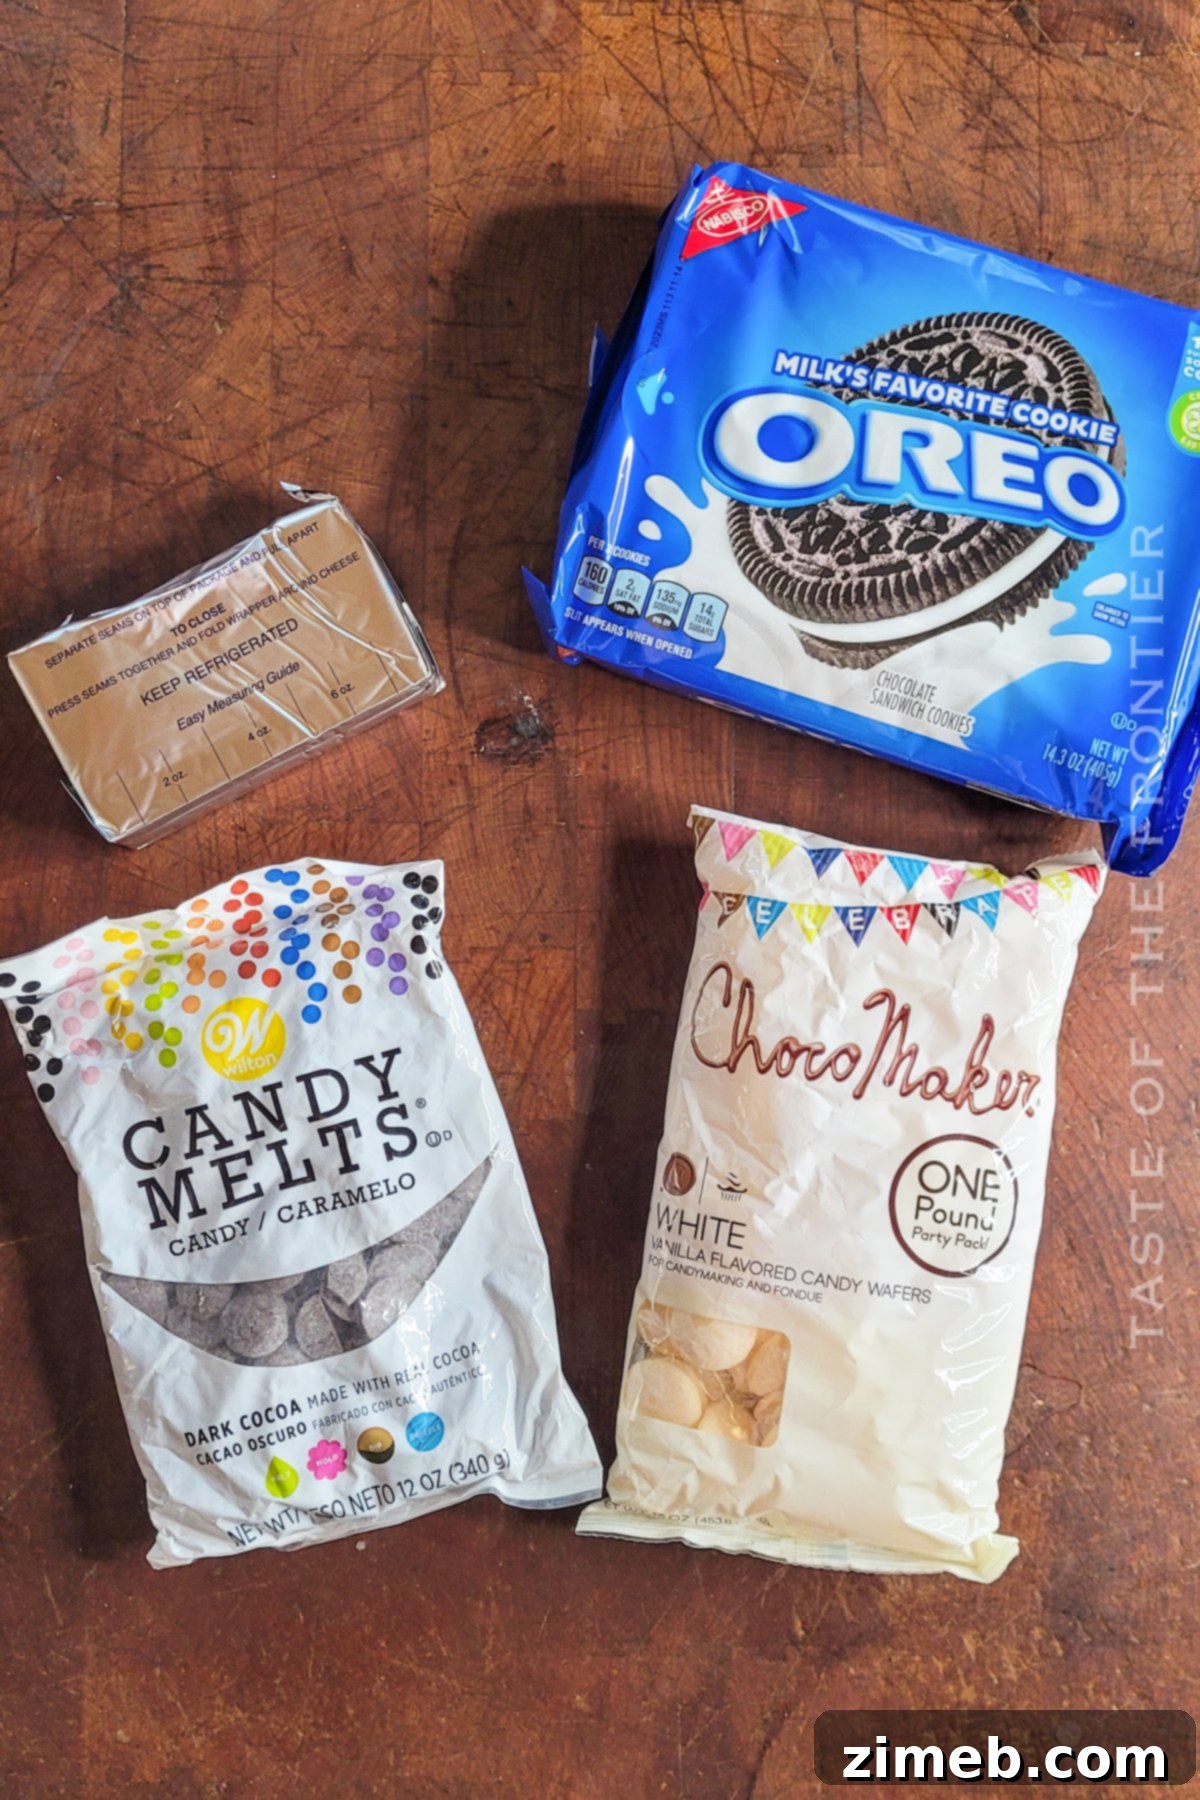
The magic of Oreo Balls truly lies in their simplicity, requiring just three readily available ingredients to create a treat that tastes incredibly indulgent:
- Oreo Cookies: The star of the show! One standard 14-ounce package typically contains 38 cookies, which is the perfect amount for this recipe. If you’re using specialty, limited edition, or double-stuffed Oreos, be aware that package quantities can vary. For double-stuffed Oreos, you’ll want to reduce the amount of cream cheese by half to maintain the ideal consistency.
- Cream Cheese: Softened to room temperature. This is crucial for achieving a smooth, well-combined mixture with the crushed cookies. A block of full-fat cream cheese (8 ounces) works best for richness and texture.
- White Candy Melts or Almond Bark: The ideal choice for coating your truffles, providing a smooth, hard shell that sets quickly. These are designed specifically for melting and dipping.
Choosing the Best Chocolate for Dipping
The success of your Oreo truffles hinges significantly on the quality and type of chocolate coating you choose. For a flawless finish and ease of use, we highly recommend specific options:
For this recipe, we’ve found white chocolate candy melts to be exceptionally reliable. These are formulated to melt smoothly and harden beautifully, providing a crisp shell that enhances the truffle experience. Excellent alternatives include almond bark, Candi Quik, or dedicated melting wafers, all of which offer similar easy-melting properties and a professional-looking finish.
If you prefer to use high-quality white chocolate chips, it’s certainly possible, but you might need a small adjustment. White chocolate chips can sometimes seize or become too thick when melted, making dipping difficult. To achieve a perfectly smooth, dippable consistency, consider adding one to two tablespoons of coconut oil or vegetable shortening per pound of chocolate before or during the melting process. This helps to thin the chocolate and prevents it from seizing, ensuring a silky coating for your truffles.
Detailed Oreo Truffles Recipe
How to Prepare Your Oreo Truffles
Crafting these delicious Oreo truffles is a straightforward two-part process, beginning with the creation of the rich, creamy centers:
- Prepare Your Workspace: Begin by lining a baking sheet with parchment paper. This will prevent your truffle balls from sticking and make cleanup a breeze. Set this aside.
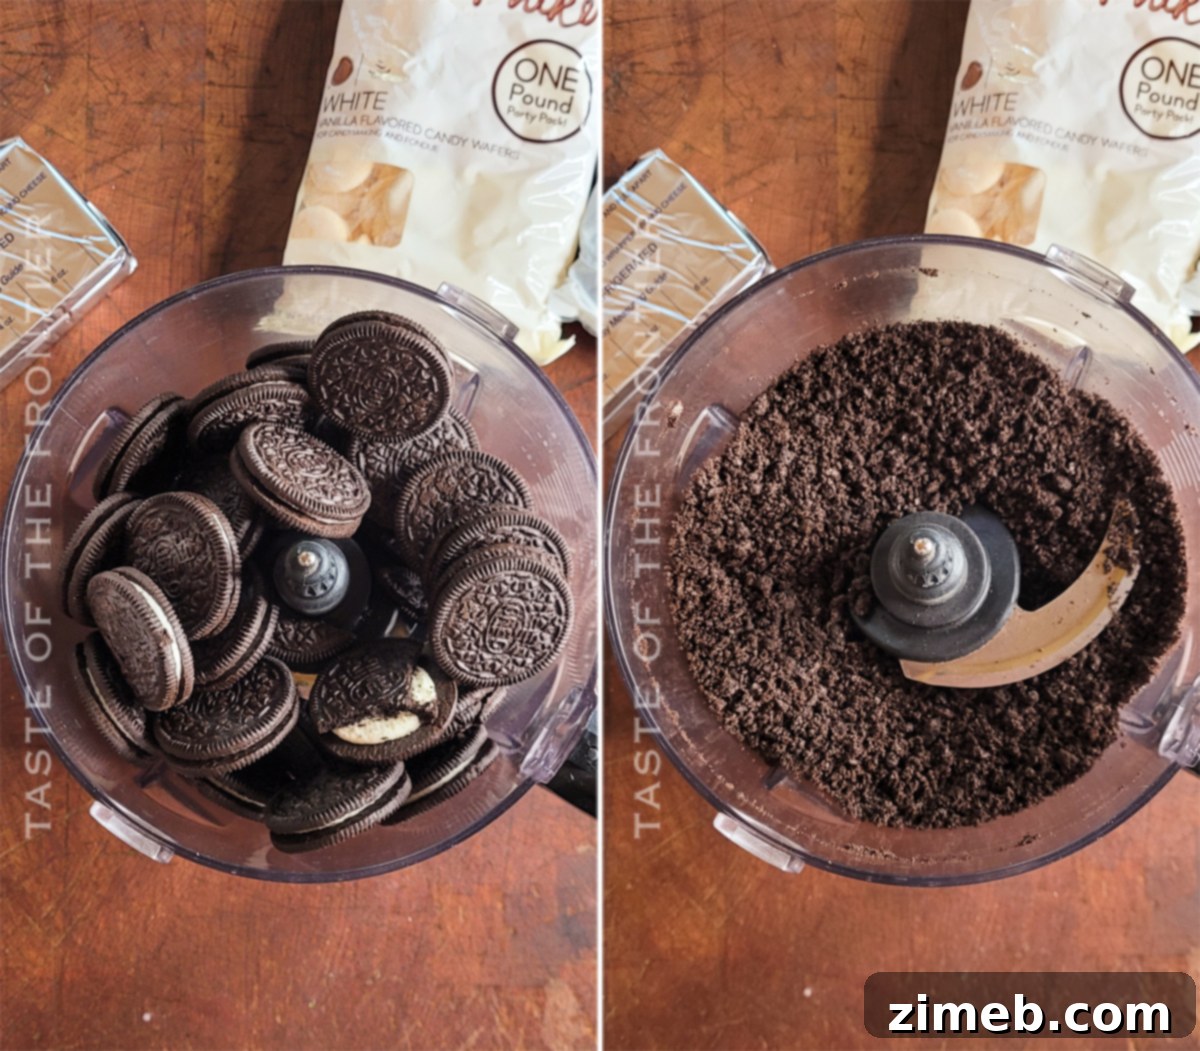
- Crush the Cookies: Use a food processor for the quickest and finest crumbs. If you don’t have one, place the Oreo cookies in a large resealable bag and use a rolling pin to crush them until they resemble fine crumbs. Ensure no large chunks remain for a smooth truffle texture.
- Reserve Topping Crumbs: Set aside 1-2 tablespoons of these fine cookie crumbs in a small bowl. These will be used later to sprinkle on top of your chocolate-coated truffles for an attractive finish and added texture.
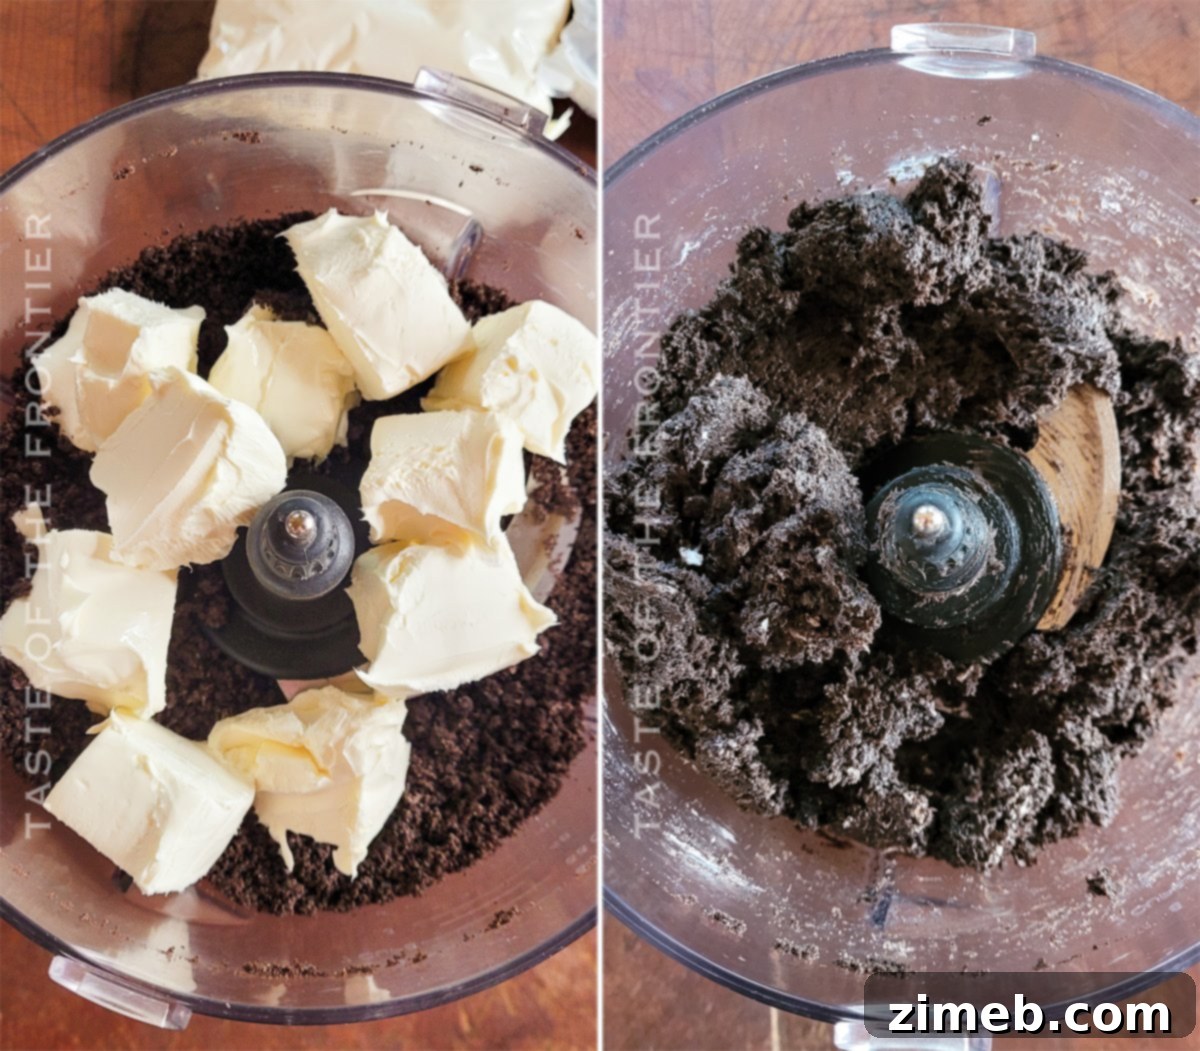
- Combine Ingredients: Add the softened cream cheese to the food processor with the remaining crushed Oreo crumbs. Pulse several times until the mixture is thoroughly combined and forms a thick, cohesive dough. If mixing by hand, ensure the cream cheese is perfectly soft, then use a sturdy spoon or a stand mixer with a paddle attachment to combine.
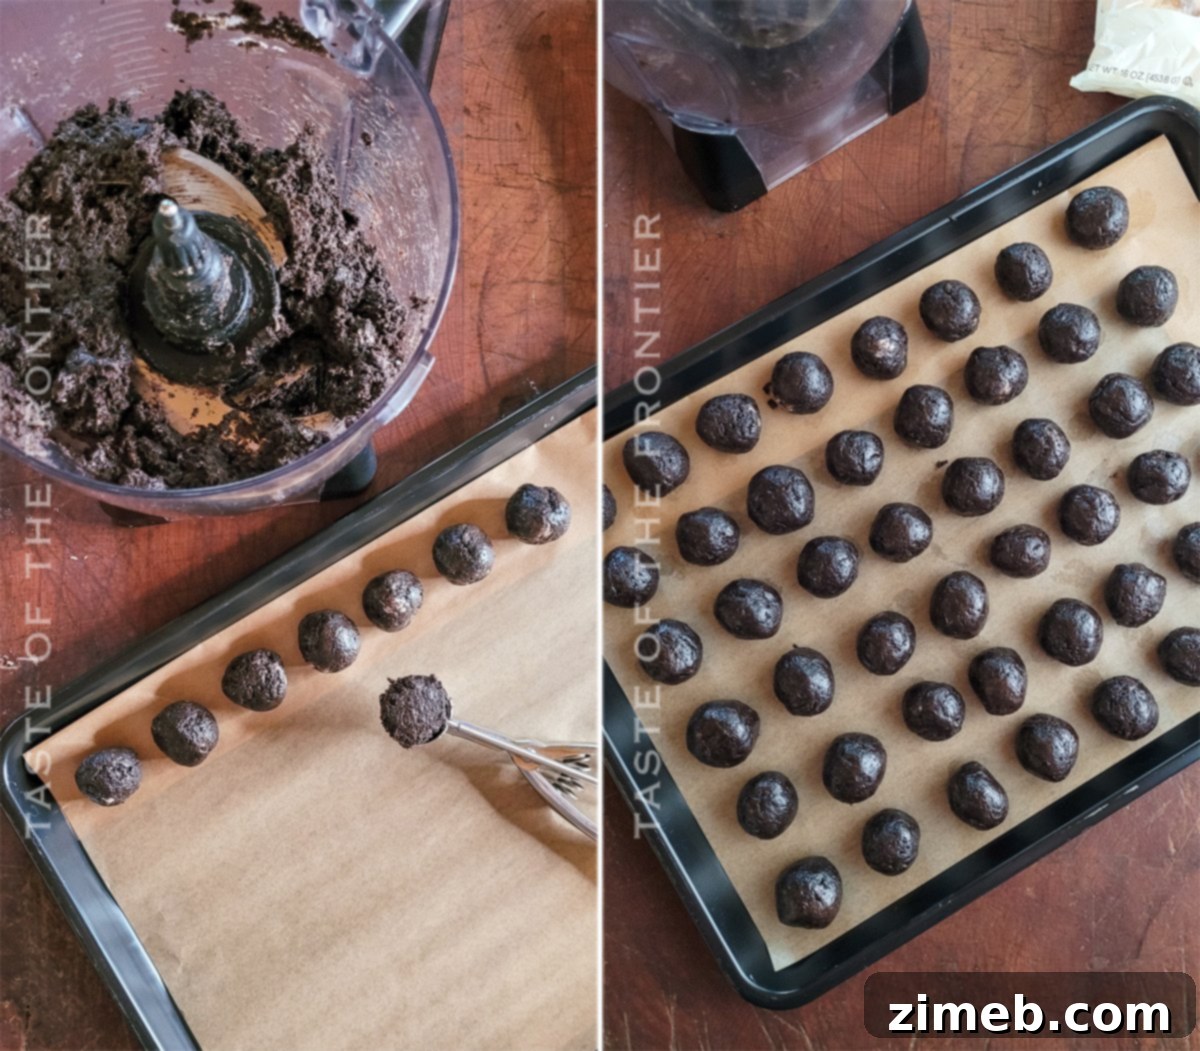
- Portion and Shape: Using a small cookie dough scoop (approximately 1 tablespoon in size) helps ensure uniform portions. Separate the mixture into about 48 equal portions.
- Roll into Smooth Balls: Take each portion and roll it between your palms until it forms a perfectly smooth, round ball.
- Chill the Truffle Centers: Place the formed Oreo balls onto the prepared baking sheet.
- Crucial Chilling Step: Transfer the baking sheet to the refrigerator and chill the balls for at least 30 minutes. Chilling them longer, even up to an hour or two, is perfectly fine and often recommended for easier dipping. If you’re short on time and have freezer space, you can pop them in the freezer for about 15-20 minutes until firm. This firming process is vital for the truffles to hold their shape and prevent the chocolate from melting them during dipping, and also important for food safety with cream cheese.
Adding the Perfect Chocolate Coating to Your Oreo Balls
Once your truffle centers are thoroughly chilled, it’s time to give them their delicious chocolate shell:
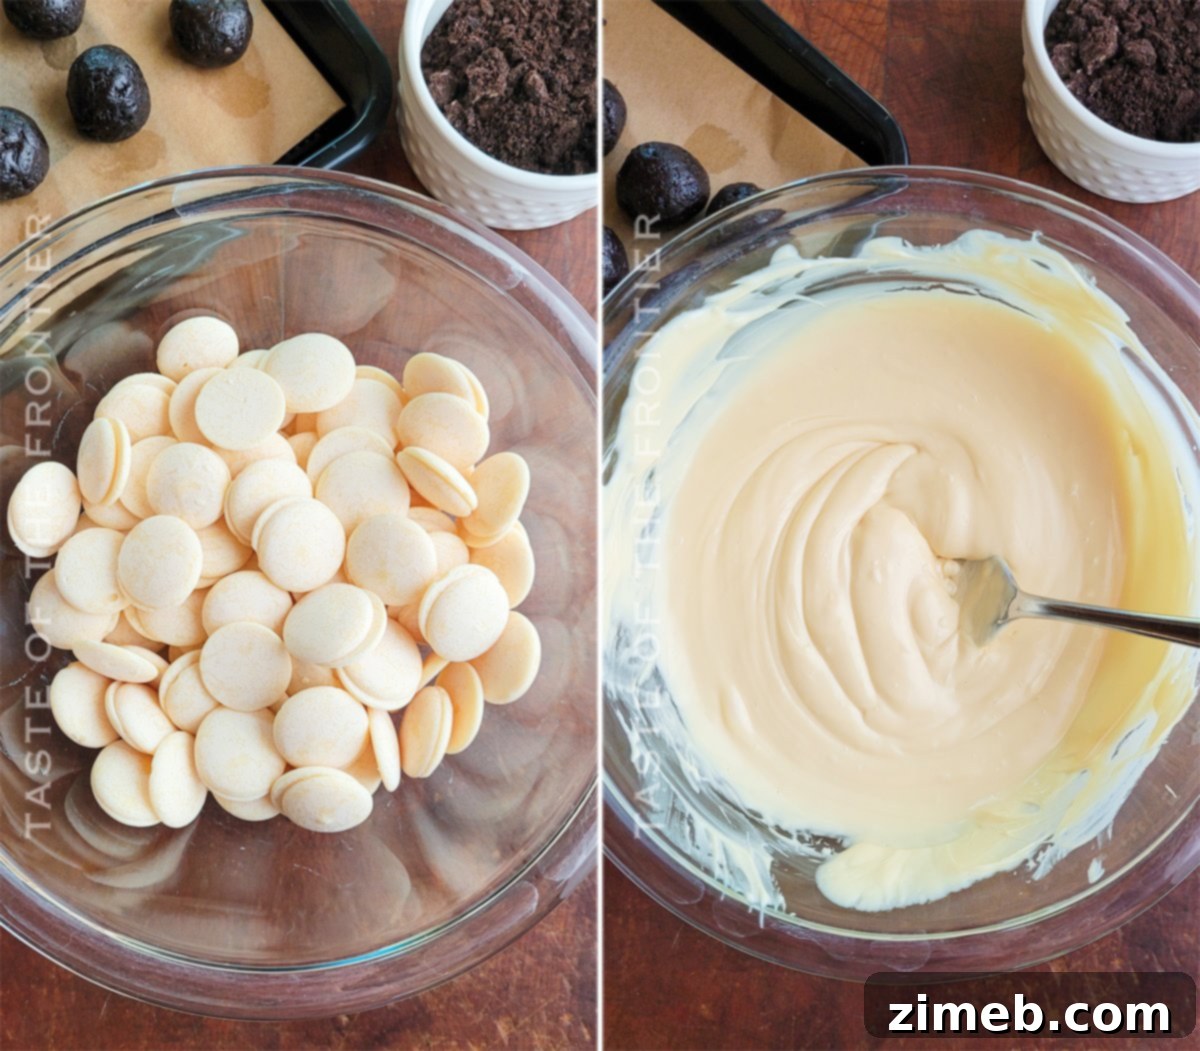
- Prepare the Chocolate: Place your chosen candy melts (or almond bark) in a microwave-safe bowl.
- Initial Melting: Start heating the chocolate in the microwave for 30 seconds to 1 minute at 50% power. Remove and stir the chocolate thoroughly. Heating at a lower power setting prevents scorching and ensures even melting.
- Continue Melting: Continue to heat in 30-second intervals, still at 50% power, stirring diligently after each interval. Stop heating when there are just a few small bits of chocolate left. The residual heat in the bowl and the already melted chocolate will continue to melt these remaining pieces as you stir, ensuring a perfectly smooth, lump-free consistency without overheating.
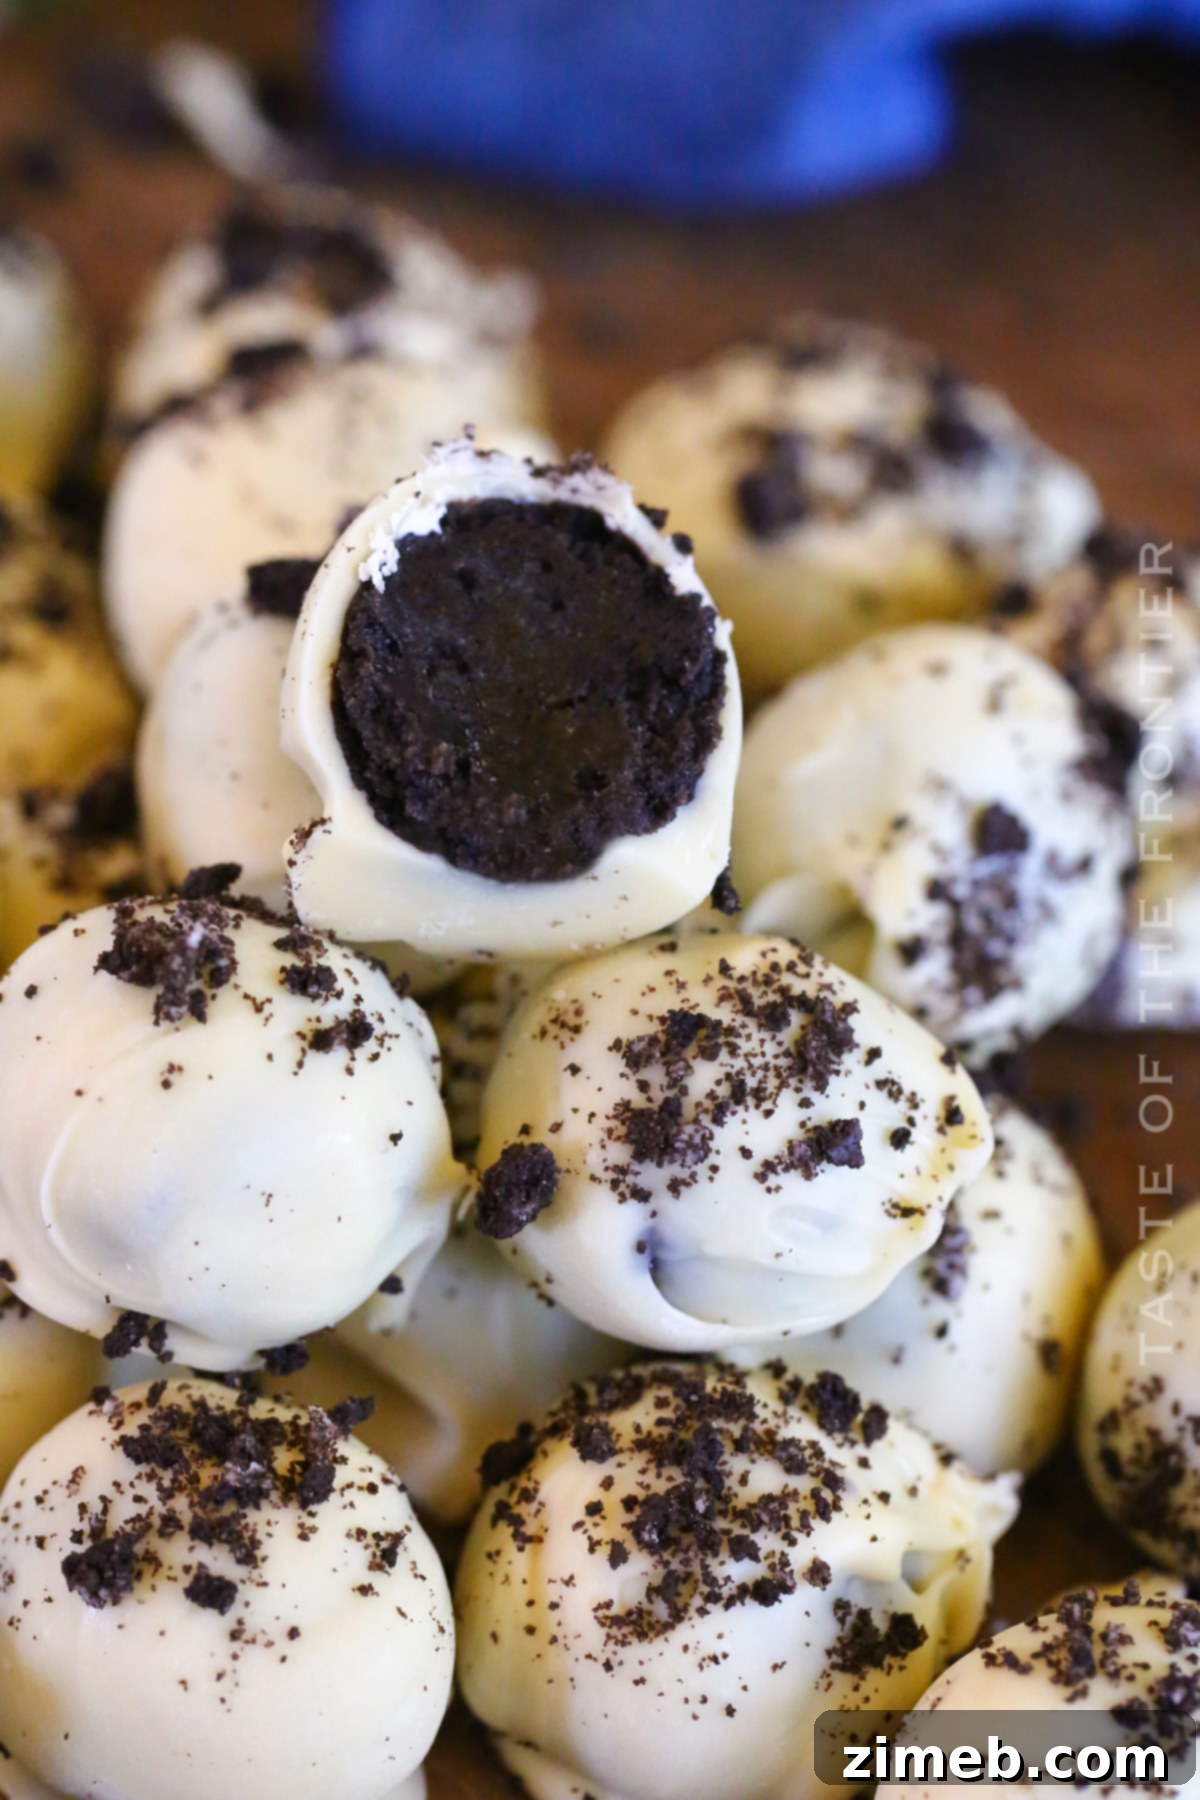
- Dip the Truffles: Using a fork, carefully dip one chilled Oreo ball into the melted chocolate, ensuring it’s fully coated. Gently tap the fork on the side of the bowl to allow any excess chocolate to drip off, creating a smooth, even layer.
- Place on Baking Sheet: Transfer the chocolate-coated truffle back to the prepared parchment-lined baking sheet.
- Add Topping: Immediately sprinkle with the reserved crushed Oreos while the chocolate is still wet. This allows the crumbs to adhere beautifully.
- Harden the Coating: Let the chocolate coating harden for about 10-15 minutes at room temperature, or place the sheet in the refrigerator for quicker setting.
- Optional Second Coat or Decoration: If you desire a thicker coating or wish to add more intricate decorations (like drizzles of a different colored chocolate or more sprinkles), you can repeat the dipping process after the first layer has fully hardened.
- Final Hardening: Ensure the chocolate is completely set before serving.
- Store Properly: Once hardened, store the finished Oreo Balls in an airtight container in the refrigerator until you’re ready to serve them.
Expert Tips and Troubleshooting for No-Fail Oreo Balls
Achieving perfect Oreo Balls every time is easy with a few simple tricks and considerations. These tips will help you navigate common challenges and elevate your truffle-making experience:
- Preparation is Key: Before you even start melting chocolate, have all your dipping supplies laid out. This includes your baking sheet with parchment paper, your reserved crushed Oreos, and any sprinkles or decorations. A smooth workflow prevents frantic rushing and messy results.
- Perfectly Melted Chocolate: Always ensure your chocolate is completely melted and stirred until perfectly smooth and free of lumps. Overheating can cause chocolate to seize (become thick and clumpy). When melting in the microwave, use 50% power and stir every 30 seconds to prevent scorching. Alternatively, a double boiler offers gentle, controlled heat for melting.
- Mastering the Dip: For easy, mess-free dipping, place the chilled Oreo ball on a fork (a three-pronged dipping tool is excellent for this). Submerge it fully in the melted chocolate. Gently tap the fork against the side of the bowl to remove excess chocolate, which helps create a thin, even, and smooth finish. Use a toothpick to carefully push the coated ball off the fork onto the parchment paper. If you notice any excess chocolate pooling around the base of the ball, use the toothpick to draw a line around it, which creates a cleaner edge once hardened.
- Uniformity for Perfection: Using a small cookie scoop is highly recommended to ensure all your Oreo balls are of a consistent size. This not only makes them visually appealing but also ensures even chilling and dipping.
- Mixing the Crumb Base: If you are crushing your cookies manually (without a food processor), you might find a stand mixer invaluable for thoroughly incorporating the cream cheese. Use the paddle attachment to ensure the cream cheese is evenly mixed throughout the Oreo crumbs, creating a uniform, pliable dough. An electric hand mixer can also work, but it tends to be a bit messier.
- Room Temperature Cream Cheese: This tip is crucial! Ensure your cream cheese is softened to room temperature before mixing. Cold cream cheese will result in a lumpy mixture that’s difficult to blend smoothly with the cookie crumbs, affecting the texture of your truffles.
- Oreo Quantity Matters: A standard 14-ounce package of regular Oreo cookies contains approximately 38 cookies, which is the perfect quantity for this recipe. If you’re using different flavors or limited-edition Oreos, be aware that their package count might vary. For “Double Stuffed” Oreos, remember to reduce the cream cheese by half to compensate for the extra filling and achieve the correct consistency.
- The Sprinkles Secret: If you’re adding sprinkles, make sure they are actual sprinkles (jimmies, nonpareils, confetti) and not colored sanding sugar. Sanding sugar tends to “sweat” and bleed color when exposed to moisture or chilled in the refrigerator, potentially ruining your beautiful decorations.
- Troubleshooting Seized Chocolate: If your chocolate suddenly turns chunky instead of creamy, it has “seized.” This is commonly caused by overheating or contact with even a tiny amount of water or steam. Chocolate is hydrophobic, meaning its oils repel water, causing the cocoa solids and fats to separate. To avoid this, melt chocolate slowly, using low heat, and ensure no water or steam comes into contact with it. Always refer to package directions for specific melting instructions.
- Dipping Tools: While a regular fork can work, a specialized 3-pronged dipping tool (like the Wilton Dipping Tool, often part of a three-piece set with a fork and spoon) can make dipping much easier and less messy, giving your truffles a professional finish.
Oreo Truffle Balls: A Treat for Every Season
More Delicious Truffle Recipes You’ll Love
If you’ve fallen in love with the simplicity and deliciousness of these Oreo Truffles, you’re in for a treat! The world of no-bake truffles is vast and exciting. Explore these other fantastic truffle recipes to satisfy every craving and occasion:
- Rainbow Truffles Recipe
- Chocolate Chip Cookie Truffles
- Pumpkin Spice Truffles
- Sugar Cookie Truffles
- Dark Chocolate Pistachio Truffles
- 4th of July Truffles
- Easy Chocolate Truffles
- Valentine Oreo Truffles
- Rainbow Mint Oreo Truffles
- Halloween Oreo Balls
- Chocolate Truffles with Holiday Sprinkles
- Holiday Nutella Bites
- Buckeyes
- Peppermint Oreo Balls
- Grinch Truffles
- Christmas Truffles
- Strawberry Truffles
*Important Note for Double-Stuffed Oreos: Reduce the cream cheese by half to achieve the correct truffle consistency.
Oreo Cookie Balls: Essential Details
Can I Use Other Types of Oreo Cookies?
Absolutely! The beauty of this recipe lies in its adaptability. You can certainly make these delightful Oreo truffles with any type or flavor of Oreo cookie you prefer. Whether you’re a fan of Mint Oreos, Peanut Butter Oreos, Golden Oreos, or any limited-edition flavor, they will all work wonderfully in this recipe, offering a unique twist to the classic.
DON’T MISS MY HOLIDAY E-BOOK!

Favorite Tools and Ingredients for No-Bake Oreo Truffles…
This Oreo truffle recipe is designed to be SUPER EASY and incredibly delicious. Whether you’re a seasoned home baker or new to the world of no-bake treats, you’ll find these truffles a joy to make. To help you achieve the best results, here’s a list of some of my favorite products and tools that make preparing this treat even smoother:
- Oreo cookies
- White almond bark
- Sprinkles
- Squeeze bottles (for drizzling)
- Wilton Dipping tool (for easy coating)
If you adore this easy Oreo truffles recipe, you’ll undoubtedly love these other fantastic Oreo-inspired treats too. Click each link below to discover the simple, printable recipes!
Oreo Frosting
If you love Oreo Cookies – you are in for a treat! Making this sweet buttercream Oreo Cookie Frosting is just so easy and great on any flavor of cake! With the perfect amount of crushed Oreo cookies mixed in, it has the most incredible cookies and cream flavor. Perfect for any occasion.
Check out this recipe

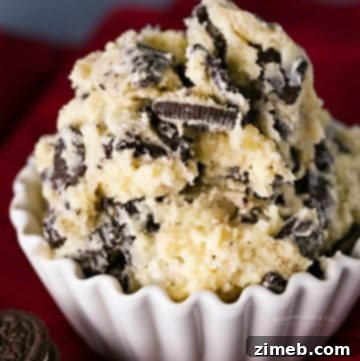
Oreo Cheesecake Cookie Dough
Oreo Cheesecake Cookie Dough is a delicious egg-free treat that is ready in just 5 minutes. Loaded with Oreos, this edible dough is a favorite!
Check out this recipe
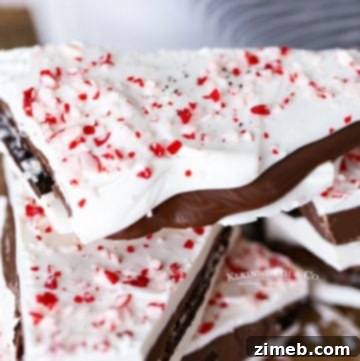
Oreo Peppermint Bark
Oreo Peppermint Bark is a delicious twist on a classic peppermint bark recipe. The layer of Oreo cookies with the creamy filling is amazing!
Check out this recipe
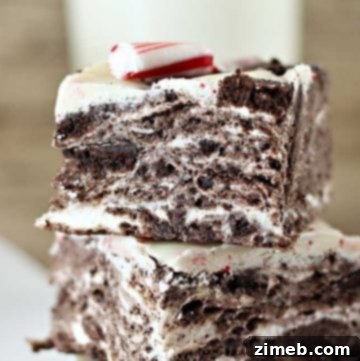
No Bake Peppermint Oreo Bars
No Bake Peppermint Oreo Bars are made with marshmallows, crushed Oreo cookies and peppermint. These are the perfect easy holiday treat this time of year!
Check out this recipe
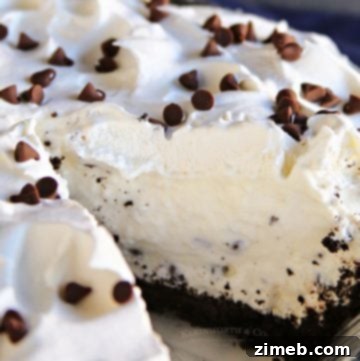
Easy Oreo Cannoli Cream Pie
Easy Oreo Cannoli Cream Pie is a simple no-bake pie recipe that is perfect for all the holiday parties & family gatherings. It will top the favorites list!
Check out this recipe
Oreo New York Cheesecake
Oreo New York Cheesecake is the easiest recipe for cheesecake you’ll find. Thick, dense & loaded with Oreo cookies, this perfect New York cheesecake is so simple, it’s positively fool-proof!
Check out this recipe
Oreo Cake Mix Donuts
Oreo Cake Mix Donuts, Moist & light milk chocolate donuts made simply from cake mix & topped with a cream glaze & crumbled Oreo Cookies. Great Breakfast!
Check out this recipe

Dirt Cake Recipe
This Dirt Cake Recipe is made with crushed Oreo cookies layered with a luscious pudding mixture. It’s the easiest no-bake dessert around!
Check out this recipe
Cookies and Cream Cookies
Cookies and Cream Cookies are soft, buttery cookies loaded with crushed Oreos, melty chocolate chunks, and white chocolate chips – DELISH!
Check out this recipe

Red Velvet Cookie Dough
Red Velvet Cookie Dough is egg-free, loaded with Oreos, mini chocolate chips, sprinkles & more, making it the perfect 5-minute snack for serious red velvet lovers.
Check out this recipe
If you love this recipe for Homemade Oreo Balls as much as I do, please write a five-star review, and be sure to help me share on Facebook and Pinterest!
CONNECT WITH YUMMI HAUS!
Be sure to follow me on my social media, so you never miss a post!
Substack, FB, Pinterest, IG, Email Subscription
PIN NOW TO SAVE FOR LATER

Rate this Recipe
Oreo Balls – Oreo Truffles
Course: Dessert, Snack
Servings: 48 truffles
Oreo Balls – Oreo Truffles are an easy no-bake treat made with just 3 ingredients and can be decorated for any holiday. They taste SO GOOD!
Pin
Save
Prep Time: 25 mins
Chill Time: 30 mins
Total Time: 55 mins
Ingredients
- 38 Oreo cookies
- 8 ounces cream cheese – softened
- 1 pound white candy melts or almond bark
Instructions
- Line a baking sheet with parchment paper. Set aside.
- Using a food processor or large resealable bag and a rolling pin, crush the cookies into fine crumbs.
- Reserve 1-2 tablespoons of the crushed cookies in a small bowl – this will be for topping the coated truffles. Set aside.
- Add the cream cheese to the food processor with the crumbs and pulse several times until well combined.
- Using a small cookie dough scoop, separate out into 48 portions and then form each into a ball.
- Roll the ball between your hands until it’s smooth.
- Place them on the prepared baking sheet.
- Chill in the refrigerator for at least 30 minutes, longer is fine. You can also pop them in the freezer if you have space.
- Place the candy melts in a microwave-safe bowl.
- Start heating it in the microwave for 30 seconds to 1 minute on 50% power, stir the chocolate.
- Continue to heat in 30-second intervals – still at 50% power, stirring after each time. Stop when there are a few bits of chocolate left, then stir until completely melted.
- Using a fork, dip a chilled Oreo ball into the melted chocolate and tap off the excess.
- Place the chocolate-coated truffle on the prepared baking sheet.
- Sprinkle with the reserved crushed Oreos.
- Let harden for about 10-15 minutes.
- Repeat with another layer of melted chocolate if necessary or desired before decorating.
- Let harden before serving.
- Store in an airtight container in the refrigerator until ready to serve.
Equipment
- microwave
- Food Processor
Nutrition
Serving: 1g | Calories: 71kcal | Carbohydrates: 10g | Protein: 1g | Fat: 5g | Saturated Fat: 2g | Cholesterol: 5mg | Sodium: 51mg | Potassium: 28mg | Fiber: 0.4g | Sugar: 7g | Calcium: 6mg | Iron: 1mg | Net Carbohydrates: 6g
Nutritional information for the recipe is provided as a courtesy and is approximate. Please double-check with your own dietary calculator for the best accuracy. We at Yummi Haus cannot guarantee the accuracy of the nutritional information given for any recipe on this site.
Love this recipe?
Follow @KleinworthCo for even more tasty recipes!