
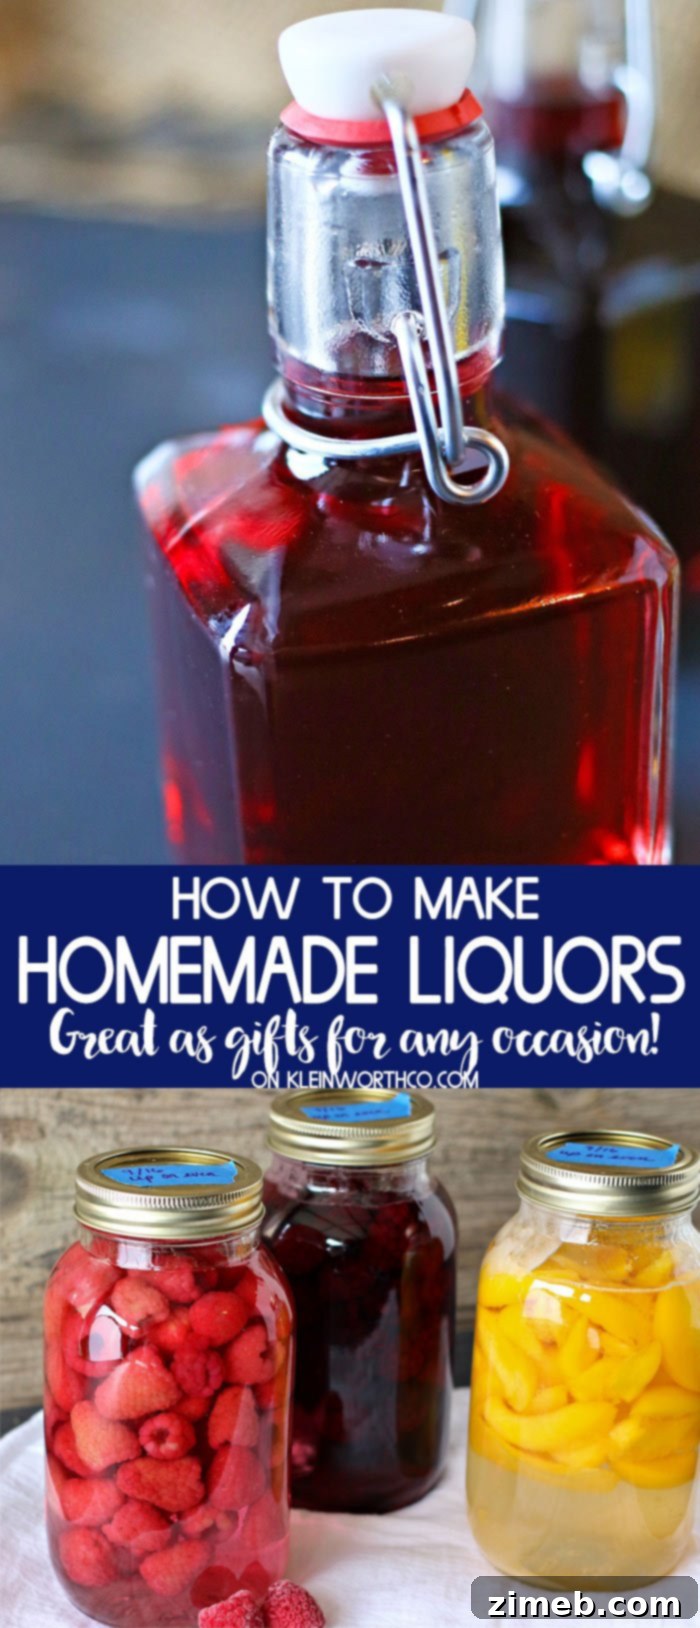
Welcome to the delightful world of homemade liquors! This comprehensive guide will show you exactly how to craft exquisite homemade fruit brandies, perfect for savoring yourself or giving as thoughtful gifts. Our easy-to-follow fruit brandy recipe ensures a delicious result that’s ideal for holiday celebrations or any special occasion.
Can you believe how quickly the seasons change? With September upon us, the holidays are just around the corner. It feels like time flies, but with a little forward planning, we can make the most of it.
That’s why I’m excited to share a wonderfully simple project that brings both joy and delicious results: How to Make Homemade Liquors, often referred to as sipping brandy. These handcrafted spirits are not only incredible to taste but also make exceptional gifts. I often incorporate them into my holiday baking and cocktail recipes, adding a unique and festive touch.
This post contains some affiliate links. Click here to read my full disclosure policy.
You’ll be amazed at how straightforward this process is, but the key is to start early. For your homemade brandies to be perfectly infused and ready by the holiday season, now is the ideal time to begin. The magic of infusion takes time, and patience is truly a virtue when creating these flavorful spirits.
With a little effort today, your homemade fruit brandy will be ready to strain and bottle just in time for the gift-giving season. Imagine the delight on your friends’ and family’s faces when they discover your thoughtful, handcrafted liquor. People are always incredibly impressed by homemade spirits, making them a truly memorable hostess gift for holiday parties, or a special treat for neighbors and co-workers.
Beyond being fantastic gifts, these homemade liquors offer an unparalleled depth of flavor for your own enjoyment. Sipping a meticulously crafted fruit brandy by the fireplace on a cold evening or using it to elevate your favorite dessert is a unique experience that store-bought options simply can’t match. The natural fruit flavors, slowly extracted and melded with the vodka, create a sophisticated and comforting spirit.
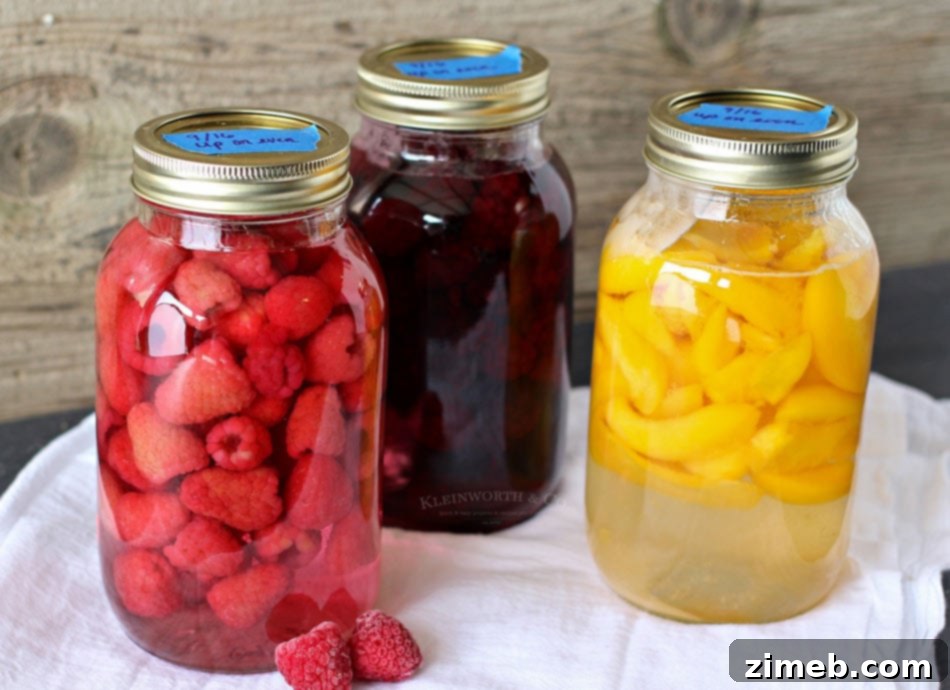
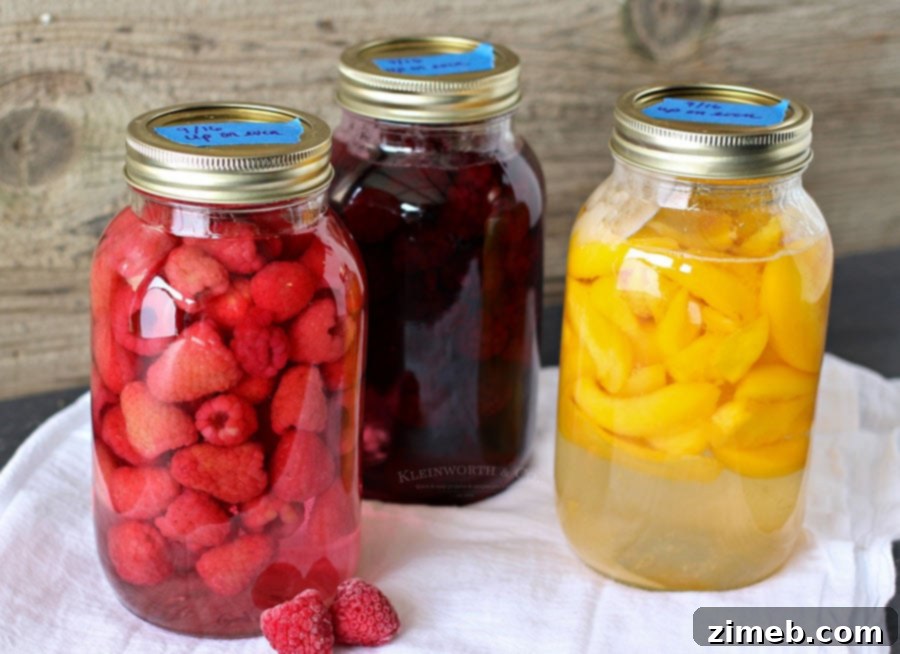
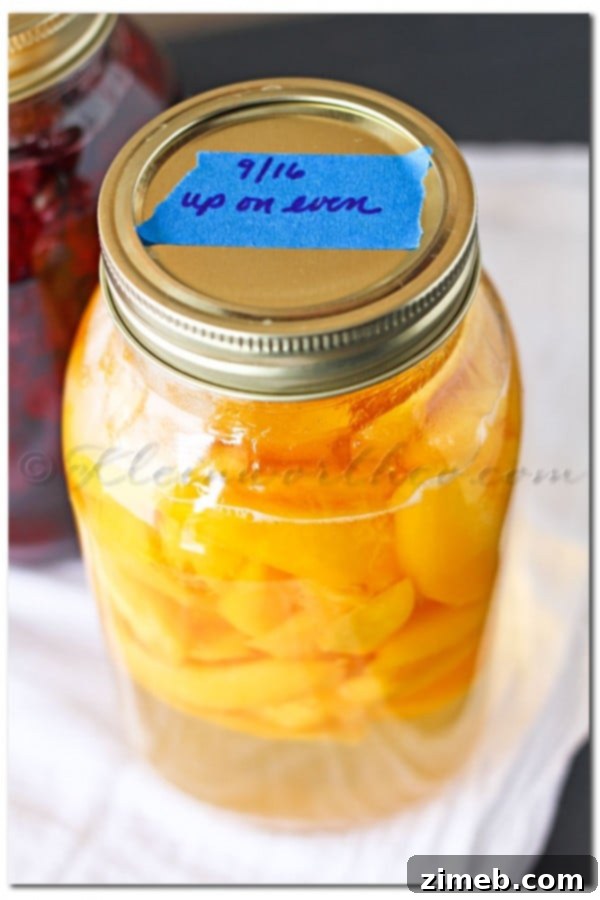
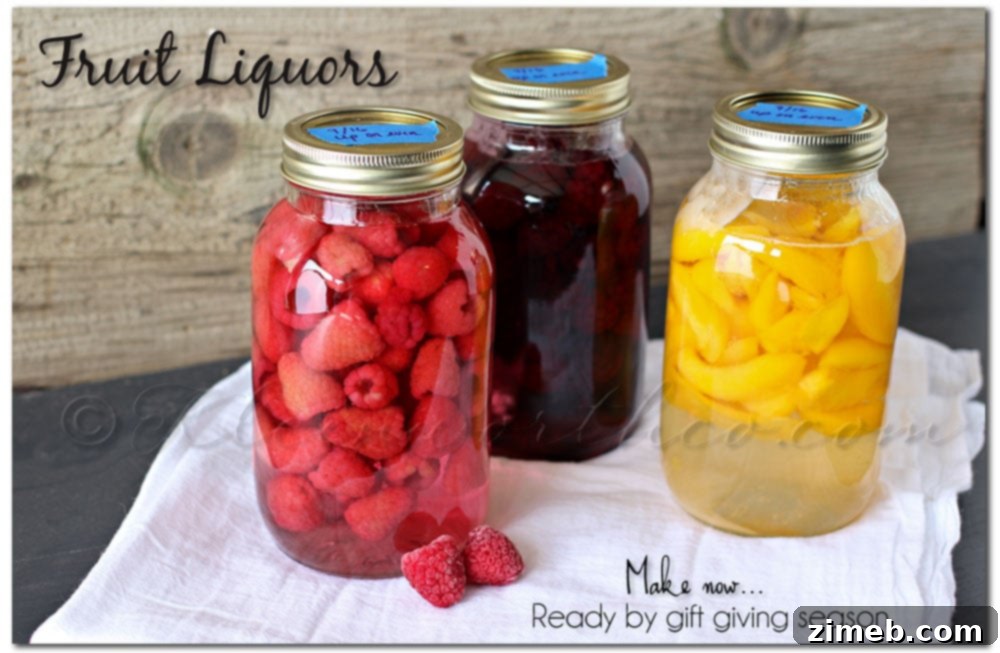
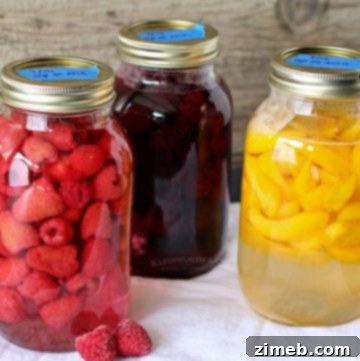
To keep track of your infusions, a simple trick is to use painter’s tape on the top of each jar. Write down the start date and a reminder of when the jar should be turned or shaken. This little note helps you remember to rotate your jars daily, ensuring even infusion and optimal flavor development – even if you miss a day or two! Consistency helps to ensure that the sugar dissolves properly and the fruit’s essence is thoroughly extracted into the vodka.
Store your infusing jars in a cool, dark place. This protects the mixture from light, which can degrade the flavors and color of the fruit. Then, simply turn, turn, turn! By regularly rotating the jars, you encourage the sugar to fully dissolve and the fruit to release its vibrant flavors. In just a couple of months, you’ll be on your way to enjoying your very own batch of exquisite homemade fruit liquors, bursting with natural goodness.
The Art of Making Homemade Liquors
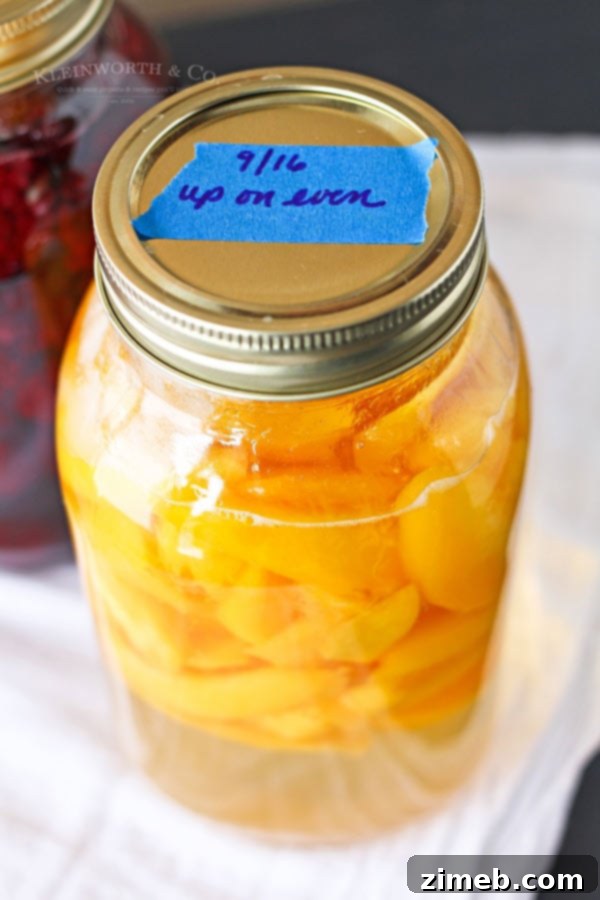
I typically prepare these infusions the night before I plan to photograph them or showcase them to friends. Even after just one night, you can often observe the sugar almost completely dissolved and the liquid beginning to take on the beautiful color of the fruit. This initial transformation is just a hint of the delightful process to come.
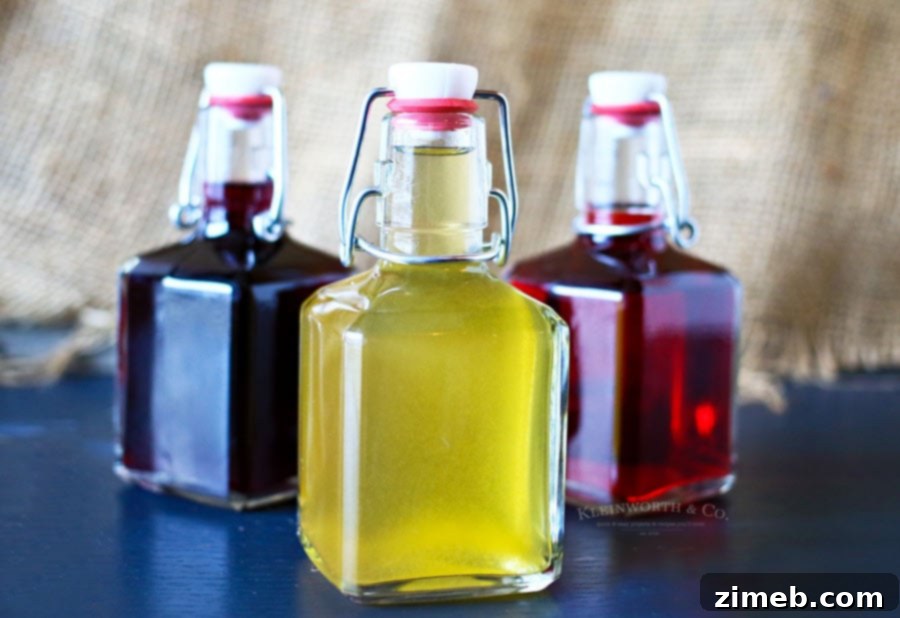
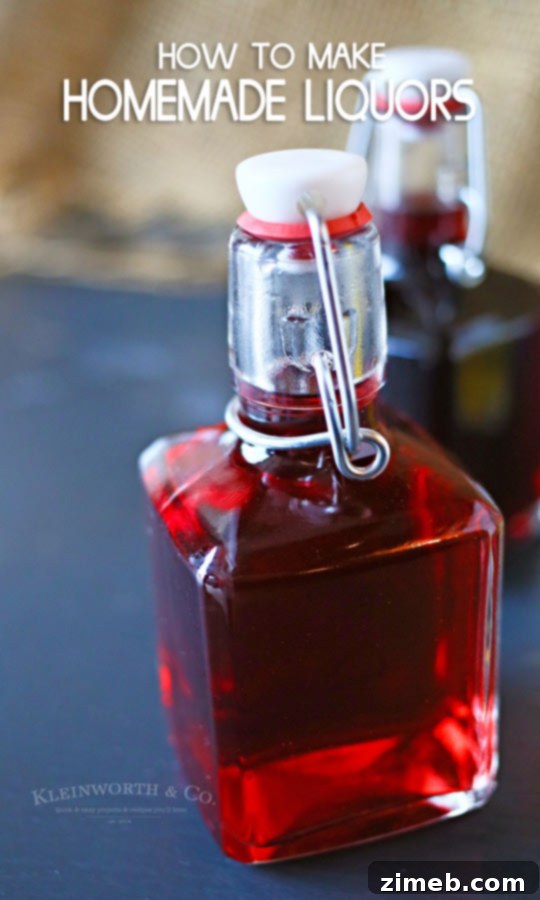
Watching this process unfold over the next few months is truly fascinating. The anticipation builds as the fruit slowly imparts its essence, creating a rich, flavorful spirit. While the infusion is underway, I have the enjoyable task of finding some truly beautiful and unique bottles for the finished product. Presentation is key when giving these as gifts, and a lovely bottle elevates the entire experience, making your homemade liquor feel even more special and artisanal.
Frequently Asked Questions About Homemade Liquors
Where can I find those charming bottles?
I completely understand the desire to find the perfect bottles for your homemade creations. The exact ones I used years ago might be hard to locate now, as I picked them up at a craft store some time ago. However, the good news is that there are many beautiful and functional options available today that are just as charming and suitable for gifting your homemade liquors.
To help you, here are some links to similar styles and other really cool bottles I’ve discovered and used since for my gift batches. They are all cute, interesting, and unique, ensuring your homemade gifts look as good as they taste.
17 Oz Glass Bottle Set with Swing Top Stoppers – These are classic and provide an excellent airtight seal.
Glass Beer Bottles with Swing Top Cap – A slightly larger option, great for bigger batches or larger gifts.
Swing Top Square Glass Bottles – Their square shape offers a modern, elegant look that stands out.
16 oz Kombucha/Beer Glass Bottles Clear Leak Proof – Versatile bottles that ensure your precious liquor remains secure and fresh.
The Step-by-Step Process for Crafting Homemade Liquors
Making homemade fruit liquor is a simple yet rewarding process. Follow these detailed steps to create your own delicious infusions:
- Prepare Your Jars: Begin by sterilizing your glass jars. This is crucial for preventing unwanted bacteria and ensuring a clean, safe infusion. Allow them to cool completely before adding ingredients.
- Add Your Fruit: Fill each jar with your chosen fruit, packing it loosely up to the neck of the jar. The amount of fruit will significantly impact the final flavor, so be generous.
- Sweeten with Sugar: Add granulated sugar. The sugar not only sweetens the liquor but also helps in extracting the fruit’s juices and natural flavors.
- Pour in Vodka: Carefully pour your chosen vodka into the jar, filling it up to the neck. Using an inexpensive, neutral-tasting vodka is often recommended as it allows the fruit flavors to truly shine without competing.
- Seal Tightly: Securely place the lid on the jar, making sure the seal is tight. This prevents evaporation and keeps your infusion pristine during the aging process.
- Label for Tracking: Attach a strip of tape to the jar and clearly write the start date on it. This simple step helps you keep track of the infusion period and ensures you turn the jar regularly.
- Choose a Storage Spot: Store the jars on your counter or in a cabinet. While a particularly sunny or dark place isn’t strictly necessary during infusion, a cool, consistent temperature is beneficial. Avoid extreme temperature fluctuations.
- Daily Flipping/Shaking: For the first three months, flip the jar over daily. This helps the sugar dissolve evenly and ensures the fruit is constantly bathed in alcohol, promoting flavor extraction. Once the fruit visibly shrinks and floats freely in the liquid, a good daily shake will suffice.
- Strain the Fruit: After the three-month infusion period, it’s time to separate the fruit from the liquor. Pour the entire contents of the jar through a colander to remove the larger fruit pieces.
- Clarify the Brandy: To achieve a clearer, smoother brandy, strain the liquid again through a coffee filter. This step removes any finer sediment or fruit particles, resulting in a more refined product.
- Bottle for Enjoyment or Gifting: Transfer your beautifully clear, homemade liquor into airtight decorative bottles. These are perfect for displaying in your home bar or packaging as elegant, personal gifts.
Embracing the Elegance of Homemade Sipping Brandy
Homemade sipping brandy is more than just a liquor; it’s an experience. Unlike commercial brandies, which often derive their fruit notes from aging processes or added flavorings, homemade fruit brandy captures the pure essence of fresh fruit. This creates a remarkably nuanced and aromatic spirit perfect for enjoying on its own.
To truly appreciate your homemade sipping brandy, serve it neat in a small snifter glass at room temperature. Allow it to breathe for a few minutes before taking your first sip. Notice the complex aroma of the fruit, perhaps with subtle notes of the vodka’s original character. The flavor profile will be rich, mellow, and wonderfully smooth, a testament to the slow infusion process. It’s an ideal digestif after a meal, a contemplative drink for quiet evenings, or a sophisticated addition to a simple cocktail. Consider pairing it with dark chocolate or a cheese platter to enhance the flavors further.
Optimal Storage for Your Homemade Liquors
Once you have carefully transferred your finished homemade liquor into its final bottles, proper storage is essential to maintain its quality and prolong its shelf life. Always store your bottles in a cool, dark place. A cabinet, pantry, or even a cellar are ideal locations.
Exposure to light and fluctuating temperatures can degrade the flavors and potentially alter the color of your liquor over time. Keeping it in a stable, dark environment ensures that the nuanced fruit flavors you’ve worked so hard to develop remain perfectly preserved. While homemade liquors don’t spoil quickly due to the alcohol content, consistent storage conditions will ensure that each sip is as delightful as the first, making your efforts truly worthwhile for an extended period.
Essential Supplies for This Homemade Liquor Recipe
Gathering your ingredients and equipment is the first step towards creating your delicious homemade liquors. Here’s what you’ll need to get started:
- Two 2-pint jars per flavor: These standard-sized canning jars are perfect for infusion, providing ample space for fruit and liquid.
- Fruit of choice: Enough to fill the jar. Popular choices include raspberries, blueberries, cherries, peaches, apricots, or even citrus zest. Choose ripe, blemish-free fruit for the best flavor.
- *Note on Apricots: If you’re making apricot brandy, you can add the apricots whole without pitting or skinning them. The pits contribute a subtle almond-like flavor.
- Granulated sugar: This is essential for sweetening and helping to draw out the fruit’s flavors.
- Vodka (least expensive, plastic bottle to fill): A neutral, inexpensive vodka works best as its mild flavor won’t overpower the delicate fruit notes. The quality of the fruit is more important than the brand of vodka for this recipe.
Recommended Products for Crafting Homemade Liquors
This Homemade Liquors recipe is so simple and delicious – and chances are, you already have many of these basic kitchen items on hand. However, if you’re new to making liquors at home, you might feel a little nervous about where to start with supplies. Don’t be! You’re going to absolutely love the incredible results these yield, especially when it comes to the gift-giving season.
To ensure your success and make the process even more enjoyable, I’ve compiled a list of the items I personally find indispensable when crafting this delightful recipe. Having the right tools makes all the difference, especially when you’re aiming for that perfect homemade touch.
- 17 Oz Glass Bottle Set with Swing Top Stoppers: Ideal for gifting and sealing your infusions.
- Glass Beer Bottles with Swing Top Cap: A great, sturdy alternative for bottling.
- Swing Top Square Glass Bottles: For an elegant, space-saving presentation.
- 16 oz Kombucha/Beer Glass Bottles Clear Leak Proof: Versatile and practical for various uses.
- Granulated Sugar: The primary sweetener for your liquors.
- Jars: For the initial infusion process, any wide-mouth glass jars will work.
- Measuring Cups: For accurate dry ingredient measurement.
- Wet Ingredient Measuring Cup: Essential for precise liquid measurements.
- Measuring Spoons: For smaller quantities of sugar or other additives.
If you adore this Homemade Liquors recipe, you’ll undoubtedly appreciate these other quick and easy liquor recipes too. Each link below leads to an easy, printable recipe that promises more delightful concoctions for your home bar or gift-giving needs!
Frosted Sugar Cookie Liquor
Homemade Kahlua
Homemade Amaretto Recipe
The Simplicity and Reward of Easy Homemade Liquor
There’s an undeniable charm and satisfaction in making your own liquor. It’s a process that combines patience with creativity, resulting in a product that’s uniquely yours. The beauty of these easy homemade liquor recipes lies in their accessibility – you don’t need specialized equipment or advanced distilling knowledge. Just a few basic ingredients, some time, and a little attention, and you can transform everyday fruits and spirits into something truly extraordinary.
The flavor possibilities are endless. Beyond the classic fruit brandies, you can experiment with spices like cinnamon or star anise, or herbs like mint or rosemary, to create complex and aromatic infusions. These homemade concoctions are perfect for expanding your cocktail repertoire, adding a personal touch to your mixed drinks, or simply enjoying as a standalone spirit. The journey from fresh fruit to a perfectly aged sipping brandy is a rewarding one, culminating in a delicious product that will impress anyone lucky enough to try it. It truly makes for the ultimate personalized gift, demonstrating care and thoughtfulness that store-bought items can’t replicate.
If you love this Homemade Liquors Recipe as much as I do, please write a five-star review, and be sure to help me share on Facebook and Pinterest! Your support helps me bring more delicious recipes and creative ideas to you.
CONNECT WITH KLEINWORTH & CO!
FB, Pinterest, IG, Email Subscription
Rate this Recipe
How to Make Homemade Liquors
Ingredients
- One – 2 pint jar per flavor
- 2-1/2 cups fruit of choice or enough to fill the jar (e.g., raspberries, cherries, peaches)
- *Note: If making apricot brandy, you can add whole apricots without pitting or skinning.
- 12 tbsp granulated sugar
- Vodka (least expensive, plastic bottle to fill – neutral taste is best)
Instructions
-
Sterilize your jars and allow them to cool completely.
-
Fill the sterilized jars with your fruit of choice up to the neck.
-
Add the granulated sugar into the jar with the fruit.
-
Pour vodka into the jar, filling it up to the neck over the fruit and sugar.
-
Place the lid on the jar, ensuring it creates a tight, secure seal.
-
Add a strip of tape to the lid and write the current date on it for tracking.
-
Store the jar on your counter or in a cool, dark cabinet. It doesn’t need to be in a particularly sunny or completely dark place during the infusion.
-
Flip the jar every day for 3 months to encourage even infusion and sugar dissolution. Once the fruit has shrunk and is floating freely, a good daily shake is sufficient.
-
After the 3 months, strain out the fruit pieces by pouring the liquid through a colander.
-
For a clearer brandy, strain the liquid again, this time through a coffee filter placed inside a funnel.
-
Transfer the finished homemade liquor into airtight decorative bottles if you plan to give them as gifts or store them for personal enjoyment.
Nutritional information for the recipe is provided as a courtesy and is approximate. Please double-check with your own dietary calculator for the best accuracy. We at Yummi Haus cannot guarantee the accuracy of the nutritional information given for any recipe on this site.