
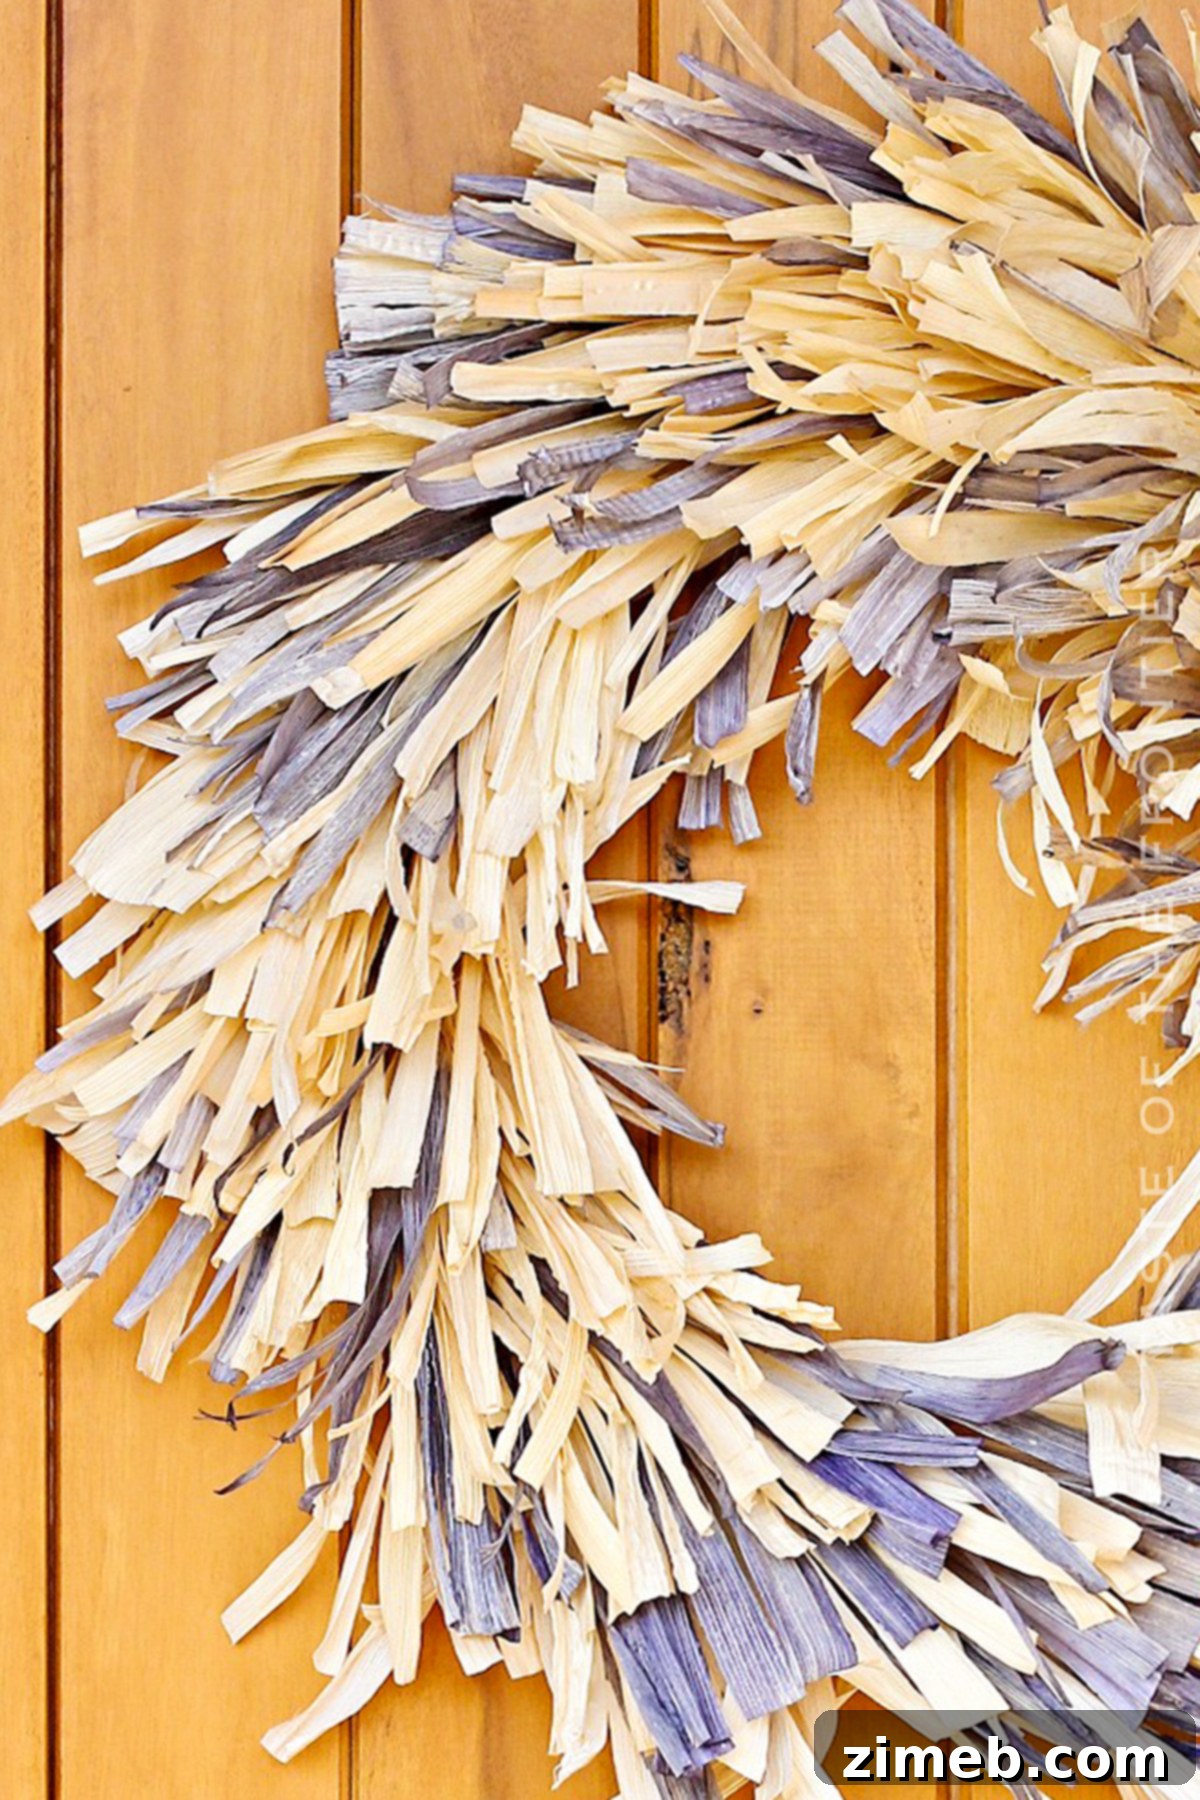
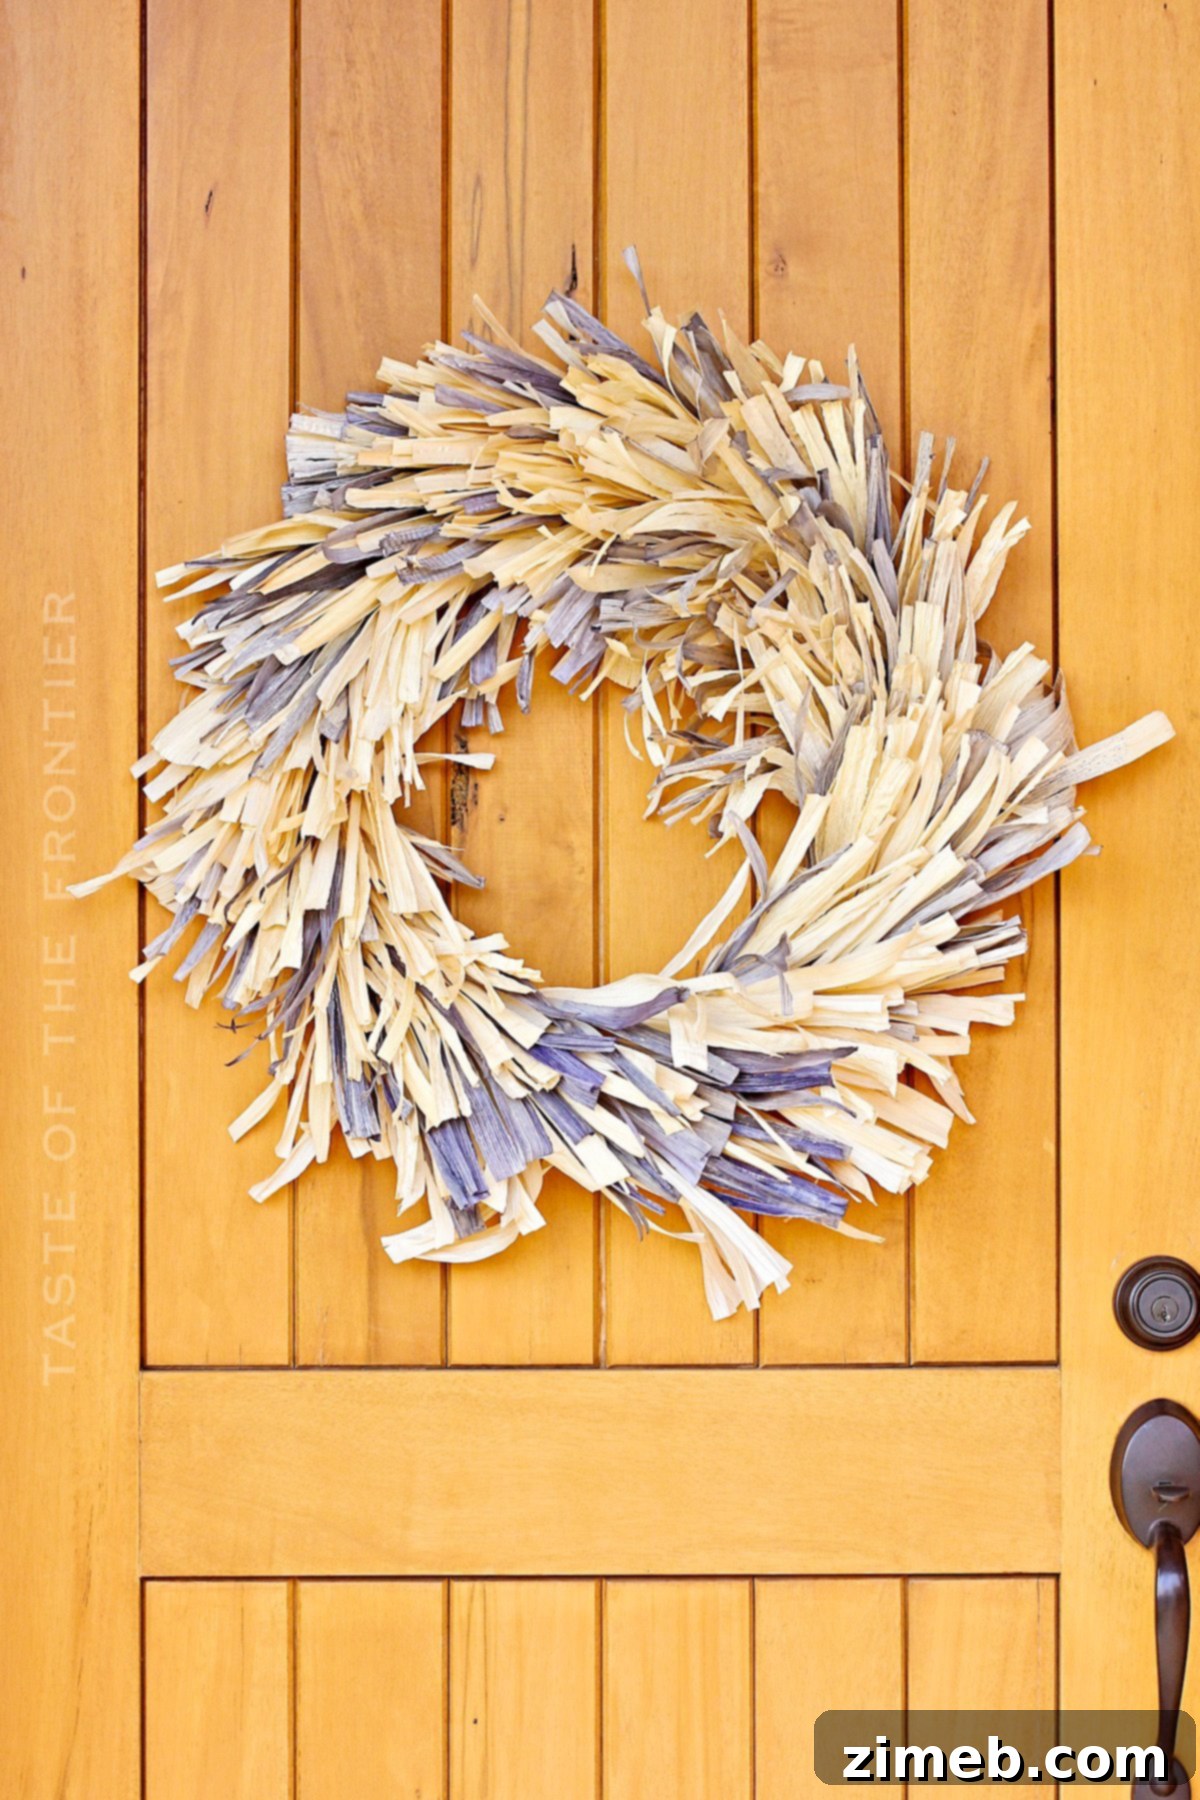
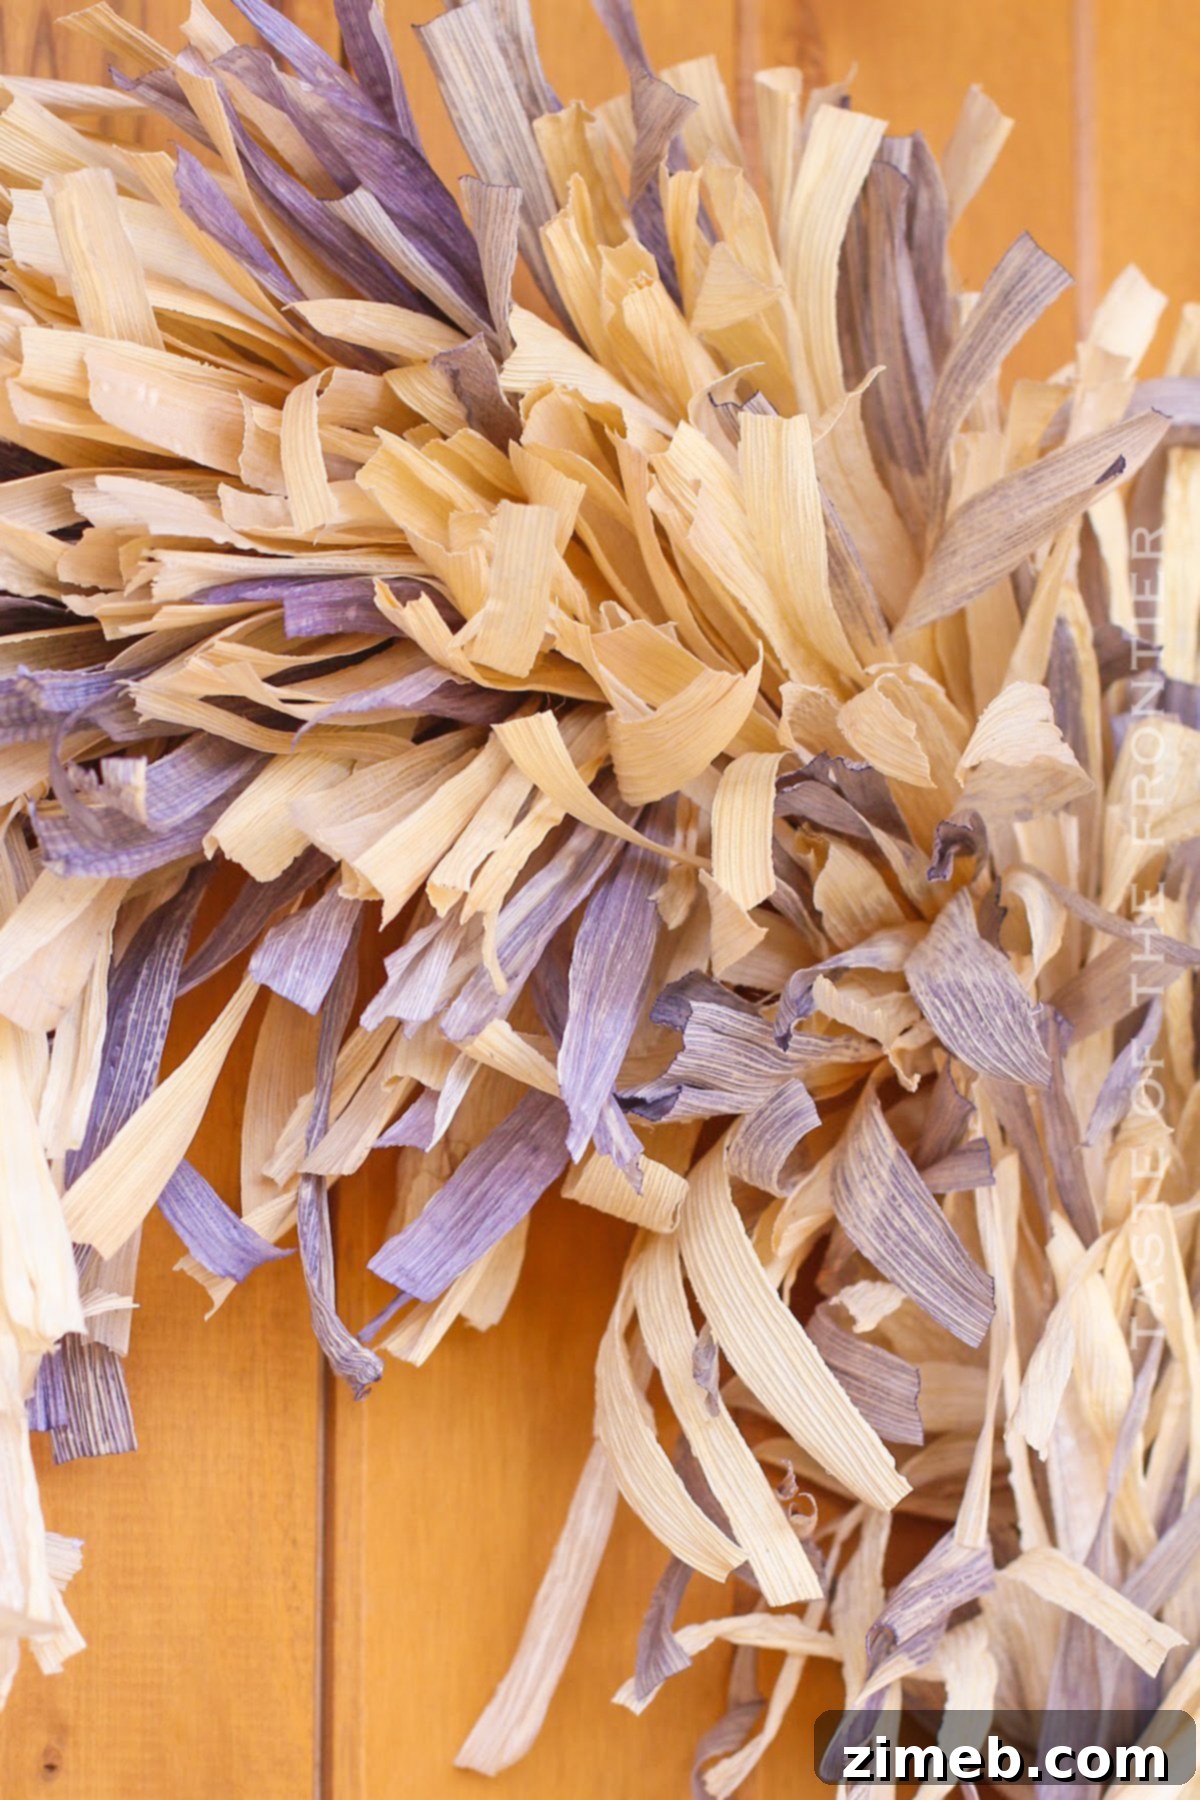
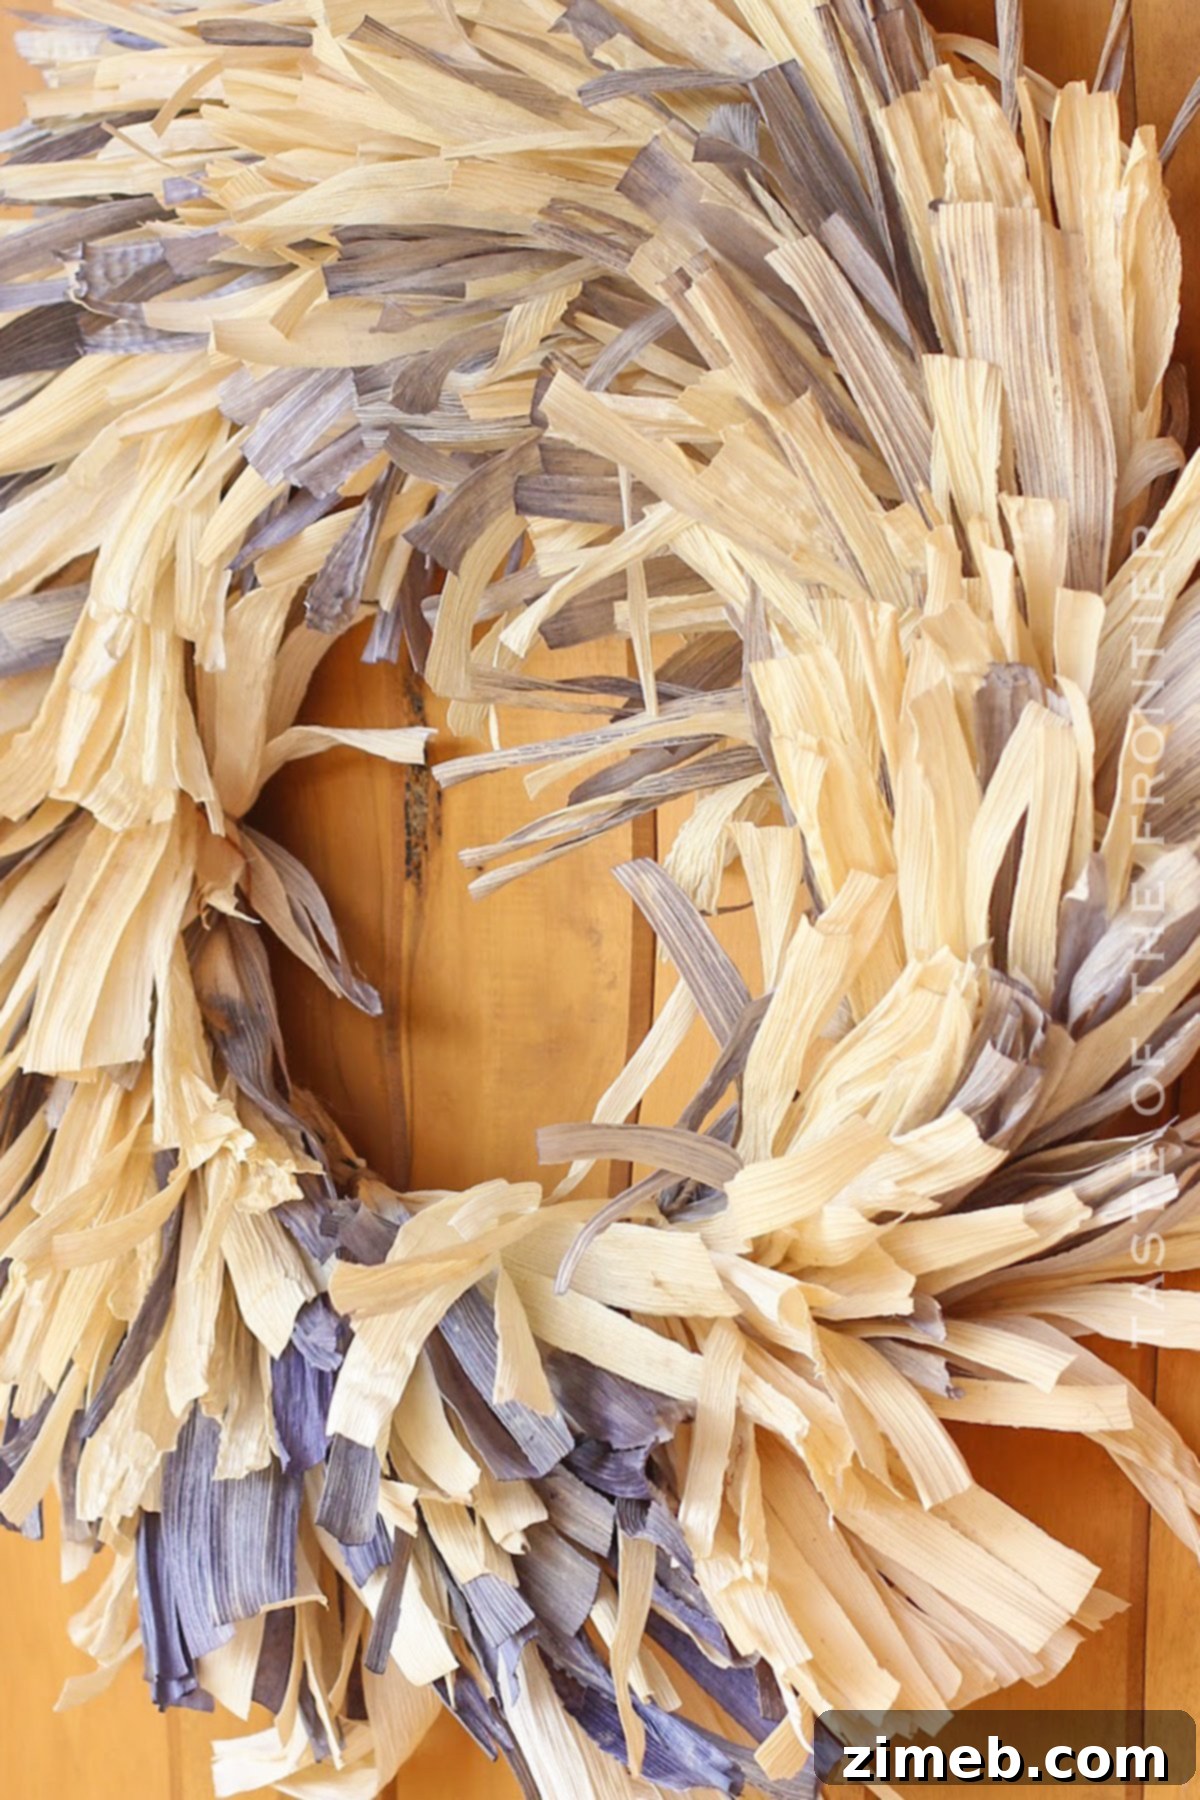
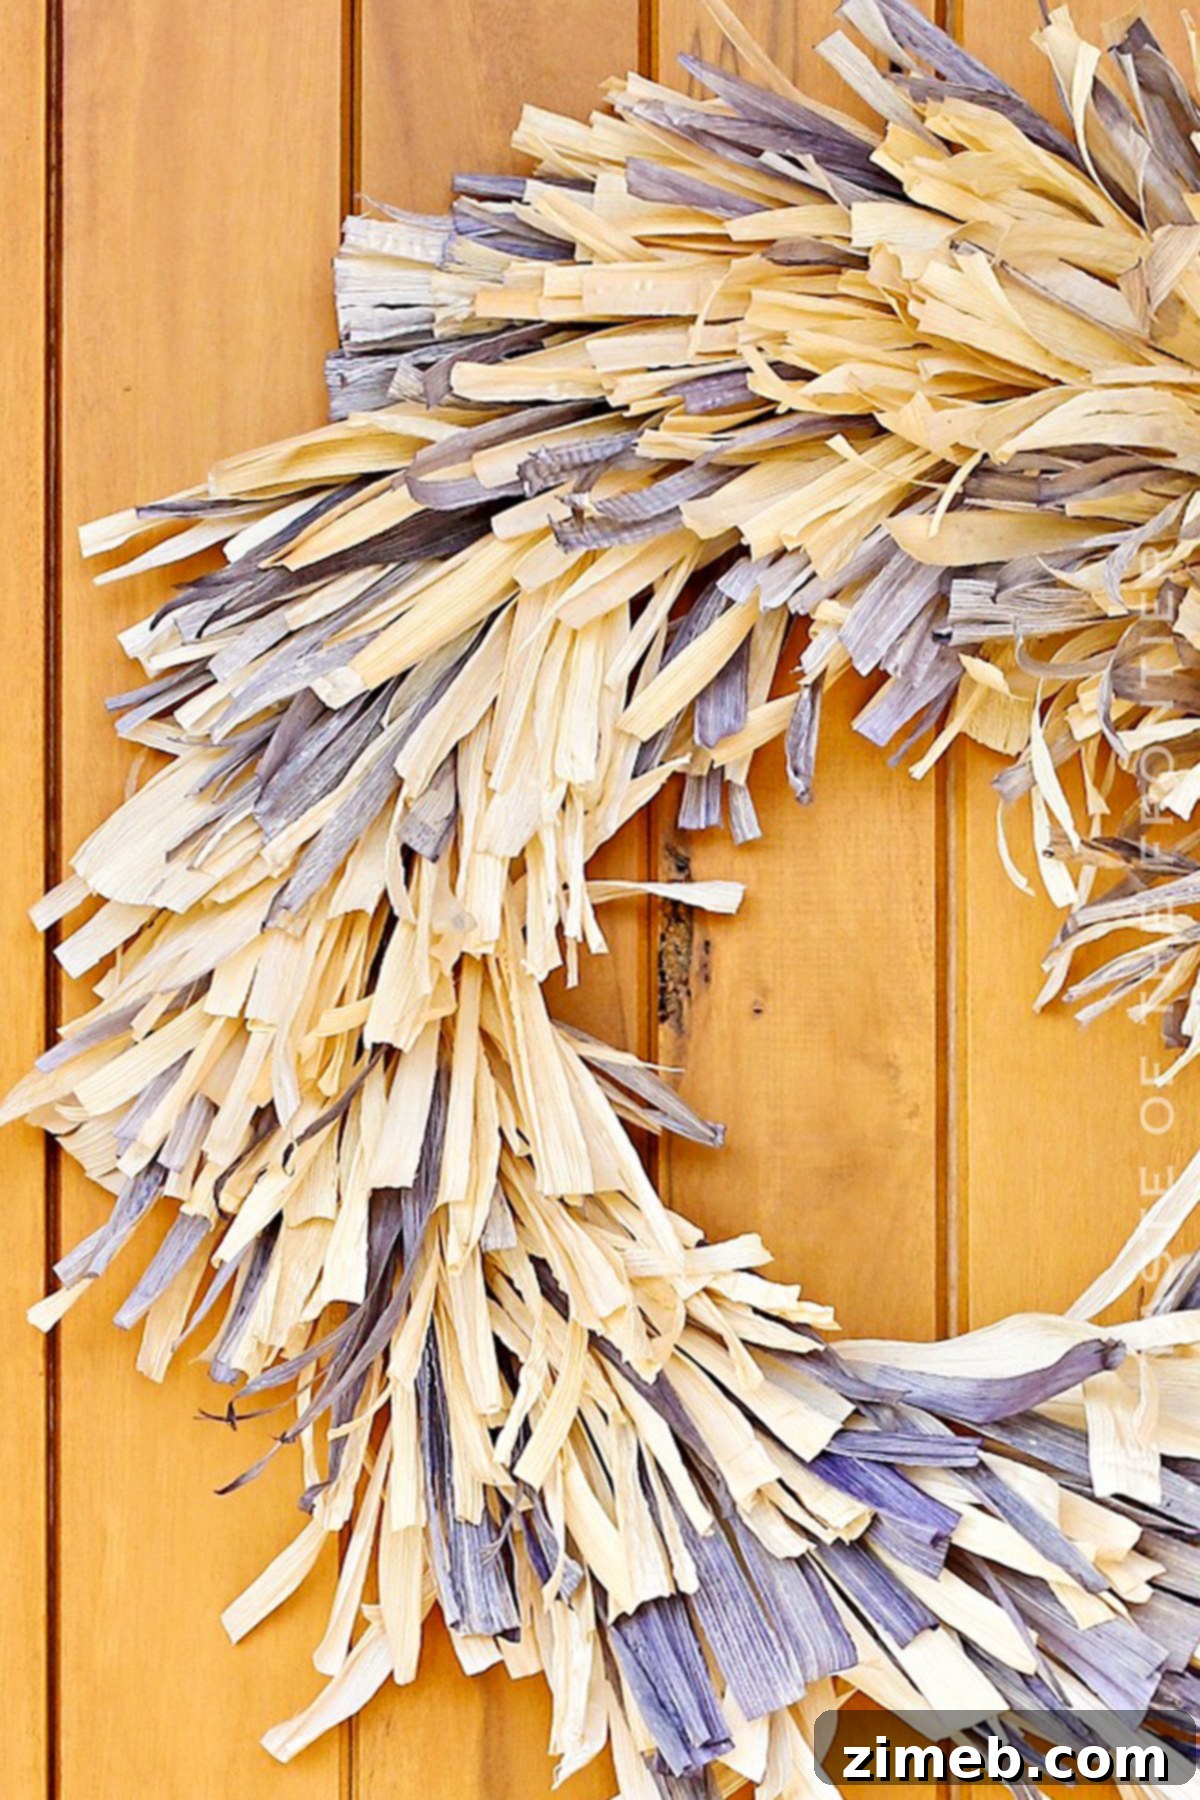
This is a beautifully handmade Frayed Corn Husk Wreath that is the perfect addition to your home this fall. It will last for years to come, offering a unique touch of rustic elegance.
As the leaves begin to turn and the air grows crisp, there’s an undeniable charm that signals the arrival of autumn. Wreaths are a quintessential part of fall decorating, offering a warm welcome and a touch of seasonal beauty to any home. This comprehensive tutorial will guide you through creating a stunning Frayed Corn Husk Wreath – a delightful, rustic alternative to conventional wreaths that truly captures the essence of the season.
You’ll find that this project requires only a few accessible materials, and the steps are straightforward enough for crafters of all skill levels, even absolute beginners. It’s an incredibly rewarding DIY endeavor that allows you to infuse your personal style into your fall decor. Imagine the admiring glances from friends and neighbors as they discover your beautifully handcrafted creation! So, gather your supplies and prepare to add a bespoke piece of autumn artistry to your home.
PIN THIS TO SAVE FOR LATER
I genuinely adore the fall season. There’s something magical about the cooler weather, the vibrant palette of autumn colors, and the joy of decorating my home to reflect this cherished time of year. Each year, I make it a tradition to craft a new Corn Husk Wreath, and every time, I find a renewed appreciation for this versatile material. Corn husks offer an earthy, natural appeal that perfectly complements the autumnal aesthetic.
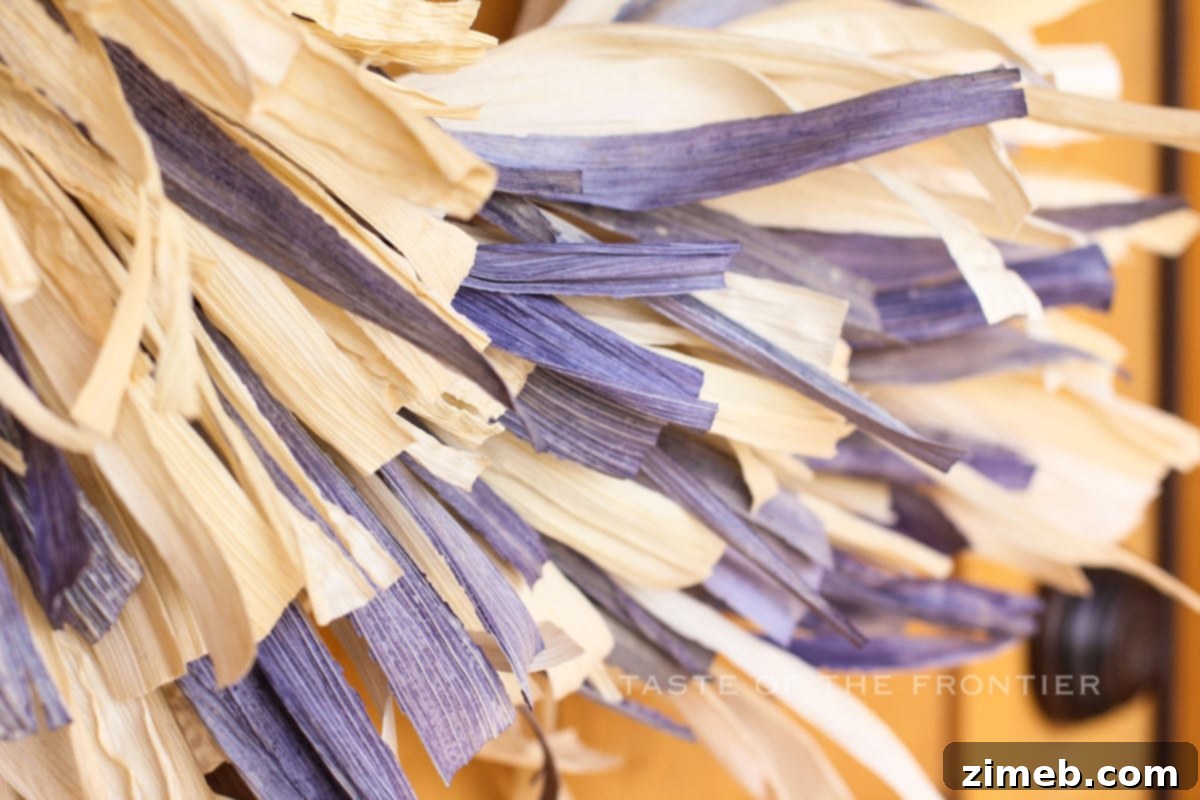
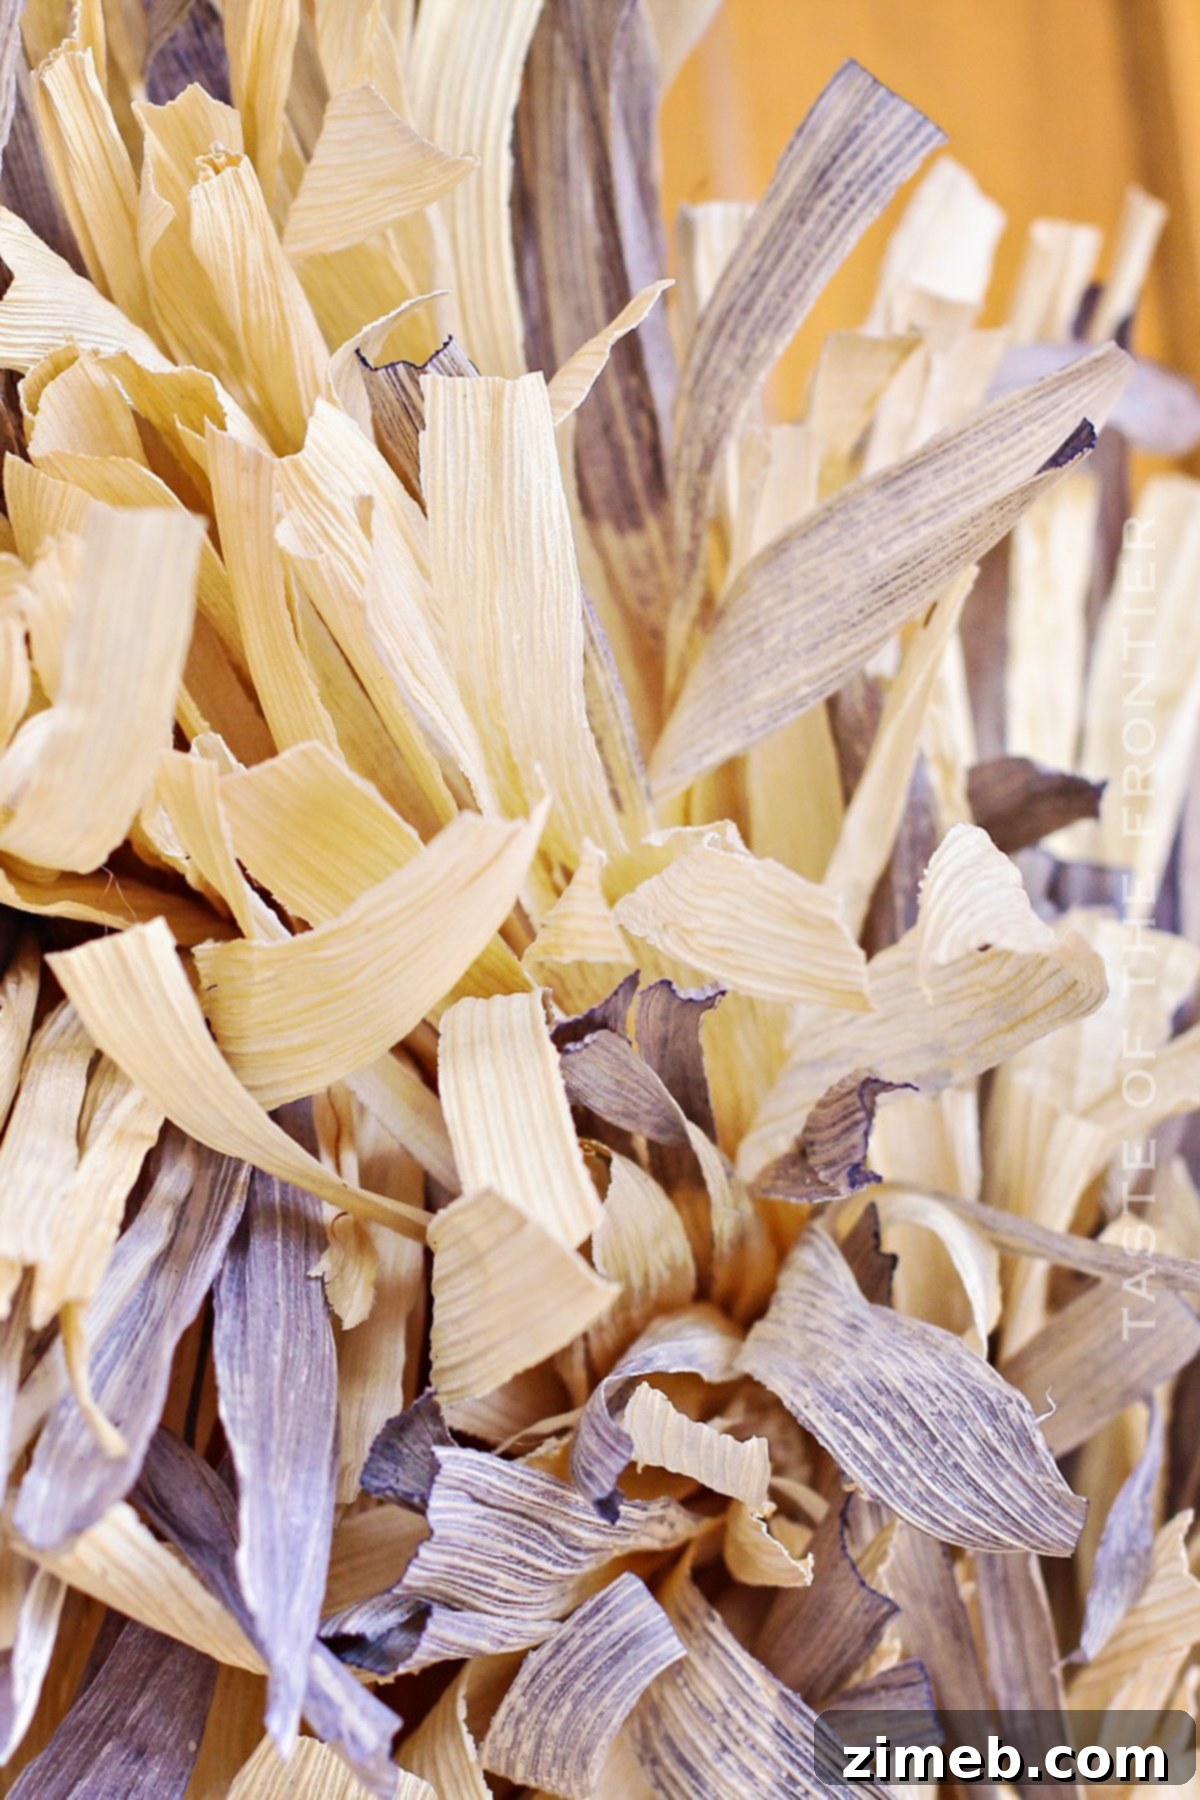
The warm, inviting tones of natural corn husks intrinsically evoke images of cozy fall evenings and bountiful harvests. For this particular wreath, I decided to experiment a little with color, introducing a subtle yet striking element by soaking some of the husks in navy blue fabric dye. The tinting process worked wonderfully, creating a faded blue hue that beautifully contrasts and complements the wheat-like tones of the undyed husks. This unique combination adds depth and a touch of modern farmhouse charm, making the wreath truly stand out.
Crafting Charming Wreaths for Fall
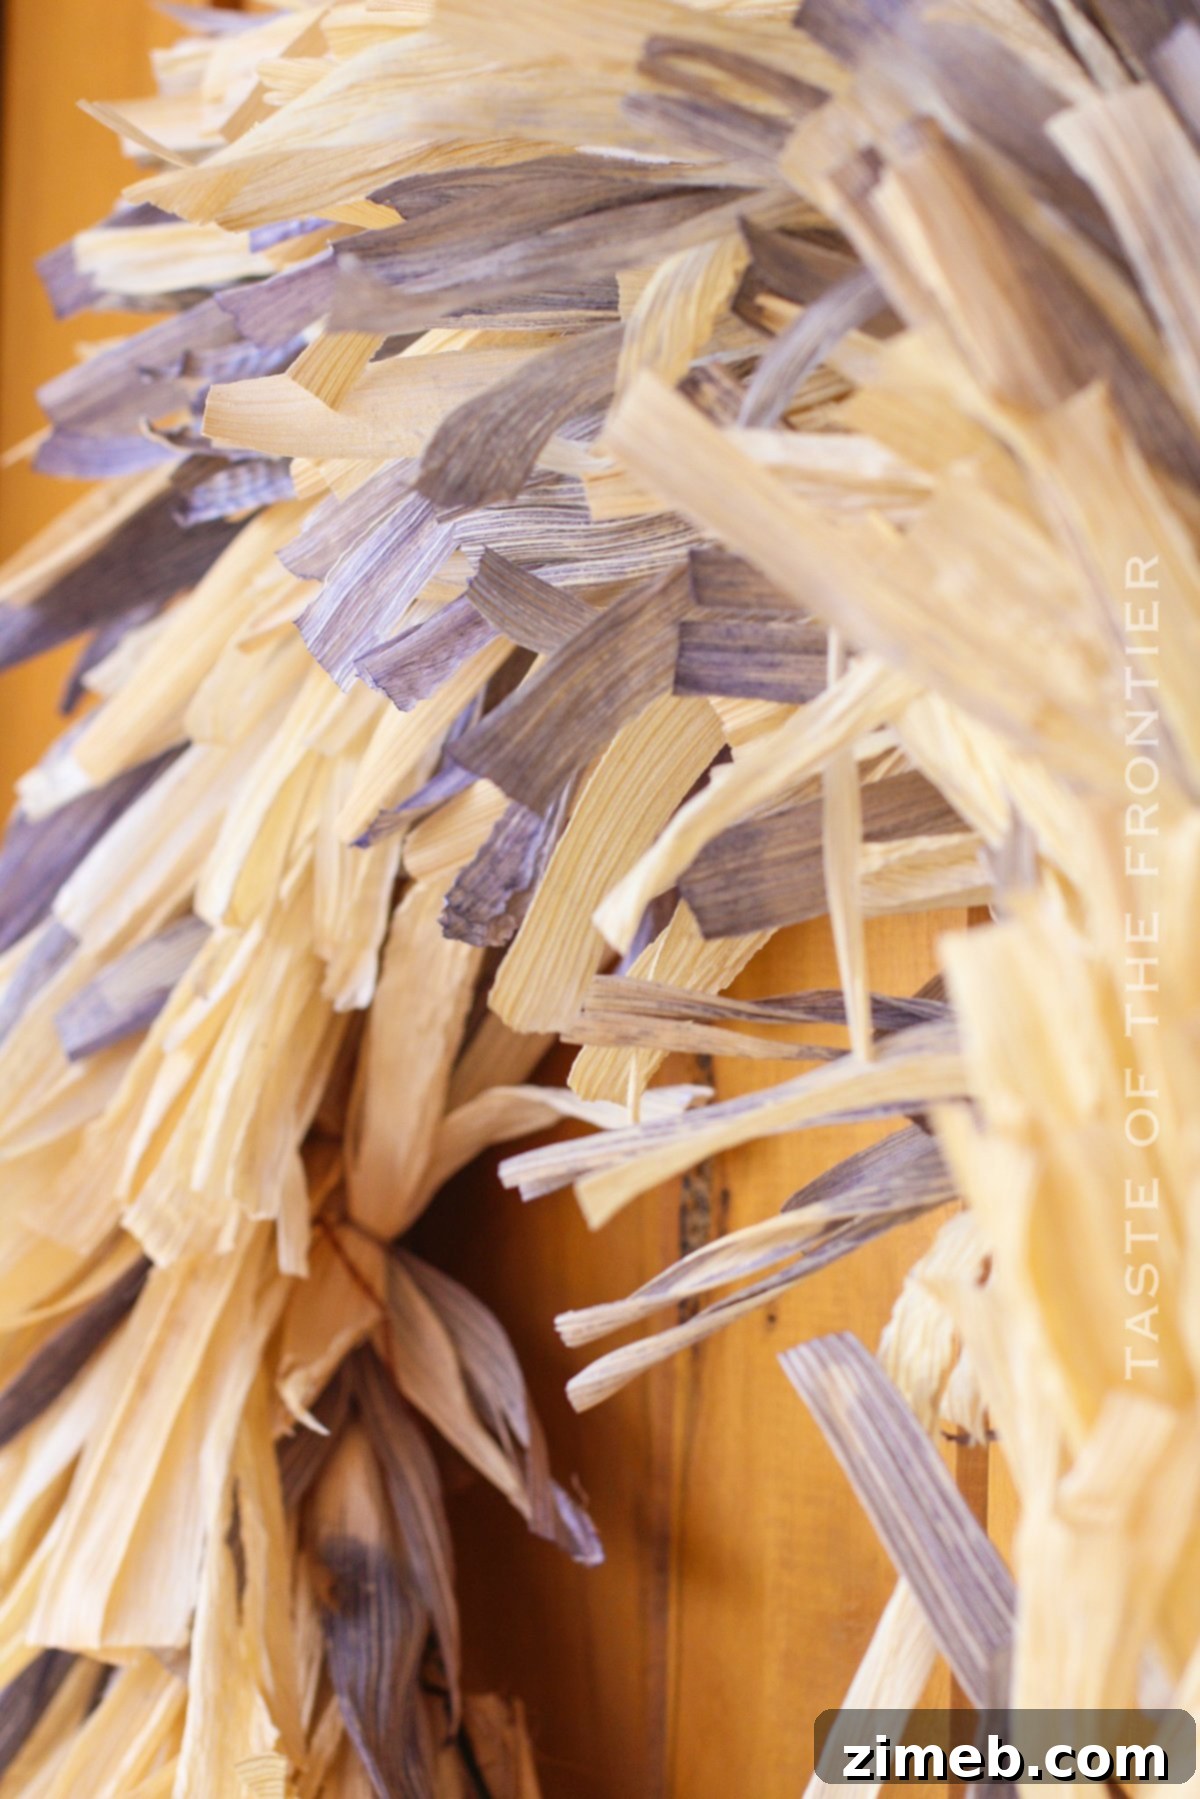
While you see this magnificent wreath gracing my front door in these photos, its generous size and impactful design actually make it an ideal statement piece for above a fireplace mantle. However, I wasn’t quite ready to fully deck out the mantle for fall when I took these pictures; I’m still in the process of creating a few more complementary decor items. So, for photographic purposes, the front door provided the perfect backdrop to showcase its beauty. I’m excited to continue experimenting with its placement around my home to find its permanent spot for the season. The versatility of a well-crafted corn husk wreath means it can enhance various spaces, from entryways to living areas, adding a touch of natural artistry wherever it’s displayed.
Creating your own fall decor, such as this corn husk wreath, offers not only a sense of accomplishment but also allows for complete customization to match your home’s unique style. Whether you prefer a rustic farmhouse look, a more modern aesthetic with subtle color accents, or a completely natural arrangement, corn husks provide an excellent canvas. Their durability ensures that your handmade creation will last not just one season, but many, becoming a cherished part of your annual fall traditions.
This post contains some affiliate links. Click here to read my full disclosure policy.
For this project, I opted for a sturdy large wire wreath form, which I serendipitously acquired from Michael’s using a $100 gift card I had won. You might recall my Instagram post featuring a rather quirky witch display from that memorable shopping trip! I must say, I was incredibly disciplined that day. With careful planning and mindful selections, I managed to spend precisely $100.19, including tax. It was a testament to thoughtful shopping!
I meticulously considered each item I placed in my cart, envisioning exactly how I would incorporate it into future projects. This strategic approach allowed me to stock my craft cabinet with a fantastic array of project staples that will serve me well throughout the entire season. A good quality wreath form is essential for a lasting creation, providing the strong foundation upon which your corn husks will be securely attached. This initial investment in quality materials ensures your handmade wreath will maintain its shape and beauty for many autumns to come.
Frequently Asked Questions About Crafting with Corn Husks
Where can I find corn husks for crafting?
Corn husks are surprisingly easy to find, typically located in the international food section of most grocery stores. They are often sold dried and packaged, primarily used for making tamales. While prices can fluctuate, a decently large bag used to cost around $2-5. Currently, you might find them closer to $8 a bag, but it’s always worth checking discount stores like dollar stores, where you might stumble upon a much better deal. For this frayed corn husk wreath, you will need at least 2-3 bags, depending on the desired fullness and density of your final creation. If you want a lush, abundant look, lean towards three bags. Consider buying an extra bag if you plan to dye some for a multi-toned effect, ensuring you have enough to achieve your vision without a mid-project scramble.
How long does it take to make this corn husk wreath?
The actual assembly of the wreath can take anywhere from 2-4 hours, depending on your crafting speed and the desired fullness. However, the preparation of the corn husks, particularly if you’re dyeing them, requires several hours of soaking, potentially overnight. Factor in the drying time for the completed wreath, which can be 24-48 hours, and you’re looking at a multi-day project, though much of that time is passive.
Can I use fresh corn husks?
It’s generally recommended to use dried corn husks for this type of wreath. Fresh husks contain a lot of moisture and will shrink significantly as they dry, which can cause them to pull away from the twine or distort the wreath’s shape. Dried husks, once rehydrated, become pliable and hold their shape much better after drying.
NOTE: TIE THE HUSKS AS TIGHTLY AS YOU CAN – THEY WILL SHRINK AS THEY DRY. If they are not secured really tightly, they will eventually fall out of the twine, compromising the integrity of your beautiful wreath. Ensuring maximum tightness during assembly is crucial for longevity.
Frayed Corn Husk Wreath: Essential Supply List
Before embarking on this delightful crafting journey, ensure you have all the necessary components. Gathering your supplies beforehand will make the process smooth and enjoyable.
- Large Wire Wreath Form: A sturdy foundation is key for a durable wreath. A wire form allows for easy attachment of the husks and provides structure.
- 2-3 Bags of Corn Husks: Depending on how full you desire your wreath, plan for at least two to three bags. These dried husks are the star of our project.
- Fabric Dye – Dark Blue (Optional): To achieve the charming tinted husks, a fabric dye in your chosen color (dark blue shown here) is needed. Experiment with autumnal shades like burnt orange or deep burgundy for variations.
- Twine: Natural twine is perfect for securing the corn husks to the wreath form, blending seamlessly with the rustic aesthetic. Ensure it’s strong enough to hold tightly.
- **Additional Recommended Tools:** Scissors (for cutting twine and fraying husks), a large bowl or bucket (for soaking/dyeing), heavy objects (to weigh down husks), paper towels (for drying), and rubber gloves (if dyeing).
How to Hang Your Beautiful Corn Husk Wreath
Once your gorgeous frayed corn husk wreath is complete and thoroughly dry, it’s time to display it! If you’re using the recommended wire form, you’ll find it incredibly convenient to hang. Its design allows it to slide effortlessly onto a standard hook or nail, making installation a breeze. This method ensures your wreath hangs securely and beautifully without any additional steps.
However, if you choose a different type of wreath form that doesn’t offer a ready-made hanging solution, there’s an easy workaround. Simply use a piece of your natural twine to create a hanging loop. Tie the twine securely to the back of the wreath form, forming a loop large enough to fit comfortably over a hook or nail. This ensures that no matter your wreath form choice, you can proudly display your handmade fall masterpiece with ease. Consider placing it on your front door, above your mantle, or as a focal point on an accent wall to welcome the autumn season into your home.
Detailed Steps to Prepare Corn Husks for Crafting
Proper preparation of your corn husks is crucial for a pliable, easy-to-work-with material and ensures the dye adheres beautifully. Follow these steps carefully to get your husks ready for assembly:
- Begin by selecting a large bowl or bucket and filling it generously with water. Ensure there’s enough water to fully submerge the husks you intend to dye.
- If you’re opting for colored husks, add a few drops of your chosen fabric dye to the water. Stir thoroughly to ensure the dye is evenly dispersed throughout the water. You can adjust the amount of dye to achieve your desired intensity.
- Place approximately one-third of your corn husks into the tinted water. Corn husks tend to float, so it’s essential to place something heavy, like a plate or another bowl, on top of them to keep them fully submerged. This ensures even absorption of the dye.
- Allow the husks to soak in the dye for several hours, or even overnight, until they achieve the desired color. Check periodically to monitor the color saturation. For darker shades, longer soaking times may be necessary.
- Once the dyed husks reach your preferred color, carefully remove them from the water. Gently pat them dry with paper towels, being cautious to avoid drips that could stain surfaces or clothing.
- Next, soak the natural (undyed) husks in a fresh bowl of clean water. Follow the same procedure as with the dyed husks, ensuring they are fully weighted down to become pliable. This rehydration process makes them soft and much easier to manipulate without tearing.
- After the natural husks have softened, remove them from the water and pat off any excess moisture using paper towels. They should now be flexible and ready for crafting.
Step-by-Step Guide: How to Make Your Frayed Corn Husk Wreath
With your corn husks prepared, it’s time to bring your vision to life! This assembly process involves a repeating pattern to build fullness and texture.
- Work with three corn husks at a time: typically, one dyed husk positioned between two natural husks. Bunch them tightly together at one end, creating a small bundle.
- Take a piece of twine and securely tie this bundle of husks to the inside wires of your four-wire wreath form. Ensure the knot is very tight, as the husks will shrink slightly when they dry, and loose ties can cause them to detach.
- Repeat the bundling process, but this time, attach the new bundle to the outer wires of the wreath form. Alternate between the inner and outer wires to create a balanced and full appearance.
- Once each bundle is tied on, gently tear the ends of the husks into thin strips. This creates the signature “frayed” look, adding texture and movement to your wreath. Be careful not to tear too far up the husk.
- Continue repeating steps 1-4 (referring to the original instructions’ steps 8-11, which are now our combined steps 1-4), making sure to overlap the bundles of husks. The degree of overlap will determine how thin or full your wreath becomes. Aim for consistent spacing and density for an even look.
- After you have assembled the entire wreath, carefully place it in a warm, dry spot to allow the husks to dry completely. It is crucial to lay the wreath flat during this drying phase. If you attempt to dry it while hanging, the husks may sag and distort the wreath’s shape. As the husks dry, their ends will naturally curl a bit, adding a beautiful, organic touch to your finished masterpiece. Allow 24-48 hours for complete drying before displaying.
If you love this easy-to-make frayed corn husk wreath, you’re going to adore these other charming fall crafts too. Explore the delightful ideas below to further enhance your seasonal decor!
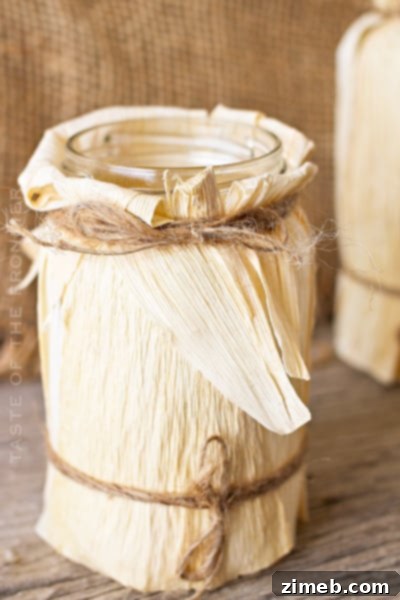
Corn Husk Luminaries
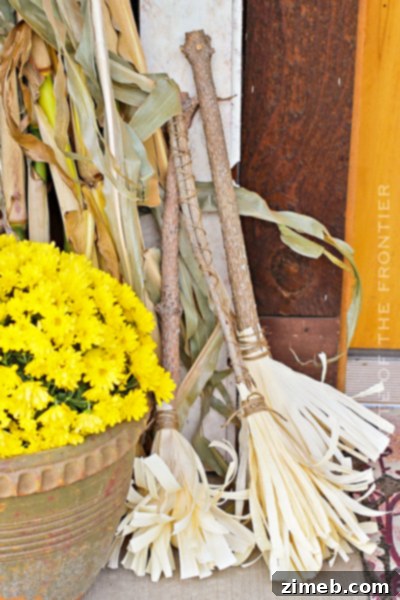
Corn Husk Brooms
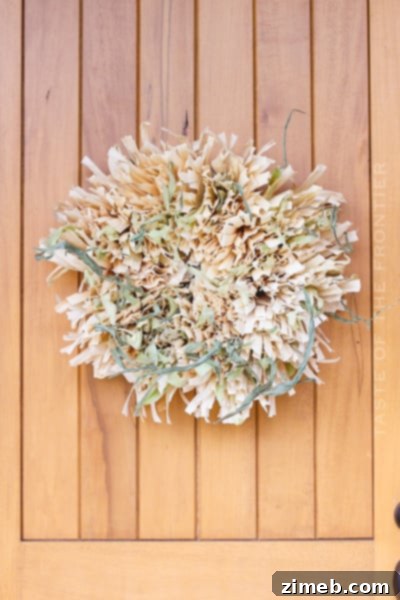
Raw Corn Husk Wreath
Raven Wreath
Metallic Glam Halloween Porch Decor
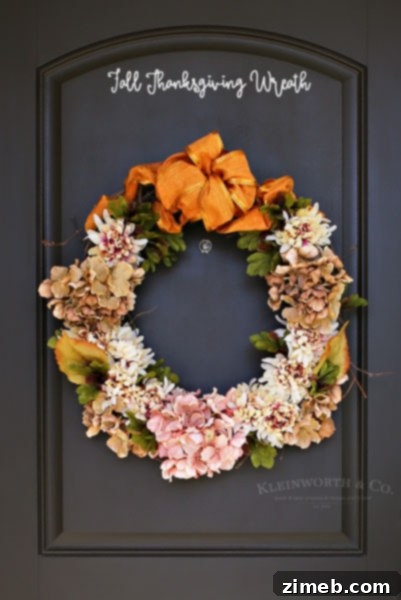
Thanksgiving Fall Wreath
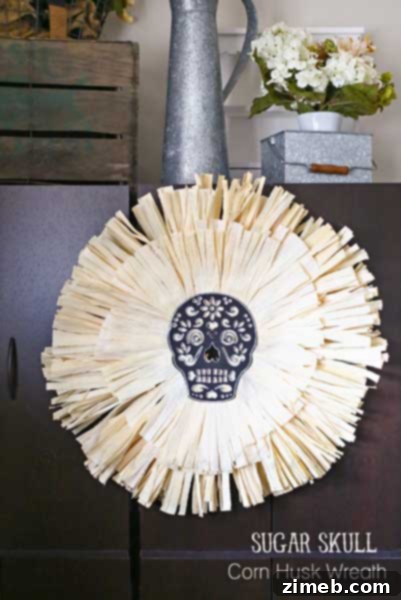
Sugar Skull Corn Husk Wreath
CONNECT WITH YUMMI HAUS!
Be sure to follow me on my social media, so you never miss a post, exciting updates, or new DIY inspirations!
Substack, FB, Pinterest, IG, Email Subscription