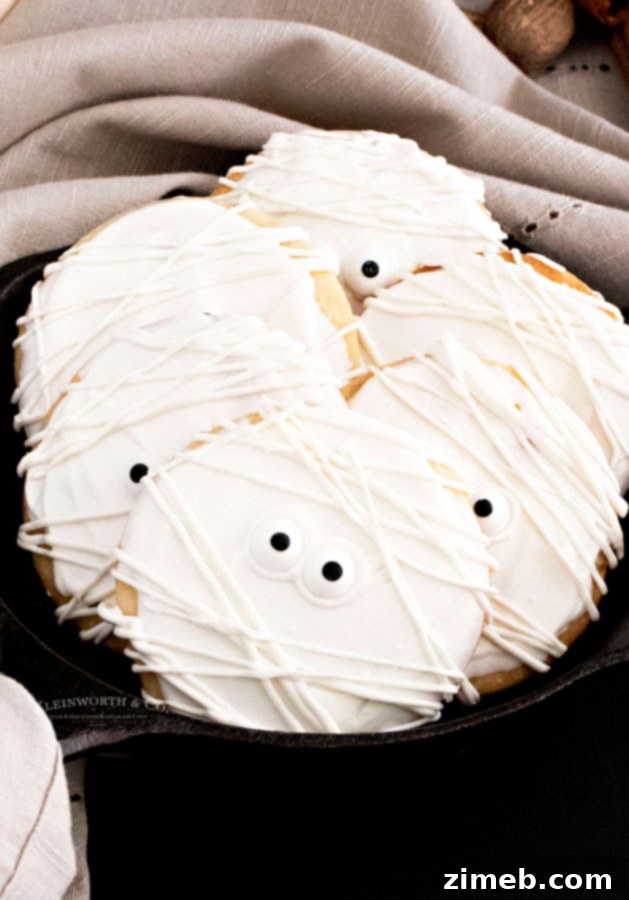
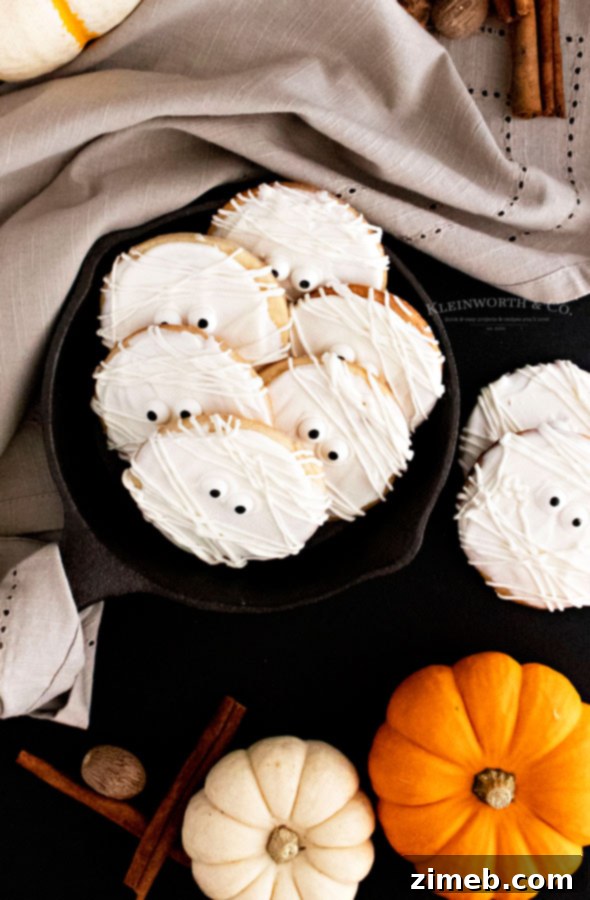
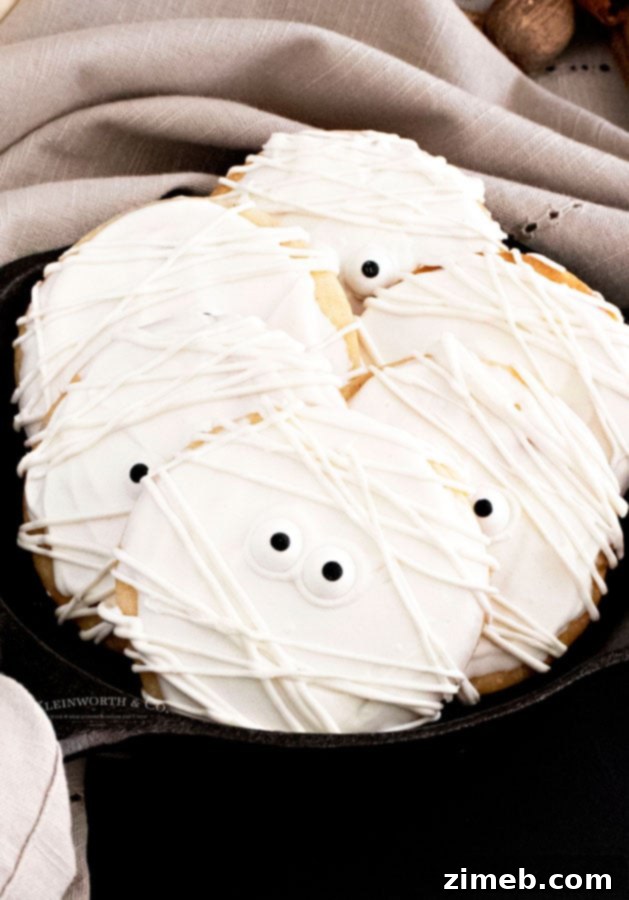
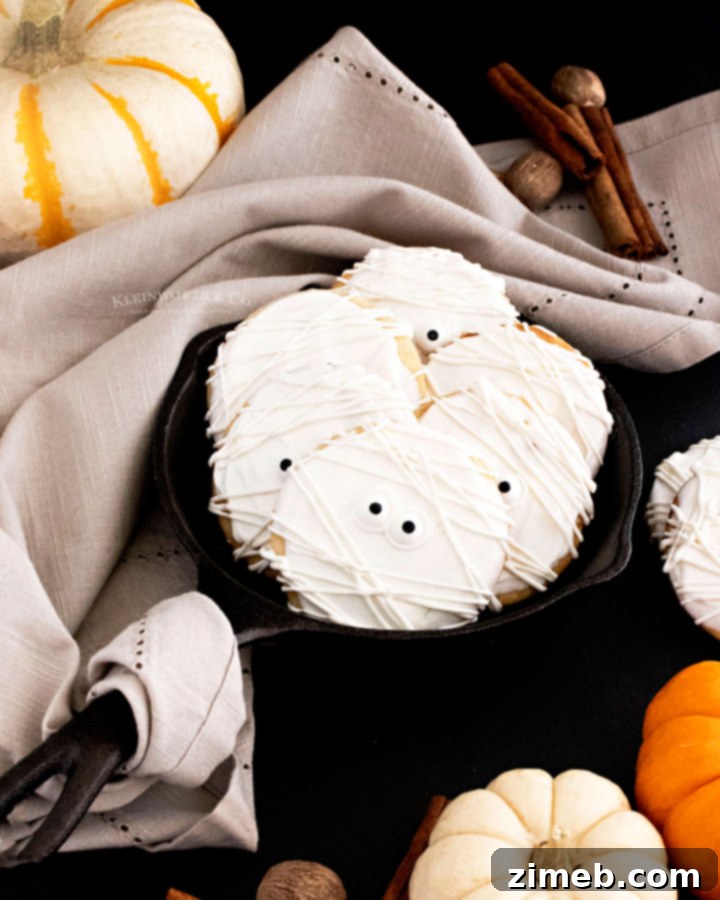
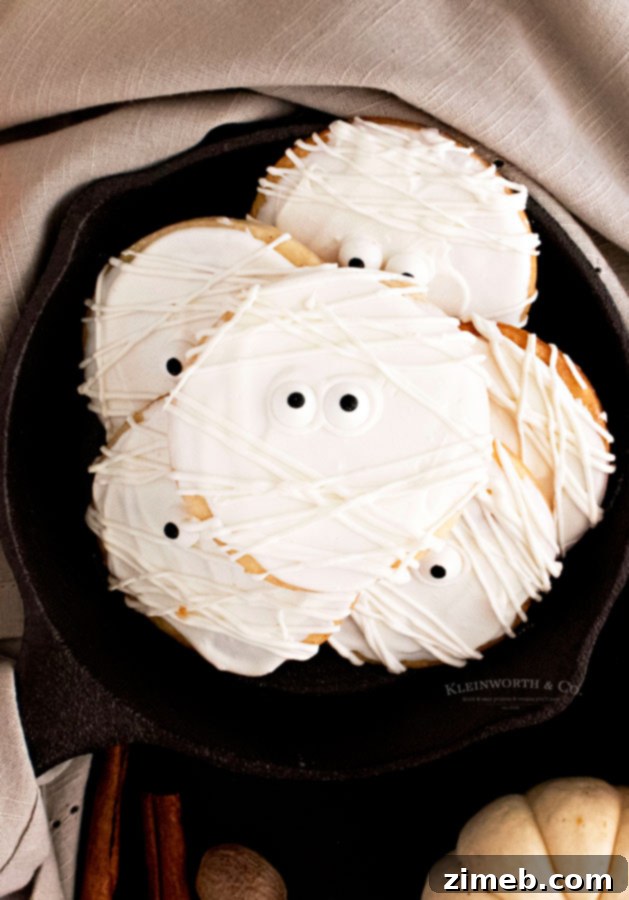
Delight in the spooky season with our enchanting Mummy Shortbread Cookies! These beautifully decorated Halloween treats are not just a feast for the eyes but also a symphony of comforting fall flavors, featuring notes of rich vanilla, warm cinnamon, and aromatic nutmeg. Crafted to be both adorable and incredibly easy to make, they are the quintessential addition to any Halloween celebration, guaranteed to bring smiles to ghouls and goblins of all ages.
For more creative Halloween ideas, don’t miss our other super cute Mummy Cookies!
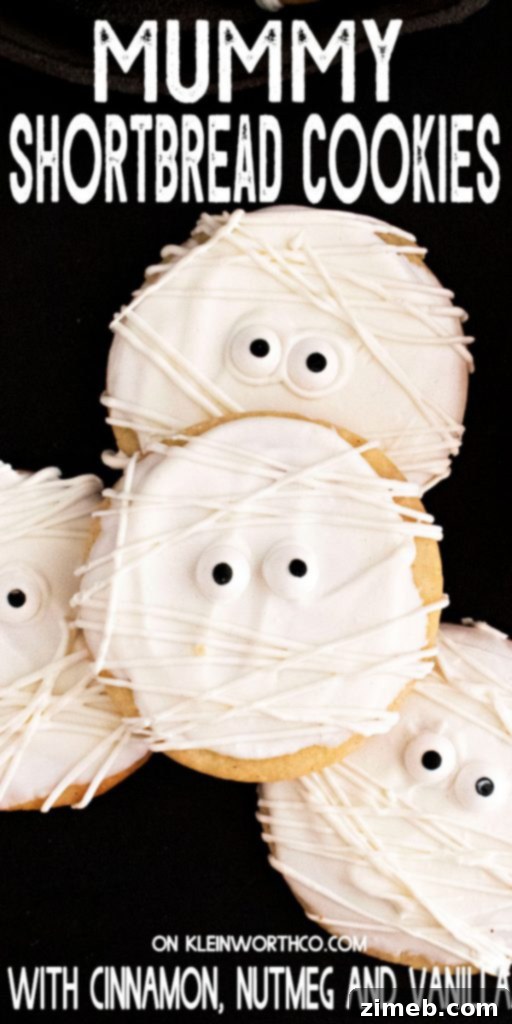
Why You’ll Adore These Mummy Shortbread Cookies
Halloween is a time for fun, costumes, and, of course, delicious treats! While we all love a good haul of candy, there’s something truly special about homemade goodies that bring a touch of magic to the holiday. These Mummy Shortbread Cookies perfectly encapsulate that spirit. They are:
- Irresistibly Adorable: Their cute, whimsical mummy design, complete with candy eyes, makes them an instant hit at any Halloween party or family gathering. They’re so charming, it’s almost a shame to eat them – almost!
- Packed with Autumnal Flavors: Beyond their delightful appearance, these cookies boast a flavor profile that sings of fall. The rich, buttery shortbread is infused with the cozy warmth of vanilla, cinnamon, and nutmeg, making each bite a comforting experience.
- Remarkably Easy to Make: Don’t let their decorated look fool you; these cookies are surprisingly simple to prepare. Even novice bakers can achieve impressive results, making them an ideal project for a fun afternoon in the kitchen.
- Perfect for All Ages: Kids will love helping to decorate, whether meticulously drizzling the “mummy” frosting or simply adding the candy eyes. It’s a fantastic way to involve the whole family in holiday baking.
The Enduring Appeal of Shortbread Cookies
Shortbread cookies hold a special place in the world of baking for a reason. Their inherent simplicity belies a deeply satisfying texture and taste. Made with just a few basic ingredients – butter, sugar, and flour – they achieve a wonderfully crumbly, melt-in-your-mouth consistency that is utterly addictive. The high butter content gives them their signature richness, creating a delicate cookie that practically dissolves on the tongue. This buttery canvas is the perfect foundation for introducing a myriad of flavors, and for these Halloween mummies, we’ve chosen a blend that evokes the very essence of autumn. Adding vanilla, cinnamon, and nutmeg transforms these classic cookies into a seasonal sensation, making them truly irresistible once fall arrives.
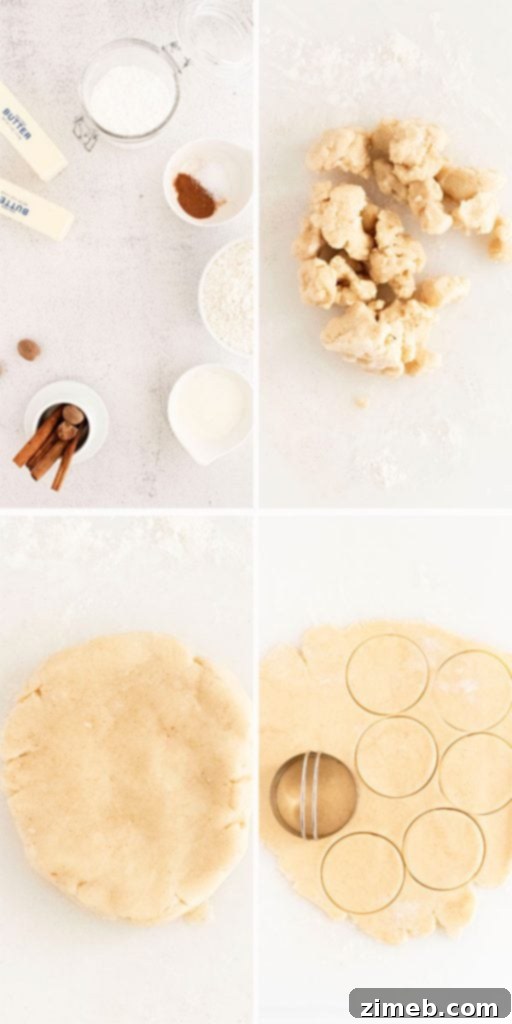
Crafting Your Mummy Shortbread Cookies: A Step-by-Step Guide
Making these spooky-cute treats is a straightforward process that yields incredibly rewarding results. From mixing the dough to the final decorative flourish, each step is designed for ease and enjoyment.
Preparing the Perfect Shortbread Dough
The foundation of any great shortbread cookie is a well-made dough. Our recipe utilizes a simple method that ensures a tender, flavorful cookie every time:
- Cream the Butter: Start with softened butter. Creaming it vigorously in a stand mixer until it’s light and fluffy is crucial. This incorporates air, which contributes to the shortbread’s delicate texture. Aim for about two minutes of high-speed mixing.
- Introduce Flavors and Sweetness: Next, add confectioners’ sugar (which blends seamlessly for a smooth dough), vanilla extract (or paste for a richer flavor), ground cinnamon, fragrant nutmeg, and a pinch of salt. Mix these on low speed just until combined, usually about one minute, to avoid overmixing.
- Combine Wet and Dry: With the mixer still on low, gradually alternate adding the all-purpose flour and milk in two batches. This method helps the ingredients integrate evenly without developing too much gluten, which can make cookies tough. Continue mixing until the dough forms a cohesive ball around the paddle attachment.
- Chill for Success: Shape the dough into a flat disk, wrap it tightly in plastic wrap, and refrigerate for at least 15 minutes. This chilling period is vital as it firms up the butter, preventing the cookies from spreading too much during baking and ensuring they hold their shape.
Rolling, Cutting, and Baking
Once your dough is perfectly chilled, it’s time to bring your cookies to life:
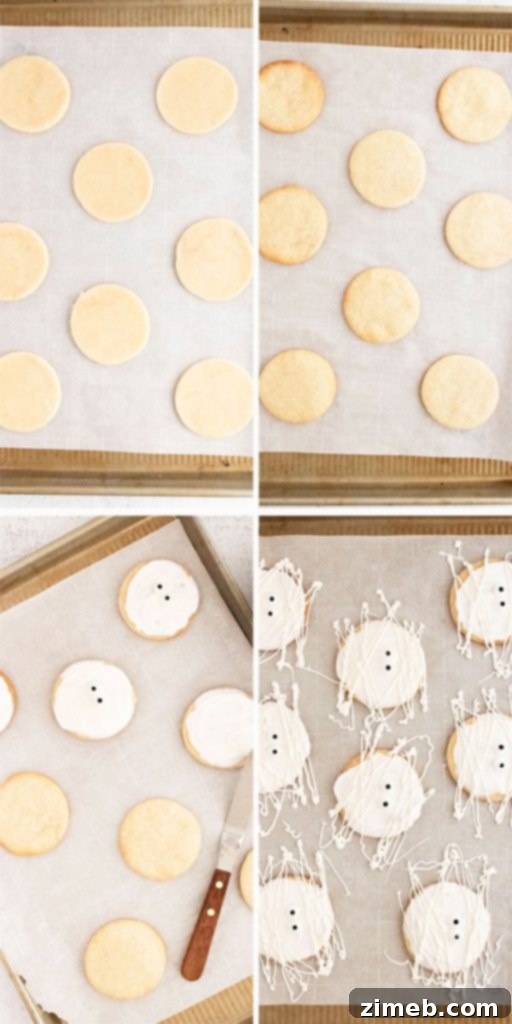
- Prepare Your Workspace: While the dough chills, preheat your oven to 375°F (190°C) and line a baking sheet with parchment paper. This prevents sticking and ensures even baking.
- Roll with Care: Lightly flour your work surface and roll out the dough to a uniform thickness of 1/4 inch. Consistent thickness is key for even baking.
- Cut Your Cookies: Use a 2-inch round cookie cutter to cut out about 12 circles of dough. Remember to lightly flour your cookie cutter to prevent sticking. Carefully transfer the cutouts to your prepared baking sheet, spacing them approximately 1 inch apart.
- Bake to Golden Perfection: Bake the cookies for 10-12 minutes, or until their edges just begin to turn a light golden brown. This indicates they are perfectly cooked through while remaining soft and tender. Allow them to cool completely on the baking sheet before decorating. This cooling process is crucial for them to firm up.
Decorating Your Spooky Mummies
Now for the most exciting part – transforming your shortbread circles into adorable mummies! This is where the real fun begins, especially if you have little helpers:
- Melt the Candy Melts: Follow the package instructions to heat your bright white candy melts. Typically, this involves microwaving at 50% power and stirring every 30 seconds until completely smooth and melted.
- Reserve for Drizzle: Set aside about 1/4 of the melted chocolate in a small plastic bag. This portion will be used later for the mummy “bandages.”
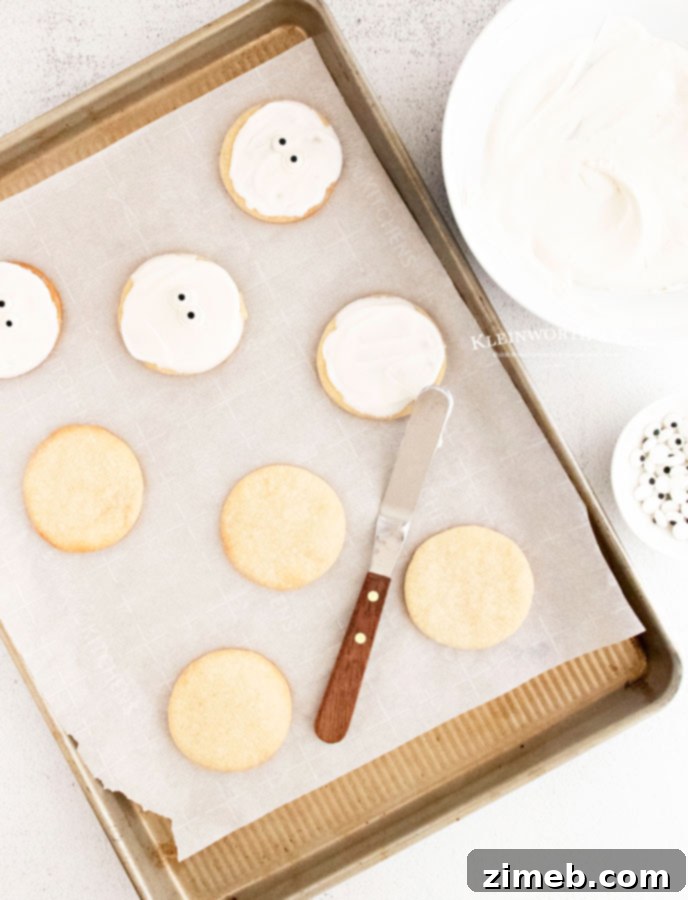
- Dip and Apply Eyes: Dip one side of each cooled cookie into the remaining melted candy melts. Use an offset spatula to gently smooth any excess chocolate. While the chocolate is still soft, quickly place two candy eyes onto each cookie. The soft chocolate will act as an adhesive. Repeat this process for all cookies.
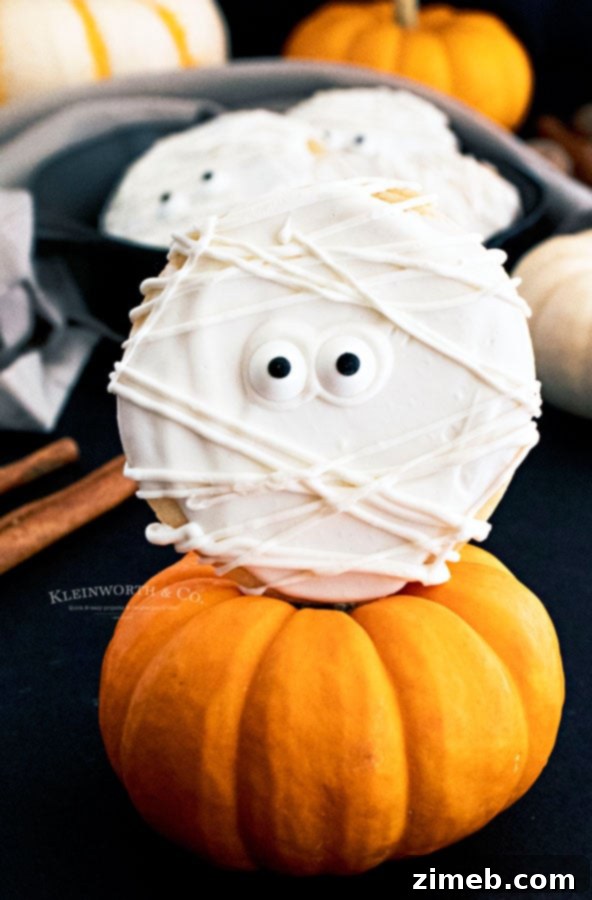
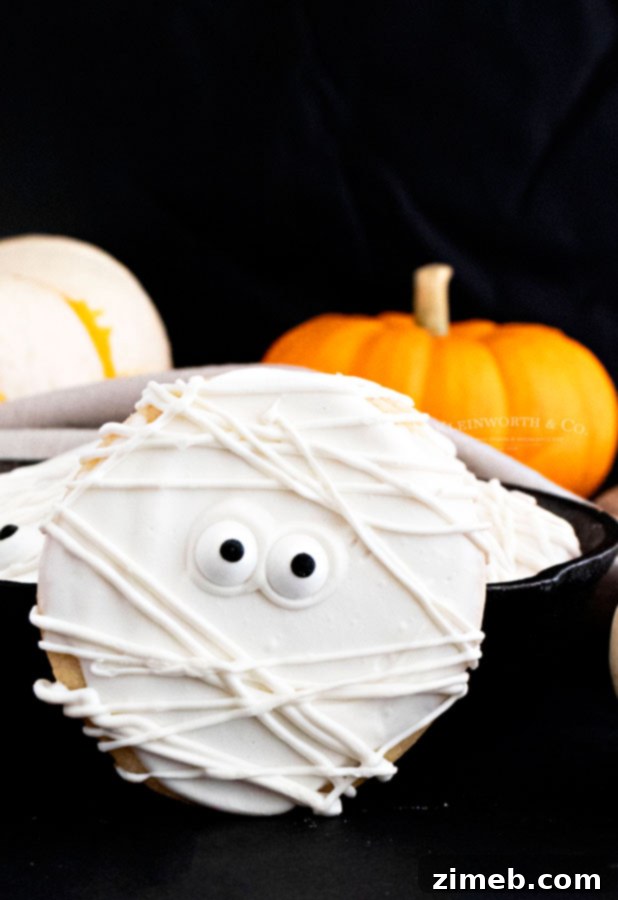
- Create the Mummy Drizzle: Once all cookies are dipped and have their eyes, snip a tiny corner off the plastic bag containing the reserved melted chocolate. Drizzle horizontal lines across the dipped portion of each cookie, creating the iconic mummy bandage effect. The beauty of mummy cookies is that the lines don’t need to be perfect – a slightly messy look enhances their charm!
- Allow to Set: Let the chocolate fully harden at room temperature before serving or storing. This ensures your mummy masterpieces maintain their pristine decoration.
Commonly Asked Questions About Mummy Shortbread Cookies
What is the best way to store leftover mummy cookies?
Once the chocolate decoration has completely dried and hardened, transfer your Mummy Shortbread Cookies to an airtight container. They can be stored at room temperature for up to two days. For best results in preserving their decorative integrity, I recommend arranging them in a single layer. However, if space is an issue and the chocolate is truly dry, they should be fine to stack gently with parchment paper in between layers.
Can this recipe be doubled?
Absolutely! This recipe is designed to yield 12 cookies, which is perfect for a small family treat. However, if you’re planning a Halloween party, a school event, or a potluck, doubling (or even tripling!) the recipe is highly recommended. Simply adjust the ingredient quantities proportionally, and you’ll have a larger batch of these delightful cookies ready to impress.
Can these cookies be frozen?
You have a couple of options for freezing, but it’s important to note that I generally don’t recommend freezing the cookies after they’ve been decorated, as the candy melts can sometimes become brittle or develop condensation upon thawing. For the best results, you can freeze the raw cookie dough. Simply wrap the dough disk tightly in plastic wrap and then place it in a freezer-safe bag for up to three months. When ready to bake, let it thaw in the refrigerator overnight, then bring to room temperature before rolling and cutting. Alternatively, you can bake the cookies, allow them to cool completely, and then freeze the plain, undecorated shortbread in an airtight container for up to three months. Decorate them after thawing for fresh-looking mummies!
More Adorable Mummy-Themed Ideas!
If you’re a fan of these Mummy Shortbread Cookies, you’ll love exploring other creative and cute mummy-themed treats for Halloween:
- Mummy Rice Krispie Treats
- Cute Mummy French Macarons
- Mummy Brownies
- Chocolate Mummy Candy Apples
Should I use salted or unsalted butter for shortbread?
The choice between salted and unsalted butter is largely a matter of personal preference. Unsalted butter gives you more control over the overall salt content of your cookies, as recipes typically call for an additional pinch of salt. However, if you enjoy that subtle contrast of sweet and salty, salted butter can provide a delightful depth of flavor without needing extra salt. Personally, I often use whatever I have on hand, which is usually salted butter, and I find that touch of extra salt perfectly complements the sweetness in this shortbread recipe. Especially these days, with grocery availability being less predictable, it’s about making what you have work beautifully!
Can I use a sugar substitute?
I haven’t personally tested this recipe with sugar substitutes, so I can’t definitively say how the texture and flavor might be affected. Shortbread relies heavily on the crystalline structure of sugar for its tender crumb. If you’d like to experiment, I recommend using a 1:1 sugar substitute that is specifically designed for baking and aims to mimic the properties of confectioners’ sugar. If you do try it, please come back and share your results – your feedback would be incredibly helpful!
How do I properly measure flour for baking?
Properly measuring flour is crucial for baking success, especially in recipes like shortbread where the ratio of ingredients directly impacts the final texture. The most accurate method is the “spoon and level” technique: lightly spoon the flour into your measuring cup until it overflows, then use a straight edge (like the back of a knife) to level off the top. This prevents compacting the flour into the cup, which can add too much, resulting in a dry, dense cookie. If you’re careful, gently fluffing the flour with a spoon in its container before lightly scooping it into the measuring cup without packing it down will also work well for this recipe.
Can I make these cookies without the spices?
Absolutely! If you prefer a more traditional shortbread flavor, you can certainly omit the cinnamon and nutmeg. The vanilla extract can also be left out for a pure, classic shortbread taste. Simply follow the rest of the recipe instructions, and you’ll have delicious, buttery shortbread cookies ready for decorating. They will still be wonderful and melt-in-your-mouth.
Mummy Cookies for Halloween
Can I use a gluten-free flour?
I haven’t had the opportunity to test this recipe with gluten-free flour yet, but it’s definitely on my list! If you decide to give it a try, I highly recommend using a 1:1 gluten-free baking flour blend. These blends are formulated to behave similarly to all-purpose flour and often don’t require additional binders or modifications that are typically needed when adapting traditional recipes to be gluten-free. Please do let me know how they turn out if you try this substitution!
Can I use white chocolate instead of candy melts?
While you can use white chocolate, bright white candy melts are highly recommended for this recipe. White chocolate can be trickier to temper, often leading to a dull finish or a tendency to seize. Additionally, white chocolate typically has a slightly yellowish tint, which won’t give you the stark, bright white mummy look that candy melts achieve so easily. Candy melts are specifically designed for easy melting, dipping, and setting, ensuring vibrant color and a smooth, professional finish for your mummy bandages.
To make Mummy Shortbread Cookies, you will need…
Gathering your ingredients ahead of time makes the baking process smooth and enjoyable. Here’s what you’ll need for these delightful cookies:
- Softened Butter (1 stick)
- Confectioners’ Sugar
- Vanilla Extract or Vanilla Bean Paste
- Ground Cinnamon
- Ground Nutmeg
- Salt
- All-Purpose Flour
- Milk (dairy or non-dairy)
- Bright White Candy Melts
- Candy Eyes
Can I use non-dairy milk?
Yes, absolutely! This recipe is quite flexible when it comes to milk. You can confidently use any non-dairy milk alternative such as almond milk, coconut milk, soy milk, or oat milk. The results will be just as delicious, maintaining the tender texture and rich flavor of the shortbread.
Can I chill the dough and make these the next day?
Yes, preparing the dough in advance is a fantastic time-saving tip! This shortbread dough can be made up to 24 hours ahead of time. Simply wrap the disk tightly in plastic wrap and store it in the refrigerator. When you’re ready to bake, you’ll need to let the dough soften before rolling it out. I recommend bringing it to room temperature for at least 45 minutes to an hour to make it pliable and easy to work with.
Essential Tools for Mummy Shortbread Success
Making these Mummy Shortbread Cookies is incredibly easy and enjoyable, especially when you have the right tools on hand. Whether you’re a seasoned baker or just starting out, having these items will streamline your process. Here’s a list of kitchen essentials I love and recommend for perfecting this cookie recipe:
- Stand Mixer: Essential for creaming butter and combining ingredients efficiently, ensuring a smooth, uniform dough.
- Measuring Cups and Spoons: Accurate measurements are key in baking, ensuring consistent results every time.
- Baking Sheets: Sturdy baking sheets provide even heat distribution for perfectly baked cookies.
- Mixing Bowls: A set of various sizes is always handy for preparing different components of the recipe.
- Spatulas: For scraping down the bowl and handling dough.
- Offset Spatula: Ideal for smoothing melted chocolate on the cookies, ensuring a neat base for your mummy design.
- Piping Bag (or Ziploc bag): Perfect for drizzling the candy melts to create the mummy bandage effect with precision.
Mummy Shortbread Cookies Recipe
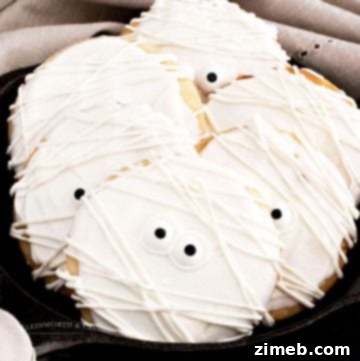
Mummy Shortbread Cookies
Course: Dessert
Servings: 12 cookies
Mummy Shortbread Cookies are the perfect decorated Halloween Cookies with flavors of vanilla, cinnamon & nutmeg. So cute & easy to make!
Prep Time: 15 mins
Cook Time: 10 mins
Rest Time: 15 mins
Total Time: 40 mins
Ingredients
For the Cookies
- ½ cup butter (softened, 1 stick)
- ¼ cup confectioners sugar
- 2 tsp vanilla extract or vanilla bean paste
- 1 tsp ground cinnamon
- ½ tsp ground nutmeg
- ½ tsp salt
- 1 cup all-purpose flour
- 2 tablespoons milk
To Decorate
- 1 cup bright white candy melts
- 24 candy eyes
Instructions
For the Cookies
- In the bowl of a stand mixer fitted with the paddle attachment, cream the softened butter on high speed until it is light and fluffy— about 2 minutes.
- Next, add the powdered sugar, vanilla extract, cinnamon, nutmeg, and salt. Mix on low speed just until it is all combined— about 1 minute.
- Next, with the mixer on low speed, alternate between adding the flour and milk in two batches. First, add half of the flour, then half of the milk, then the remaining half of flour, and finally the remaining half of milk.
- Allow the mixer to continue on low speed until the dough comes together in a ball around the paddle.
- Shape the dough into a disk and wrap it in plastic wrap. Refrigerate for 15 minutes.
- While the dough rests, preheat your oven to 375F and line a baking sheet with parchment paper.
- Once the dough has chilled, lightly flour your work surface and roll out the dough until it is 1/4” thick.
- Using a 2” cookie cutter, cut out 12 circles of dough and place them 1” apart on the baking sheet. Note: Make sure to flour the cookie cutter so the dough doesn’t stick.
- Bake for 10-12 minutes, or until the edges of the cookies are just starting to turn golden brown. Allow the cookies to cool to room temperature on the tray.
To Decorate
- Heat the candy melts according to the package instructions (typically you’ll heat them at 50% power, stirring every 30 seconds until melted).
- Place 1/4 of the melted chocolate into a plastic bag— we will use this chocolate to make the mummy lines later.
- Next, dip one side of the cookies into the candy melts and use an offset spatula to smooth any lines.
- While the chocolate is still soft, add two candy eyes. Repeat with the remaining cookies.
- Once all of the cookies have been dipped, cut just the very tip of the corner of the plastic bag off with scissors.
- Drizzle horizontal lines over the cookies to create the mummy effect.
- Allow the chocolate to fully set before enjoying.
- Store in an airtight container at room temperature for up to 2 days.
Notes
To really enhance the vanilla flavor, substitute the vanilla extract for vanilla bean paste or the caviar of 1 whole vanilla bean.
Any milk can be used in this recipe— dairy or non-dairy.
Freshly ground nutmeg is highly recommended.
You can use white chocolate instead of candy melts, however, it is difficult to temper and often has a yellow tint. Bright white candy melts are highly recommended.
This dough can be made up to 24 hours in advance but you’ll need to let it soften before you can roll it— I recommended bringing it to room temperature for at least 45 minutes before rolling.
Nutritional information for the recipe is provided as a courtesy and is approximate. Please double-check with your own dietary calculator for the best accuracy. We at Yummi Haus cannot guarantee the accuracy of the nutritional information given for any recipe on this site.
Love this recipe?
Follow @KleinworthCo for even more tasty recipes!
If you love this Easy Halloween Mummy Cookie recipe as much as I do, please write a five-star review, and be sure to help me share on Facebook and Pinterest!
DON’T MISS THESE HOLIDAY E-BOOKS!


CONNECT WITH YUMMI HAUS!
Be sure to follow me on my social media, so you never miss a post!
Substack, FB, Pinterest, IG, Email Subscription
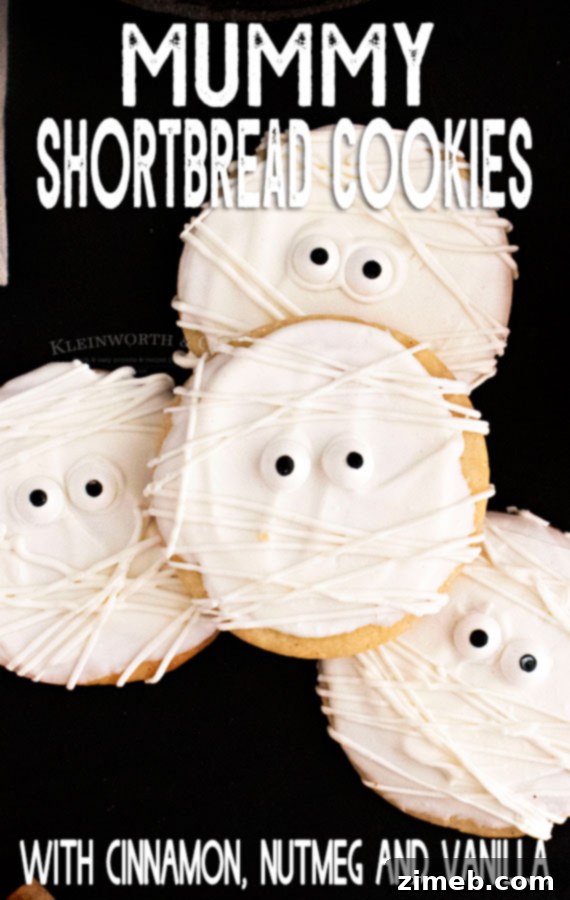
If you love this Easy Halloween Mummy Cookie recipe, you’re going to love these other treats too. Please click each link below to find the easy, printable recipe!
Monster Cupcakes
Monster Cupcakes are the perfect treat for your Halloween party. Funny eyes & colorful frosting, these easy desserts will delight all the ghouls & goblins.
Check out this recipe

Monster Bark
Looking for a fun & easy Halloween treat? This adorable Monster Bark takes just a couple ingredients & a few minutes to make. The kids just love it!
Check out this recipe

Sugar Skull Cookie Dough
Sugar Skull Cookie Dough is a quick and easy Halloween treat. Green and purple egg-free cookie dough loaded with sugar skull sprinkles is a perfect Day of the Dead dessert.
Check out this recipe
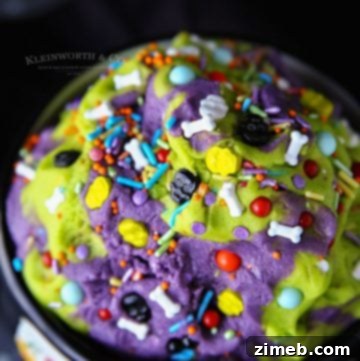
Ghoulish Monster Halloween Cupcakes
Ghoulish Monster Halloween Cupcakes are a super cute dessert for your Halloween party. The kids will giggle at this a fun & spooky Halloween treat.
Check out this recipe
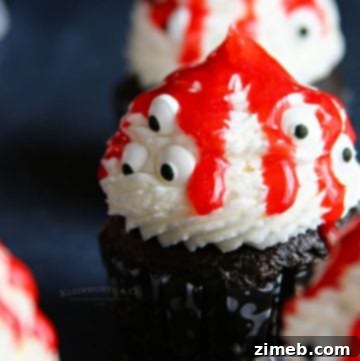
Monster Brownies
Check out this recipe
Bloodshot Eyeball Red Velvet Crinkle Cookies
Bloodshot Eyeball Red Velvet Crinkle Cookies are just like the soft & chewy crinkle cookies you love. But these are made spooky, so perfect for Halloween!
Check out this recipe
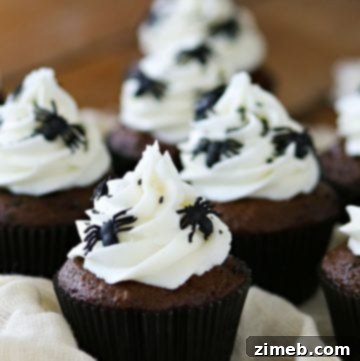
Creepy Halloween Spider Cupcakes
Creepy Halloween Spider Cupcakes are easy to make & the perfect addition to your Halloween party menu. An easy way to add some spooky food to the party.
Check out this recipe