
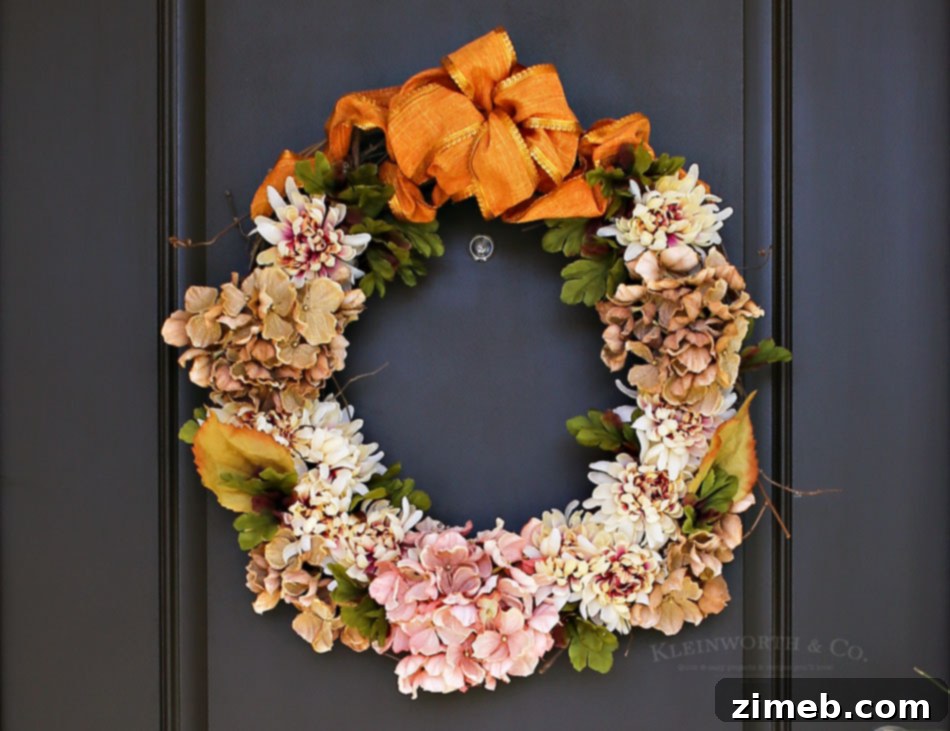
Elevate your home’s curb appeal this autumn with a stunning, handcrafted Fall Thanksgiving Wreath! Perfect for welcoming holiday guests, this DIY project is remarkably simple, requiring just a few basic supplies and a mere 20 minutes of your time. Get ready to transform your front door into a warm and inviting focal point that captures the essence of the season.
There’s an undeniable joy in refreshing your home’s exterior with seasonal decor, and the front door is undoubtedly the star of the show. For me, changing my front door wreath marks the beginning of each new month, a delightful ritual that keeps my home feeling vibrant and fresh. What makes this tradition even more exciting is my commitment to never displaying the same wreath twice. This means a constant cycle of creativity: existing wreaths are either completely reworked, stripped down, or transformed into entirely new creations before gracing the door again. While it’s sometimes hard to dismantle a cherished piece, especially after putting so much love into its original design, the truth is that prolonged exposure to the elements means they often benefit from a little tender loving care and a fresh new look anyway.
Craft Your Own Beautiful Fall & Thanksgiving Wreath
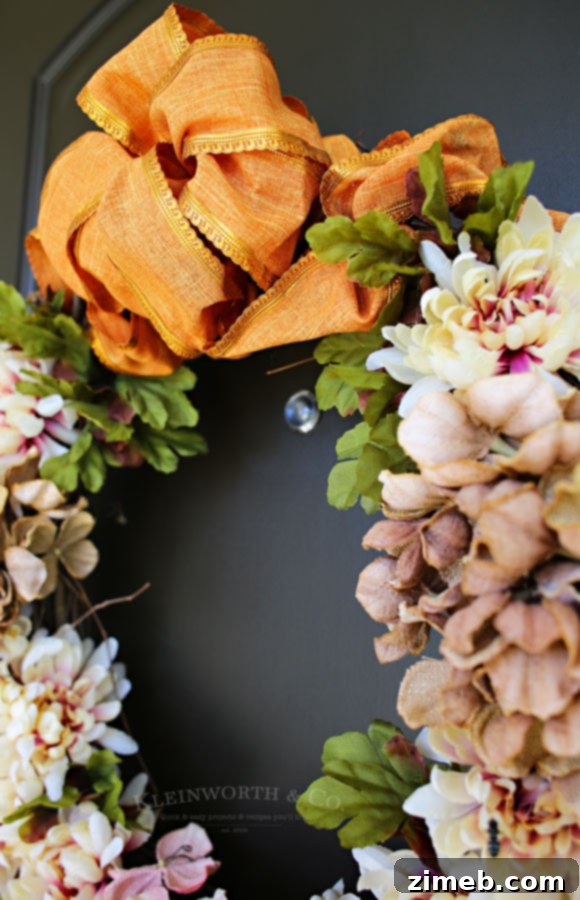
As November approaches and the crisp air ushers in the heart of autumn, I was eager to prepare my door for the Thanksgiving season. My creative journey for this particular autumn wreath began by carefully dismantling a fall wreath I had made several years ago. The goal was to reuse as many components as possible while introducing a fresh palette of soft, inviting fall tones. The result was this stunning piece, an exceptionally easy project that genuinely came together in just 20 minutes! This DIY approach not only saves money but also allows for a level of personalization that store-bought wreaths simply can’t match. It’s a wonderful way to express your unique style and make your entryway truly welcoming for every visitor, especially during the festive holiday season.
This post contains some affiliate links, meaning I may earn a small commission if you make a purchase through my links, at no extra cost to you. Click here to read my full disclosure policy. Your support helps keep this blog running!
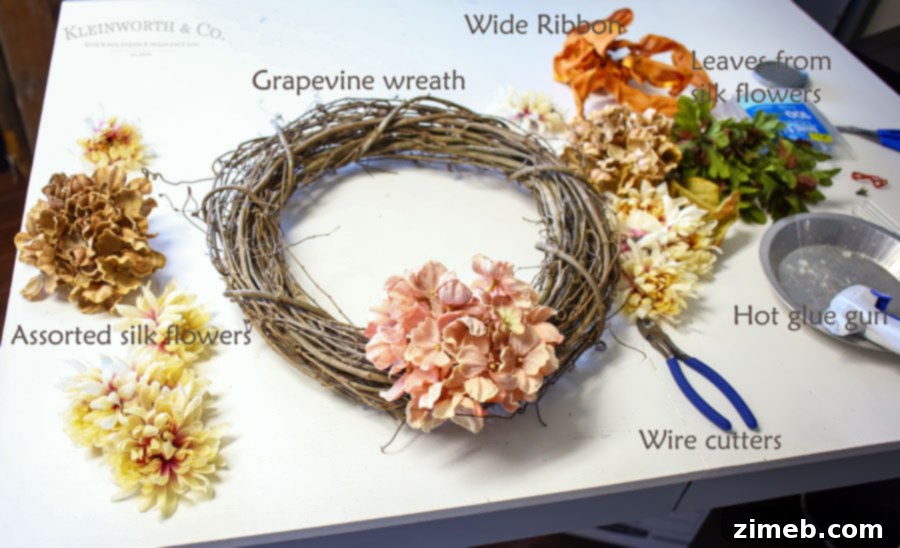
Essential Supplies for Your DIY Fall Wreath
Creating this lovely Thanksgiving wreath requires only a handful of readily available materials. The beauty of DIY projects like this is the flexibility to use what you already have on hand, which can significantly reduce costs and minimize waste. Here’s a breakdown of the core items you’ll need to gather:
Grapevine Wreath Base: This provides a natural, rustic foundation for your wreath. Its interwoven branches offer excellent spots to tuck and glue your floral elements.
Assorted Silk Flowers in Fall Tones: Choose flowers that reflect the warm, rich colors of autumn – think oranges, deep reds, creams, soft browns, and even hints of dusky pink or plum. Variety in size and texture adds depth.
Complementary Silk Leaves: These are essential for filling in gaps and adding lushness. Often, flower bundles come with their own leaves, which you can repurpose.
Wide Craft Ribbon (Wire-Edged Recommended): A festive ribbon in a coordinating fall color adds a polished finish and a touch of elegance. Wire-edged ribbon is particularly easy to shape and maintain its form.
Hot Glue Gun & Glue Sticks: Your primary tool for securely attaching all your decorative elements to the grapevine base.
Wire Cutters: Necessary for trimming flower and leaf stems to the appropriate length, allowing them to sit flush against the wreath base.
The Creative Process: Assembling Your Autumn Masterpiece
One of the most enjoyable aspects of this project is the freedom to play with colors and textures. I particularly love the sustainable aspect of reusing materials from previous wreaths. It’s truly fascinating to see how the same set of supplies can be reimagined to create something completely new and distinct. This not only makes the crafting process more economical but also sparks a unique kind of creativity as you work with existing elements. Let’s dive into the step-by-step process:
Step 1: Prepare Your Workspace and Wreath Base
Before you begin, lay out all your supplies on a clean, flat surface. This ensures easy access to everything you need. If you’re reusing an old grapevine wreath, ensure it’s clean and free of any previous glue or floral remnants. Assess the natural shape of your grapevine wreath; sometimes, it has a slight curve or a “front” that feels more natural. Plan the general area where you want your main floral arrangement to sit. For a classic look, many prefer to adorn about two-thirds of the wreath, leaving a portion of the grapevine exposed to highlight its natural beauty.
Step 2: Establish Your Focal Points with Key Flowers
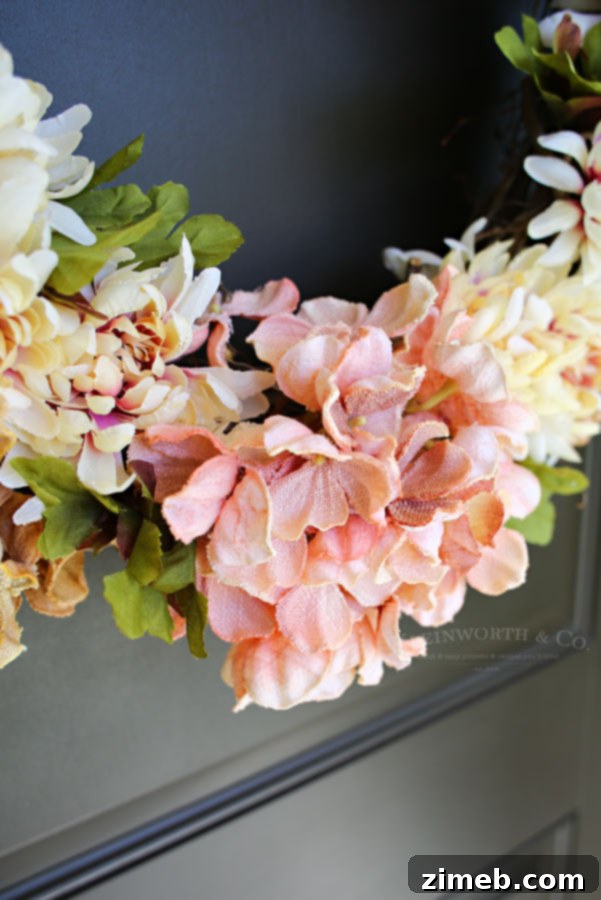
Begin by placing your most prominent or unique flower bundles. In my case, I started with a single bundle of soft pink flowers. This served as my central focal point. Using your wire cutters, trim the stems of your silk flowers to a manageable length – usually a few inches, enough to securely nestle into the grapevine. Apply a dab of hot glue to the end of the stem and gently push it into the grapevine, holding it for a few seconds until the glue sets. Think about creating a visual balance; if you only have one distinct color, place it strategically to draw the eye.
Step 3: Build Out Your Design with Complementary Colors
Once your main focal point is in place, start building around it. I had two bundles of rich brown flowers, which I creatively broke into four smaller sections to give me more flexibility. This allowed me to distribute them evenly and create a beautiful, symmetrical flow around the pink centerpiece. Continue to trim stems and hot glue your flowers into position, layering them slightly to add depth and dimension. Step back occasionally to view your progress from a distance, ensuring a harmonious arrangement.
Step 4: Fill in with Secondary Flowers and Silk Leaves
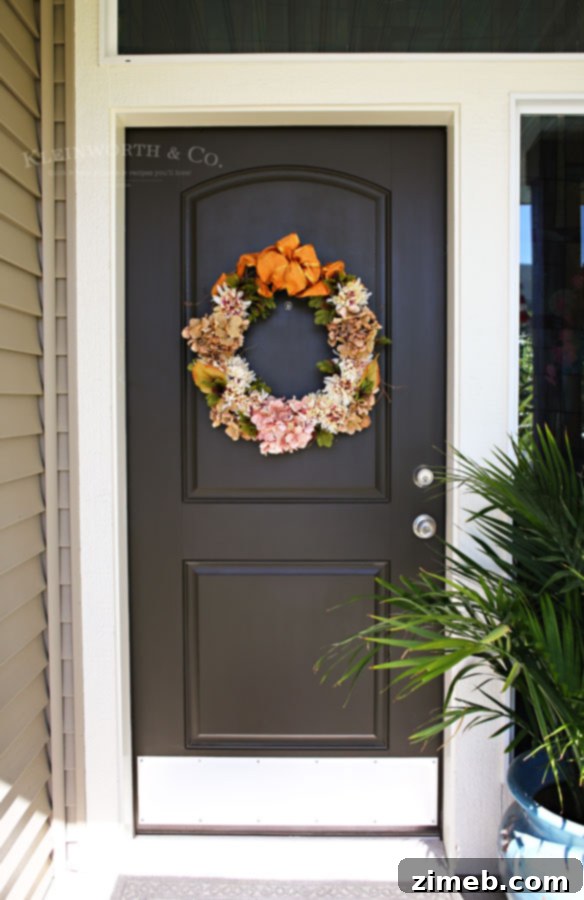
Now it’s time to fill in any open areas and add lushness. I used creamy white flowers to bridge the gaps and introduce a lighter contrast to the deeper fall tones. After the flowers are mostly in place, turn your attention to the silk leaves. While you can certainly purchase separate bundles of leaves, I prefer to use the leaves that come directly off the flower bundles themselves. This ensures everything coordinates perfectly and minimizes waste. Trim individual leaves or small clusters, apply hot glue, and tuck them into any remaining bare spots or underneath flowers to create a natural, full appearance. The goal is to make the wreath look organic and abundant, as if these elements grew together.
Step 5: Add the Finishing Touch with a Festive Bow
No autumn wreath is complete without a beautiful bow! Select a wide craft ribbon in a coordinating fall shade. Ribbons with wire edges are particularly excellent for this, as they allow you to shape and fluff the bow easily, ensuring it holds its form beautifully. Create a multi-loop bow – there are many simple tutorials online if you need a refresher – and then secure it to the wreath using hot glue or by carefully twisting a floral wire around the back and attaching it to the grapevine. Position the bow where it complements your floral arrangement, often at the bottom or slightly off-center, allowing the ribbon tails to gracefully drape. This final touch truly ties the whole design together and instantly elevates the porch’s welcoming appeal.
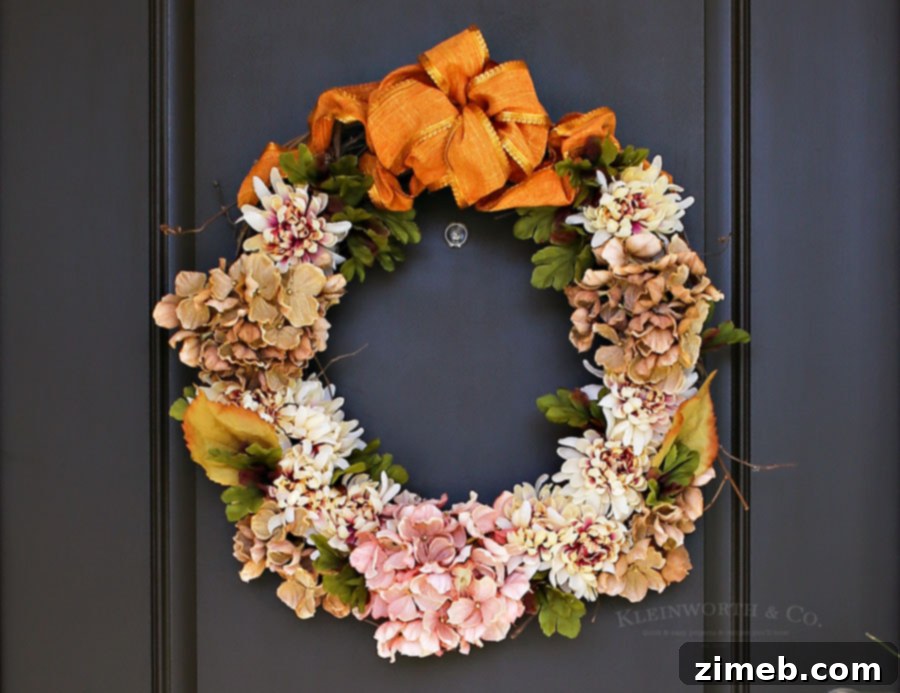
Your Completed Fall Thanksgiving Wreath
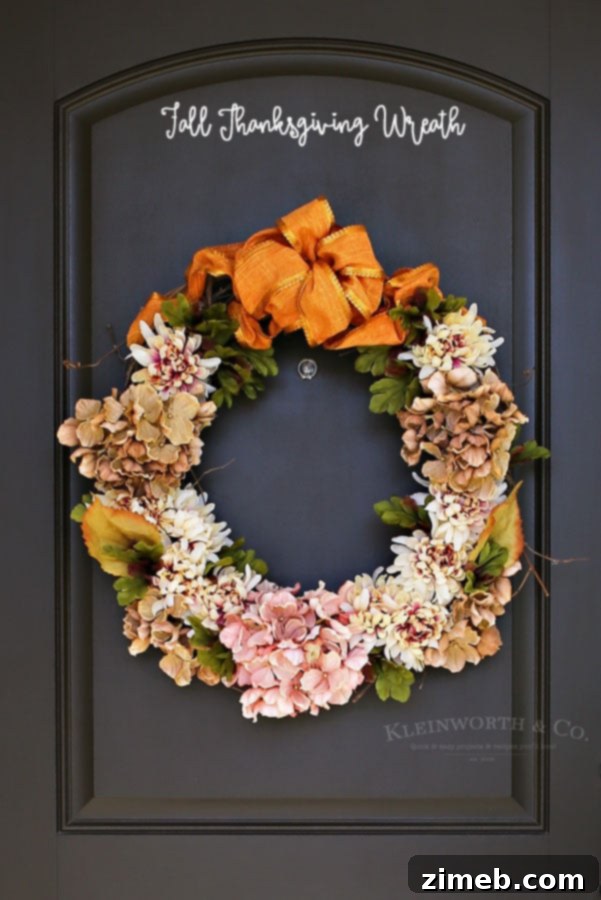
I can assure you, this project is as simple as it is rewarding. The warmth and beauty of your handmade fall wreath will not only bring joy to your own home but will undoubtedly garner a shower of compliments from everyone who visits. It’s an effortless way to infuse your space with the spirit of the season, creating a truly inviting atmosphere for Thanksgiving and beyond.
Share Your Beautiful Creation!
I absolutely love seeing your DIY projects come to life! If you create this gorgeous Fall Thanksgiving Wreath, please don’t hesitate to share your photos. Leave a link to your project in the comments below or tag me on Instagram @KleinworthCo. I can’t wait to see your unique interpretations and how you’ve styled your autumn door decor!
Discover More of My Favorite Fall Crafts & Decor Ideas
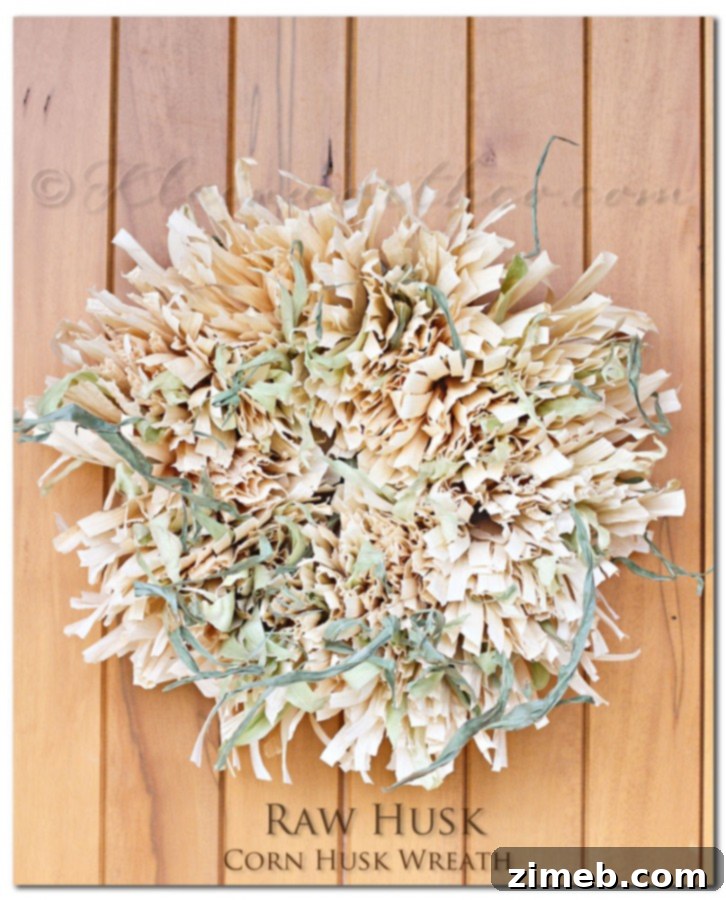
Rustic Raw Husk Corn Husk Wreath
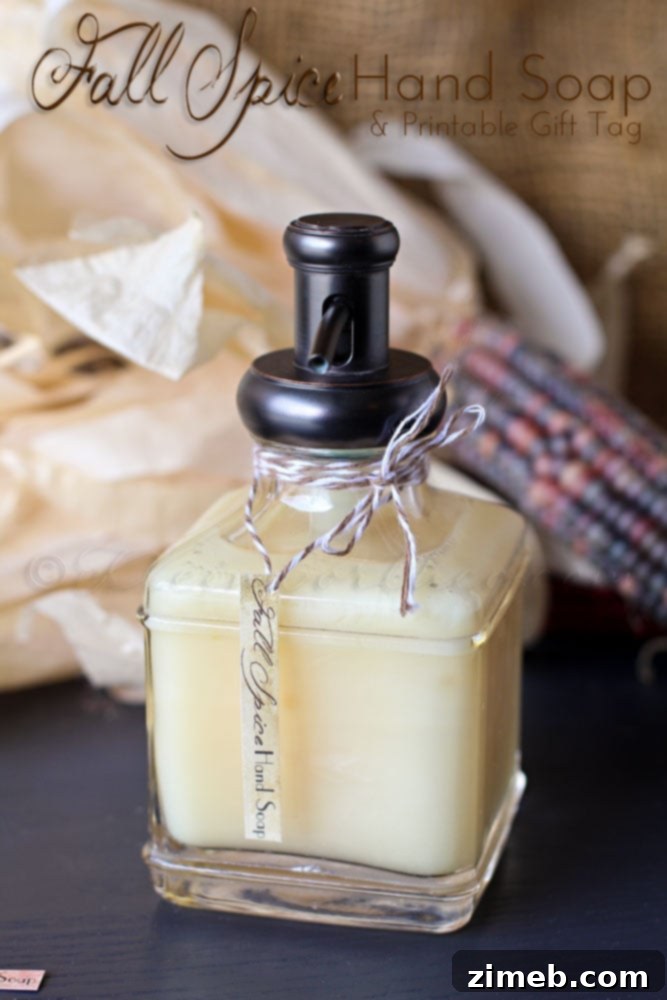
Delightful Fall Spice Hand Soap & Free Printable Tags

Charming Corn Husk Luminaries for Autumn Evenings
Beyond these projects, explore even more incredible fall decor ideas from these talented bloggers to keep your home feeling cozy and festive:
- How to Make Yarn Pumpkins Using Balloons from One Little Project
- Creative Fall Mason Jar Craft from Sugar Bee Crafts
To see where else I’m sharing my latest inspirations and linking up today, feel free to visit HERE.