
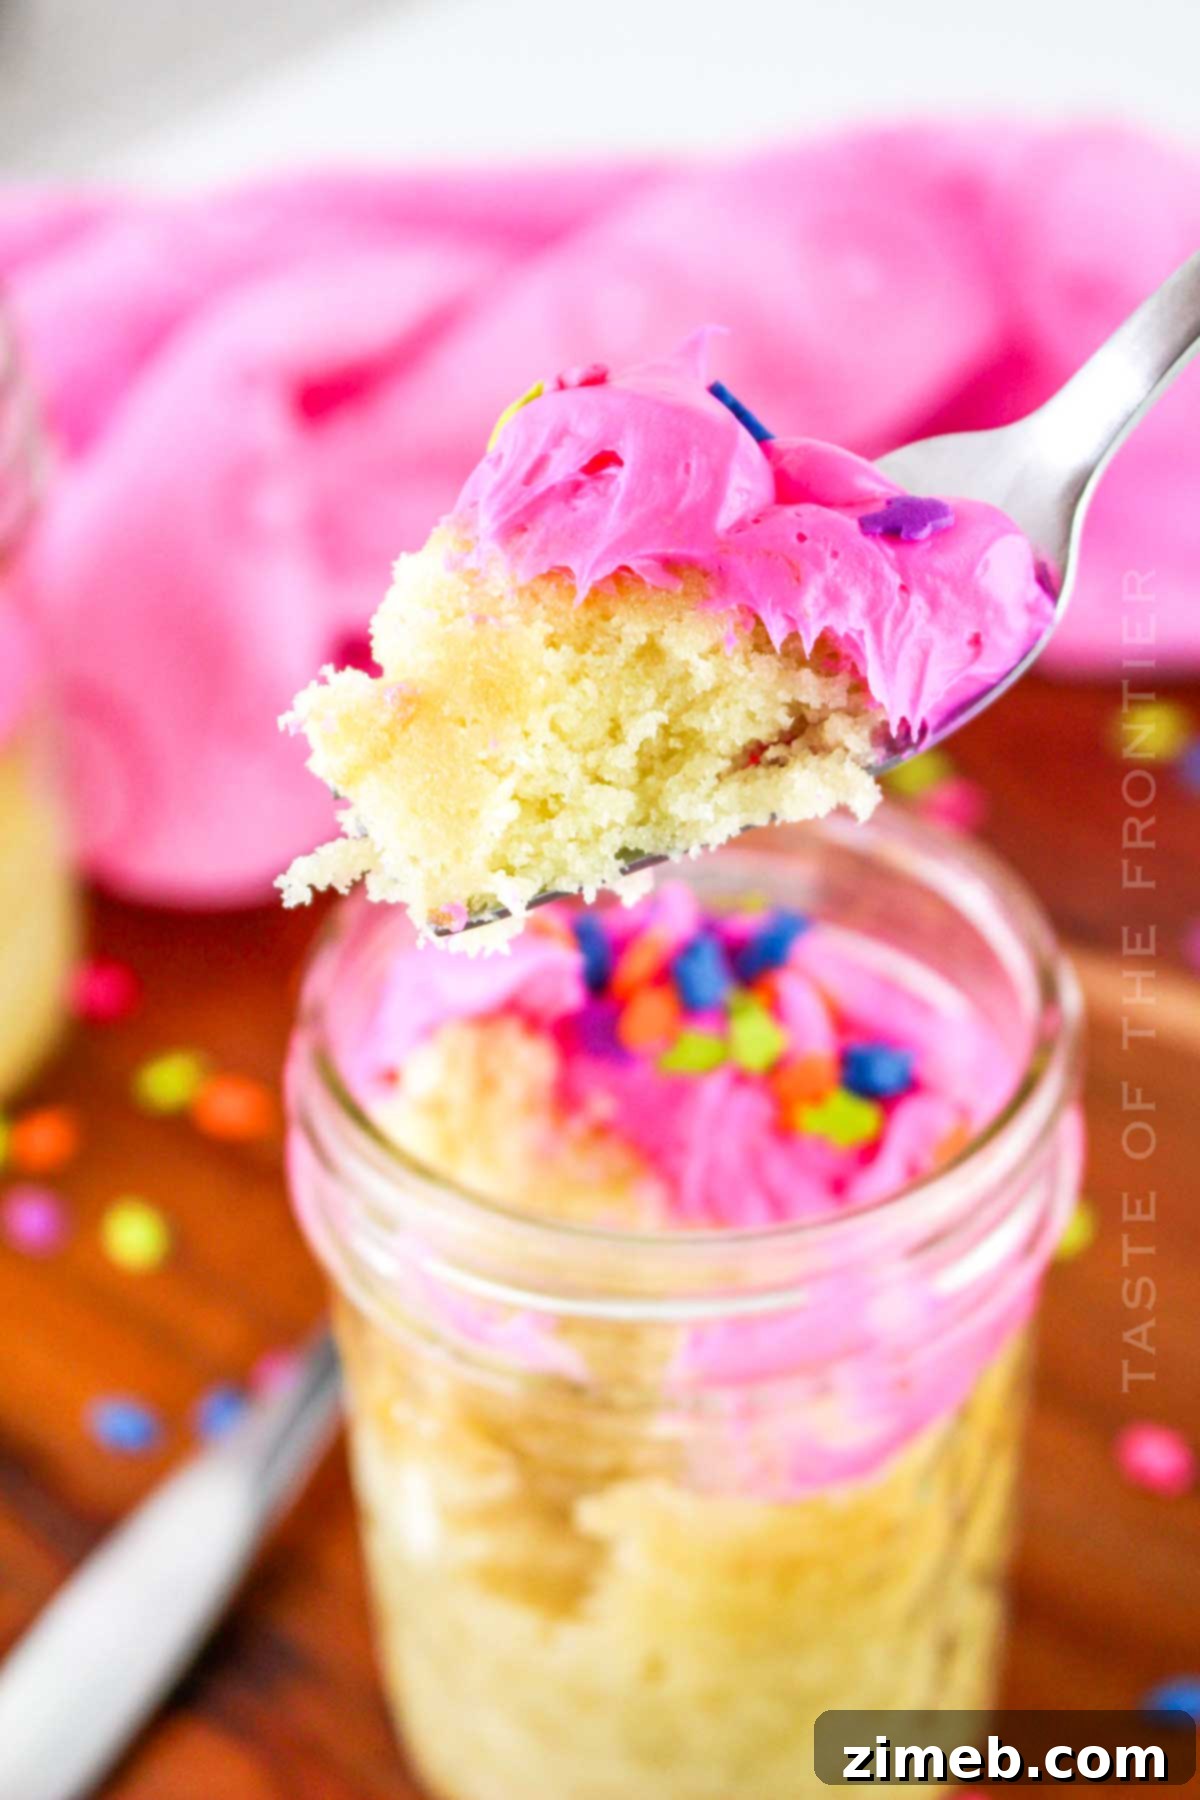
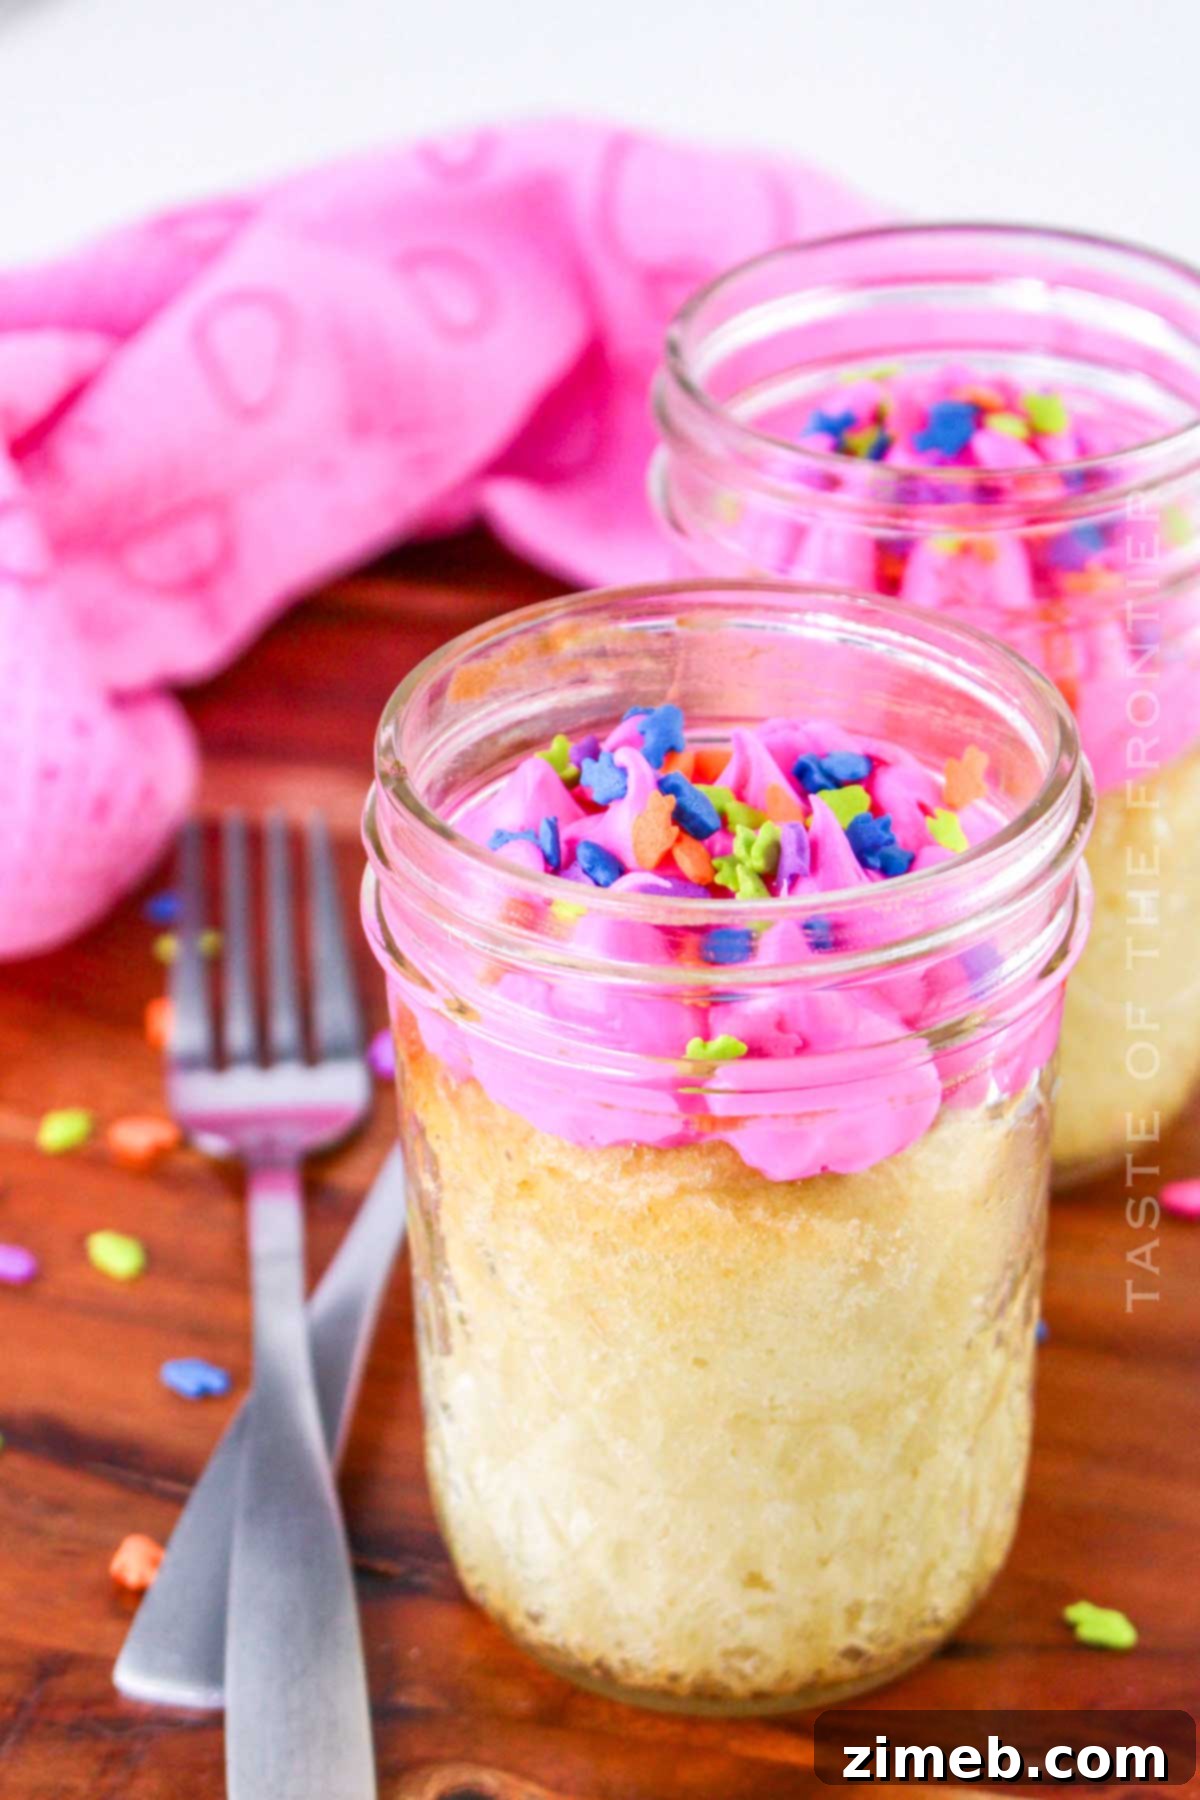
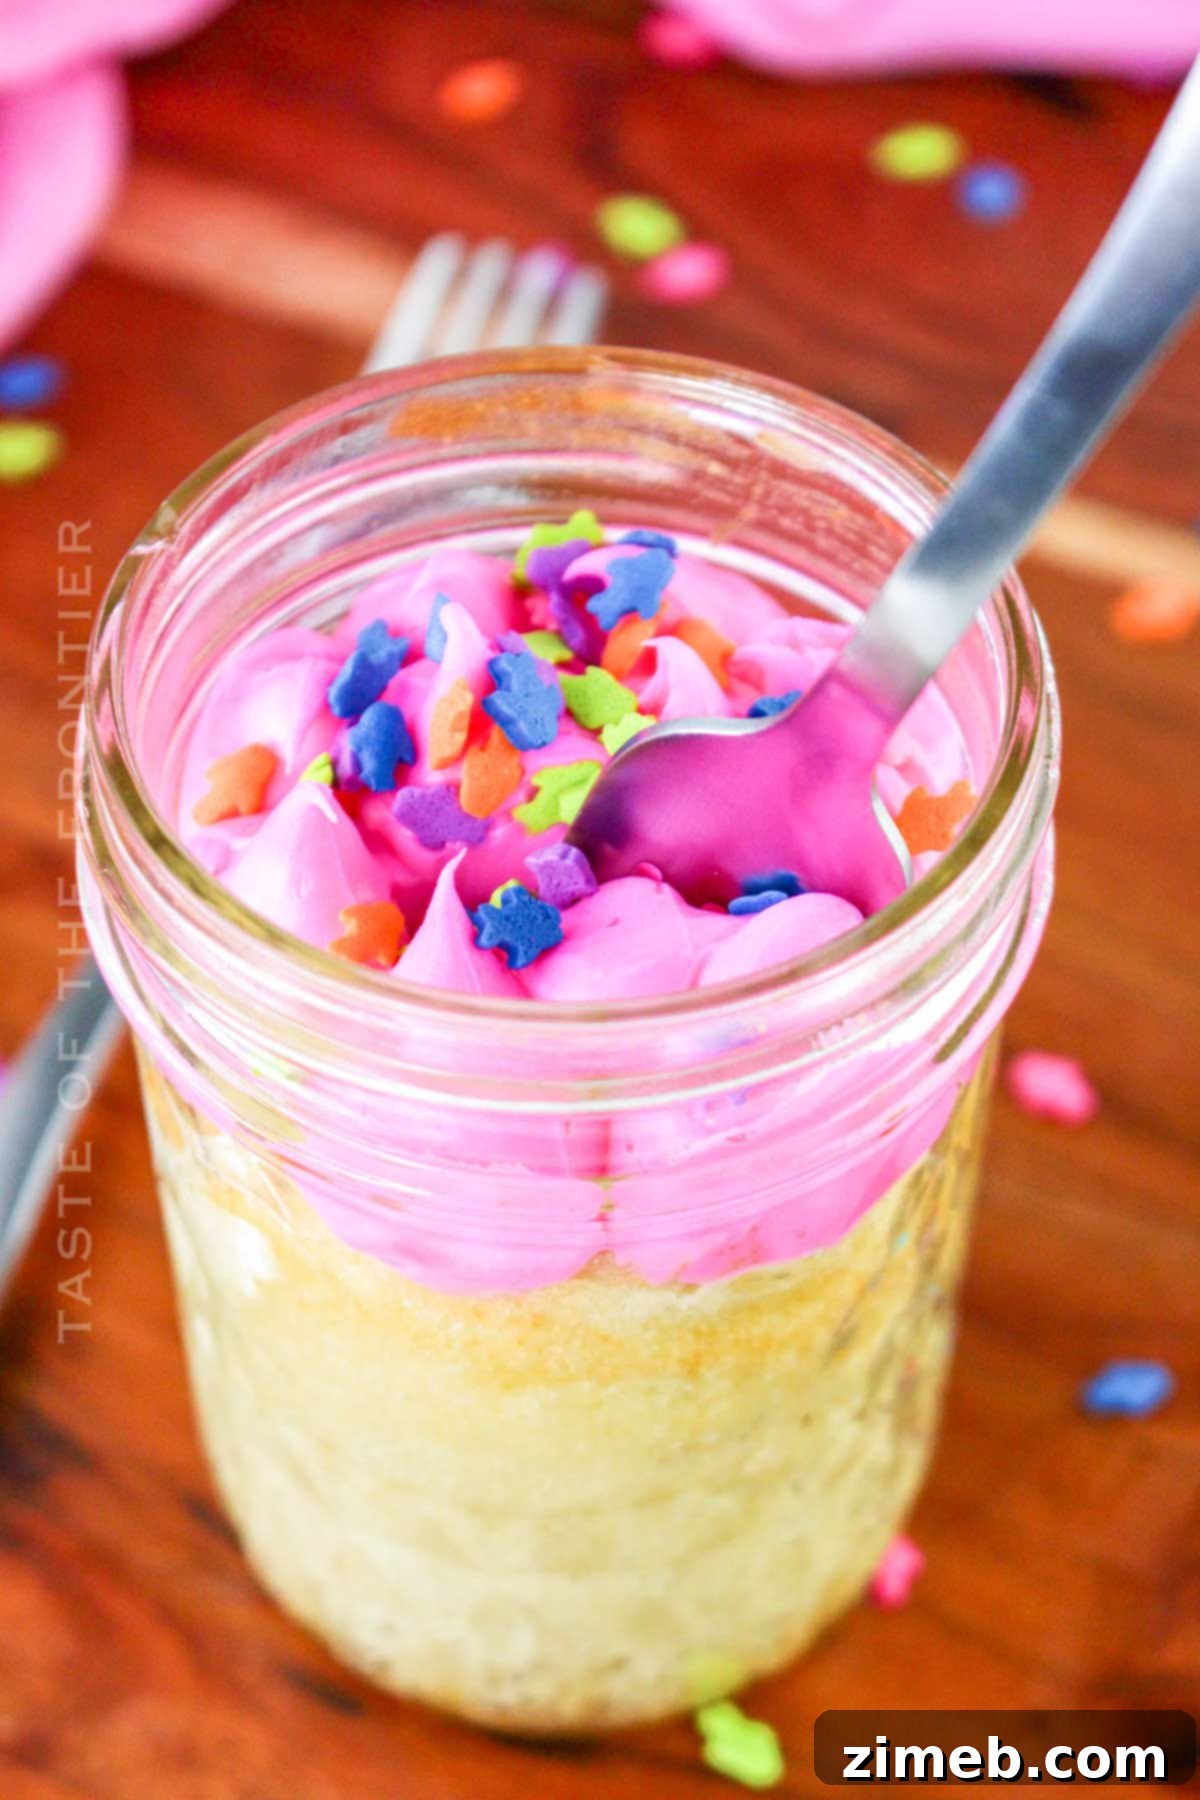
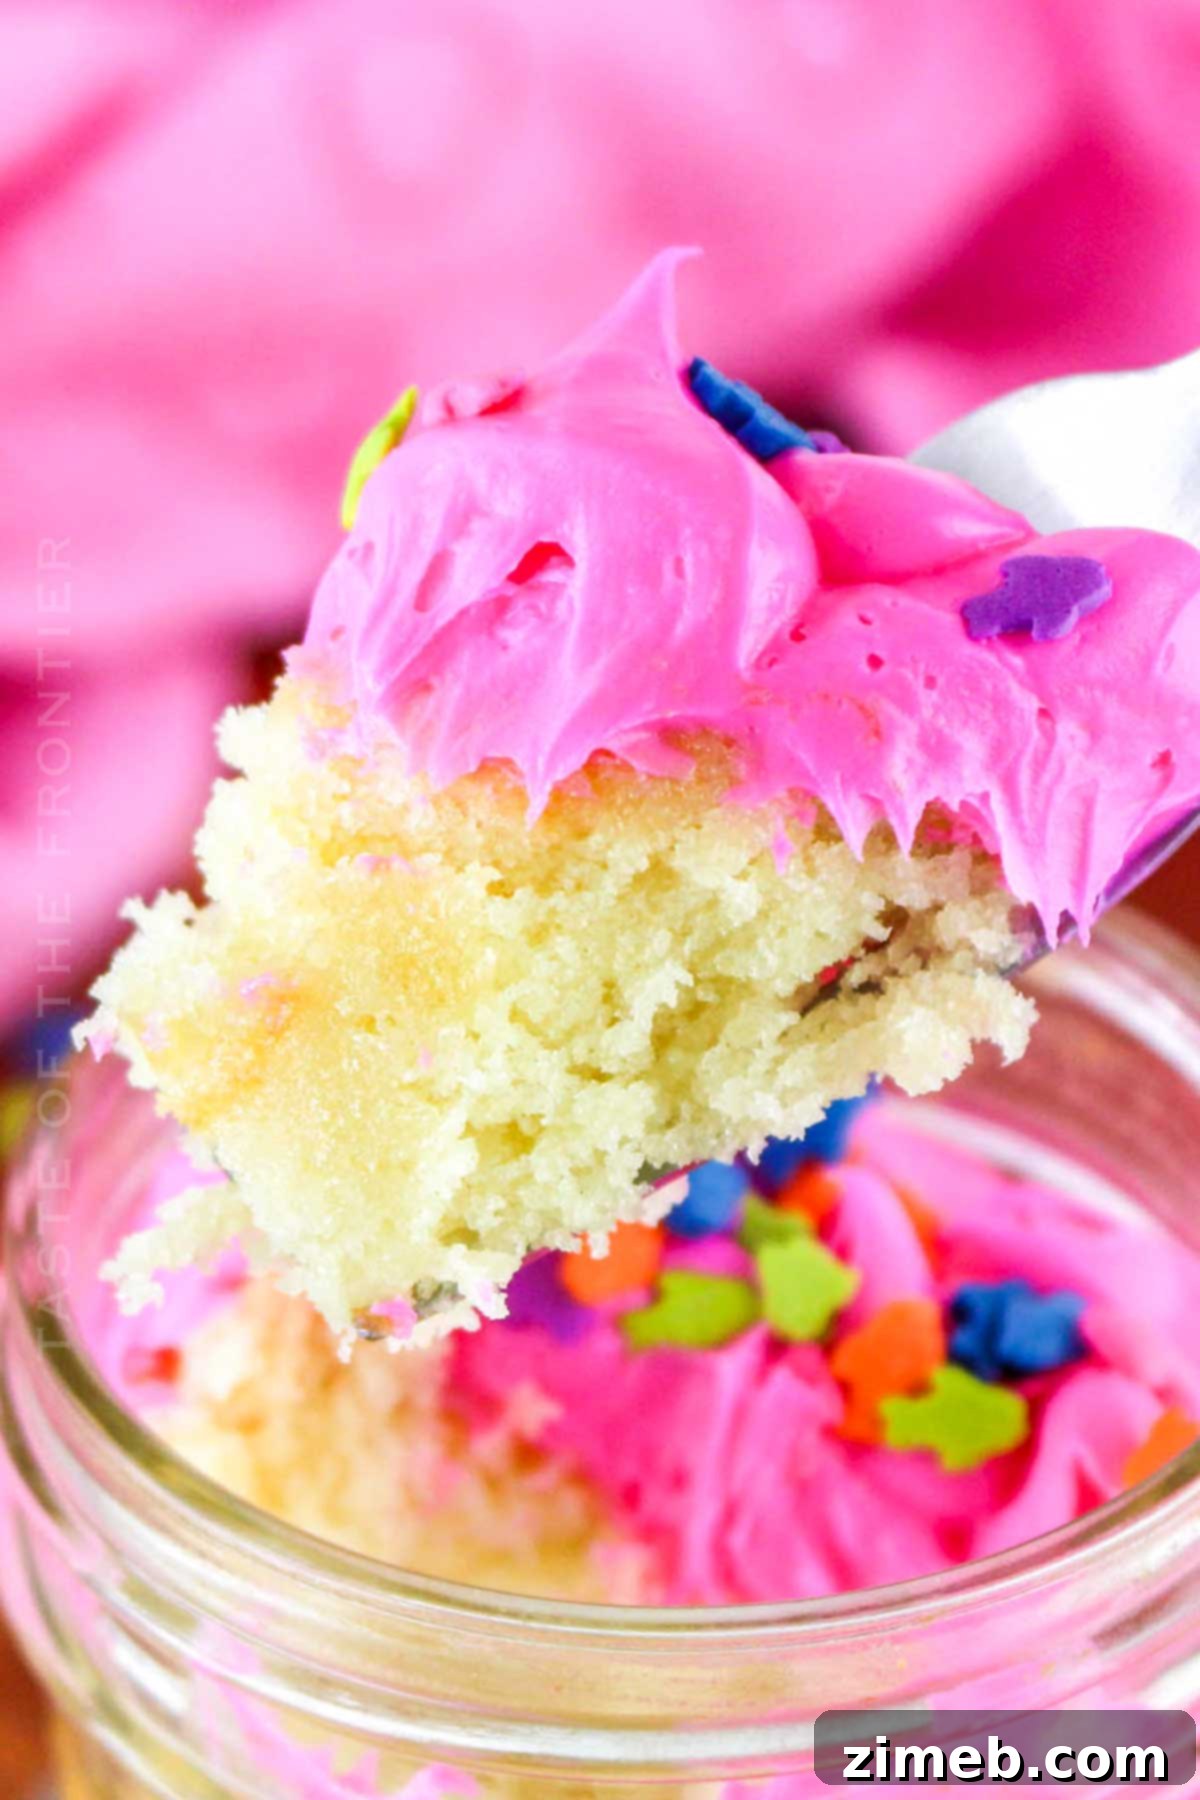
Perfect for gifting, party favors, or simply enjoying a delightful dessert on the go, these individual-sized Cake in a Jar treats offer layers of moist cake and creamy frosting, all elegantly contained within a portable jar. They are not only surprisingly easy to make and infinitely customizable but also utterly delicious and undeniably charming!
Have you ever experienced the sheer joy of baking a cake right inside a jar? Imagine the delight of popping open a simple mason jar to reveal a vibrant, delectable cake, meticulously layered with rich, velvety frosting and adorned with your choice of scrumptious toppings. This innovative concept transforms traditional cake baking into an exciting, personalized culinary adventure.
Cake in a Jar doesn’t just promise a burst of flavor with every spoonful; it also introduces a charming and highly versatile way to enjoy and serve cake. Whether you’re searching for a truly unique and thoughtful gift for a loved one, a convenient and mess-free treat for your next picnic or outdoor event, or simply a fun and creative baking project, these mini cakes, typically prepared in pint-sized mason jars, are as enjoyable to create as they are to devour. Each jar offers a personalized dessert experience, making them a fantastic choice for any occasion.
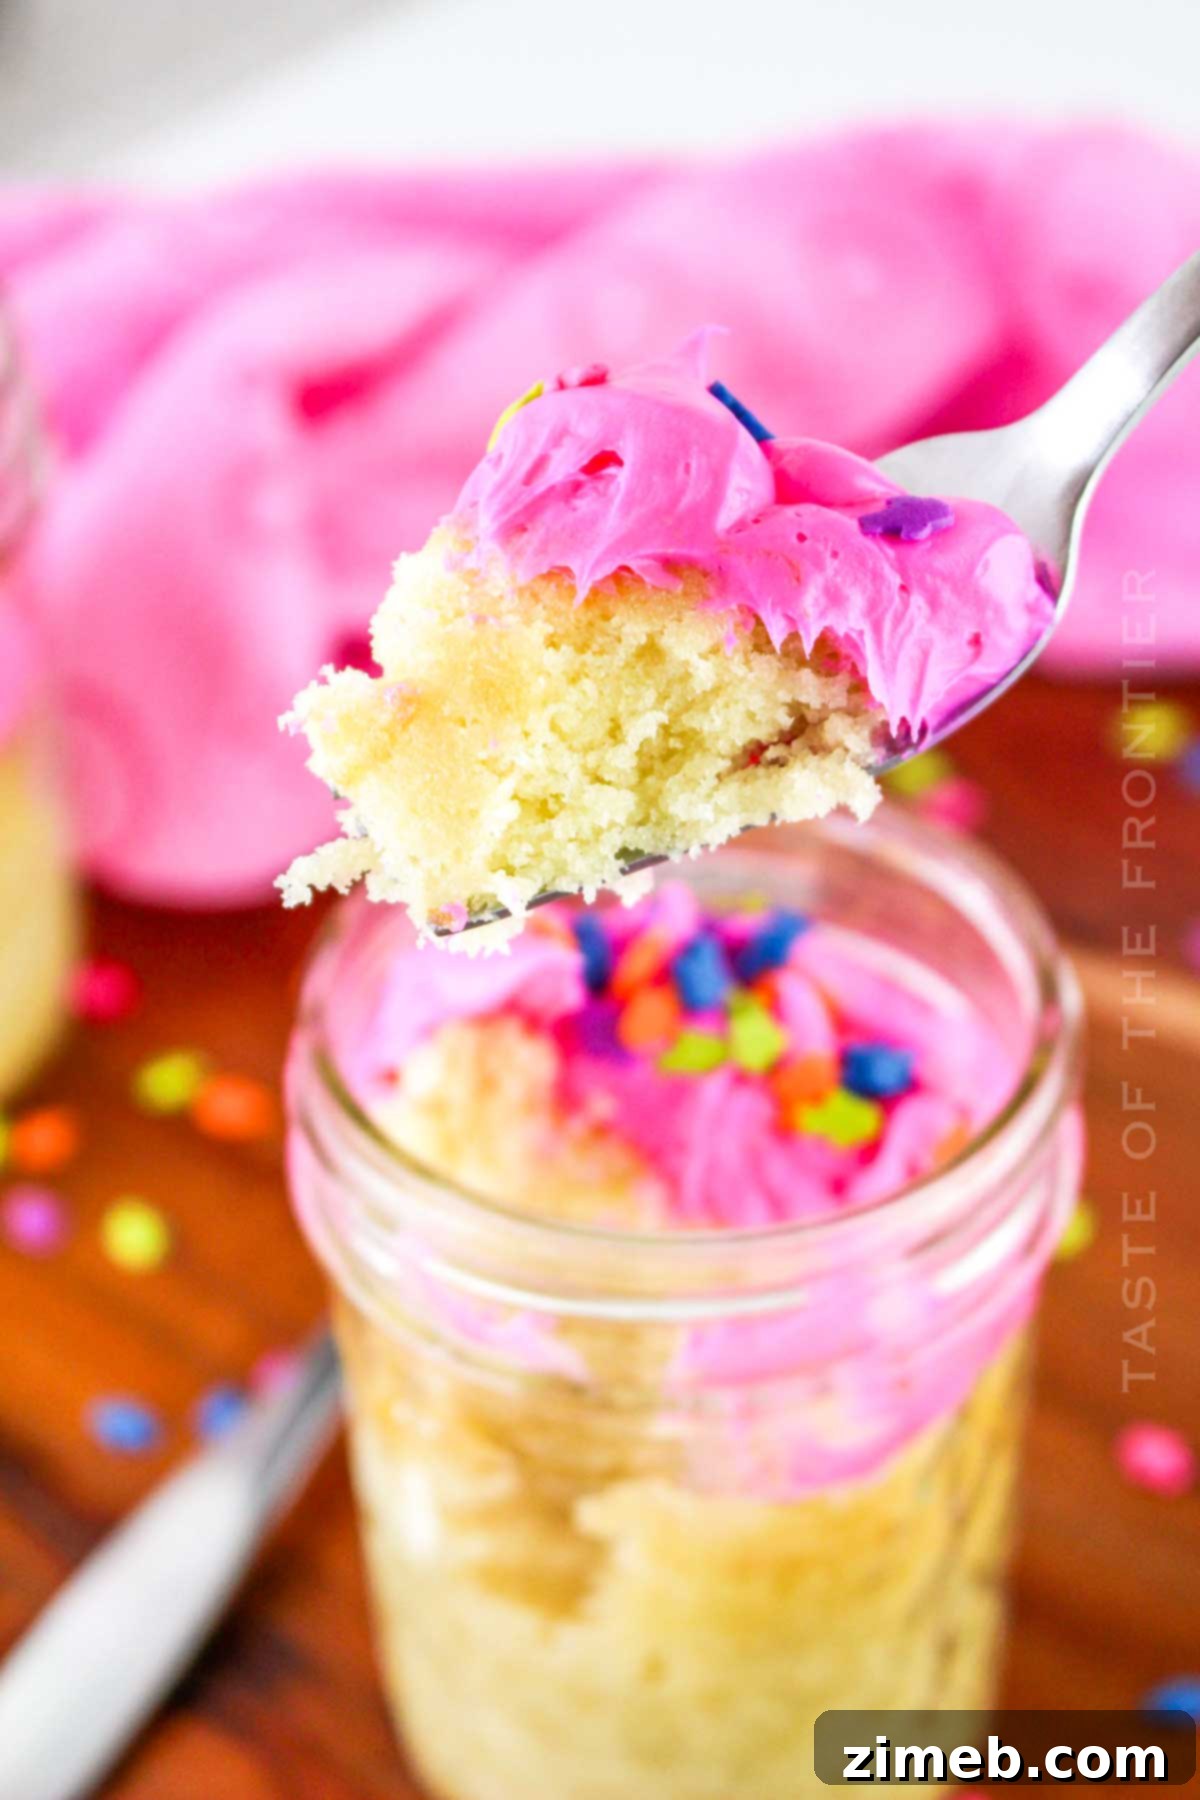
From lively birthday parties to elegant gatherings or simply as a special dessert to brighten a weeknight, Cake in a Jar allows for unparalleled personalization. You can effortlessly tailor each individual cake with your favorite cake flavors, frosting types, and a wide array of toppings, ensuring there’s a perfect combination for every palate and preference. This delightful dessert concept adds a whimsical touch to any event, promising a memorable and delicious experience for everyone involved.
Beyond their aesthetic appeal, Cake in a Jar offers practical benefits that traditional cakes simply cannot match. The individual portions eliminate the need for plates and forks, making serving incredibly simple and hygienic. Their sealed nature ensures freshness and makes them exceptionally portable, ideal for transport without worrying about damage. With endless possibilities for customization and presentation, Cake in a Jar is quickly becoming a beloved new favorite way to bake, share, and savor the joy of cake. Get ready to impress your friends and family with these adorable, delicious, and convenient treats!
Common Questions About Cake in a Jar
Can I prepare these cakes in advance for an event?
Absolutely! Cake in a Jar is the quintessential make-ahead treat, perfect for busy hosts and party planners. You can comfortably prepare these delightful cakes a day or even two in advance, storing them in the refrigerator until your event begins. To maintain their impeccable freshness and prevent drying out, ensure each jar is tightly sealed with its corresponding lid. This advanced preparation makes them an ideal choice for birthday gifts, memorable party favors, or any celebration where convenience meets deliciousness.
How do I ensure the cakes cook evenly in the jars?
Achieving perfectly baked, evenly cooked cakes within the jars is simpler than you might think. To promote uniform heat distribution and avoid raw centers or overbaked edges, always place your filled mason jar cakes on a parchment-lined baking sheet before transferring them to a preheated oven. The baking sheet acts as a buffer, helping to conduct and radiate heat consistently around each jar, ensuring that every mini cake bakes perfectly to a golden, fluffy finish. Avoid overcrowding the baking sheet to allow for proper air circulation.
What’s the best way to add the cake batter and frosting into the jars?
For the cleanest, most efficient, and aesthetically pleasing way to layer your cake batter and frosting, a piping bag is your secret weapon. Fill your piping bag with the cake batter and gently squeeze it into the jars, allowing you to neatly dispense precise amounts and create even, clean layers without any messy spills or smudges on the jar sides. Repeat this process with your chosen frosting, piping beautiful, tidy layers that look as professional as they taste. This method not only simplifies the process but also enhances the visual appeal of your finished cake jars.
What size mason jars are best for Cake in a Jar?
Pint-sized (16 oz) wide-mouth mason jars are generally recommended for Cake in a Jar recipes. Their wider opening makes it easier to fill with batter and frosting, and to eat directly from the jar. This size also provides a generous individual serving. You can also use half-pint (8 oz) jars for smaller portions, perfect for kids or as mini-desserts.
Storage
Cake in a Jar is a dream come true for anyone who loves portable treats. Each food has its perfect on-the-go iteration, and for cake, this innovative method takes the crown!
Refrigerator: To keep your cake jars fresh and delicious, store them in the refrigerator. When properly sealed with their lids, they will maintain their quality and delightful texture for up to five days. This makes them ideal for meal prepping desserts or preparing for an upcoming event.
Freezer: For extended enjoyment, you can freeze your cake jars for up to a month. To ensure they freeze well, make sure the jars are completely cool, tightly sealed, and consider adding an extra layer of plastic wrap over the lid. When you’re ready to indulge, simply thaw them overnight in the refrigerator before serving. They’ll taste just as fresh as the day you made them!
Expert Tips for Perfect Cake in a Jar
The beauty of the Cake in a Jar concept is its adaptability. You can apply this technique to a wide range of your favorite cake recipes, from classic vanilla to rich chocolate or zesty lemon. Just remember to adapt the recipe as needed for jar baking. Here are some essential tips to ensure your Cake in a Jar turns out perfectly every time:
- Proper Jar Preparation is Key: Before adding any batter, generously grease the inside of each mason jar with cooking spray, butter, or shortening. This crucial step prevents the cake from sticking and ensures a clean release, making it easier to serve or eat directly from the jar. For an extra non-stick layer, you can also lightly dust the greased jars with flour.
- Masterful Layering for Visual Appeal: For distinct, beautiful layers, use a small spoon or a cupcake scoop to carefully layer the cake batter evenly among the jars. Follow this by using a piping bag to apply the frosting with precision. The piping bag allows you to create clean lines and consistent layers, which not only looks professional but also makes for a delightful eating experience.
- Mindful Baking Techniques: Always preheat your oven to the specified temperature before placing the jars inside. Baking times for cakes in jars can vary slightly compared to traditional pans, depending on your oven’s calibration and the specific size of your mason jars. Keep a close eye on your cake jars during the baking process, and use the toothpick test—insert a toothpick into the center of a cake; if it comes out clean, the cake is done.
- Cooling is Crucial: Allow the cakes to cool completely in their jars on a wire rack before adding frosting. Attempting to frost warm cakes will cause the frosting to melt and slide, ruining your beautifully layered creation. Patience during the cooling phase is essential for a picture-perfect finish.
Ingredients for Your Delicious Cake in a Jar
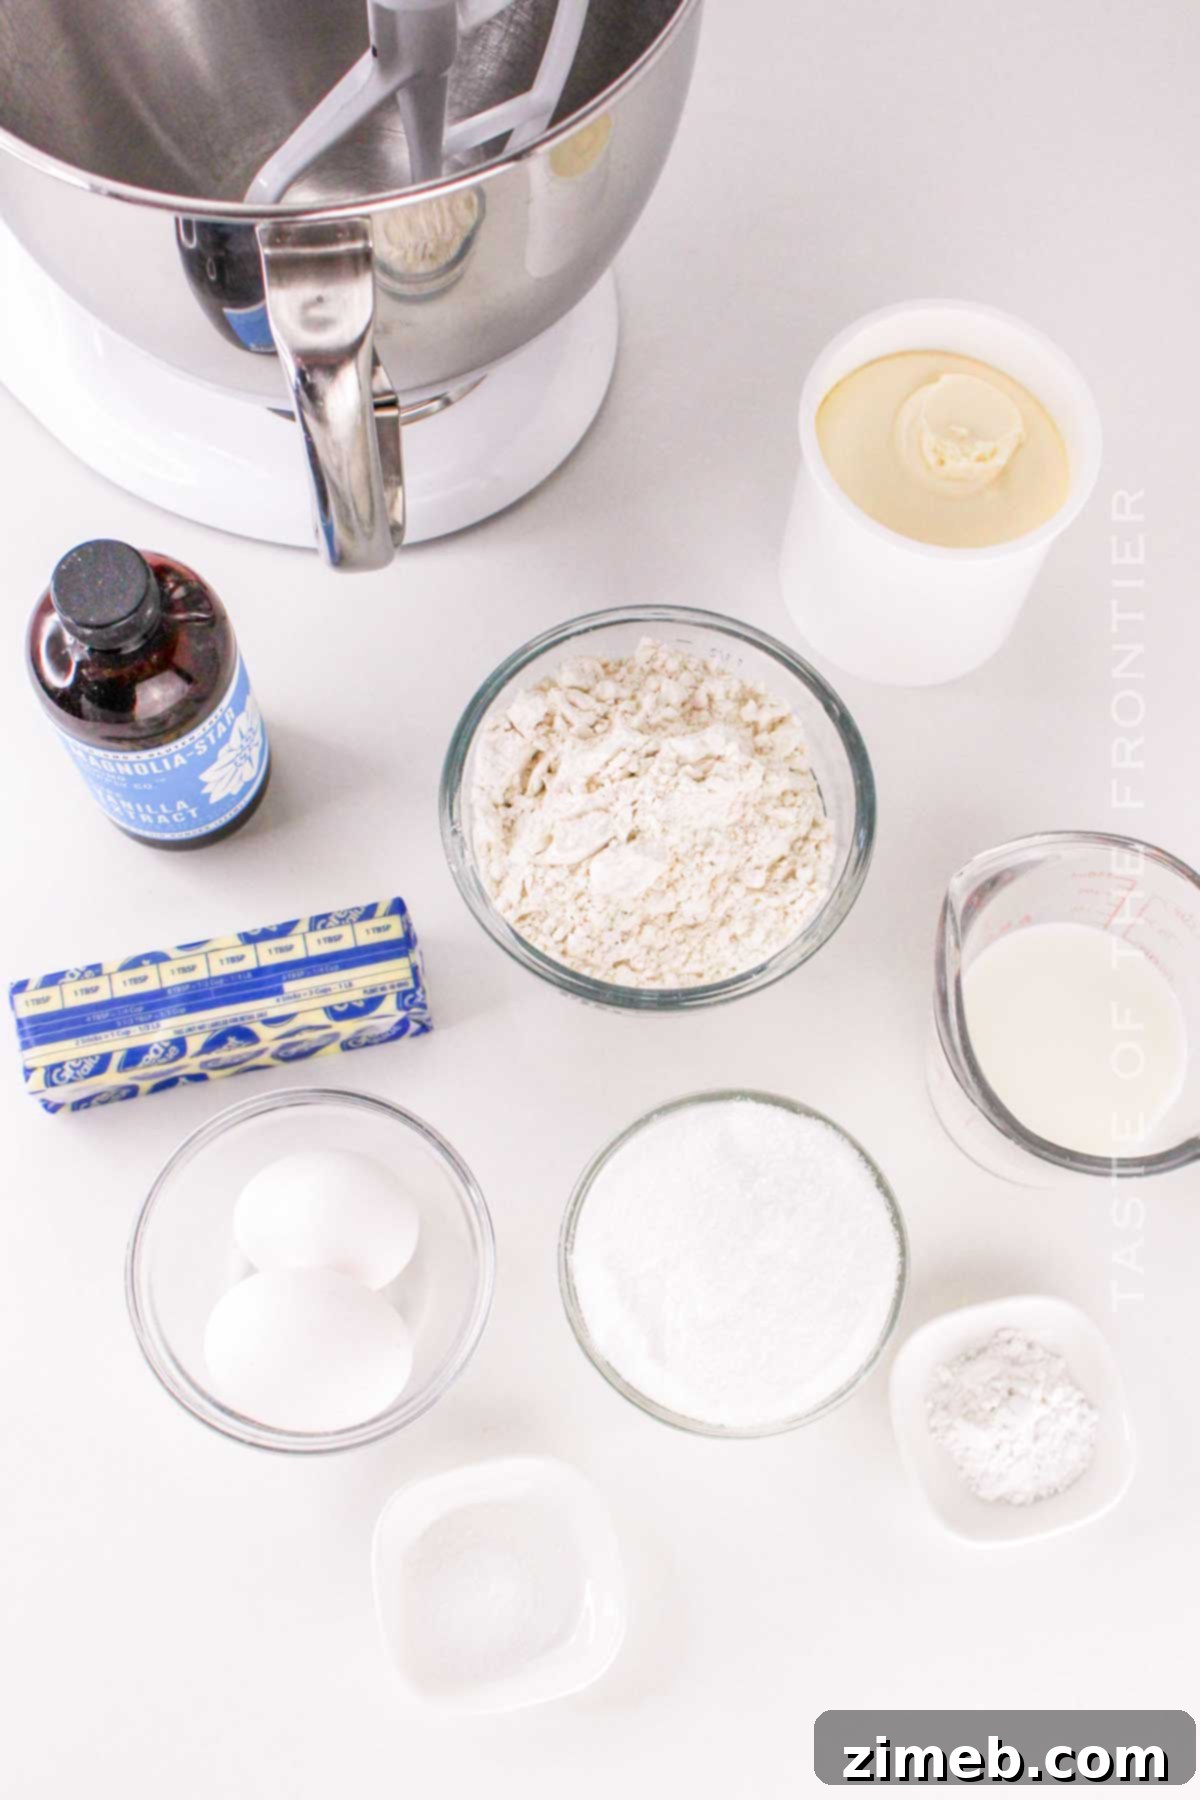
At first glance, the ingredients for this recipe might resemble a standard cake recipe. But then, voilà! You realize you’re crafting charming, individual cupcake jars that are incredibly fun to make and eat. This recipe provides a basic yet delicious foundation for your cake, which you can then customize to your heart’s content. Here’s what you’ll need:
- All-purpose flour
- Baking powder
- Salt
- Unsalted butter, softened
- Granulated sugar
- Large eggs
- Vanilla extract
- Whole milk
- Your favorite frosting (homemade or store-bought)
- Optional toppings: Sprinkles, chocolate chips, fresh fruit, crushed nuts, candy pieces, or a drizzle of caramel sauce
How to Make Cake in a Jar: A Step-by-Step Guide
Every kid (and adult!) loves individual cakes. The fantastic thing about this recipe is that it’s not only a blast to make but also incredibly convenient to hold, share, and eat. Follow these simple steps to create your own delightful Cake in a Jar:
- Prepare Your Oven: Begin by preheating your oven to 350°F (175°C). This ensures your oven is at the correct temperature for even baking.
- Grease the Jars: Thoroughly grease the inside of each mason jar with cooking spray or butter. This step is crucial to prevent the cake from sticking to the glass, making it easy to remove or eat directly. Set the prepared jars aside.
- Combine Dry Ingredients: In a medium mixing bowl, sift together the all-purpose flour, baking powder, and salt. Sifting helps to aerate the flour and remove any lumps, resulting in a lighter cake texture. Set this dry mixture aside.
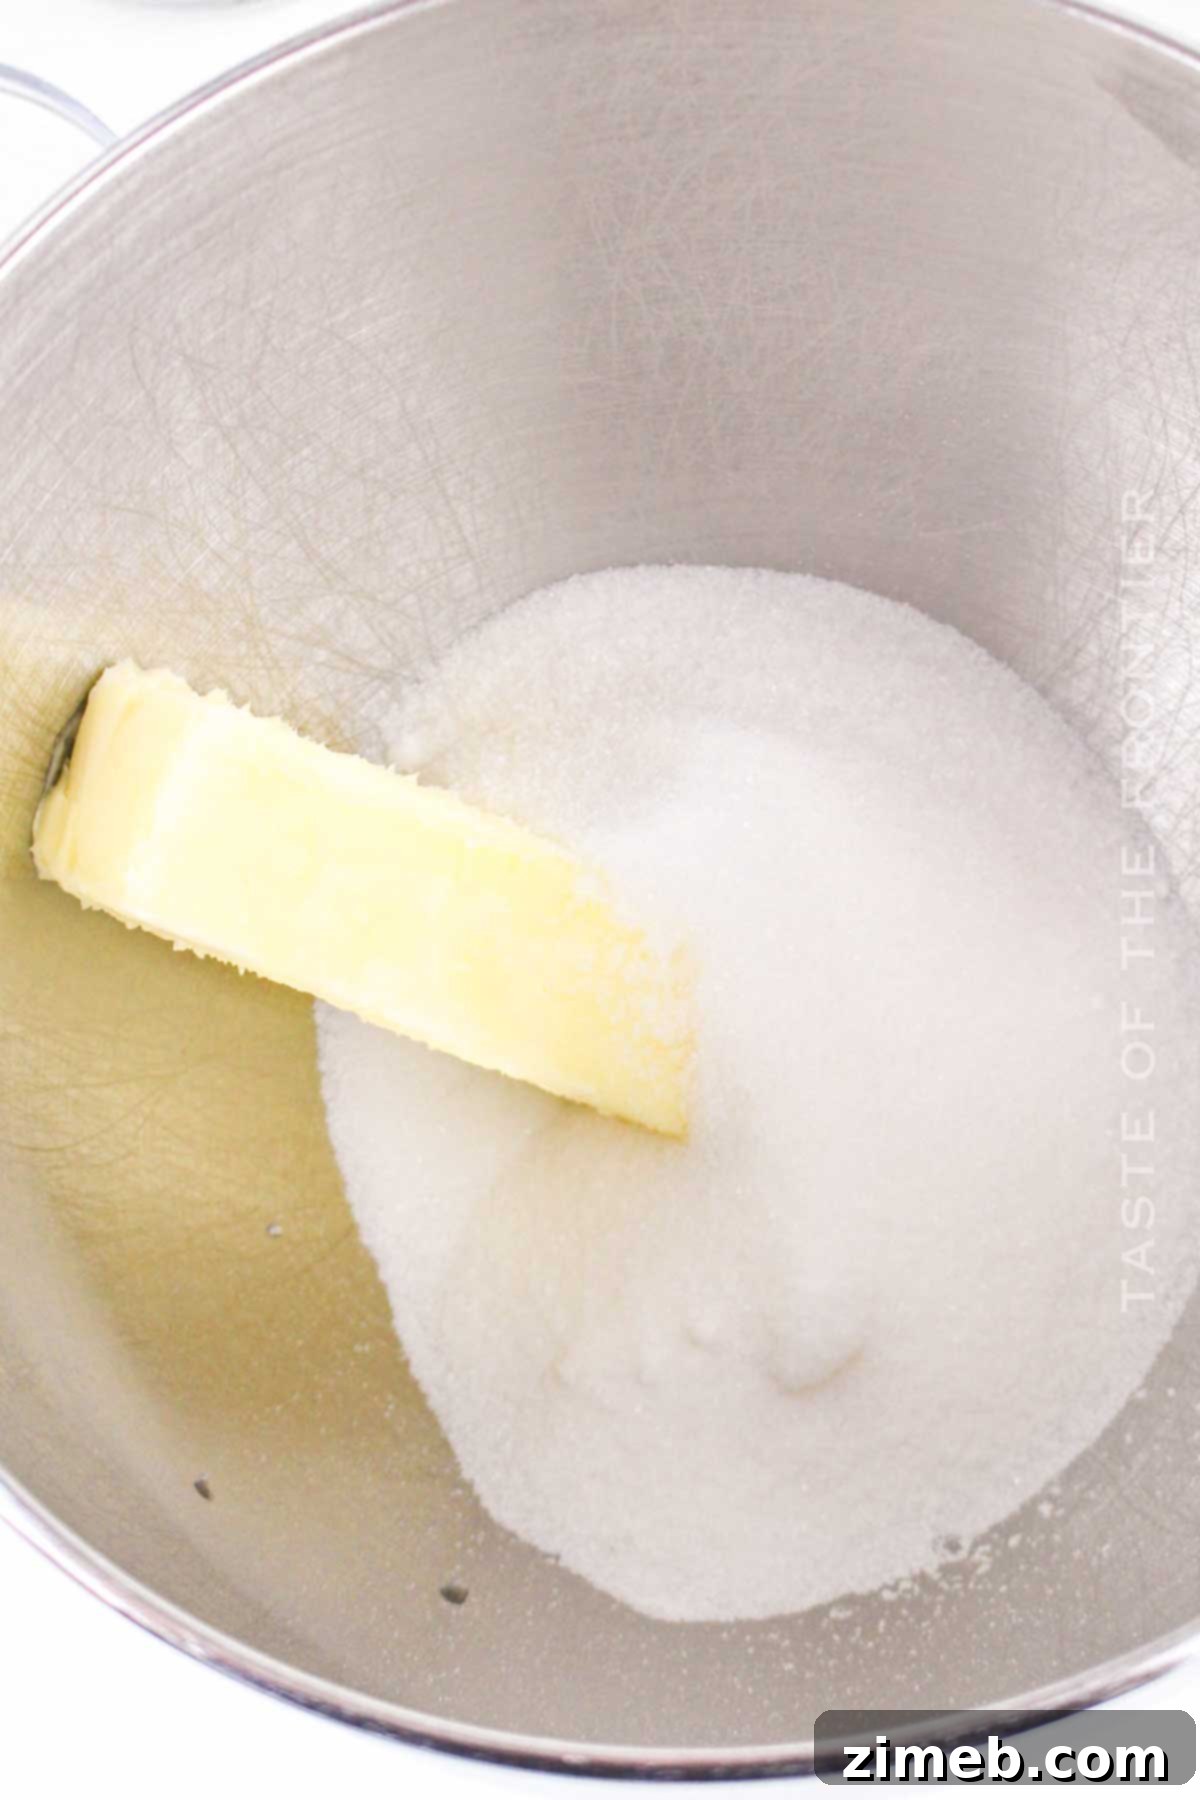
- Cream Butter and Sugar: In a large mixing bowl, using a hand mixer or a stand mixer fitted with the paddle attachment, cream together the softened unsalted butter and granulated sugar until the mixture is light, fluffy, and pale in color. This process incorporates air, which contributes to the cake’s tenderness.
- Add Eggs and Vanilla: Beat in the eggs one at a time, ensuring each egg is fully incorporated before adding the next. This prevents the batter from curdling. Once the eggs are mixed in, stir in the vanilla extract for flavor.
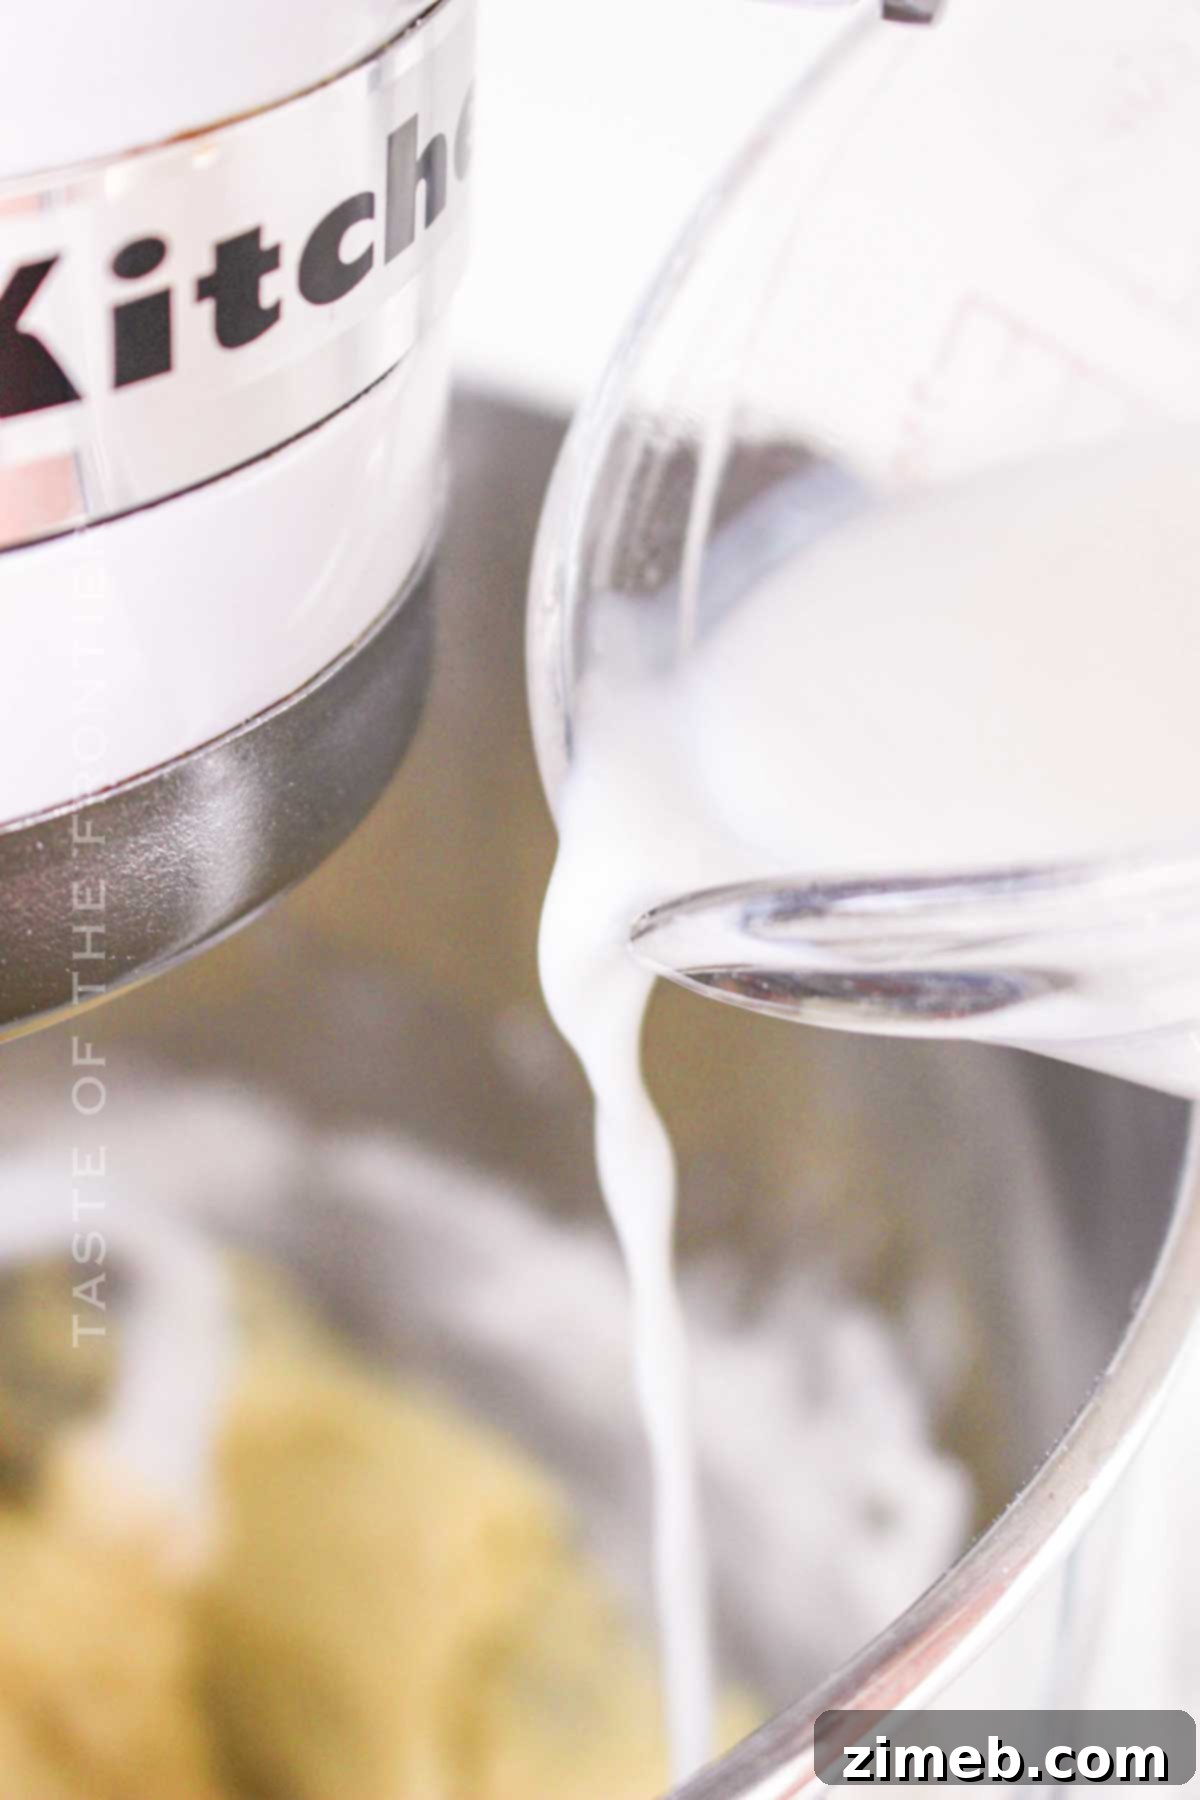
- Alternate Wet and Dry: Gradually add the dry ingredients to the wet ingredients, alternating with the whole milk. Begin and end with the dry ingredients. Mix until just combined, being careful not to overmix, as overmixing can lead to a tough cake.
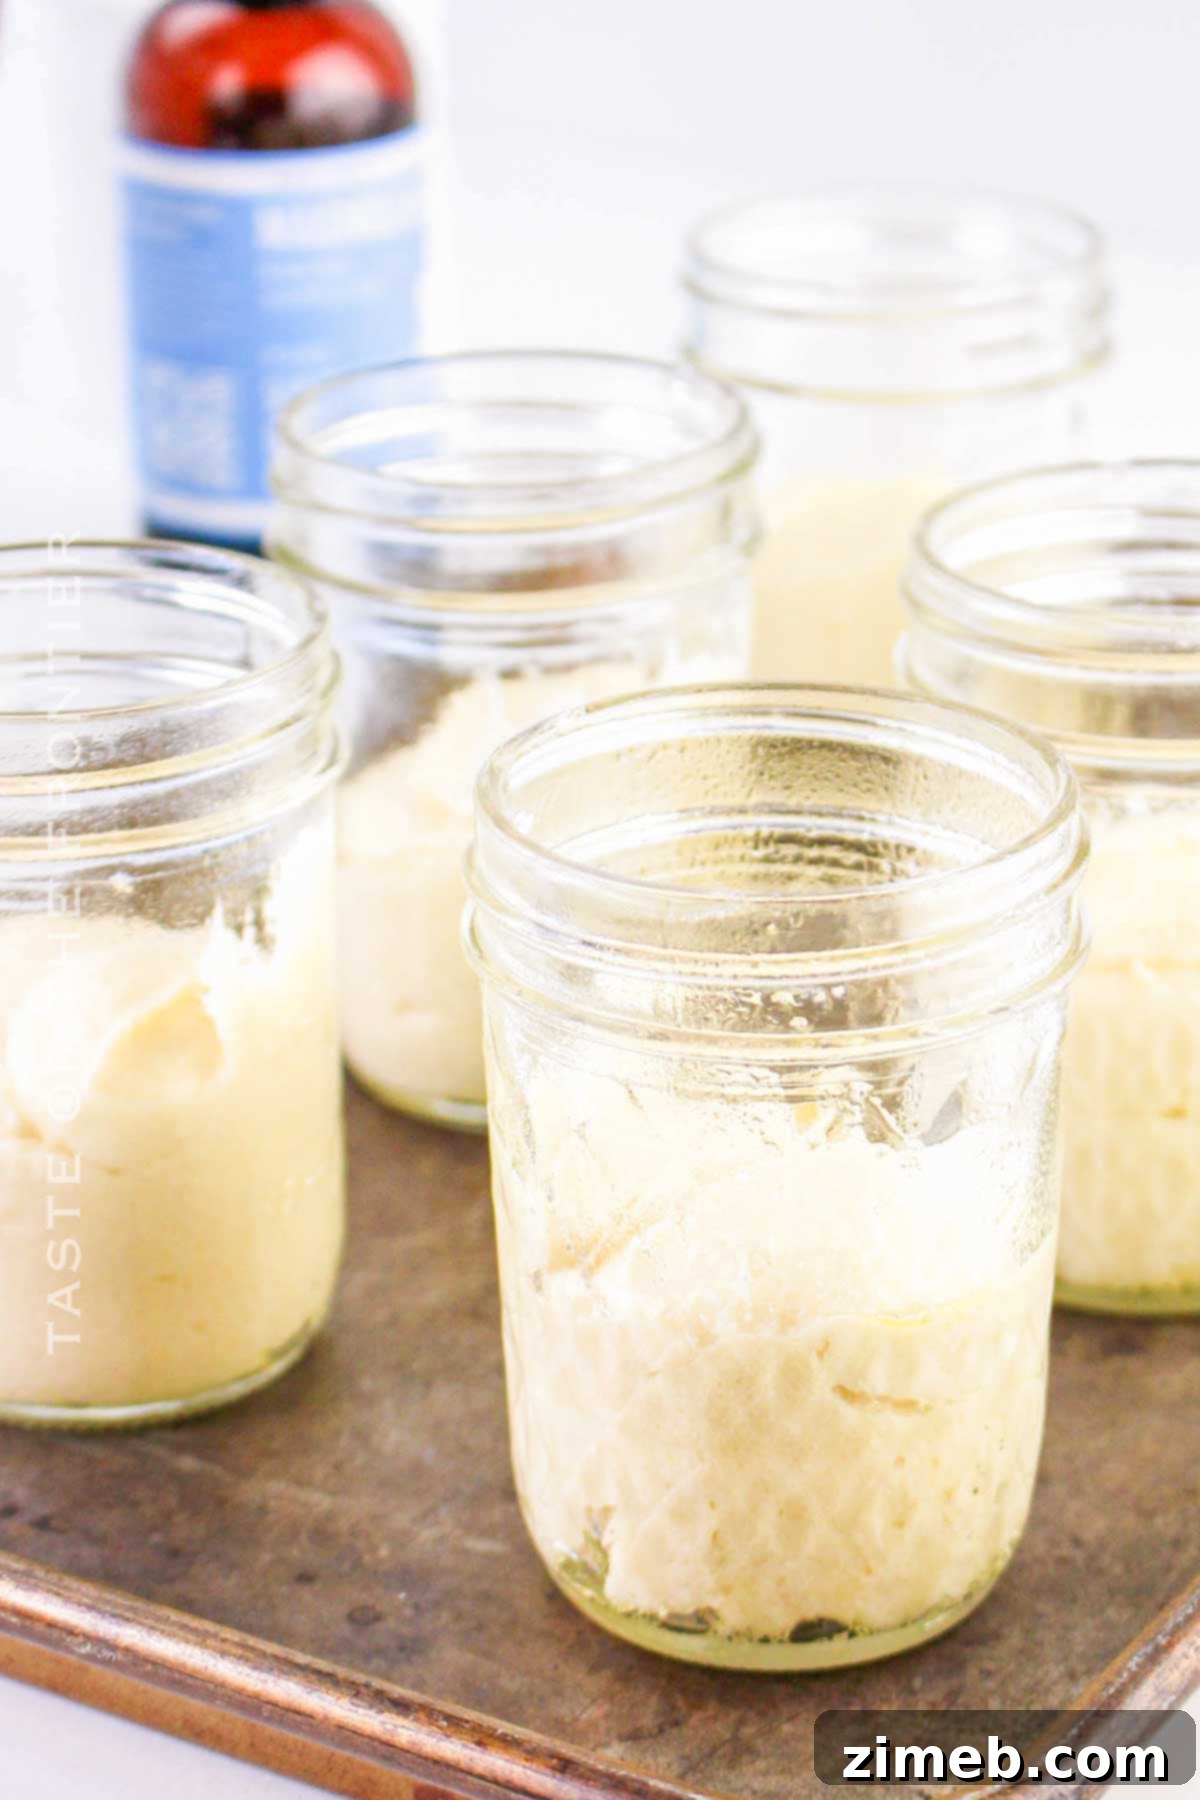
- Fill the Jars: Divide the cake batter evenly among your prepared mason jars. Fill each jar approximately halfway full. This allows room for the cake to rise during baking and leaves space for frosting and toppings.
- Bake Evenly: Place the filled mason jars on a baking sheet. Transfer the baking sheet to your preheated oven. The baking sheet helps distribute heat evenly and makes it easier to handle the jars.
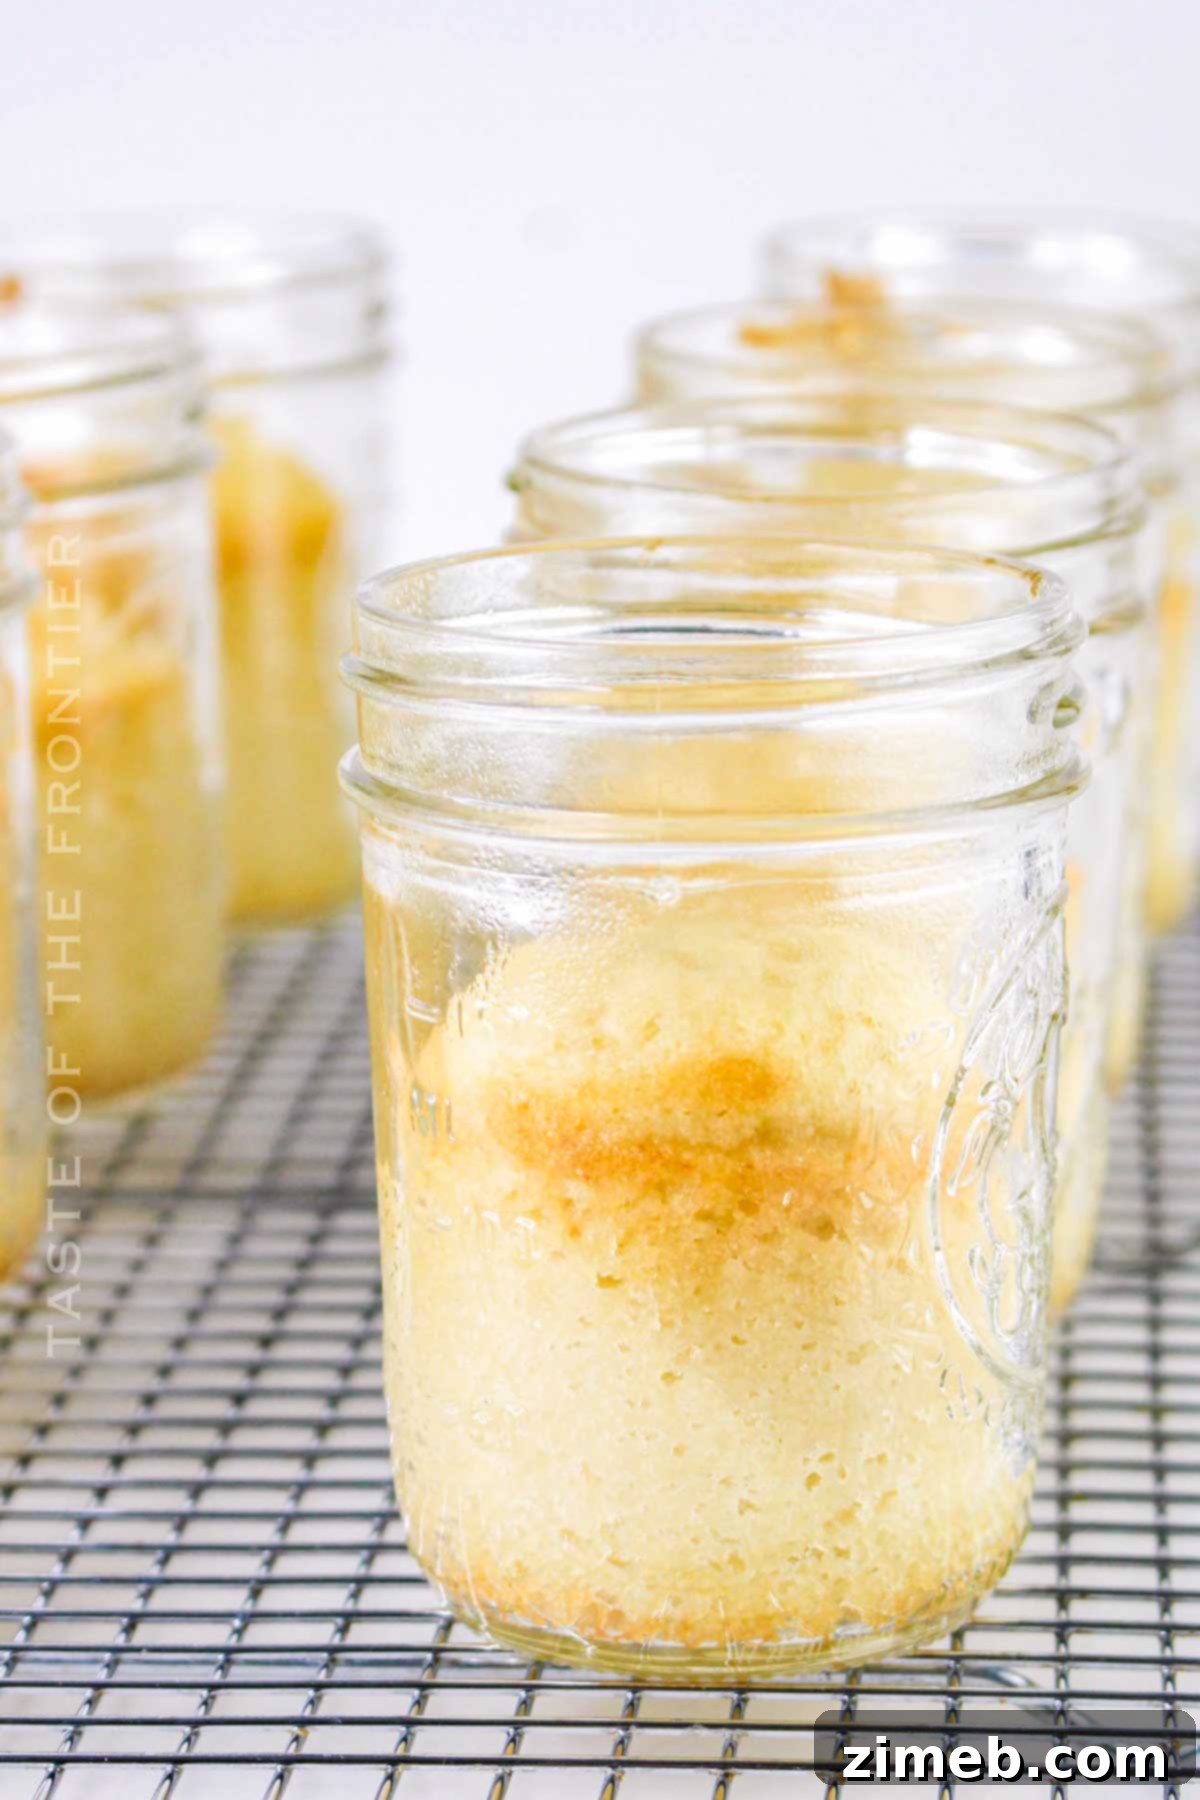
- Bake until Golden: Bake for 25-30 minutes, or until a toothpick inserted into the center of a cake comes out clean. Baking times may vary, so keep an eye on them.
- Cool Completely: Remove the jars from the oven and allow them to cool completely on a wire rack. It’s essential that the cakes are entirely cool before moving to the next step.
- Frost and Decorate: Once cooled, use a piping bag or a small spoon to spread a generous layer of your favorite frosting on top of each cake in the jar. Now comes the fun part: add your favorite toppings to decorate and personalize each treat!
- Seal and Store: Screw the lids onto the jars tightly. Store them in the refrigerator until you are ready to serve, ensuring maximum freshness and delightful enjoyment.
Essential Kitchen Supplies You’ll Need
To embark on your Cake in a Jar baking adventure, you’ll need a few standard kitchen tools. If you prefer to simplify the process, feel free to use a boxed cake mix for the cake batter; it’s a wonderful way to save a little effort without sacrificing taste. Here’s a list of the key supplies:
- Mason Jars: Pint-sized (16 oz) wide-mouth jars are ideal for single servings, but half-pint (8 oz) jars also work well for smaller portions.
- Hand Mixer or Stand Mixer: Essential for creaming butter and sugar, and mixing the batter to the perfect consistency.
- Mixing Bowls: You’ll need at least two – one for dry ingredients and one for wet.
- Oven Mitts: To safely handle hot jars and baking sheets.
- Cooling Rack: For allowing your cakes to cool completely and evenly after baking.
- Piping Bag (optional but recommended): Great for neatly dispensing batter and frosting, creating beautiful layers. If you don’t have one, a sturdy Ziploc bag with a corner snipped off will also work.
- Baking Sheet: To hold the jars in the oven for even baking and easy transport.
What to Serve With Cake in a Jar
These adorable jar cakes are perfect on their own, offering a complete and satisfying dessert experience in a convenient package. However, if you’re looking to elevate the indulgence, they can be wonderfully paired with a scoop of creamy ice cream, a dollop of fresh whipped cream, or a side of vibrant, seasonal fresh fruit. They are always a huge hit at parties and make for exceptionally lovely and thoughtful birthday or holiday gifts. Consider offering a variety of flavors and toppings to create an impressive dessert bar!
Why You Should Make Cake in a Jar Today
Everyone deserves to experience this delightful sweet treat at least once in their life. It’s more than just a dessert; it’s an invitation to explore new and exciting ways of making and enjoying baked goods. Here are compelling reasons why Cake in a Jar should be your next baking project:
- Unleash Your Creativity and Customization: The possibilities are truly endless! Enjoy the freedom of customizing each individual jar with different kinds of cake flavors, various creamy fillings, and an endless array of toppings. Experiment with colors, textures, and tastes to create unique masterpieces.
- Unbeatable Convenience and Portability: Say goodbye to messy cake slices and cumbersome transport. These individual portions are sealed securely, making them perfect for transporting to picnics, potlucks, lunchboxes, or any event without the worry of damage or mess.
- Adds a Personal Touch: Each jar can be personalized, not only with flavors but also with decorative ribbons, custom labels, or themed toppings, making them exceptional gifts, unique party favors, or special treats for individual guests.
- Irresistible Visual Appeal: The transparent glass jars beautifully showcase the vibrant layers of cake and frosting, making them as aesthetically pleasing as they are delicious. They are guaranteed to be a conversation starter and a feast for the eyes before even the first bite.
- Perfect Portion Control: Individual jars naturally offer built-in portion control, helping to manage serving sizes while still allowing everyone to enjoy a satisfying dessert.
- Hygienic Serving: In group settings, individual desserts are often preferred for hygiene, as each person gets their own untouched treat.
Unleash Your Creativity: Variations and Add-Ins for Cake in a Jar
The true magic of Cake in a Jar lies in its incredible versatility. Don’t hesitate to experiment and make these treats truly your own! I’d love to hear in the comments how this goes for you and what creative additions you come up with. These little cakes are an absolute blast to eat, and you can truly add anything you want to match your taste or occasion:
- Embrace Seasonal Flavors: Adapt your favorite cake recipes to feature seasonal ingredients. Think warm pumpkin spice, apple cinnamon, or rich caramel in the fall; refreshing lemon and berry in the spring and summer; or festive peppermint, gingerbread, or cranberry during the winter holidays.
- Design Themed Jars for Special Events: Decorate and theme your jars to perfectly match specific events. For weddings, consider elegant white cake with delicate edible flowers. For baby showers, use pastel colors and baby-themed sprinkles. Sport events can feature team colors, and holiday parties can be celebrated with festive toppers.
- Accommodate Dietary Adjustments: With a few simple substitutions, you can easily create gluten-free or vegan versions of these delightful desserts. Use suitable gluten-free flour blends, plant-based milks, and egg substitutes, along with dairy-free butter and frostings, to cater to various dietary restrictions without compromising on flavor.
- Fruit Fillings and Compotes: Layer in fresh fruit, fruit purees, or homemade compotes between cake and frosting layers for an added burst of freshness and natural sweetness. Berries, peaches, cherries, or even tropical fruits work wonderfully.
- Candy and Cookie Crumble: Crush your favorite cookies (like Oreos or graham crackers) or candies (like M&M’s, Butterfingers, or Heath bars) and sprinkle them between layers or on top for extra crunch and flavor.
- Sauces and Drizzles: Introduce different textures and flavors with drizzles of chocolate ganache, caramel sauce, fruit coulis, or even a hint of coffee syrup for a tiramisu-inspired jar.
If you love this easy cake recipe and are seeking more delightful treats, you’re going to adore these fun dessert recipes too. Please click each link below to find the easy, printable recipe and expand your baking repertoire!
These soft and pillowy frosted Sour Cream Cookies are just like grandma used to make. Simple, easy, and there’s no chill time required. Plus, you can decorate them for any occasion.
Check out this recipe

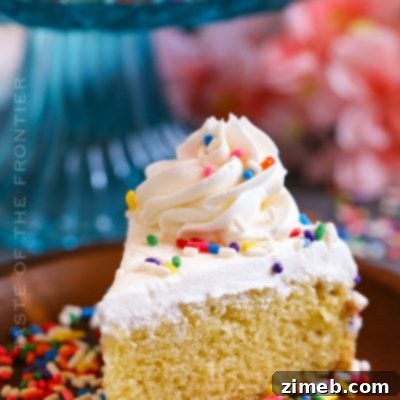
Elevate your special day with this charming Small Birthday Cake that proves good things truly come in small packages.
Check out this recipe
This Chocolate Pudding Cake, also known as Hot Fudge Pudding Cake, is a deliciously decadent treat that’s great for any occasion.
Check out this recipe
Making Cake Mix Mug Cakes is so easy with this simple 2-ingredient recipe. Make ahead and have mug cake any time the craving strikes – ready in less than 2 minutes.
Check out this recipe
Cream Horns with Puff Pastry are a crunchy, light puff pastry wrapped around a sweet and smooth creamy filling. Perfect for parties and celebrations!
Check out this recipe

Try This Cake With These Great Frosting Recipes
The right frosting can elevate your Cake in a Jar from delicious to absolutely unforgettable. Here are some fantastic frosting recipes that would pair wonderfully with your homemade cakes:
Chocolate Buttercream Frosting – A rich, classic choice for chocolate lovers.
Best Bakery Buttercream Frosting – A smooth, versatile frosting that tastes like it came straight from a professional bakery.
Whipped Cream Frosting – Light, airy, and less sweet, perfect for balancing rich cakes or fresh fruit additions.
Cake Batter Frosting Recipe – A fun and unique frosting that captures the essence of raw cake batter.
CONNECT WITH YUMMI HAUS!
Be sure to follow me on my social media, so you never miss a post!
Substack, FB, Pinterest, IG, Email Subscription
Cake in a Jar
Perfect for gifting or enjoying on the go, these individual-sized Cake in a Jar treats offer layers of moist cake and creamy frosting in a portable jar. Easy to make, customizable, and utterly delicious!
Cook Time: 25 mins
Total Time: 45 mins
Pin Recipe
Ingredients
- 1 ½ cups all-purpose flour
- 1 ½ teaspoons baking powder
- ¼ teaspoon salt
- ½ cup unsalted butter, softened
- 1 cup granulated sugar
- 2 large eggs
- 2 teaspoons vanilla extract
- ½ cup whole milk
- 1 cup frosting of your choice
Assorted toppings (sprinkles, chocolate chips, crushed nuts, etc.)
Instructions
- Preheat the oven to 350°F (175°C).
- Grease the inside of each mason jar with cooking spray or butter and set aside.
- Sift together the flour, baking powder, and salt in a medium mixing bowl. Set aside.
- Cream together the softened butter and granulated sugar in a large mixing bowl, using a hand mixer or stand mixer, until light and fluffy.
- Add the eggs one at a time, beating well after each addition. Then, mix in the vanilla extract.
- Gradually add the dry ingredients to the wet ingredients, alternating with the milk, starting and ending with the dry ingredients. Mix until just combined, being careful not to overmix.
- Divide the batter evenly among the prepared mason jars, filling each jar about halfway full.
- Place the filled mason jars on a baking sheet and transfer them to the preheated oven.
- Bake for 25-30 minutes, or until a toothpick inserted into the center of a cake comes out clean.
- Remove the jars from the oven and allow them to cool completely on a wire rack.
- Once cooled, spread a layer of frosting on top of each cake in the jar. Add your favorite toppings to decorate.
- Screw the lids onto the jars and store them in the refrigerator until ready to serve.
Nutrition
Serving: 1 serving | Calories: 828kcal | Carbohydrates: 126g | Protein: 6g | Fat: 35g | Saturated Fat: 17g | Cholesterol: 66mg | Sodium: 604mg | Potassium: 126mg | Fiber: 1g | Sugar: 87g | Calcium: 135mg | Iron: 2mg | Net Carbohydrates: 125g
Nutritional information for the recipe is provided as a courtesy and is approximate. Please double-check with your own dietary calculator for the best accuracy. We at Yummi Haus cannot guarantee the accuracy of the nutritional information given for any recipe on this site.
Love this recipe?
Follow @KleinworthCo for even more tasty recipes!