
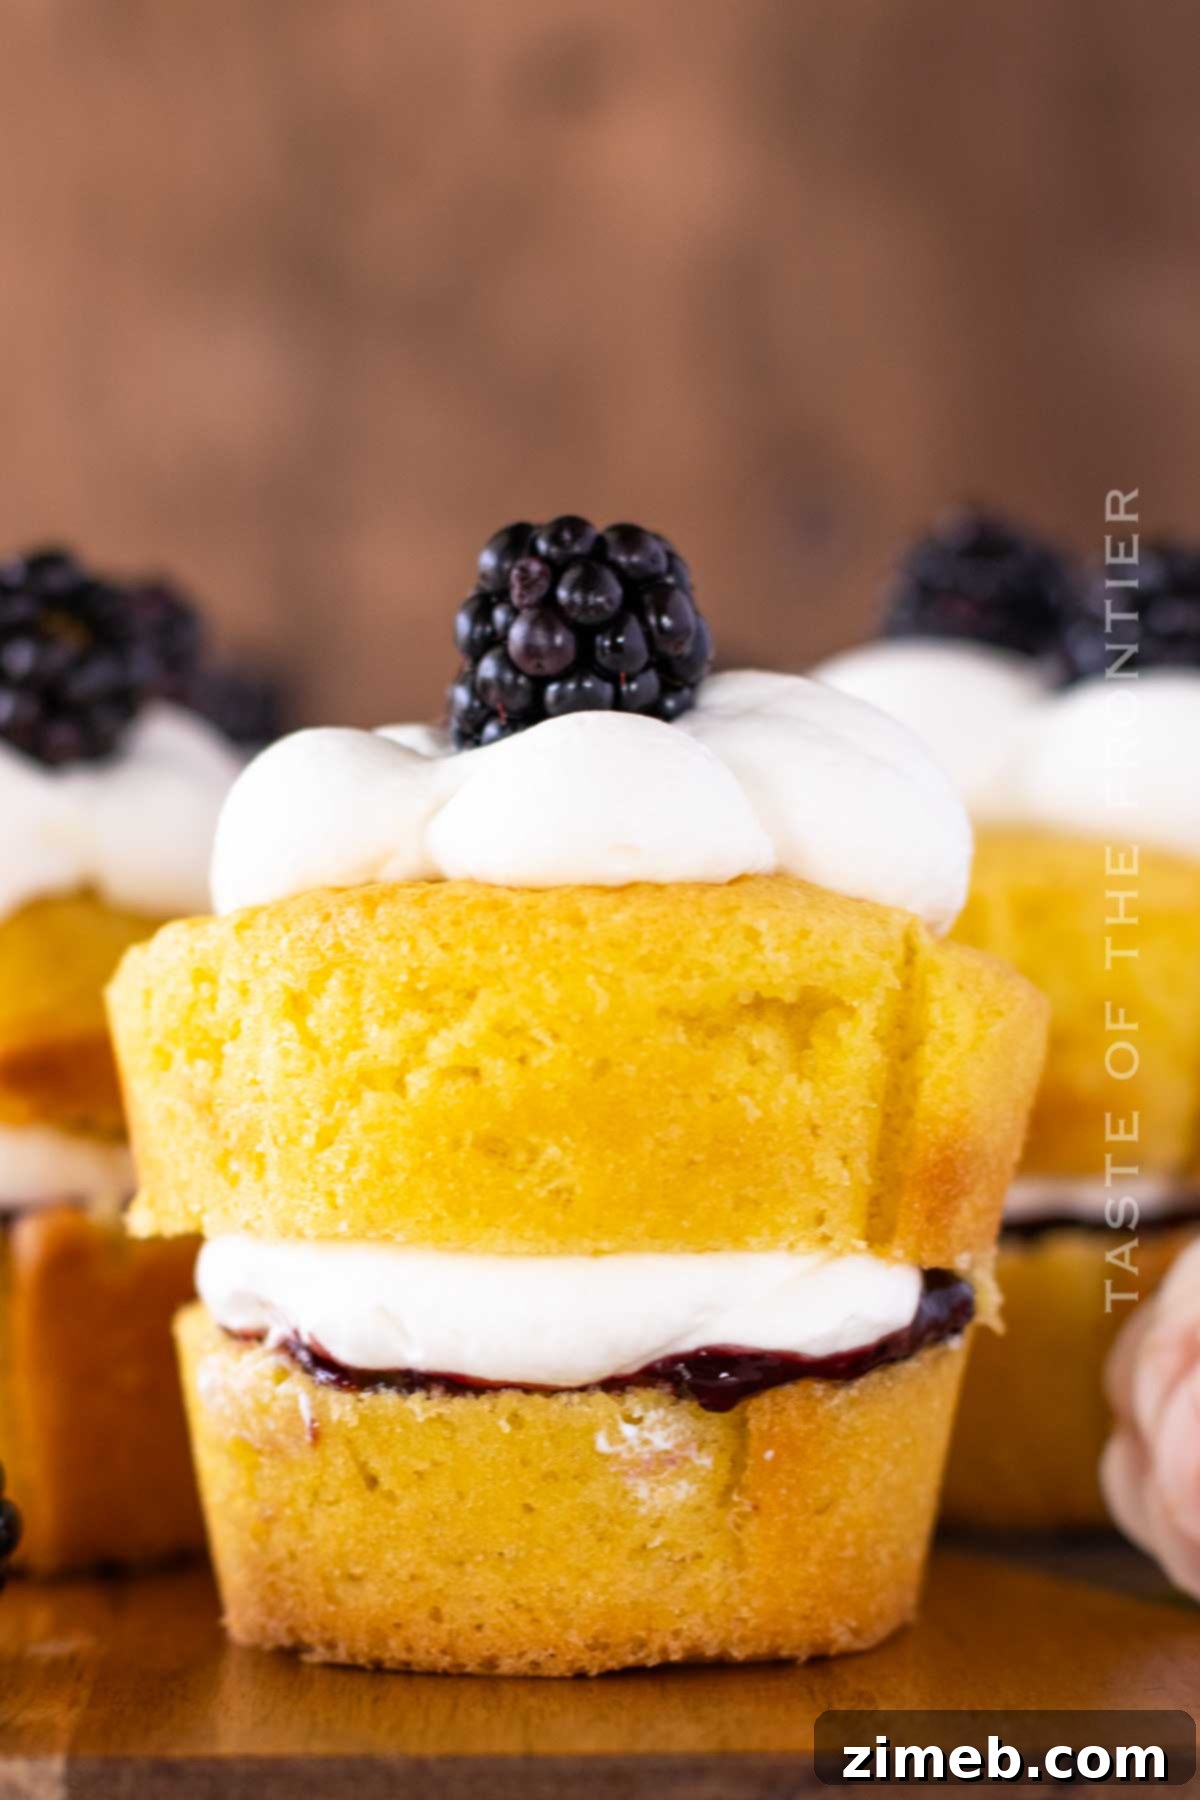
Indulge in the timeless elegance of homemade Victoria Sponge Cupcakes. These fluffy, buttery delights, generously topped with light whipped cream, luscious blackberry jam, and fresh, vibrant berries, promise a symphony of classic British flavor and delicate texture in every single bite.
These exquisite cupcakes are the epitome of light, elegant, and utterly delicious treats, making them a perfect centerpiece for a multitude of special occasions. Imagine them gracing the table for Mother’s Day brunch, adding a sweet touch to Valentine’s Day celebrations, charming guests at baby showers or any child-focused event, delighting attendees at birthday parties, elevating a casual girls’ night, enhancing a sophisticated afternoon tea party, or simply being enjoyed during a relaxed summer picnic or potluck gathering. Their universal appeal lies in their delicate balance of sweetness and their charming, individual presentation.
The Quintessential Victoria Sponge: A British Classic in Miniature
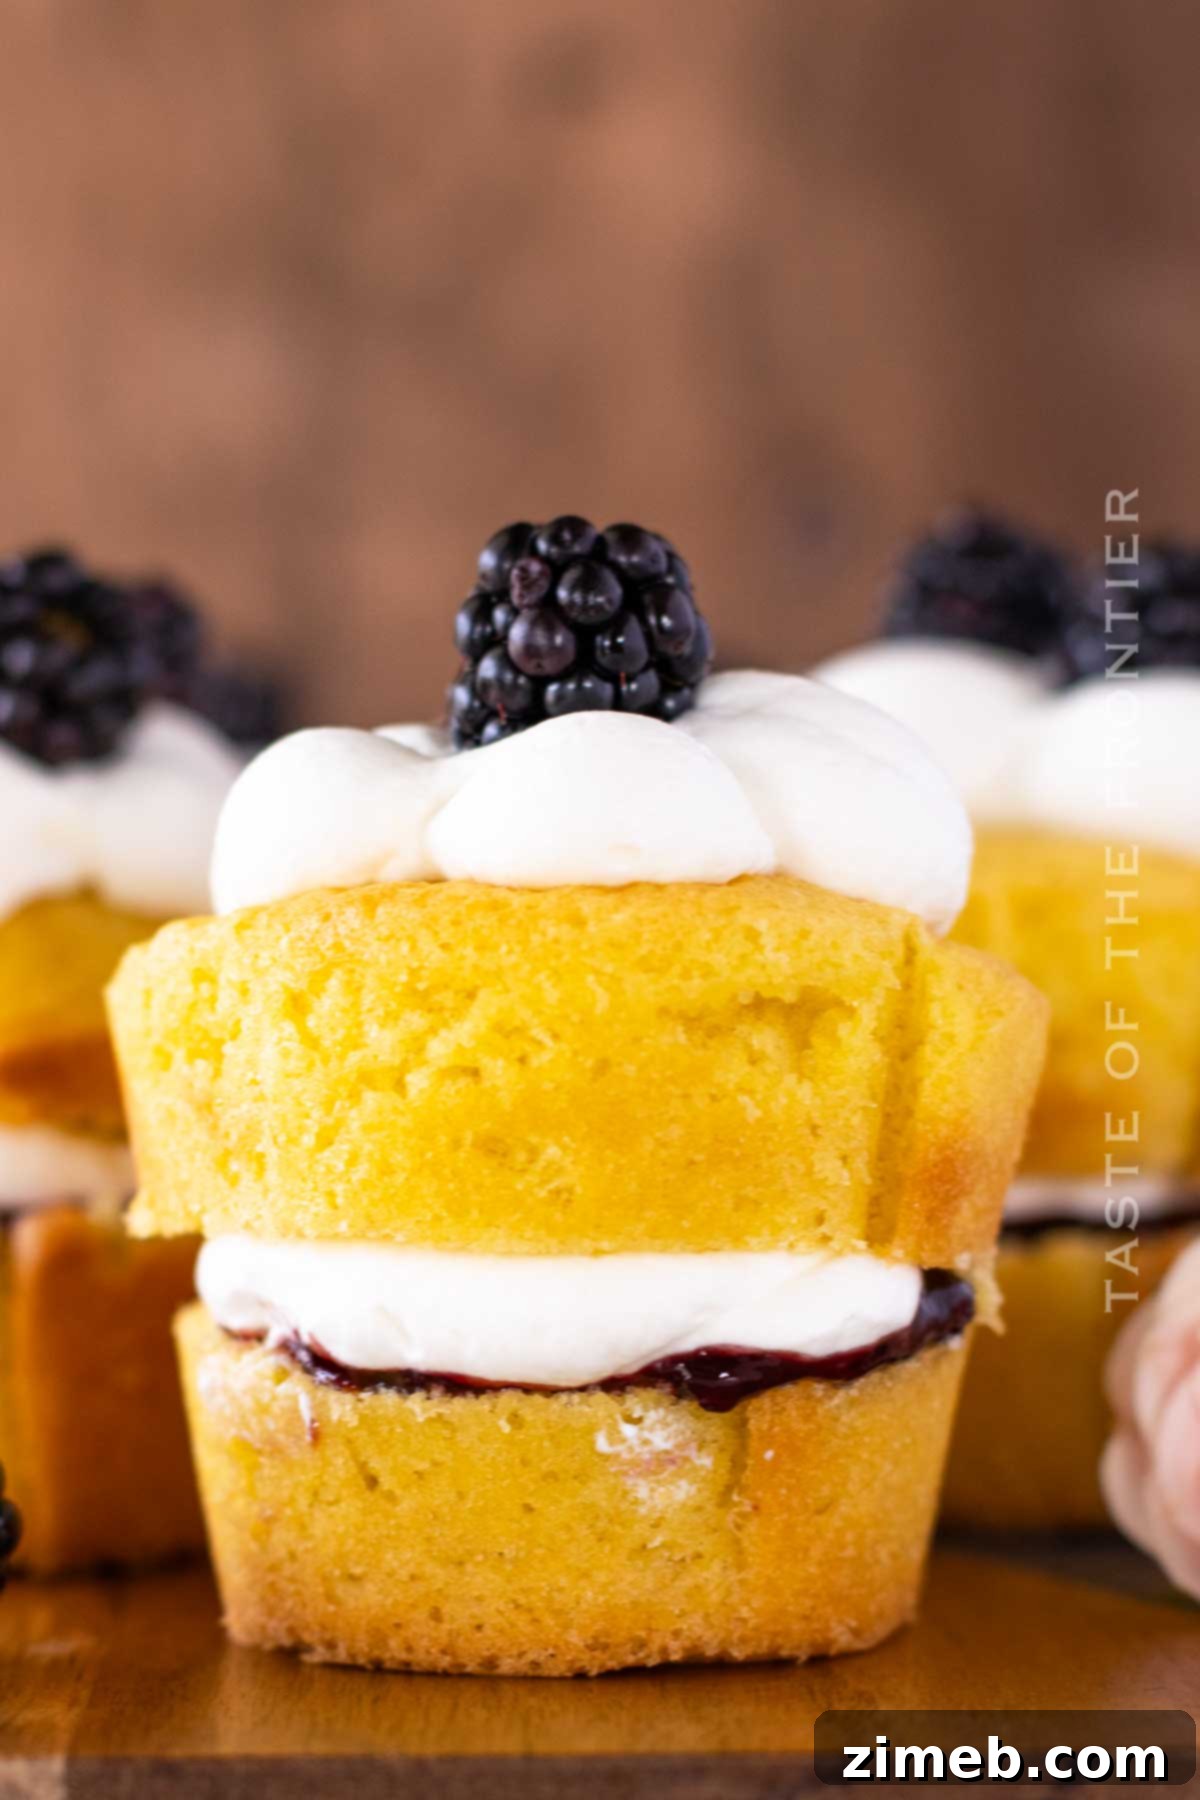
The classic Victoria Sponge cake, a beloved cornerstone of British baking, derives its regal name from Queen Victoria, who was reportedly very fond of a slice with her afternoon tea. Traditionally, it’s a simple yet elegant sponge cake, often served as a “sandwich” cake with two layers of fluffy sponge separated by a filling of fruit jam and rich cream. Our Victoria Sponge Cupcakes capture all the charm and flavor of this iconic dessert, transforming it into delightful, portion-controlled treats that are perfect for sharing.
What sets this recipe apart is its dedication to simplicity and authentic flavor. Unlike many modern sponge cake recipes that incorporate milk or various flavorings, our delicious Victoria sponge cupcakes focus on the core elements that give this classic its unique texture and taste. While regular sponge cakes often rely on vanilla extract or other additions, our recipe highlights the pure, unadulterated goodness of a truly traditional British sponge.
Mastering the Ingredients: Your Path to Perfect Cupcakes
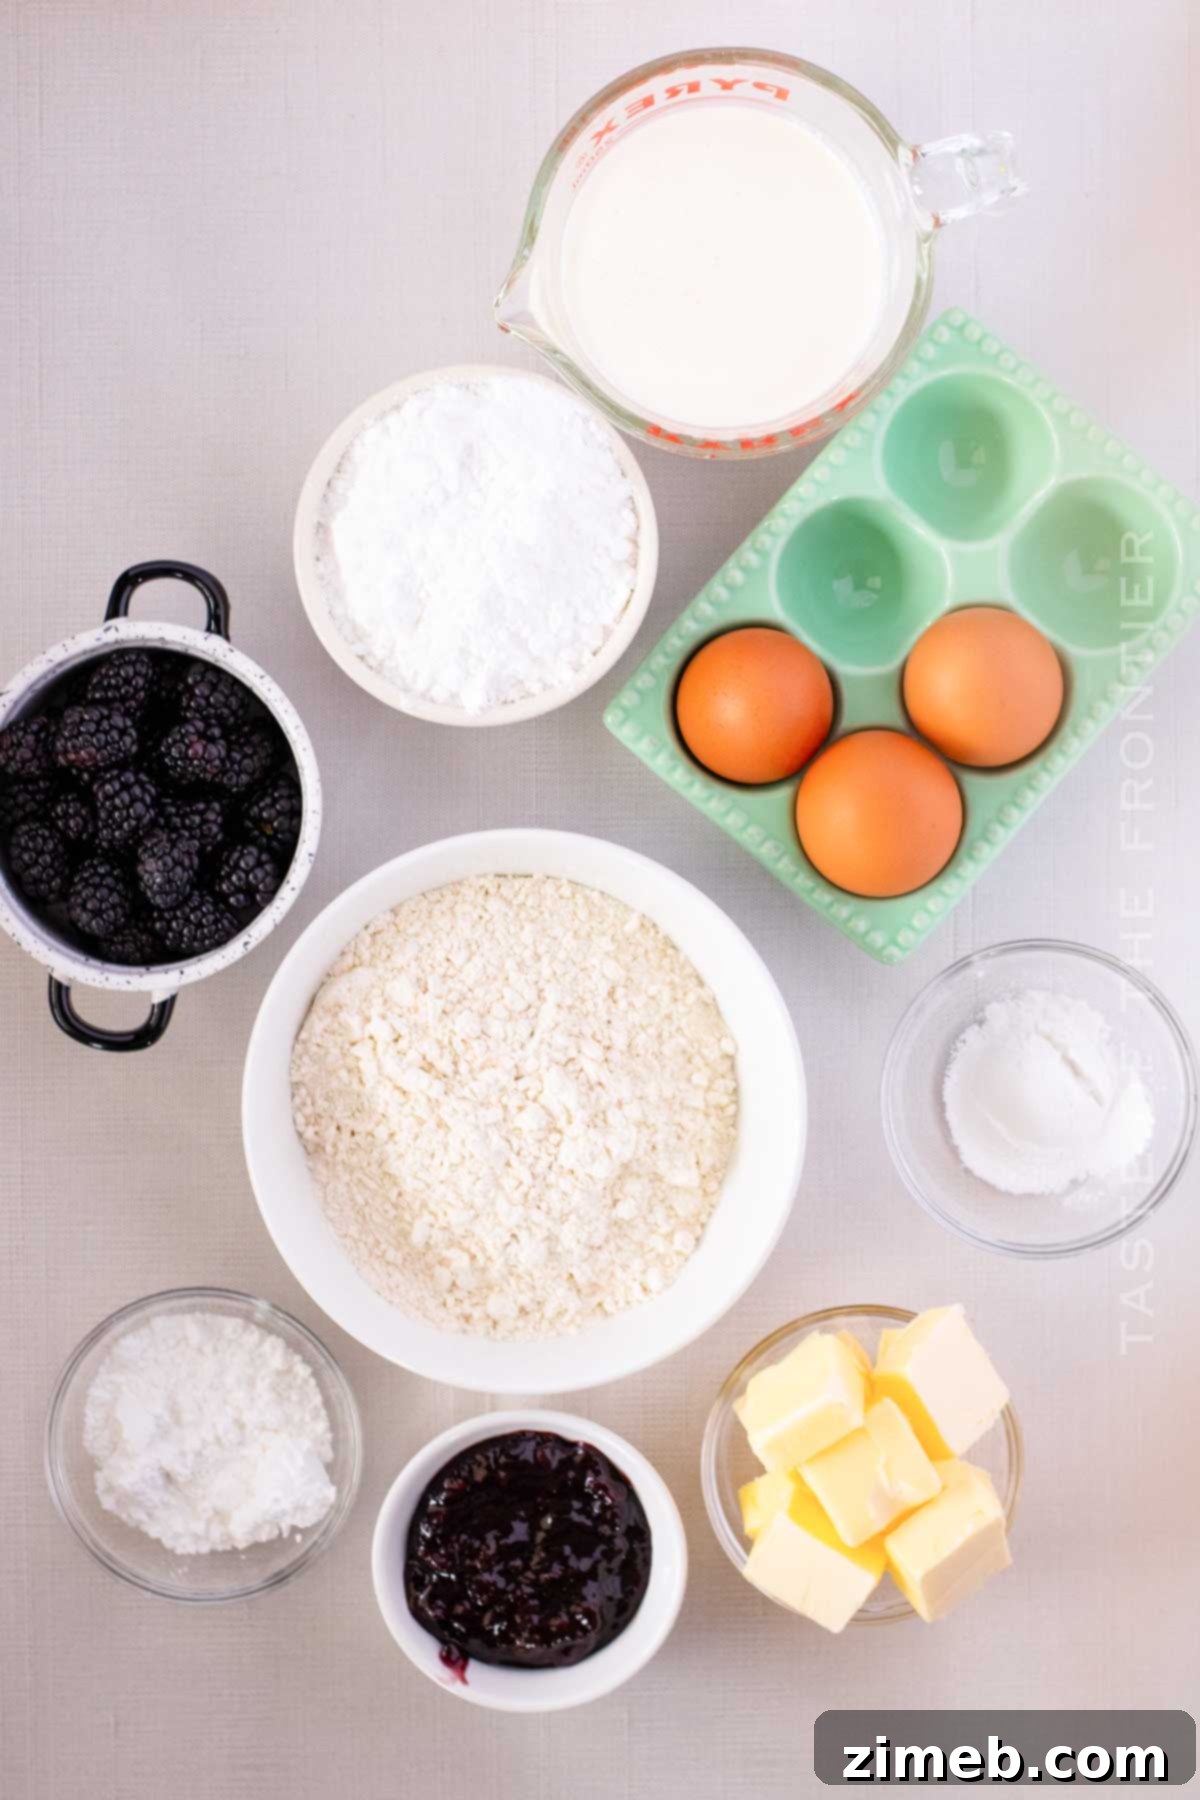
Crafting these English classics requires only a few pantry staples. You’ll be amazed at how such simple ingredients can transform into something so elegant and flavorful. This recipe makes 12 cupcakes using just 5 key ingredients for the batter, and 4 ingredients for the delectable frosting and decoration, which you can easily customize to your heart’s content.
For the Perfect Cupcake Batter
The foundation of any great Victoria Sponge is a light, airy, and moist sponge cake. Here’s what you’ll need and why:
- Unsalted Butter: Ensure your butter is at room temperature. This is absolutely crucial for proper creaming with the sugar, which creates air pockets essential for a light, fluffy crumb. Unsalted butter allows you to control the overall salt content of your bake.
- Granulated Sugar: For the best texture, I recommend pulsing granulated sugar a few times in a food processor to create superfine sugar (also known as caster sugar). This finer sugar dissolves more easily into the butter, resulting in a smoother batter and a more tender crumb. Caster sugar can also be used for a delicate dusting if desired.
- Eggs: Eggs are vital for structure, binding the ingredients, and contributing to the fluffy texture. I use 3 medium eggs; if you have large eggs, 2 will suffice. Just like butter, eggs should be at room temperature to emulsify properly with the butter and sugar mixture.
- All-Purpose Flour (Plain Flour): This provides the primary structure of the cupcake. If using all-purpose or plain flour, you’ll need an additional teaspoon of baking powder to ensure the cupcakes rise beautifully. Alternatively, you can use self-raising flour, which already contains a leavening agent. A mix of equal parts all-purpose and plain flour can also work well.
- Baking Powder: This leavening agent is essential for creating the signature light and airy texture of a sponge cake. Skip it if you are using self-raising flour.
Should you desire a soft vanilla sponge, a small amount of pure vanilla extract or vanilla bean paste can be added to the batter. This is a delightful addition, though not strictly traditional for a pure Victoria Sponge, it offers a lovely aromatic twist.
For the Decadent Frosting and Garnish
The filling and topping are what truly make these cupcakes a celebration of flavor and texture.
- Heavy Cream: It is paramount that your heavy cream is very cold to achieve a stable and airy whipped cream topping. Double cream is another excellent option for frosting these cupcakes, offering a slightly richer texture. Avoid low-fat creams, as they won’t whip up nicely and will compromise the delicate consistency. Freshly whipped cream is always superior for individual cakes, but frozen whipped topping can be a suitable substitute in a pinch.
- Confectioner’s Sugar (Icing Sugar): This fine sugar is used to sweeten the whipped cream, dissolving quickly to create a smooth, lump-free frosting. Its delicate texture is perfect for light and airy toppings.
- Blackberry Jam: This is my preferred choice for its delightful tartness and vibrant color, but the filling is completely customizable! The beauty of this easy recipe lies in its amazing Victoria sponge base, allowing you to tailor the filling to your personal taste. Raspberry, strawberry, blueberry, or even a tangy lemon curd would be fantastic. For an extra special touch, you can make your own jam from scratch using fresh berries and jam sugar – simply cook them down until thickened.
- Fresh Blackberries: These are used for garnish, adding a touch of freshness, visual appeal, and a burst of natural flavor. Always opt for fresh berries if they are in season and readily available.
For precise measurements and a comprehensive shopping list, please refer to the detailed recipe card located at the bottom of this post.
Essential Kitchen Equipment for Baking Success
Having the right tools can make all the difference in your baking experience, ensuring a smoother process and perfect results. Here’s what you’ll need:
- 12-Serving Cupcake Tin: A standard cupcake tin is essential. Line it with cupcake paper cases for easy removal and cleanup. Alternatively, reusable silicone cupcake cases work just as well and are an eco-friendly option.
- Stand or Hand Mixer: A reliable mixer is crucial for properly creaming butter and sugar and whipping eggs. A stand mixer offers hands-free convenience, while a hand mixer provides flexibility. A simple electric whisk can also get the job done effectively.
- Optional: Ice Cream Scoop: An ice cream scoop is a handy tool for measuring and evenly distributing the batter into the muffin tins, ensuring consistently sized cupcakes that bake uniformly.
Crafting Your Victoria Sponge Cupcakes: A Step-by-Step Guide
These stunning and elegant mini Victoria sponge cakes come together in approximately 45 minutes, including both preparation and baking time. If you plan to make them in advance, focus on completing the batter preparation and baking steps (Steps 1 and 2). The cream frosting and decoration should ideally be done on the day you intend to serve them to ensure peak freshness and presentation.
Step 1: Prepare the Cupcake Batter
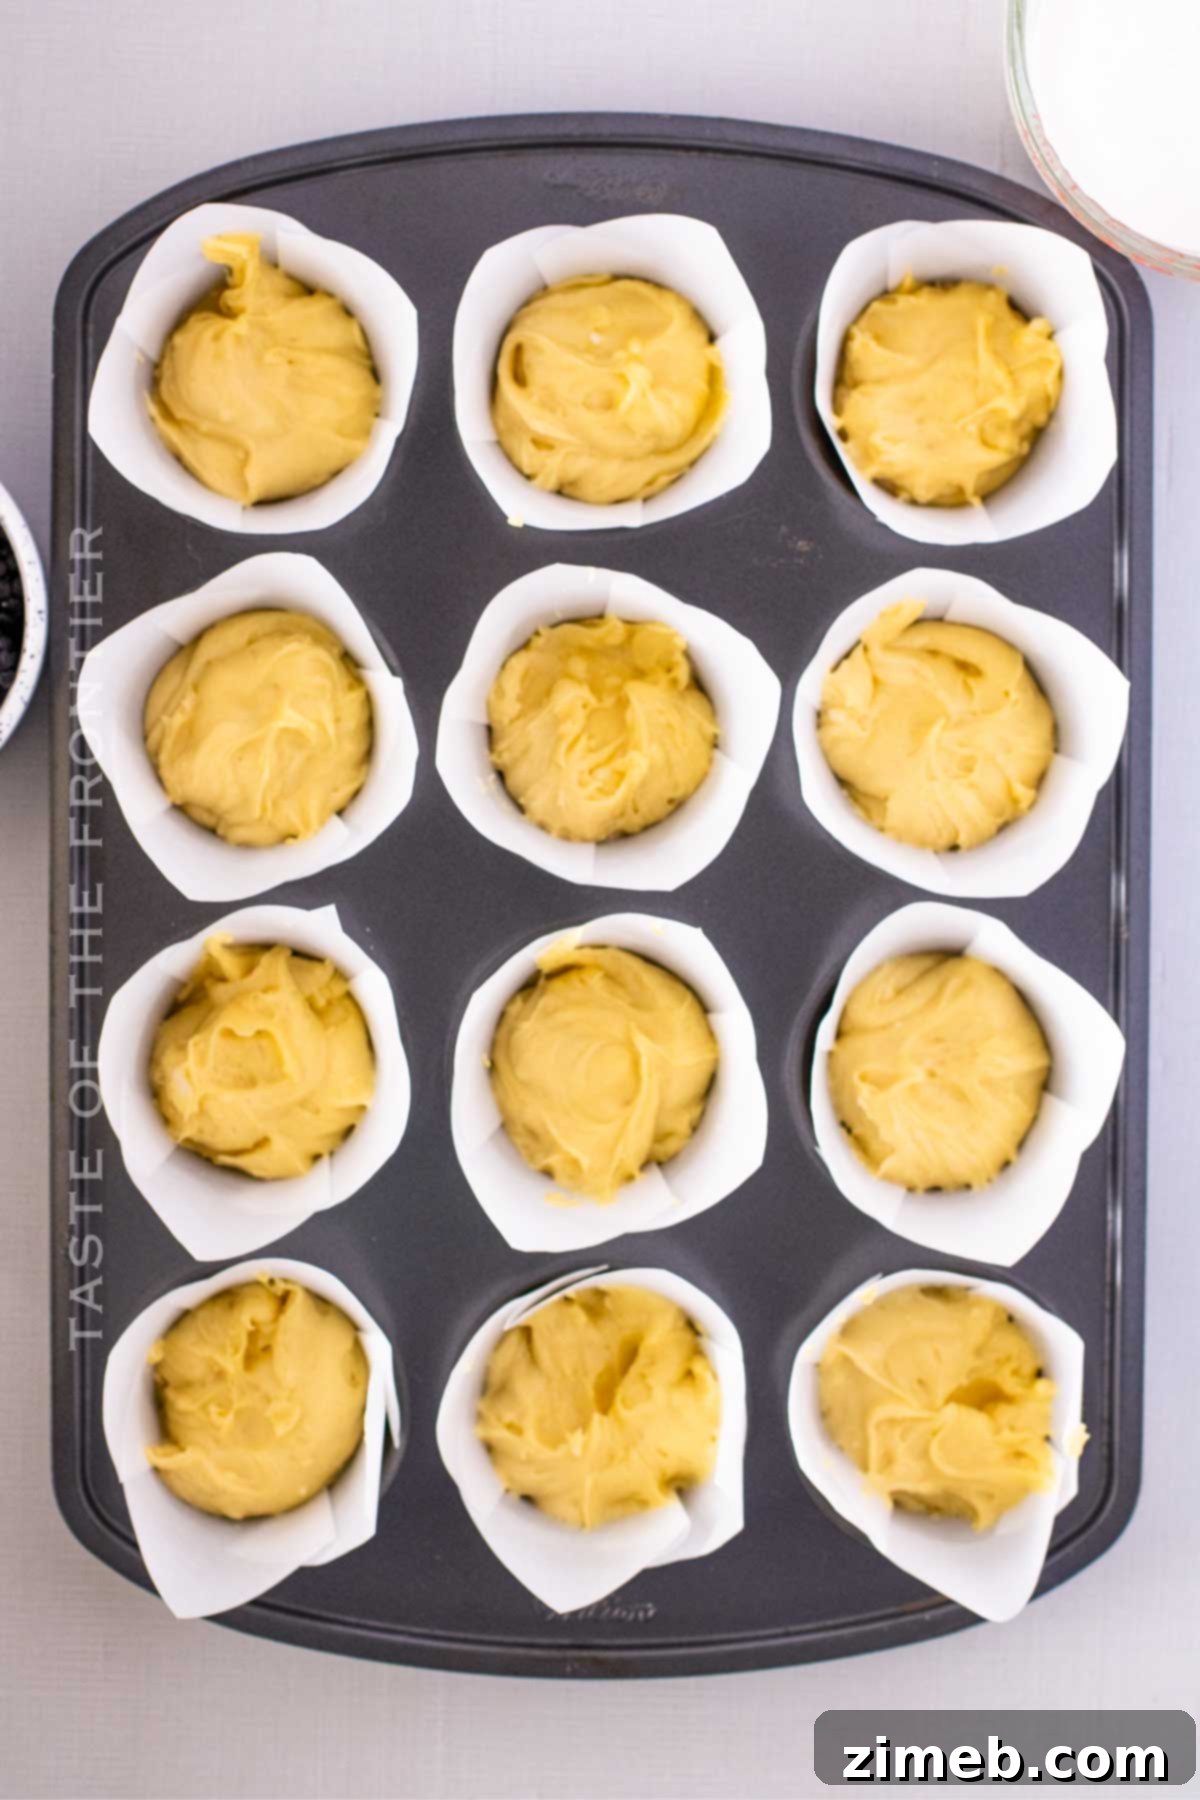
- Begin by preheating your oven to 350 degrees F (180C / 160C fan oven / Gas Mark 4). Line a 12-serving cupcake pan with paper or silicone cupcake liners and set it aside. This preparation ensures you’re ready to go once the batter is mixed.
- In a large mixing bowl, combine the room temperature unsalted butter, superfine granulated sugar, and room temperature eggs. Using an electric mixer, beat these ingredients together until they are well incorporated. For best results, gradually beat the eggs in one by one at a low speed, allowing each egg to fully combine before adding the next. This helps create a smooth, emulsified batter.
- It’s entirely normal for the mixture to become slightly pale and fluffy during the creaming process. This indicates that air is being incorporated, which is crucial for a light sponge.
- Next, sift the all-purpose flour (or self-raising flour) and baking powder (if using) directly into the mixing bowl. Sifting prevents lumps and helps to aerate the flour. Slowly stir the dry ingredients into the wet mixture on a low speed until just moistened. Then, increase the speed to high and beat until the batter is smooth, creamy, and free of any visible flour streaks. Be careful not to overmix, as this can develop the gluten too much, leading to a tougher cupcake.
Step 2: Bake the Cupcakes
- Carefully divide the prepared batter evenly among the lined cupcake cups. Each cup should be approximately two-thirds full to allow for proper rising without overflowing. An ice cream scoop can be very useful for this step, ensuring consistent portioning. Avoid letting the batter sit out for too long once mixed, as this can impact the final texture and rise.
- Bake the cupcakes for 16-18 minutes on the middle rack of your preheated oven. Keep an eye on them, as oven temperatures can vary. The cupcakes are done when the tops are golden brown, and a toothpick inserted into the center of one cupcake comes out clean, or with just a few moist crumbs attached.
- Another reliable test for doneness is to lightly press the top of a cupcake with your finger; if it springs back, they are ready.
- Once baked, remove the fairy cakes (as they are affectionately known in some regions) from the tin and transfer them to a wire rack to cool completely. This cooling process typically takes about 1 hour and is essential before frosting to prevent the whipped cream from melting.
Step 3: Prepare the Cream Frosting
While your cupcakes are cooling, prepare the luscious whipped cream frosting. In a stand mixer fitted with the whisk attachment (or using a hand mixer), beat the very cold heavy cream on medium-high speed until it begins to thicken and soft peaks form. Gradually add the confectioner’s sugar, then continue to beat on high speed until stiff peaks form. This usually takes just a couple of minutes. Be careful not to overbeat, as it can turn granular or even separate into butter.
Carefully transfer the stiffly whipped cream into a large piping bag fitted with your desired large round decorating tip. Set the piping bag aside in the refrigerator while you prepare the cupcakes for decoration.
Step 4: Decorate Your Victoria Sponge Cupcakes
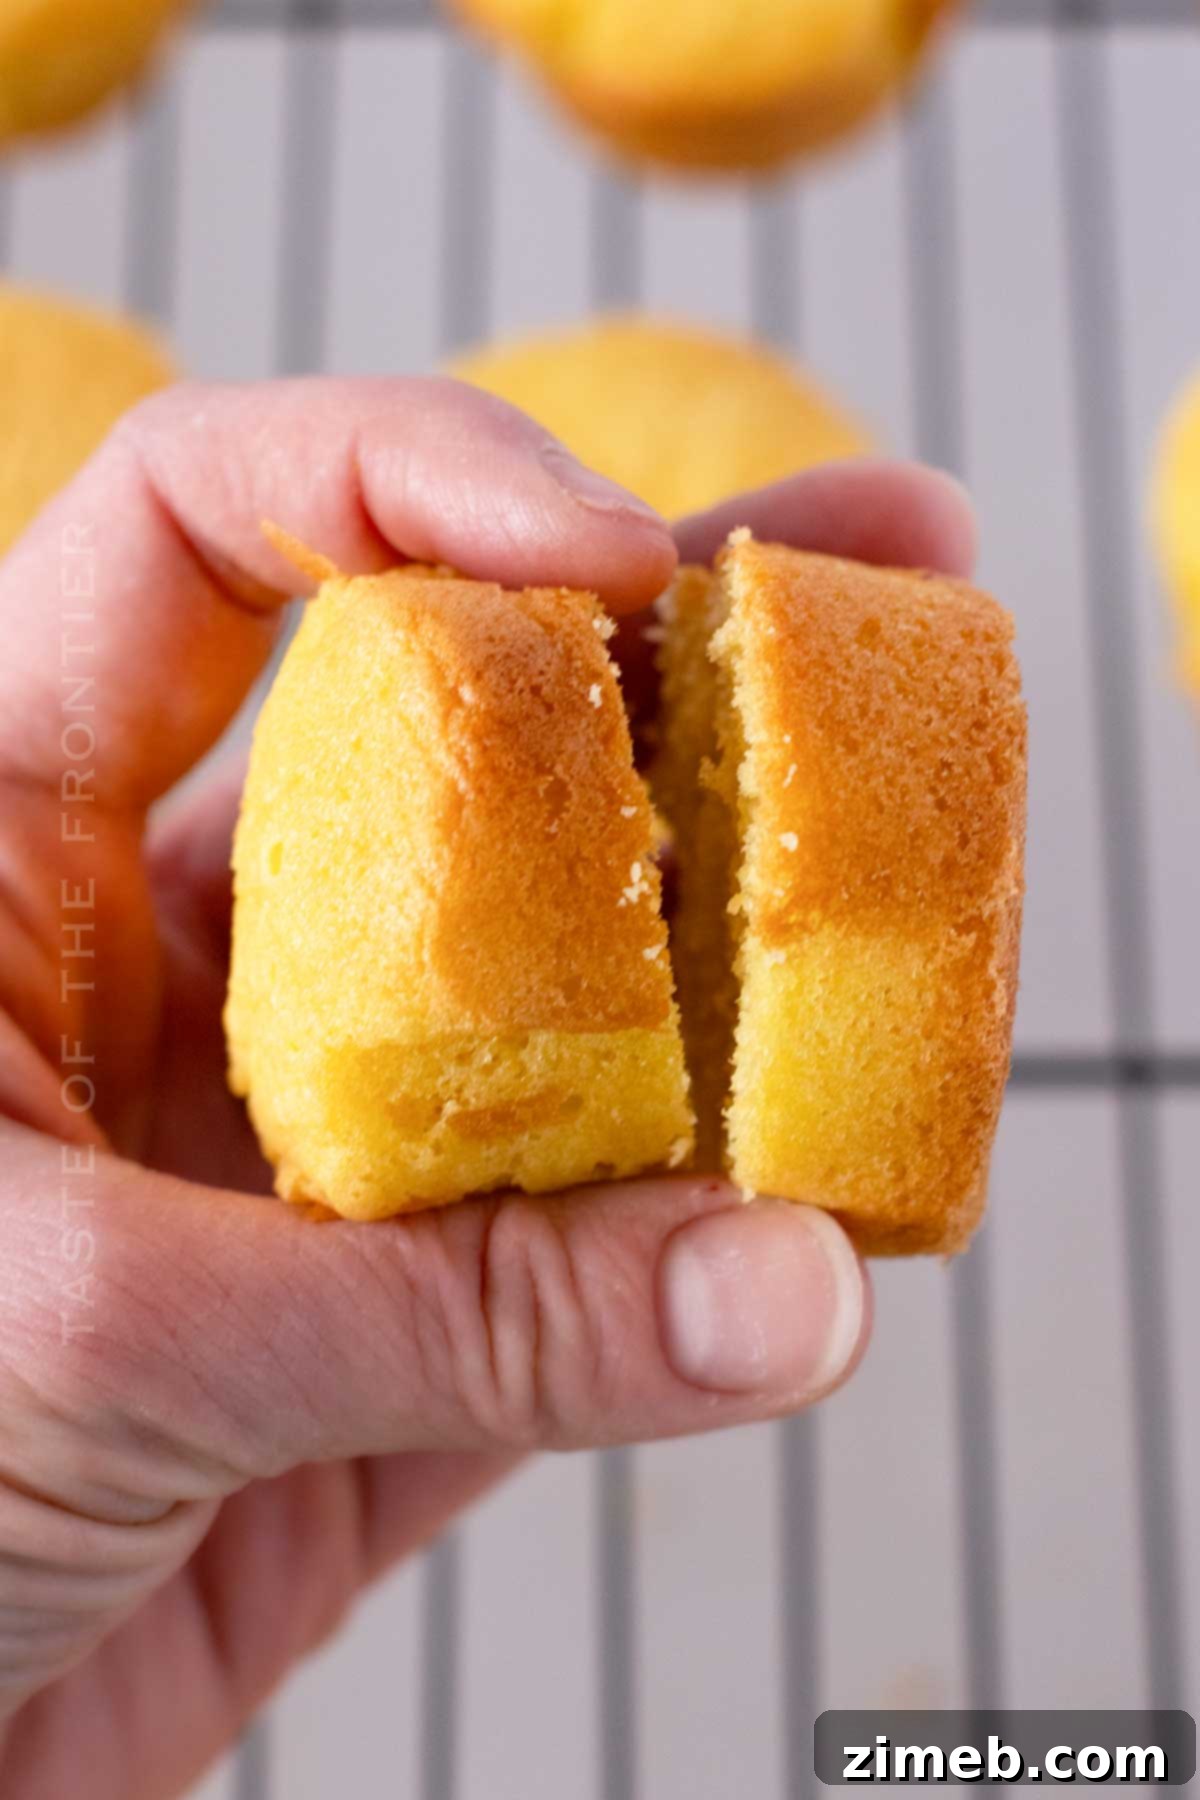
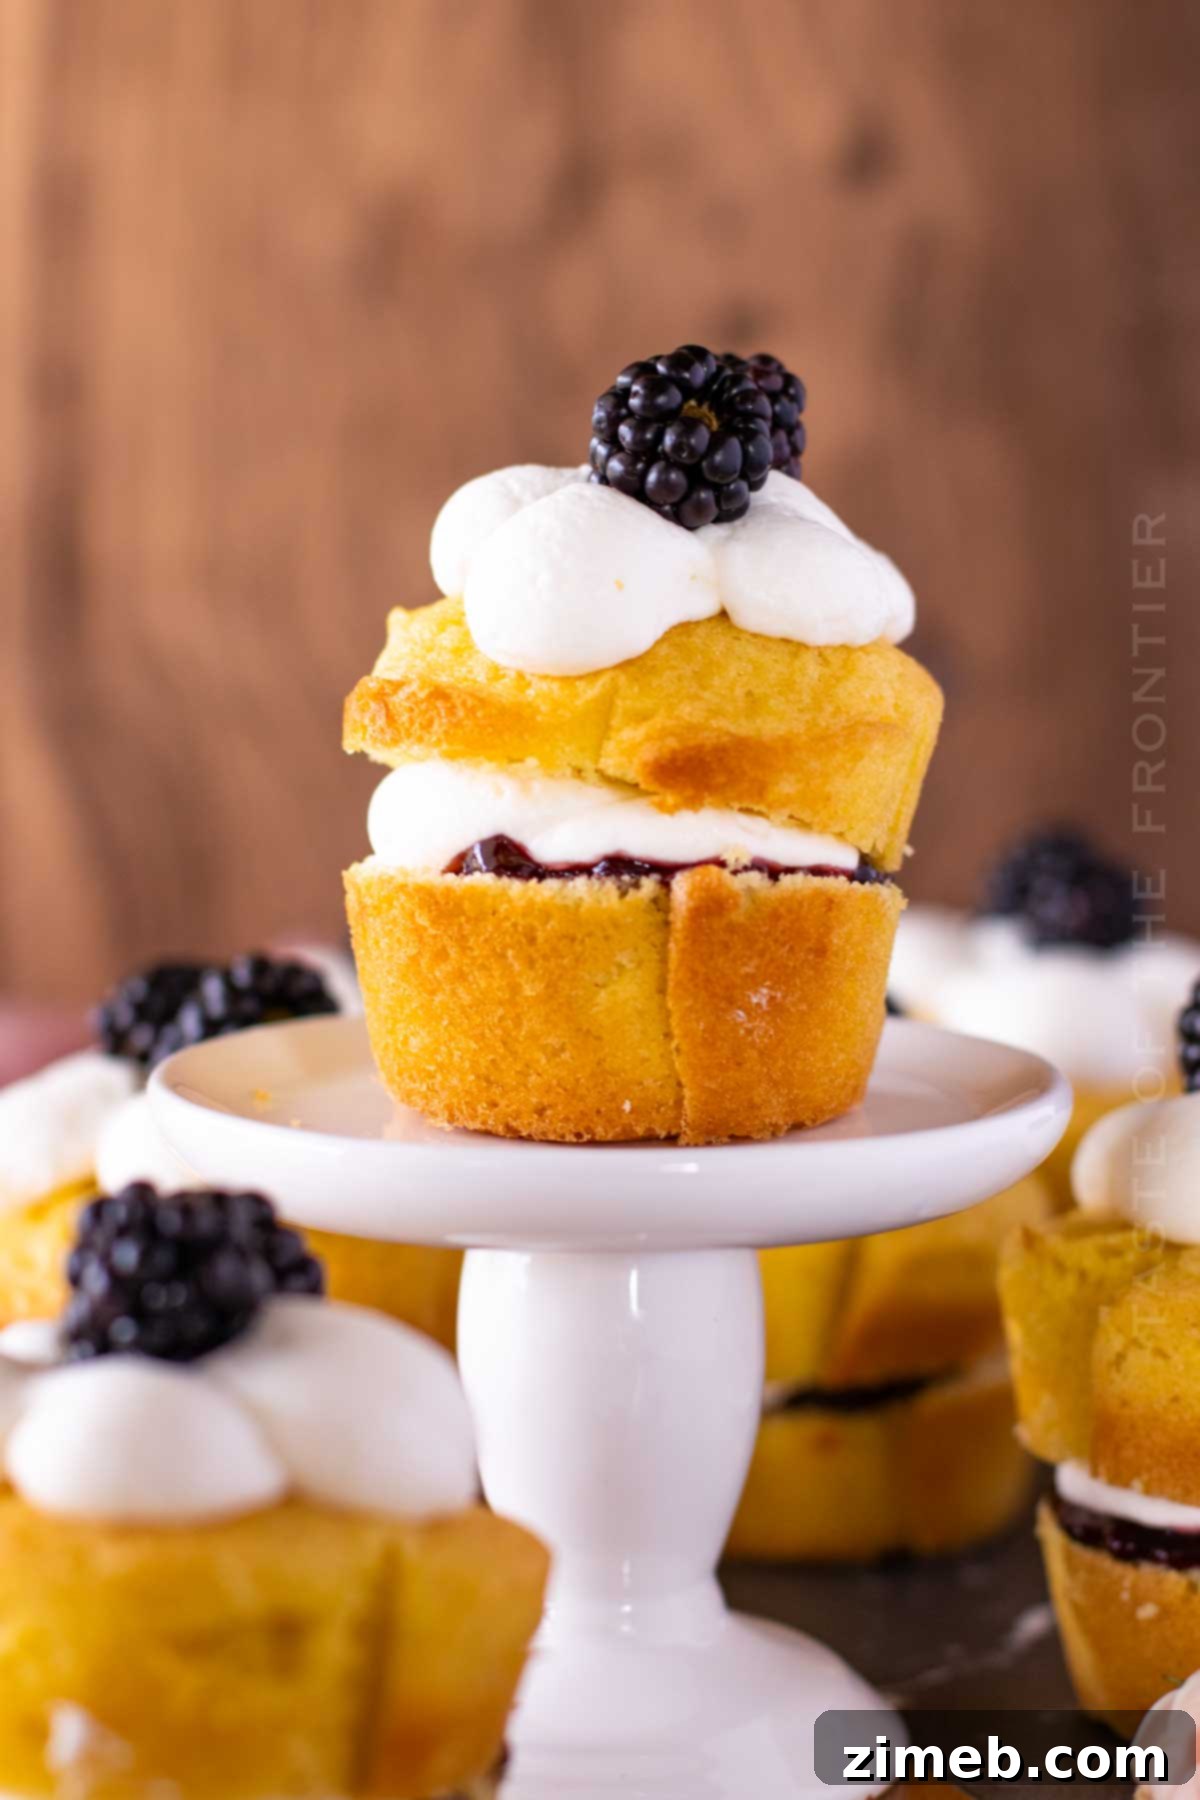
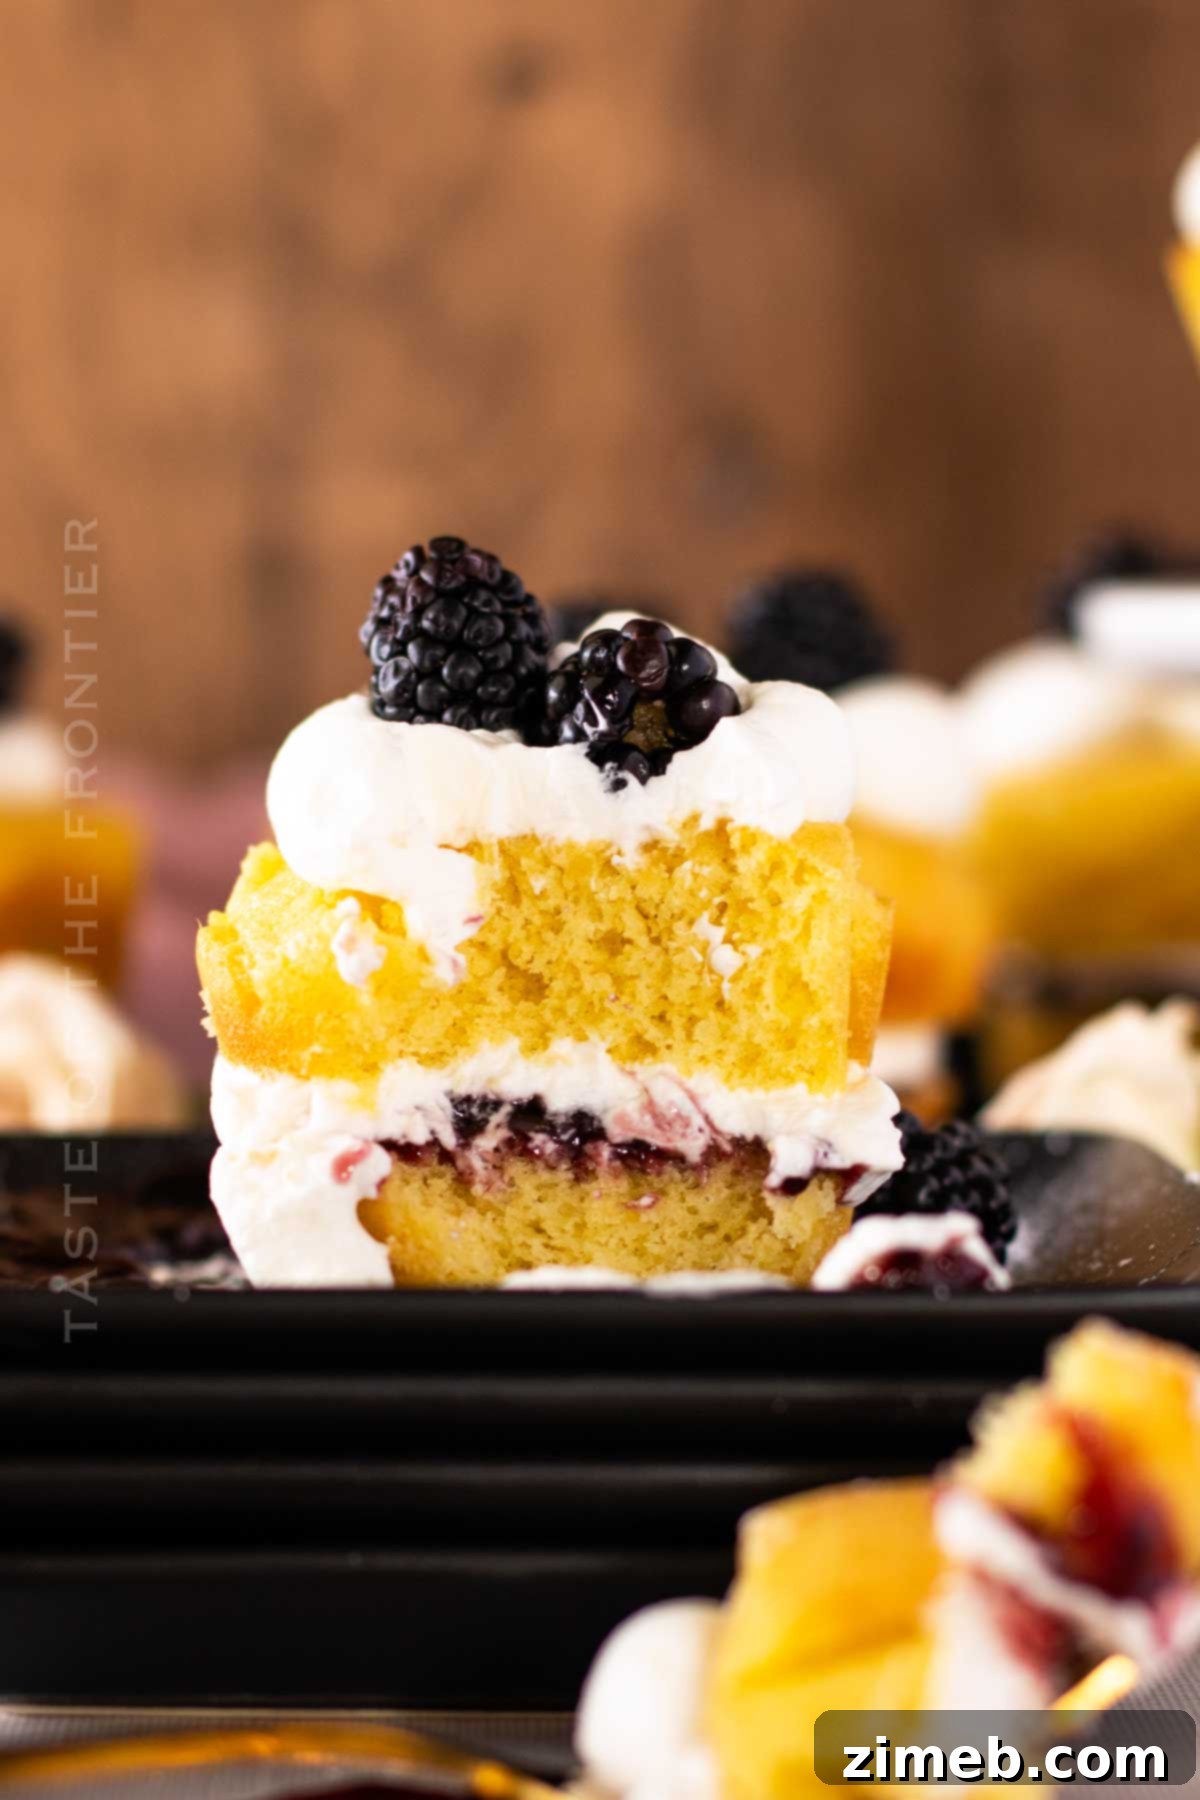
- Once the cupcakes are completely cool, gently remove the paper liners from each one. Using a sharp, serrated knife, carefully slice the top off each cupcake horizontally. Aim to make the top and bottom halves roughly equal in size to create the classic sandwich effect.
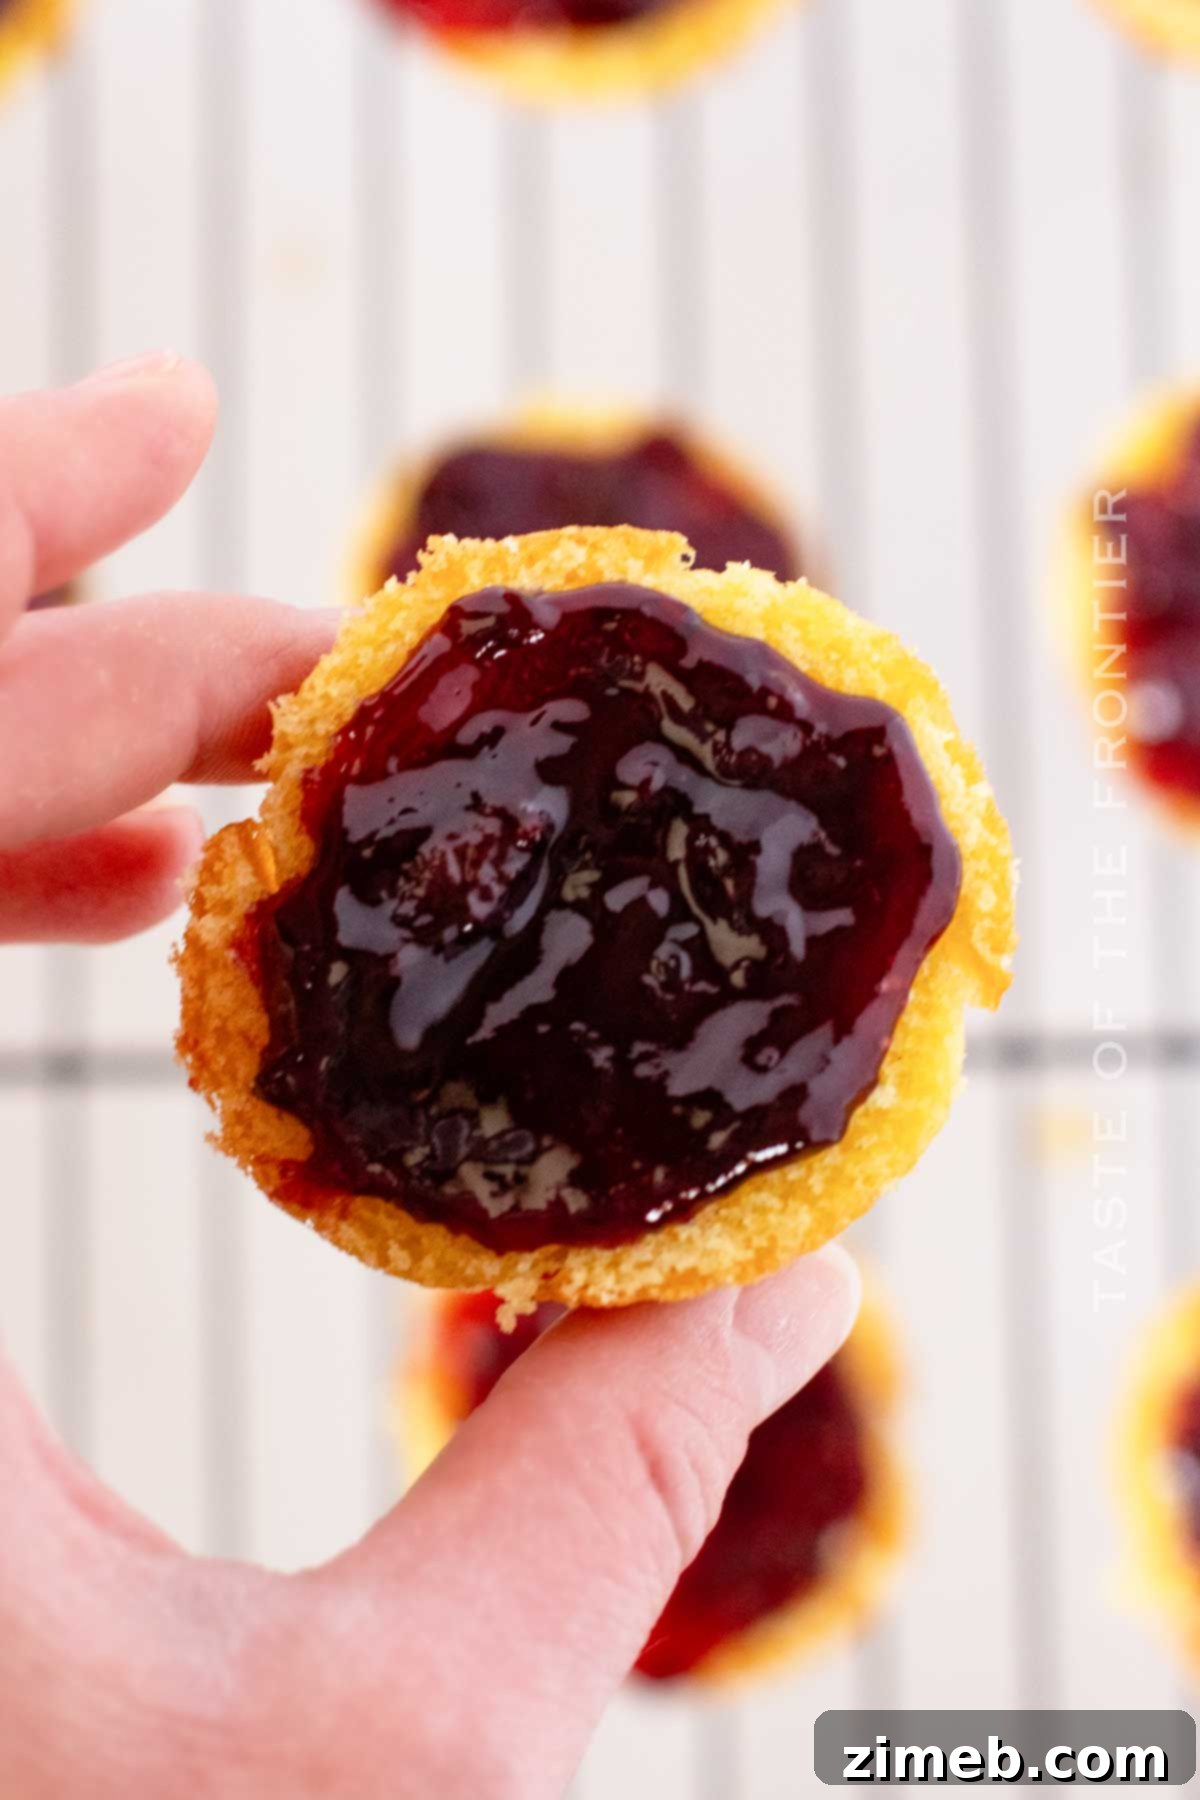
- Take the bottom section of each cupcake and spread a generous, even layer of your chosen blackberry jam (or other berry jam) over the cut surface.
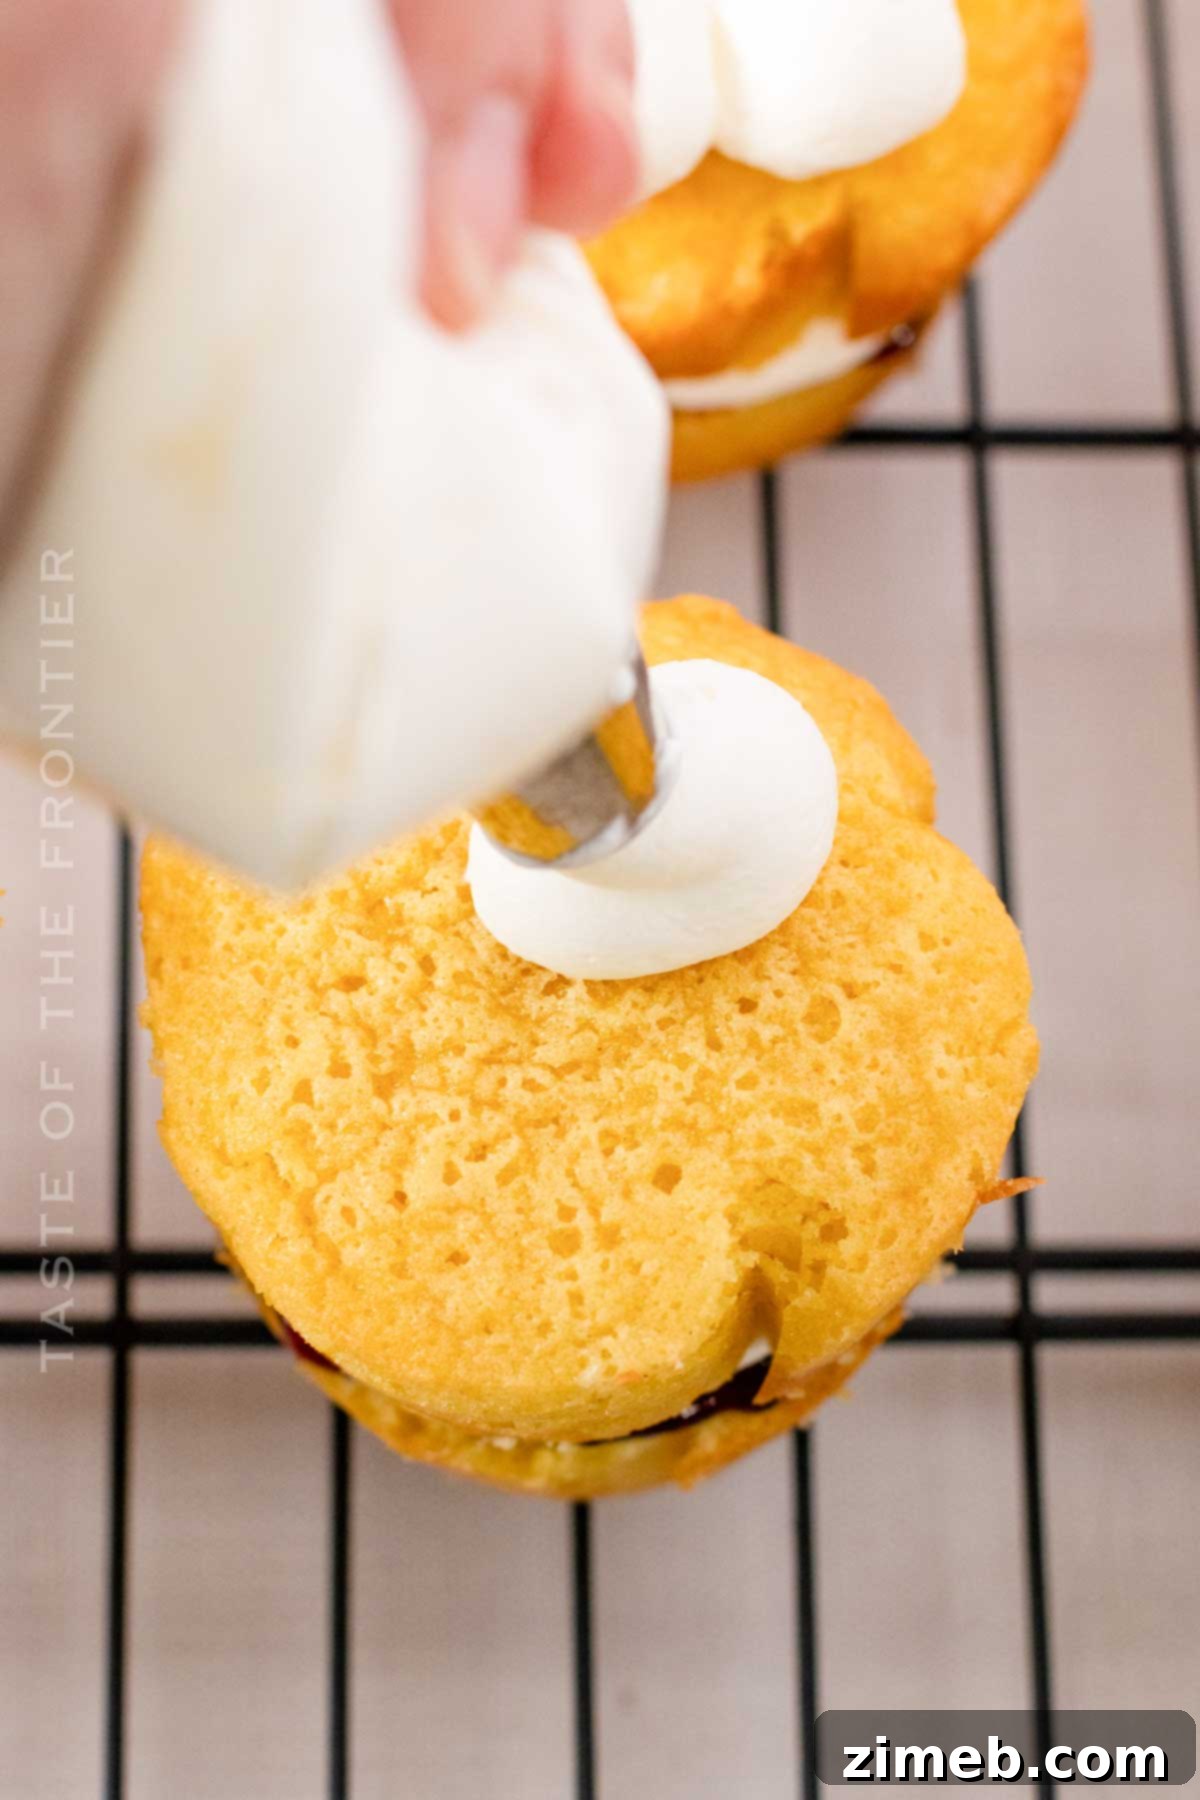
- Next, pipe a beautiful swirl of the chilled whipped cream directly on top of the blackberry jam layer. Once the cream is piped, carefully place the top half of each cupcake back onto its creamy base, gently pressing down.
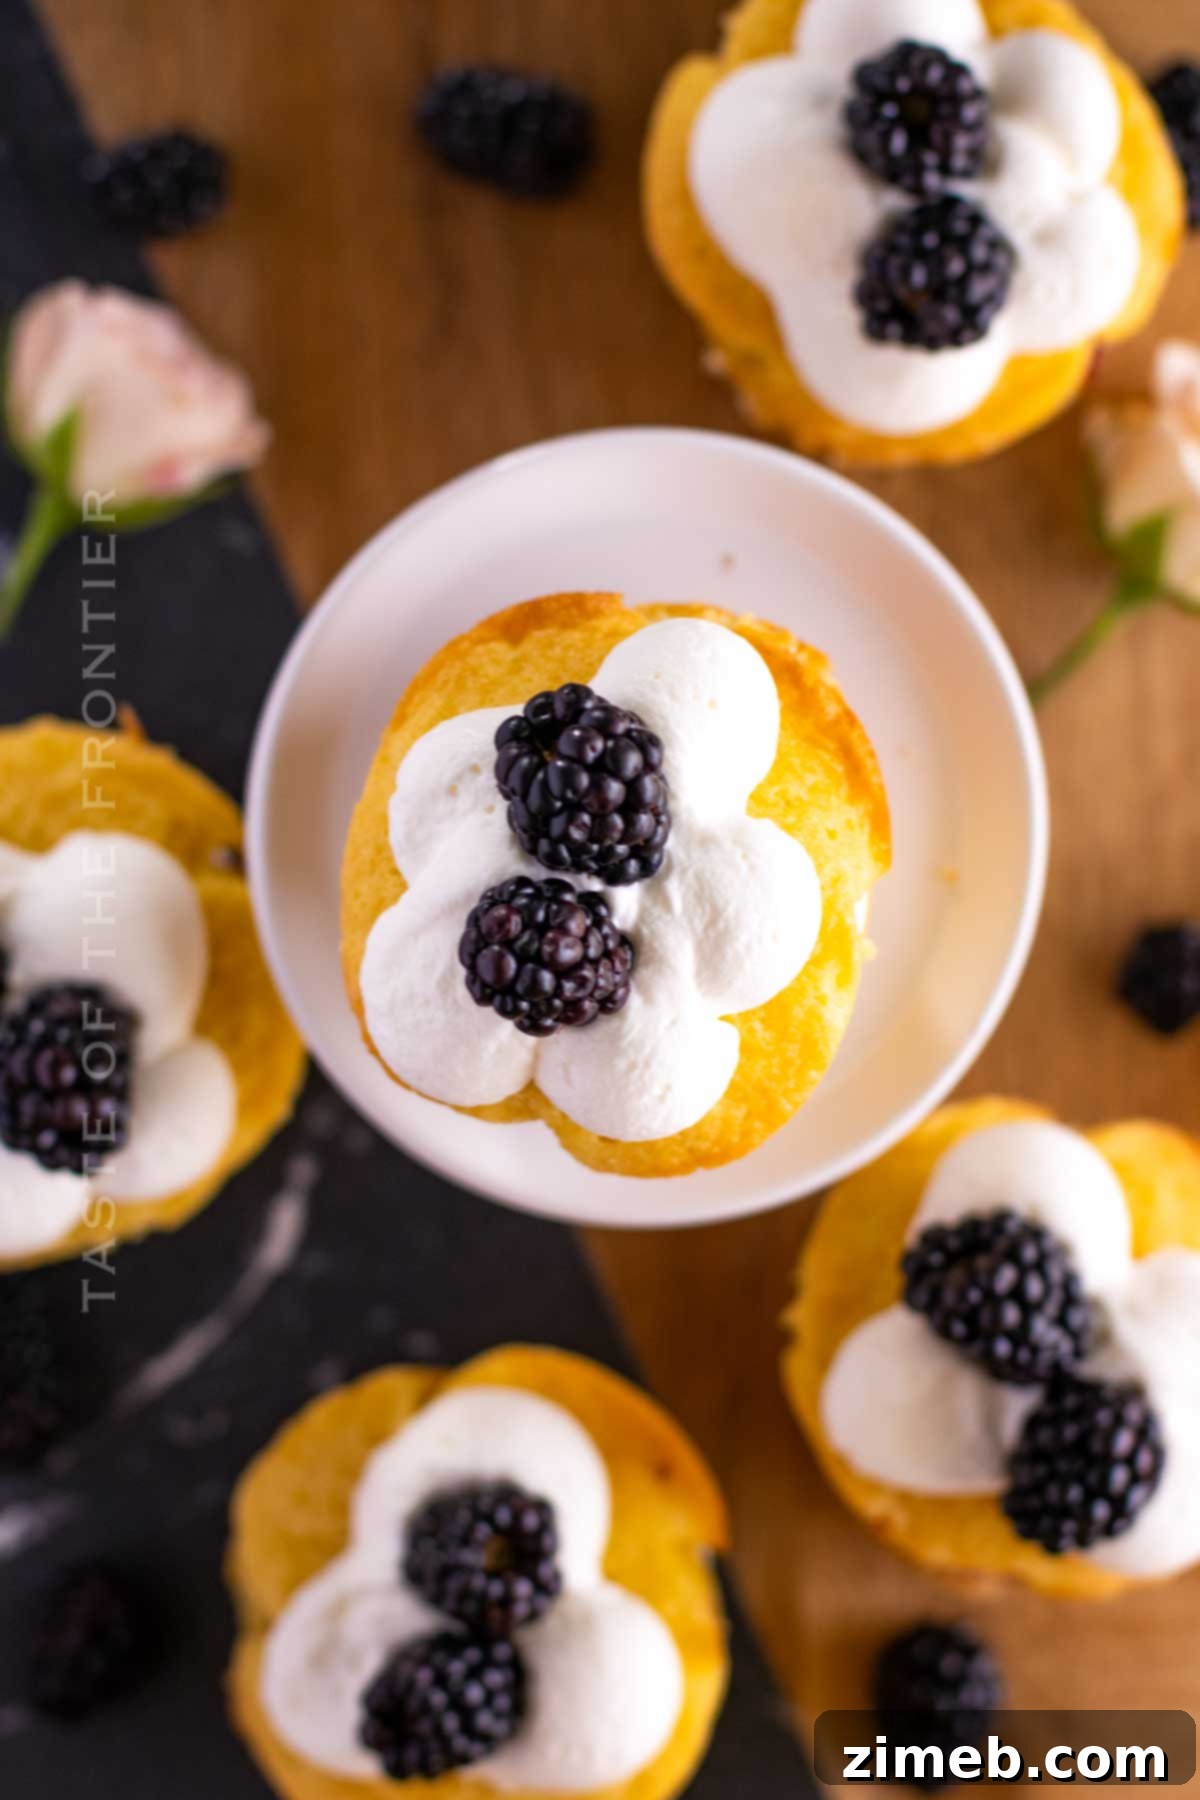
- For a final flourish, pipe small, elegant dollops of whipped cream on the very top of each cupcake. Garnish each one with a fresh blackberry, adding a burst of color and fresh fruit flavor.
- Your adorable Victoria Sponge Cupcakes are now ready to be served! They are ideal for an elegant afternoon tea spread or as a delightful dessert for any birthday celebration or special gathering.
Storage and Make-Ahead Tips
Victoria Sponge Cupcakes are truly at their best when enjoyed on the same day they are made. The delicate nature of the whipped cream means immediate consumption is recommended for optimal freshness and texture.
Storage for Leftovers: If you have any leftovers with frosting, they must be stored in an airtight container in the refrigerator. They will remain fresh and delicious for 2-3 days. Ensure the container is truly airtight to prevent the cupcakes from drying out and the cream from absorbing odors.
Storing Unfrosted Cupcakes: If you’ve baked the cupcakes but haven’t frosted them yet, they can be stored in an airtight container on the kitchen counter for 1-2 days. Without the moist cream and jam, they are more stable at room temperature.
Freezing Cupcakes: You can successfully freeze unfrosted and unfilled cupcakes for an extended period, typically 2-3 months. To do this, wrap each individual cupcake tightly in two layers: first in plastic wrap, then in aluminum foil. This double layer protects them from freezer burn and preserves their moisture. When you’re ready to enjoy them, thaw the frozen cupcakes at room temperature for about 2 hours before frosting and decorating. It’s important to note that cupcakes with berry jam filling should not be frozen, as the jam’s texture can change significantly upon thawing.
Making Ahead: For convenience, you can bake the cupcakes up to 2 days in advance, storing them unfrosted as described above. Prepare and apply the frosting, jam, and fresh berry garnish on the day you plan to serve them, ensuring the freshest and most appealing result.
Victoria Sponge Cupcake Recipe Variations for Every Palate
While the classic Victoria Sponge Cupcake is perfect on its own, there are countless ways to customize this recipe and make it your own. Get creative with these delightful variations!
- Frosting Ideas:
- For a simpler finish, lightly dust the tops with a fine layer of icing sugar.
- Whip up a rich buttercream using unsalted butter, icing sugar, and a splash of milk or cream. This offers a more stable and decadent frosting.
- Consider a cream cheese frosting for a tangy counterpoint, particularly delicious with berry fillings.
- A light meringue frosting can add an elegant, airy texture.
- Toppings Galore:
- Swap blackberry jam for luscious strawberry jam and adorn with sliced fresh strawberries.
- Raspberry jam or any other berry jam you adore would be fantastic.
- Brighten things up with a zesty lemon curd filling.
- For a tropical twist, sprinkle with delicate coconut shavings.
- Add a pop of color and intense fruit flavor with freeze-dried strawberry or raspberry powder.
- Essentially, anything light, fruity, and refreshing works wonderfully on top of these delicate cupcakes.
- Creative Filled Cupcakes:
- Beyond the sandwich style, you can create a filled cupcake by horizontally slicing the cupcake in half with a sharp knife and adding a generous layer of whipped cream and your favorite berry jam (raspberry jam filling is particularly scrumptious!). A combination of mixed berries and rhubarb jam also offers a unique flavor profile.
- Another popular method is to use a cupcake corer (or a small knife) to scoop out a small portion of the cupcake from the top, creating a well to fill. Once filled, you can replace the removed cake piece or simply cover it with frosting. Chilled cupcakes are often easier to cut and core cleanly.
- Flavor Enhancements:
- The easiest way to enhance the cake’s flavor is by adding a teaspoon of pure vanilla extract to the batter.
- A touch of almond extract can also add a sophisticated nutty undertone.
- For a subtle citrus note, incorporate finely grated lemon or orange zest into the batter.
- For a Fluffier, Moister Cake:
- To achieve an even more tender and moist crumb, you can incorporate a small amount of sour cream, milk, or buttermilk into the batter. These additions contribute to a richer texture without making the cake heavy.
- Dietary Adjustments:
- To make these mini Victoria sponge cupcakes gluten-free, simply substitute the all-purpose flour with a high-quality gluten-free self-raising flour blend (ensure it contains xanthan gum for structure).
- For a vegan version, replace the unsalted butter with a dairy-free baking spread or vegan butter, and use a plant-based cream (such as coconut cream or a commercial vegan whipping cream) for the frosting. Eggs can be replaced with an appropriate vegan egg substitute (e.g., flax eggs, applesauce, or commercial egg replacers), ensuring you maintain the correct consistency.
Expert Tips for Baking Impeccable Victoria Sponge Cupcakes
Achieving bakery-quality Victoria Sponge Cupcakes is easier than you think with these professional tips:
- Temperature Matters: Always ensure your butter and eggs are strictly at room temperature before you begin mixing. This is a golden rule for almost all cupcake and cake recipes. Room temperature ingredients emulsify much better, creating a smooth batter that traps air efficiently, leading to a lighter, more uniform crumb. Conversely, heavy cream for whipping should be very cold to achieve stiff peaks quickly and maintain stability.
- A Zesty Boost: A small squeeze of fresh lemon juice added to the batter or the cream can add a wonderful brightness and lightness. It also has the added benefit of enhancing the natural flavor of the berries in your jam.
- Thinning Butter (If Needed): If your room temperature butter still seems too thick or stiff after creaming, you can thin it out slightly with a tiny amount of full-fat milk or cream. Add it gradually, a teaspoon at a time, until the desired consistency is achieved.
- Gentle Folding: When incorporating dry ingredients into wet, or when folding whipped cream, a large, long metal spoon or a silicone spatula is ideal. The broad surface allows for gentle folding motions, which helps to preserve the air you’ve worked so hard to incorporate into the batter or cream. Avoid vigorous stirring, which can deflate the mixture.
- Accurate Flour Measurement: For the most consistent results, it is best to use fresh flour. Sift your flour before measuring it, then level it off gently. This prevents compacting the flour, which can lead to using too much and resulting in a dry, dense cupcake.
- Baking Spread vs. Butter: For an even lighter, moister crumb and a batter that mixes effortlessly, consider using a good quality baking spread instead of traditional butter. Baking spreads often have a lower water content and a different oil composition, which can contribute to a softer texture in sponge cakes.
- Don’t Overmix: While creaming butter and sugar and incorporating eggs, you want to mix until just combined and fluffy. Once flour is added, mix only until just smooth. Overmixing develops gluten, leading to tough, chewy cupcakes rather than light, tender ones.
- Even Baking: Ensure your oven temperature is accurate (an oven thermometer is a great investment). Also, avoid opening the oven door frequently, especially during the first two-thirds of the baking time, as sudden temperature drops can cause cupcakes to sink.
Frequently Asked Questions About Victoria Sponge Cupcakes
How Do You Know When a Victoria Sponge Cupcake Is Done?
There are several reliable indicators that your Victoria Sponge Cupcakes are perfectly baked. Firstly, the tops will have achieved a beautiful, even light golden-brown color. Secondly, and perhaps most definitively, when you gently insert a toothpick or a slender cake tester into the very center of one of the cupcakes, it should come out clean or with only a few moist crumbs attached, but no wet batter. Additionally, you’ll observe that the sponge cake has risen noticeably and appears light and airy. Another good sign is that the cupcakes will feel slightly firm to the touch and spring back when lightly pressed with a finger.
How Do You Get a Victoria Sponge to Rise Evenly?
Achieving an even rise in your Victoria Sponge Cupcakes is key to their classic appearance. Several factors contribute to this. Firstly, ensuring all your ingredients, especially butter and eggs, are at room temperature allows them to emulsify correctly and create a smooth, consistent batter that can trap air effectively. Secondly, mixing the batter thoroughly until all ingredients are well combined, precisely as the recipe instructs, is crucial. This ensures the leavening agents are evenly distributed. Thirdly, using either self-raising flour or all-purpose flour combined with the correct amount of baking powder provides the necessary lift. Finally, placing the cupcake tin on the middle rack of your oven promotes even heat distribution, which helps the cakes bake and rise uniformly without one side cooking faster than the other.
Why Is My Victoria Sponge Cupcake Soggy in the Middle?
A soggy middle in a Victoria Sponge Cupcake is usually a sign of underbaking. This often happens because the edges and tops cook faster than the center, especially in larger cakes or if the oven temperature is too high. If you notice the edges browning quickly but the middle still seems wet, don’t despair. You can try reducing the oven heat slightly (e.g., by 25 degrees F or 15 degrees C) and continuing to bake the cupcakes for another 5-10 minutes, checking regularly with a toothpick. A lower temperature allows the heat to penetrate to the center more gradually, ensuring the cake bakes through evenly without burning the exterior.
Why Is My Victoria Sponge Cupcake So Crumbly?
A crumbly Victoria Sponge Cupcake typically indicates that the cake is too dry. This can occur for several reasons. One common culprit is inaccurate flour measurement; if you measure flour without sifting it first or if you compact it into the measuring cup, you might inadvertently add too much, leading to a dry batter. Another factor could be an insufficient amount of moisture-contributing ingredients, such as eggs or milk (if your recipe includes it). Finally, overbaking is a frequent cause of crumbly cupcakes. Baking the sponge for too long at too high a temperature evaporates too much moisture, resulting in a dry, brittle texture that crumbles easily.
If you adore this classic cupcake recipe, you’re sure to love these other delightful cupcake creations too. Click each link below to discover the easy, printable recipe!
Check out this recipe
Check out this recipe
Check out this recipe
Check out this recipe
Check out this recipe
More Tasty Cupcake Creations
Peanut Butter Cupcakes with Peanut Butter Frosting
Apple Cider Cupcakes
Cannoli Cupcakes
Funfetti Cupcakes Recipe
CONNECT WITH YUMMI HAUS!
Be sure to follow me on my social media, so you never miss a post!
Substack, FB, Pinterest, IG, Email Subscription
Rate this Recipe
Victoria Sponge Cupcakes
Ingredients
Cupcakes
- 10 tablespoons butter – room temp, unsalted
- 1 cup granulated sugar – pulsed a few times in a food processor to make superfine sugar.
- 3 eggs
- 1 cup all-purpose flour
- 1 tablespoon baking powder
Frosting
- 1 cup heavy cream – very cold
- 6 tablespoons confectioner’s sugar
- ⅓ cup blackberry jam
Blackberries for garnish
Instructions
Cupcakes
- Preheat the oven to 350 degrees F (180C / 160C fan oven / Gas Mark 4).
- Line a 12-serving cupcake pan with cupcake liners. Set aside.
- Combine the butter, sugar, and eggs into a large mixing bowl. Beat with an electric mixer until well incorporated.
- Add the flour and baking powder to the mixing bowl. Slowly stir in the dry ingredients until moistened and then increase the speed and beat on HIGH until the batter is smooth and creamy.
- Divide the batter evenly into the prepared cupcake pan until each cup is approximately ⅔ full.
- Bake for 16-18 minutes, or until a toothpick inserted into the center of one of the cupcakes comes out clean. You can also gently press the top of a cupcake with your finger. If it springs back, the cupcakes are done.
- Remove the cupcakes from the pan and allow them to cool on a wire cooling rack – about 1 hour.
Frosting
- In a stand mixer fitted with the whisk attachment, beat the heavy cream until it starts to thicken. Slowly add the confectioner’s sugar, and continue to beat until stiff peaks form – about 1 minute.
- Transfer the whipped cream into a large piping bag fitted with a large round decorating tip. Set aside.
Decorate
- Remove the liners from the cooled cupcakes, and cut the top off of each cupcake, making sure the tops and bottoms of the cupcakes are equal in size.
- Spread a layer of blackberry jam evenly over the bottom section of each cupcake.
- Pipe a swirl of whipped cream on top of the blackberry jam, and place the top half of each cupcake back on.
- Pipe small dollops of whipped cream on top of each cupcake, and garnish with fresh blackberries.
- Store any leftovers in the refrigerator.
Nutrition
Nutritional information for the recipe is provided as a courtesy and is approximate. Please double-check with your own dietary calculator for the best accuracy. We at Yummi Haus cannot guarantee the accuracy of the nutritional information given for any recipe on this site.