
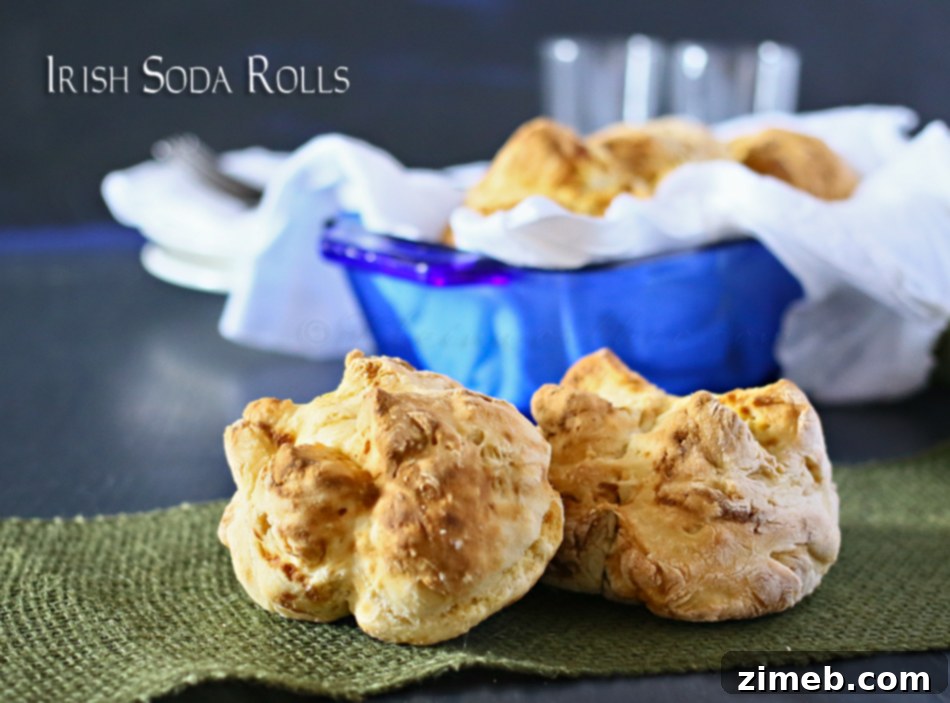
Easy Homemade Irish Soda Rolls: A Perfect St. Patrick’s Day Treat
Are you searching for an incredibly simple yet profoundly satisfying Irish recipe to elevate your St. Patrick’s Day celebration? Look no further! While traditional Irish Soda Bread is a beloved staple, sometimes you crave something a little more versatile, a perfectly portioned delight that’s easy to serve and even easier to enjoy. That’s precisely why these homemade Irish Soda Rolls are an absolute game-changer. They serve as an ideal accompaniment to hearty meals like our favorite Dutch Oven Corned Beef & Cabbage, completing a truly authentic Irish feast. But the magic doesn’t stop there; these rolls are wonderfully soft and incredibly versatile. Imagine waking up the next morning and savoring a leftover roll, lightly toasted and slathered with your favorite jam. Pure bliss!
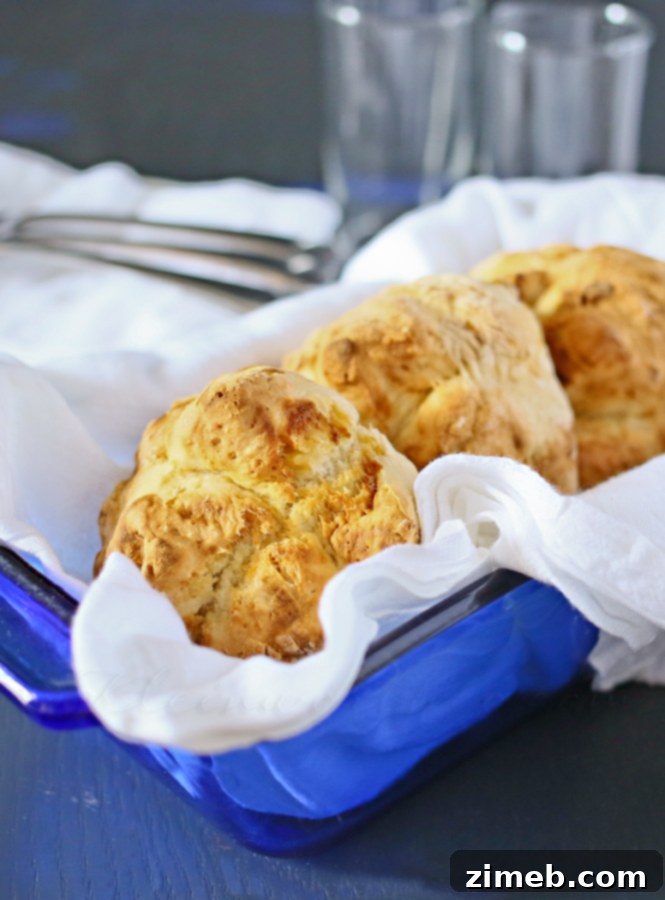
This recipe yields approximately 8 generously sized rolls in one batch, each offering a substantial and satisfying portion. However, if you prefer smaller, bite-sized rolls, you can easily adjust the dough portions to achieve 10 to 12 rolls, perfect for a larger gathering or simply to have more to share (or hoard!). These delightful Irish Soda Rolls are baked to golden perfection, boasting a slightly crisp exterior and a tender, fluffy interior that melts in your mouth, making them an irresistible addition to any meal.
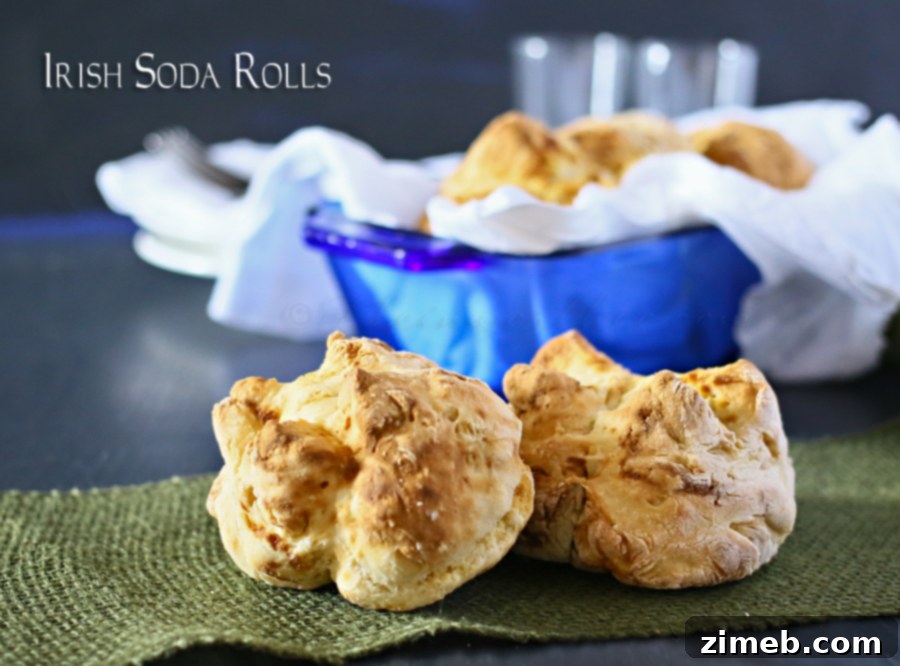
Why Choose Irish Soda Bread Rolls for Your Celebration?
Irish Soda Bread has long been synonymous with Irish heritage, a simple yet profound symbol of home and comfort. Its ease of preparation, requiring no yeast and minimal kneading, made it a staple in Irish kitchens for generations. Transforming this classic loaf into individual rolls offers several distinct advantages, particularly for celebratory occasions like St. Patrick’s Day or even everyday family dinners. Firstly, individual rolls mean less fuss at the dinner table; everyone gets their own perfectly shaped serving without the need for slicing. This not only makes for a more elegant presentation but also ensures even baking and consistent texture throughout each piece. Secondly, the smaller size allows for quicker baking times compared to a full loaf, getting these delicious treats into your hands faster. Whether you’re serving a traditional Irish dinner, a hearty soup, or just looking for a simple, satisfying bread to accompany your meal, these soda rolls are a delightful choice that embodies the spirit of Irish hospitality and culinary tradition.
The Rich History Behind Traditional Irish Soda Bread
To truly appreciate Irish soda bread, it helps to delve into its humble origins. This distinctive bread emerged in Ireland in the mid-19th century, during a period when bicarbonate of soda (baking soda) became widely available and affordable. Before this, traditional leavening agents like yeast were often less accessible, more expensive, or less reliable for many rural households. The genius of soda bread lies in its ingenious simplicity: baking soda reacts chemically with the lactic acid found in buttermilk to produce carbon dioxide bubbles. These bubbles naturally leaven the dough, causing it to rise without the need for yeast or lengthy fermentation processes. This method allowed for quick, easy, and incredibly affordable bread making using basic ingredients that were readily available in most Irish homes – flour, salt, baking soda, and soured milk (buttermilk). Often baked on a griddle (known as a bastible pot) over an open fire or in a Dutch oven, it quickly became a daily bread for many Irish families, offering a dense yet wonderfully tender crumb. The iconic cross often cut into the top of the loaf isn’t merely decorative; it’s traditionally believed to ward off evil spirits and, more practically, helps the bread cook more evenly by allowing the heat to penetrate the dense dough and steam to escape, preventing the center from being gummy.
Essential Ingredients for Authentic Irish Soda Rolls Explained
One of the most appealing aspects of Irish soda bread is its reliance on just a few core, simple ingredients. For these delightful, fluffy rolls, you’ll primarily need:
- All-Purpose Flour: This forms the essential structure and body of our rolls. While some traditional recipes might incorporate whole wheat flour for a nuttier, heartier flavor, using all-purpose flour typically creates a lighter, softer texture that is ideal for individual rolls. It provides the necessary gluten structure without making the rolls overly dense or heavy.
- Salt: A seemingly small but crucial component. Salt is absolutely essential for balancing the flavors and enhancing the overall taste of the bread. Don’t be tempted to omit or significantly reduce it, as it brings out the subtle sweetness of the flour and prevents the rolls from tasting bland.
- Baking Soda: This is the true star and primary leavening agent in Irish soda bread. It rapidly reacts with the acidity present in the buttermilk to produce carbon dioxide gas, which causes the rolls to rise quickly and develop their characteristic texture. For the best rise and texture, always ensure your baking soda is fresh and active; old baking soda can lead to flat, dense, and unappealing rolls.
- Buttermilk: This is the critical liquid component that plays a dual role. Its inherent acidity is absolutely vital for activating the baking soda and initiating the leavening process. Beyond its chemical function, buttermilk also contributes significantly to the tender crumb and unique, slightly tangy flavor that defines traditional Irish soda bread. If you find yourself without buttermilk, a simple and effective substitute can be made at home: add 1 tablespoon of lemon juice or white vinegar to a liquid measuring cup, then fill the rest of the way to 2.5 cups with regular milk (dairy or non-dairy works). Let this mixture sit for 5-10 minutes until it visibly curdles slightly before incorporating it into your dry ingredients.
Classic Irish Soda Rolls Recipe
Recipe Details
Yields: 8-12 rolls (depending on size)
Prep time: Approximately 10 minutes
Cook time: 25-30 minutes
Ingredients
- 5-1/2 cups all-purpose flour
- 1-1/2 tsp salt
- 1-1/2 tsp baking soda
- 2-1/2 cups buttermilk (or homemade substitute)
Instructions
- Preheat Oven: Begin by preheating your oven to a hot 425 degrees Fahrenheit (220 degrees Celsius). A sufficiently hot oven is crucial for achieving that beautiful golden crust and ensuring proper rise in soda bread.
- Prepare Baking Sheet: Line a large, sturdy baking sheet with a sheet of parchment paper. This vital step prevents the rolls from sticking to the pan and makes for effortless cleanup. Set the prepared sheet aside while you prepare the dough.
- Combine Dry Ingredients: In a generously sized mixer bowl (if using a stand mixer) or a spacious mixing bowl (if preparing by hand), combine the measured all-purpose flour, salt, and baking soda. Whisk them together thoroughly using a dry whisk or fork to ensure all the dry ingredients, especially the leavening agent, are evenly distributed throughout the flour mixture. This is key for an even rise and consistent flavor in every roll.
- Create a Well: Using your hand or a spoon, make a generous well (a hollow space) in the very center of your dry ingredients. This will serve as the reservoir for the liquid, helping you to incorporate the buttermilk gradually and preventing splashes and uneven mixing.
- Add Buttermilk and Mix: Pour the entire quantity of buttermilk into the well you created. Using the paddle attachment of your stand mixer on a low speed, or a sturdy wooden spoon and then your hands, mix the ingredients just until the dough comes together and forms a shaggy ball. It’s absolutely crucial not to overmix the dough at this stage! Irish soda bread dough should be fairly wet, soft, and slightly shaggy, but it should not be overly sticky. Overmixing develops the gluten too much, which can result in tough, chewy rolls rather than the desired tender texture.
- Lightly Knead: Turn the freshly mixed dough out onto a lightly floured surface. Knead it very gently for only 3-4 short turns, just enough to bring it into a smooth, cohesive ball. Remember, minimal kneading is essential for soda bread to remain wonderfully tender and not develop an undesirable chewy texture.
- Portion and Shape: Divide the dough into 8 to 12 equal portions, depending on your desired roll size and how many you wish to make. Shape each individual portion into a flat, round circle, aiming for approximately 1-inch thickness.
- Place and Score: Carefully arrange the shaped rolls on your prepared parchment-lined baking sheet, leaving a little space between each one. Using a sharp knife or a clean razor blade, cut a shallow cross on the top of each roll. Ensure the cut extends from edge to edge on the top surface. This traditional scoring technique not only adds authentic visual character but, more importantly, helps the rolls bake more evenly by allowing heat to penetrate the dense dough and steam to escape during baking.
- Bake to Perfection: Place the baking sheet into your preheated oven and bake for 25-30 minutes, or until the Irish Soda Rolls achieve a beautiful golden brown color on the top and bottom. A reliable test for doneness is to gently tap the bottom of a roll; if it sounds hollow, it’s perfectly cooked through and ready to be enjoyed.
Expert Tips for Achieving Perfectly Tender Irish Soda Rolls
While the recipe for Irish Soda Rolls is delightfully straightforward, a few expert tips can make the difference between good rolls and absolutely perfect, tender creations:
- Do Not Overmix the Dough: This is arguably the most crucial piece of advice for any soda bread recipe. Unlike yeast breads, which often benefit from extensive kneading to develop gluten, soda bread can become tough, dense, and chewy if overmixed. Mix the dough just until the ingredients are combined and a cohesive mass forms, no more.
- Ensure Your Baking Soda is Fresh: Baking soda is a chemical leavening agent that loses its potency over time. For the best rise and the lightest texture, always ensure your baking soda is fresh and active. You can easily test its freshness by mixing a teaspoon with a tablespoon of vinegar; if it fizzes vigorously, it’s good to go.
- Buttermilk is Indispensable: Authentic buttermilk provides the necessary acidity for the baking soda to react effectively and create the desired rise. If you opt to use a homemade buttermilk substitute, ensure it has curdled sufficiently before you incorporate it into the dry ingredients to guarantee an adequate acidic reaction.
- Maintain a Wet Dough: The ideal soda bread dough should feel soft and fairly wet, often even a little sticky to the touch. Resist the natural urge to add too much extra flour during the minimal kneading or shaping process, as this can quickly dry out the rolls, making them dense and crumbly. A lightly floured surface is all you need to prevent sticking.
- Score the Rolls Properly: The traditional cross cut on top of the rolls isn’t just for aesthetic appeal; it serves an important functional purpose. It allows heat to penetrate the center of the relatively dense dough more evenly, ensuring consistent cooking throughout, and facilitates the escape of steam, which helps prevent a gummy interior. Make the cut deep enough to almost reach the bottom, but not so deep that the roll threatens to fall apart.
- Tap for Doneness: The “hollow sound when tapped” test is a surprisingly accurate and reliable method for determining if soda bread is fully baked. When you gently tap the bottom of a cooked roll, if it produces a dull, thudding sound, it likely needs a few more minutes in the oven. A hollow sound indicates it’s cooked through.
Delicious Serving Suggestions for Your Homemade Rolls
These freshly baked Irish Soda Rolls are incredibly versatile and can be enjoyed in a multitude of delightful ways. For a truly complete and authentic St. Patrick’s Day feast, they are the quintessential accompaniment to rich and savory dishes. Serve them warm alongside a hearty, slow-cooked Irish stew, a comforting bowl of creamy potato soup, or, as mentioned earlier, our classic and beloved Corned Beef & Cabbage. The slightly tangy flavor and tender texture of the rolls beautifully complement the savory, robust notes of these traditional Irish meals.
Beyond dinner, these rolls truly shine as a fantastic option for breakfast or brunch. Split them open while they are still warm and generously spread them with creamy, unsalted butter, a vibrant fruit jam (strawberry, raspberry, or a zesty marmalade are all excellent choices), or even a dollop of local honey. They pair wonderfully with a steaming cup of hot tea or a freshly brewed coffee, creating a comforting and satisfying start to your day. For a more savory breakfast or snack, try them with a slice of sharp cheddar cheese that melts slightly on the warm bread, or a spread of herbed cream cheese. They are also fantastic with a little bit of leftover corned beef, transforming into delectable mini sandwiches that are perfect for a quick bite.
Creative Variations to Customize Your Irish Soda Rolls
While the classic Irish Soda Roll is a masterpiece in itself, don’t hesitate to experiment with various additions to customize them to your personal taste preferences. These simple variations can introduce exciting new flavor dimensions:
- Sweet Variations: For a delightful sweeter roll, try incorporating 1/2 cup of plump raisins or currants, a tablespoon of aromatic caraway seeds (a traditional addition), or the finely grated zest of one orange or lemon directly into the dry ingredients. A light sprinkle of granulated sugar on top of the rolls just before baking can also add a delightful crunchy crust and a touch of sweetness.
- Savory Enhancements: To create a more savory roll that pairs wonderfully with soups and stews, mix in 1/2 cup of shredded sharp cheddar cheese, a handful of fresh chopped chives or fragrant rosemary, or a teaspoon of garlic powder to the dry ingredients before adding the buttermilk.
- Herbed Rolls: For an aromatic flavor profile, consider mixing in a tablespoon of dried mixed herbs such as thyme, sage, or a blend of Italian herbs.
- Whole Wheat Blend: If you desire a slightly denser, nuttier roll with more fiber, you can substitute 1-2 cups of the all-purpose flour with an equal amount of whole wheat flour. Be aware that whole wheat flour tends to absorb more liquid, so you might need to slightly adjust the amount of buttermilk to achieve the correct dough consistency.
Storing and Reheating Your Homemade Irish Soda Rolls
Irish soda bread, including these rolls, is generally at its absolute best when enjoyed fresh, ideally on the same day it’s baked. The tender texture and crisp crust are most pronounced shortly after coming out of the oven. However, if you find yourself with leftovers, these rolls can certainly be stored and reheated effectively:
- Storage: Once your Irish Soda Rolls have completely cooled down to room temperature, store them in an airtight container or a robust plastic bag. This will help to prevent them from drying out too quickly. Stored properly at room temperature, they will keep for approximately 2-3 days.
- Reheating: To revive their freshness and bring back some of that wonderful warmth, wrap individual rolls loosely in aluminum foil. Reheat them in a preheated oven at a moderate temperature of 300°F (150°C) for about 10-15 minutes, or until they are warmed through to the center. Alternatively, for a quick refresh, you can slice the rolls in half horizontally and toast them lightly in a toaster or under a broiler until they are golden and slightly crisp. This method is particularly effective for rolls that might have become a bit stale, as it helps to restore some of their delightful texture.
Important Nutritional Information Disclaimer
The nutritional information provided for this recipe, including estimates for calories, fats, carbohydrates, and proteins, is offered solely as a courtesy and should be considered approximate. Nutritional values can vary significantly based on specific ingredients used (e.g., brand of flour, fat content of buttermilk), exact measurements, and preparation methods. Dietary needs and requirements are highly individual, and we strongly recommend that you double-check any nutritional data with your own preferred dietary calculator or a certified nutritionist for the best accuracy tailored to your specific health goals and requirements. We, at this platform, cannot guarantee the absolute precision or completeness of the nutritional information presented for any recipe on this site.
Love this delicious recipe and want more culinary inspiration?
Be sure to follow @KleinworthCo on Pinterest for an endless stream of tasty recipes, baking ideas, and kitchen tips!