
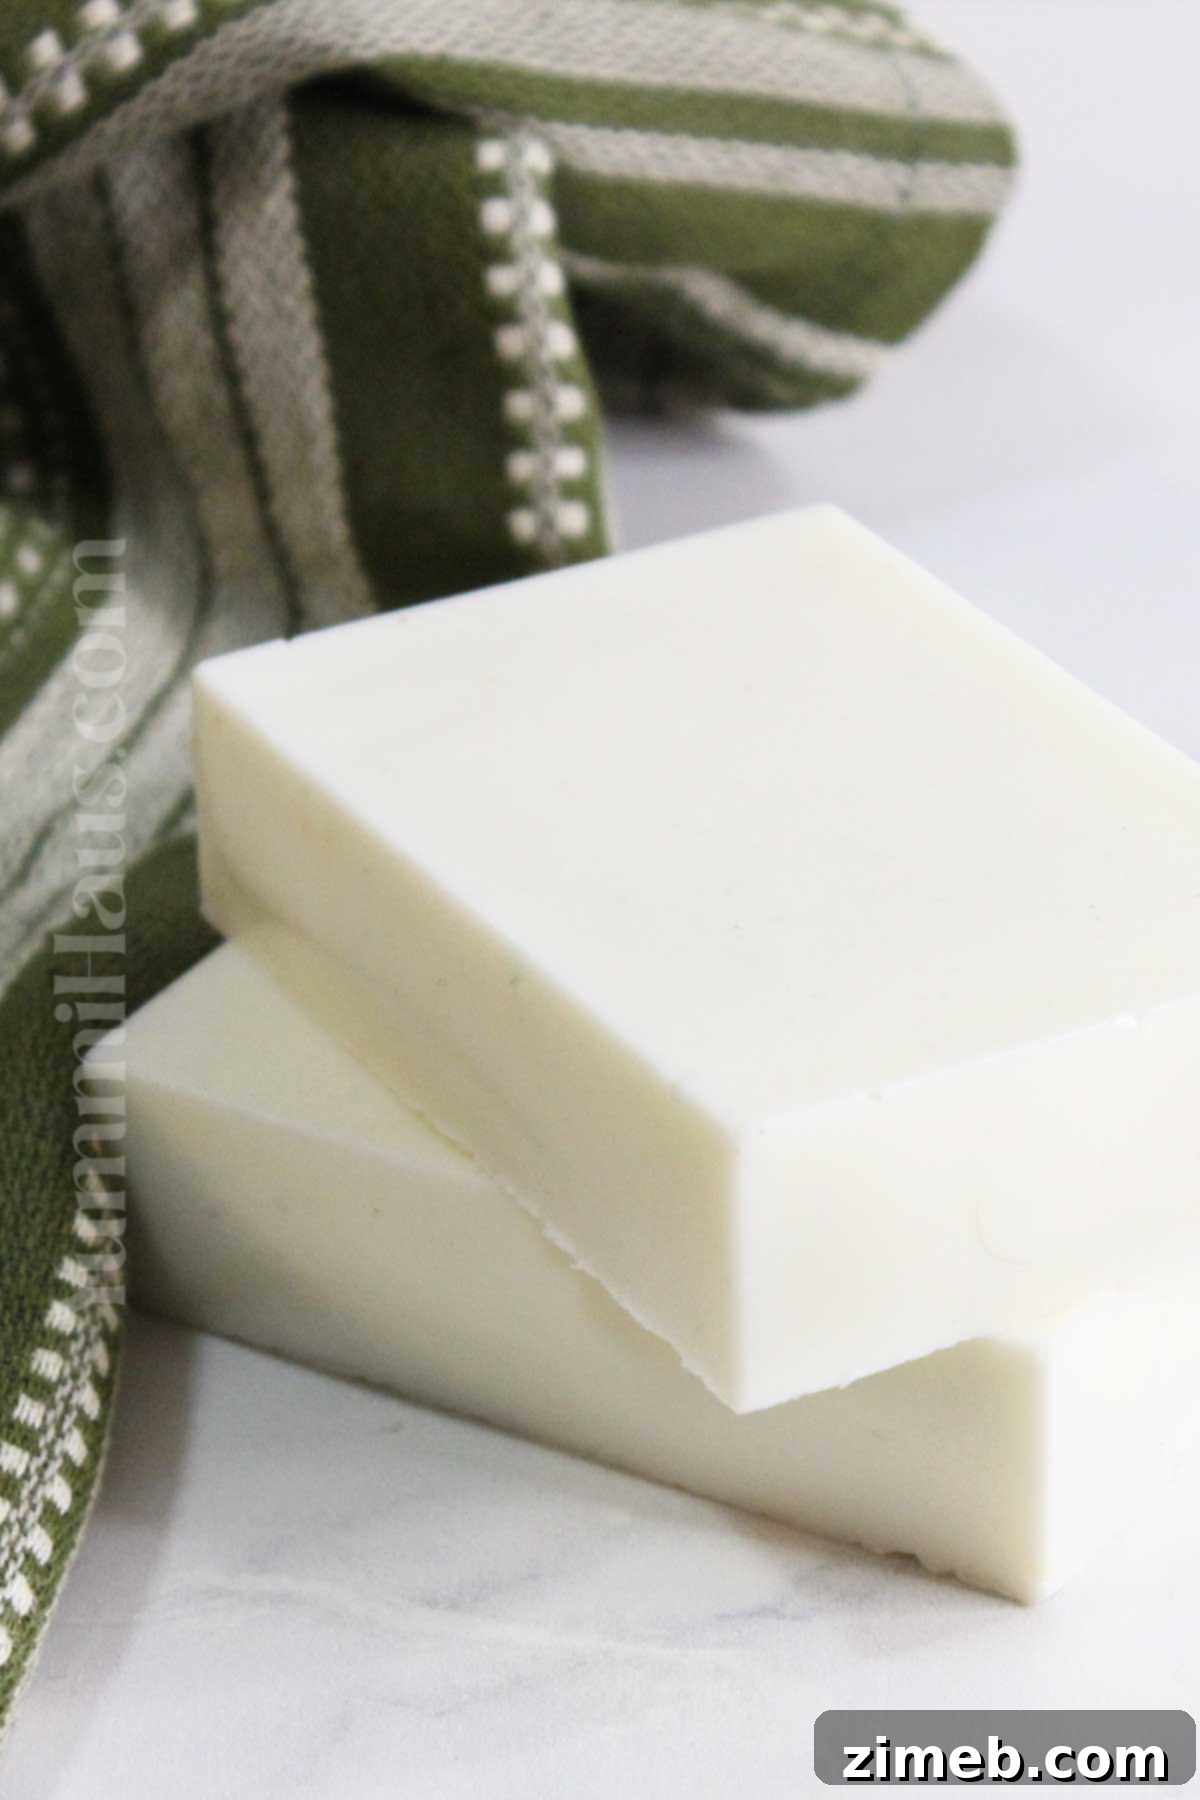
Discover the art of creating luxurious homemade tallow soap, designed to deeply nourish your skin for weeks on end. This simple, melt-and-pour method eliminates the need for handling harsh lye solutions and bypasses the lengthy curing times typically associated with traditional soap making. Experience the joy of crafting a natural, gentle soap that leaves your skin feeling exceptionally soft and hydrated.
Tallow, a remarkably versatile and often underappreciated natural fat, forms the base of this incredible soap. Its unique properties allow for an effortless soap-making process, free from complicated cooking techniques or advanced chemistry. This recipe transforms rendered animal fat into a beautiful, functional skincare product with minimal fuss.
Gina’s Recipe Rundown: Embrace the Simplicity of Tallow Soap
Texture: Tallow soap is celebrated for its incredibly creamy, smooth, and firm texture. It doesn’t just cleanse; it glides over the skin, producing a rich, stable foam characterized by small, dense bubbles that feel luxurious. When properly set and cured (even briefly for melt-and-pour), it becomes a hard and remarkably long-lasting bar, yet it always retains a wonderfully silky feel that leaves your skin pampered, not stripped.
Benefits: This homemade tallow soap offers a wealth of advantages for your skin. It is deeply moisturizing, packed with essential skin-nourishing vitamins (like A, D, E, and K), and consistently delivers a creamy, indulgent lather. Best of all, it provides a truly natural cleansing experience, entirely free from the harsh chemicals and synthetic additives often found in commercial soaps that can irritate sensitive skin.
Ease of Making (Lye-Free): The beauty of this tallow soap recipe lies in its simplicity and safety. By utilizing a melt-and-pour soap base, you completely circumvent the need to handle raw lye (sodium hydroxide). This approach makes the process accessible even for beginners, allowing you to enjoy the profound nourishing benefits of tallow without any of the complexities or safety concerns associated with traditional cold or hot process soap making.
Why I Love It: My passion for tallow soap stems from its unparalleled performance and natural goodness. I adore its rich, velvety lather that makes every wash feel like a spa experience. Beyond the luxurious feel, it’s the deep moisturizing properties that truly win me over, leaving my skin feeling incredibly soft, genuinely nourished, and radiating a natural, healthy glow. It’s a return to traditional skincare that truly delivers.
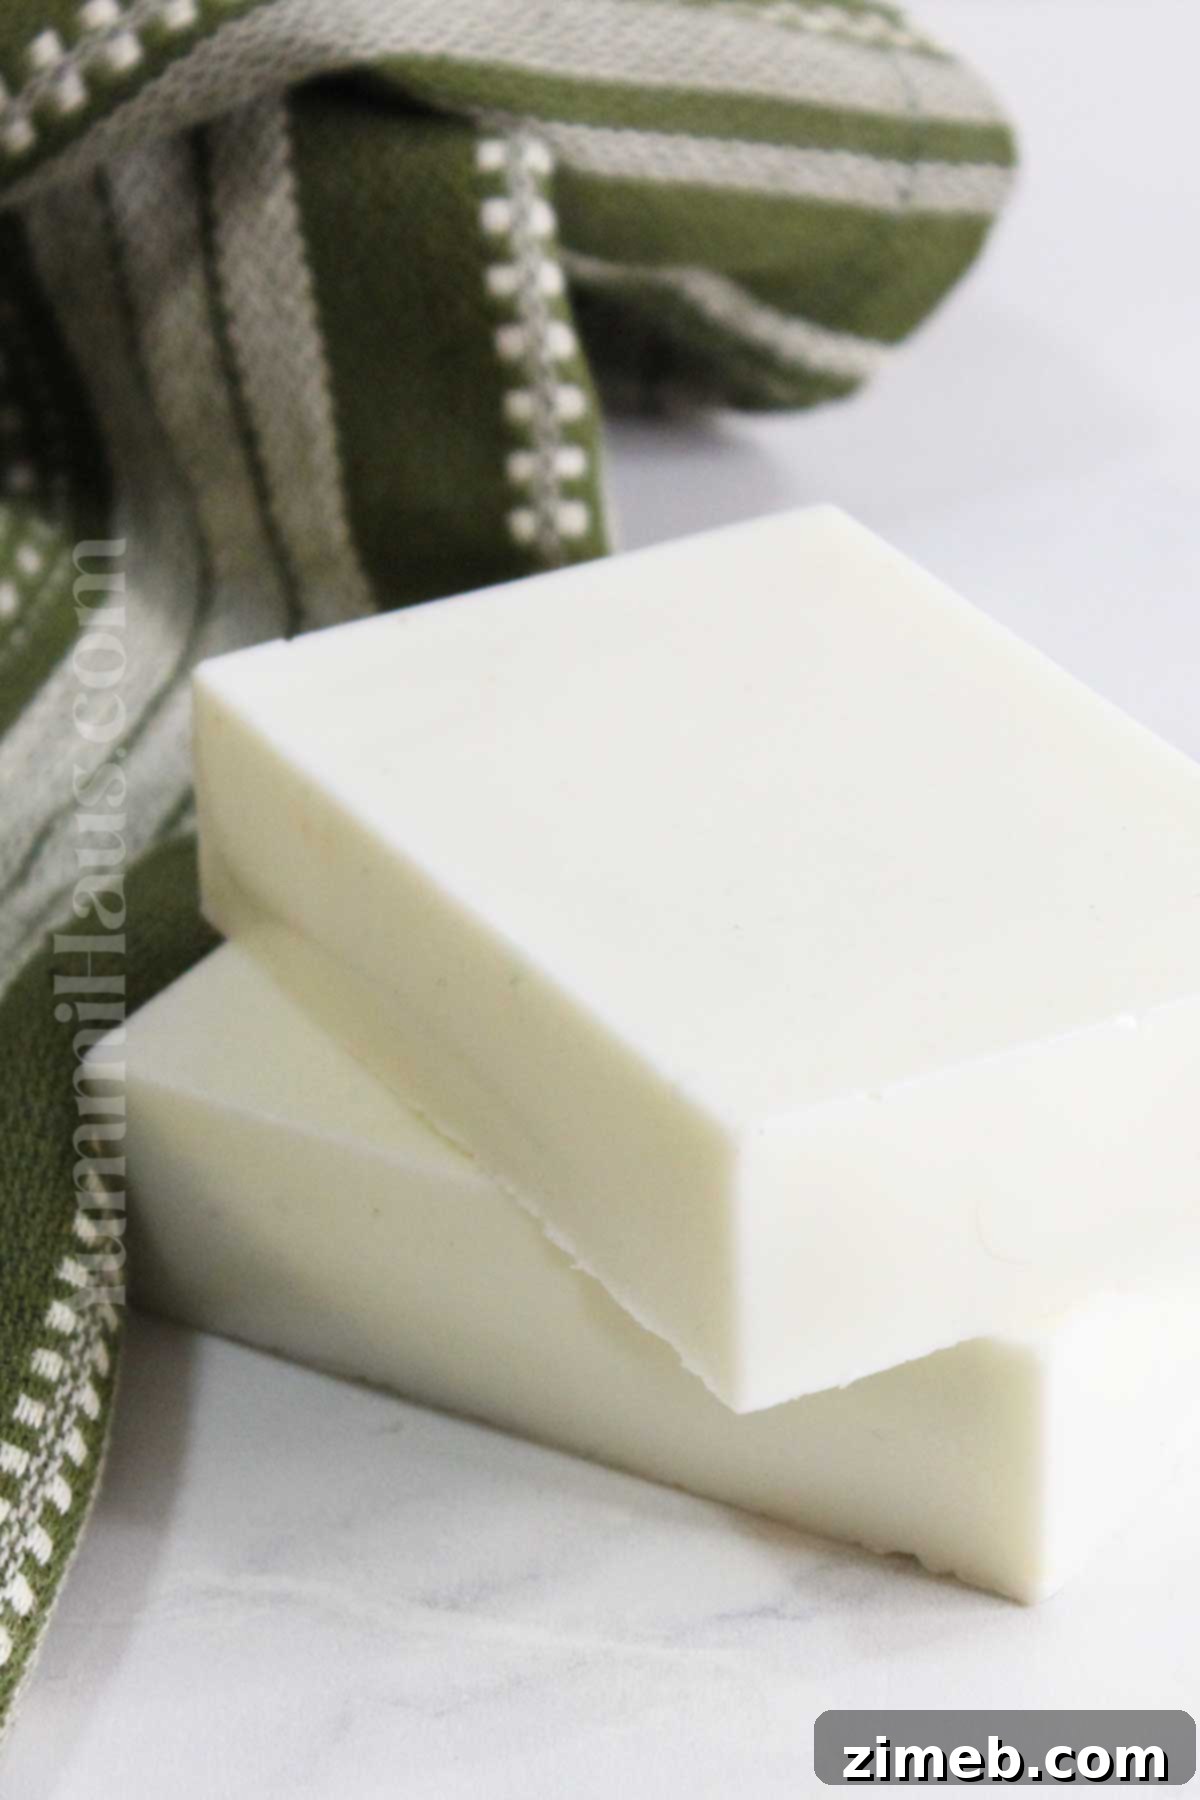
Embracing a zero-waste lifestyle, while perhaps more traditionally associated with rural living, is a growing movement accessible to everyone, regardless of location. The beauty of homemade tallow soap aligns perfectly with this ethos. Today, sourcing rendered animal fat, often considered a byproduct, is easier and more affordable than ever. With just a few simple steps, you can transform this humble ingredient into beautiful, handmade soap bars for your entire family, with extra to spare for thoughtful, personalized gifts. It’s a step towards sustainability and self-sufficiency that feels incredibly rewarding.
The increasing prevalence of allergic reactions and skin sensitivities to mass-produced skincare products has led many to seek natural alternatives. Commercial creams, soaps, and gels often contain a myriad of synthetic fragrances, dyes, and preservatives that can irritate delicate skin. This widespread concern has fueled a significant interest in DIY care products. By making your own tallow soap, you gain complete control over the ingredients, ensuring that only pure, beneficial components touch your skin. Why continue searching for the “right” product when you can create one tailored precisely to your needs?
- Gina’s Recipe Rundown: Embrace the Simplicity of Tallow Soap
- Why You’ll Love This Homemade Tallow Soap Recipe?
- Unveiling the Benefits of Tallow Soaps for Radiant Skin
- Essential Ingredients for Your Tallow Soap
- Necessary Kitchen Equipment for Tallow Soap Making
- Step-by-Step Guide: How To Make Tallow Soap (Lye-Free)
- 1. Prepare and Melt the Soap Base
- 2. Infuse with Tallow & Essential Oils
- 3. Pour and Set Your Soap
- Sourcing Quality Tallow for Soap Making
- Proper Storage for Handmade Tallow Soap
- Customizing Your Tallow Soap: Substitutions & Variations
- Expert Tips for Crafting the Perfect Tallow Soap
- Frequently Asked Questions About Tallow Soap
- Cold Process vs. Hot Process vs. Melt & Pour Soap Making
- Understanding the Disadvantages of Tallow Soap
- Does Tallow Soap Clog Drains? The Truth Revealed
- The Luxurious Lather of Tallow Soap
Why You’ll Love This Homemade Tallow Soap Recipe?
Making your own tallow soap using the melt-and-pour method is not just a craft; it’s an incredibly satisfying and beneficial endeavor. Here are compelling reasons why this recipe will quickly become one of your favorites:
- Effortless and Customizable Yield: This straightforward tallow soap recipe typically yields 4 ½ bars when using a standard mold. However, its true beauty lies in its flexibility. You can easily adjust the number of bars by simply cutting larger or smaller pieces from your finished slab, making it perfect for personal use, gifting, or even small-scale sales.
- Unmatched Simplicity and Safety: A major advantage of this recipe is that it completely eliminates the need for an immersion blender, potash (potassium hydroxide), or a lye solution (sodium hydroxide). This simplifies the soap-making process dramatically, making it much safer and more accessible for beginners. No caustic chemicals mean a worry-free experience in your kitchen.
- A Step Towards Sustainability and Zero-Waste: In an era where environmental consciousness is paramount, this homemade soap helps you contribute to a more sustainable and zero-waste household. By utilizing rendered animal fat, often a discarded byproduct, you transform it into a valuable, long-lasting product, reducing waste and your reliance on commercially packaged goods.
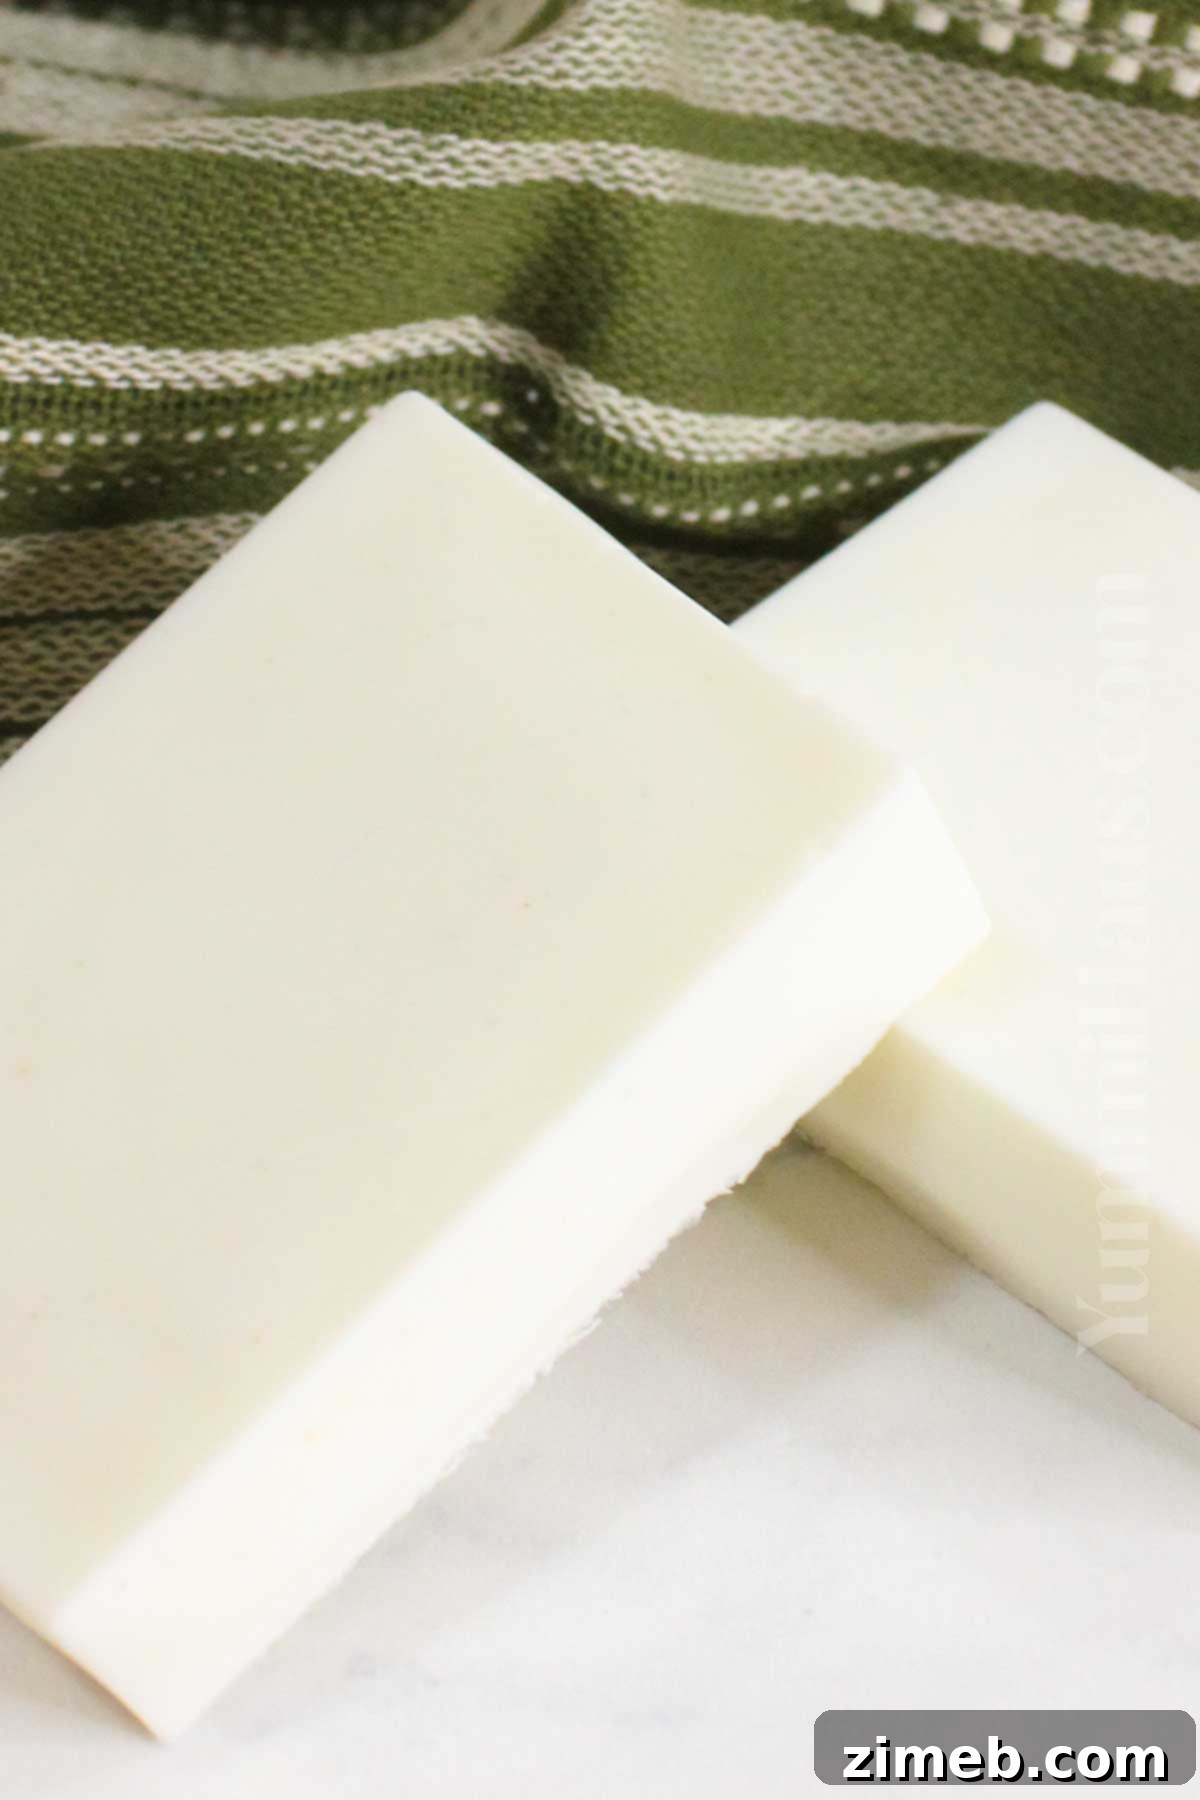
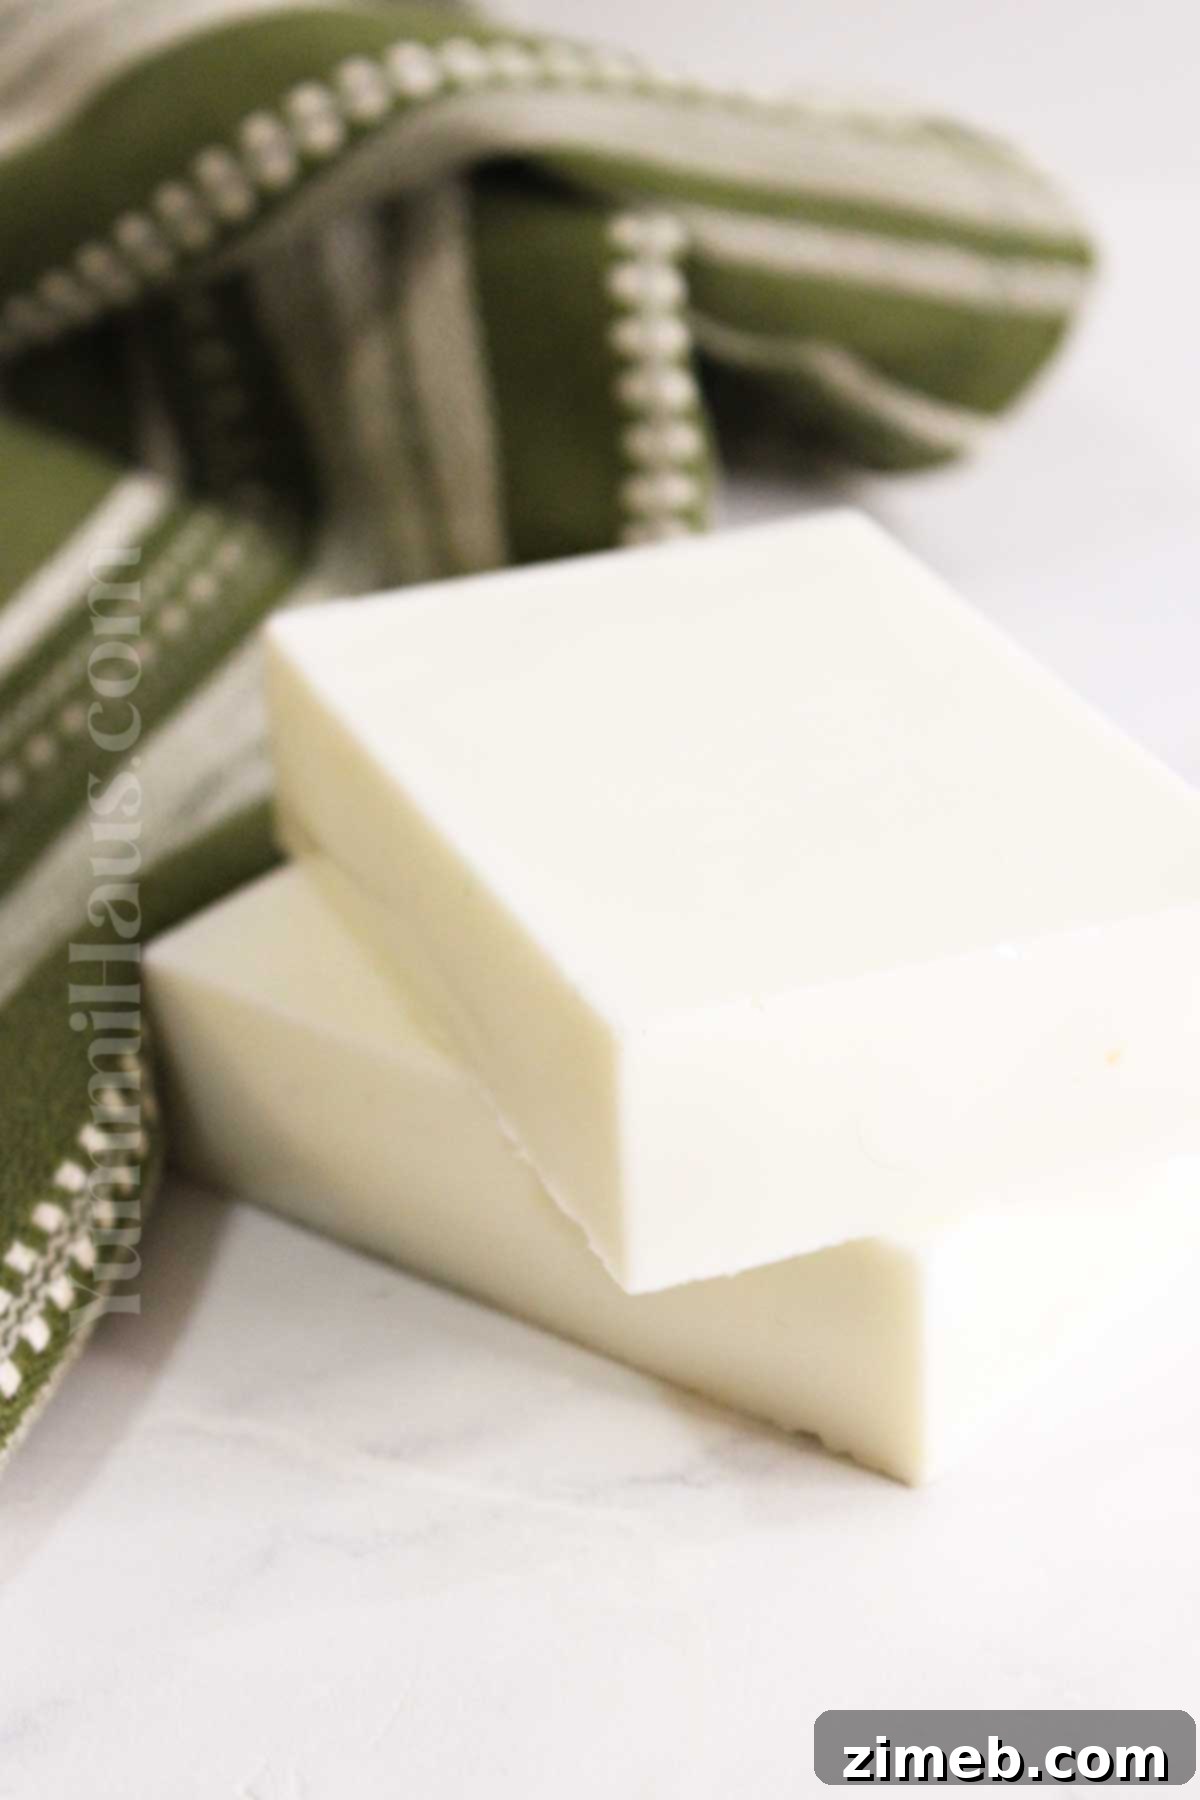
- Beautiful Aesthetics and Purity: Forget concerns about impurities or animal odors. This recipe consistently produces pristine, white, and creamy soap bars that are not only effective but also aesthetically pleasing. Their elegant appearance makes them perfect for handmade gifts, conveying thoughtfulness and a touch of luxury. You’ll be proud to display and share these beautiful creations.
- Nourishment for Your Skin: Beyond its ease and sustainability, the primary reason to love this recipe is the exceptional nourishment it provides. Tallow is rich in vitamins and fatty acids that mimic the skin’s natural sebum, offering deep hydration and promoting a healthy skin barrier without harsh chemicals.
Unveiling the Benefits of Tallow Soaps for Radiant Skin
Tallow soap, a time-honored skincare secret, offers a remarkable array of benefits that address various skin concerns, making it an excellent choice for a natural and effective cleansing routine. Here’s why you should consider incorporating tallow soap into your daily regimen:
- Universally Suitable for All Skin Types: Tallow soap is inherently gentle and incredibly beneficial for virtually all skin types, including those prone to sensitivity. Its natural composition closely resembles the lipids found in human skin, allowing for excellent compatibility. If you have particularly sensitive skin, it’s always wise to perform a patch test on a small area first to ensure no adverse reaction.
- Economical and Exceptionally Long-Lasting: Handmade tallow soap bars are not only an affordable alternative to many commercial products but also boast impressive longevity. Their firm texture means they don’t dissolve quickly, providing a dense, creamy lather that endures. Depending on your frequency of use, a single bar of tallow soap can comfortably last three months or even longer, offering superb value.
- Transparency and Purity: When you craft your own tallow soap, you gain complete control and transparency over every ingredient. This ensures that your soap is entirely free from the potentially toxic chemicals, synthetic fragrances, and questionable additives commonly found in mass-produced skincare, giving you peace of mind about what you’re putting on your body.
- Potent Moisturizing and Anti-Aging Properties: Blended with other nourishing oils (even the melt and pour base has moisturizing qualities), tallow soap acts as an exceptional moisturizer. It’s packed with fat-soluble vitamins A, D, E, and K, and essential fatty acids like Conjugated Linoleic Acid (CLA). These components are vital for maintaining a healthy skin barrier, promoting cellular regeneration, and visibly reducing the effects of aging by keeping skin supple and hydrated. This makes it a particularly beneficial choice for mature skin.
- Non-Comedogenic – It Won’t Clog Pores: A common misconception is that animal fat will clog pores. However, tallow’s fatty acid profile is remarkably similar to our skin’s natural sebum. This makes it highly compatible and non-comedogenic, meaning it won’t block pores or exacerbate issues like acne, unless you inherently struggle with regulating your skin’s own sebum production.
- Natural Antimicrobial Efficacy: Tallow naturally contains palmitic and stearic acids. These powerful fatty acids contribute to the soap’s antimicrobial properties, helping to break down microbial cells and providing a natural defense against various skin bacteria. This makes tallow soap an excellent choice for maintaining overall skin hygiene.
- Enhanced Nutrient Delivery: The unique composition of tallow, including its essential fatty acids, acts as a delivery system, helping your skin to better absorb and utilize vital nutrients like Vitamin E. This synergistic effect ensures that the beneficial compounds are effectively delivered to where they’re needed most, boosting skin health from within.
Despite all these incredible benefits, it’s crucial to remember that tallow soap, like any soap, is intended for external use only. Enjoy its natural goodness safely!
Essential Ingredients for Your Tallow Soap
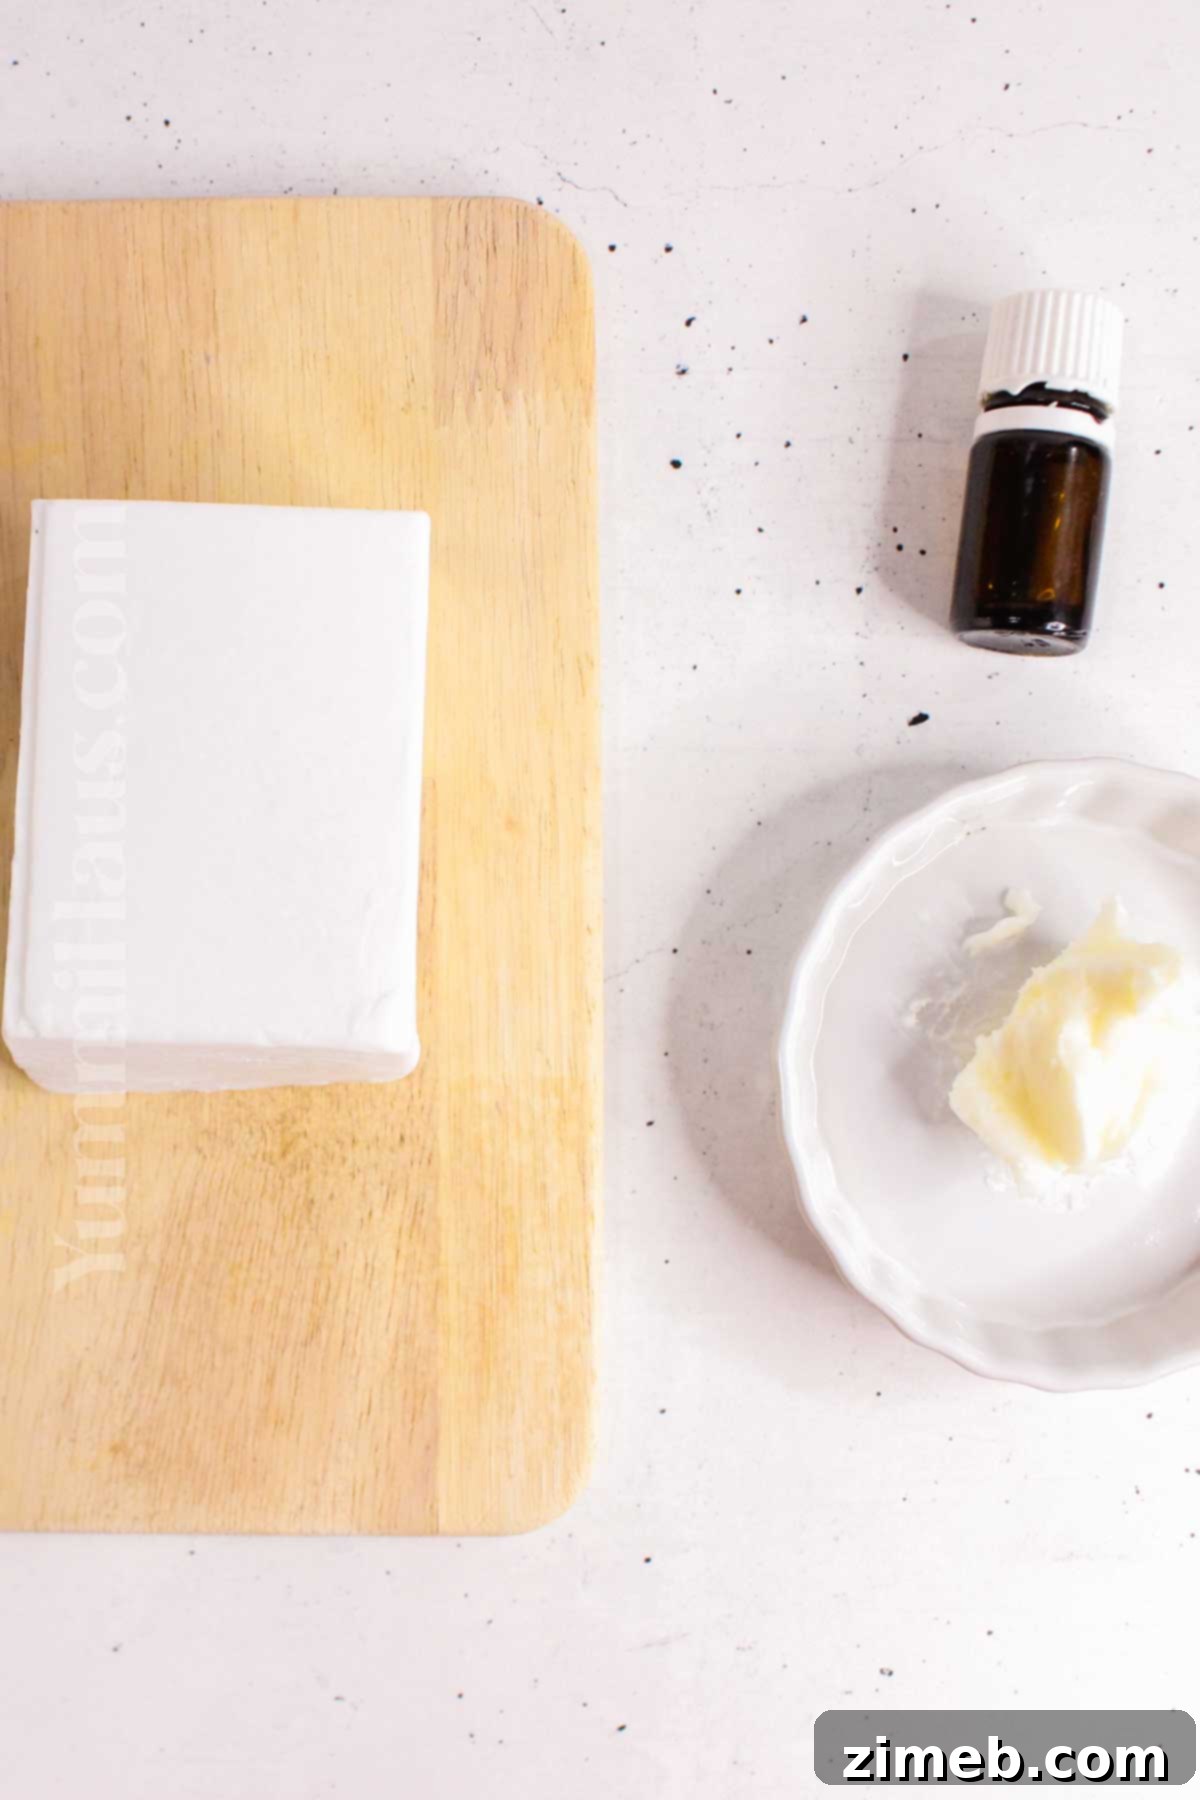
Crafting your own nourishing beef tallow soap with the melt-and-pour method is incredibly simple, requiring just three core ingredients. Each plays a crucial role in creating a beneficial and luxurious product:
- Melt and Pour Soap Base: This is the cornerstone of our easy, lye-free soap recipe. A high-quality melt-and-pour soap base acts as a pre-saponified shortcut, allowing you to bypass the complex and potentially hazardous process of mixing lye water. It provides a stable foundation that melts smoothly and sets quickly, simplifying the entire soap-making experience. Choose a clear or white glycerin-based soap for the best results, as these often contain skin-loving additives.
- Beef Rendered Tallow: The star ingredient, beef rendered tallow, is a natural fat packed with skin-benefiting nutrients. For optimal quality, aim for grass-fed beef tallow, which tends to be richer in vitamins and beneficial fatty acids. Tallow brings a creamy texture, firm bar, and deep moisturizing properties to your soap, making it exceptionally kind to the skin.
- Essential Oils (20 drops): Essential oils serve as your natural fragrance choice and can offer additional aromatic or therapeutic properties. While beneficial, they are primarily for aroma in soap form, and their skin-benefiting properties are minimal due to the small quantity and wash-off application. For sensitive skin, you can absolutely skip them entirely, as an unscented option is perfectly fine and equally nourishing. Popular choices include calming lavender, invigorating peppermint, or cleansing sage. Feel free to experiment with essential oil blends to create your signature scent.
If you’re interested in complete self-sufficiency and ensuring the highest quality, you can learn how to make your own beef tallow from scratch. Follow my step-by-step guide to rendering beef tallow for a truly homemade experience.
Necessary Kitchen Equipment for Tallow Soap Making
To ensure a smooth and enjoyable soap-making experience, having the right tools on hand is essential. This melt-and-pour tallow soap recipe requires only a few basic kitchen items:
- Large Glass Measuring Cup (microwave-safe): A durable, heat-resistant glass measuring cup, ideally with a handle and spout, is perfect for melting your soap base in the microwave. Its measuring lines are also handy for ensuring accurate ingredient proportions.
- Soap Mold: Silicone soap molds are highly recommended for their flexibility, making it incredibly easy to unmold your finished soap bars without damage. You can choose individual bar molds or a loaf mold that allows you to cut custom-sized bars.
- Sharp Knife: A good quality, sharp knife is necessary for precisely cutting your melt-and-pour soap base into smaller cubes, which helps it melt more evenly and quickly.
- Soap-Making Kit (optional): While not strictly necessary for this simple recipe, a dedicated soap-making kit can provide convenient tools like specialized stirring spatulas, additional molds, or even digital thermometers if you wish to monitor temperatures more closely. It’s a great option for those looking to delve deeper into soap crafting.
Step-by-Step Guide: How To Make Tallow Soap (Lye-Free)
Crafting your own nourishing tallow soap is a rewarding process, and with this melt-and-pour method, it’s remarkably simple. Follow these steps to create your custom batch of homemade soap:
1. Prepare and Melt the Soap Base
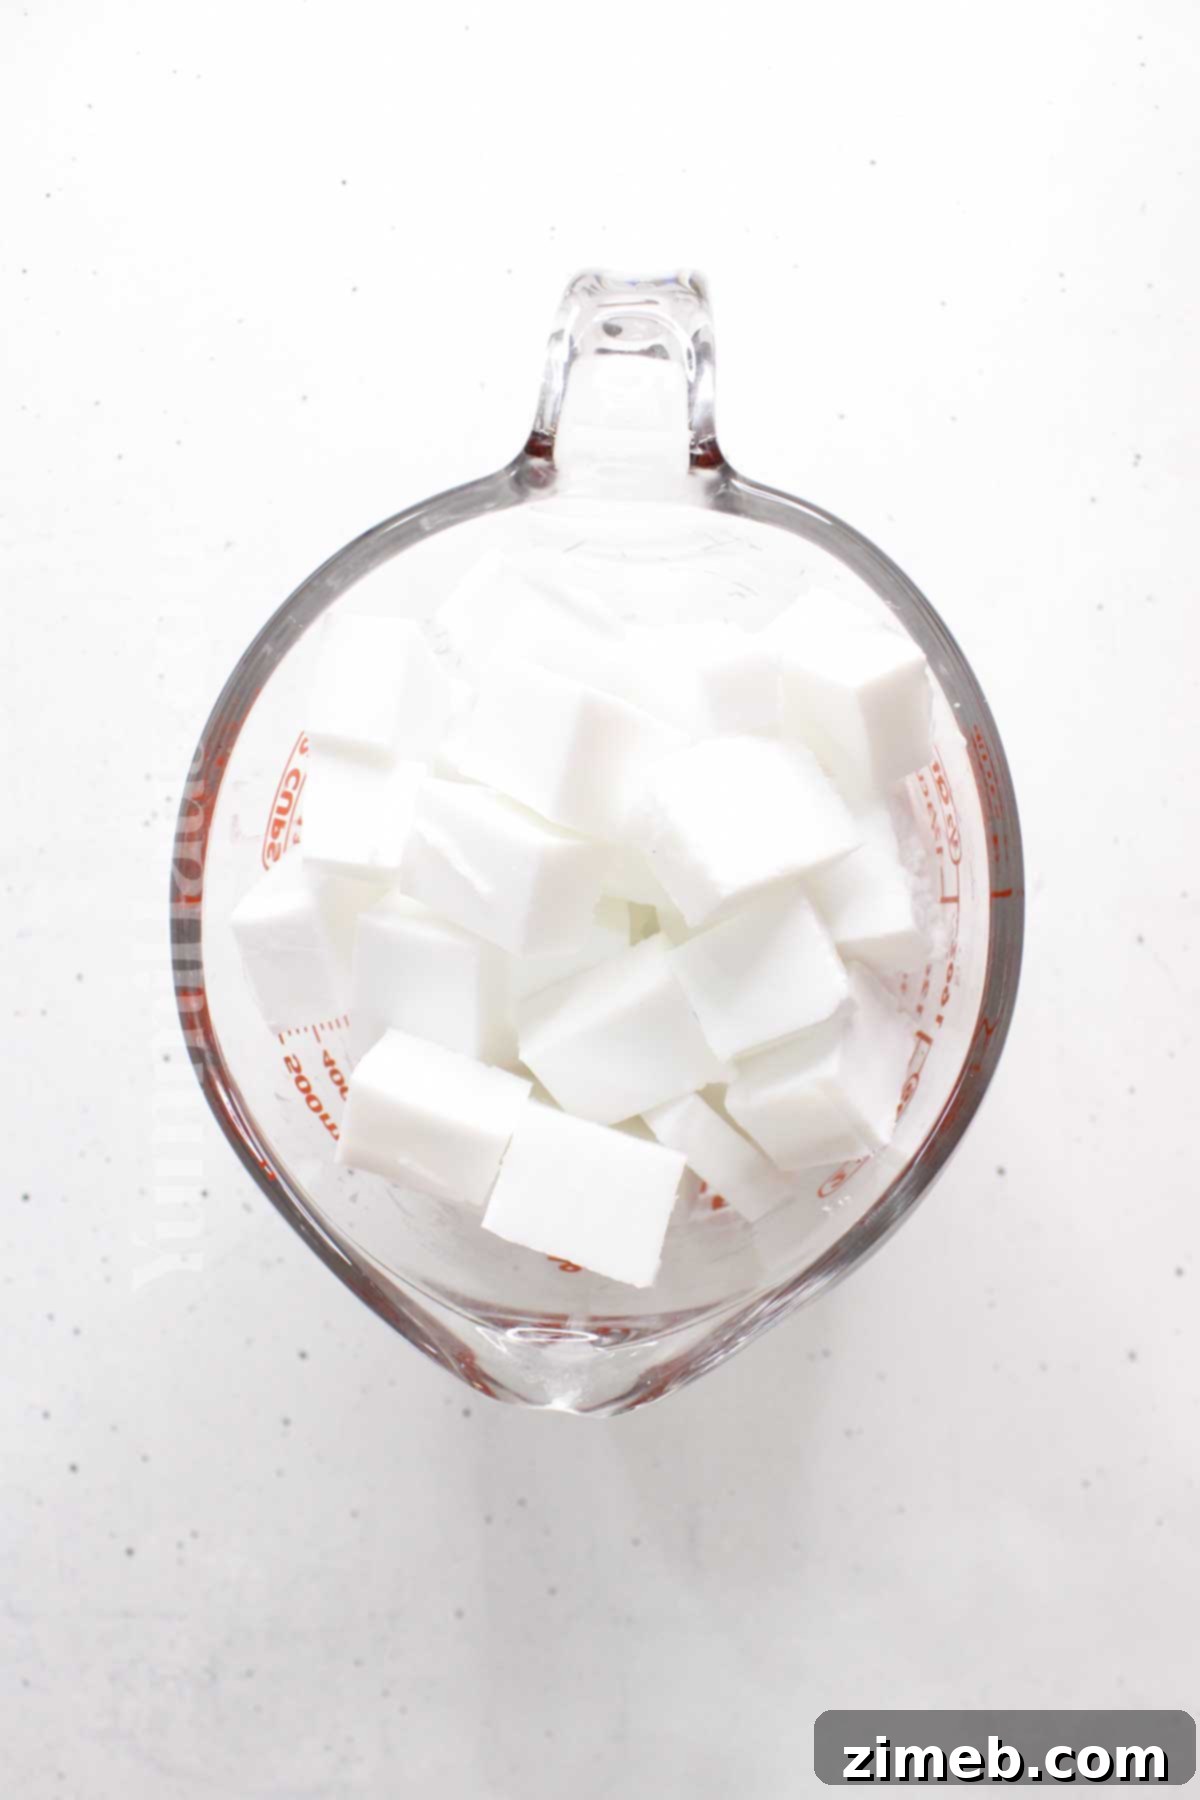
- Begin by carefully cutting your melt-and-pour soap base into uniform 1-inch (approx. 2.5 cm) cubes. Smaller, even pieces ensure that the soap melts consistently and quickly, preventing hot spots or scorching.
- Place the cut soap base into your large, microwave-safe glass measuring cup.
- Heat the soap base in the microwave using short, 30-second increments. After each interval, remove the cup and stir the melting soap thoroughly. Continue this process until the soap base is completely melted and smooth, with no lumps remaining. Alternatively, you can melt the soap base in a saucepan over very low heat on your stovetop, stirring continuously to prevent it from sticking or burning.
2: Infuse with Tallow & Essential Oils
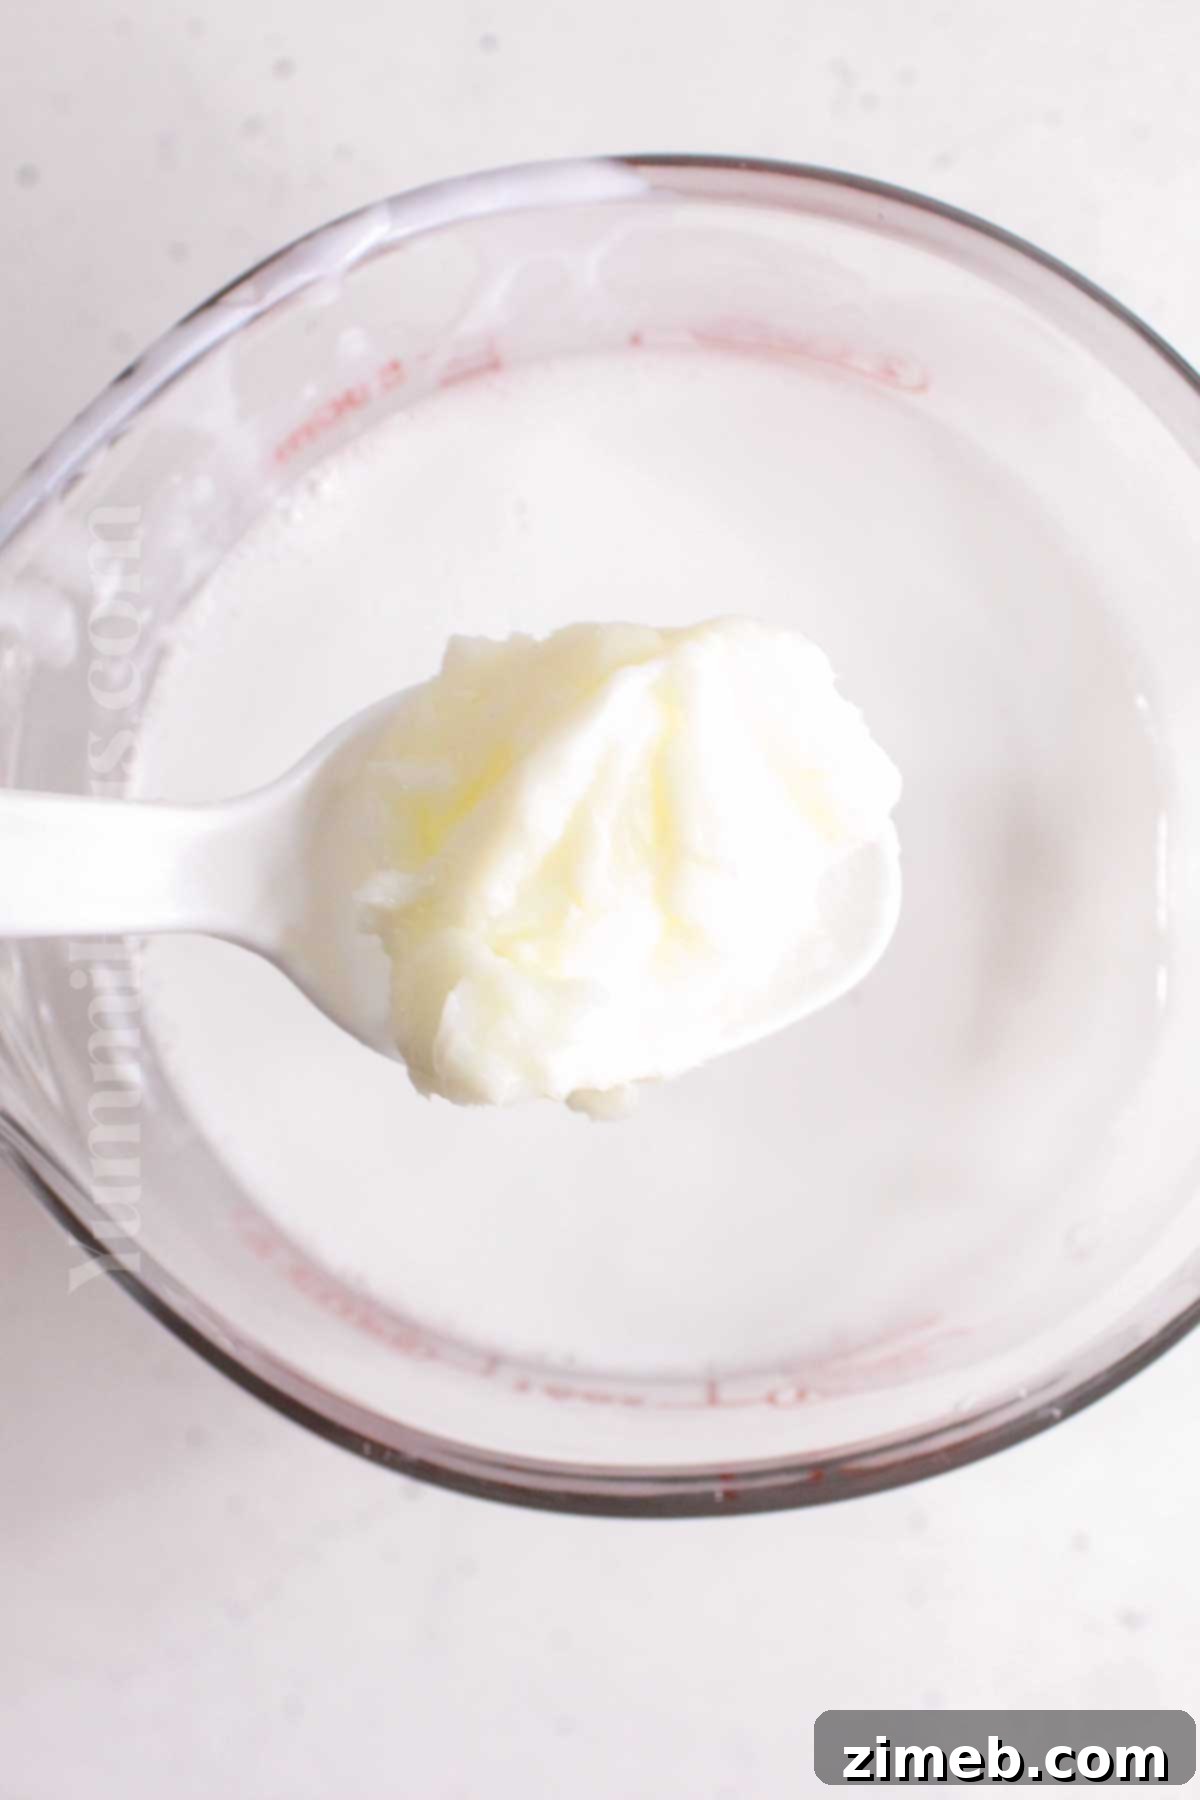
- Once your soap base is fully melted, slowly add the rendered tallow to the warm liquid. Stir continuously and gently until the tallow is completely incorporated and dissolved into the soap base. The mixture should become creamy and opaque, developing a consistency similar to a light pudding – often referred to as a “light trace” in traditional soap making.
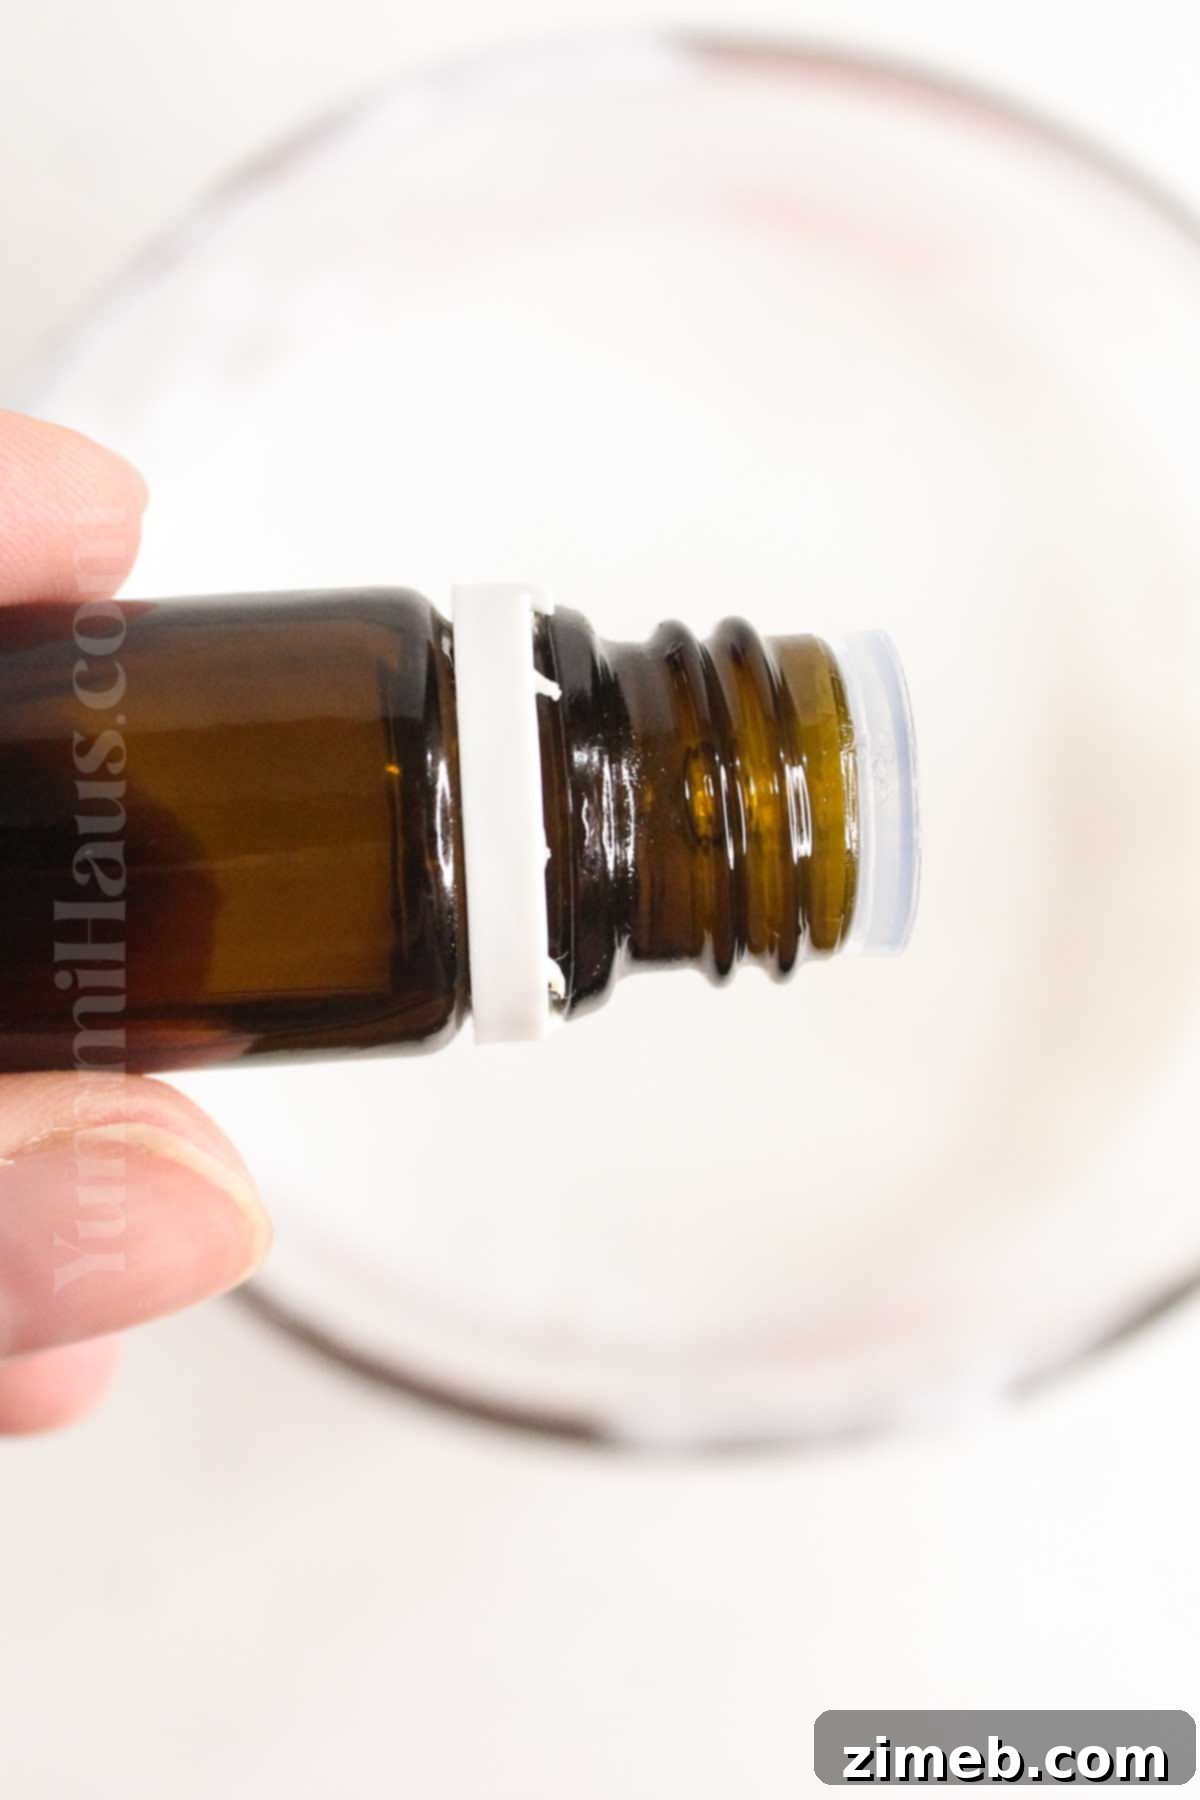
- Allow the mixture to cool slightly for a few minutes. This prevents the delicate essential oils from evaporating too quickly due to excessive heat. Once it has cooled down a bit but is still liquid, add your chosen essential oils. Stir them in thoroughly to ensure they are evenly distributed throughout the soap mixture.
3: Pour and Set Your Soap
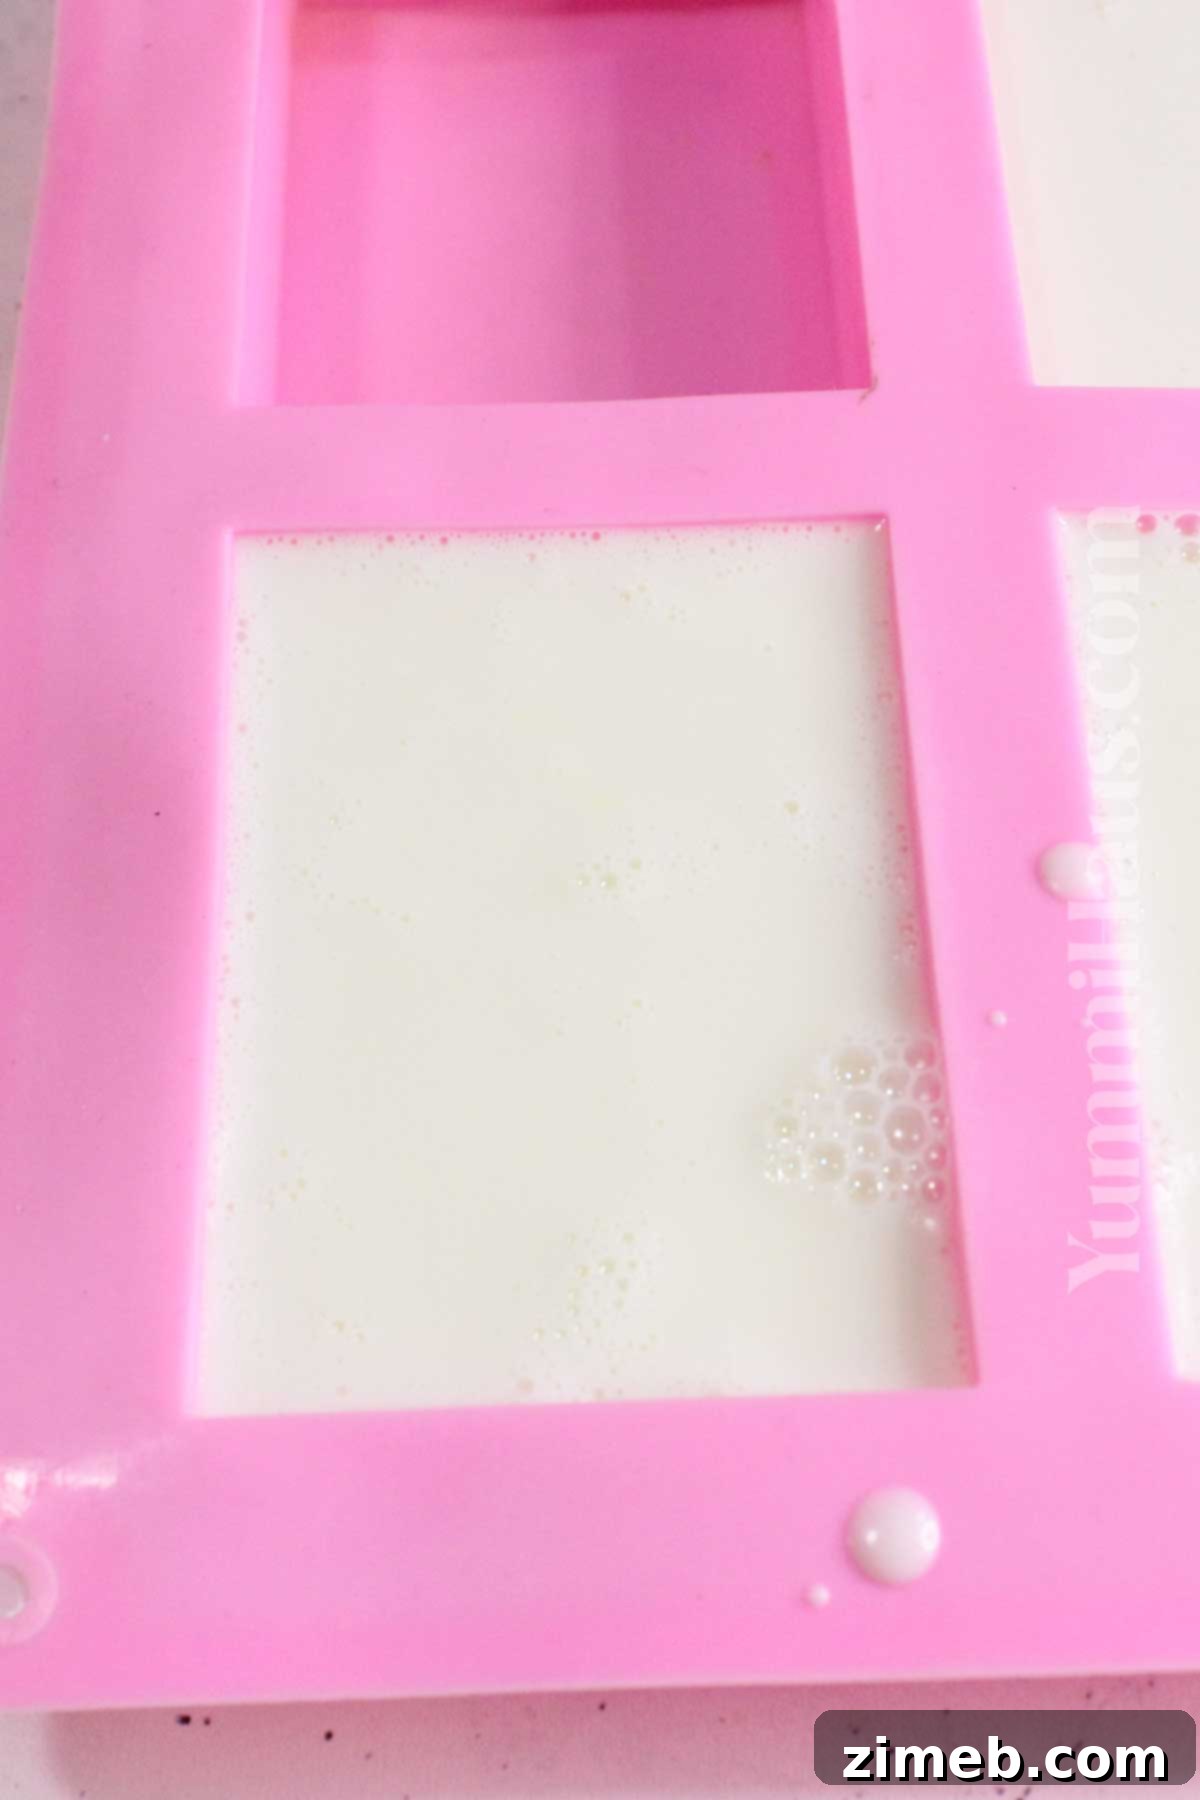
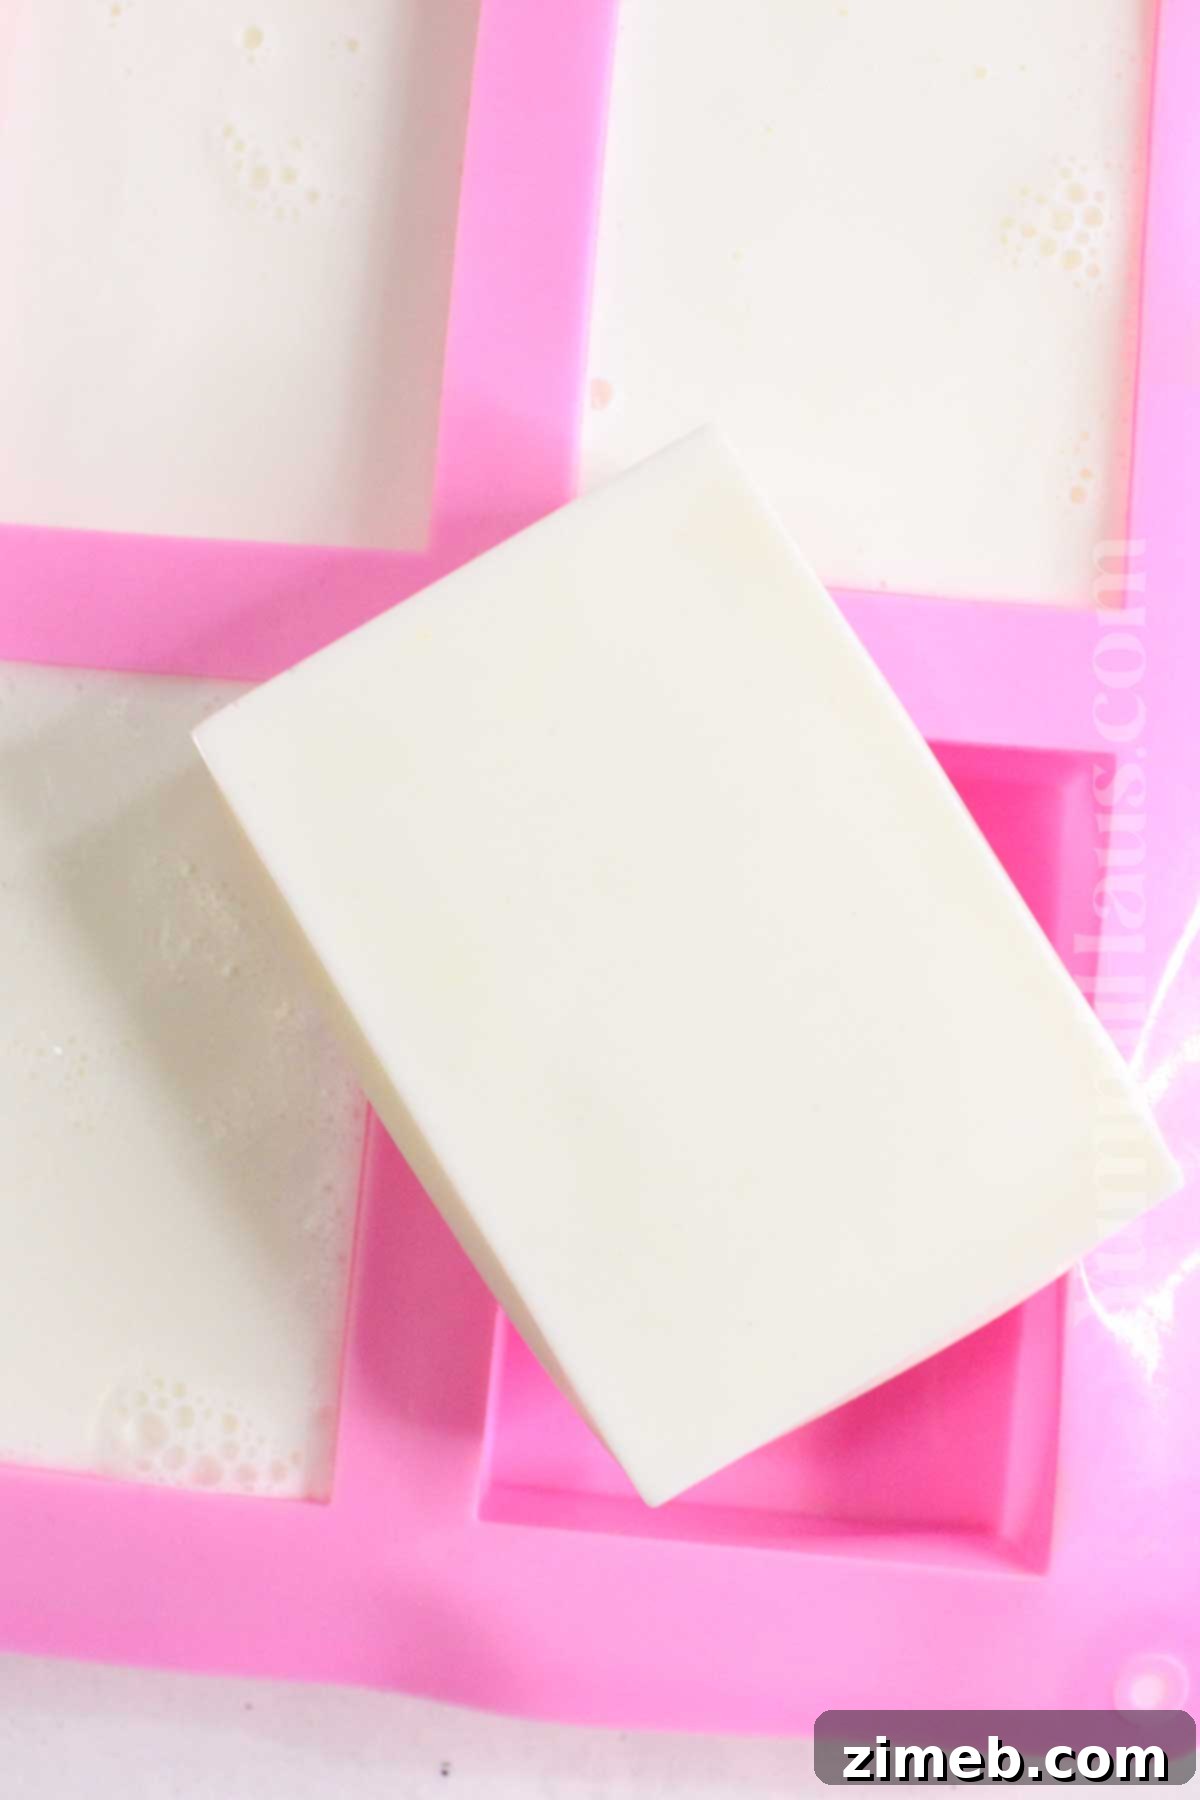
- Carefully pour the mixed tallow and soap base ingredients into your prepared soap mold. Fill the cavities to your desired level, but avoid overfilling.
- Gently tap the sides and bottom of the mold a few times on your countertop. This helps to release any trapped air bubbles, ensuring a smooth and even surface for your finished soap bars.
- Allow the soap to sit undisturbed for a few hours at room temperature, or ideally, overnight, to ensure it completely sets and hardens. Resist the urge to move or agitate the mold during this time.
- Once the soap is firm and cool to the touch, gently unmold your beautiful, homemade tallow soap bars. They are now ready to be used and enjoyed!
Sourcing Quality Tallow for Soap Making
The quality of your tallow directly impacts the quality and benefits of your finished soap. When it comes to sourcing this natural fat, you generally have two main options:
- Make Your Own Tallow: This is often the preferred method for those who want complete control over the purity and source of their ingredients. Rendering beef fat at home allows you to ensure it’s free from additives and processed to your desired standards. Keep in mind that making tallow from scratch is a time-consuming process, so plan accordingly and factor in several hours for simmering and straining. You’ll want to start with high-quality, unrendered beef fat for the best results.
- Purchase from a Local Butcher: Many local butchers are happy to sell rendered or unrendered beef fat, often at a very reasonable price, as it’s a byproduct for them. When purchasing, always inquire about the source and quality of the beef.
Quality Matters: For the most beneficial and purest tallow soap, prioritize grass-fed beef tallow. Grass-fed animals tend to have a higher nutrient profile in their fat, including beneficial fatty acids and fat-soluble vitamins, which directly translate to a more nourishing soap. Tallow itself refers to any rendered animal fat, so if you specifically want beef tallow, confirm this with your butcher. Ensure the tallow is pure and free from any unwanted chemicals or processing aids.
Proper Storage for Handmade Tallow Soap
Handmade soaps, especially those crafted with natural ingredients like tallow, often have a different consistency than their commercially produced counterparts. They tend to be softer and can be more susceptible to softening quickly, particularly in hot and humid climates. Proper storage is key to extending the life and maintaining the quality of your homemade tallow soap bars.
A well-made and correctly stored tallow soap bar can last for an impressive duration, typically up to one year or even longer. To ensure its longevity and prevent it from going rancid, follow these storage guidelines:
- Keep it Dry: After each use, allow your tallow soap bar to dry out completely. Store it on a well-draining soap dish that allows air circulation around the entire bar. Avoiding prolonged exposure to standing water is crucial.
- Dark and Cool Place: For long-term storage of unused bars, keep them in a dry, dark, and cool environment. A linen closet, a drawer, or a breathable container works well. Excessive heat and direct sunlight can accelerate the softening process and potentially lead to rancidity.
- Air Circulation: If storing multiple bars, avoid tightly wrapping them in plastic. Instead, use breathable materials like parchment paper, tissue paper, or cloth bags to allow for some air circulation, which helps with curing (even melt-and-pour benefits from a little air time) and prevents moisture buildup.
While tallow soap is quite stable, beyond the one-year mark, it can eventually become rancid. Signs of rancidity include an off-odor, discoloration (often turning orange or yellow spots), or a change in texture. Always trust your senses; if it smells off, it’s best to discard it.
Customizing Your Tallow Soap: Substitutions & Variations
The beauty of homemade soap lies in its versatility. While the base recipe for tallow soap is fantastic on its own, you can easily customize it to suit your preferences and explore various creative options. Here are some popular substitutions and variations:
- Fragrance Options:
- Essential Oils & Synthetic Fragrances: Both are optional. Essential oils offer natural aromas, while synthetic fragrance oils provide a wider range of scents. Keep in mind that the scent, whether natural or synthetic, will naturally fade over time in soap bars. For sensitive skin, always perform a patch test or opt for unscented soap.
- Blending Scents: Don’t be afraid to create your own signature blends! Combine calming lavender with uplifting bergamot, or refreshing peppermint with earthy rosemary.
- Color and Visual Appeal:
- Mica Powder: For vibrant and shimmering colors, cosmetic-grade mica powders are an excellent choice. A little goes a long way to create stunning hues.
- Natural Coloring Agents: If you prefer natural dyes, consider using turmeric for yellows, spirulina for greens, or various clays (like rose clay or bentonite) for subtle earthy tones. While natural colorings are beautiful, they may not produce the same bright intensity as artificial colors.
- Botanicals: Dried herbs (lavender buds, calendula petals) or oatmeal can be added for exfoliation and visual interest.
- Exploring Different Tallow Types:
- The pure beef tallow soap recipe is a fundamental classic. However, you can experiment with other types of rendered animal fats. Consider making deer tallow soap, sheep tallow soap, or even adding a portion of lard (pork fat) to the mix for slightly different properties (though lard should not fully replace tallow).
- For those with access to more exotic options, bear tallow or goat tallow can also be used, though these may require slight adjustments to the recipe due to their unique fatty acid profiles.
- Traditional Lye-Based Soap Making (Cold/Hot Process):
- This melt-and-pour recipe avoids lye, but for true artisan soap making, recipes often call for a lye mixture (sodium hydroxide for solid bars, potassium hydroxide for liquid soap) combined with distilled water. Lye is crucial for the saponification process, which chemically transforms fats and oils into soap.
- Be aware that lye soap making requires strict safety precautions (protective gear, ventilation) and a much longer curing time (typically 4-6 weeks) for the chemical reaction to fully complete and for excess water to evaporate.
- Incorporating Plant-Based Oils and Butters:
- While this is a tallow-focused recipe, many soap makers blend animal fats with plant-based oils for enhanced properties.
- Hard Oils: Coconut oil is a popular choice, known for producing abundant lather and excellent cleansing properties. However, it doesn’t impart a coconut scent to the finished soap. Palm oil was historically used for hardness in commercial soaps but is now controversial due to environmental concerns, leading many small soap makers to avoid it.
- Soft/Liquid Oils: Olive oil (known for mildness and conditioning), castor oil (boosts lather, creates a creamy foam), jojoba oil, macadamia oil, or sweet almond oil all contribute different conditioning and moisturizing qualities.
- Cosmetic Butters: Cocoa butter and shea butter add luxurious moisturizing properties and hardness to soap bars.
- It’s important to note that all oils and cosmetic butters work best in specific ratios and recipes, as their saponification values differ. Introducing them into a melt-and-pour recipe like this would mean selecting a melt-and-pour base that already contains these, or adding very small amounts (which might affect setting if too much liquid oil is added).
Expert Tips for Crafting the Perfect Tallow Soap
Elevate your tallow soap-making game with these insightful tips from experienced crafters:
- Tallow vs. Lard – Not Interchangeable: While both are animal fats, tallow (rendered beef or mutton fat) and lard (rendered pork fat) have different fatty acid profiles and saponification values. For this recipe, stick to tallow. While you can add a small amount of lard to a tallow soap recipe for subtle variations, never replace tallow with lard altogether, as it will significantly alter the final consistency, hardness, and lather of your soap, potentially ruining the end result.
- For Creamier Soap, Add Milk: To achieve an even richer, creamier, and more luxurious lather, consider adding milk to your soap base. Goat milk is a particularly popular choice, celebrated for its skin-nourishing properties and high fat content. You can use either fresh or frozen goat milk (or cow’s milk) in small quantities, ensuring it’s fully integrated into the melted soap base for a truly indulgent bar.
- Lye Soap Safety (If You Venture There): If you ever decide to explore traditional lye-based soap making (cold or hot process) beyond this melt-and-pour method, **absolute safety is paramount.** You must wear extensive protective gear, including chemical-resistant gloves, eye protection (safety glasses or goggles), a long-sleeved shirt, long pants, and closed-toe shoes. Ensure your workspace is well-ventilated, ideally with open windows or an exhaust fan, as lye solutions are highly caustic and can cause severe skin burns and respiratory irritation.
- Enhance for Selling: If you’re considering selling your homemade tallow soap, presentation is key. Elevate your bars with creative flourishes such as beautiful swirls of natural color, embedded dried flowers (like calendula or lavender), cosmetic-grade glitter, or unique stamped decorations. Attractive packaging also plays a significant role in market appeal.
- Utilize a Crock Pot for Melting: For larger batches or if you prefer a hands-off melting process, a crock pot (slow cooker) is an excellent tool. It provides gentle, consistent heat, making it ideal for melting tallow and other oils together for soap making. This method minimizes the risk of scorching and allows for prolonged heating without constant supervision.
Frequently Asked Questions About Tallow Soap
Cold Process vs. Hot Process vs. Melt & Pour Soap Making
Understanding the different methods of soap making is crucial for both beginners and experienced crafters. While this recipe focuses on the safe and simple melt-and-pour technique, it’s helpful to know how it compares to traditional lye-based methods:
- Melt & Pour (Our Method): This is by far the easiest and safest method, as it involves using a pre-made soap base that has already undergone saponification (the chemical reaction of fats with lye to make soap). You simply melt the base, add your tallow, essential oils, and other additives, and pour it into molds. The soap is ready to use once it has cooled and hardened, requiring no handling of raw lye and no lengthy curing time. It’s perfect for beginners and quick projects.
- Hot Process Method: In hot process soap making, all the ingredients (fats/oils, lye, and water) are combined and cooked, often in a slow cooker or crock pot, until the saponification process is complete. This heating accelerates the chemical reaction. The advantage is that the soap can be used almost immediately after it hardens, though a short drying period is often beneficial. It still requires careful handling of lye.
- Cold Process Method: This is the most common traditional method for artisan soap makers. Fats/oils are combined with a lye solution at specific temperatures. The mixture is then stirred (often with an immersion blender) until it reaches “trace” (a pudding-like consistency). It is then poured into molds, insulated, and left to saponify and harden over 24-48 hours. The most significant difference is the curing time: cold process soap requires a minimum of 4-6 weeks (and often longer) to fully harden, for excess water to evaporate, and for the soap to become milder and longer-lasting. This method offers the most control over ingredients and design but requires the most patience and careful handling of lye.
Understanding the Disadvantages of Tallow Soap
While tallow soap offers numerous benefits, it’s also important to be aware of potential drawbacks to make an informed choice:
- Potential for Allergic Reactions: In very rare instances, some individuals may experience an allergic reaction to tallow or other components in tallow soap. This is uncommon, given tallow’s similarity to skin lipids, but it’s always advisable to perform a patch test on a small area of skin if you have known sensitivities or are trying tallow soap for the first time.
- Softening in Hot, Humid Climates: Due to its natural composition, tallow soap bars can be softer than highly processed commercial soaps. In hot and humid environments, they may melt or soften more quickly if not stored properly, leading to faster degradation of the bar. Keeping them in a well-draining soap dish and out of direct water streams can help mitigate this.
- Potential pH Shift: While generally mild, handmade soaps, including tallow soap, can sometimes have a slightly higher pH level than the natural pH of human skin (which is mildly acidic). This isn’t usually an issue for most people, but for those with extremely sensitive or compromised skin barriers, it could theoretically lead to minor dryness or irritation. However, a properly formulated soap and skin’s natural buffering capacity often counteract this.
- Not Vegan-Friendly: A significant consideration for many is that tallow is an animal-derived product. For individuals adhering to a vegan lifestyle or those who prefer plant-based products, tallow soap is not a suitable option. There are numerous plant-based soap alternatives available for those who avoid animal products.
Does Tallow Soap Clog Drains? The Truth Revealed
A common misconception about tallow soap, perhaps stemming from the nature of raw animal fat, is that it will clog household drains. However, this concern is largely unfounded for actual soap products.
The truth is, properly made tallow soap does not clog sink drains. During the soap-making process, a chemical reaction called saponification occurs (even if pre-done in a melt-and-pour base, or actively with lye in traditional methods). Saponification completely breaks down the fats and liquid oils, transforming them into entirely new compounds: soap (which is a salt of fatty acids) and glycerin. These new compounds are water-soluble and rinse away cleanly with water, just like any other soap. Therefore, the soap itself will not build up and block your pipes.
In contrast, “raw” tallow – unrendered animal fat, or grease from cooking – can indeed solidify when cooled and build up inside pipes, leading to clogs. This is why it’s essential not to pour cooking grease down the drain. But once fat has been saponified into soap, its properties fundamentally change, making it safe for your plumbing.
The Luxurious Lather of Tallow Soap
One of the most appealing characteristics of tallow soap is its ability to produce a truly exceptional lather. Unlike some plant-based soaps that can offer a bubbly but fleeting foam, tallow soap creates a dense, creamy, and wonderfully stable lather that feels incredibly luxurious on the skin.
The rich fatty acid profile of tallow, particularly its high content of stearic and palmitic acids, contributes to this fantastic lather. It results in small, tight bubbles that form a thick, cushiony foam, perfect for a soothing wash. This creamy lather helps to distribute the soap’s moisturizing properties evenly across the skin, enhancing the cleansing experience without stripping away natural oils.
If you desire an even more robust and fluffy lather, you can enhance your tallow soap by incorporating a small amount of refined coconut oil. Coconut oil is renowned in soap making for its strong cleansing properties and its ability to generate copious, airy bubbles, further boosting the already impressive lather of tallow soap.
More Great Ideas For A Natural & Sustainable Home
If you enjoyed making your own tallow soap, explore more ways to enhance your home and lifestyle with these helpful guides:
DIY Hand Sanitizer
How to Clean White Wall Tires
Affordable Housewarming Gift Idea
DIY Clay Coasters
Don’t forget to check out my detailed guide to make your own beef tallow – the perfect companion to this soap recipe!
CONNECT WITH YUMMI HAUS!
Be sure to follow me on my social media, so you never miss a post!
Substack, FB, Pinterest, IG, Email Subscription
Easy Homemade Tallow Soap
Pin Recipe
Learn how to make nourishing homemade tallow soap with this easy, natural recipe. Perfect for moisturizing skin, this traditional soap is rich in nutrients and free from harsh chemicals.
Equipment
- Large glass measuring cup (microwave-safe)
- Soap mold (silicone recommended)
- Sharp knife
Ingredients
- ½ lb melt and pour soap base
- 1 tablespoon beef rendered tallow
- 20 drops essential oils (fragrance of your choice, optional)
Instructions
- Cut the melt and pour soap base into 1-inch cubes.
- Place the soap base in the large glass measuring cup.
- Microwave in 30-second increments, stirring between each, until the soap base is completely melted and smooth.
- Stir in the beef rendered tallow until fully incorporated and the mixture is creamy.
- Once the mixture has cooled slightly (but is still liquid), add the essential oils and stir well to combine.
- Carefully pour the mixed soap ingredients into your soap mold. Tap gently to release any air bubbles.
- Allow the soap to sit for a few hours, or preferably overnight, to fully set and harden at room temperature.
- Once firm, unmold your homemade tallow soap bars and enjoy!
Notes
Essential oils are optional; for sensitive skin, an unscented bar is highly recommended.
You can use cosmetic-grade mica powder or natural colorants to add color to your soap if desired.