
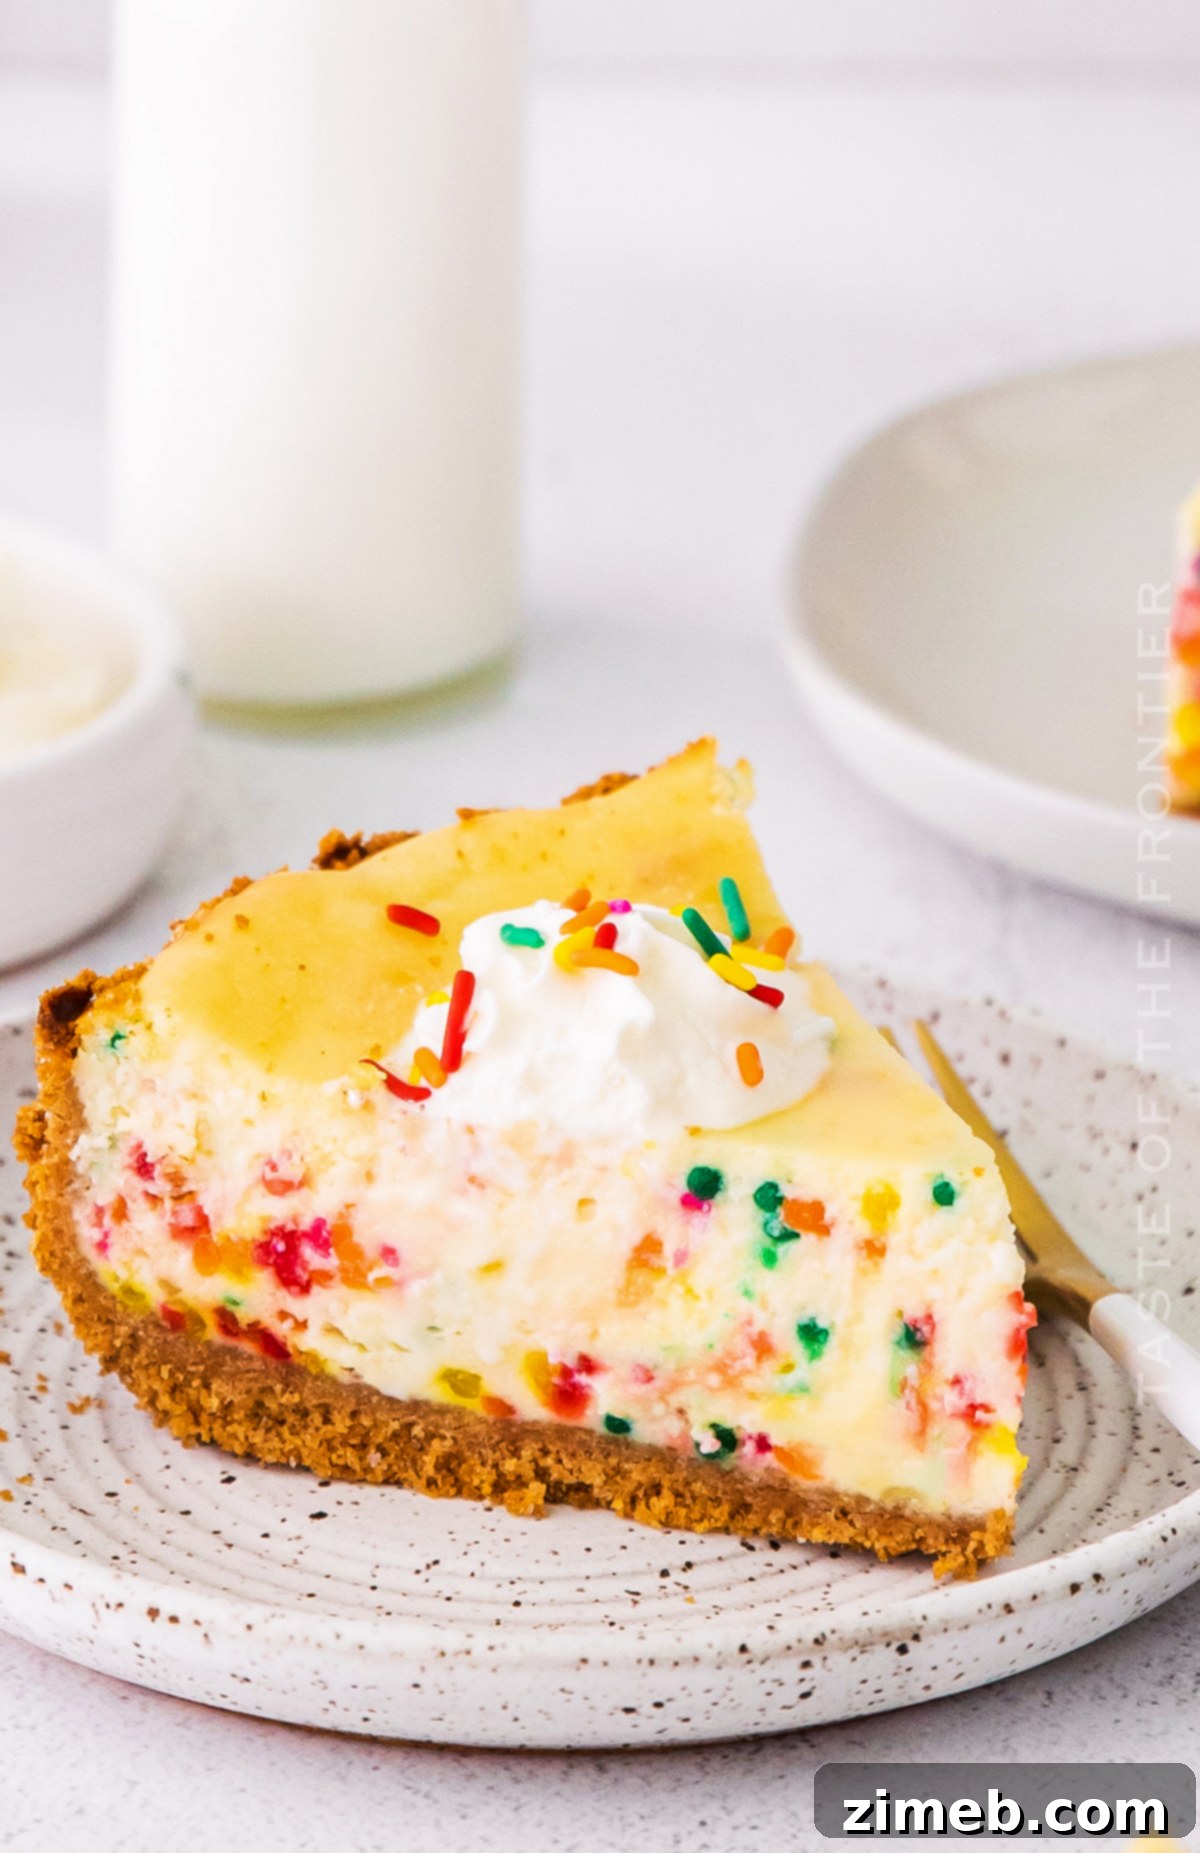
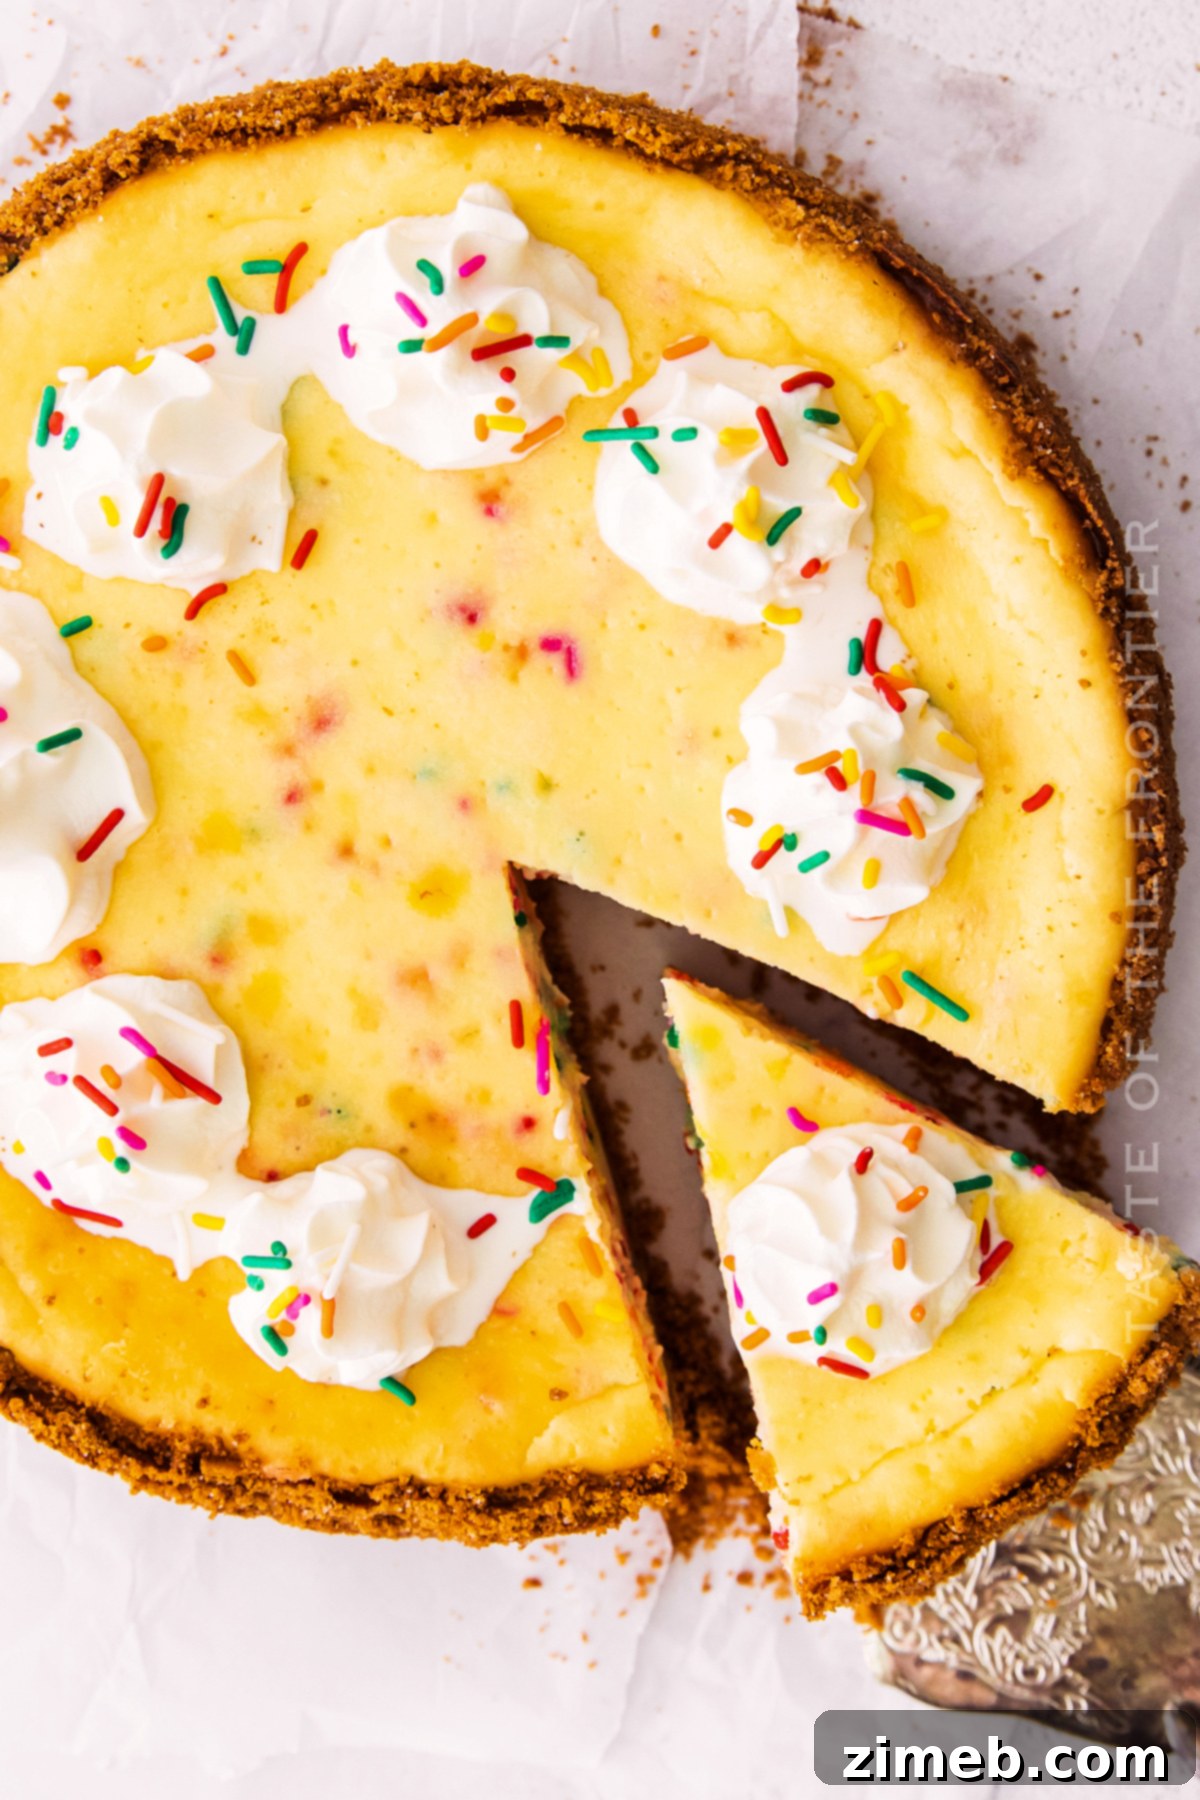
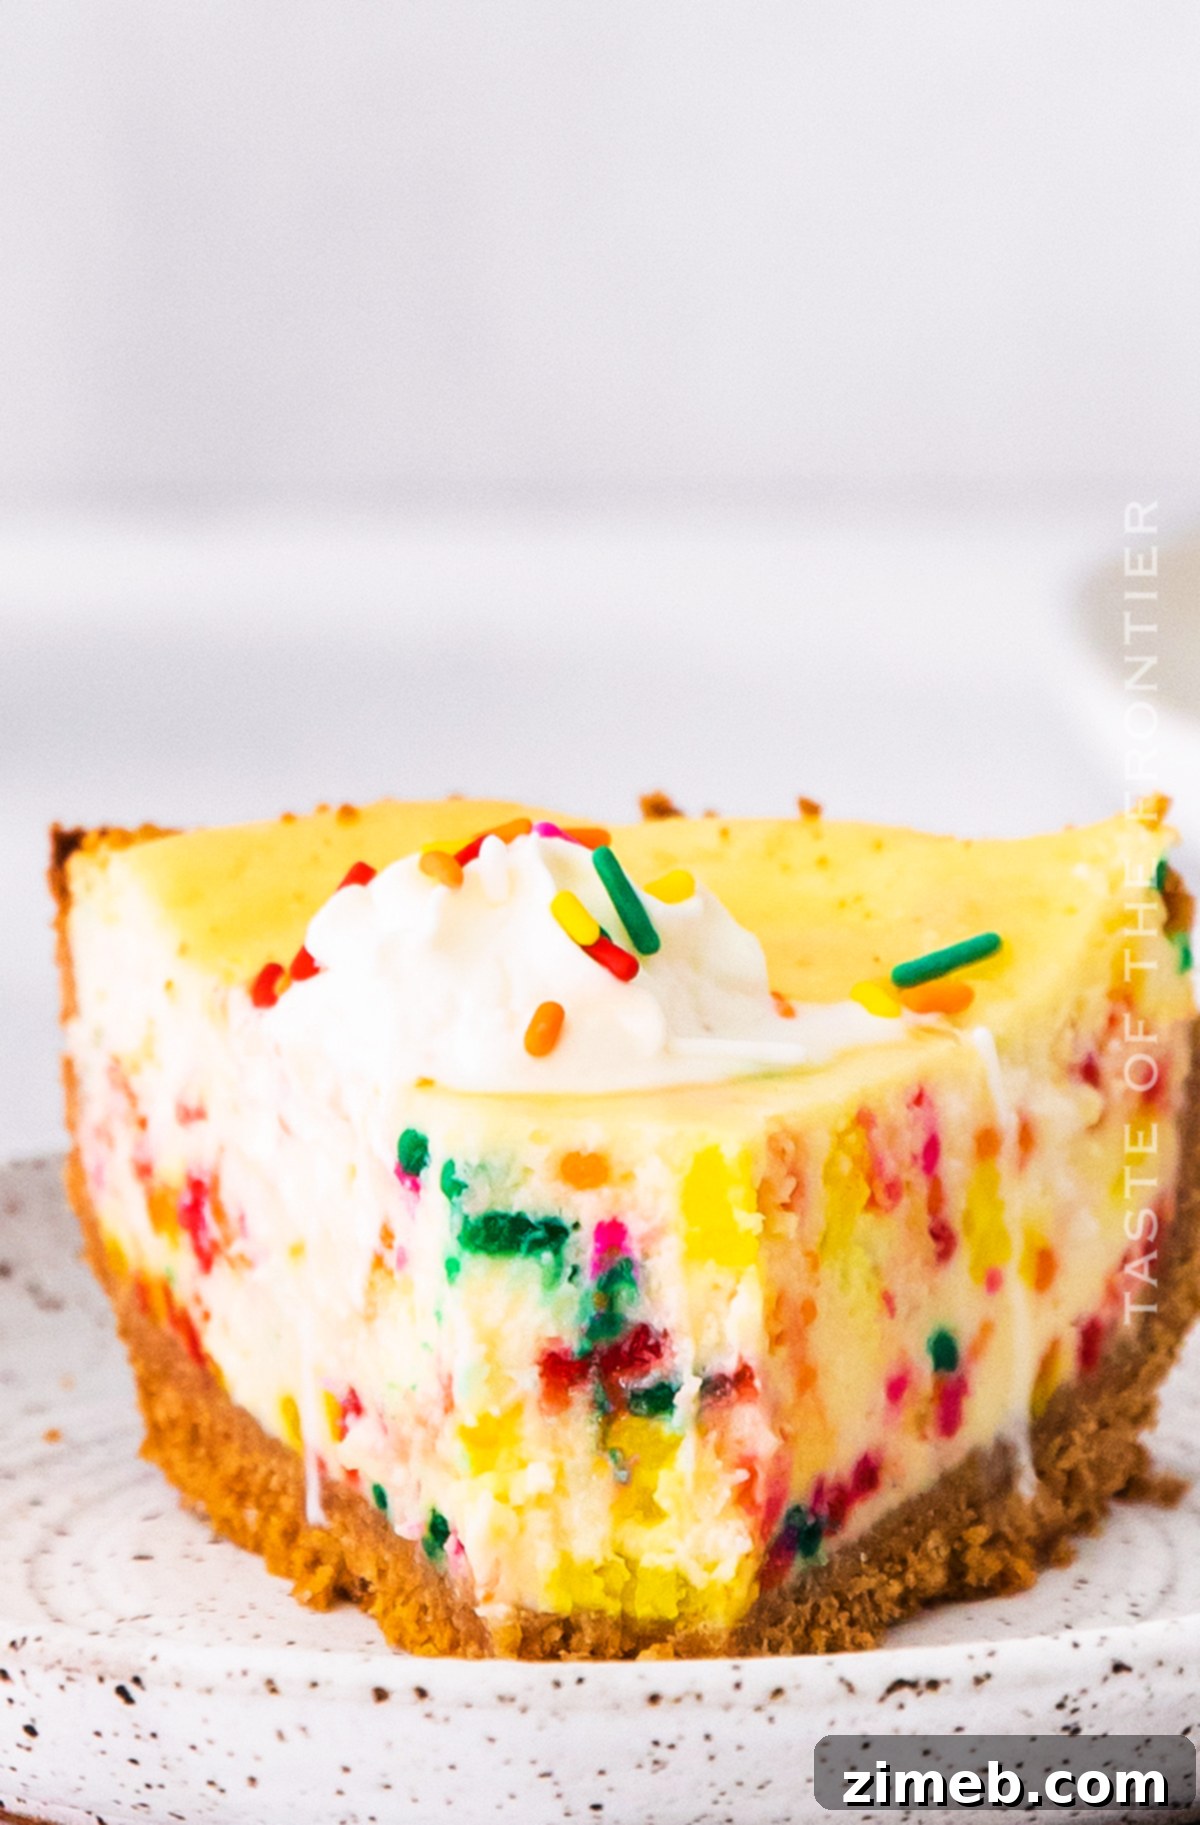
Indulge in the ultimate celebration dessert: a rich, sweet, and unbelievably creamy Birthday Cheesecake, generously studded with vibrant Funfetti sprinkles. This confetti cheesecake isn’t just a treat; it’s a festive statement, guaranteeing smiles and satisfaction at any gathering!
If your heart beats for the velvety texture of classic cheesecake and the joyous pop of colorful sprinkles, then prepare to fall head over heels for this incredible Birthday Funfetti Cheesecake recipe! It’s surprisingly simple to prepare, yet bursts with an irresistible vanilla flavor that will captivate your taste buds. The true magic lies in the abundance of fun, colorful sprinkles woven throughout, transforming this dessert into a visual masterpiece. Imagine the delight as you serve this stunning cheesecake at your next party – expect endless compliments and fervent requests for the recipe. Get ready to celebrate in the most delicious way possible!
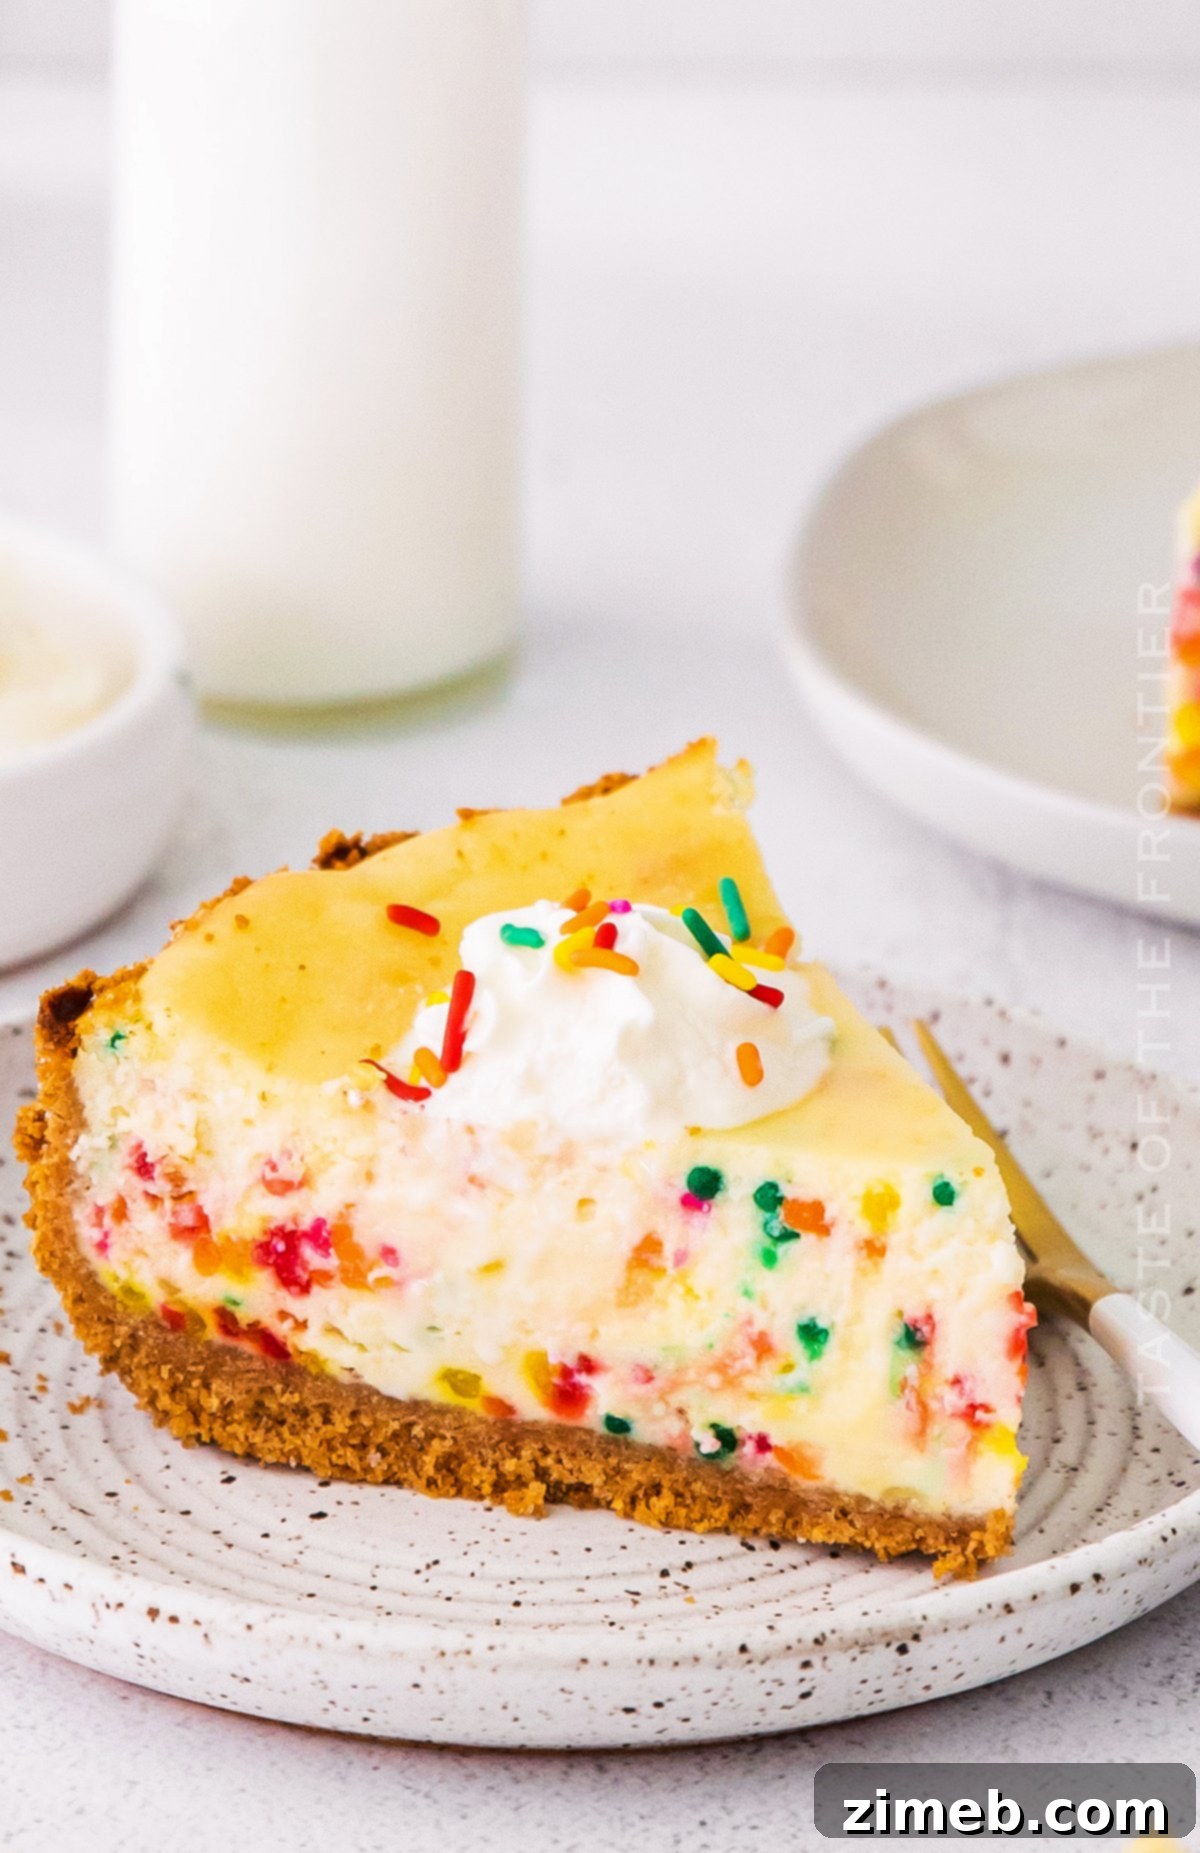
It’s no secret that cheesecake holds a special place in the pantheon of desserts. Its decadent creaminess and versatility make it a perennial favorite for countless occasions. Over the years, I’ve had the pleasure of crafting numerous cheesecake variations, each with its unique charm and flavor profile, from rich chocolate to tangy fruit-infused creations. But today, I’m thrilled to share with you what has become my absolute favorite: this show-stopping Birthday Funfetti Cheesecake. This recipe truly elevates the classic dessert, infusing it with an explosion of flavor and maintaining that desired luscious, creamy texture. The addition of bright, playful funfetti sprinkles doesn’t just make it extra special and festive; it transforms it into a joyous centerpiece. If you’re searching for a dessert that will not only impress your guests but also perfectly embody the spirit of celebration, look no further than this delightful and incredibly delicious Confetti Cheesecake!
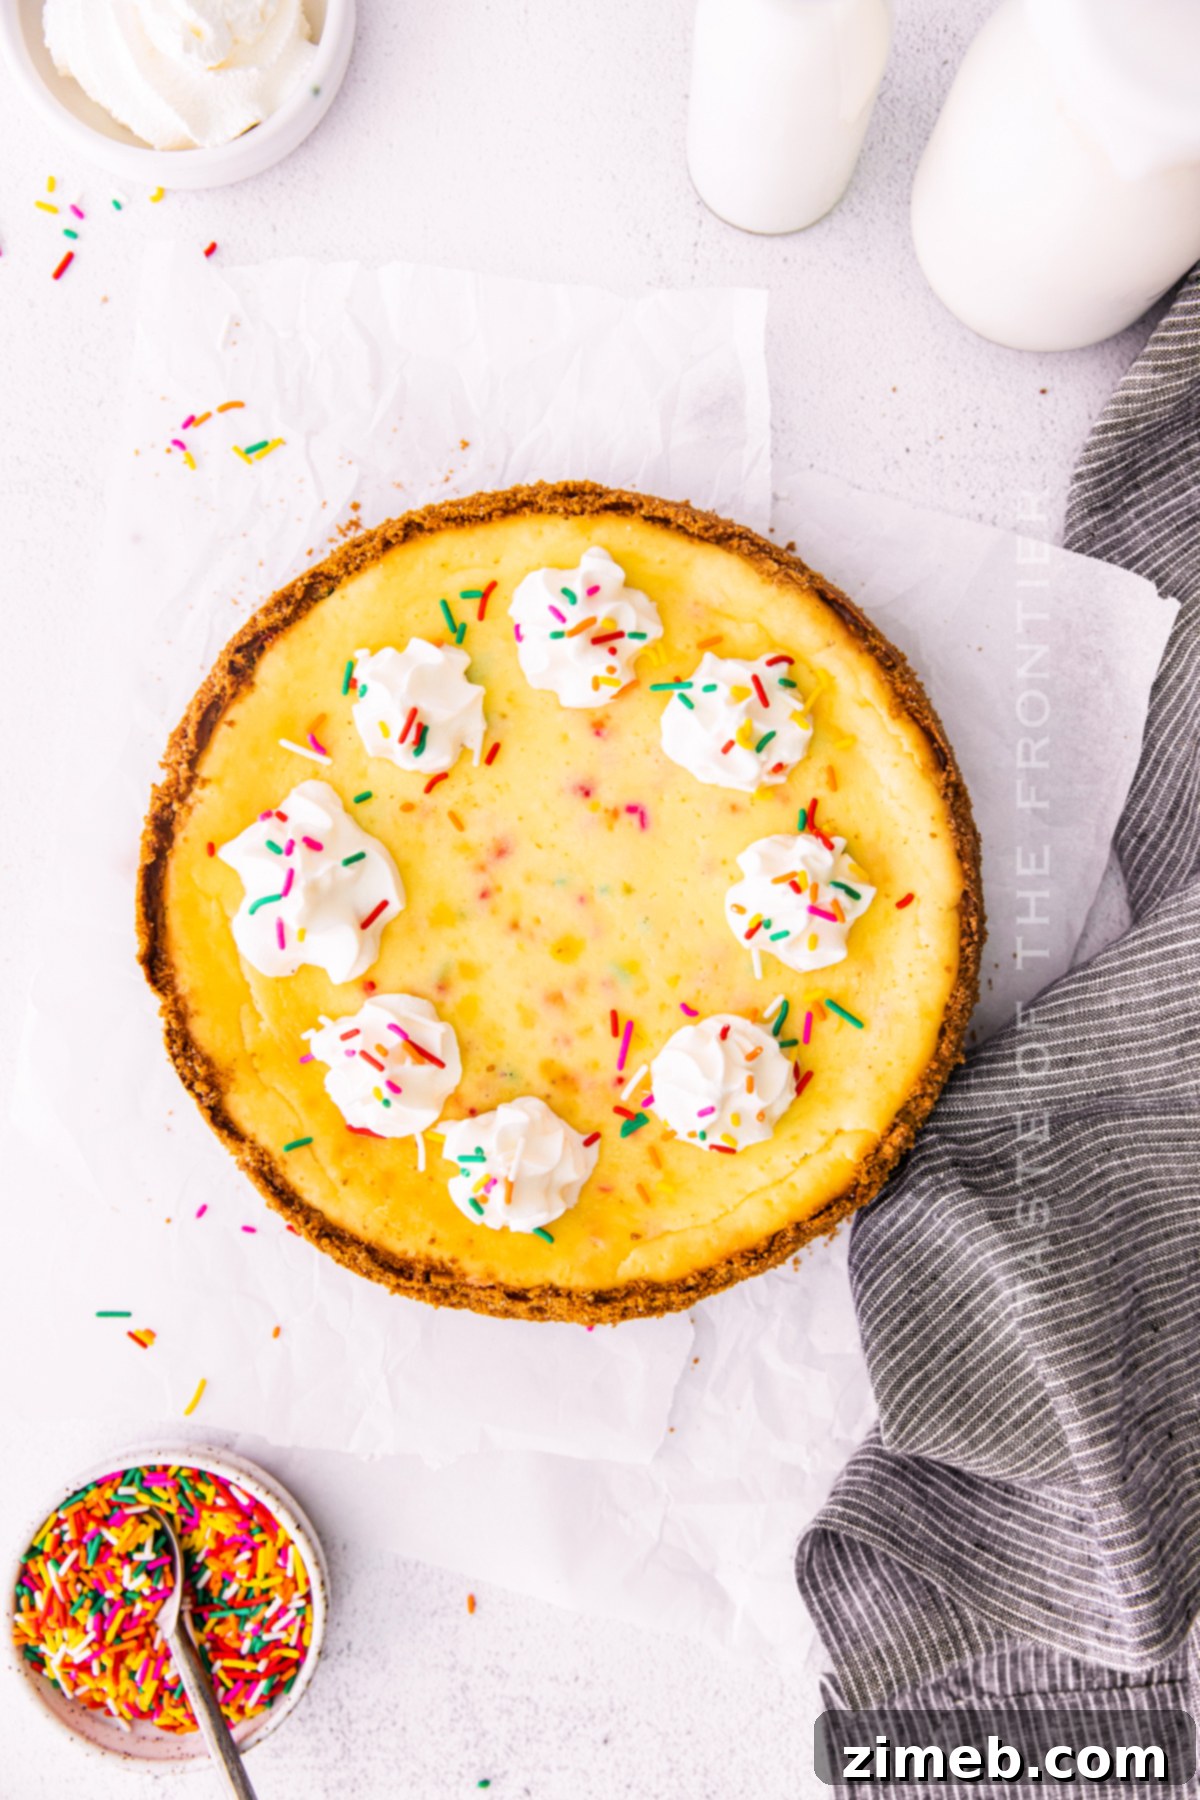
Your Top Questions Answered: Funfetti Cheesecake FAQs
What Exactly Is Funfetti?
At its heart, Funfetti refers to a soft, incredibly fluffy vanilla cake generously studded with vibrant rainbow sprinkles baked right into the batter. This magical addition infuses the cake with a sense of childlike joy and a visually appealing confetti-like effect, making it exceptionally “FUN”! While some regions might know it as confetti cake, the term “Funfetti” gained widespread popularity, especially after Pillsbury introduced its iconic Funfetti box mix, cementing it as a household name for celebratory desserts. The sprinkles, typically jimmie-style, hold their shape and color during baking, creating a festive burst of color in every slice. It’s more than just a flavor; it’s an experience that evokes happiness and celebration, making it a perfect choice for our special Birthday Funfetti Cheesecake.
How to Properly Store Your Birthday Cheesecake?
Ensuring your delicious Birthday Funfetti Cheesecake remains fresh and delightful is key. This cheesecake stores exceptionally well in the refrigerator for up to 5 days. For optimal freshness and to prevent it from absorbing other food odors, always keep it in an airtight container or tightly wrapped with plastic film. If you’ve made a larger batch or want to enjoy this treat much later, you’ll be pleased to know that this cheesecake can also be frozen. When freezing, wrap individual slices or the entire cooled cheesecake tightly in multiple layers of plastic wrap, followed by a layer of aluminum foil. This double protection helps prevent freezer burn. Stored correctly in an airtight container, it can maintain its quality for up to 6 months. To enjoy after freezing, simply transfer it to the refrigerator to thaw slowly overnight for the best texture and flavor.
Unraveling the Origins: Where Did Cheesecake Come From?
While many famously associate cheesecake with New York City, its true origins stretch back much further, over 4000 years ago, to ancient Greece. Far from the creamy, rich dessert we know today, the ancient Greeks would prepare a form of cheesecake by pounding fresh cheese into a thick paste. They would then sweeten this paste with natural honey and combine it with wheat flour or ground grains to form a crust. This early version was likely baked and served to athletes during the Olympic Games, believed to provide a boost of energy and sustenance. It’s fascinating to trace the lineage of this beloved dessert from a basic, nutrient-rich food to the sophisticated, decadent treat we enjoy today. I, for one, am incredibly grateful to those ancient Greeks for their ingenious culinary invention that has evolved into something so universally delicious and celebrated!
The Science of Baking: Why Room Temperature Ingredients Matter
Achieving that perfectly smooth, lump-free, and delightfully creamy cheesecake filling hinges on one crucial detail: using room temperature ingredients. When your cream cheese, eggs, and dairy are all at the same temperate state, they blend together seamlessly. Cold ingredients, especially cream cheese, will resist incorporating with the other components, leading to tiny, unblended pockets and a less-than-silky texture. Furthermore, room temperature dairy products are much more effective at creating an emulsion. This emulsion is vital because it allows air to become trapped within the mixture during the beating process. As the cheesecake bakes, this trapped air expands, contributing to a light, fluffy, and even texture throughout the filling. Skipping this simple step can significantly impact the final quality of your cheesecake, so always plan ahead to let your ingredients warm up naturally on the counter for at least an hour or two before you begin baking.
Funfetti Cheesecake: A Closer Look
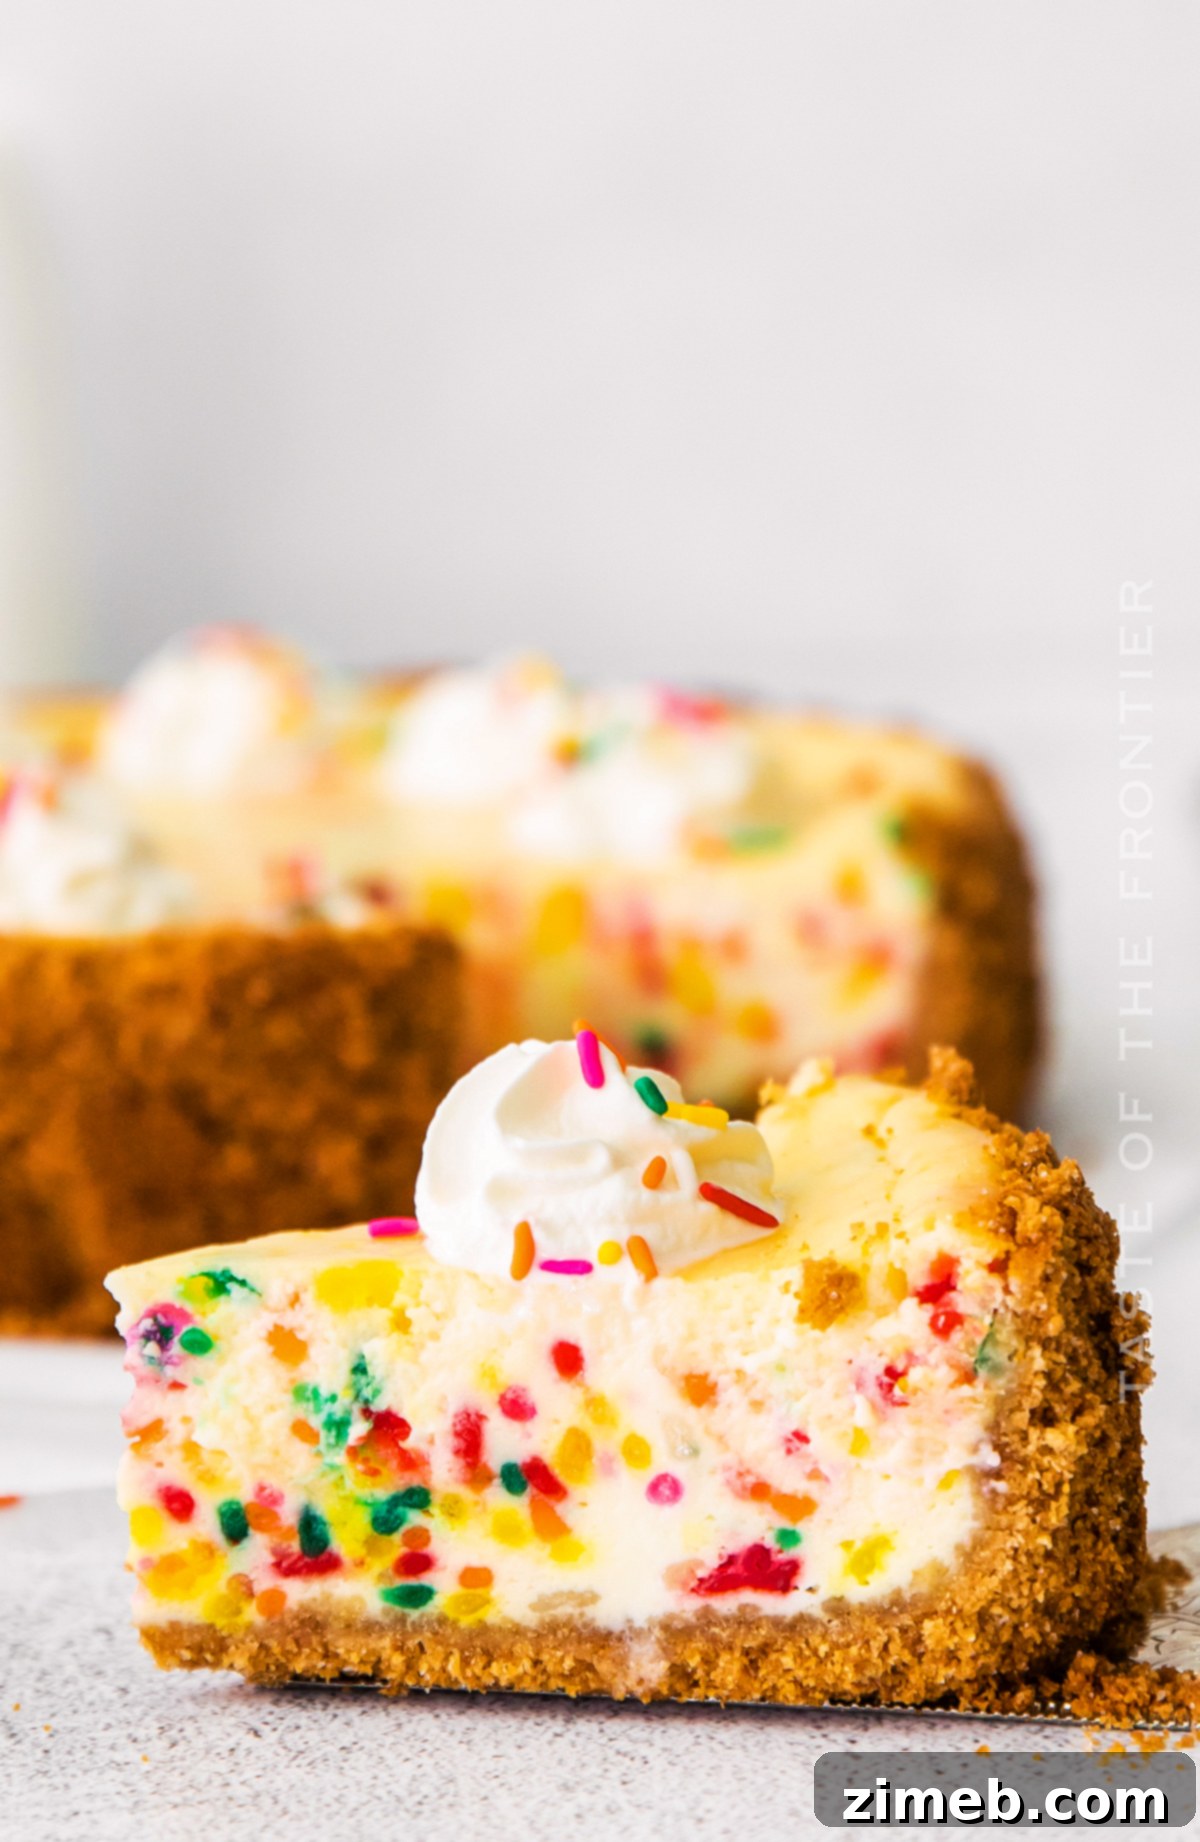
Understanding the Springform Pan: Your Cheesecake’s Best Friend
A springform pan is truly an indispensable tool for any aspiring or experienced cheesecake baker. Its unique design, featuring removable sides that latch into place around a base, is perfectly engineered for delicate desserts like cheesecakes. This ingenious mechanism allows you to easily release the sides of the pan after baking and cooling, revealing your beautifully intact cheesecake without the risk of breaking or damaging its delicate structure during removal. Unlike traditional baking pans, you don’t need to invert the cake, ensuring a pristine presentation every time. Springform pans typically come in various sizes, with a 9-inch round pan being the most common for standard cheesecakes, providing both height and a classic elegant shape.
Pro Tips for Serving Your Perfect Cheesecake
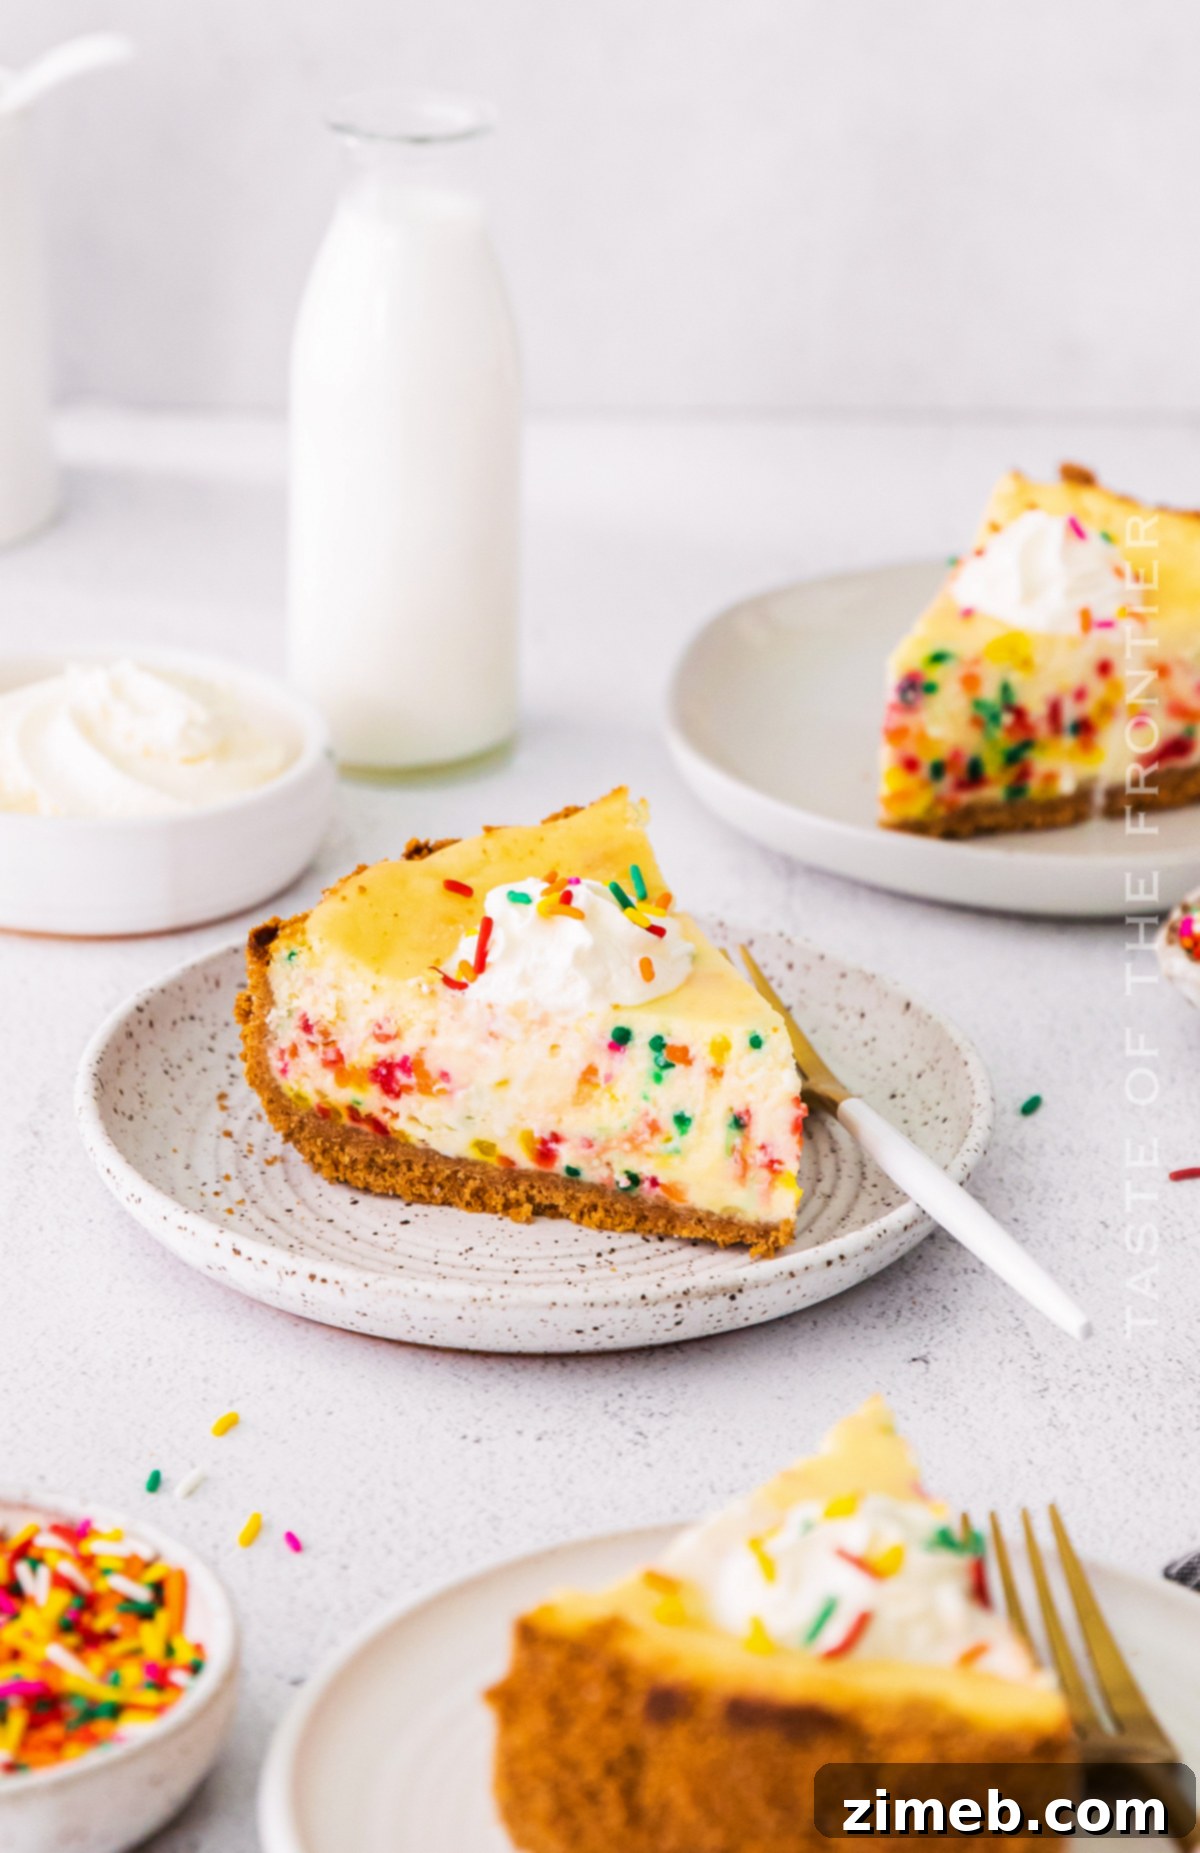
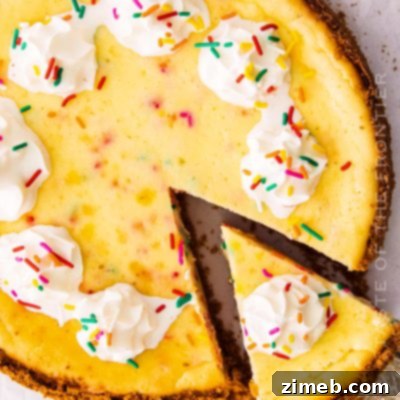
- While optional, topping your cheesecake with a cloud of freshly whipped cream and a generous shower of extra sprinkles truly enhances its festive appeal and flavor. Other delightful toppings could include fresh berries, chocolate shavings, or a drizzle of caramel sauce.
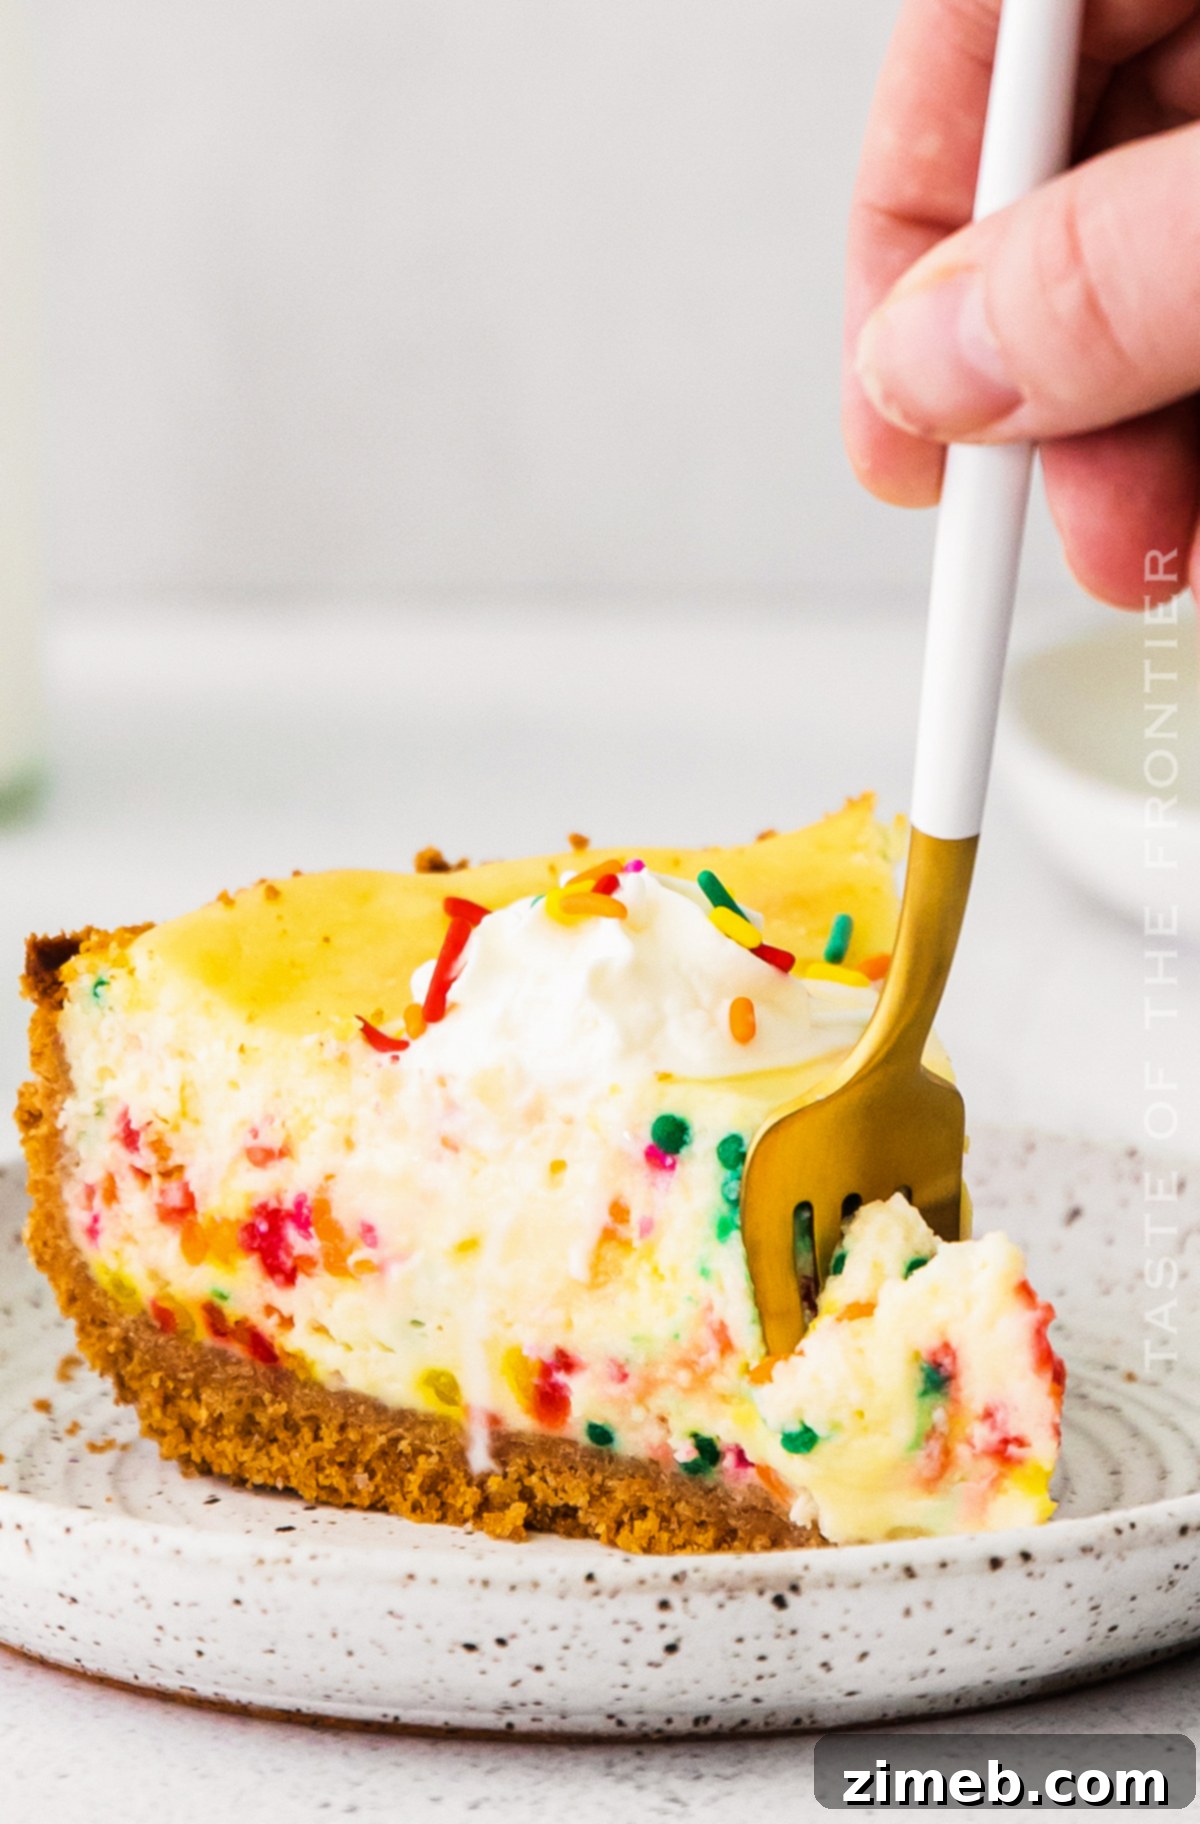
- To achieve beautifully smooth and clean slices, a professional trick is to run a sharp, thin-bladed knife under hot water. Wipe the blade clean and dry with a towel between each cut. This technique ensures a clean separation and prevents the cheesecake from sticking to the knife, giving you picture-perfect portions.
- Alternatively, for super-clean cuts, you can use unflavored dental floss or a thin, taut piece of cheese wire. Simply press it straight down through the cheesecake. Remember, the number of slices you get will depend on your desired portion size, but aiming for even cuts makes for a more appealing presentation.
Must You Use a Springform Pan for Cheesecake?
The answer to whether a springform pan is absolutely essential for cheesecake is both yes and no, depending on your desired outcome. If your goal is to create a traditional, tall, and perfectly round cheesecake with pristine sides, exactly like the one showcased here, then a springform pan is indeed indispensable. Its removable sides are designed precisely for effortless liberation of the delicate cake, preserving its elegant shape. Without this feature, attempting to remove a baked cheesecake from a conventional pan would almost certainly result in damage and a less-than-ideal presentation.
However, if you’re open to a different presentation, you can certainly make this delicious recipe in a more shallow pan, such as a 9×13-inch baking dish. When using a standard pan, the cheesecake will be thinner and is typically cut into bars rather than wedges. This makes it much easier to remove individual portions with a spatula and serve, offering a more casual, yet equally delightful, dessert experience. So, while a springform is key for the classic look, alternative pans offer a practical and equally tasty solution for serving cheesecake bars.
Beyond Cheesecake: What Else Can You Make with Rainbow Sprinkles?
Rainbow sprinkles aren’t just for birthday cake! Their vibrant colors and playful crunch can transform an array of desserts into instant celebrations. Here are some fantastic recipes where these cheerful adornments truly shine, adding a touch of funfetti magic to every bite:
- St. Patrick’s Day Hot Chocolate Bombs
- Funfetti Cake Batter Dip
- Edible Sugar Cookie Dough
- Frozen Bananas
- Lofthouse Sugar Cookies
- Cake Batter Frosting
- Birthday Sugar Cookie Bars
- Homemade Funfetti Cake
- Funfetti Cupcakes
- Colorful Confetti Sprinkle Cupcakes
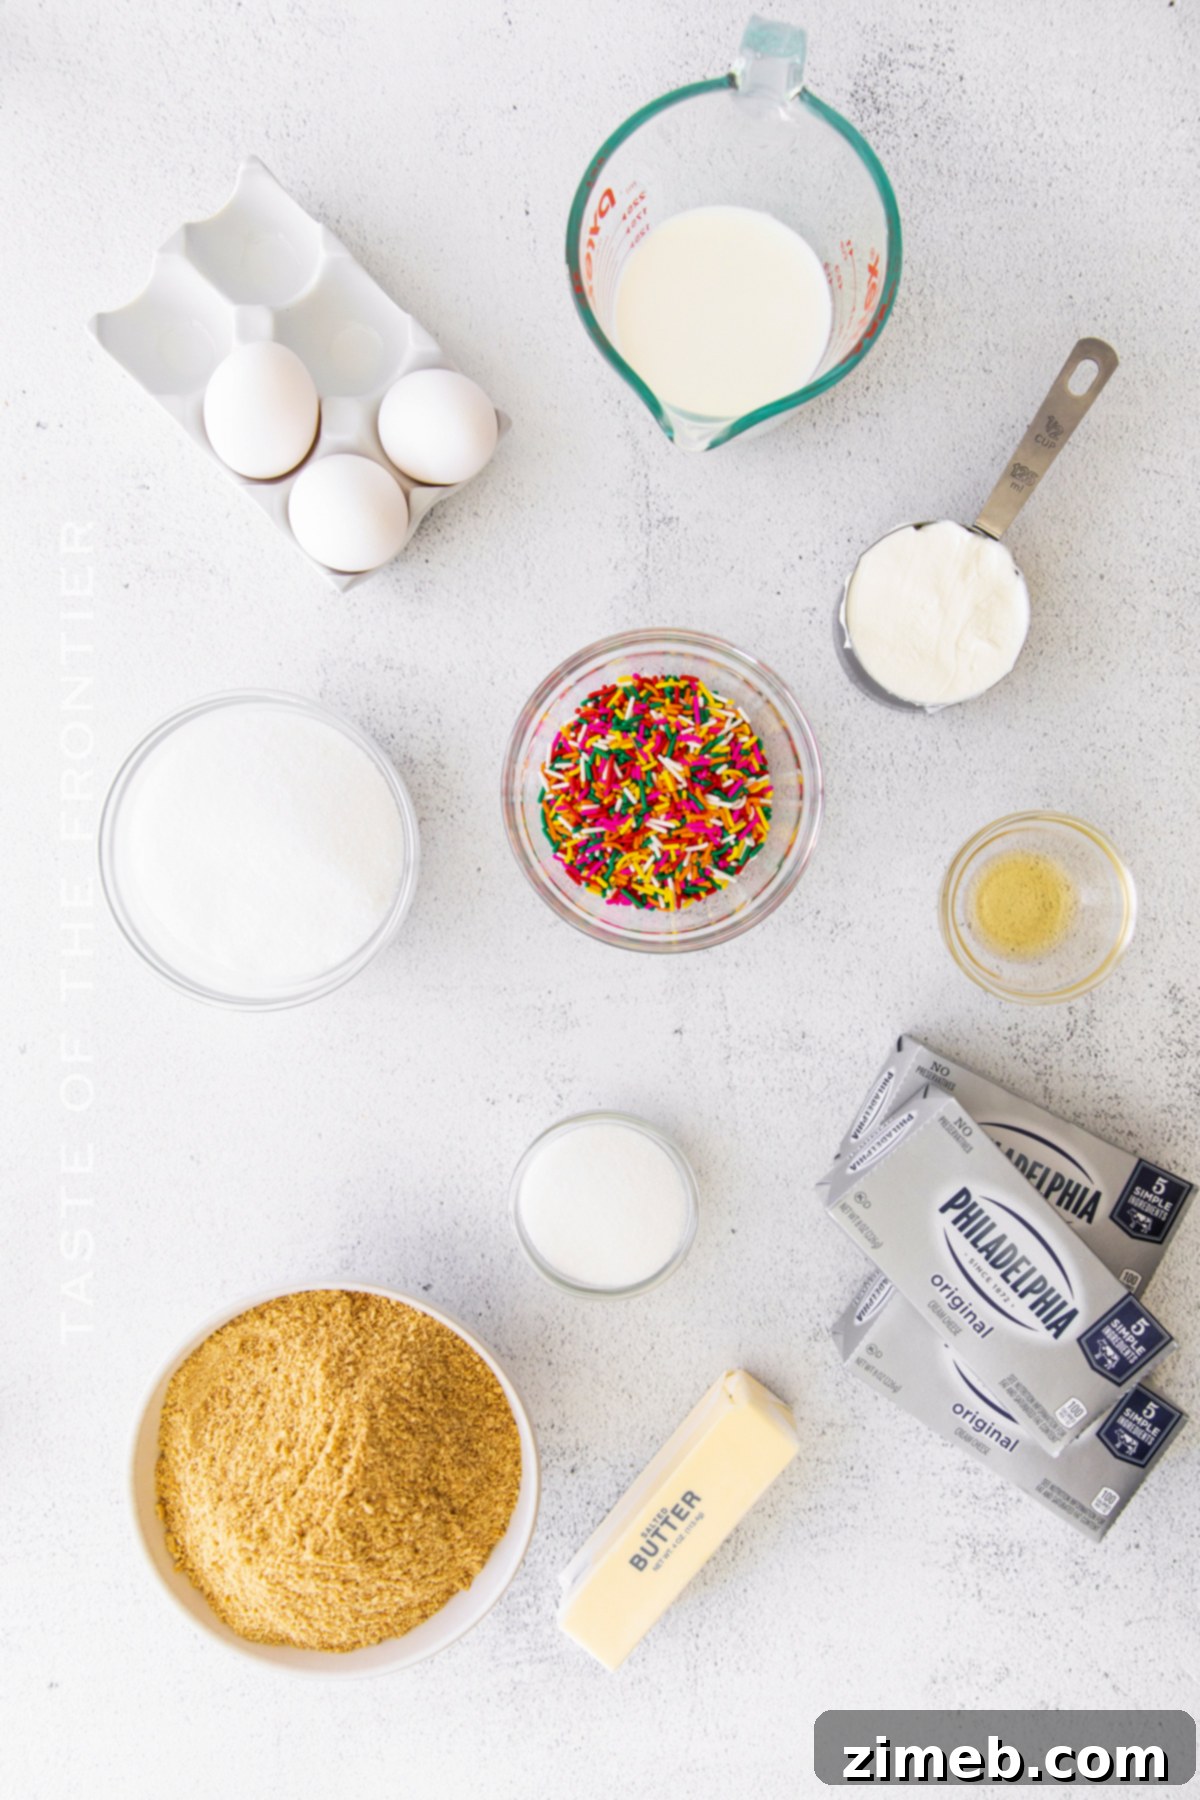
Essential Birthday Cheesecake Ingredients
For the Graham Cracker Crust
- Graham cracker crumbs
- Granulated sugar
- Butter – melted
For the Cheesecake Filling
- Cream cheese – softened
- Granulated sugar
- Whole milk
- Sour cream
- Pure vanilla extract
- Large eggs
- Rainbow sprinkles
Key Ingredient Notes for a Perfect Cheesecake
- **Graham Cracker Crumbs:** To achieve the ideal texture for your crust, simply pulse whole graham crackers in a food processor until they resemble fine, uniform sand. This ensures a compact and stable base.
- **Granulated Sugar:** This classic sweetener provides the perfect balance to both our crust and the creamy cheesecake filling. For a slightly richer, deeper flavor in the crust, feel free to experiment by swapping some or all of the granulated sugar with brown sugar.
- **Butter (Melted):** Essential for binding the graham cracker crumbs together, melted butter creates a firm and flavorful crust that holds its shape beautifully. Unsalted butter is generally recommended for baking to control the overall sodium content.
- **Cream Cheese (Softened):** This is the foundation of our cheesecake. It is absolutely crucial for your cream cheese to be fully softened to room temperature. This ensures a silky-smooth batter without any unwanted lumps, contributing to the signature creamy texture of a perfect cheesecake.
- **Whole Milk:** Incorporating whole milk helps achieve that desirable light and fluffy consistency in the cheesecake filling, preventing it from becoming too dense.
- **Sour Cream:** A touch of sour cream is a secret ingredient that adds a wonderful tanginess, balancing the sweetness and further enhancing the cheesecake’s luxurious, light texture.
- **Pure Vanilla Extract:** Vanilla is paramount for enhancing the inherent sweetness of the sugar and delivering that classic, comforting vanilla-funfetti flavor profile. Opt for pure vanilla extract for the best aromatic depth.
- **Large Eggs:** Eggs are vital for both richness and structure. They act as a binder, helping the cheesecake set beautifully and contributing to its decadent flavor. Always use large eggs at room temperature for optimal incorporation.
- **Rainbow Sprinkles:** These are the heart of our Funfetti Birthday Cheesecake! Choose high-quality jimmie-style sprinkles that hold their color well during baking and chilling for the most vibrant and festive results.
Mastering the Art of Slicing Birthday Cheesecake
For pristine, picture-perfect slices of cheesecake, precision is key. Cheesecakes cut most neatly when you can press straight down with your knife, rather than “sawing” back and forth with a serrated blade. Here’s how to achieve that professional finish: Begin by heating a thin, sharp knife under hot running water for about 10-15 seconds. Immediately wipe the blade completely clean and dry with a towel. This warm, clean blade will glide through the dense, creamy texture of the cheesecake without sticking or dragging. Insert the tip of the blade into the center of your cheesecake and press it down and in, moving towards the crust. Repeat this heating and cleaning process for every single cut. Alternatively, for exceptionally clean and smooth pieces, you can also use unflavored dental floss or a thin piece of cheese wire. Simply loop it under the cake, bring the ends together over the top, and pull straight down. Remember that the final slice sizes will, of course, be determined by the overall size of your cheesecake and how many portions you wish to serve.
Confetti Cheesecake: Step-by-Step Creation
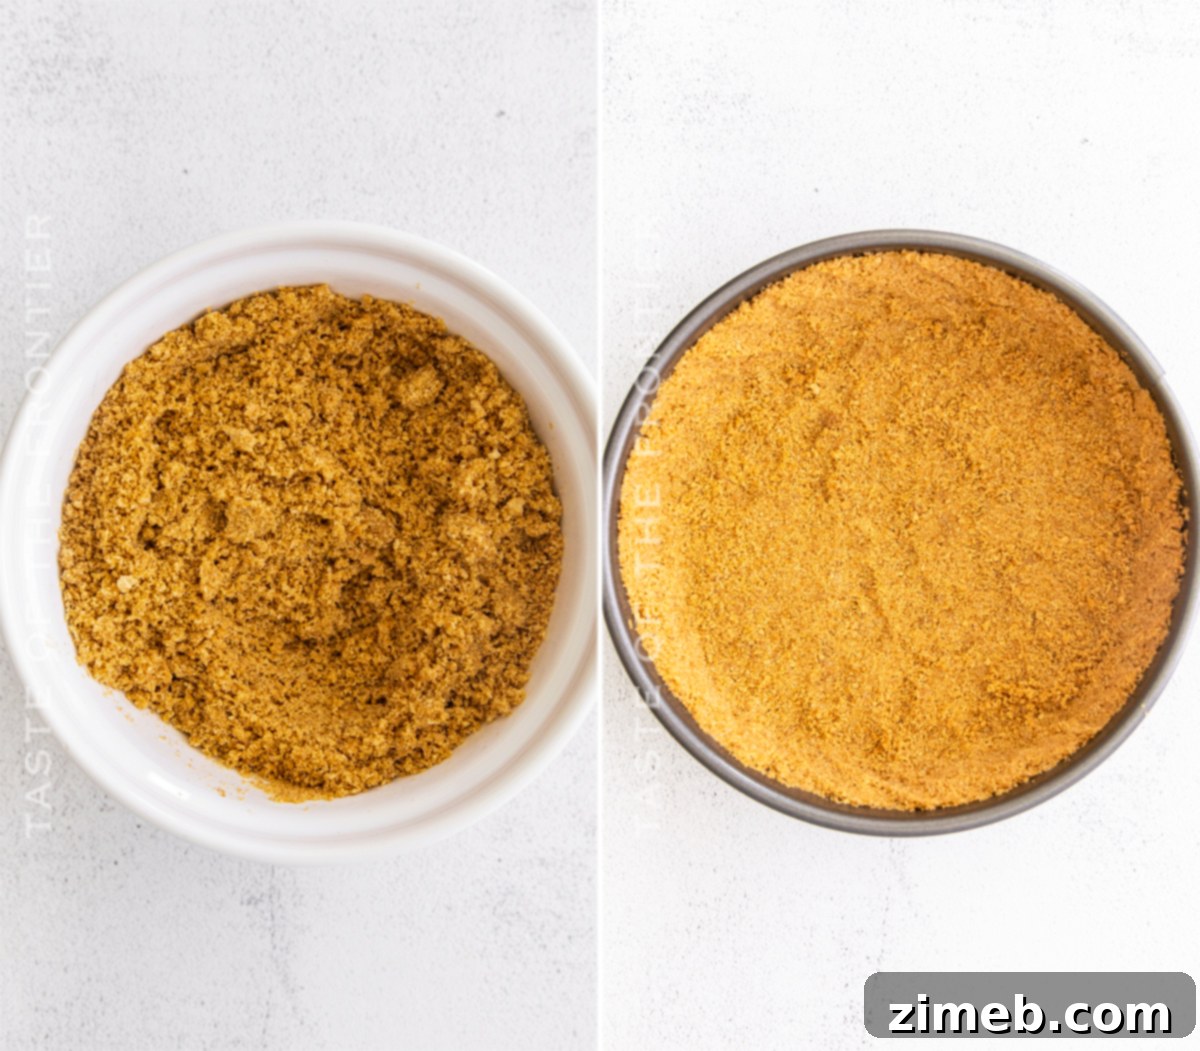
Crafting the Perfect Graham Cracker Crust
- Preheat your oven to 325°F (160°C). This ensures the crust bakes evenly to a golden perfection.
- Prepare a 9-inch springform pan by greasing it thoroughly with non-stick baking spray. For easier removal and a cleaner bottom, line the base with a circle of parchment paper.
- In a medium bowl, combine the graham cracker crumbs, granulated sugar, and melted butter. Stir these ingredients together until the mixture is uniformly moistened and resembles wet sand, indicating the butter has fully coated the crumbs.
- Transfer this crust mixture into your prepared springform pan. Using the bottom of a flat glass or your fingers, firmly press the mixture into an even layer across the bottom and slightly up the sides of the pan. Aim for a compact crust that is about ¼-⅛ inch thick, ensuring no gaps remain for the filling to seep through.
- Bake the crust for a short 5 minutes. This light baking helps to set the crust, making it sturdy and preventing it from becoming soggy. Remove it from the oven and set it aside to cool completely while you meticulously prepare the creamy cheesecake filling.
Crust Alternatives: Can I Use Cookies Instead of Graham Crackers?
Absolutely! While graham cracker crusts are classic, using cookies instead offers a delightful twist and opens up a world of flavor possibilities for your cheesecake. For instance, Oreo cookies make an exceptional crust, adding a rich chocolatey depth that complements many cheesecake fillings. A golden Oreo crust would be particularly delicious with this Funfetti cheesecake, offering a vanilla-based cookie flavor. To achieve this, you would typically use:
- 18 creme-filled chocolate or vanilla sandwich cookies, crushed into fine crumbs.
- 2 tablespoons of melted butter.
Simply combine the finely crushed cookie crumbs with the melted butter, mixing until the crumbs are thoroughly moistened and resemble wet sand, much like the graham cracker version. Press this mixture firmly into the bottom of your springform pan. For best results, place the pan in the freezer to chill and solidify the crust while you prepare the filling. This extra step helps the cookie crust hold its shape perfectly. You could also consider vanilla wafers, ginger snaps, or shortbread cookies for different flavor profiles, adjusting the amount of butter and sugar as needed based on the cookies’ inherent sweetness and fat content.
Choosing the Best Sprinkles for Your Funfetti Cheesecake
This is a surprisingly crucial detail that can make or break the visual appeal of your Funfetti cheesecake! Just because a package is labeled “sprinkles” doesn’t mean it’s suitable for every baking application, especially when moisture is involved. Many people mistakenly use colored sanding sugar, which is often mislabeled as sprinkles. The problem with sanding sugar is its tendency to dissolve and bleed its color when it comes into contact with moist dough, batter, or when refrigerated, resulting in a murky, unattractive mess.
Similarly, “nonpareils” – those tiny, spherical, crunchy sprinkles – are also generally not ideal for this recipe. Their delicate sugar coating readily bleeds color when mixed into wet batter or exposed to moisture during chilling, leading to a less vibrant and potentially discolored cheesecake. For this Birthday Funfetti Cheesecake, your best choice is **jimmie-style sprinkles** (also known as sugar strands or confetti sprinkles). These cylindrical sprinkles are typically coated to resist bleeding and hold their shape and vibrant colors much better through the baking and chilling process, ensuring your cheesecake remains bright, festive, and visually stunning. Always check the ingredient list or packaging for descriptions like “non-bleeding” or “bake-stable” for the best results!
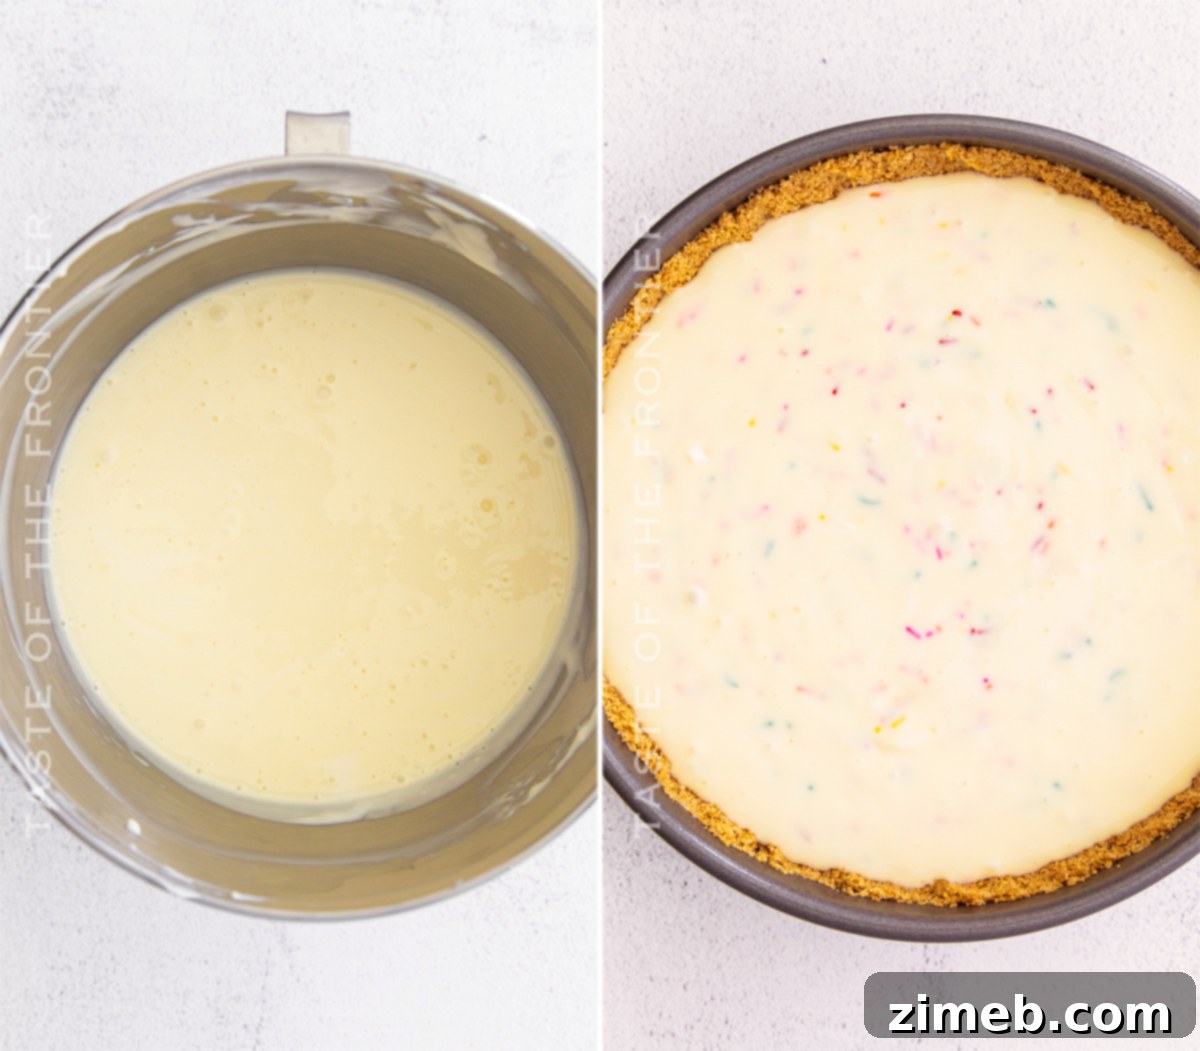
Crafting the Irresistible Birthday Cheesecake Filling
- Begin by adding the fully softened cream cheese to the bowl of a stand mixer fitted with the paddle attachment. Mix on medium speed for approximately 1 minute, or until the cream cheese is incredibly smooth and light, with no lumps remaining.
- Next, add the granulated sugar, whole milk, sour cream, and pure vanilla extract to the bowl. Continue mixing until all ingredients are just combined. It’s important to stop and scrape down the sides and bottom of the bowl frequently with a rubber spatula to ensure everything is thoroughly incorporated.
- Reduce the mixer speed to low. Add the large eggs one at a time, mixing only until each egg is just incorporated before adding the next. Overmixing at this stage can introduce too much air, which may cause your cheesecake to crack during baking.
- Once all the eggs have been gently mixed in, remove the bowl from the mixer. With a spatula, delicately fold in the rainbow sprinkles. Be careful not to overmix, as excessive stirring can cause the sprinkles to bleed their color.
- Carefully pour the creamy cheesecake mixture evenly over the pre-baked and cooled graham cracker crust in the springform pan.
- Bake the cheesecake for 45-50 minutes, or until the edges are set and slightly puffed, but the very center still has a slight wobble when gently shaken. This indicates it’s “just set” and prevents overbaking, which can lead to cracks.
- Once baked, allow the cheesecake to cool completely to room temperature on a wire rack. This slow cooling helps prevent cracking. After it reaches room temperature, transfer the cheesecake to the refrigerator to chill for at least four hours, but preferably overnight. Proper chilling is crucial for the cheesecake to fully set, develop its rich flavor, and achieve its characteristic firm yet creamy texture.
- Once thoroughly chilled, remove the sides of the springform pan. Slice using our pro tips above and enjoy your magnificent Birthday Funfetti Cheesecake! Store any remaining cheesecake in an airtight container in the fridge for up to five days.
Troubleshooting: Why Is My Cheesecake Filling Lumpy?
A lumpy cheesecake filling is one of the most common issues bakers face, and almost always, the culprit is cream cheese that is too cold. When you attempt to combine stiff, cold cream cheese with the other room-temperature or dry ingredients, it simply won’t blend properly. This results in tiny, stubborn pockets of unblended cream cheese scattered throughout your otherwise smooth mixture. These lumps will persist through baking, yielding a less-than-desirable texture in your final cheesecake. To prevent this, always ensure your cream cheese is completely softened to room temperature before you begin mixing. If you find yourself with a slightly lumpy filling despite your best efforts, continue mixing on medium-low speed for a minute or two longer, stopping frequently to scrape the bowl. For very stubborn lumps, you can gently warm the bowl over a bain-marie (hot water bath) for a few minutes while stirring, but be careful not to scramble the eggs if they’ve already been added.
Expert Tips for a Flawless Funfetti Cheesecake
- **Achieve Perfect Room Temperature Cream Cheese:** This cannot be overstated. Starting with truly room-temperature cream cheese is the foundation of a smooth cheesecake batter. Plan ahead and leave your cream cheese blocks out on the counter for at least 1-2 hours, or until they are soft enough to easily indent with your finger. If your kitchen is cooler, it might take longer. If the cream cheese is too firm, your batter will inevitably be lumpy.
- **Resist the Urge to Overbake:** It’s common for a cheesecake to appear slightly underdone or jiggly in the very center after an hour of baking. Don’t be alarmed and don’t be tempted to bake it longer! The residual heat will continue to cook the cheesecake as it cools, and it will firm up significantly during the crucial chilling phase. Over-baking is the primary cause of cracks in cheesecakes, as it dries out the edges before the center is fully set. Look for set edges with a slight, gentle wobble in the center.
- **Chill, Chill, Chill Adequately:** This is perhaps the most critical step for a well-structured and flavorful cheesecake. Impatience here is your enemy! I once tried to serve a cheesecake before it had fully chilled, and the result was an unappealing, warm, gooey mess that literally fell apart on the plate. Proper refrigeration, ideally overnight, allows the cheesecake to firm up, develop its full flavor, and become structurally sound enough for clean, beautiful slices. Always plan ahead for this essential chilling time.
Can I Use Fat-Free Cream Cheese for This Recipe?
While I understand the desire to make desserts lighter, cheesecake, by its very nature, is a rich and indulgent treat. Its characteristic creamy texture and decadent flavor are fundamentally dependent on the full fat content found in traditional cream cheese. For this reason, I strongly advise against using low-fat or fat-free cream cheese products when making this Birthday Funfetti Cheesecake, or most baked cheesecakes for that matter. Substituting with reduced-fat versions can significantly alter the texture, often resulting in a cheesecake that is rubbery, watery, or simply lacks the luxurious creaminess that makes cheesecake so beloved. For the best, most satisfying results, stick with full-fat cream cheese to ensure a truly authentic and delicious experience.
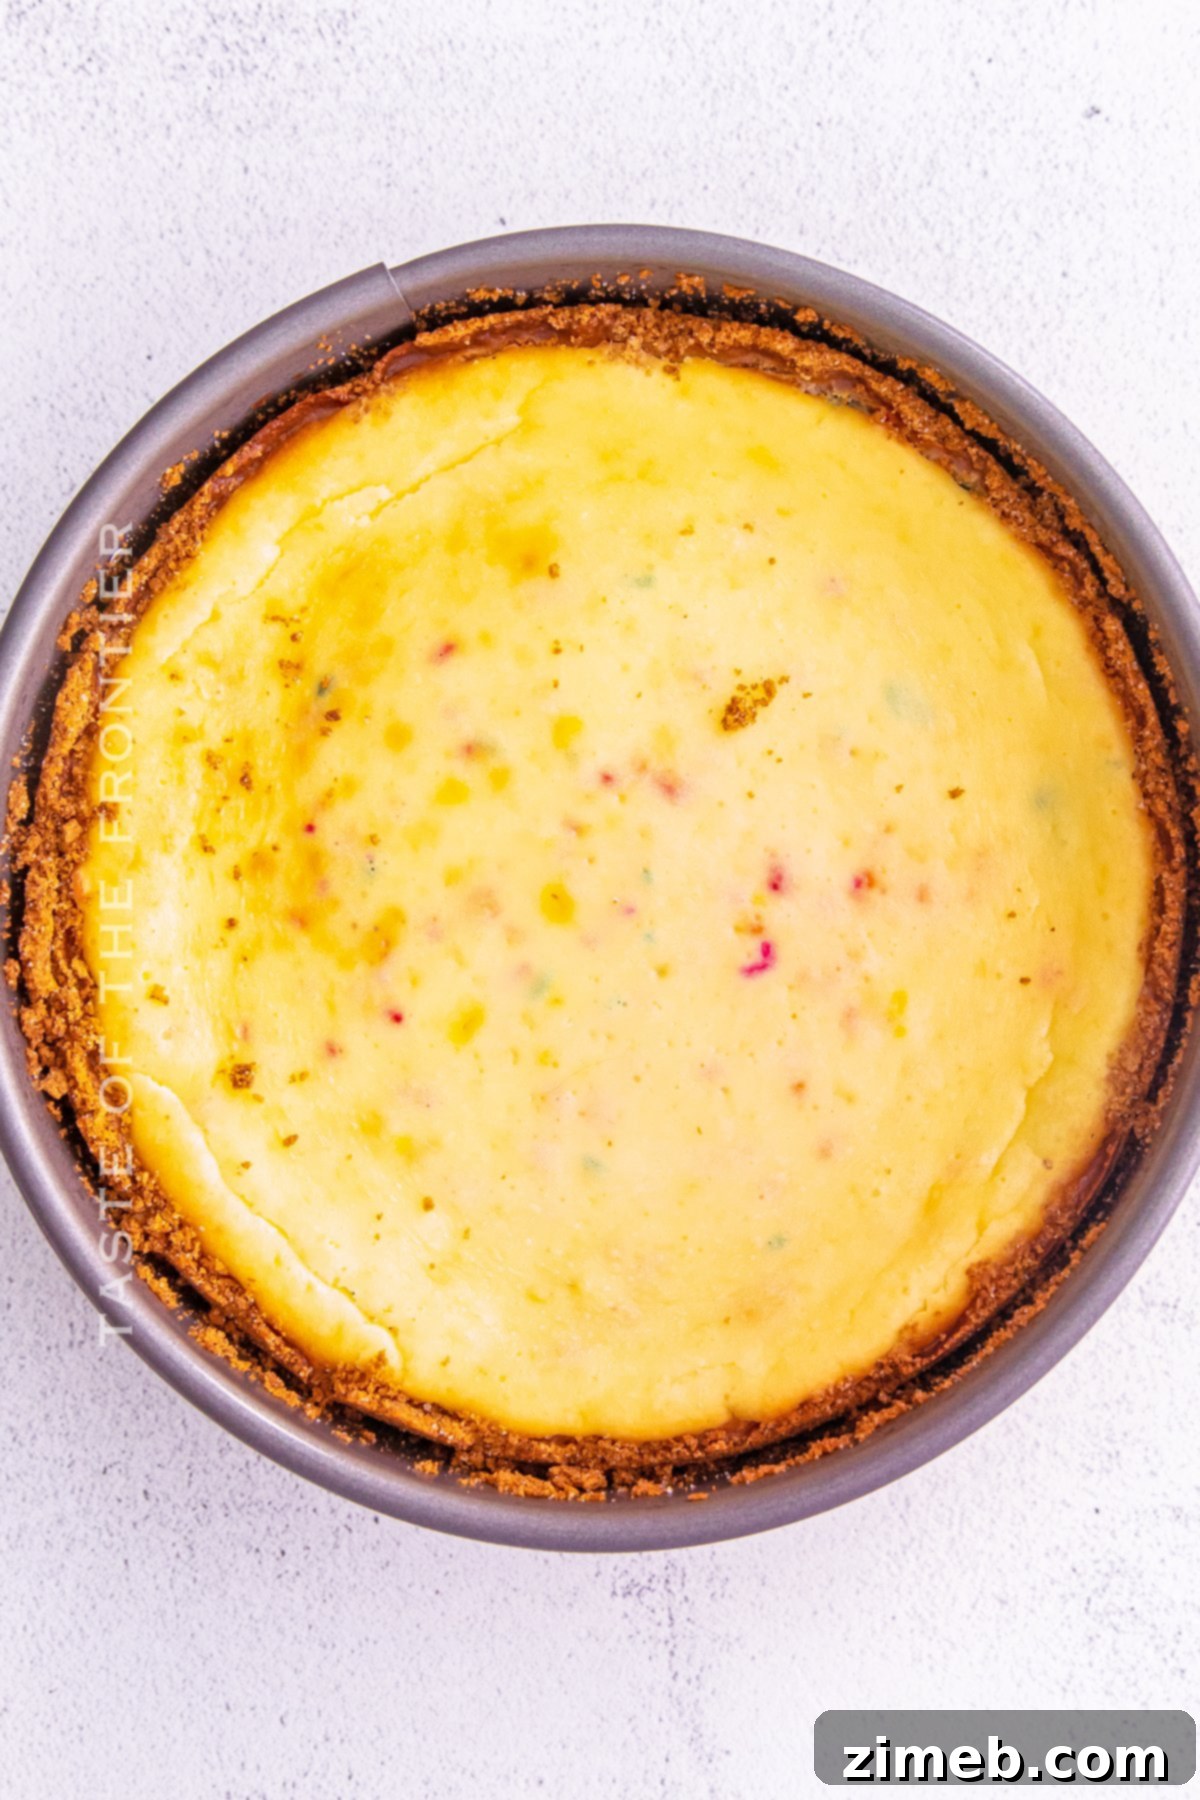
This Funfetti cheesecake recipe truly is incredibly SUPER EASY and utterly delicious, even if you’re a novice baker! If you’re like me, you might already have most of these essential items on hand. Or, perhaps you’ve never ventured into making a homemade cheesecake before and feel a bit nervous – but I promise you, you are going to absolutely love the process and the result. To help you along, I’ve compiled a list of my absolute must-have tools and ingredients that I simply can’t live without when whipping up this delightful dessert recipe. These items ensure success and make the baking experience even more enjoyable. (You can also SHOP MY FAVORITES in my store for convenient access to these essentials!)
- 9″ springform pan: Essential for perfect cheesecake release.
- Stand Mixer: For effortlessly smooth cream cheese and filling.
- Prep Bowls: Keep your ingredients organized and at the ready.
- Funfetti Sprinkles/Jimmies: The star of the show, ensuring vibrant color!
- Piping Tips: For elegant whipped cream decorations.
- Piping Bag: To perfectly apply whipped cream toppings.
If you adore this confetti birthday cheesecake recipe, you’ll be delighted by these other fantastic cheesecake treats too. Each offers a unique flavor profile and an equally easy-to-follow, printable recipe! Explore new favorites by clicking each link below.
Check out this recipe
Check out this recipe
Check out this recipe
Check out this recipe
Check out this recipe
Check out this recipe
Check out this recipe
Check out this recipe
Check out this recipe
More Great Birthday Cake-Flavored Recipes to Enjoy
If you can’t get enough of that delightful birthday cake flavor, especially when it comes to Funfetti, you’re in luck! Here are even more fantastic recipes that capture that joyous, sprinkle-filled essence:
Confetti Cake – Funfetti Cake
Funfetti Cupcakes Recipe
Frosted Funfetti Cake Mix Cookies
Funfetti Cake Batter Dip
Homemade Funfetti Cake
Birthday Cake Cookies
If you loved this incredible recipe for Birthday Cheesecake as much as I do, please take a moment to write a five-star review, and don’t forget to help me share the joy on Facebook and Pinterest! Your support helps bring more delicious recipes to everyone!
CONNECT WITH YUMMI HAUS!
Be sure to follow me on my social media channels, so you never miss a post!
Substack, Facebook, Pinterest, Instagram, Email Subscription
PIN THIS TO SAVE FOR LATER
Rate this Recipe
Birthday Cheesecake
Course: Dessert
Servings: 8
Birthday Cheesecake is a rich, sweet dessert packed with Funfetti sprinkles. You can’t go wrong when celebrating with this confetti cheesecake!
Pin Recipe
Save Recipe
Prep Time: 10 mins
Cook Time: 1 hr
Chill Time: 4 hrs
Total Time: 5 hrs 10 mins
Ingredients
Graham Cracker Crust
- 2 cups graham cracker crumbs
- ¼ cup granulated sugar
- 8 tablespoons butter melted (1 stick)
Cheesecake Filling
- 24 ounces cream cheese softened
- 1 cup granulated sugar
- ½ cup whole milk
- ½ cup sour cream
- 1 teaspoon pure vanilla extract
- 3 large eggs
- ½ cup rainbow sprinkles
Instructions
Graham Cracker Crust
- Preheat the oven to 325F.
- Grease a 9” springform pan with non-stick baking spray and line the bottom with parchment paper.
- In a small bowl, stir together the graham cracker crumbs, sugar, and butter until they resemble wet sand.
- Transfer the crust to the springform pan and press it gently into the bottom and sides, creating an even and compact crust that is about ¼-⅛” thick.
- Bake the crust for 5 minutes. Then remove and set it aside to cool while you make the filling.
Cheesecake Filling
- Add the softened cream cheese to the bowl of a stand mixer fitted with the paddle attachment. Mix on medium speed until the cream cheese is smooth and fluffy – about 1 minute.
- Add the sugar, milk, sour cream, and vanilla and mix to combine. Make sure to scrape down the sides of the bowl as needed.
- With the mixer on low speed, add the eggs one at a time.
- Once all of the eggs have been added, gently fold in the sprinkles.
- Pour the cheesecake mixture on top of the crust and bake it for 45-50 minutes or until the cheesecake is just set in the center.
- Allow the cheesecake to cool to room temperature. Then, transfer it to the fridge to chill for at least four hours (preferably overnight).
- Slice and enjoy! Store any leftover cheesecake in an airtight container in the fridge for up to five days.
Notes
To give this cheesecake an extra birthday cake flavor, consider swapping out the pure vanilla extract with a birthday cake emulsion flavoring.
Equipment
- 1 9″ springform pan
- 1 Mixer
Nutrition
Serving: 1g | Calories: 627kcal | Carbohydrates: 64g | Protein: 10g | Fat: 38g | Saturated Fat: 21g | Cholesterol: 168mg | Sodium: 455mg | Potassium: 236mg | Fiber: 1g | Sugar: 51g | Vitamin C: 0.1mg | Calcium: 159mg | Iron: 1mg | Net Carbohydrates: 63g
Nutritional information for the recipe is provided as a courtesy and is approximate. Please double-check with your own dietary calculator for the best accuracy. We at Yummi Haus cannot guarantee the accuracy of the nutritional information given for any recipe on this site.
Love this recipe? Follow @KleinworthCo for even more tasty recipes!