
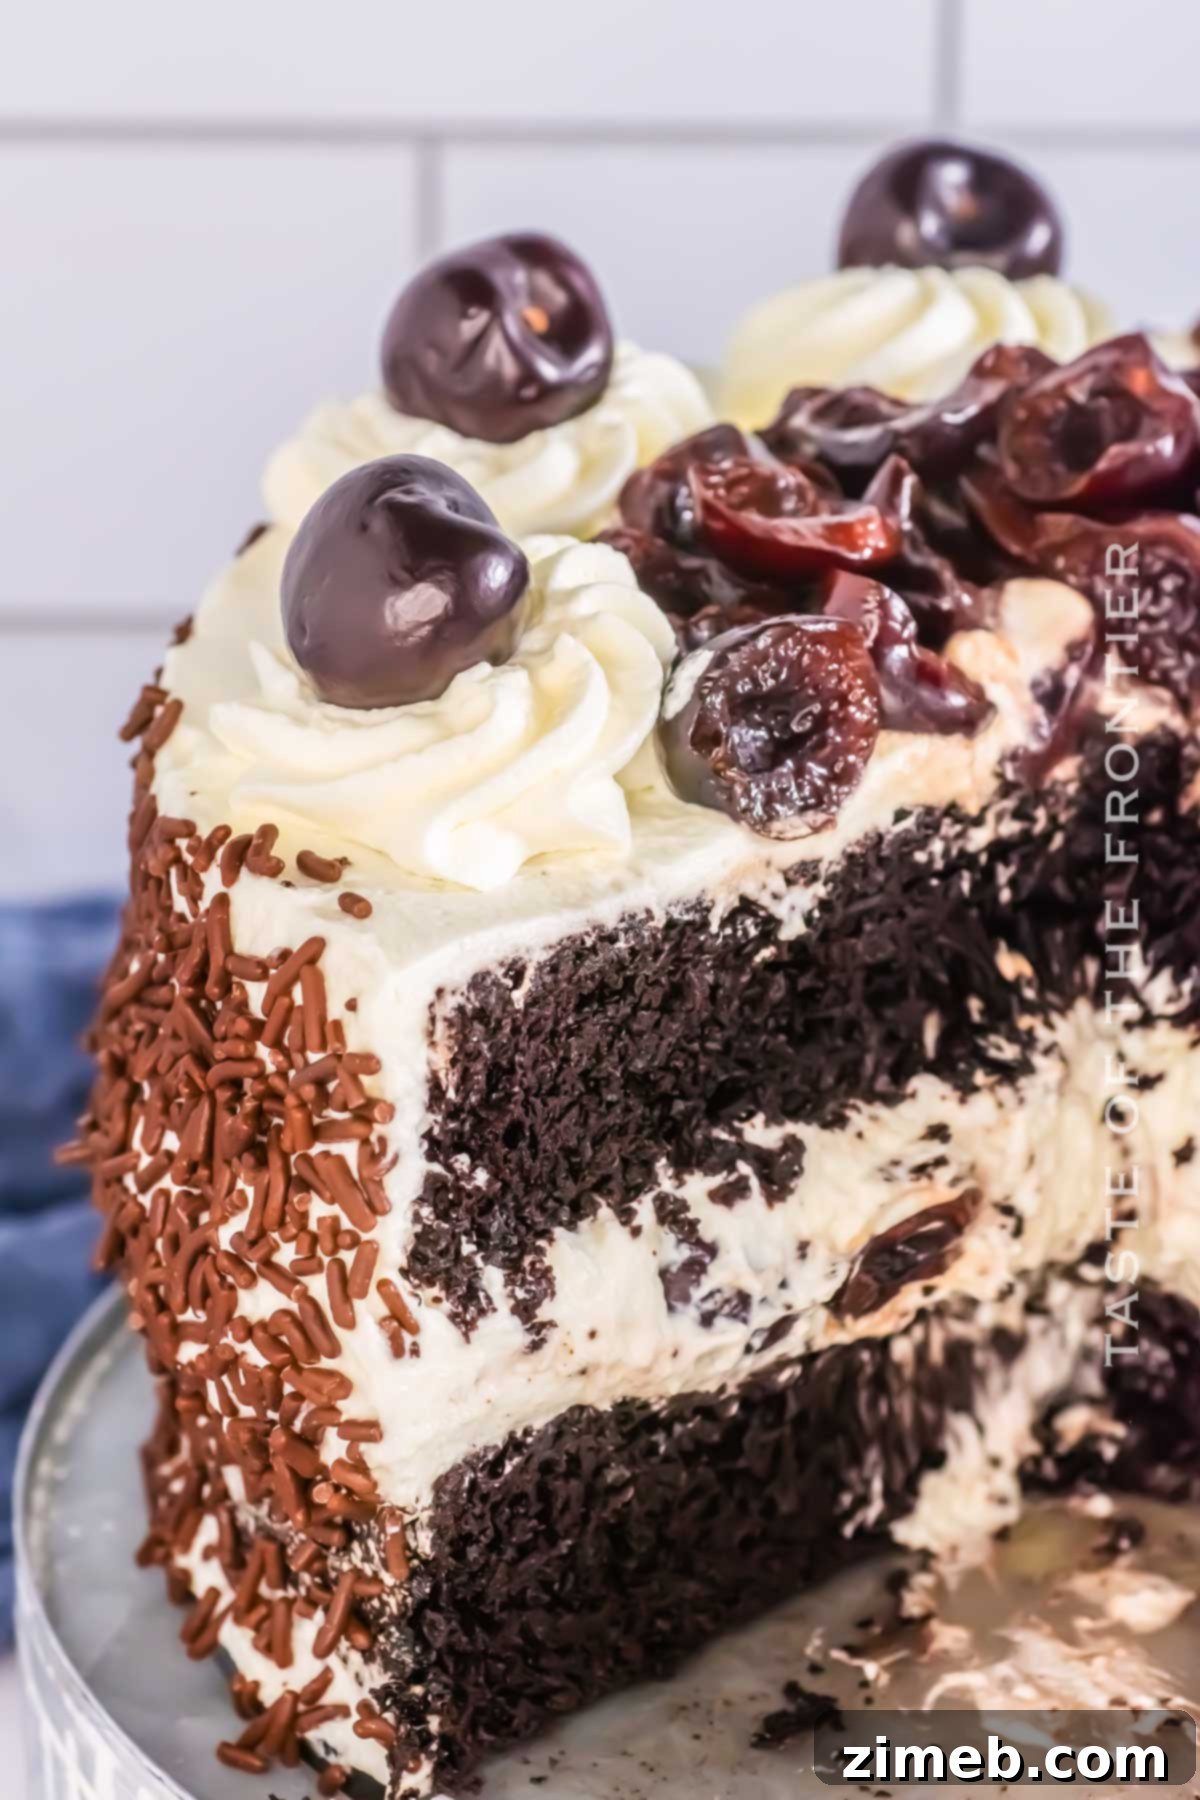
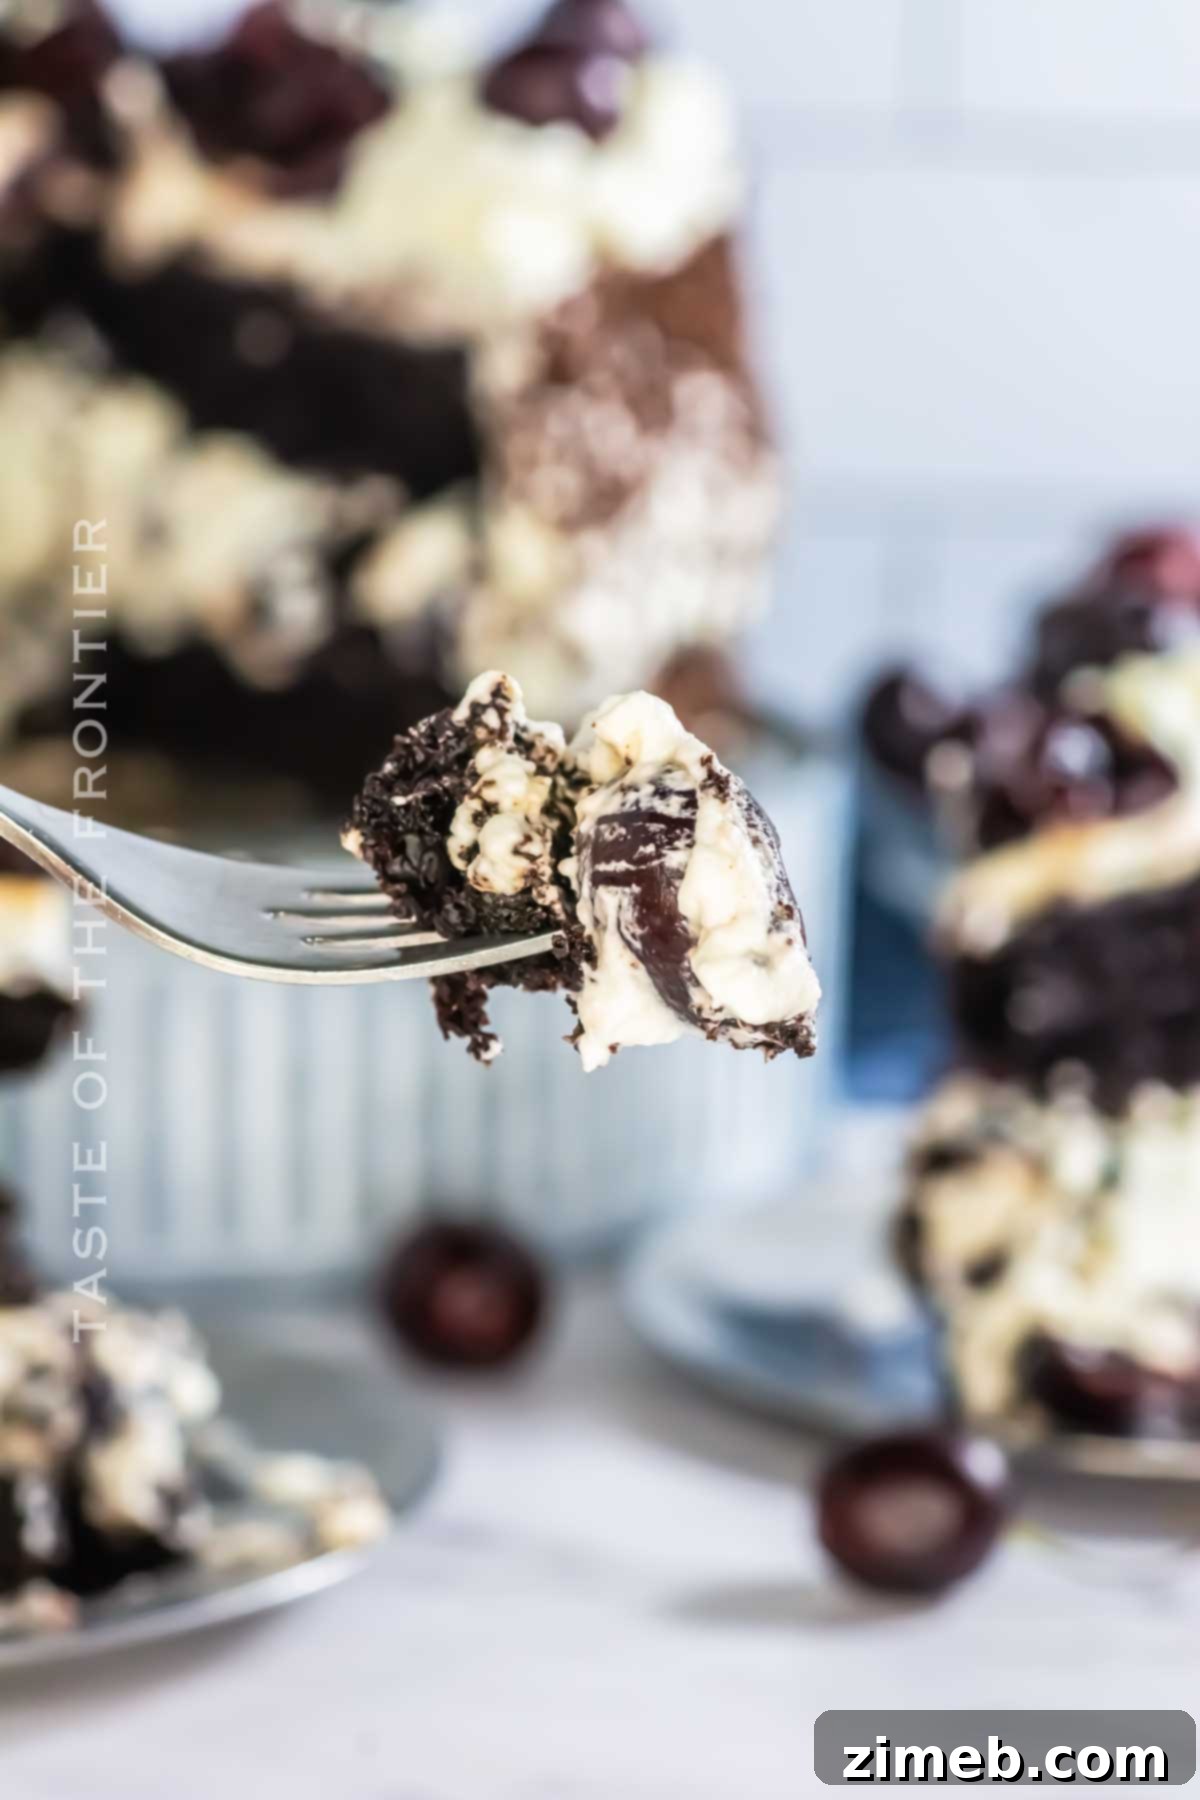
Indulge in the captivating allure of the **Black Forest Cake**, a truly iconic dessert that seamlessly blends the rich depths of dark chocolate cake layers with a cloud-like whipped cream filling and the vibrant tang of fresh cherries. This elegant confection, often perceived as complex, is surprisingly achievable in your home kitchen, making it the perfect showstopper for any celebration, from birthdays to festive gatherings.
The Black Forest Cake is more than just a dessert; it’s an experience. Each bite delivers a harmonious symphony of flavors – the intense sweetness of premium chocolate, the delicate freshness of ripe cherries, and the airy lightness of freshly whipped cream. Its stunning visual appeal, with dark, almost black layers contrasting against bold red cherries and pristine white frosting, ensures it’s not just a treat for the palate, but also a feast for the eyes. Prepare to impress your guests with this chic and unforgettable centerpiece.
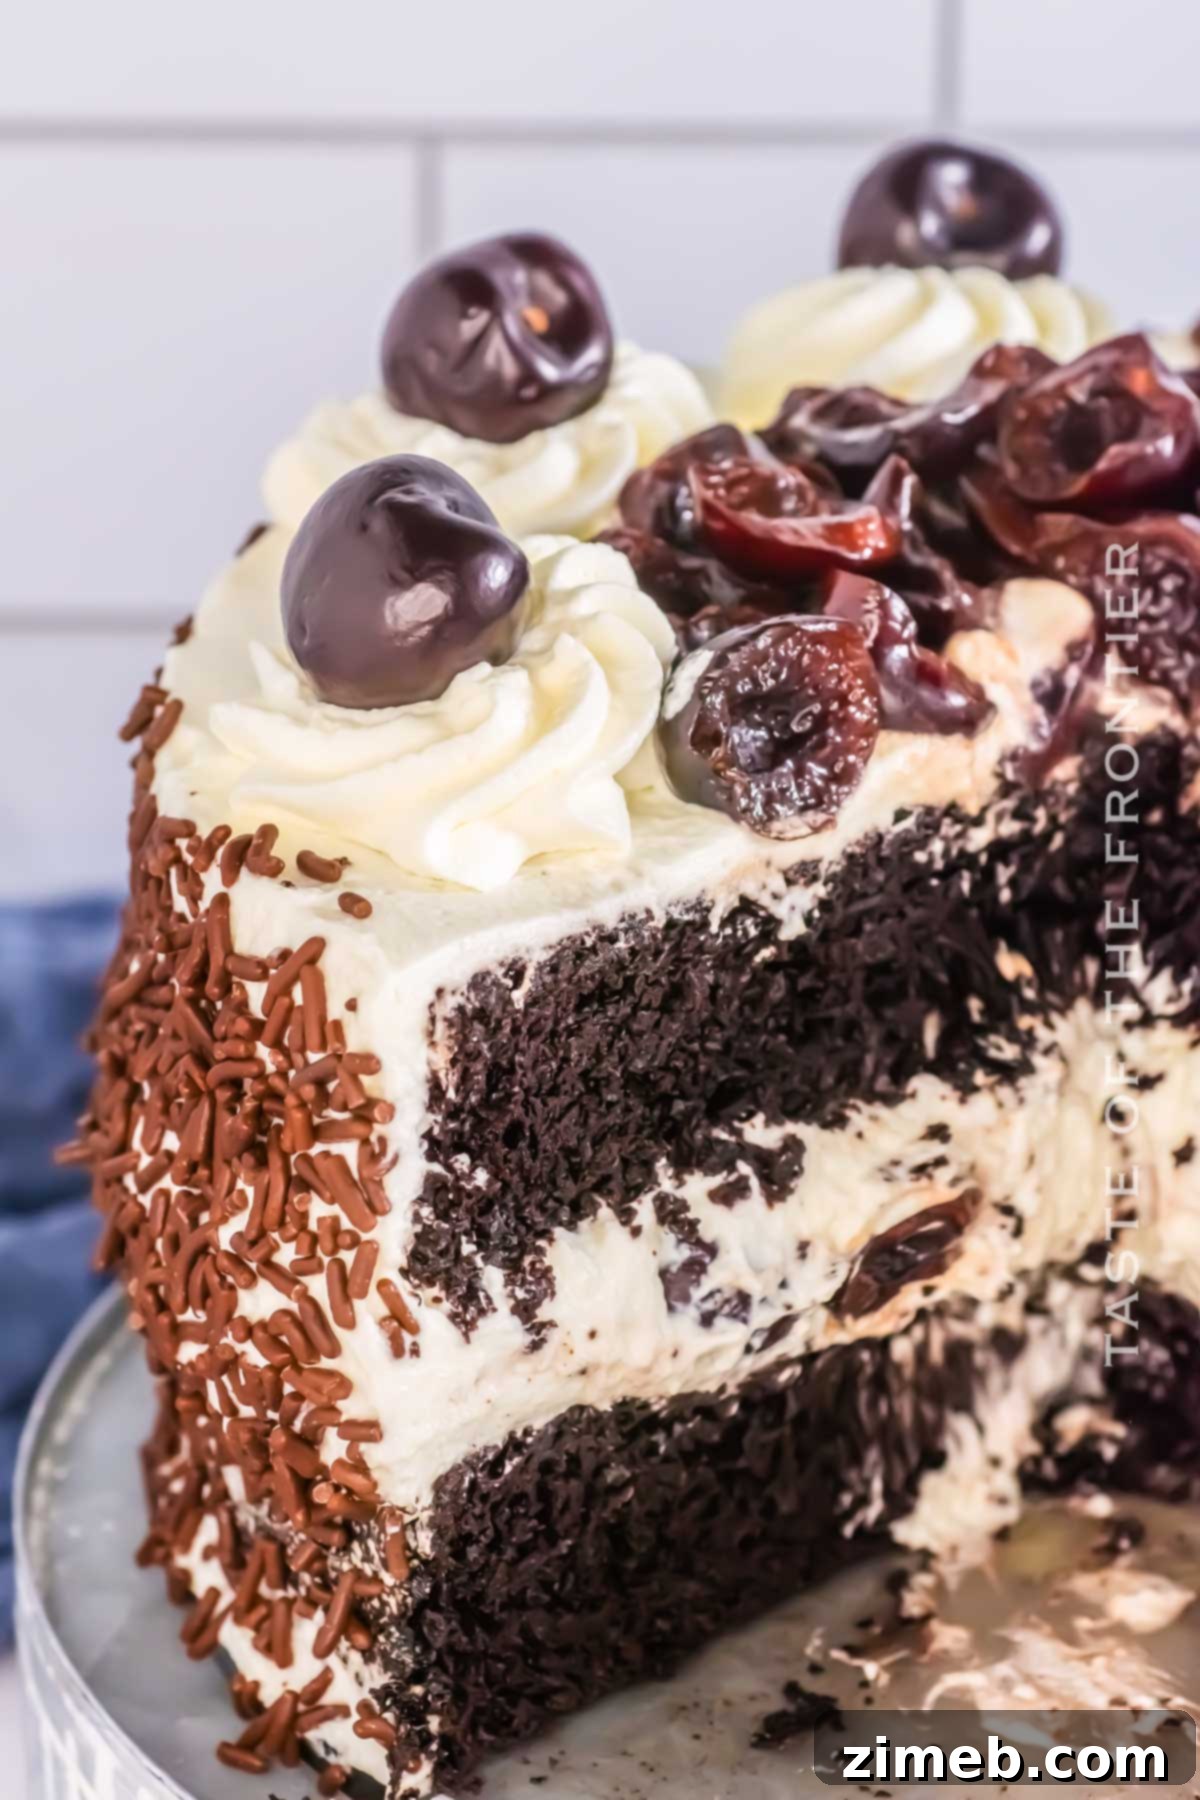
Having dreamt of recreating this masterpiece at home, I was delighted to discover that crafting a homemade Black Forest Cake is far less intimidating than it appears. With a clear recipe and a bit of patience, anyone can bake this German classic and savor its exquisite flavors.
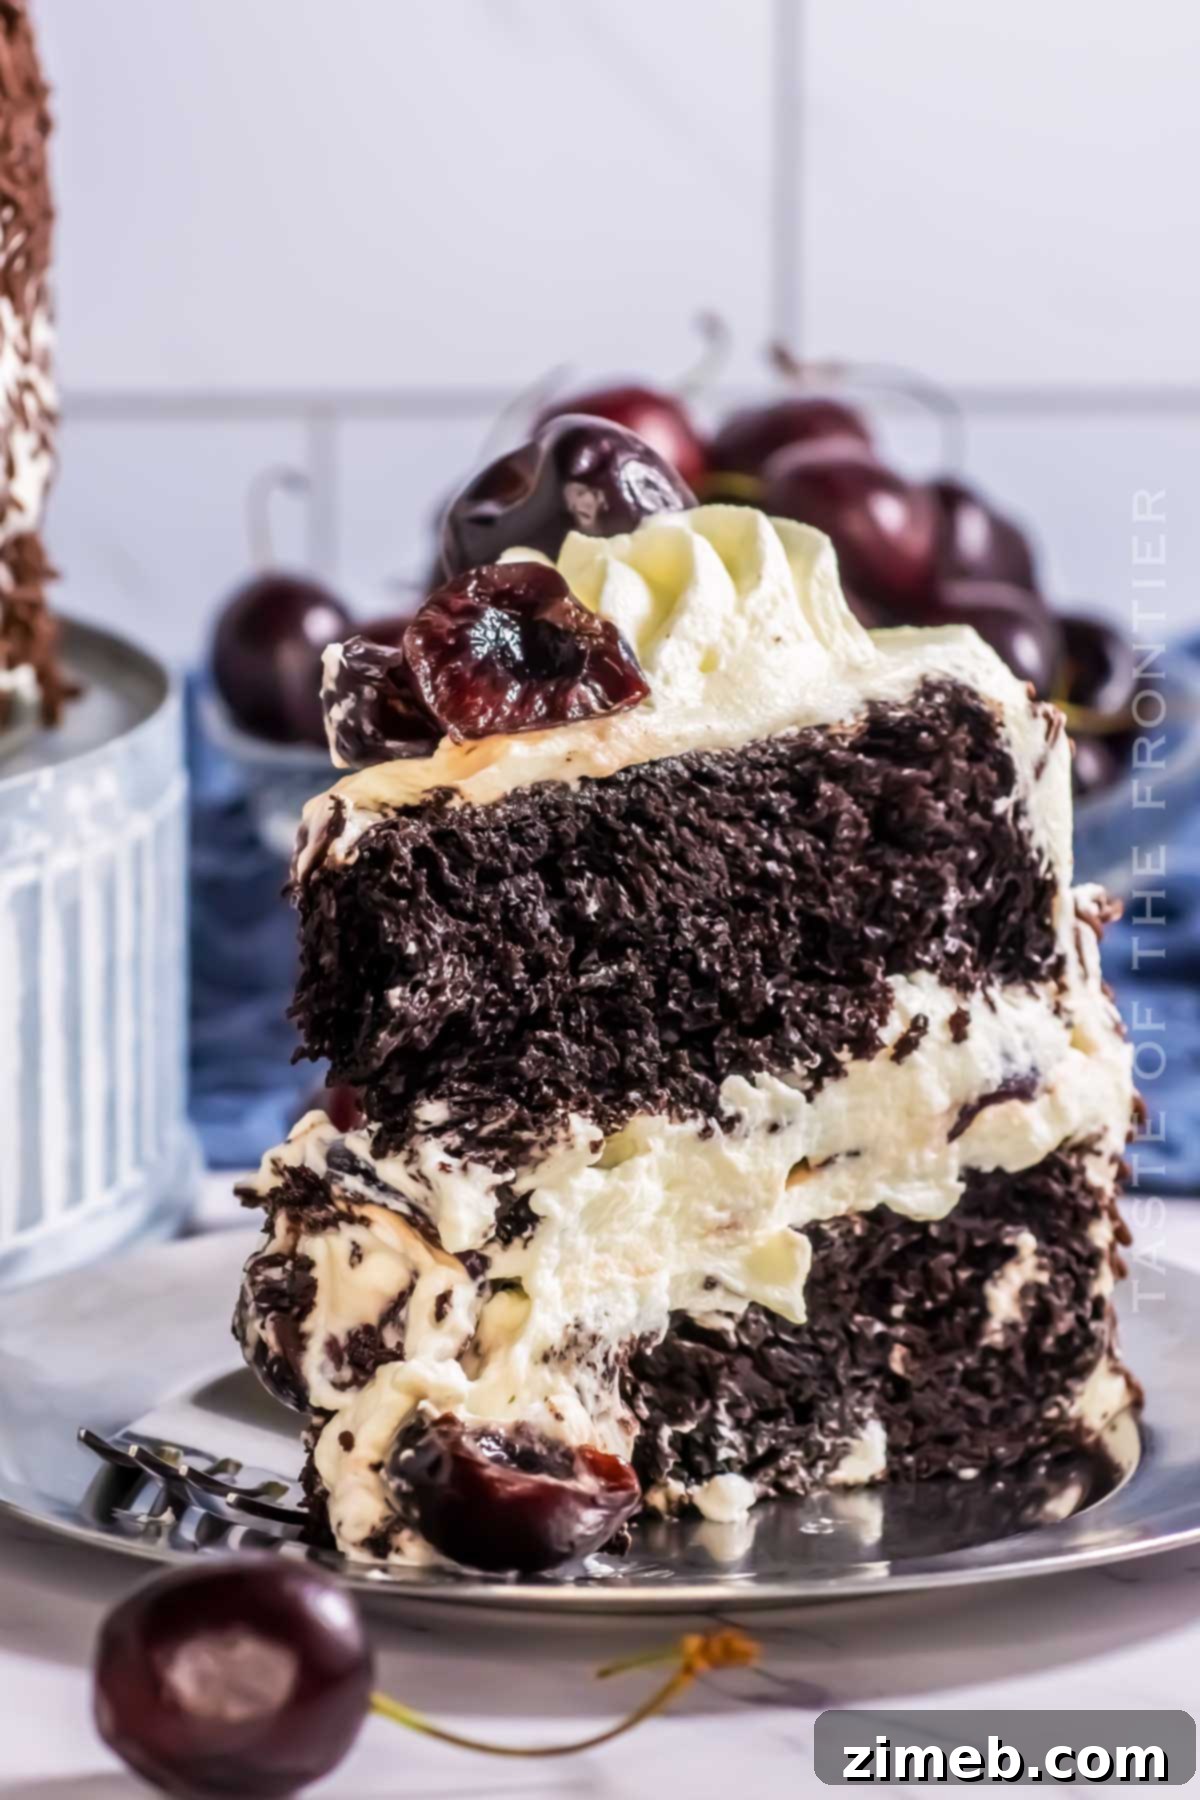
Why You’ll Adore This Black Forest Cake Recipe
This homemade Black Forest Cake recipe is designed to bring joy and ease to your baking endeavors. Here’s why it will become your new favorite:
- Effortlessly Elegant: Despite its sophisticated appearance, this layered cake comes together surprisingly quickly. With just a short 20-minute active prep time, your oven takes over the heavy lifting. The subsequent decorating is pure fun, transforming simple ingredients into a dazzling dessert. While it requires chilling, that’s merely a test of patience, not labor!
- Perfect for Gatherings: Generously serving 8 to 12 people, this Black Forest Cake is ideal for family celebrations, dinner parties, or any festive occasion. It’s also easily adaptable for all ages; simply omit the traditional Kirsch (cherry brandy) to make it a delightful, kid-friendly treat without compromising on flavor.
- Unforgettable Flavor Profile: Experience a rich, dense chocolate cake that’s incredibly moist and tender, perfectly balanced by the tartness of fresh cherries and the lightness of whipped cream. This recipe achieves an elegant taste that is neither overwhelmingly sweet nor sour, making it a sophisticated dessert for discerning palates.
- Impressive Presentation: The dramatic contrast of dark chocolate, pristine white cream, and vibrant red cherries creates a visually stunning dessert that will undoubtedly draw gasps of admiration from your guests. It’s a true centerpiece that tastes as good as it looks.
- Rewarding Experience: There’s immense satisfaction in baking a classic dessert from scratch. This recipe empowers you to create a professional-looking and tasting Black Forest Cake, making you the star baker of any event.
Unveiling the Distinction: Chocolate Cake vs. Black Forest Cake
While Black Forest Cake is undeniably a type of chocolate cake, it possesses unique characteristics that set it apart. Understanding these differences helps appreciate the artistry behind this German classic.
A standard chocolate cake can be a vast category, encompassing everything from a simple sheet cake with chocolate frosting to elaborate multi-tiered creations. These cakes primarily focus on the rich flavor of chocolate and can be customized with a myriad of frostings, fillings, and toppings, limited only by imagination. Regular chocolate cake typically does not feature cherry syrup or liquor as a core component.
In contrast, the classic Black Forest Cake, known in Germany as “Schwarzwälder Kirschtorte,” is a highly specific dessert with defined components:
- Chocolate Cake Layers: It features distinctive dark chocolate cake layers, often a rich and moist sponge.
- Cherries are Key: Cherries are an indispensable star of the show. Traditionally, tart cherries (like Morello) are used, often macerated in or paired with cherry liquor.
- Kirschwasser (Cherry Brandy): A defining element of authentic Schwarzwälder Kirschtorte is the use of Kirschwasser (or simply Kirsch), a clear cherry brandy, to moisten the cake layers. This infuses the cake with a unique, aromatic, and slightly boozy cherry flavor. For a family-friendly version, this can be substituted with cherry juice or syrup.
- Whipped Cream: Layers of light, unsweetened or lightly sweetened whipped cream are essential, providing a creamy contrast to the dense cake and tart cherries.
- Chocolate Decorations: The cake is typically garnished with chocolate shavings or curls, representing the “Black Forest” imagery.
The name “Schwarzwälder” directly translates to “Black Forest,” referencing the Black Forest region in Germany where Kirsch, the cherry brandy integral to the traditional recipe, is produced. Therefore, while a chocolate cake can be many things, a Black Forest Cake is a precisely defined and beloved German specialty that specifically combines dark chocolate, tart cherries (often enhanced with Kirsch), and whipped cream to create its signature flavor and appearance.
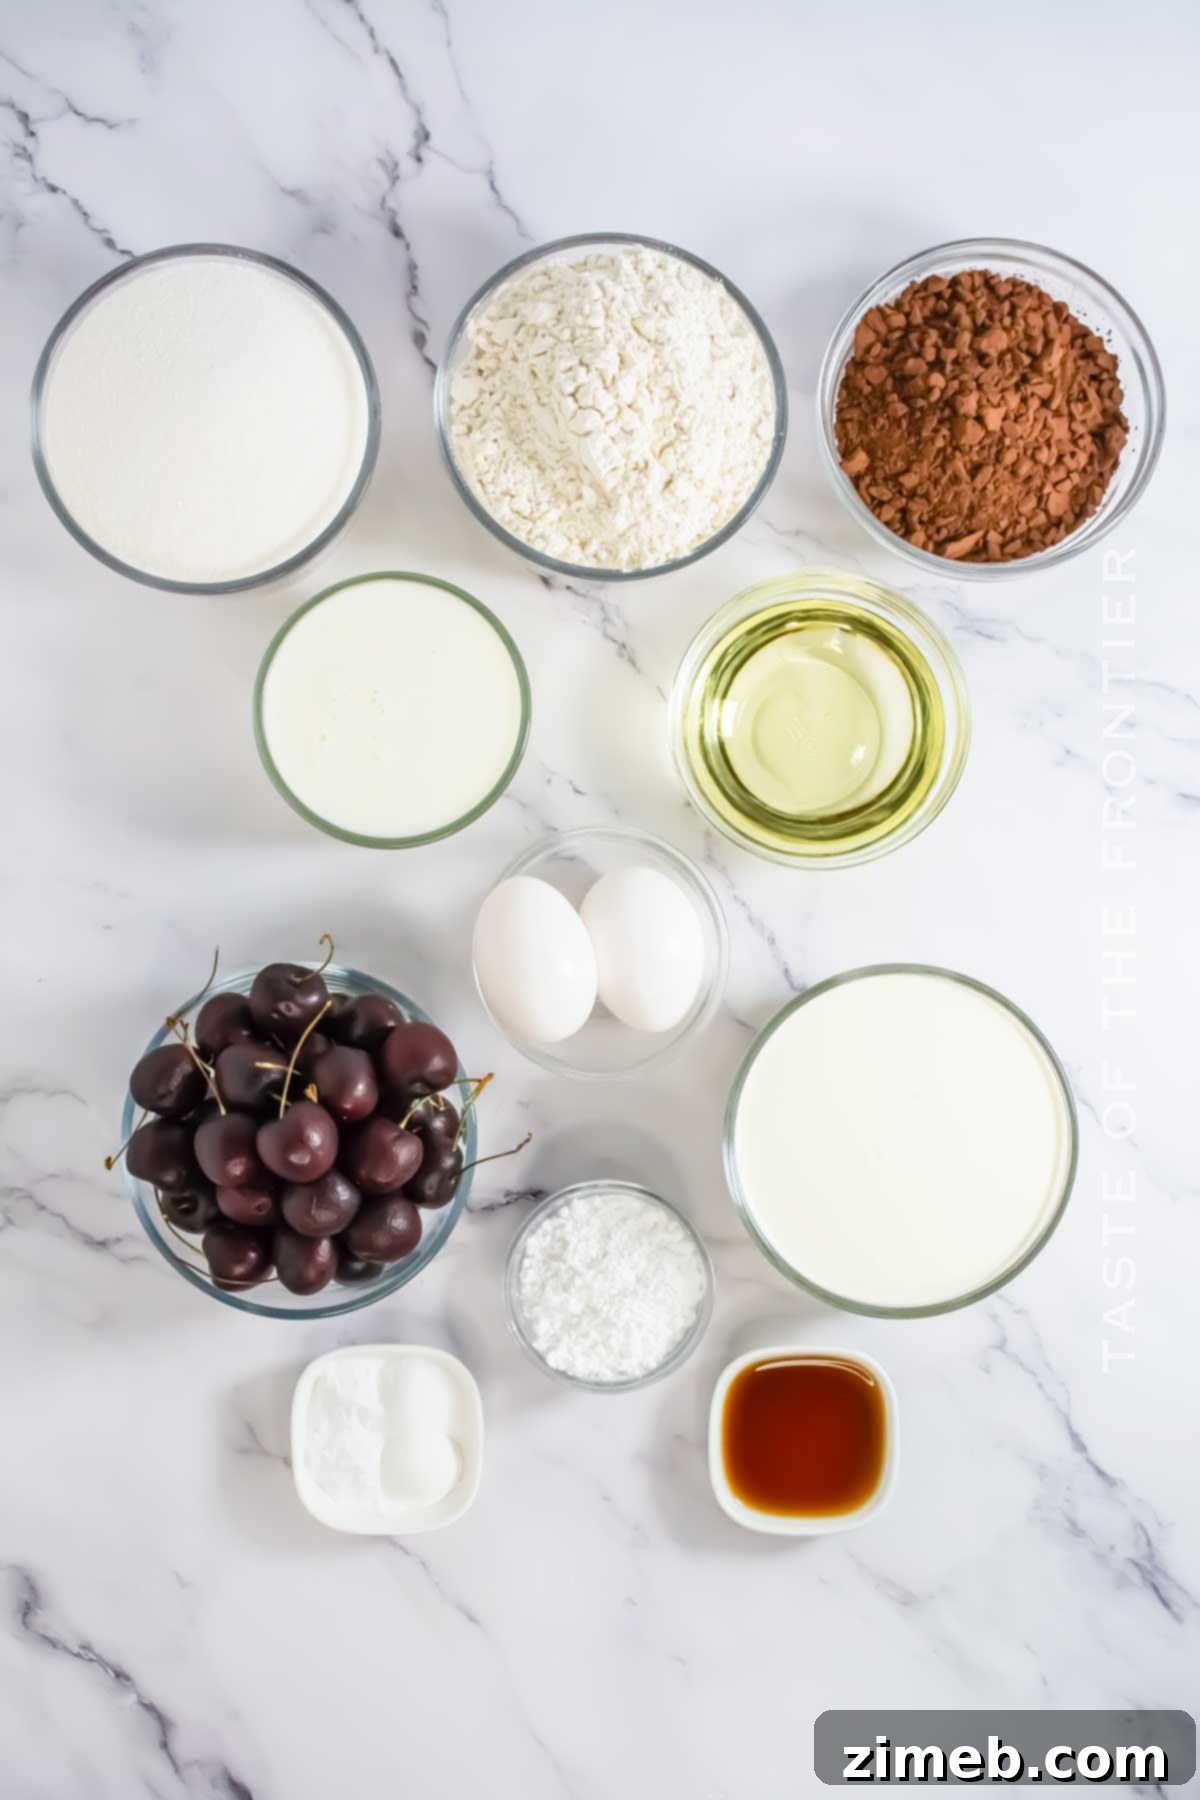
Essential Black Forest Cake Ingredients
Crafting the perfect Black Forest Cake begins with selecting high-quality ingredients. Each component plays a vital role in achieving that rich, moist texture and balanced flavor. Here’s a detailed look at what you’ll need:
For the Decadent Chocolate Cake Layers:
- All-Purpose Flour: The foundation of our cake, providing structure. Sifting it ensures a lighter, lump-free batter.
- Cocoa Powder: The star for that deep chocolate flavor and dark color. Opt for unsweetened cocoa powder, ideally Dutch-processed. Dutch-processed cocoa powder, with its reduced acidity, creates a darker, richer chocolate flavor and a more intensely black cake. Aim for at least 60-65% cacao for the best results, as quality cocoa significantly impacts the final taste.
- Baking Soda and Baking Powder: These leavening agents work in harmony to give our cake layers their beautiful lift and fluffy, tender crumb.
- Buttermilk: A must-have for an incredibly moist and tender cake. Buttermilk’s acidity reacts with the baking soda, contributing to a soft texture, while also breaking down gluten strands, ensuring a supremely tender result.
- Oil: Vegetable oil (canola is excellent) adds essential moisture and keeps the cake tender for days. Unlike butter, which can make cakes denser when chilled, oil ensures a consistently moist crumb.
- Eggs: Provide structure and richness, binding the ingredients together. Ensure they are at room temperature for optimal emulsification with other ingredients.
- Granulated Sugar: Sweetens the cake layers and contributes to their moistness.
- Hot Water: Helps to bloom the cocoa powder, intensifying its chocolate flavor and contributing to the cake’s tenderness.
- Vanilla Extract: Enhances the overall flavor profile of the chocolate, adding a subtle warmth without being overpowering.
For the Airy Whipped Cream Frosting:
- Heavy Whipping Cream (Full-Fat): The essential ingredient for light, stable, and luxurious whipped cream. Ensure it’s very cold for the best whipping results.
- Confectioner’s Sugar (Powdered Sugar): Sweetens the cream and helps to stabilize it, preventing it from weeping. Its fine texture dissolves smoothly, creating a silky frosting.
For the Eye-Catching Decorations:
- Cherries: For the filling between layers, use fresh, pitted, and halved cherries. For the impressive topping, a few whole cherries with their stems create a classic, elegant finish. If fresh cherries are out of season, quality frozen or canned cherries (drained) can be excellent substitutes.
- Chocolate Sprinkles or Chocolate Shavings: These add texture, extra chocolate flavor, and that iconic Black Forest look. Feel free to sprinkle them generously on top or press them onto the sides of the cake. Let your creativity be your guide!
This recipe yields two robust cake layers, providing a substantial and satisfying cake. If you prefer a cake with more layers and a more dramatic height, you can carefully slice each baked layer horizontally to create four thinner layers. However, I personally love the generous thickness of two layers, which contributes to the cake’s overall richness and satisfying mouthfeel.
Essential Kitchen Appliances for Your Black Forest Cake
Having the right tools can make your baking experience smoother and more enjoyable. Here’s what you’ll need to create this stunning Black Forest Cake:
- Two 8-inch Round Cake Pans: These are crucial for baking even, perfectly shaped cake layers. For a larger cake that yields more servings, you can opt for 9-inch round pans, adjusting baking time as needed.
- Stand Mixer with a Whisk Attachment: This appliance is a true time-saver for both preparing the cake batter and whipping the cream frosting to perfection. If you don’t have a stand mixer, a reliable handheld electric mixer will work just as effectively, paired with a spacious mixing bowl.
- Piping Bag with a Large Star Tip (or 1A Large Round Tip): Essential for creating those beautiful, elegant dollops of whipped cream on top of your cake, providing a professional and decorative finish.
- Parchment Paper: For lining your cake pans, ensuring easy release and preventing sticking.
- Rubber Spatula: Indispensable for scraping down the sides of your mixing bowl and gently folding ingredients.
- Wire Rack: For cooling your cake layers completely, which is vital for proper assembly.
Crafting Your Homemade Black Forest Cake: A Step-by-Step Guide
Creating a Black Forest Cake is a delightful process, blending baking and artistry. While the active prep and baking times are manageable, remember that patience is a key ingredient. You’ll need to allow sufficient time for the baked cake layers to cool completely (approximately 1-2 hours) and for the assembled cake to chill and allow the flavors to meld beautifully (around 2-4 hours). This chilling period is crucial for the cake’s stability and for achieving that irresistible flavor depth.
1 – Prepare The Rich Chocolate Cake Batter
- Begin by preheating your oven to 350 degrees F (175 degrees C). This ensures the oven is at the correct temperature for even baking.
- Prepare two 8-inch round cake pans. Line the bottoms with parchment paper, then grease the sides with butter or shortening. Lightly dust the greased pans with cocoa powder, tapping out any excess. This cocoa dusting enhances the dark color of the cake and prevents sticking. Set the prepared pans aside.
- In the bowl of a stand mixer (or a large mixing bowl if using a handheld mixer), combine all the dry ingredients: all-purpose flour, granulated sugar, cocoa powder, baking soda, baking powder, and salt. Whisk them slowly on low speed to ensure they are thoroughly combined and no lumps remain. Sifting your dry ingredients beforehand can also contribute to a smoother batter and a lighter cake.
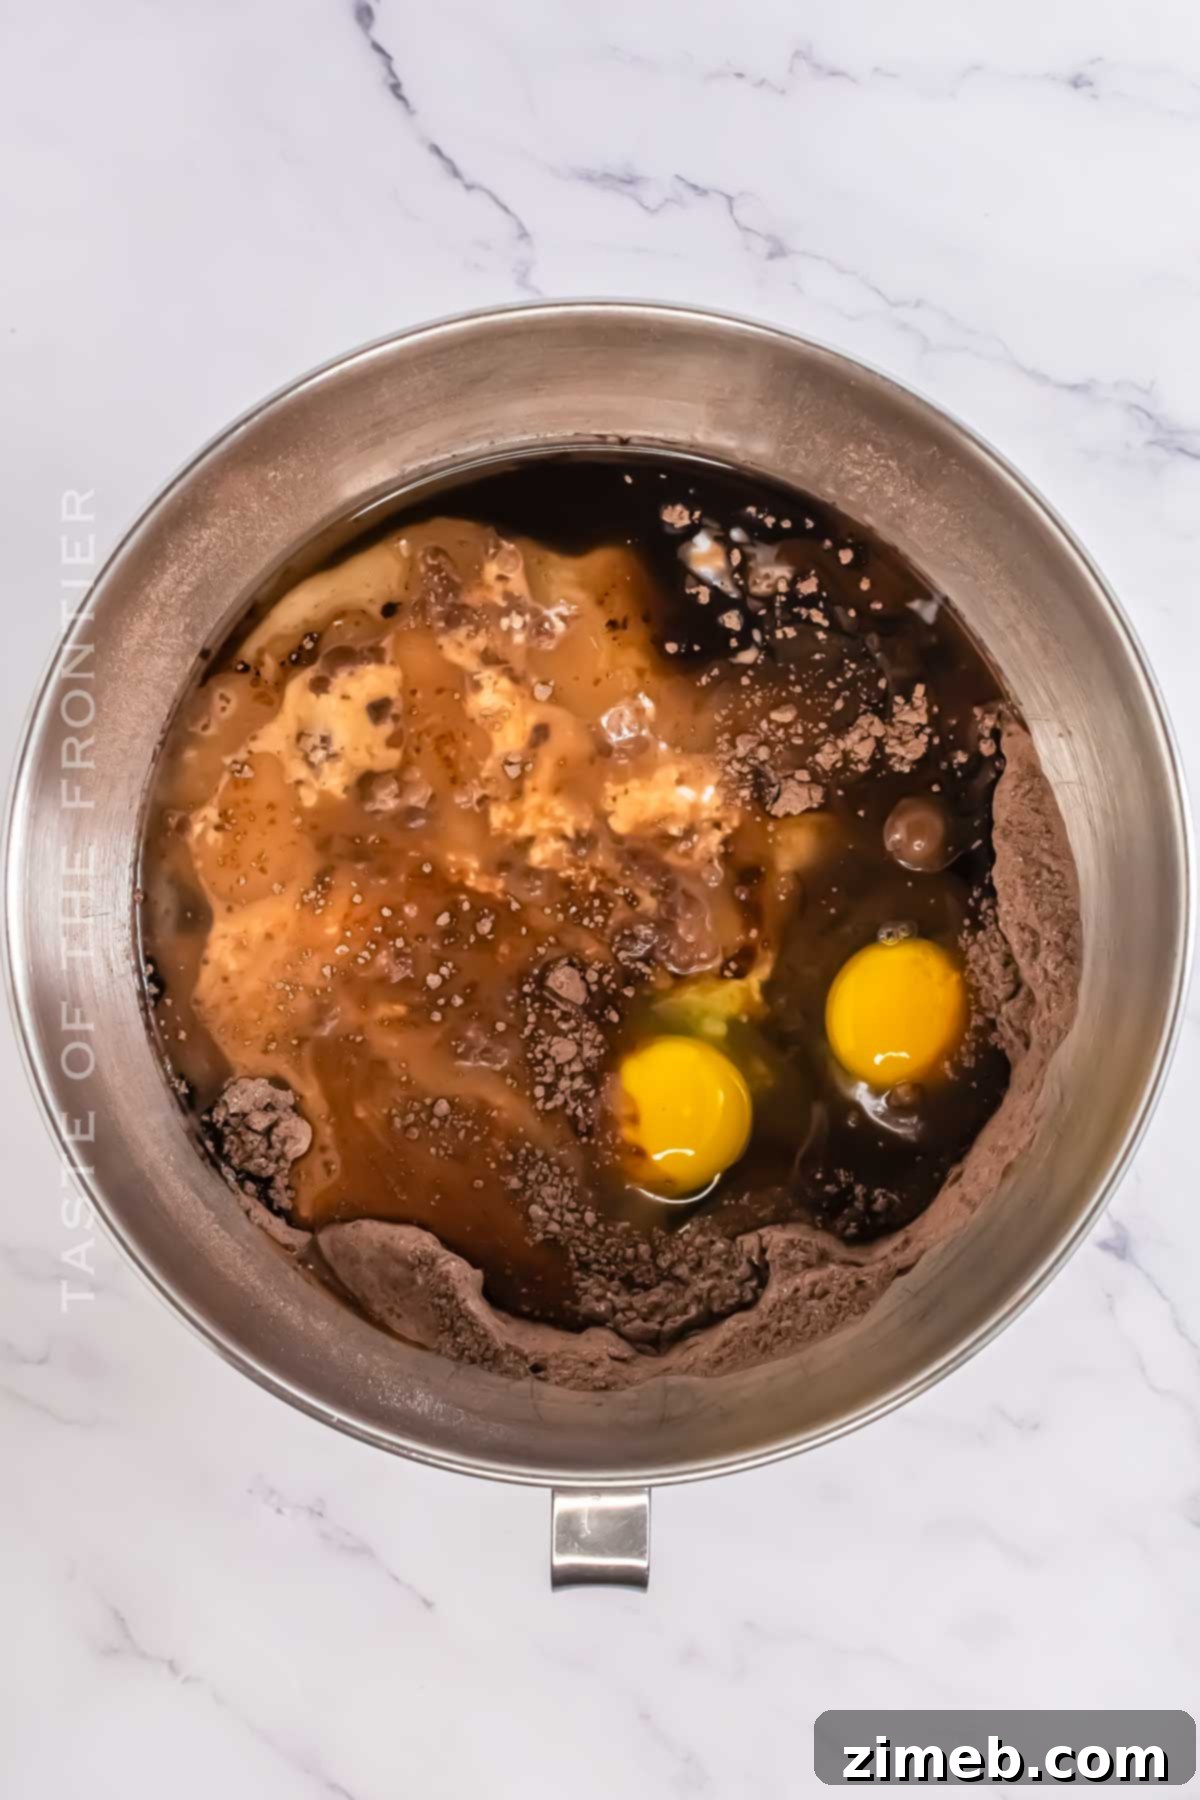
- To the dry mixture, add the wet ingredients: buttermilk, hot water, eggs, oil, and vanilla extract. Begin mixing slowly to incorporate everything, then gradually increase to medium speed. Scrape down the sides and bottom of the bowl periodically to ensure all ingredients are well combined, resulting in a smooth, uniform batter free of any dry pockets. Do not overmix; mix just until combined.
2 – Bake The Moist Cake Layers
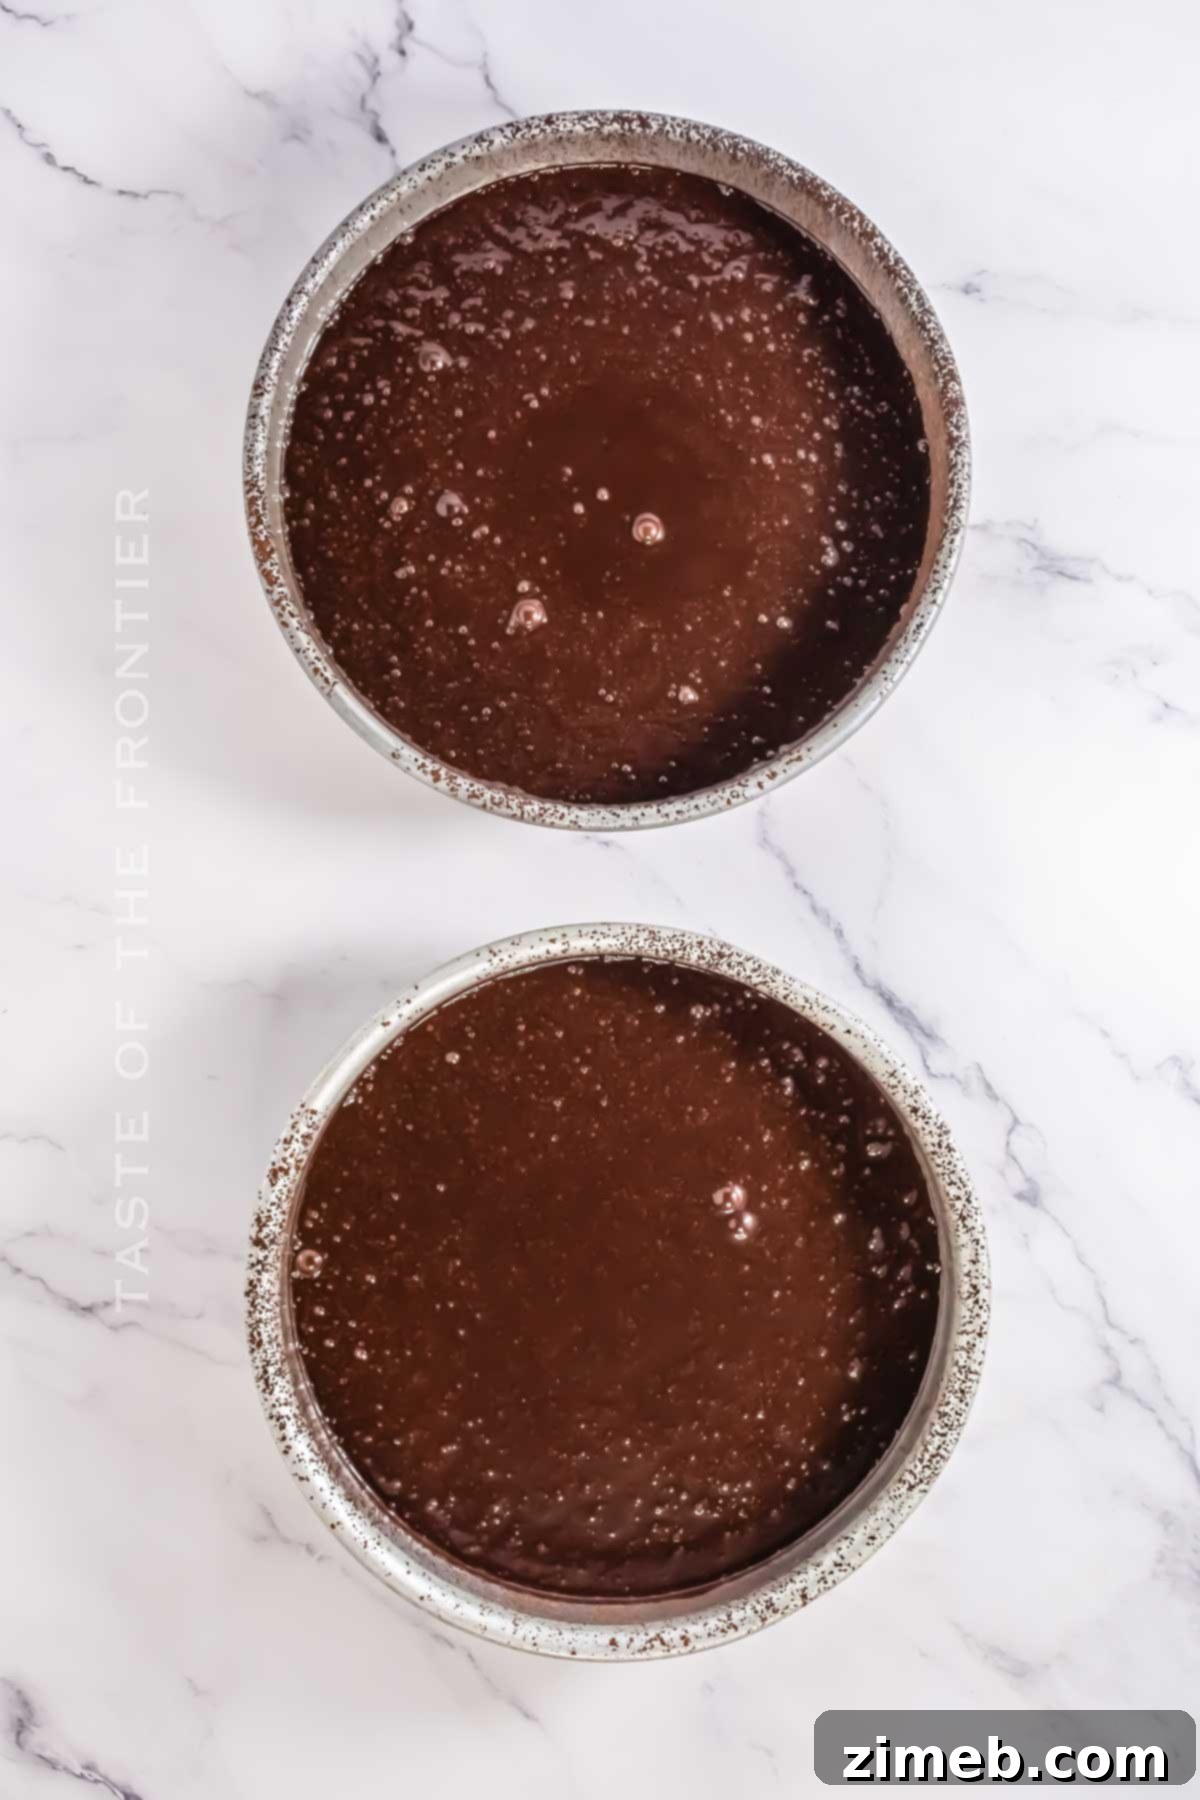
- Evenly divide the prepared chocolate cake batter between the two prepared cake pans. For precise, equal layers, you can use a kitchen scale to measure the batter in each pan.
- Bake for 45-50 minutes, or until a wooden toothpick inserted into the center of a cake layer comes out clean. This indicates that the cake is fully cooked.
- Once baked, remove the cakes from the oven and allow them to cool in their pans on a wire rack for about 15-20 minutes. Then, carefully invert them onto the wire rack to cool completely for 1-2 hours. Ensuring the cakes are entirely cool before assembly is critical; otherwise, the whipped cream will melt.
3 – Prepare the Light Whipped Cream Frosting
- In the clean, chilled bowl of your stand mixer (or a large mixing bowl), combine the very cold heavy whipping cream and confectioner’s sugar.
- Whip on high speed until stiff peaks form. The cream should be thick and hold its shape well. Be careful not to over-whip, as it can turn granular.
4 – Assemble Your Black Forest Masterpiece
- Once the cake layers are completely cool, gently remove them from their pans. Carefully place the first cake layer onto your chosen serving plate or cake stand.
- Spread a generous, even layer of whipped cream across the top of this first cake layer.
- Arrange a single layer of fresh, pitted, and halved cherries over the whipped cream, gently pressing them in. Add another thin layer of whipped cream on top of the cherries, spreading it gently to fill any gaps and create an even surface for the next cake layer. This ensures a stable and beautiful filling.
- Carefully place the second chocolate cake layer on top of the cherry and cream filling.
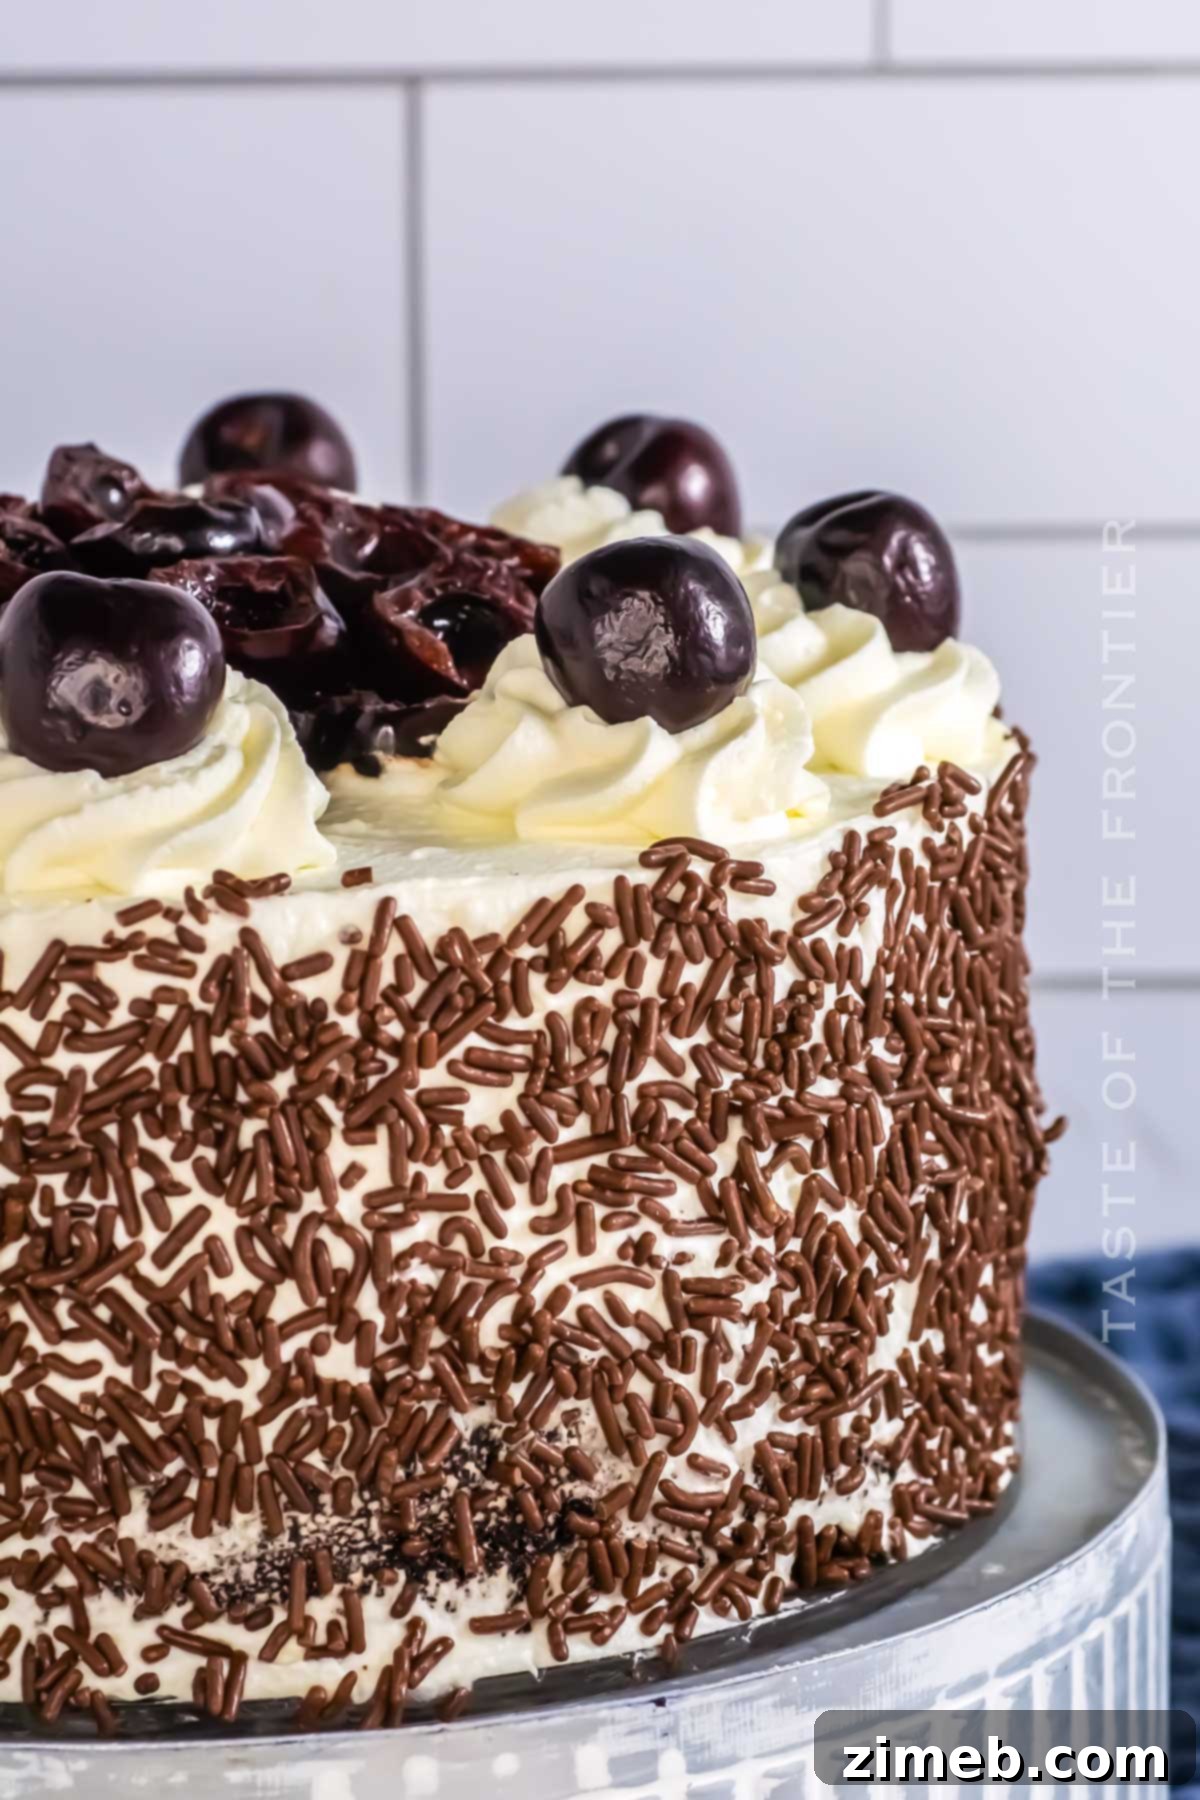
- Using the remaining whipped cream, apply a smooth, even layer over the entire top and sides of the cake. You can achieve a rustic look or strive for a perfectly smooth finish with an offset spatula.
5 – The Finishing Touches and Chilling
- Transfer any leftover whipped cream to a piping bag fitted with a large star tip (or a 1A large round tip).
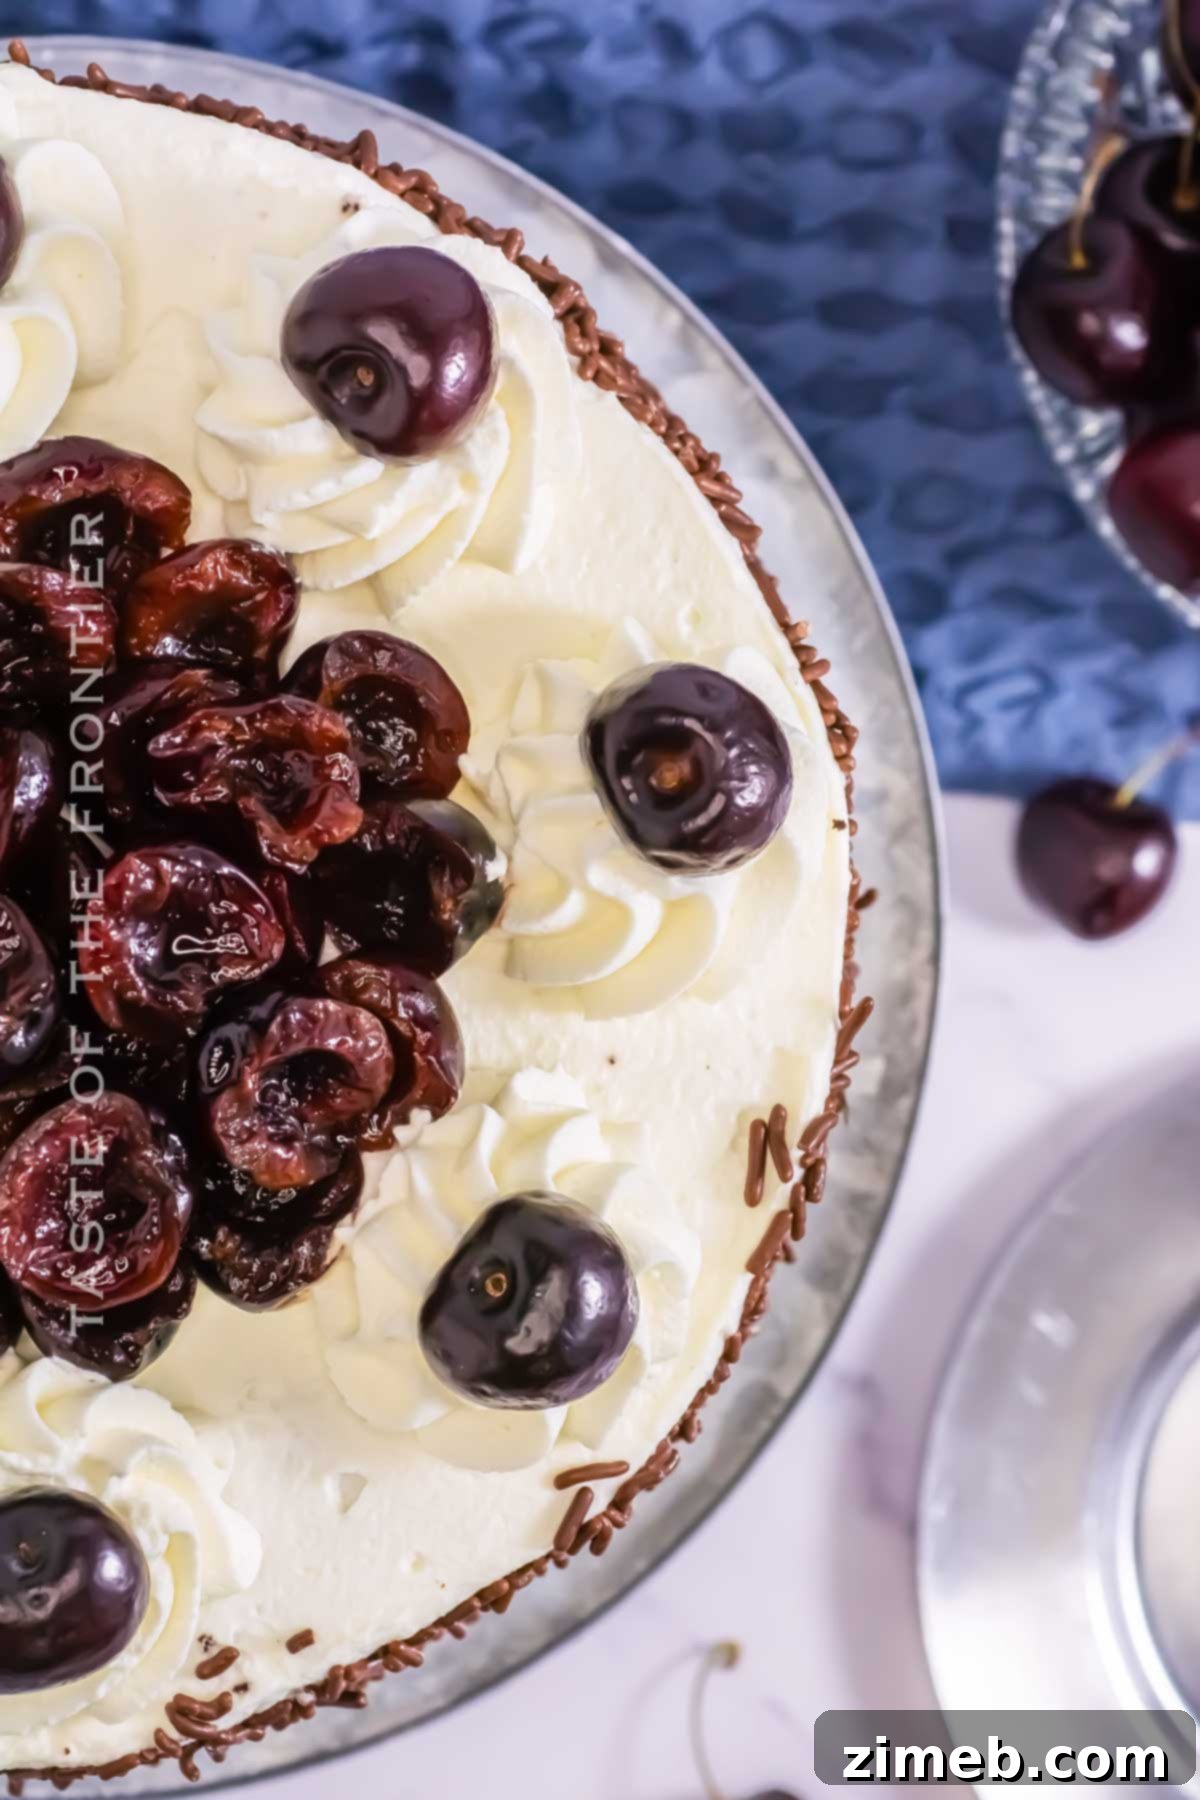
- Pipe decorative swirls or dollops of frosting evenly around the edges of the cake’s top. On each cream dollop, place a whole cherry with its stem, creating a classic Black Forest Cake aesthetic.
- Fill the center of the cake with the remaining sliced or halved cherries, creating a vibrant cherry crown.
- For optimal flavor melding and structural stability, let the cake chill and set properly in the refrigerator for 2-4 hours. This crucial step allows the cream to firm up and the flavors to fully develop.
- Once chilled, slice and serve your magnificent Black Forest Cake. When cutting, try to ensure each serving receives one of those beautiful whole cherries on top for an extra touch of elegance.
Storing Your Black Forest Cake to Maintain Freshness
Due to its generous whipped cream frosting, Black Forest Cake does not fare well at room temperature for extended periods. Any leftover cake should always be chilled promptly to maintain its quality and prevent spoilage.
Store your Black Forest Cake in an airtight container in the refrigerator for up to 3-4 days. An airtight container will protect the cake from absorbing other odors from the fridge and will help keep the cake layers moist and the whipped cream fresh.
Can You Freeze Black Forest Cake?
While the entire assembled Black Forest Cake with its whipped cream frosting typically doesn’t freeze well (the texture of whipped cream can change after thawing, becoming watery or grainy), you can absolutely prepare and freeze the individual chocolate cake layers ahead of time. This is a fantastic strategy for holiday baking or when planning a celebratory dessert in advance.
To freeze cake layers, ensure they are completely cooled. Wrap each layer tightly in plastic wrap, followed by a layer of aluminum foil, to prevent freezer burn. Properly wrapped cake layers can be stored in the freezer for 1-2 months. When ready to assemble, simply thaw the layers overnight in the refrigerator, then proceed with making the fresh whipped cream and assembling the cake as directed.
Creative Variations & Substitutes for Your Black Forest Cake
While the classic Black Forest Cake is a true delight, this recipe offers flexibility for culinary exploration and dietary adjustments. Feel free to customize it to your taste!
- Cake Base Flavor Enhancements: Beyond vanilla extract, consider adding other complementary aromas to your chocolate cake layers. A teaspoon of almond extract can introduce a subtle nutty note that pairs beautifully with chocolate and cherries. For an intensified chocolate flavor, try incorporating a teaspoon of espresso powder or instant coffee granules; these enhance the chocolate without making the cake taste like coffee. If using instant coffee, dissolve it first in the buttermilk for even distribution.
- Whipped Cream Frosting Flavor: This recipe uses plain, lightly sweetened whipped cream. However, you can infuse the frosting with extra vanilla, almond extract, or even a hint of Kirsch for an adult-friendly version.
- Alternative Frosting Options: If you desire a frosting with more stability or a different flavor profile, consider:
- Mascarpone Frosting: A blend of mascarpone cheese, heavy cream, and confectioner’s sugar creates a richer, slightly tangy frosting.
- Vanilla Buttercream: A classic choice, offering a smooth, buttery texture.
- Ermine Frosting: Also known as “flour buttercream,” this cooked frosting is incredibly light, fluffy, and less sweet than traditional buttercream, making it an excellent pairing for the Black Forest Cake’s flavors.
- Creative Filling Ideas:
- Chocolate Mousse: Replace some or all of the whipped cream filling with a decadent chocolate mousse for an ultra-chocolatey experience.
- Nutty Additions: Old-fashioned Black Forest Cake recipes sometimes included finely chopped or toasted pecans and almonds in the filling or as a garnish, adding a pleasant textural contrast.
- Cherry Compote/Sauce: Instead of fresh cherries, a homemade cherry compote or sauce (as detailed below) can be spread between layers, offering an intensified cherry flavor.
- Gluten-Free Black Forest Cake: To make this cake completely gluten-free, you will need to adjust the recipe significantly. Substitute all-purpose flour with a high-quality gluten-free all-purpose baking blend that includes xanthan gum. Ensure your baking powder is also gluten-free. Some adventurous bakers even create a cake base using finely ground gluten-free oats and seeds for a unique texture.
- Dairy-Free Black Forest Cake: Creating a dairy-free version is entirely possible.
- Buttermilk Substitute: Replace regular buttermilk with a plant-based milk like soy or almond milk. To mimic buttermilk’s acidity, combine 1 cup of plant-based milk with 1 tablespoon of apple cider vinegar or lemon juice, let it sit for 5-10 minutes until it curdles slightly.
- Whipped Cream Substitute: Use full-fat canned coconut cream (chilled overnight and only using the thick cream from the top) or a store-bought vegan whipped cream alternative.
Expert Tips & Creative Ideas for Your Black Forest Cake
Elevate your Black Forest Cake to new heights with these additional tips and creative touches:
- Homemade Buttermilk Substitute: If you don’t have buttermilk on hand, it’s easy to make your own! In a liquid measuring cup, combine full-fat milk with 1 teaspoon of lemon juice or white vinegar. Let it sit for 5-10 minutes until it slightly curdles. For an even richer, more moist cake, you can enhance your buttermilk substitute by adding a tablespoon of sour cream or plain Greek yogurt.
- Utilize Cake Crumbs: Don’t discard any leftover cake crumbs! They make excellent decorations. Gently press them onto the sides of the frosted cake – they adhere perfectly to the whipped cream and add a lovely rustic touch while preventing waste.
- Choosing the Right Oil: For this recipe, oil is preferred over butter for maximum moisture and tenderness, especially for a chilled cake. Canola oil works exceptionally well due to its neutral flavor. Other good options include vegetable oil or even a light olive oil. Butter, while delicious, has a different fat composition and will result in a denser cake, which isn’t ideal for this recipe.
- Beyond Classic Toppings: While cherries and chocolate shavings are traditional, feel free to get creative!
- Chocolate Glaze or Ganache: For an extra layer of chocolatey indulgence and a truly stunning presentation, drizzle a homemade chocolate glaze or ganache over the top, letting it drip elegantly down the sides. It requires minimal effort but yields gorgeous results.
- Toasted Sliced Almonds: These make fantastic decorations for the sides of the cake, adding a subtle crunch and nutty flavor that complements the chocolate and cherries.
- Homemade Chocolate Shavings: Don’t buy expensive pre-made shavings! You can easily create beautiful chocolate curls at home by using a potato peeler or vegetable peeler on a block of quality dark or semi-sweet chocolate.
- Quality Chocolate Matters: For the best flavor in your cake layers and for any chocolate shavings, always opt for good quality dark chocolate or semi-sweet chocolate with a cocoa content of at least 60%.
Selecting the Best Cherries for Your Black Forest Cake
The choice of cherries significantly impacts the flavor profile of your Black Forest Cake. Here’s a guide to selecting the ideal cherries:
Recommended Varieties:
- Sweet Cherries: Dark sweet varieties like Bing and Rainier cherries are excellent choices. They offer a delightful sweetness that balances the dark chocolate and provides a beautiful color contrast.
- Morello Sour Cherries: Traditionally, Morello sour cherries are the go-to for authentic German Black Forest Cake. Their tartness provides a fantastic counterpoint to the rich cake and sweet cream. If you can find them fresh or canned, they will lend the most authentic flavor.
Fresh or Frozen:
- Fresh Cherries: When in season, fresh, pitted cherries are unparalleled for their vibrant flavor and firm texture.
- Frozen Cherries: Frozen cherries are a convenient option available year-round. If using frozen, allow them to thaw completely and drain *all* excess liquid. This is crucial to prevent your cake layers from becoming soggy. A good tip is to gently press them in a colander or pat them dry with paper towels.
Convenient Alternatives:
- Canned Cherries: Canned cherries (often tart or dark sweet) are a readily available and easy-to-prep option, as they typically come pitted. Be sure to drain them thoroughly before using them as a topping or filling. However, don’t discard the flavorful juice; it’s perfect for making a homemade cherry syrup or sauce.
- Cherry Pie Filling: For ultimate convenience, quality cherry pie filling can be an amazing substitute for fresh cherries, offering a thick, flavorful, and ready-to-use option for your layers.
- Cherry Syrup/Juice: Using drained cherry juice or a prepared cherry syrup (especially if infused with a touch of Kirsch) is also a fantastic way to moisten cake layers, drawing closer to the original German tradition of saturating the sponge.
Cherries to Avoid:
- Very Sour Cherries (without sweetening): While tartness is good, excessively sour cherries might overwhelm the cake. If using very tart varieties, consider simmering them gently with a touch of sugar first.
- Maraschino Cherries: These bright red, artificially flavored cherries are generally not recommended for authentic Black Forest Cake recipes, as their flavor and texture are far from the natural cherry taste desired.
Simple Homemade Cherry Sauce Recipe
Enhance your Black Forest Cake with a luscious homemade cherry sauce. This sauce can be used to moisten cake layers, as a filling, or even drizzled over individual slices for an extra burst of cherry flavor. It’s especially useful when using canned cherries, as it utilizes the flavorful reserved juice.
- In a medium saucepan, whisk together the reserved cherry juice (from canned cherries or a 100% pure cherry juice), a squeeze of fresh lemon juice, a tablespoon of cornstarch, a pinch of cinnamon, and granulated sugar to taste.
- Place the saucepan over medium-low heat. Stir continuously until the mixture thickens and comes to a gentle simmer. Cook for another 1-2 minutes until glossy.
- Remove from heat and let it cool completely. As it cools, the sauce will continue to thicken. Once cool, it’s ready to be used in between cake layers instead of or in addition to fresh cherries, or as a vibrant topping.
Expert Tips for Baking the Best Black Forest Cake
Achieving a truly spectacular Black Forest Cake involves a few key techniques and considerations. Follow these tips to ensure your cake is moist, flavorful, and beautifully presented:
- Choosing Your Cake Base: This recipe focuses on creating regular, incredibly moist chocolate cake layers, not a traditional chocolate sponge cake. Sponge cakes, which rely solely on whipped eggs for leavening and typically contain no butter or oil, can be more challenging to get right and often result in a drier cake. My recipe simplifies the process while delivering a tender, flavorful base. Keep in mind that this is a delightful and accessible twist on the classic sponge-based Black Forest Cake.
- Even Cake Layers: To ensure your cake layers bake evenly and are uniform in thickness, use an ice cream scooper or a kitchen scale to accurately divide the batter between your prepared pans. This simple step contributes significantly to the cake’s overall aesthetic and stability.
- Sifting Dry Ingredients: Always sift your powdered dry ingredients (flour, cocoa powder, baking soda, baking powder) before combining them. Sifting aerates the ingredients, prevents lumps, and ensures accurate measurement, as unsifted ingredients can pack down and lead to incorrect ratios in the recipe.
- Room Temperature Ingredients: For optimal emulsification and a smooth, homogenous batter, ensure all ingredients (except the hot water and cold heavy cream) are at room temperature. This allows them to combine more easily and creates a finer, more tender crumb.
- Patience in Mixing: When combining wet and dry ingredients, whisk them slowly and patiently until they are just incorporated. This is crucial for developing the best possible cake texture. Overmixing can overdevelop the gluten in the flour, resulting in a tough, dry cake.
- Don’t Overwork Batter or Cream: Similarly, be mindful not to overmix the cake batter or over-whip the cream frosting. The cake batter should be mixed just until smooth and no lumps remain. Whipped cream should be beaten until stiff peaks form but no further, as over-whipping can lead to a dense or grainy texture. While I don’t use gelatin in this recipe, it is an option to stabilize whipped cream if you need it to hold up for a very long time in warm conditions.
- Cream Stability for Events: If you anticipate your cake sitting out for a few hours at a party, consider swapping the heavy whipping cream frosting with a more stable alternative like buttercream or cream cheese frosting. These hold up better at room temperature.
- Clean Decorating: A pastry brush is your best friend for gently cleaning up any stray crumbs or powdered sugar on your cake plate without disturbing the delicate cake layers or frosting. It’s much more effective and hygienic than using your fingers!
- Cutting Even Layers: If you decide to slice your baked cake layers horizontally to create more thin layers, a durable piece of unflavored dental floss or a thin sewing thread can help you achieve an incredibly clean, smooth, and even cut.
- Economical Chocolate Shavings: High-quality chocolate shavings can be expensive to purchase. Save money and enjoy the freshness by making them yourself! Simply use a clean potato peeler or vegetable peeler on a block of good quality dark or semi-sweet chocolate.
Frequently Asked Questions About Black Forest Cake
What is a good substitute for Kirsch in Black Forest Cake?
Kirschwasser, or Kirsch, is a traditional cherry brandy integral to authentic German Black Forest Cake. However, for a non-alcoholic version or if Kirsch is unavailable, there are excellent substitutes:
- Non-Alcoholic Options: The best non-alcoholic substitutes for Kirsch are 100% pure cherry juice, non-alcoholic kirsch flavoring (if available), or the delicious leftover juice from canned cherries. These options will impart a wonderful cherry flavor without any alcohol, making the cake family-friendly.
- Alcoholic Alternatives (if Kirsch is unavailable): Unfortunately, there isn’t a widely recognized close alcoholic replacement that mimics Kirsch’s specific flavor profile. Kirsch has a unique dry, fruity, and slightly almond-like note. Some might consider using a cherry-flavored liqueur, but these are often sweeter and less subtle than Kirsch. While one could experiment with a combination of cherry juice and a touch of a neutral chocolate liqueur, this will alter the traditional flavor significantly. For the most authentic experience, if you wish to include alcohol, sourcing Kirsch is highly recommended.
Does Black Forest Cake contain coffee?
Traditionally, Black Forest Cake recipes don’t feature coffee as a primary flavor. However, it’s a common and highly effective culinary trick to add a small amount of coffee powder (such as espresso powder or strong instant coffee) to chocolate cake batter. The reason for this is that coffee doesn’t necessarily impart a strong coffee flavor to the cake; instead, it acts as a powerful enhancer, deepening and intensifying the rich flavor of the chocolate. The final result will be a more profound and rounded chocolate taste without tasting distinctly of coffee.
If you are sensitive to caffeine or prefer to avoid coffee, you can certainly use brewed decaffeinated coffee or decaf espresso powder to achieve the same chocolate-enhancing effect.
Can I Use Cake Mix For Black Forest Cake Recipe?
Absolutely! If you’re looking to save time or simplify the baking process without compromising on deliciousness, using a high-quality cake mix for your Black Forest Cake layers is a fantastic option. While it won’t be as “from scratch” as a traditional recipe, it will still yield a wonderfully tasty cake.
The best cake mixes to use for Black Forest Cake are:
- Chocolate Fudge Cake Mix: This mix provides a rich, dense chocolate flavor that pairs perfectly with the cherries and whipped cream.
- Devil’s Food Cake Mix: Known for its deep color and intense chocolate flavor, Devil’s Food cake mix is another excellent choice for the dark layers of a Black Forest Cake.
To further enrich the flavor and moisture of your cake mix layers, consider adding a packet of instant pudding mix (chocolate or vanilla) to the batter. This is a popular hack that makes cake mix cakes incredibly moist and flavorful.
If you adore this Black Forest Cake recipe, you’ll love exploring these other incredible frosting and cake recipes. Click each link below to discover easy, printable recipes that will inspire your next baking adventure!
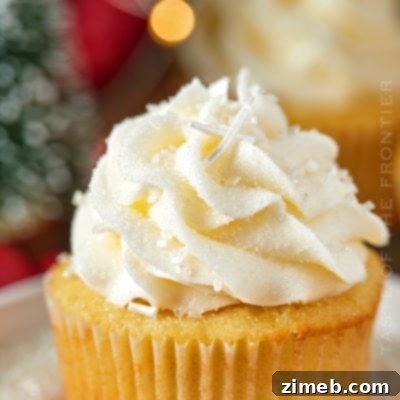
Champagne Frosting
Champagne cupcakes are a perfect New Year’s Eve dessert, and this Champagne frosting will take them to the next level with its delicate sparkle and flavor.
Check out this recipe
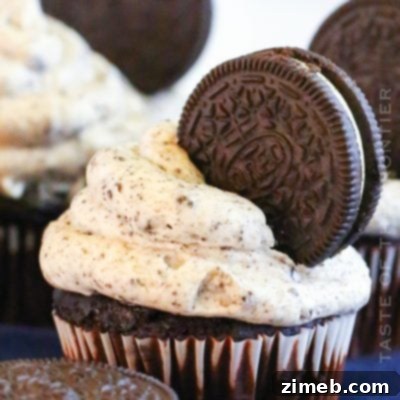
Oreo Frosting
If you’re an Oreo cookie lover, you’re in for a treat! Making this sweet buttercream Oreo Cookie Frosting is incredibly easy and tastes amazing on any cake flavor. With the perfect amount of crushed Oreo cookies mixed in, it delivers an incredible cookies and cream flavor, perfect for any celebration.
Check out this recipe
Chocolate Buttercream Frosting
Searching for the BEST Chocolate Buttercream Frosting? This recipe delivers a rich, creamy, and undeniably delicious frosting that is SO MUCH BETTER than anything from a bakery! It’s easy to make, and everyone will be begging for your secret recipe.
Check out this recipe
Cream Cheese Frosting Recipe
This Cream Cheese Frosting Recipe is deliciously thick, ultra-creamy, and holds its shape beautifully when piped, remaining creamy even when chilled. You only need 4 simple ingredients, and it pairs perfectly with carrot cake, red velvet, and many more desserts! It’s undoubtedly the BEST cream cheese frosting recipe you’ll ever taste!
Check out this recipe
Coffee Buttercream Frosting
Calling all coffee lovers! This rich and creamy Coffee Buttercream Frosting is the perfect addition to all your cakes and confections. Made with just 4 ingredients and ready in 5 minutes, it’s a dream come true for coffee enthusiasts.
Check out this recipe
Explore More Delicious Cake Recipes
Chocolate Raspberry Cake
Mint Chocolate Chip Cake
Zebra Cake
Chocolate Cake with Peanut Butter Frosting
CONNECT WITH YUMMI HAUS!
Be sure to follow me on my social media, so you never miss a post!
Substack, FB, Pinterest, IG, Email Subscription
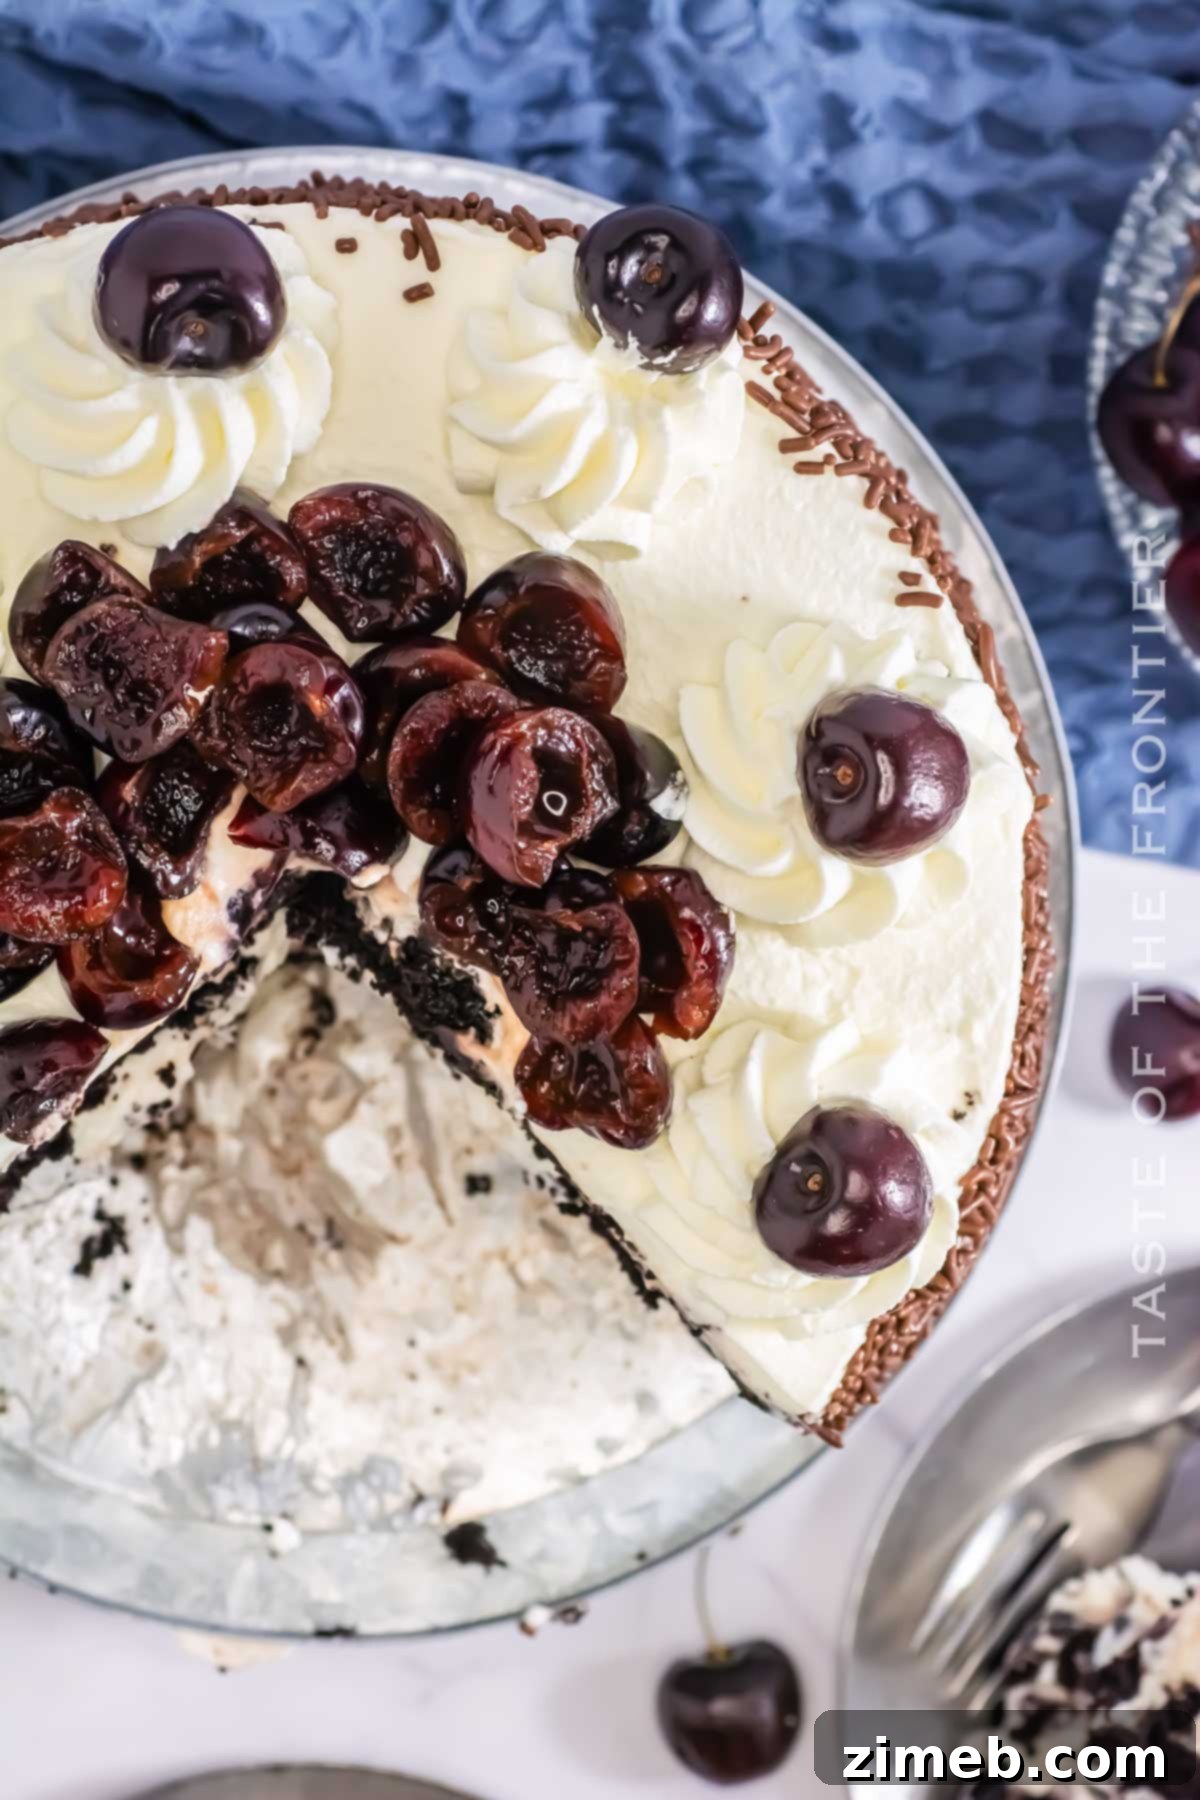
Black Forest Cake Recipe
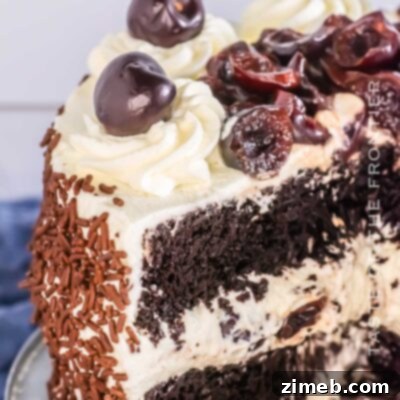
Black Forest Cake is about decadent dark chocolate cake layers with whipped cream filling and fresh cherries on top. An indulgent and surprisingly easy-to-make birthday cake.
Course: Dessert
Servings: 12 servings
- Prep Time: 20 mins
- Cook Time: 50 mins
- Decorate/Chill Time: 2 hrs 30 mins
- Total Time: 3 hrs 40 mins
Ingredients
Cake
- 2 cups all-purpose flour
- 2 cups granulated sugar
- ½ cup cocoa powder
- 2 tsp baking soda
- 1 tsp baking powder
- 1 tsp salt
- 1 cup buttermilk
- 1 cup hot water
- 2 eggs
- ½ cup oil
- 2 tsp vanilla extract
Whipped Cream Frosting
- 3 cups heavy cream
- ¼ cup confectioner’s sugar
Decorate
- 1 cup chocolate sprinkles or shavings
- 2 cups cherries – fresh, pitted and halved
- Additional whole cherries for topping
Instructions
Cake
- Preheat the oven to 350 degrees F (175 C).
- Line two 8-inch cake pans with parchment paper. Grease them with butter or shortening and then dust with a light layer of cocoa powder, tapping off the excess. Set aside.
- Combine the flour, sugar, cocoa powder, baking soda, baking powder, and salt in a large bowl. Whisk slowly to combine.
- Add the buttermilk, hot water, eggs, oil, and vanilla extract. Slowly mix until combined. Scrape down the sides and bottom of the bowl and mix again at medium speed until thoroughly combined and smooth.
- Divide the batter evenly between the two prepared cake pans and bake for 45-50 minutes or until a toothpick inserted in the center comes out clean. Allow to cool completely on a wire rack before assembling, typically 1-2 hours.
Whipped Cream Frosting
- Combine the cold heavy cream and confectioner’s sugar in the bowl of a stand mixer.
- Whip at high speed until stiff peaks form.
Decorate and Assemble
- Carefully remove the cooled cake layers from their pans. Place the first cake layer on your serving plate.
- Spread a thin, even layer of whipped cream across the top of the first cake layer.
- Top with a single layer of halved cherries, gently pressing them into the cream, then add another thin layer of whipped cream to spread evenly to the edges.
- Carefully place the second cake layer on top of the cherry and cream filling.
- Add a smooth layer of the remaining whipped cream frosting over the entire top and sides of the cake.
- Transfer any remaining whipped cream to a piping bag fitted with a large star tip.
- Pipe decorative frosting swirls or dollops evenly around the edges of the cake. Place a whole cherry with a stem on top of each cream dollop to decorate.
- Add the remaining sliced cherries to the center of the top of the cake.
- Chill the assembled cake in the refrigerator for 2-4 hours to allow it to set and flavors to meld before slicing and serving.
Notes
Cake can be stored in an airtight container in the fridge for up to 3-4 days.
Nutrition
Serving: 1 serving | Calories: 599kcal | Carbohydrates: 73g | Protein: 6g | Fat: 33g | Saturated Fat: 15g | Cholesterol: 95mg | Sodium: 478mg | Potassium: 173mg | Fiber: 2g | Sugar: 54g | Vitamin C: 2mg | Calcium: 70mg | Iron: 1mg | Net Carbohydrates: 66g
Nutritional information for the recipe is provided as a courtesy and is approximate. Please double-check with your own dietary calculator for the best accuracy. We at Yummi Haus cannot guarantee the accuracy of the nutritional information given for any recipe on this site.
Love this recipe?
Follow @KleinworthCo for even more tasty recipes!