
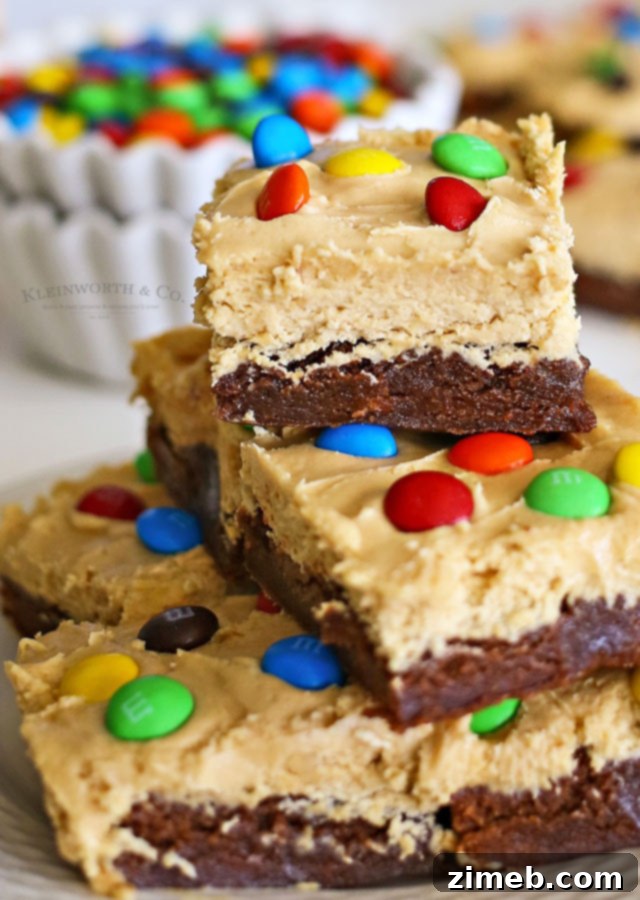
Indulge in Ultimate Sweetness: Chewy Peanut Butter Whip Brownies with M&M’s
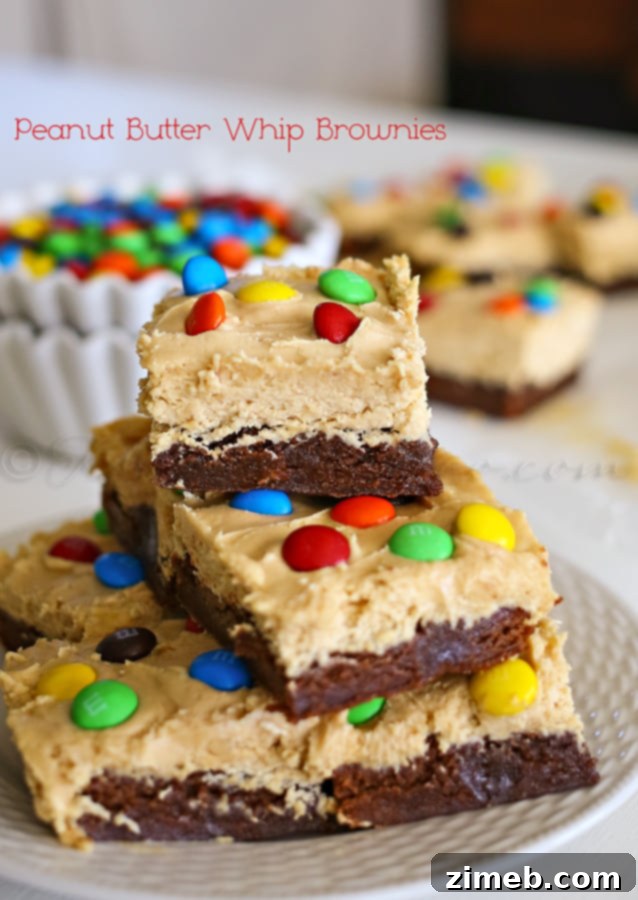
There’s nothing quite like gathering the family for a fun game night, especially after a busy week. And what makes those moments even more special? A plate of irresistible homemade treats! These **Peanut Butter Whip Brownies** are a true crowd-pleaser, elevating the classic brownie to an extraordinary level of deliciousness. They feature a rich, chewy, and fudgy brownie base, crowned with a luscious, creamy peanut butter whip, and finished with a colorful sprinkle of M&M’s. It’s an easy-to-make dessert that promises to be a hit at any family event, party, or simply as a delightful indulgence.
As part of our collection of Yummy Bar Recipes, these brownies truly go beyond delicious. Their simple preparation belies a flavor profile that is complex and deeply satisfying, making them a definite must-make for any sweet tooth!
This post contains some affiliate links. Click here to read my full disclosure policy.
The Irresistible Allure of Peanut Butter Whip
The star of this dessert, beyond the decadent brownie, is undoubtedly the incredible peanut butter whip. Its creamy texture and rich flavor are so divine, they’ll have your taste buds singing! This isn’t just a simple topping; it’s a velvety cloud of peanut butter goodness that perfectly complements the deep chocolate of the brownie. Then, to add an extra layer of fun and crunch, we generously sprinkle our FAVORITE treat – M&M’s – making these brownies the ideal dessert for all your gatherings and celebrations. This simple yet impressive recipe is incredibly easy to bring together, ensuring a stress-free baking experience with spectacular results.
I absolutely adore how effortlessly these come together. You simply choose your preferred brownie mix (or make your own from scratch, if you prefer!) and bake it according to the package instructions. While your fudgy brownies are cooling, you can whip up the dreamy peanut butter topping. Once both components are ready, just spread the smooth peanut butter whip evenly over the cooled brownies and adorn them with a vibrant assortment of M&M’s. The splash of color and satisfying crunch from the M&M’s not only makes them visually appealing but also adds an exciting textural contrast to the soft brownie and creamy whip.
Customizing Your Peanut Butter Brownie Experience
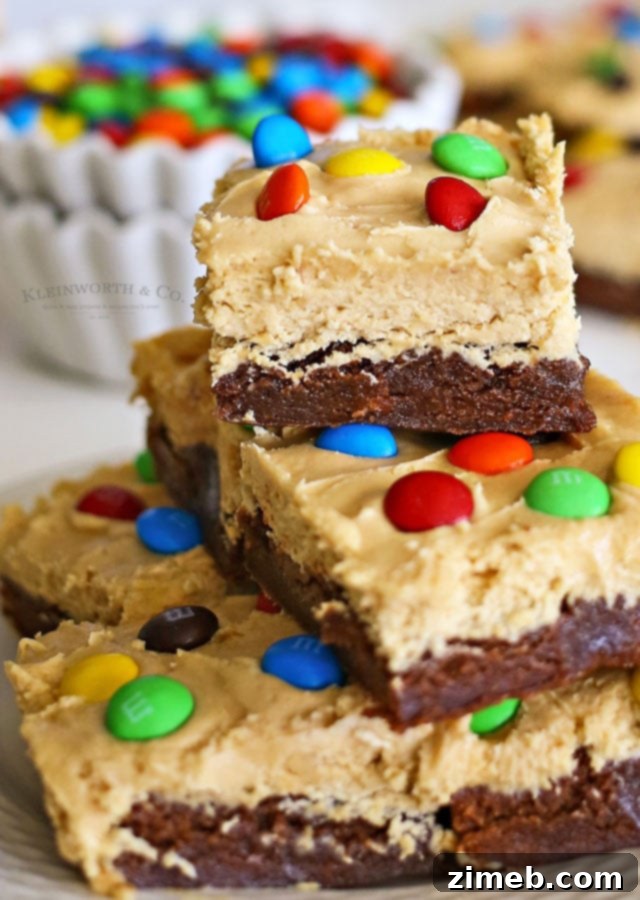
While classic, regular M&M’s were my choice this time, the beauty of these peanut butter brownies lies in their versatility. Feel free to experiment with different M&M varieties! Peanut M&M’s would add another layer of nutty flavor and crunch, or you could opt for pretzel M&M’s for a sweet and salty twist. You can also mix up the colors to perfectly match any holiday or special occasion. Imagine red and green M&M’s for Christmas, pastel shades for Easter, or school colors for a graduation party – the possibilities are endless!
These brownies are pure heaven – I’m telling you! Absolute dessert perfection!
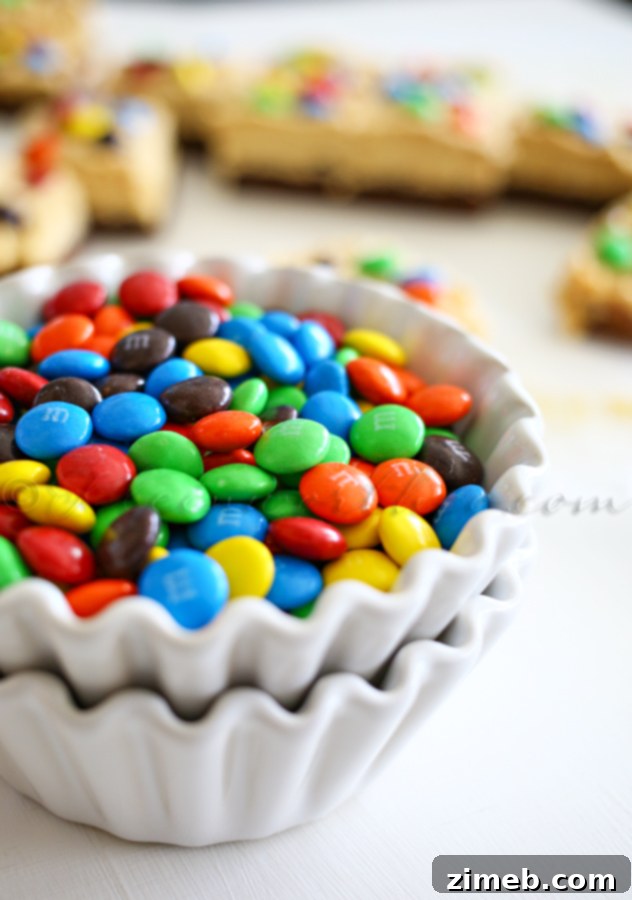
Beyond being a fantastic topping, M&M’s also make for a delightful snack. I often find myself nibbling on them while we enjoy our family game nights. Since I usually buy the BIG bag of M&M’s®, I always have extra bowls of them around for munching, adding to the festive atmosphere.
Prepare to make these incredible brownies again and again! They’re THAT good!
Elevate Your Brownie Creations
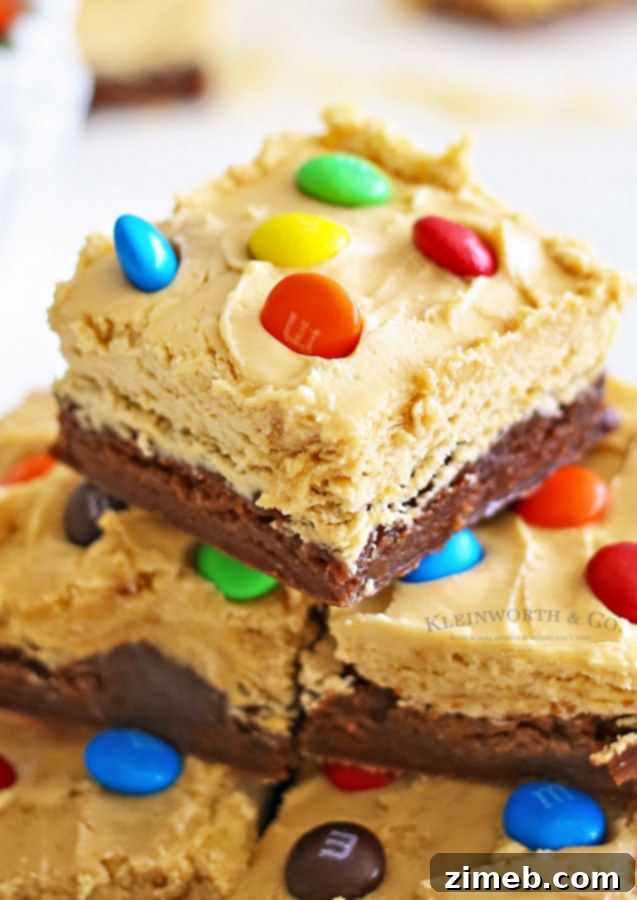
Creating the perfect brownie is an art, and when combined with a dreamy peanut butter whip, it becomes a masterpiece. Whether you’re a seasoned baker or just starting out, this recipe is designed for success. We’ll explore tips for achieving the best texture and presentation, ensuring every bite is a delightful experience. These brownies aren’t just a dessert; they’re a celebration of flavor and fun, perfect for bringing joy to your home.
Commonly Asked Questions About Perfect Brownies
What is the best way to cut brownies cleanly?
Achieving perfectly neat cuts when portioning out your brownies can make a big difference in presentation. Here are my favorite tried-and-true tips for getting the best, cleanest slices every time:
- Use a hot knife: Dip a sharp knife in hot water and wipe it clean after each cut. The heat helps glide through the brownie and whip layers, preventing sticking and crumbling.
- Opt for a plastic knife: This is surprisingly my absolute favorite method! For some reason, plastic knives work wonders in creating smooth, clean edges without dragging the chocolate or whip.
- Ensure complete cooling: This is crucial. Attempting to cut warm brownies will almost always result in a messy, crumbly outcome. Allow your brownies to cool completely, ideally at room temperature, before attempting to slice them.
- Chill the brownies: If your decorations and topping allow (meaning they won’t be adversely affected by refrigeration), chilling the brownies in the refrigerator for at least an hour or two (or even overnight) makes them much firmer and significantly easier to cut cleanly. The cold helps solidify the fudgy texture and the peanut butter whip.
Ingredients for Irresistible Peanut Butter Whip Brownies
Gathering your ingredients is the first exciting step towards these magnificent bars. You’ll need components for both the rich brownie base and the airy peanut butter whip topping. For optimal results, ensure your cream cheese is at room temperature for the whip, as this aids in achieving a smooth, lump-free consistency. The beauty of this recipe is its flexibility – feel free to choose your favorite brand for the brownie mix and whipped topping!
Brownie Layer
- Your favorite box brownie mix + the additional ingredients it calls for (typically oil, eggs & water)
Peanut Butter Whip Layer
- 1 cup creamy peanut butter
- 8 oz cream cheese – room temperature
- 1 cup confectioners sugar (also known as powdered sugar)
- 8 oz whipped topping – such as Cool Whip or a similar brand
- 1 cup M&M’s® (regular, peanut, or your favorite variety)
The Creamy Delight: Peanut Butter Whip
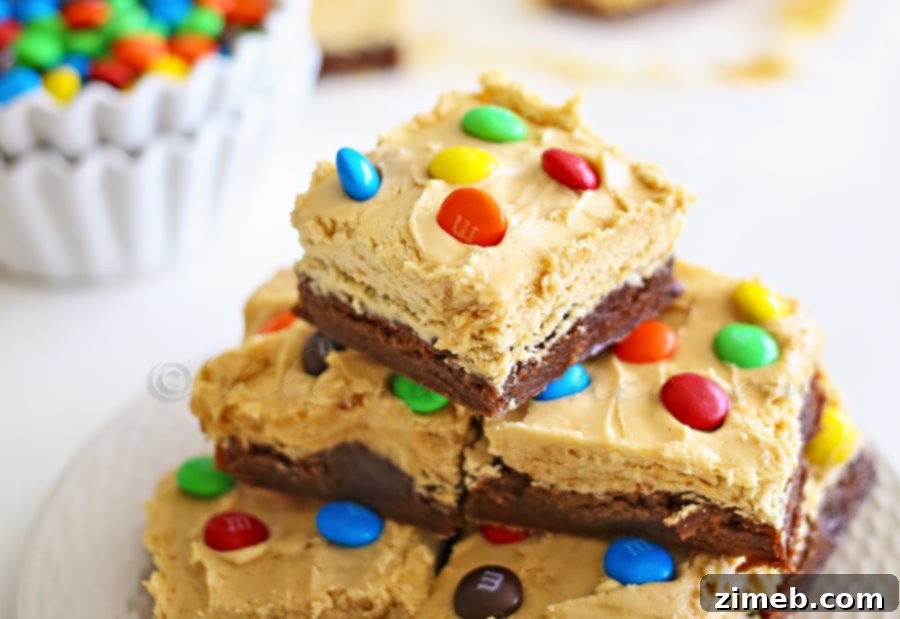
The peanut butter whip is truly what transforms these brownies from good to unforgettable. It’s light, fluffy, and bursting with rich peanut butter flavor, perfectly contrasting the dense, chocolatey brownie beneath. Making this whip is a straightforward process, but paying attention to the details, like ensuring your cream cheese is at room temperature, will guarantee a smooth and exquisite texture that melts in your mouth. This decadent layer is surprisingly easy to create and will be the highlight of your homemade treat.
How to Make Peanut Butter Whip Brownies: A Step-by-Step Guide
Follow these simple instructions to create a batch of these extraordinary Peanut Butter Whip Brownies. The process is divided into two main parts: preparing the brownie base and crafting the delightful peanut butter whip topping.
Brownie Layer
- Prepare and Bake: Begin by preparing your chosen brownie mix exactly according to the package directions. Pour the batter into your prepared baking pan and bake as instructed.
- Cool Completely: Once baked, remove the brownies from the oven and allow them to cool completely. This is a crucial step for achieving clean cuts and ensuring the peanut butter whip doesn’t melt when spread.
Peanut Butter Whip Layer
- Whip Cream Cheese: While the brownies are cooling, start on the topping. In a large mixer bowl, beat the softened, room-temperature cream cheese until it is light, fluffy, and smooth. This typically takes a few minutes.
- Combine with Peanut Butter: Add the creamy peanut butter to the whipped cream cheese. Continue beating until the peanut butter is thoroughly combined and the mixture is uniform.
- Add Confectioners Sugar: Slowly add the confectioner’s sugar to the peanut butter mixture. Beat on low speed initially to prevent a cloud of sugar dust, then increase speed until fully incorporated and smooth.
- Fold in Whipped Topping: Gently fold in the whipped topping (like Cool Whip). After folding, beat the mixture for about 30 seconds on a low speed to ensure it’s well combined and airy. Be careful not to overmix, as this can deflate the whipped topping and reduce the fluffiness of your whip.
- Spread the Whip: Evenly spread the peanut butter whip mixture over the completely cooled brownies. Use an offset spatula or the back of a spoon to create a smooth, consistent layer.
- Decorate, Cut, and Serve: Finally, generously sprinkle your chosen M&M’s® over the peanut butter whip. Once decorated, cut the brownies into desired bar sizes and serve immediately to enjoy their fresh, irresistible taste and texture.
Yield and Cutting Your Brownie Bars
The number of brownie bars this recipe yields can vary significantly based on your preferred pan size and how you choose to cut them. When using a standard 9×9 inch square pan, I typically get about 9 generously sized large brownie bars. However, if you opt for a larger 9×13 inch pan, you can easily yield up to 16 delicious bars.
The final count also depends on how small or large you desire your individual portions to be. For instance, when I use the 9×9 pan, I like to make two cuts lengthwise, creating three even rows. Then, I make either three cuts in the other direction to achieve 12 bars, or two cuts to get 9 larger ones. Ultimately, the choice is yours – feel free to cut them into any size or shape that suits your preference, whether you prefer small bites or substantial squares!
The Importance of Room Temperature Ingredients
You might wonder why it’s often emphasized to use room temperature ingredients, especially for recipes like this peanut butter whip. The reason is simple yet crucial for achieving the perfect consistency and texture. When ingredients like cream cheese are at room temperature, they are softer and more pliable. This allows them to blend together seamlessly and evenly with other ingredients, such as peanut butter and confectioners sugar. You want to avoid any pockets of unblended cream cheese or a lumpy texture; instead, you’re aiming for a perfectly smooth, light, and airy whip. Evenly disbursed ingredients ensure that every bite of your peanut butter whip is consistently creamy and delightful, contributing to the overall harmonious texture of these brownies.
Can These Brownies Be Made with Homemade Brownies?
Absolutely, you bet! While a box mix offers convenience, if you prefer the satisfaction of baking from scratch, these Peanut Butter Whip Brownies are equally fantastic with homemade brownies. Using your favorite homemade brownie recipe will add an extra layer of personalized flavor and texture. If you’re looking for a reliable homemade option, I highly recommend my One-Bowl Brownie recipe for its simplicity and fudgy results. Alternatively, my super easy 4-Ingredient Nutella Brownie recipe offers a uniquely rich and delicious twist that pairs wonderfully with the peanut butter whip.
Make-Ahead and Storage Tips for Your Brownies
Yes, these delicious brownies can certainly be made ahead of time, which is perfect for party planning or when you simply want to prepare a treat in advance! Both the brownies and the peanut butter whip can be prepared and stored in the refrigerator for up to 4 days prior to serving. To maintain their freshness and prevent them from drying out, make sure to cover them tightly with plastic wrap. This protective layer will help seal in moisture and flavors.
For the best results and presentation, I recommend storing the brownies and the peanut butter whip separately until you are ready to serve. This helps maintain the texture of both layers. When it’s time to assemble, simply give the peanut butter whip a quick stir to ensure it’s smooth and then spread it evenly over your cooled brownies.
One important tip: I also strongly advise waiting to add the M&M’s until just before serving. The cold, humid air in the refrigerator can cause the colors of the M&M’s to bleed, which, while not affecting flavor, can make them look less appetizing. Adding them fresh ensures their vibrant colors and crisp candy shells enhance the final presentation.
Craving More Whipped Peanut Butter Goodness?
If you’ve fallen in love with this **Easy Peanut Butter Whip Brownie recipe**, you’re in for a treat! Peanut butter is incredibly versatile and shines in so many desserts. I encourage you to explore other delightful treats that feature this beloved ingredient. From cookies to pies, the creamy, nutty flavor of peanut butter can elevate any dessert. Please click each link below to discover more easy, printable recipes that you’re sure to adore!
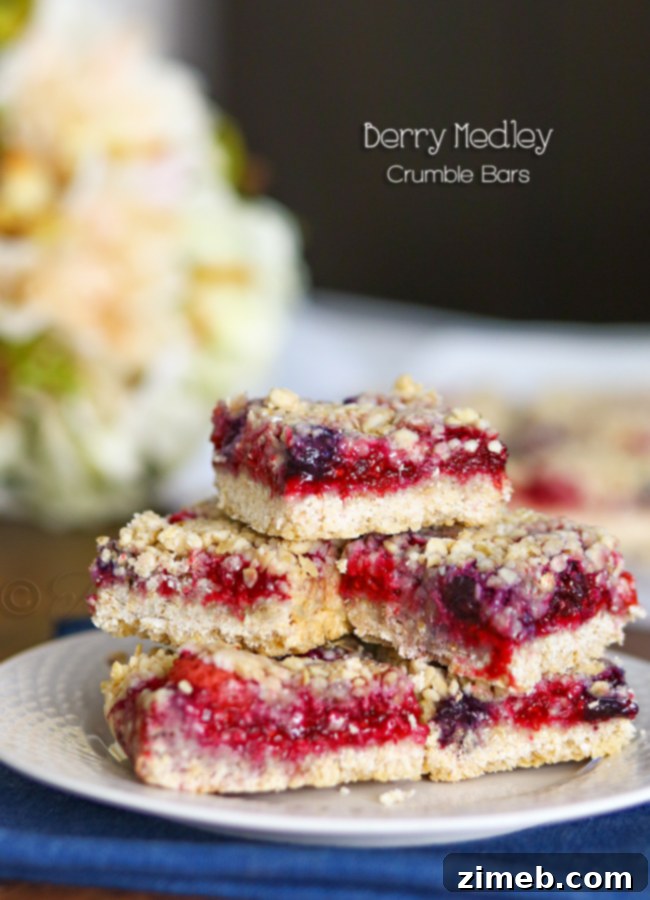
Berry Medley Crumble Bars
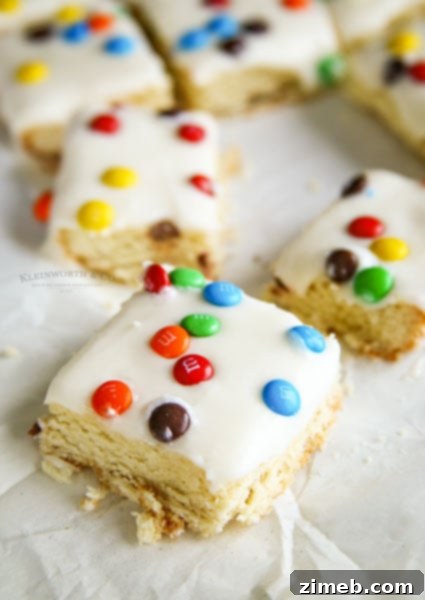
M&M Sugar Cookie Bars
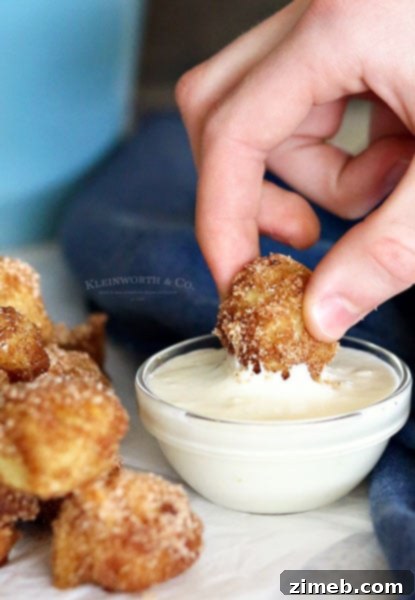
Cinnamon & Sugar Pretzel Bites
Explore More Awesome Peanut Butter Recipes
For those who can’t get enough of that delightful peanut butter flavor, we have an extensive collection of recipes that highlight this versatile ingredient. From classic confections to innovative treats, there’s something for every peanut butter enthusiast. Discover your next favorite dessert among these tried-and-true recipes:
Buckeyes
Classic Peanut Butter Cookies
Peanut Butter Pie
No-Bake Peanut Butter Balls
3-Ingredient Peanut Butter Cookies
Peanut Butter Cookie Cups
Peanut Butter Blossom Cookies
Buckeye Cookies
CONNECT WITH YUMMI HAUS!
Be sure to follow me on my social media, so you never miss a post or a new delicious recipe!
Substack, Facebook, Pinterest, Instagram, Email Subscription
Peanut Butter Whip Brownies
Course: Dessert
Servings: 16
These Peanut Butter Whip Brownies are chewy, fudgy brownies topped with peanut butter whip & M&M’s. Just another Yummy Bar Recipe that goes beyond delicious! Simple & easy, a must-make for sure!
Prep Time: 10 mins
Cook Time: 30 mins
Total Time: 40 mins
Ingredients
Brownie Layer
- 1 box favorite brownie mix + ingredients it calls for (usually oil, eggs & water)
Peanut Butter Whip Layer
- 1 cup creamy peanut butter
- 8 oz cream cheese (room temperature)
- 1 cup confectioners sugar
- 8 oz whipped topping (like Cool Whip or similar)
- 1 cup M&M’s®
Instructions
Brownie Layer
- Prepare the brownies to the package directions – bake & cool completely.
Peanut Butter Whip Layer
- While brownies are cooling – make the topping by beating the softened cream cheese in a mixer bowl until light and fluffy.
- Add the peanut butter and beat until combined.
- Slowly add in the confectioner’s sugar and beat until incorporated.
- Once incorporated – fold in the whipped topping and then beat for about 30 seconds. Take care not to overdo it so it doesn’t completely deflate.
- Spread the mixture onto the cooled brownies in an even layer.
- Sprinkle on the M&M’s®, cut, and serve.
Nutritional information for the recipe is provided as a courtesy and is approximate. Please double-check with your own dietary calculator for the best accuracy. We at Yummi Haus cannot guarantee the accuracy of the nutritional information given for any recipe on this site.
Love this recipe? Follow @KleinworthCo for even more tasty recipes!