
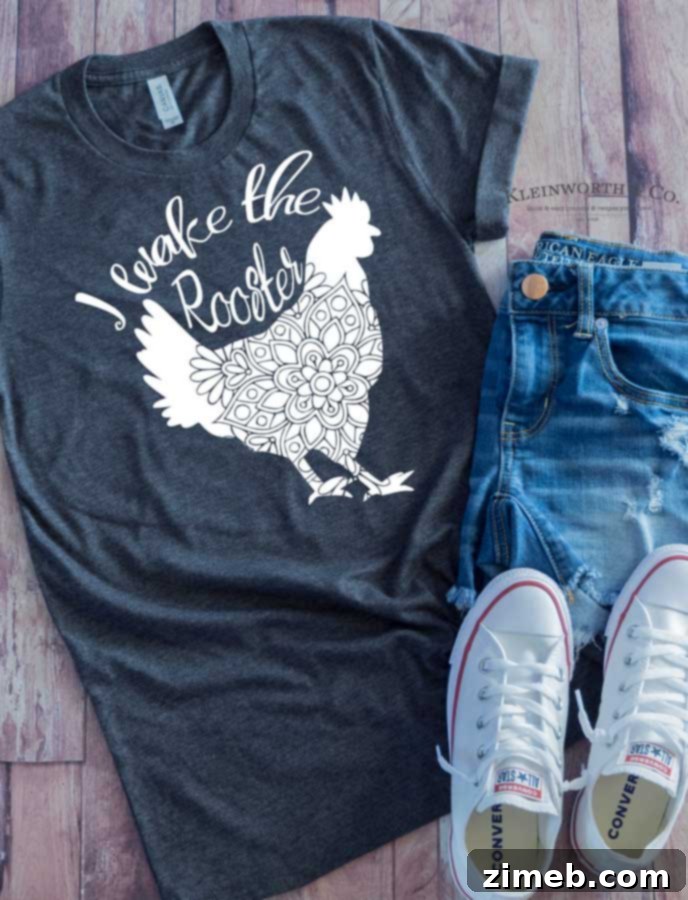
DIY “I Wake the Rooster” Cricut Craft: Perfect for Early Risers!
Do you often find yourself awake and productive long before the sun makes its grand appearance? For many, the quiet hours of dawn are the most magical and energizing. If you’re an proud early bird, always a step ahead of the day, then this charming “I Wake the Rooster” Cricut project is perfectly tailored for you!
Imagine starting your day with a steaming cup of coffee or tea from a mug that proudly declares your morning prowess, or sporting a comfy t-shirt that playfully highlights your early riser status. This delightful craft allows you to customize everyday items like mugs and shirts using your trusty Cricut machine and durable vinyl, making them uniquely yours or fantastic gifts for fellow dawn enthusiasts.
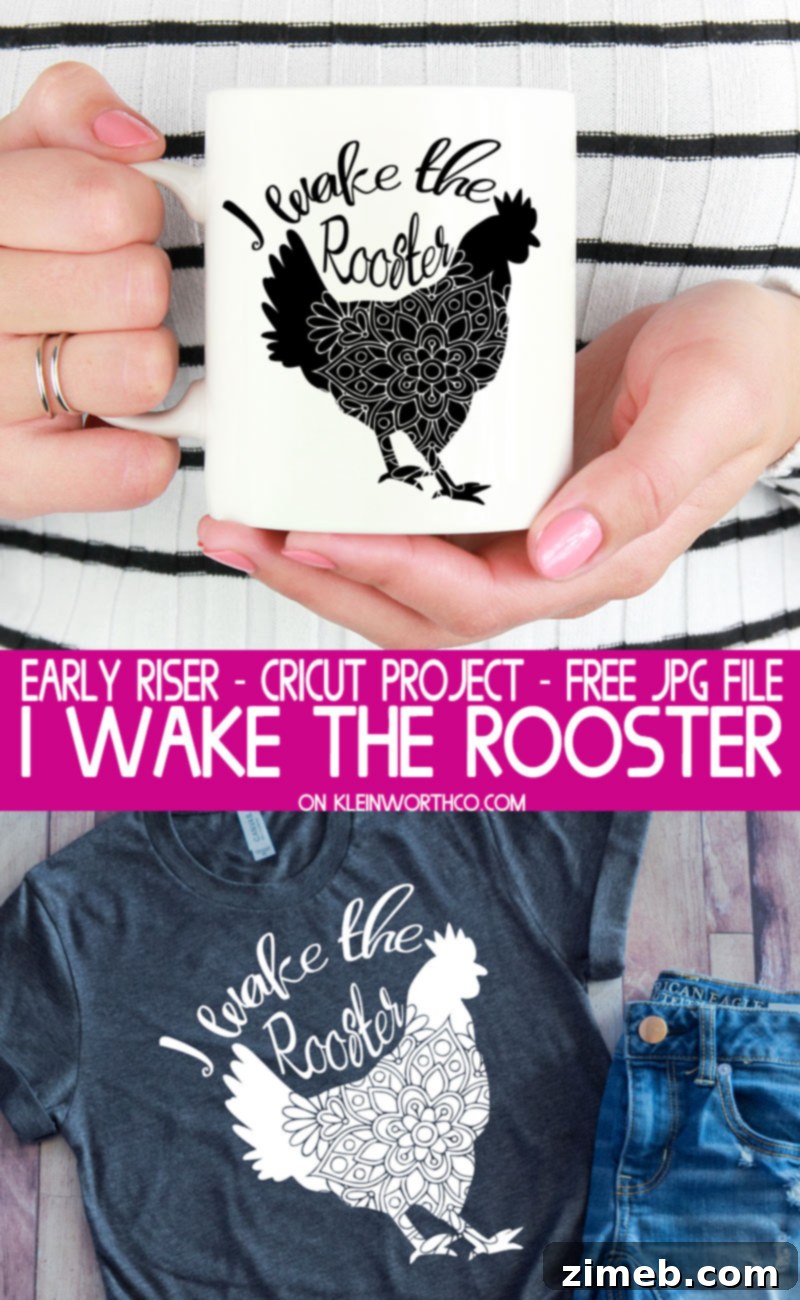
As a dedicated early bird myself, I completely understand the allure of those pre-dawn hours. My workdays often kick off as early as 4:00 or 4:30 AM! One morning, my son made a humorous observation that perfectly captured my routine: “Mom, you’re the one who wakes the rooster!” His playful comment instantly sparked an idea. I knew right then that this witty phrase would make an absolutely adorable and fitting caption for my favorite coffee mug, reflecting my true early riser spirit.
Your Personalized Early Riser Cricut Project
This post contains some affiliate links. Click here to read my full disclosure policy.
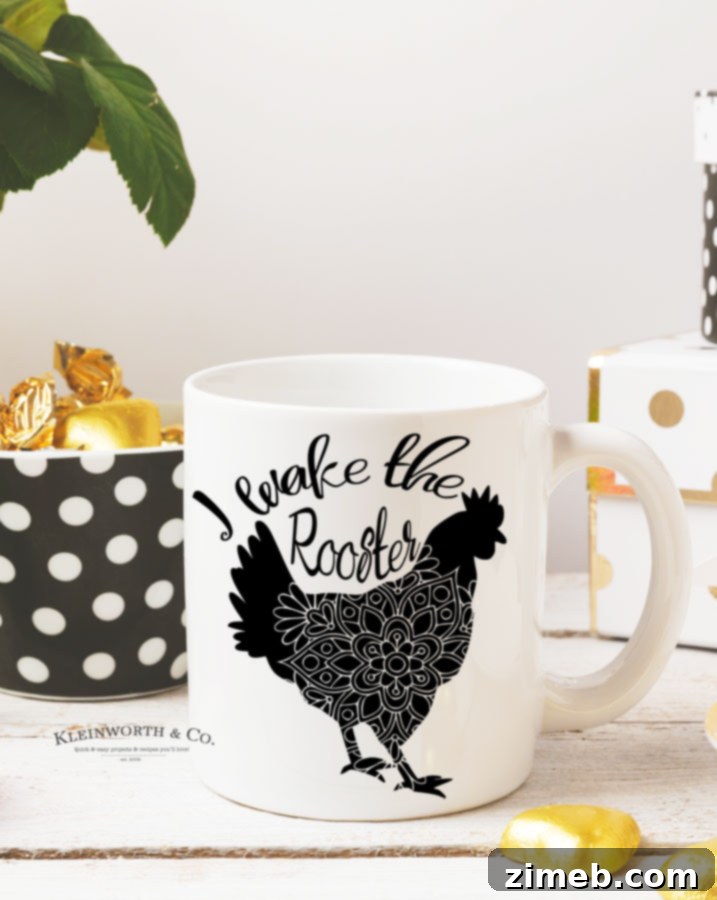
To help you bring this fun idea to life, I’ve created an exclusive “I Wake the Rooster” image file, available for download at the bottom of this article. This versatile design is perfect for personalizing a wide range of items, from your morning mug to a comfortable t-shirt. The process is straightforward: simply download the file, upload it to your Cricut Design Space dashboard, and let your cutting machine work its magic. Once cut, you’ll easily weed away the excess vinyl and apply the design to your chosen item. It’s a wonderfully simple way to add a touch of personality to your everyday essentials!
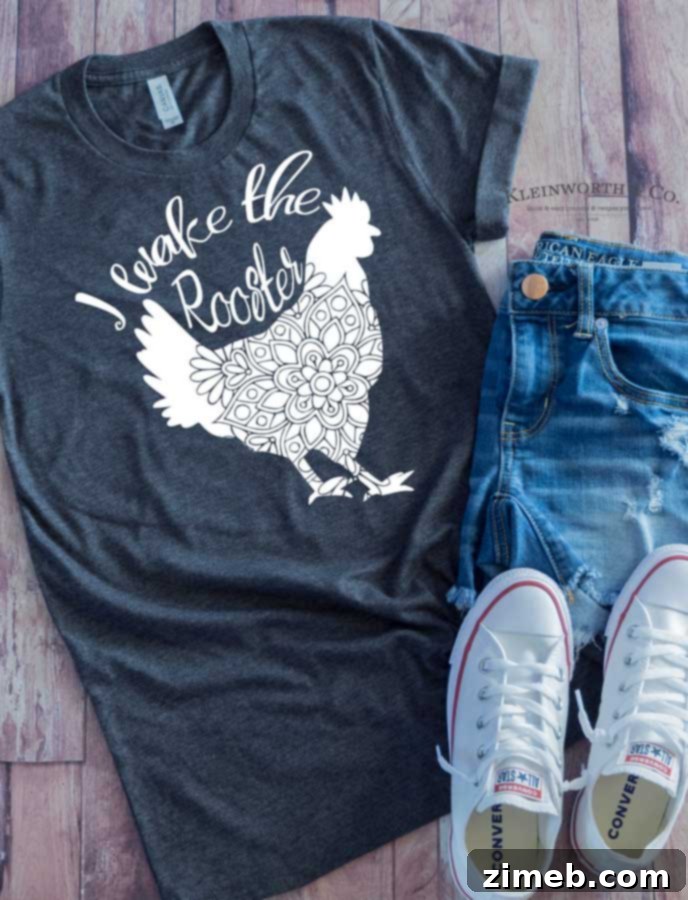
Whether you’re new to Cricut crafting or a seasoned pro, this project is designed for enjoyable creation. We’ll walk you through everything you need to know, from selecting the right vinyl to the final application, ensuring your “I Wake the Rooster” craft turns out perfectly.
Frequently Asked Questions About Cricut Vinyl Projects
Before diving into the step-by-step instructions, let’s address some common questions about vinyl selection, which is crucial for the longevity and quality of your handmade items. Choosing the right type of vinyl for your specific project ensures durability and a professional finish.
What Kind of Vinyl Should I Use to Make the Mug?
When crafting for items like coffee mugs that will be regularly washed, the type of vinyl you choose makes a significant difference. While standard adhesive-backed vinyl can be used, I highly recommend using permanent outdoor vinyl. This specialized vinyl is engineered for greater durability and water resistance, making it ideal for items that endure frequent handling and washing. It adheres more strongly and holds up better against moisture and everyday wear.
Even with permanent outdoor vinyl, I still advise against putting your custom mugs in the dishwasher. The intense heat and harsh detergents of a dishwasher can eventually compromise the adhesive bond and cause the vinyl to peel. Gentle hand washing, however, allows your vinyl designs to last for a remarkably long time. I’ve had “I Wake the Rooster” mugs that have been hand-washed daily for over a year and are still looking as good as new! Beyond mugs, permanent outdoor vinyl is fantastic for car decals, outdoor signage, mailboxes, or anything that needs to withstand the elements.
What Vinyl Should I Use to Make the T-Shirt?
For fabric projects like t-shirts, you’ll need a completely different type of vinyl: heat transfer vinyl (HTV), also known as iron-on vinyl. HTV is applied using heat and pressure, which bonds the vinyl directly to the fabric fibers. My personal favorite for shirts is this heat transfer vinyl, as it offers a beautiful variety of colors and excellent durability. If you’re looking to add some extra sparkle and flair to your early bird statement, definitely check out glitter heat transfer vinyl. Glitter HTV can add a fun, vibrant touch to any garment.
When working with HTV, it’s essential to understand that it comes with a carrier sheet (the shiny side) that protects the design during cutting and application. Always remember to mirror your design in Cricut Design Space before cutting HTV, as it’s applied face down. Different types of HTV (standard, glitter, stretch, metallic) may also require slightly different heat settings and pressing times, so always consult the manufacturer’s recommendations for the best results.
How to Make the “Early Riser” Cricut Mug Project
Creating your custom “I Wake the Rooster” mug is a rewarding project that adds a personal touch to your morning routine. Follow these detailed steps for a flawless application using permanent outdoor vinyl.
- Download the Image File: First, locate and download the “I Wake the Rooster” SVG/JPG image file provided at the end of this article. Save it to an easily accessible folder on your computer.
- Upload to Cricut Design Space: Open Cricut Design Space and click “Upload” on the left-hand panel. Select “Upload Image,” then “Browse” to find your downloaded file.
- Choose Image Type: When prompted, select “Simple Image” for this design, as it primarily consists of solid colors and sharp lines. Click “Continue.”
- Select Areas to Cut Away: On the next screen, use the “Wand” tool (or the selection tool) to click on all the background areas you want your Cricut to cut away, leaving only your design. This effectively isolates the rooster and text. Ensure all negative spaces within the design itself (like the inside of letters) are also selected if you want them removed.
- Save as a Cut Image: After previewing your cleaned image, choose the “Save as a Cut Image” option. Give your image a memorable name like “I Wake the Rooster Mug” and click “Save.”
- Insert Image into Canvas: From your uploaded images, select your newly saved “I Wake the Rooster” design and click “Add to Canvas” to bring it into your project workspace.
- Size and Position Your Design: Once on the canvas, move the image to your desired position. Drag the corner arrows to resize the design to fit your mug perfectly. A good size for most standard mugs is around 3-4 inches wide. Measure your mug’s usable surface area to determine the ideal dimensions.
- Prepare to Cut: Click the “Make It” button. On the preparation screen, ensure the “Mirror” option is OFF since you are working with adhesive vinyl, not HTV. Click “Continue.”
- Set Dial to Vinyl: For Cricut Explore Air 2 users, turn your machine’s Smart Dial to “Vinyl.” For Cricut Maker and newer machines, select “Vinyl” from the material settings in Design Space. You may opt for the “Washi Sheet” setting for lighter pressure or “Vinyl+” for slightly more pressure, depending on your vinyl brand.
- Place Vinyl on Mat: Carefully place your permanent outdoor vinyl onto your Cricut cutting mat (usually a green StandardGrip mat), shiny side UP. Ensure it’s smooth and free of bubbles.
- Load and Cut: Load the mat into your Cricut machine by pressing the flashing arrow button, then press the flashing “C” button to begin cutting. Watch as your Cricut precisely cuts out your design.
- Remove and Weed: Once cutting is complete, unload the mat. Carefully peel the vinyl from the mat. Use a weeding tool to meticulously remove all the excess vinyl around your design and any small pieces within the letters. This process, known as weeding, reveals your final design on the paper backing.
- Apply Transfer Tape: Cut a piece of transfer tape slightly larger than your design. Place it over your weeded vinyl design, sticky side down. Use a scraper tool to firmly burnish (rub) the transfer tape onto the vinyl, ensuring the vinyl adheres securely to the tape.
- Transfer to Mug: Slowly peel the transfer tape (with your vinyl design attached) off the paper backing. Center and position your design carefully onto the mug.
- Secure and Burnish: Once positioned, use your scraper tool to firmly rub the vinyl onto the mug, working from the center outwards to eliminate air bubbles and ensure strong adhesion.
- Carefully Remove Transfer Tape: Gently peel back the transfer tape at a sharp angle. If any part of the vinyl lifts, press the transfer tape back down and re-burnish before trying again.
- Cure Time: To ensure maximum adhesion, refrain from washing your newly customized mug for at least 24-72 hours. This allows the vinyl adhesive to fully cure and bond with the mug’s surface.
How to Make the “Early Riser” Cricut T-Shirt Project
Creating a personalized “I Wake the Rooster” t-shirt with heat transfer vinyl (HTV) is a fun way to wear your early bird badge proudly. The key difference here is the application method and the crucial step of mirroring your design. Here’s how to do it:
- Download the Image File: Just like with the mug, download the “I Wake the Rooster” SVG/JPG file.
- Upload to Cricut Design Space: Upload the image to Cricut Design Space, following steps 2-5 from the mug instructions (Simple Image, select areas to cut away, save as Cut Image).
- Insert Image into Canvas: Select your saved design and “Add to Canvas.”
- Size and Position Design: Move and resize your design on the canvas to fit your t-shirt. Typically, designs for adult shirts are 8-10 inches wide, placed centrally on the chest area.
- Mirror Your Image (CRITICAL!): Click the “Make It” button. On the mat preparation screen, for the mat containing your HTV design, toggle the “Mirror” option to ON. This is absolutely essential for HTV, otherwise, your text will appear backward when applied. Click “Continue.”
- Set Material Dial: If you have a Cricut Explore Air 2, turn the Smart Dial to “Custom.” If you’re using a Cricut Maker or newer machine, select “Browse All Materials” and search for “Iron-On.” If you’re using glitter vinyl, specifically choose “Glitter Iron-On” from the drop-down menu.
- Place HTV on Mat: Place your heat transfer vinyl onto the cutting mat with the SHINY SIDE DOWN. The duller, often colored, side should be facing up. The shiny side is the carrier sheet.
- Load and Cut: Load the mat into your machine and press the flashing “C” button to begin cutting.
- Remove and Weed HTV: Once cutting is finished, unload the mat and remove the HTV. Use your weeding tool to carefully remove all the excess vinyl, leaving only your “I Wake the Rooster” design adhered to the clear, shiny carrier sheet.
- Pre-heat Your Fabric: Plug in your iron or Cricut Heat Press. Run it over the area of the shirt where your design will go for 10-15 seconds to remove any moisture and wrinkles, ensuring better adhesion.
- Position Your Design: Place your weeded HTV design onto the pre-heated shirt, with the shiny carrier sheet facing up and the vinyl design touching the fabric. Ensure it’s perfectly centered and aligned.
- Apply Heat and Pressure:
* Using an Iron: Cover the design with a thin cloth (like a tea towel or parchment paper). Press down firmly with the iron, applying even pressure over the entire design for 25-30 seconds. Avoid sliding the iron. Lift and repeat for any areas not covered.
* Using a Heat Press: Follow the manufacturer’s recommended temperature and time settings for your specific type of HTV (e.g., 305°F for 30 seconds for many standard HTVs). Apply firm, even pressure. - Heat the Back Side: Turn the garment inside out and apply heat to the back of the design for another 25-30 seconds. This helps ensure the vinyl fully bonds with the fabric.
- Cool and Peel: Allow the design to cool slightly. Most standard HTVs are “cool peel,” meaning you should let them cool to the touch before carefully peeling back the clear carrier sheet at a sharp angle. Some specialty HTVs are “warm peel” or “hot peel,” so always check your vinyl’s instructions. If the vinyl lifts, press the carrier sheet back down and apply more heat before trying again.
- Care Instructions: Wait 24 hours before washing your custom t-shirt. When washing, turn the garment inside out, use cold water, and tumble dry on low or hang dry to prolong the life of your vinyl.

With these detailed instructions, you’ll be able to create durable, high-quality personalized items that showcase your unique early bird personality. The satisfaction of wearing or using something you’ve crafted yourself is truly unmatched!
To make this project you will need these essential crafting tools and materials. Having these on hand will ensure a smooth and enjoyable crafting experience, whether you’re making a mug or a t-shirt (or both!).
Materials and Tools You’ll Need:
- Cricut Machine – such as the Cricut Explore Air 2 (or any other Cricut cutting machine)
- For shirts: Heat Transfer Vinyl (HTV)
- For mugs: Permanent Outdoor Vinyl
- Blank Mug or a blank travel mug (your choice!)
- Optional: A plain t-shirt for customization
- Weeding Tool (essential for removing excess vinyl)
- Iron or Cricut Heat Press (for applying HTV to shirts)
- Cutting Mat (StandardGrip recommended for most vinyls)
- Transfer Tape (for applying adhesive vinyl to the mug)
- Scraper tool (for burnishing vinyl)
If you resonate with the spirit of a true morning person, then don’t hesitate! You absolutely need to craft both a mug AND a shirt featuring this adorable “I Wake the Rooster” print. It’s the perfect way to embrace and showcase your early bird pride. Get ready to add a personal, humorous touch to your daily routine or create a thoughtful, custom gift for a fellow early riser!
Scroll to the bottom for the download file and get started today!
More Delightful Rooster & Farmhouse Crafts
The charm of farm-themed designs, especially roosters, extends far beyond mugs and shirts! Rooster crafts bring a touch of rustic warmth and cheerful energy to any home decor or personal item. If you love the “I Wake the Rooster” design, you might enjoy exploring other projects that incorporate this beloved farm animal or embrace a cozy farmhouse aesthetic. Think about creating coordinating kitchen towels, wall art, garden flags, or even personalized aprons with similar designs. The versatility of Cricut allows you to easily adapt this theme to countless creative endeavors, adding character and a handcrafted feel to your surroundings.
If you love crafting and thoughtful reflections, you won’t want to miss our latest book!
Creative Reflection – 365 Days of Journaling Color Pages
Unlock your creativity with 365 unique journaling prompt coloring pages, accompanied by monthly & yearly goal sheets. Plus, enjoy 14 free bonus coloring pages!
Get nearly 400 printable coloring pages for just $8.99 and embark on a year of creative self-discovery.
Looking for more cute Cricut projects and inspiration?
Once you’ve mastered your “I Wake the Rooster” craft, you might find yourself eager to explore other creative possibilities with your Cricut machine. The world of Cricut projects is vast and exciting, offering endless opportunities to personalize, decorate, and make unique gifts. Here are some of our favorite projects that showcase the versatility of your Cricut, from cutting various materials to creating intricate designs:
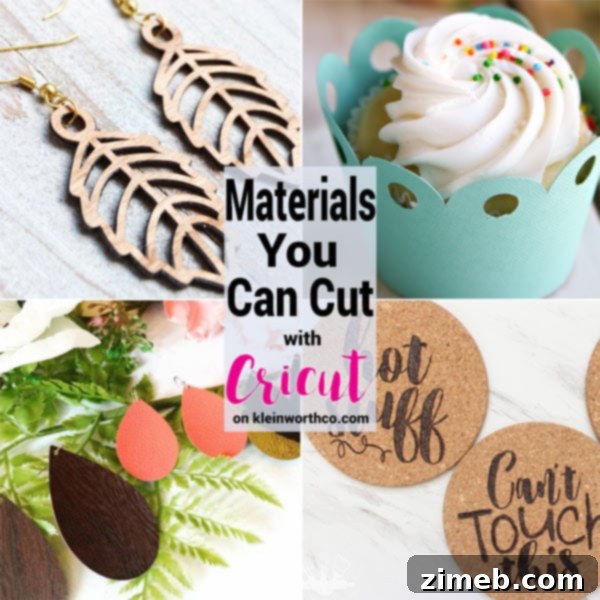
Materials You Can Cut with Cricut
Discover the incredible range of materials your Cricut machine can cut beyond just vinyl, opening up a world of crafting possibilities!
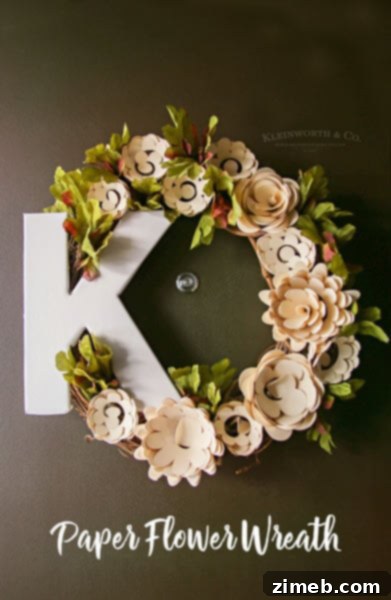
Paper Flower Wreath Cricut Tutorial
Learn how to create a stunning and delicate paper flower wreath, perfect for adding a touch of elegance to your home decor.

Beware Halloween Porch Sign with Cricut vinyl project
Get spooky with your Cricut! This project guides you through making a fun and festive Halloween porch sign using vinyl.
Thank you for joining us on this creative journey! We hope you enjoyed making your very own “I Wake the Rooster” craft. Don’t forget to share your finished projects with us – we love seeing your unique creations!
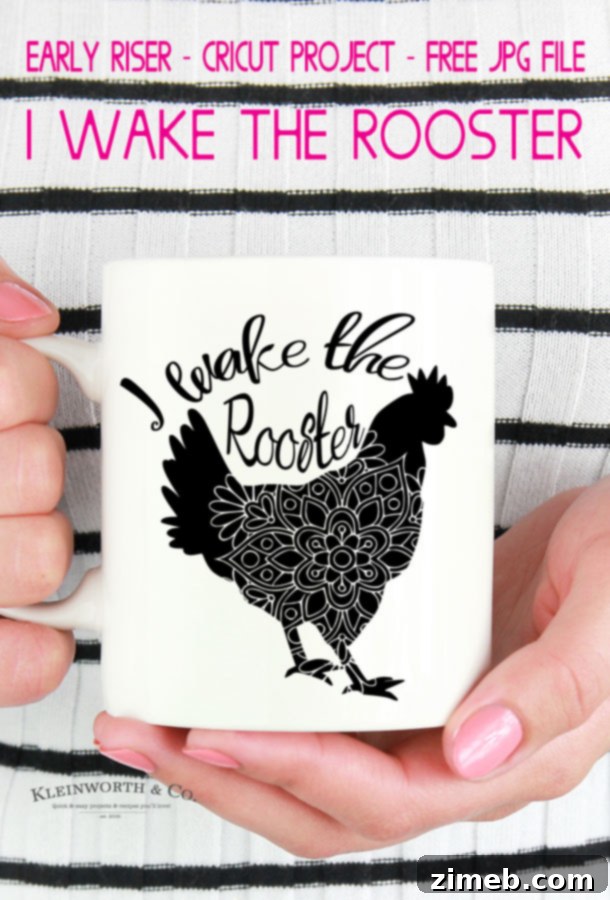
CLICK HERE TO DOWNLOAD YOUR “I WAKE THE ROOSTER” IMAGE FILE
Once the new window opens, simply right-click on the image and select “Save Image As…” to save the file to your computer. Enjoy crafting!
For even more fantastic crafting ideas and Cricut inspiration, be sure to check out these creative projects from fellow bloggers:
35 Creative Ways To Use Your Cricut (That Aren’t Just Vinyl!) | Tastefully Frugal
Discover a multitude of unique materials and projects you can tackle with your Cricut machine, expanding your crafting horizons.
How to Make a Split Level Monogram in Cricut Design Space | It Happens in a Blink
Master the technique of creating personalized split-level monograms, a popular design element perfect for adding a touch of elegance to any project.