
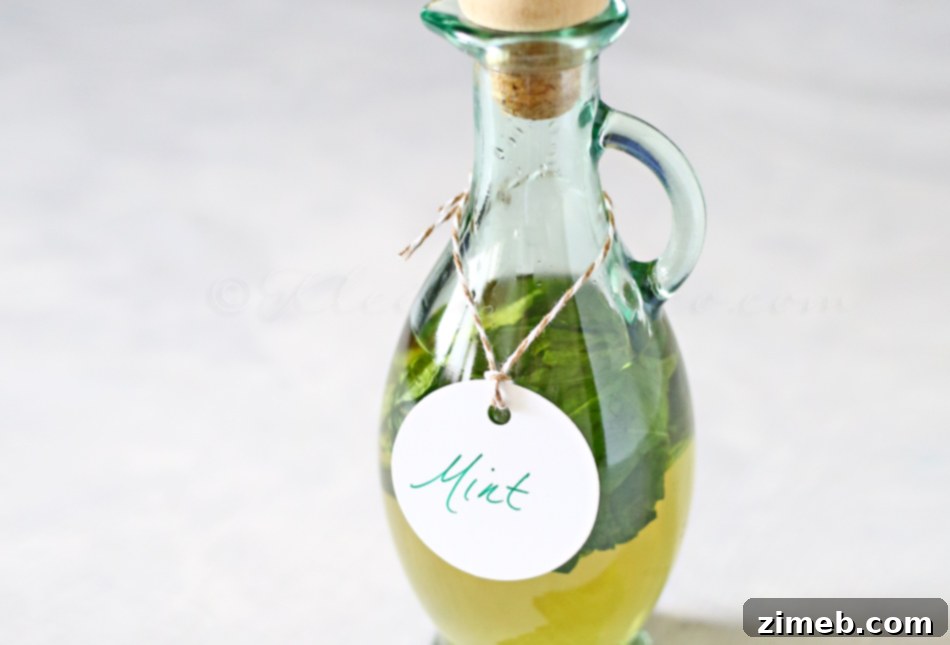
Unlocking the vibrant, fresh essence of mint has never been easier than crafting your very own homemade mint extract. If you cherish the invigorating flavor of mint in your culinary creations, beverages, or even homemade beauty products, then learning how to make this simple yet impactful ingredient is an absolute must. Forget those tiny, often overpriced bottles from the store; a batch of DIY mint extract offers superior quality, incredible savings, and the profound satisfaction of a truly homemade touch.
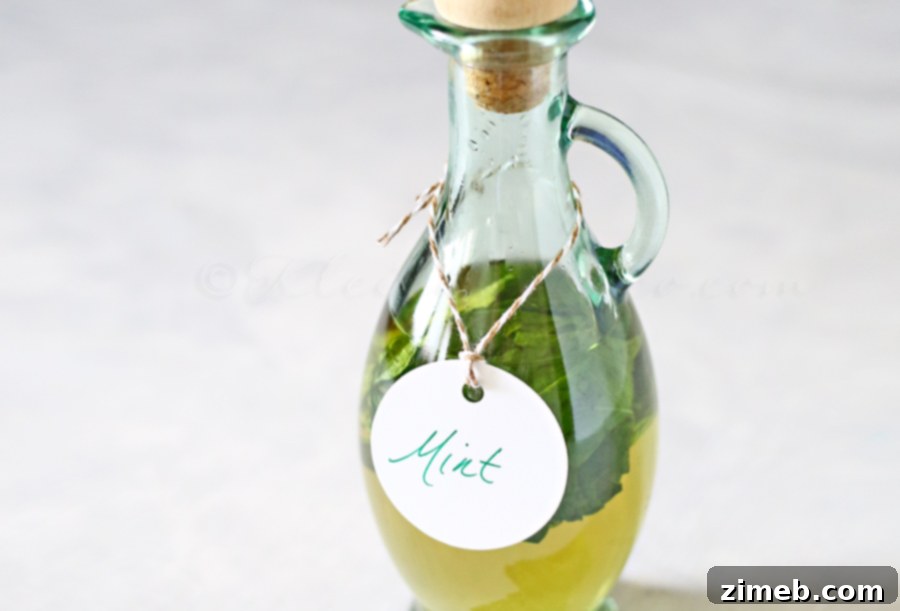
Many home cooks, bakers, and cocktail enthusiasts find themselves going through mint extract quite rapidly. While it’s wonderful to infuse your family’s favorite dishes with delightful flavors, the recurring cost of store-bought extracts can quickly add up. This realization often sparks the desire to create an alternative. My journey into making homemade mint extract began after a lively evening of mixing mint-infused cocktails, leaving me with an abundance of fresh mint leaves. It felt like a natural progression to transform this leftover bounty into a long-lasting, versatile ingredient.
Why Make Your Own Mint Extract?
Beyond the cost savings, there are numerous compelling reasons to embark on the journey of making your own mint extract. Firstly, you gain complete control over the ingredients. You know exactly what goes into your extract – just fresh mint and a high-quality spirit, free from artificial flavors, colors, or preservatives often found in commercial versions. This results in a purer, more authentic, and often more potent mint flavor that truly elevates your recipes.
Secondly, the process itself is incredibly simple. It’s akin to making homemade vanilla extract, a popular DIY project for many culinary enthusiasts. The most challenging aspect is undoubtedly the waiting period, but unlike vanilla, which can take several months, mint extract typically reaches its peak flavor in about a month. This makes it a fantastic, relatively quick project for anyone looking to add a personal touch to their pantry. Imagine the satisfaction of knowing that the vibrant mint essence in your holiday baking or summer drinks came directly from your own kitchen!
The Versatility of Mint: More Than Just a Flavor
Mint is a beloved herb known for its refreshing aroma and cool, crisp flavor. From the sweet notes of peppermint to the bright, slightly peppery kick of spearmint, this versatile plant has been used for centuries in various cultures for both culinary and medicinal purposes. In extract form, mint becomes an incredibly concentrated flavor powerhouse, ready to infuse a multitude of dishes and drinks. It transcends seasons, equally at home in a frosty summer mojito as it is in a warm, comforting holiday chocolate dessert. Its refreshing quality makes it a perfect palate cleanser and a delightful addition to both sweet and savory applications.
Crafting Your Homemade Mint Extract: A Simple Guide
The beauty of making mint extract lies in its simplicity. With just two main ingredients and a little patience, you can create a potent, aromatic extract that will become a staple in your kitchen. Let’s delve into the process step-by-step, ensuring you achieve the best possible results.
Ingredients You’ll Need:
- 2 cups fresh mint leaves – rinsed: The quality of your mint is paramount. Opt for vibrant, healthy leaves free from blemishes. Spearmint or peppermint are excellent choices for their robust flavor.
- 2-3 cups vodka: A high-proof, neutral-tasting alcohol like vodka (80-100 proof, or 40-50% alcohol by volume) is ideal. It effectively extracts the mint’s flavor without imparting its own taste. While other spirits like grain alcohol or rum can be used, vodka offers the cleanest mint profile.
Equipment:
- Clean glass jar with a tight-fitting lid (a 16-ounce canning jar is perfect)
- Small piece of masking tape or label for dating
- Fine-mesh strainer or cheesecloth
- Dark glass bottles with droppers or tight-fitting caps for storage
Step-by-Step Instructions for Mint Extract:
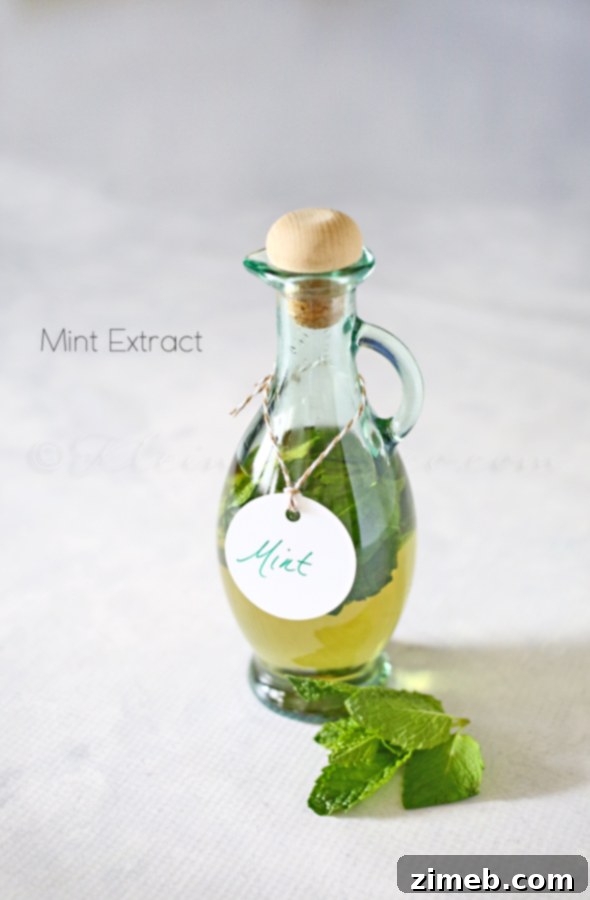
Mint Extract
Ingredients
- 2 cups fresh mint leaves – rinsed
- 2-3 cups vodka (80-100 proof)
Instructions
- **Prepare the Mint:** Gently remove the mint leaves from their stems. It’s crucial to use only the leaves, as stems can sometimes impart a slightly bitter taste. Rinse the leaves thoroughly under cool water to remove any dirt or impurities, then gently shake off excess water. You can also pat them dry with a clean cloth, ensuring no standing water remains.
- **Combine in Jar:** Place the prepared mint leaves into your clean glass jar. Fill the jar with vodka, ensuring all the mint leaves are completely submerged. The alcohol acts as a solvent, drawing out the flavorful oils and compounds from the mint.
- **Seal and Label:** Screw the lid onto the jar tightly. Label the jar with the date you started the extraction process. A simple piece of masking tape and a marker works perfectly. This will help you keep track of the extraction time.
- **Infusion Period:** Store the jar in a cool, dark place, such as a kitchen cabinet or pantry, for approximately one month. During this time, the vodka will slowly extract the mint’s essence. For optimal results, gently shake the jar every few days. This helps to redistribute the mint leaves and ensures maximum flavor extraction.
- **Strain the Extract:** Once the month-long infusion period is complete (or when the extract has reached your desired strength – taste testing can help!), it’s time to separate the liquid from the leaves. Place a fine-mesh strainer or a cheesecloth-lined funnel over a clean bowl or another jar. Pour the contents of your extract jar through the strainer to catch all the mint leaves. Discard the spent leaves.
- **Bottle and Store:** Transfer the strained mint extract into small, easy-pour bottles. Dark glass bottles are recommended as they help protect the extract from light degradation, preserving its flavor and potency for longer. Seal them tightly.
Nutritional information for the recipe is provided as a courtesy and is approximate. Please double-check with your own dietary calculator for the best accuracy. We at Yummi Haus cannot guarantee the accuracy of the nutritional information given for any recipe on this site.
Love this recipe? Follow us for even more tasty recipes!
Tips for the Perfect Mint Extract:
- **Mint Variety:** Experiment with different mint varieties. Peppermint will yield a strong, cool flavor, while spearmint offers a sweeter, milder profile.
- **Freshness is Key:** Always use fresh mint leaves. Dried mint won’t provide the same vibrant flavor.
- **Don’t Over-Steep:** While a month is a good general guideline, taste your extract periodically after about three weeks. If it reaches your desired strength, you can strain it earlier. Over-steeping can sometimes lead to a slightly grassy or bitter taste.
- **Storage:** Store your finished mint extract in a cool, dark place away from direct sunlight. Properly stored, homemade mint extract can last for several years.
Creative Ways to Use Your Homemade Mint Extract:
Now that you have your beautifully crafted homemade mint extract, the possibilities are endless! Its concentrated flavor means a little goes a long way. Here are some inspiring ideas:
- **Baking & Desserts:** Add a few drops to chocolate chip cookies, brownies, cakes, frostings, or cheesecakes for a refreshing twist. It’s perfect for peppermint bark or mint chocolate chip ice cream.
- **Beverages:** Elevate your cocktails (like mojitos or mint juleps), add a dash to hot chocolate, iced tea, lemonade, or even just plain sparkling water for a refreshing drink.
- **Savory Dishes:** Mint can surprisingly complement savory flavors! A small amount can brighten marinades for lamb or chicken, or be incorporated into a mint yogurt sauce.
- **Homemade Candies:** Create your own mints, peppermint patties, or hard candies with a natural mint flavor.
- **Gifts:** Bottle your homemade mint extract in charming small bottles with custom labels for a thoughtful and unique gift during the holidays or any time of year.
Embrace the Joy of Homemade
Making your own mint extract is more than just a money-saving endeavor; it’s an enjoyable culinary adventure that connects you more deeply with the ingredients you use. The superior flavor and the knowledge that you created something wonderful from scratch will bring a new level of satisfaction to your cooking and baking. This holiday season, consider stepping away from the traditional vanilla extract gifts and surprise your loved ones with a bottle of your vibrant, homemade mint extract. It’s a flavor that truly transcends seasons and adds a touch of magic to any dish or drink.
Looking for more great homemade versions of your favorites?
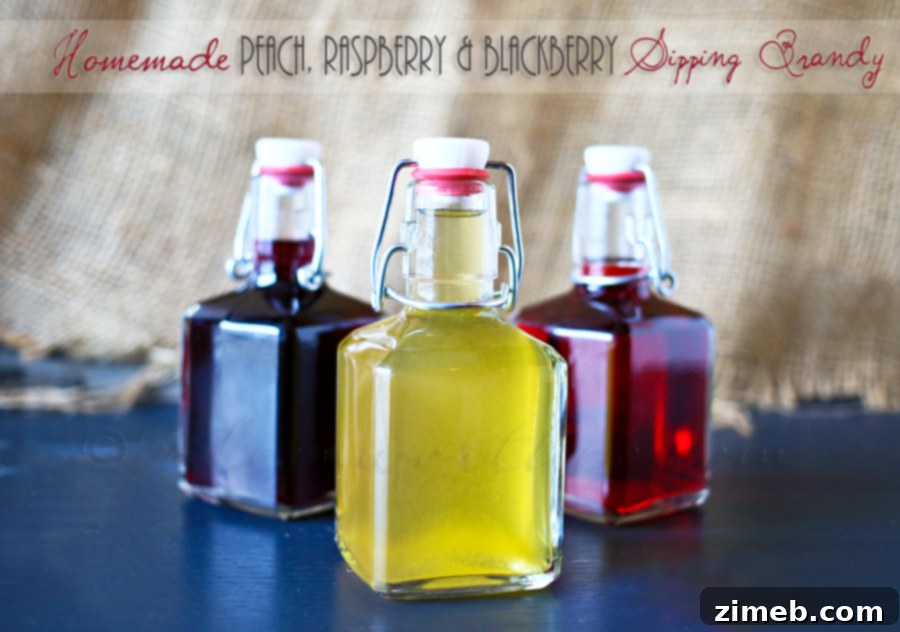
Homemade Sipping Brandy
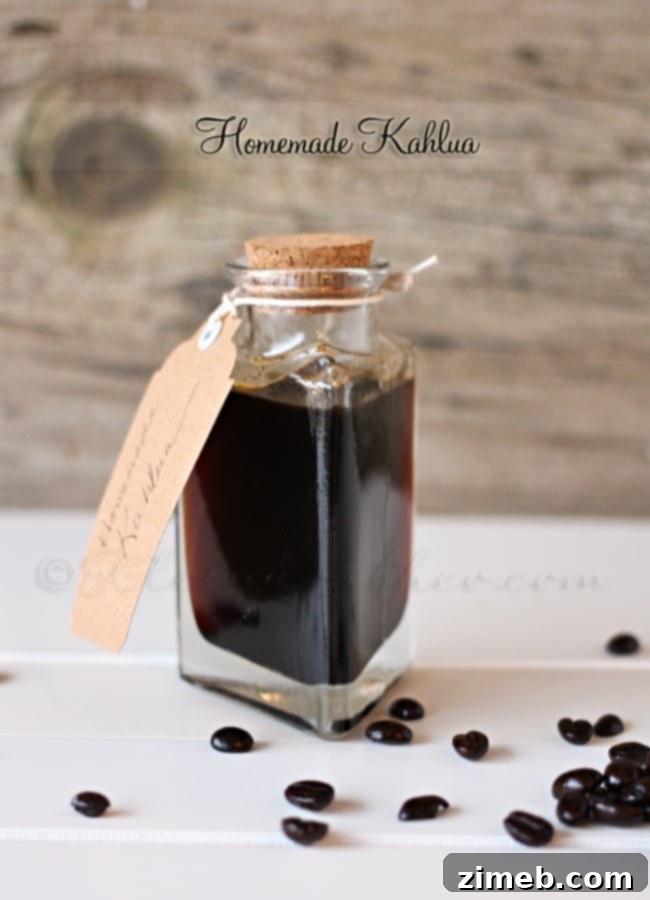
Homemade Kahlua
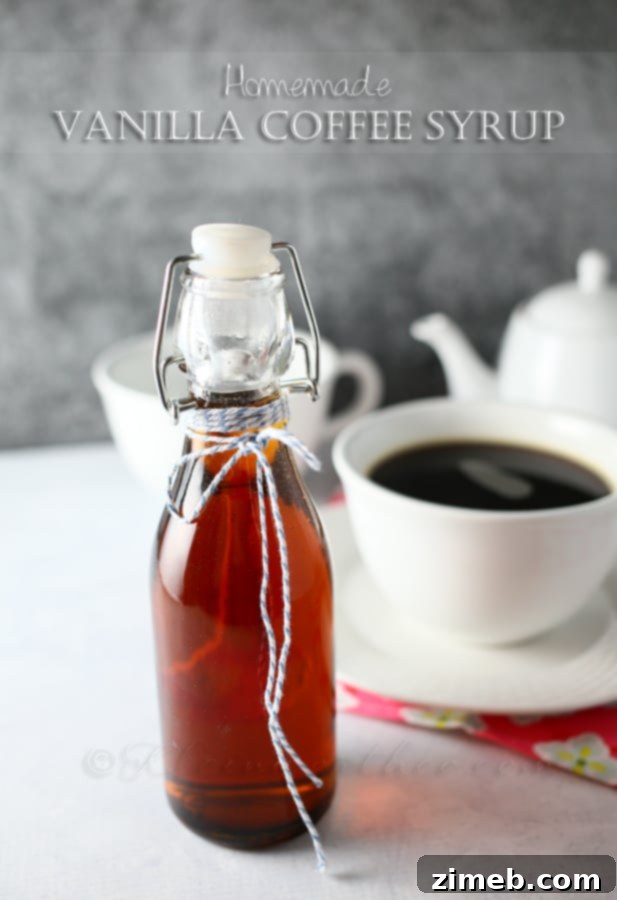
Homemade Vanilla Coffee Syrup
To see where I am linking today- visit HERE