
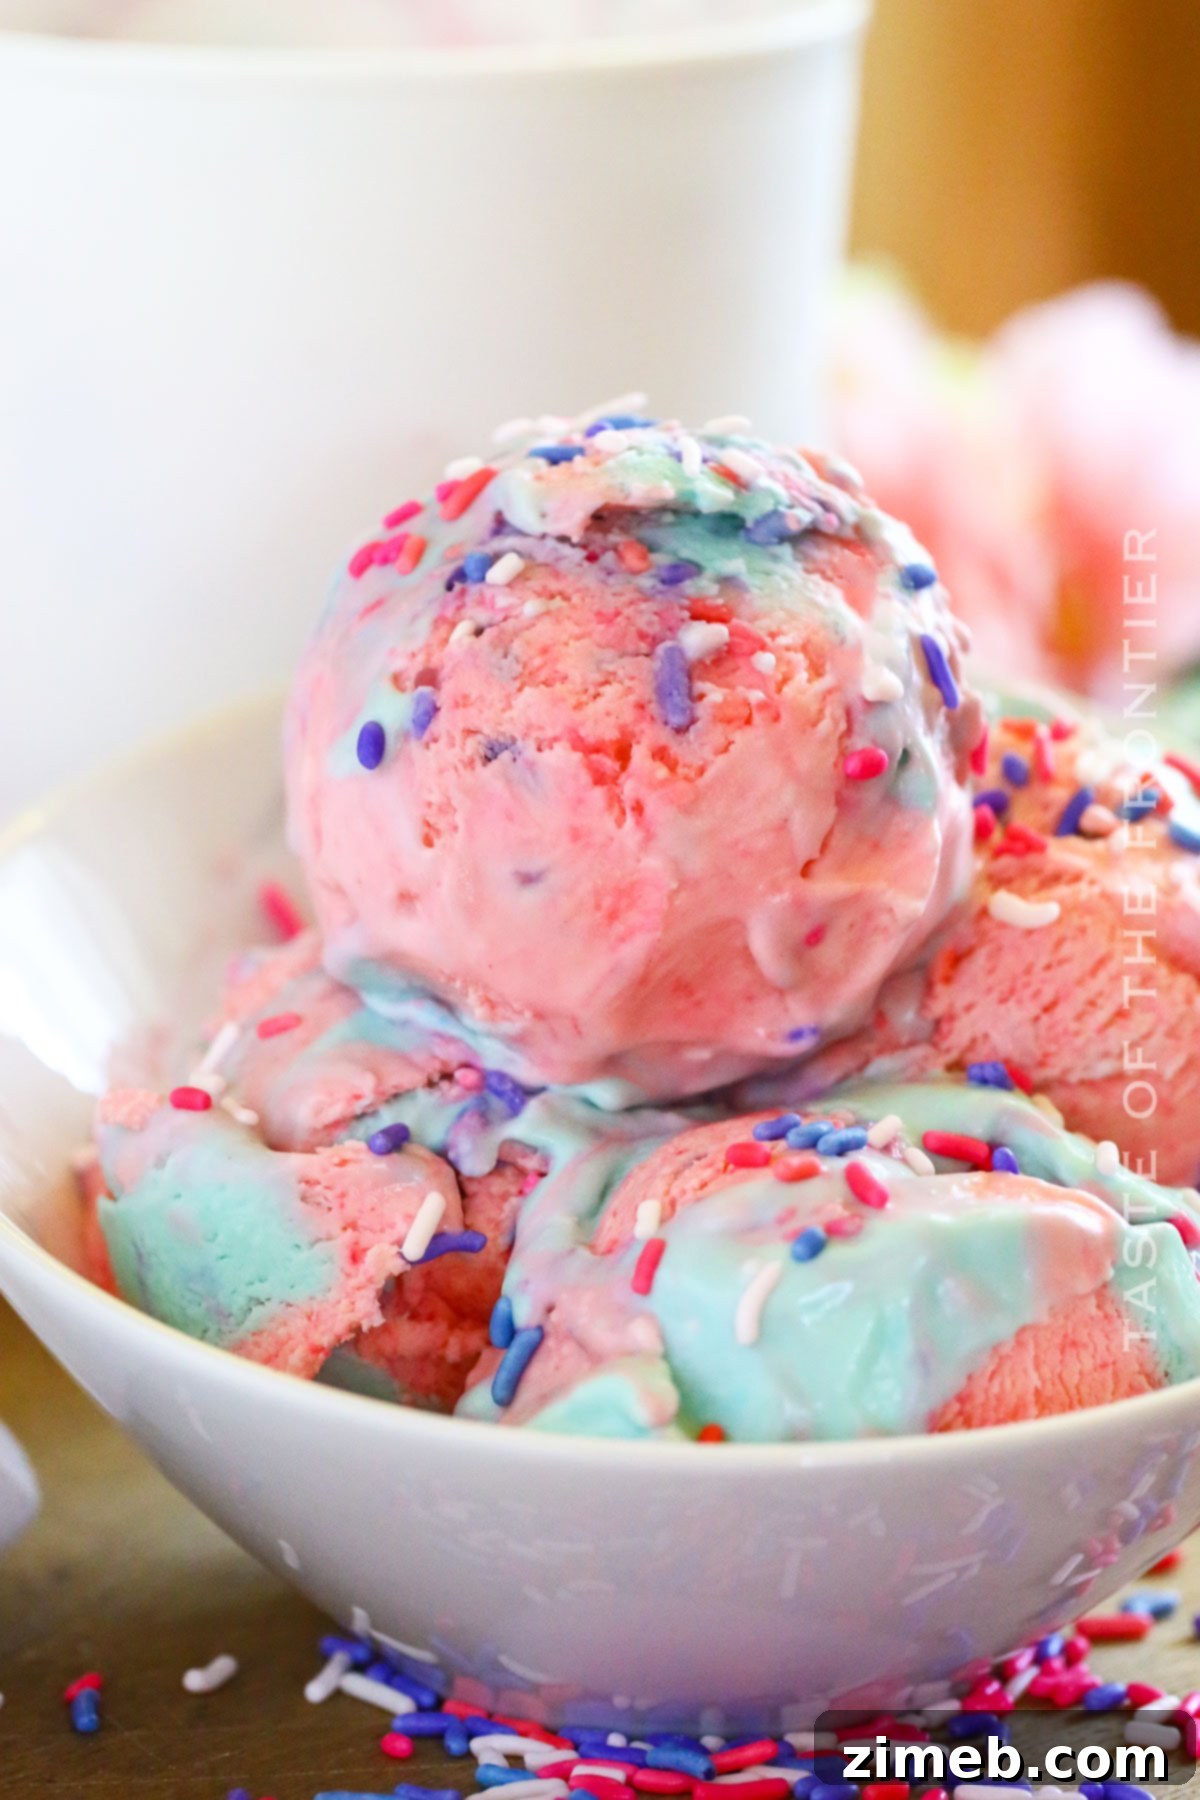
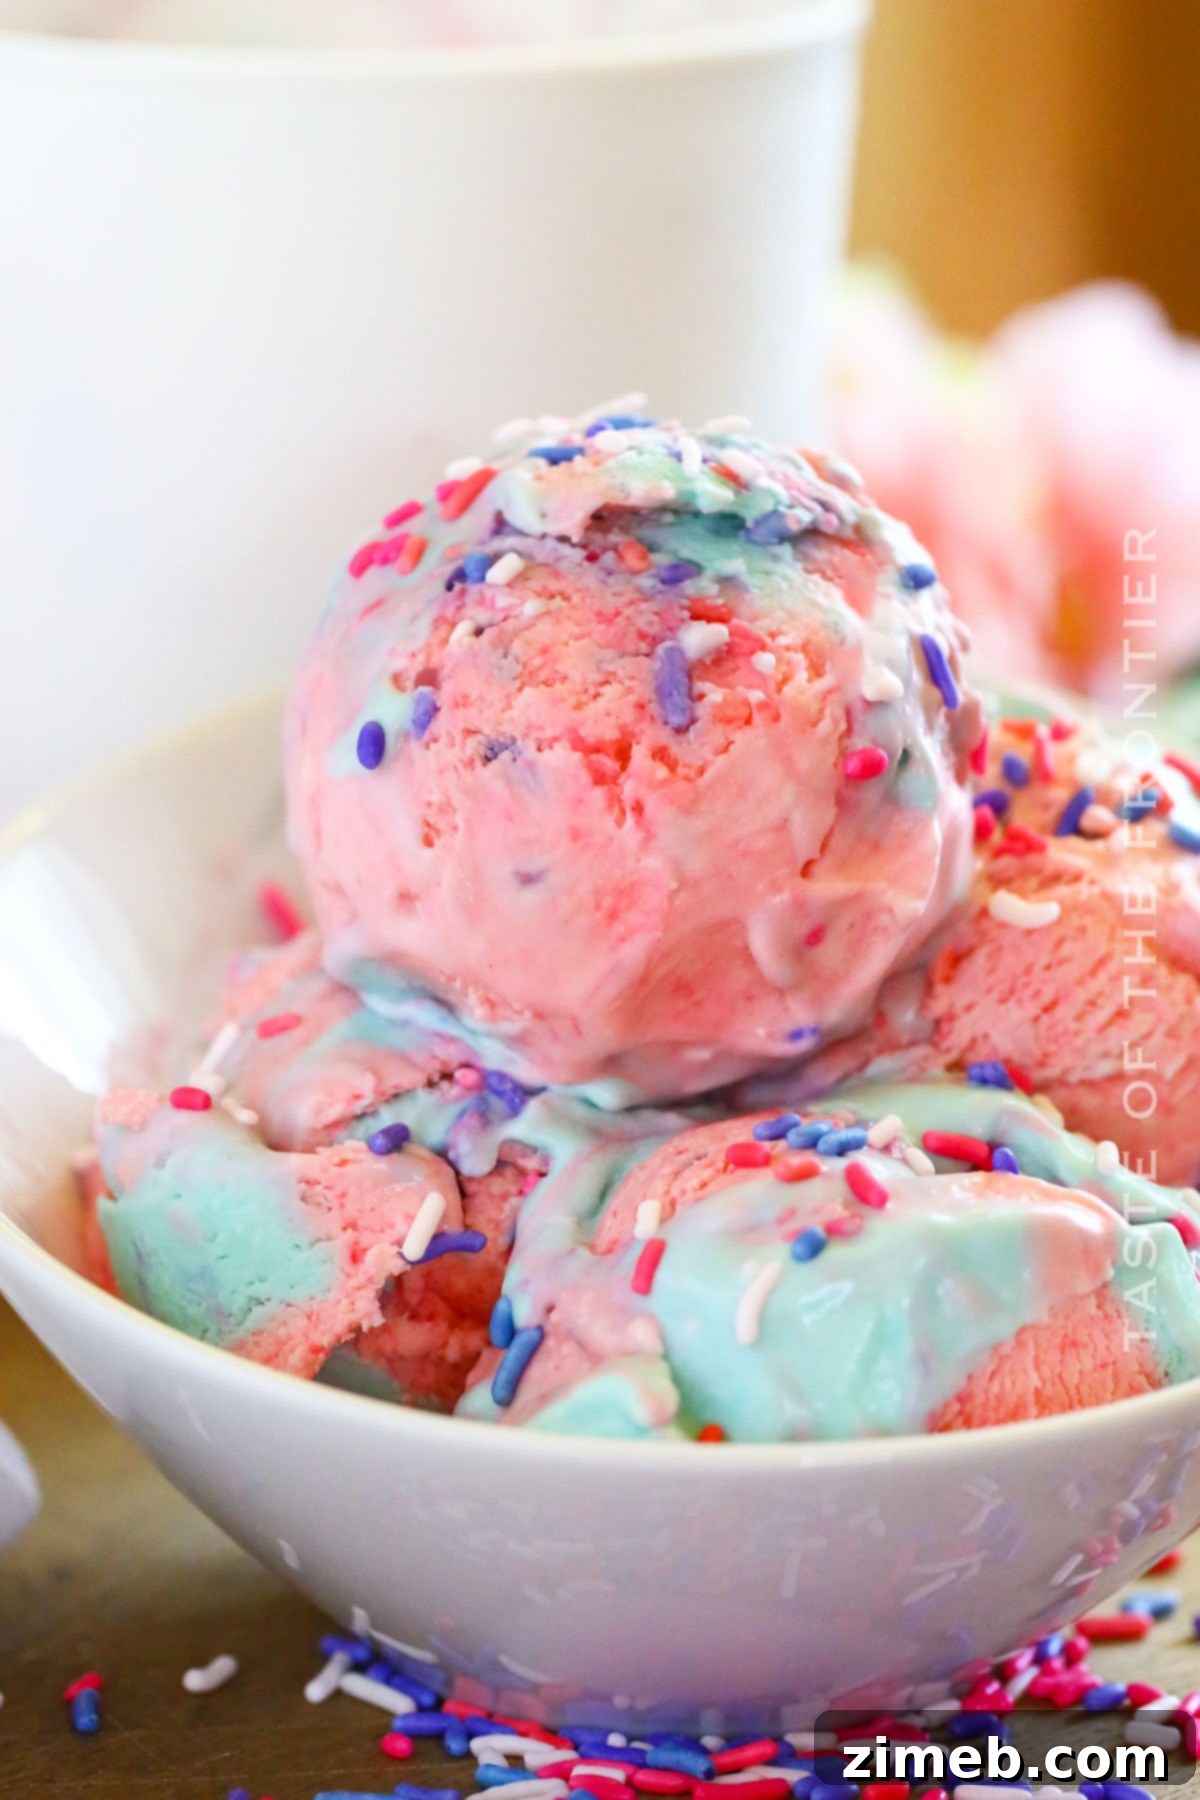
Loaded with your favorite carnival flavor, this homemade Cotton Candy Ice Cream is a great cool-down dessert for the hot summer months.
Do you ever find yourself longing for the joyful atmosphere of summer carnivals? The vibrant colors, the thrilling rides, and, of course, the irresistible sweetness of fluffy cotton candy melting delicately on your tongue? Imagine bringing that magical experience right into your kitchen. With our delightful Homemade Cotton Candy Ice Cream, you can transform those nostalgic memories into a tangible, edible treat, perfect for any occasion. This recipe offers a playful and delicious way to capture the spirit of the carnival, making it an instant favorite for both young and old.
This whimsical dessert is more than just visually appealing; it’s a symphony of flavors and textures. Each scoop delivers a rich, creamy base infused with that unmistakable cotton candy essence, evoking pure nostalgia. The best part? You don’t need any specialized equipment like an expensive ice cream maker to create this extraordinary treat. This is a no-churn ice cream recipe, designed for simplicity and maximum enjoyment, proving that gourmet flavors can be achieved with minimal fuss. Prepare to delight your senses and impress your guests with this stunning, easy-to-make confection.
Unleash Your Inner Chef with Easy Homemade Ice Cream
Crafting your own batch of cotton candy ice cream isn’t just about following a recipe; it’s about embarking on a delightful journey down memory lane. The process itself is incredibly simple, making it an ideal activity for a fun afternoon with family or a quick dessert preparation before a party. This vibrant, flavorful ice cream is a fantastic choice for any celebratory event – from a child’s birthday party where its colors will truly shine, to a laid-back backyard barbecue, or simply as a special treat to brighten an ordinary day. Its captivating look and unique taste guarantee it will be the star of any dessert table.
So, get ready to unleash your inner dessert artist! Gather your few simple ingredients, prepare your stand mixer, and let’s get whipping. The anticipation of creating something so delicious and visually stunning is part of the fun. And remember, the most rewarding aspect of making homemade ice cream is the joy of sharing it. There’s nothing quite like watching the smiles spread across the faces of friends and family as they savor a spoonful of your homemade creation.
Imagine serving scoops of this magical, colorful ice cream in classic waffle cones, bringing the full carnival experience right to their hands. It’s more than just a dessert; it’s an experience, a memory in the making. So go ahead, scoop up some magic and serve a taste of the carnival in a cone! Happy ice cream making!
Common Questions About Cotton Candy Ice Cream
Delving into the world of homemade ice cream can sometimes spark a few questions. Here are some answers to common queries you might have about making and enjoying your delicious Cotton Candy Ice Cream.
When Ice Cream Melts, Can You Refreeze It?
While it is generally safe to refreeze melted ice cream, doing so often comes with a trade-off. The texture is likely to be less creamy and smooth than when it was first frozen, due to the formation of larger ice crystals during the refreezing process. For the best creamy consistency, it’s always ideal to keep your ice cream consistently frozen. If it does melt, you can still refreeze it, but be prepared for a slightly different, possibly icier, mouthfeel.
What Is No-Churn Ice Cream?
No-churn ice cream is a revolutionary method that allows you to create rich, creamy frozen desserts without the need for an expensive or bulky ice cream machine. The secret lies in a simple base of heavy whipping cream, which is whipped to light and airy peaks, and sweetened condensed milk, which provides sweetness and a smooth texture without the need for churning. With just minutes of active prep time, a few basic ingredients, and your trusty home freezer, you can whip up your new favorite ice cream with ease, making homemade frozen treats accessible to everyone.
Could I Use This Ice Cream Recipe To Make An Ice Cream Cake?
Absolutely! This vibrant and flavorful cotton candy ice cream recipe serves as a fantastic and unique base for an ice cream cake. Its creamy texture and playful colors make it a showstopper for any celebration. When preparing for an ice cream cake, just ensure the ice cream is firm enough before assembling the cake layers. This might mean extending the freezing time slightly to ensure it holds its shape perfectly when combined with other cake elements.
Storage Tips for Your Homemade Cotton Candy Ice Cream
While this delightful ice cream is designed to last in the freezer, let’s be real – it’s so incredibly delicious that you’ll likely finish it long before you need to worry about extended storage! However, proper storage is key to maintaining its creamy texture and vibrant flavor.
Refrigerator Storage
Ice cream is best stored exclusively in the freezer. Keeping it in the refrigerator, even for a short period, will cause it to soften considerably and lose its desirable consistency. It’s designed to be enjoyed as a frozen treat!
Freezer Storage
To preserve the luscious texture and fresh flavor of your cotton candy ice cream, store it in an airtight container. If you don’t have a dedicated ice cream container, covering it tightly with plastic wrap directly on the surface of the ice cream before sealing the container will help prevent ice crystals from forming and freezer burn. Stored properly in the freezer, this homemade delight will remain fresh and delicious for up to one month. Though, we bet it won’t last that long!
Expert Tips for the Best No-Churn Cotton Candy Ice Cream
This no-churn cotton candy ice cream recipe is consistently a huge hit, especially with kids who are captivated by its vibrant colors and sweet flavor. And let’s be honest, adults are equally enthusiastic fans! Follow these tips to ensure your homemade ice cream is perfectly creamy, colorful, and utterly delicious every time, making it the ultimate summer treat or year-round delight:
- **Chill Your Equipment:** Always start with very cold heavy cream for the best whipped consistency. Placing your mixing bowl and whisk attachment in the freezer for at least 10-15 minutes before you begin will significantly help achieve those desirable stiff peaks faster and more effectively.
- **Color with Caution:** When adding food coloring, start with just a drop or two. You can always add more to deepen the shade, but you can’t remove it once it’s incorporated. Remember that the color will often intensify slightly as the ice cream sets and freezes, so a lighter shade initially can become perfectly vibrant later.
- **Overnight Freezing for Optimal Scoopability:** For the best, most scoopable consistency, allow your ice cream to freeze overnight, or for a minimum of 6 hours. This extended chill time ensures it’s perfectly firm, yet still creamy enough to scoop easily.
- **Choose the Right Container:** Use a 5-inch loaf pan or a designated freezer-safe ice cream container for storing your ice cream. These shapes help it freeze evenly and make scooping simpler.
- **Gel Food Coloring is Your Friend:** Gel food coloring is a superior option for ice cream. It’s highly concentrated, meaning you need less of it to achieve brilliant colors, and it won’t thin out the consistency of your ice cream mixture like liquid food coloring can.
- **Dairy Alternatives Consideration:** While heavy cream provides the richest and creamiest texture, you can experiment with substituting nonfat milk or a non-dairy alternative. Keep in mind that this will result in a less rich and creamy texture, but the delightful cotton candy flavor will still shine through.
Gather Your Simple Ingredients for Cotton Candy Ice Cream
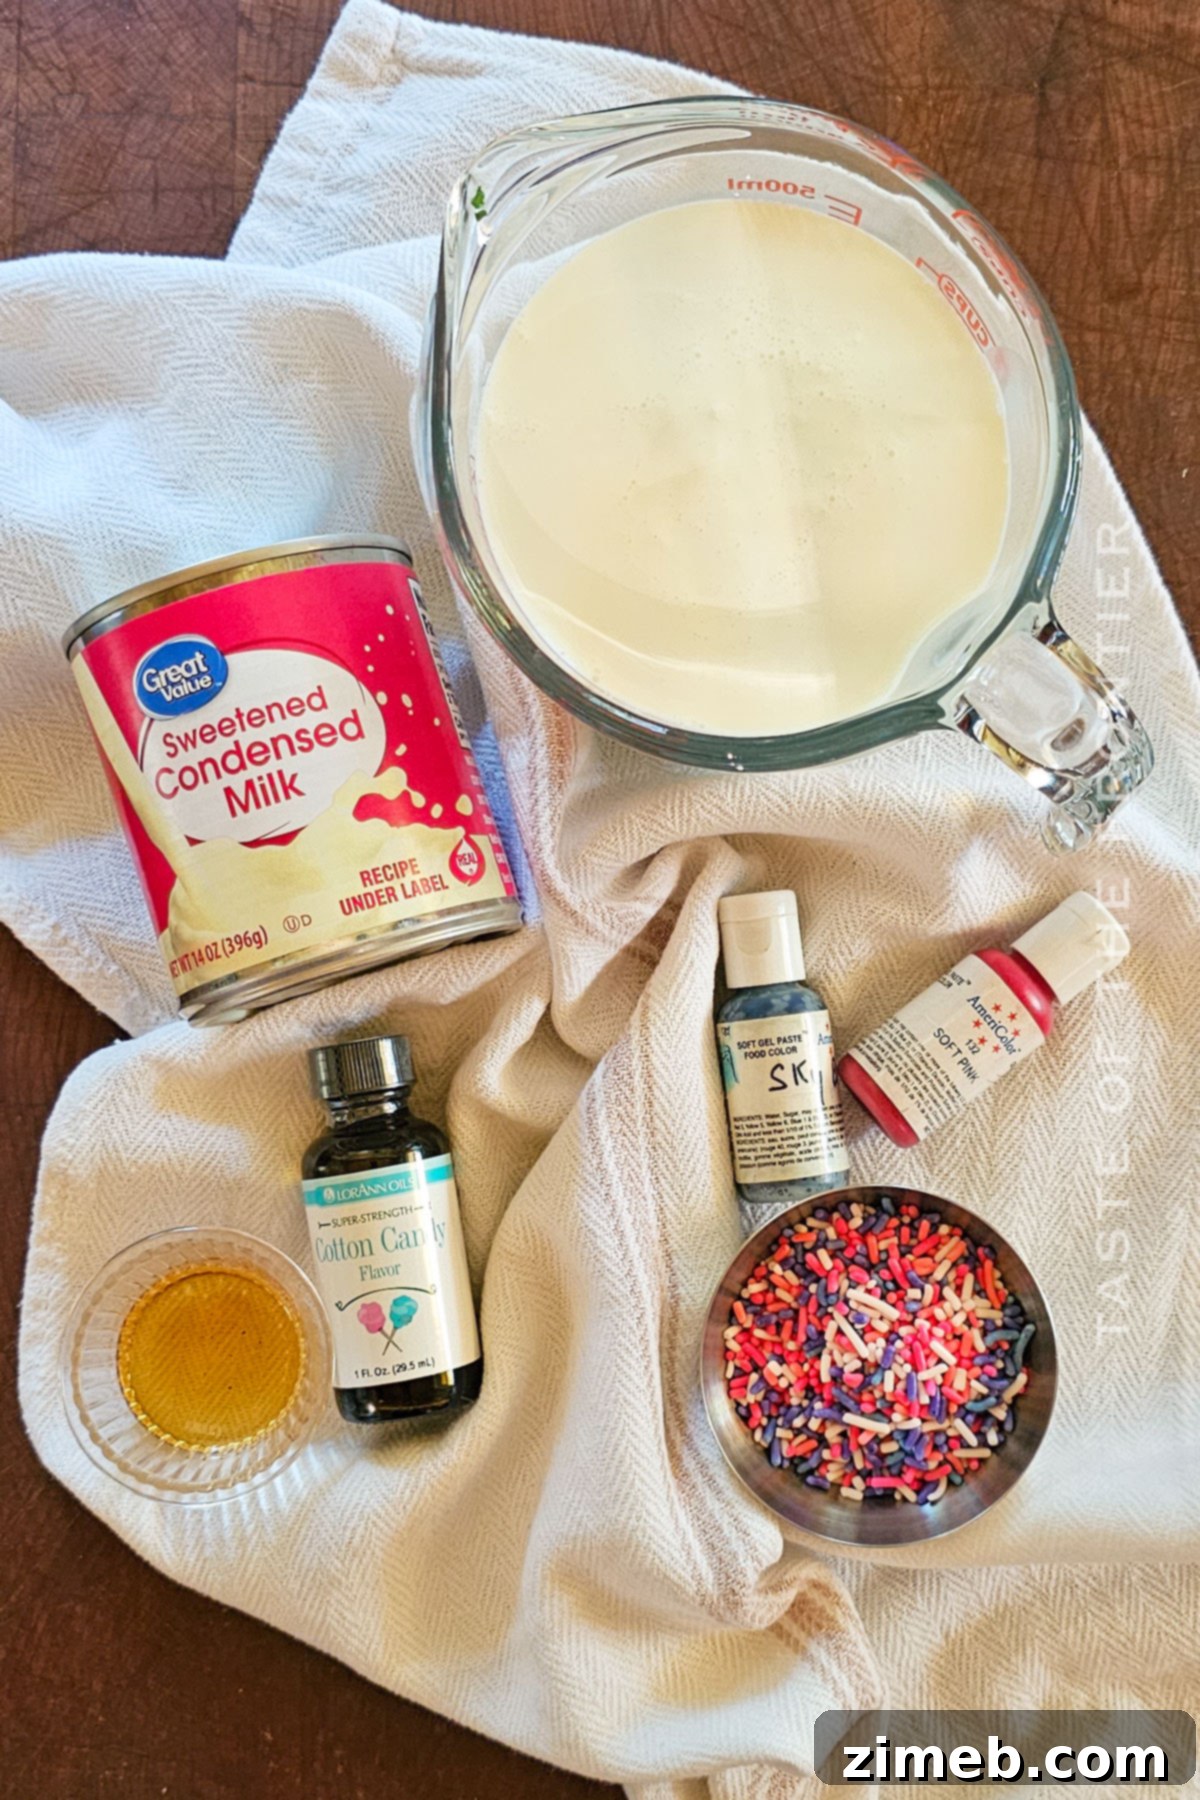
Creating this magical cotton candy ice cream requires just a handful of simple ingredients. The most crucial component for that authentic carnival flavor is the cotton candy extract, which can sometimes be a bit tricky to locate in standard grocery stores. If you don’t spot it on your local shelves, don’t fret – a quick search on Amazon will almost certainly yield excellent results, ensuring you get the perfect flavoring for your treat. Here’s what you’ll need:
- **Heavy Whipping Cream:** This is the base of your no-churn ice cream, providing the essential richness and creamy texture. Make sure it’s very cold!
- **Sweetened Condensed Milk:** This ingredient adds sweetness and helps create that smooth, luscious consistency without the need for an ice cream machine.
- Cotton candy flavoring: The star of the show, delivering that distinctive, nostalgic carnival taste.
- **Vanilla extract:** A touch of vanilla enhances all the other flavors, adding depth and warmth to the sweet profile.
- **Light pink and blue food coloring:** These colors are essential for achieving the iconic, visually stunning cotton candy swirl. Gel food coloring is recommended for best results.
- **Pastel sprinkles (optional):** For an extra festive touch and delightful crunch, sprinkle some pastel sprinkles throughout your ice cream layers.
How to Make Homemade Cotton Candy Ice Cream: A Step-by-Step Guide
This vibrant and delicious ice cream is truly the perfect dessert for birthday parties and other festive gatherings. Between its mesmerizing colors and its irresistibly sweet flavor, kids (and adults!) always go absolutely wild when they see it. Make sure to save this recipe card – it’s guaranteed to be a party favorite for years to come! Here’s how to create this simple yet spectacular treat:
- **Chill Your Equipment:** Begin by placing your mixing bowl and the whisk attachment of your stand mixer in the freezer. Allow them to chill for at least 10 minutes while you gather all your ingredients. This crucial step ensures your heavy cream whips up beautifully.
- **Whip the Heavy Cream:** Once your bowl and whisk are thoroughly chilled, pour the cold heavy cream into the mixing bowl. Beat on medium speed for approximately 3 minutes, or until the cream has transformed into a light, fluffy whipped consistency with firm peaks. Be careful not to over-whip.
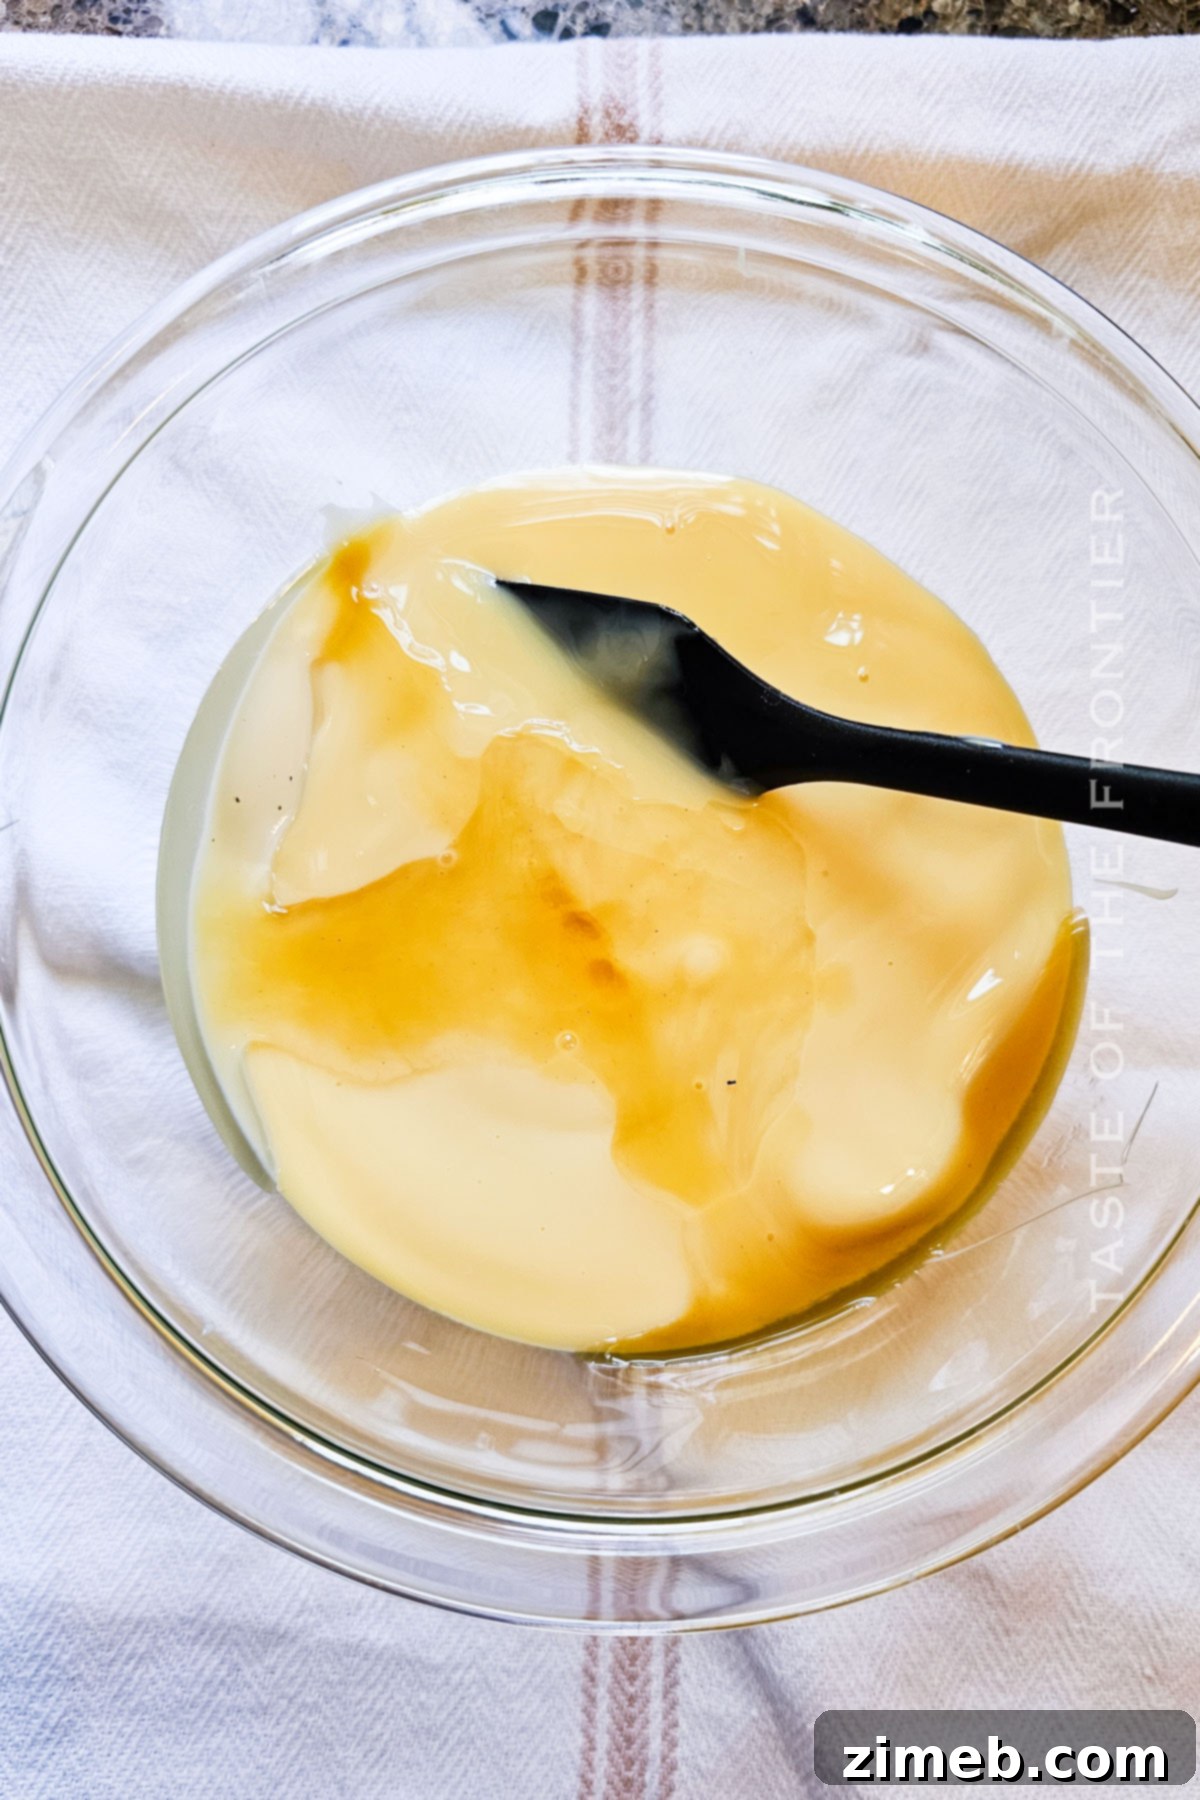
- **Prepare the Sweetened Condensed Milk Mixture:** In a separate, medium-sized bowl, combine the sweetened condensed milk with the cotton candy flavoring and the vanilla extract. Mix these ingredients thoroughly until they are well combined and smooth.
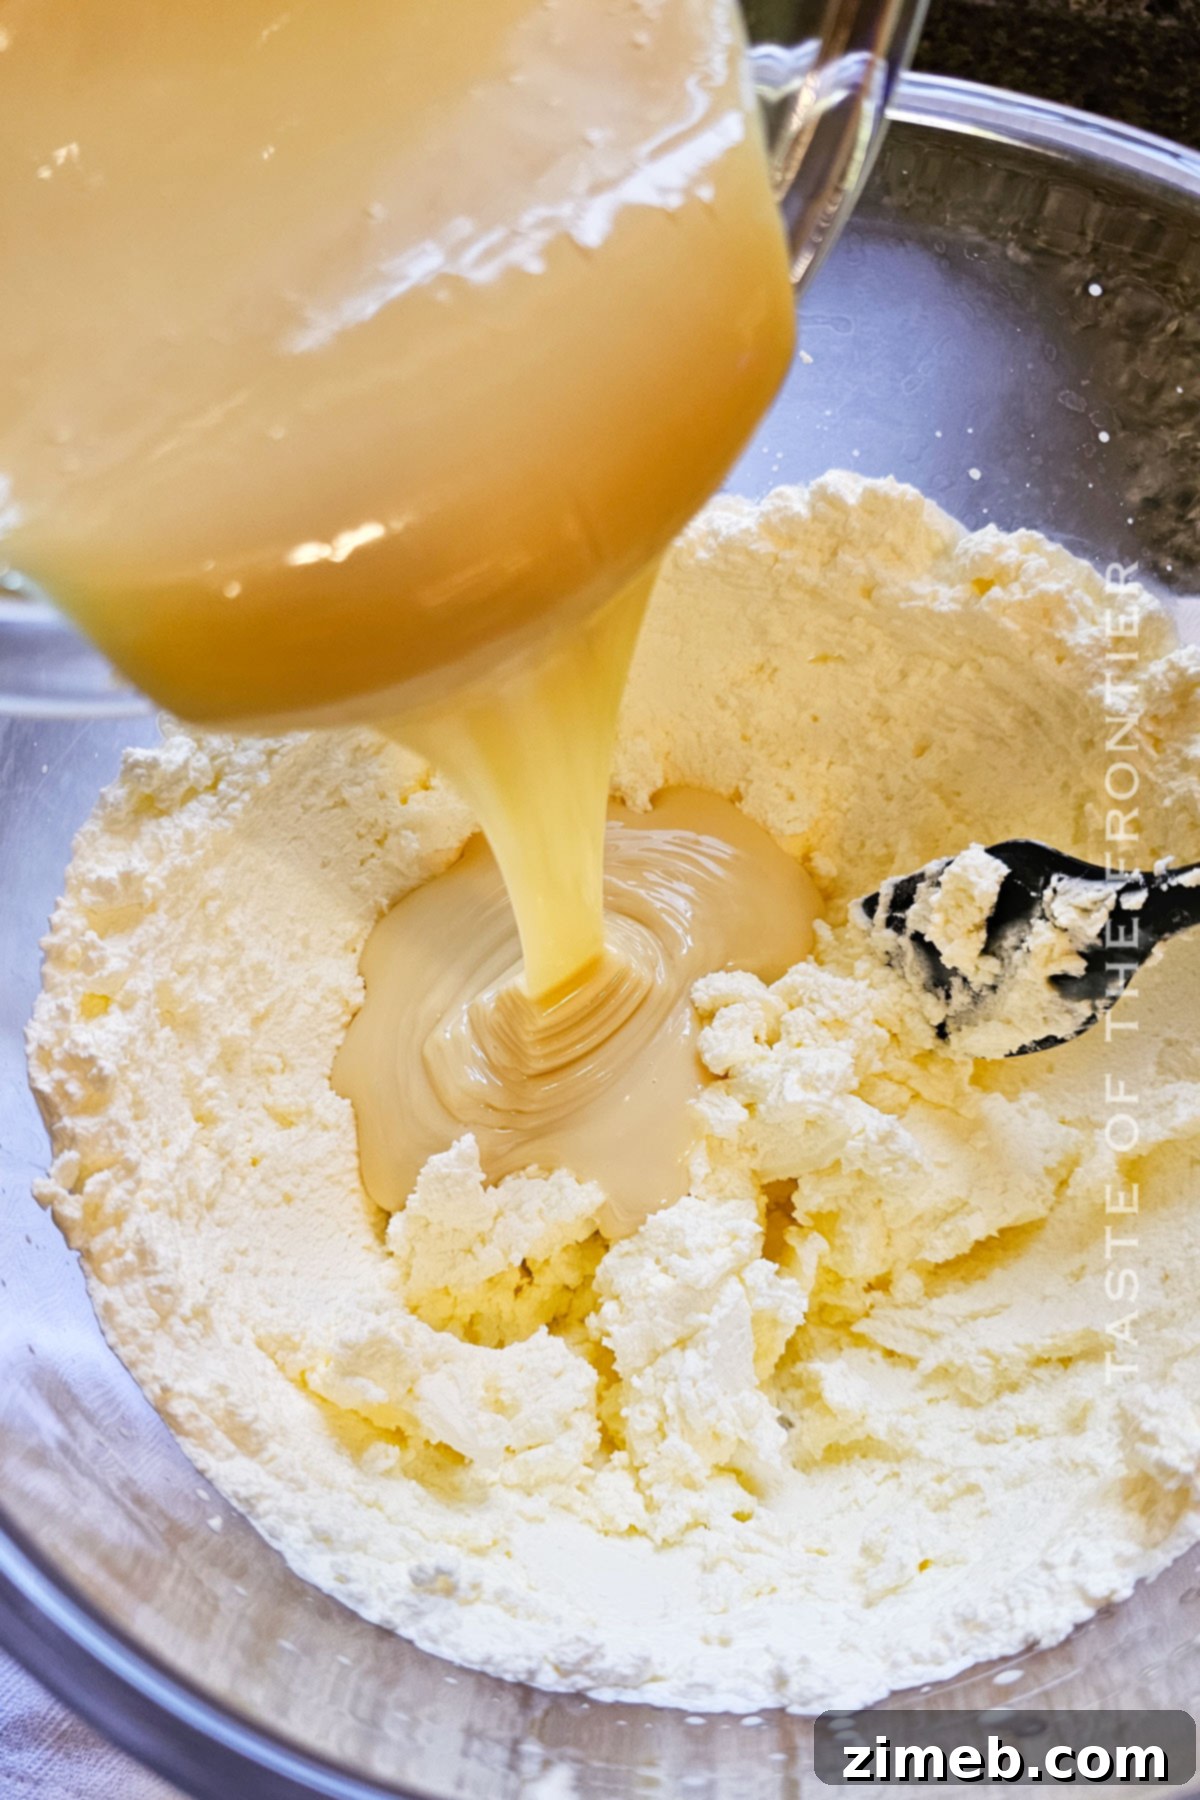
- **Gently Fold Mixtures:** Delicately fold the flavored condensed milk mixture into the whipped cream. The key here is to be gentle, taking care not to deflate the air you’ve incorporated into the cream, which is vital for the ice cream’s light and airy texture.
- **Divide and Conquer for Color:** Once the base mixture is uniformly combined, portion approximately half of it into a separate bowl. You now have two bowls of your plain ice cream base.
- **Add the Vibrant Colors:** Into one bowl, add a single drop of light pink food coloring. Into the other bowl, add a single drop of light blue food coloring. Gently fold the color into each ice cream mixture until the desired shade is achieved. Remember, it’s always best to start with less coloring, as you can easily add more if needed, but you can’t remove it once it’s in. Also, keep in mind that the colors will intensify slightly as the ice cream sets in the freezer.
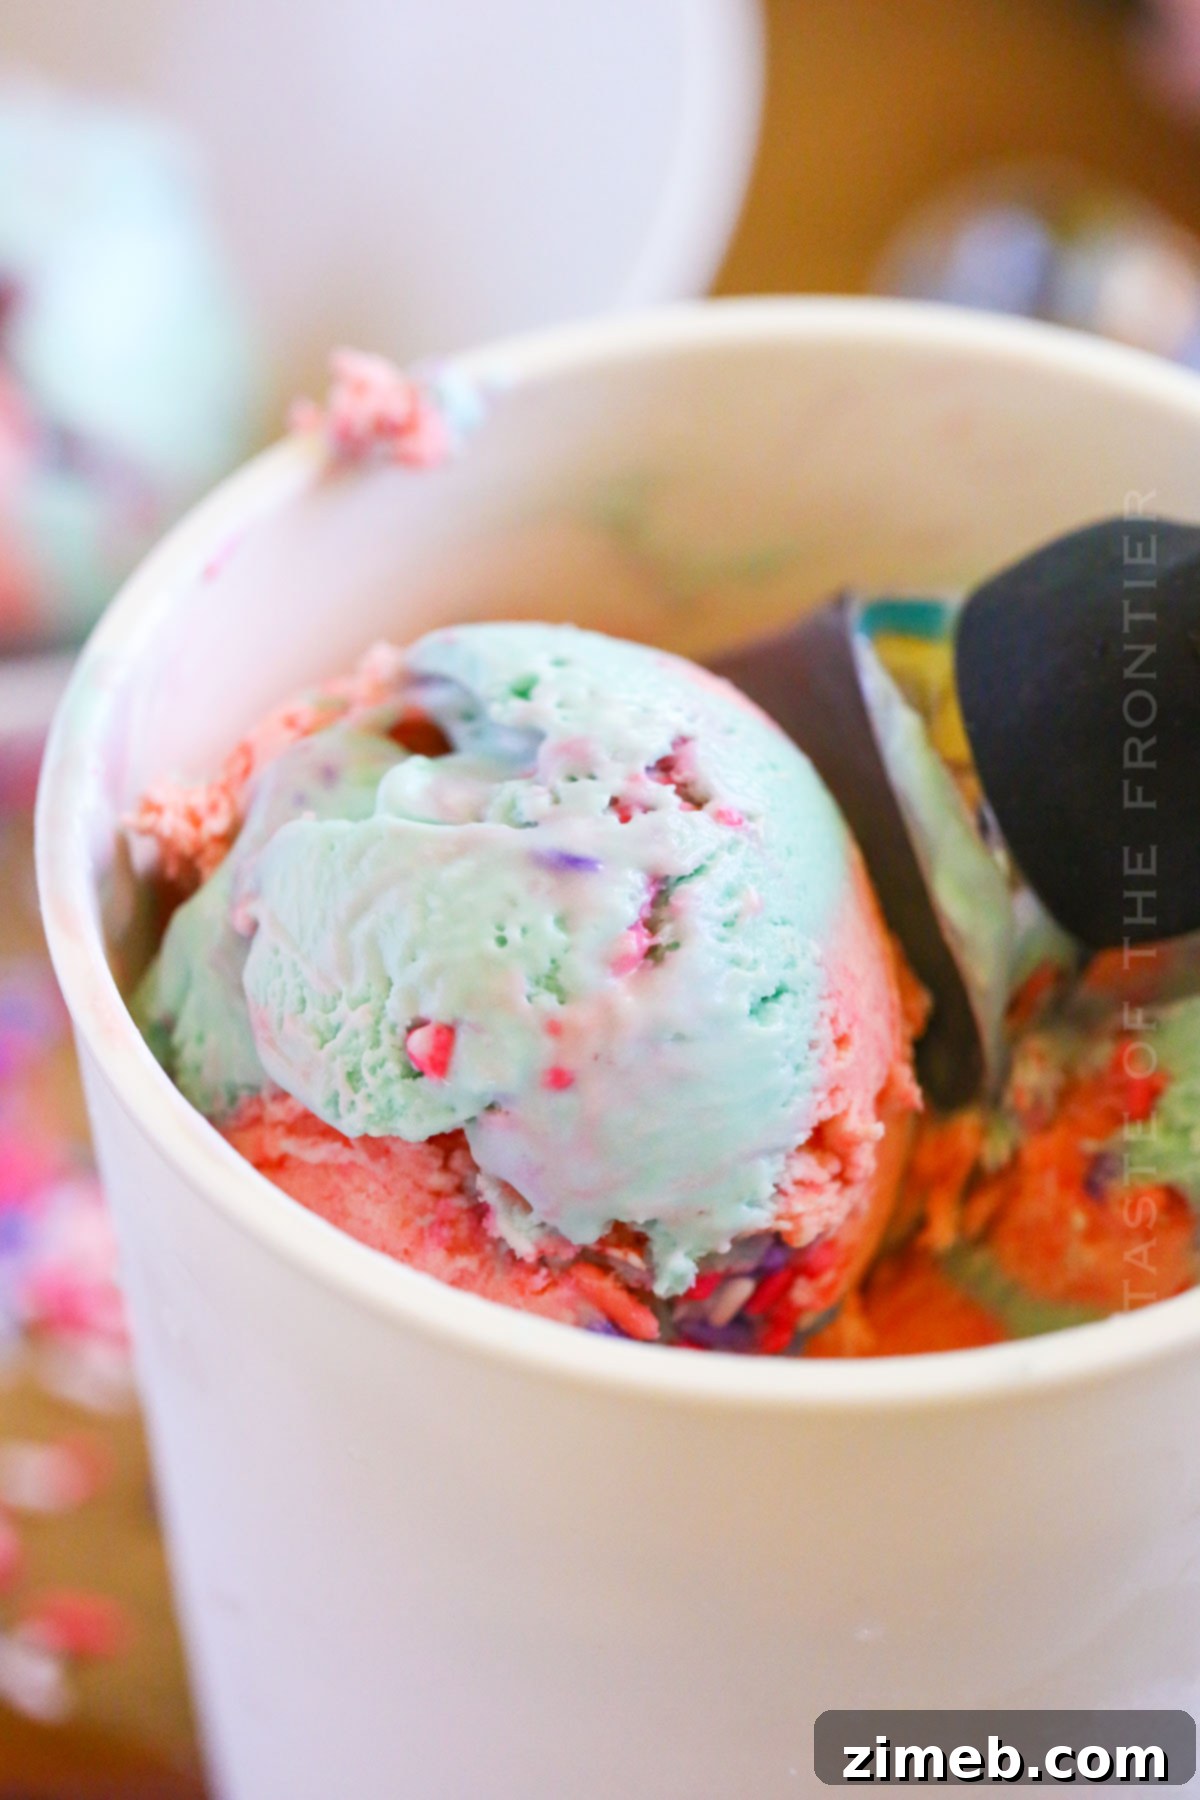
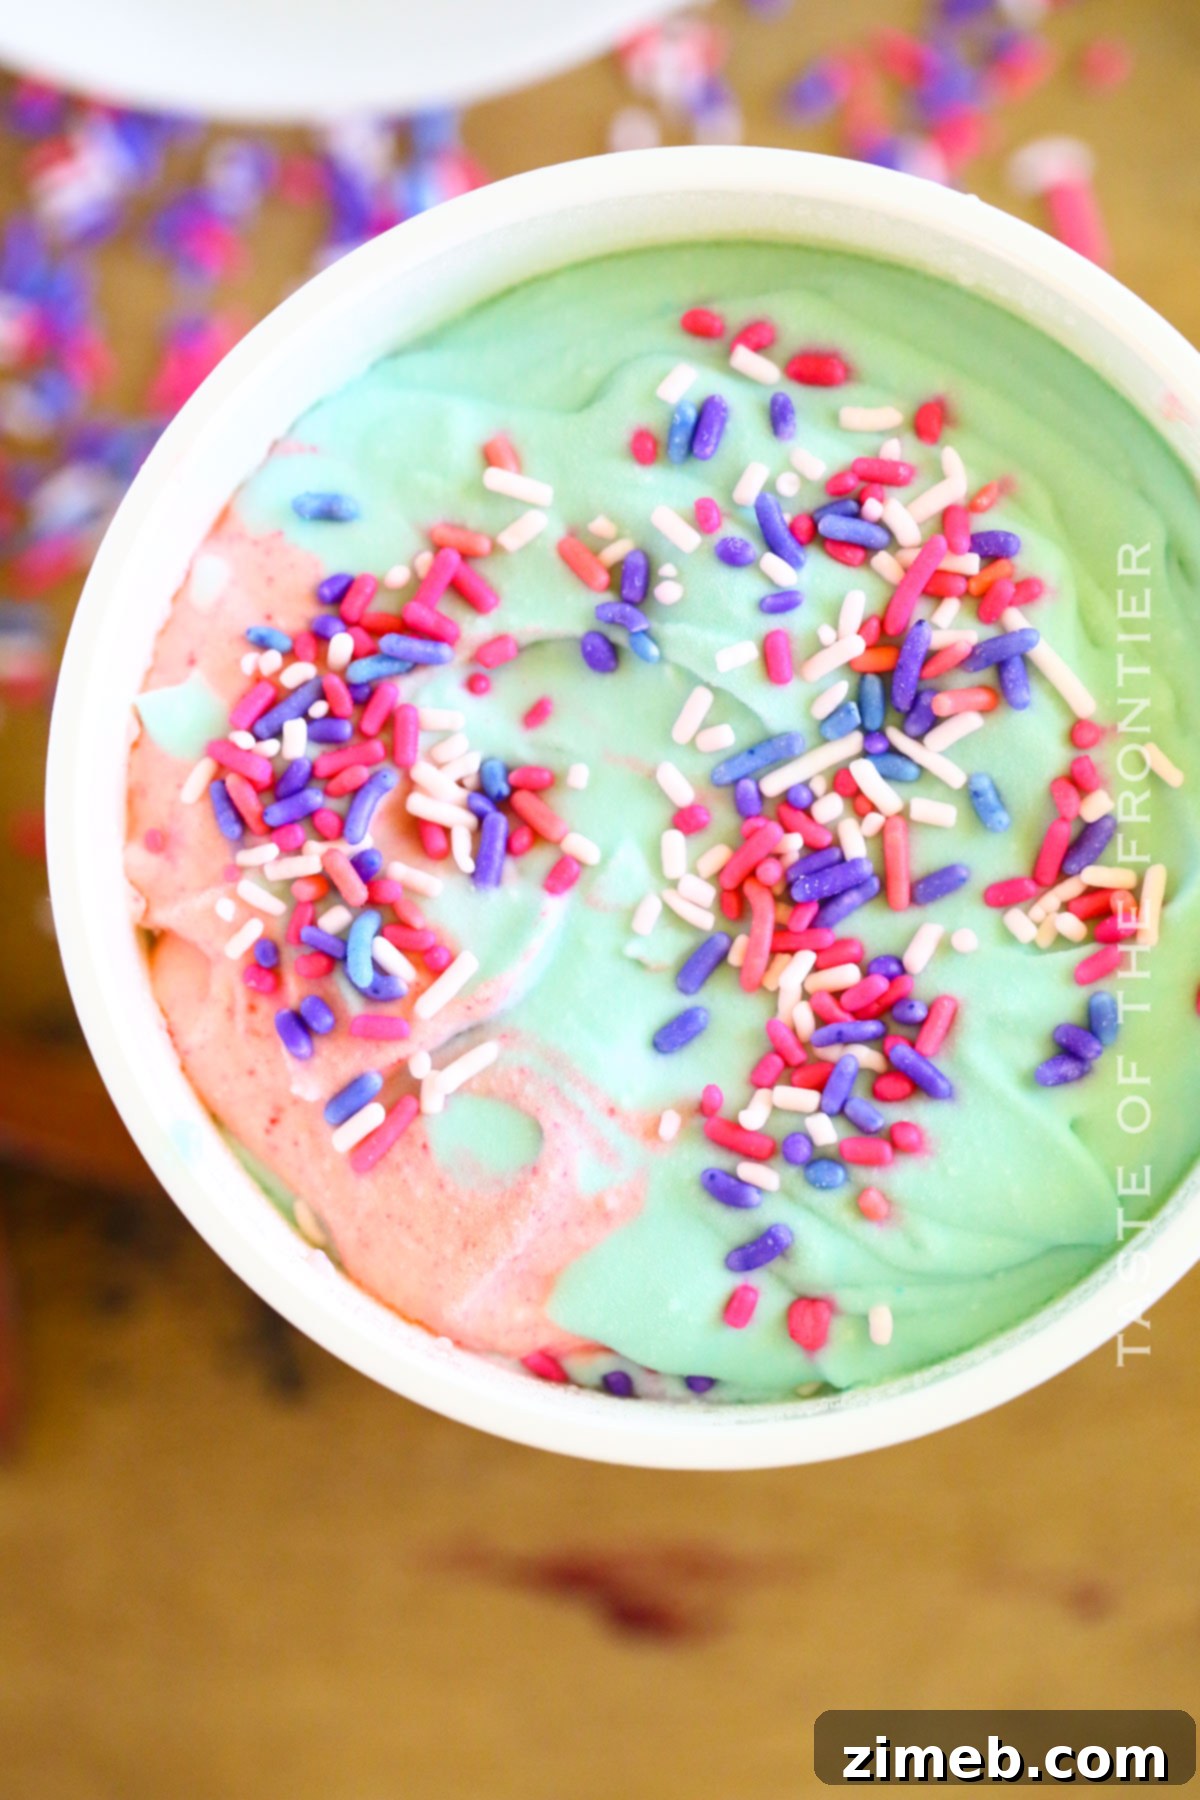
- **Layer and Swirl:** Now comes the fun part – assembling your colorful masterpiece! Take your freezer-safe container (a loaf pan works perfectly). Begin by portioning spoonfuls of each colored mixture into the container, alternating between pink and blue dollops. For an extra festive touch, I love to add a layer of pastel sprinkles after every few spoonfuls of ice cream, creating beautiful visible layers. Continue adding layers of colors and sprinkles until all of the ice cream mixture has been transferred to the container.
- **Freeze to Perfection:** Cover the container tightly and place it in the freezer. Allow it to freeze for at least 4-6 hours to harden. For the absolute best, firm, and scoopable consistency, I strongly recommend letting it freeze overnight. This ensures your homemade cotton candy ice cream is perfectly set and ready to be enjoyed when serving.
Essential Kitchen Supplies for Making Cotton Candy Ice Cream
Making this homemade cotton candy ice cream always transports me back to my younger days. There was a wonderful summer carnival nearby, and a cherished tradition was always to get a big, fluffy cloud of cotton candy. Recreating that magic at home is easy with just a few basic kitchen tools. You won’t need anything fancy, just these essentials:
- Stand mixer: While a hand mixer can also work, a stand mixer makes whipping the heavy cream effortless, freeing up your hands for other tasks.
- **Mixing bowls:** You’ll need at least two – one for whipping the cream and another for combining the condensed milk mixture, plus two more if you’re coloring the ice cream in separate batches.
- Rubber spatula: Essential for gently folding the mixtures together without deflating the whipped cream, ensuring a light and airy final texture.
- Ice cream containeror loaf pan: A freezer-safe container is crucial for freezing your ice cream. A standard 5-inch loaf pan is perfect for this recipe, allowing for easy layering and scooping.
Creative Ways to Serve Your Cotton Candy Ice Cream
This playful, vibrant cotton candy ice cream is incredibly versatile and delicious, whether enjoyed on its own or dressed up with delightful toppings. Its unique flavor profile means it’s perfect in many contexts:
- **Classic Cone Experience:** Serve it simply, scooped high onto a crisp **sugar cone** or a freshly baked **waffle cone**. The crunch of the cone perfectly complements the creamy ice cream.
- **Elevate Your Sundae:** Transform it into a festive summer sundae! Drizzle with a sweet **strawberry sauce** for an extra layer of fruity flavor, and pile on even **more sprinkles** to enhance the carnival theme. Whipped cream and a cherry on top would complete this decadent treat.
- **Alongside Other Desserts:** Pair a small scoop with warm brownies, a slice of vanilla cake, or even a fruit tart for a delicious contrast of temperatures and textures.
- **Milkshake Magic:** Blend a few scoops with a splash of milk for an irresistible cotton candy milkshake. It’s a delightful twist on a classic!
Why This Homemade Cotton Candy Ice Cream Is a Must-Make
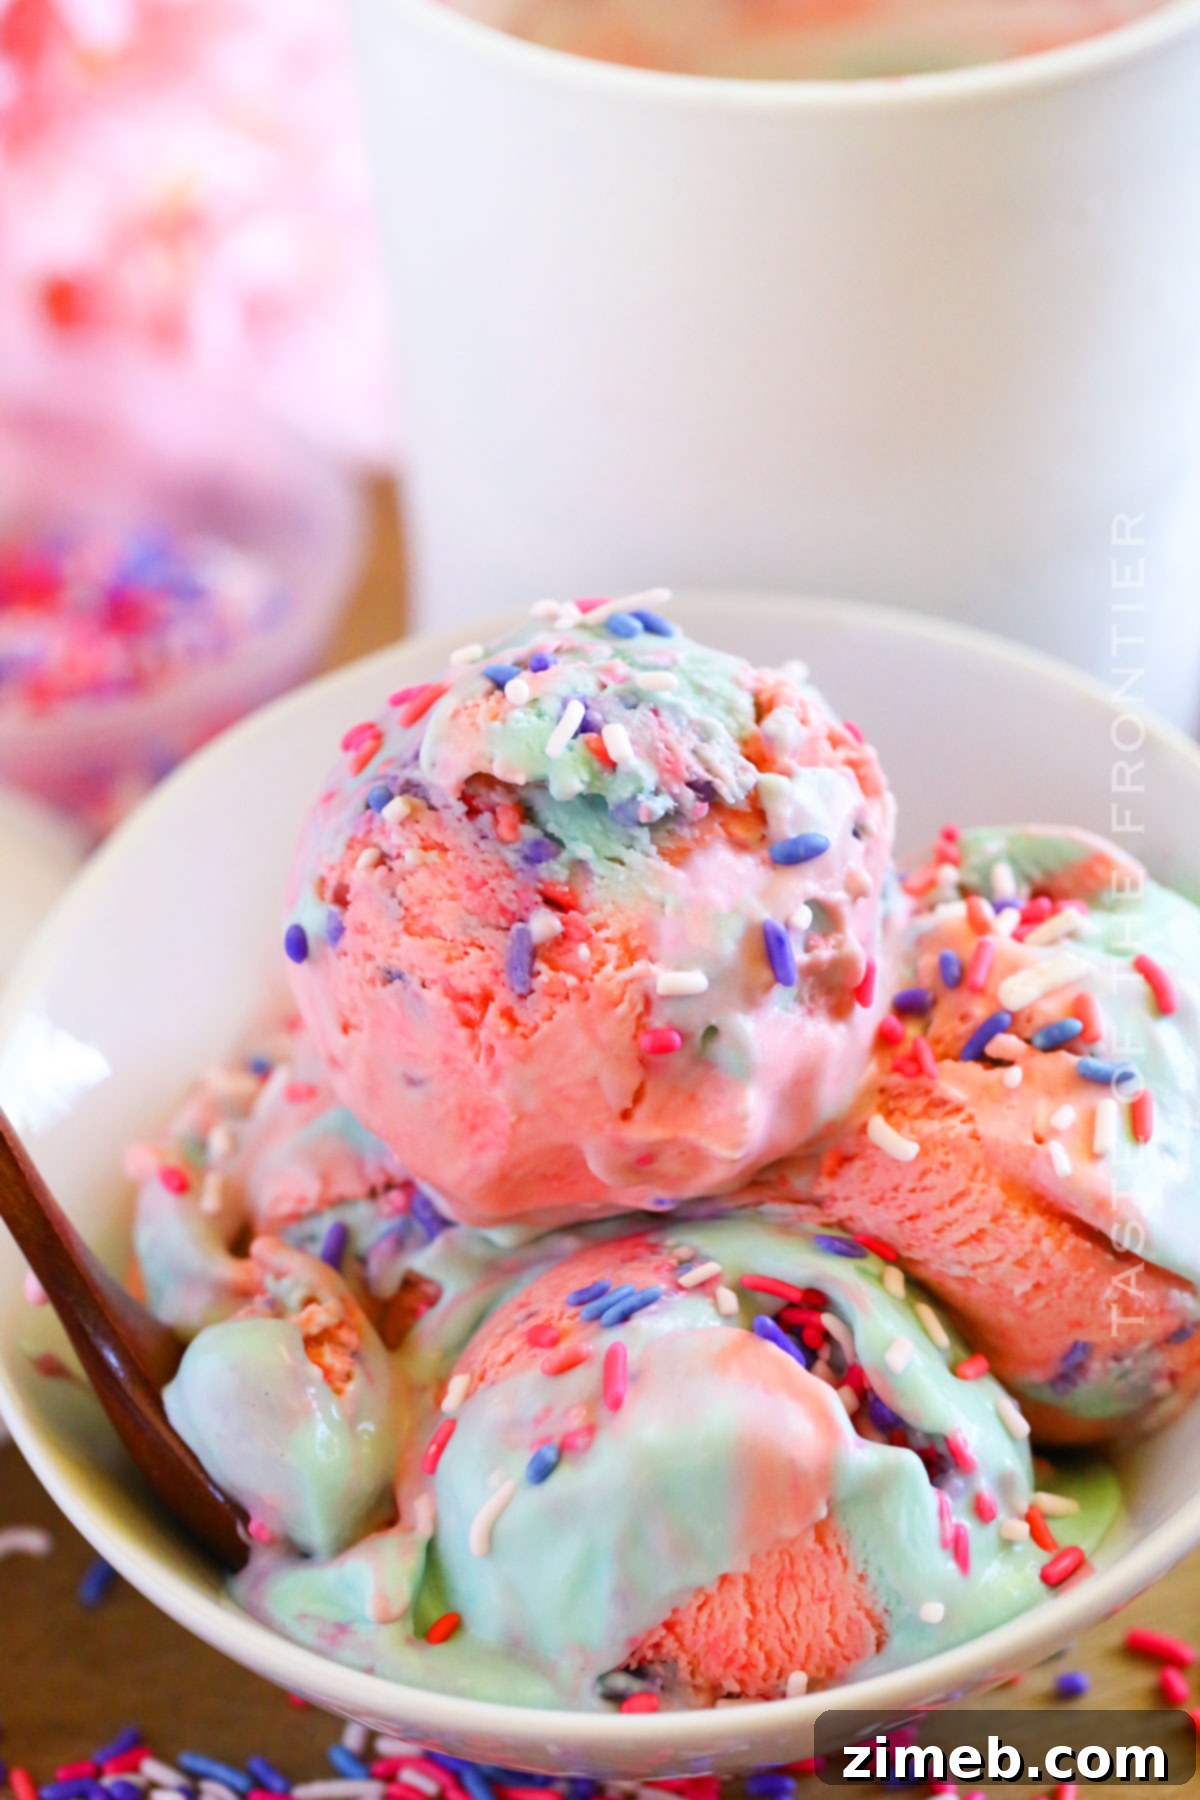
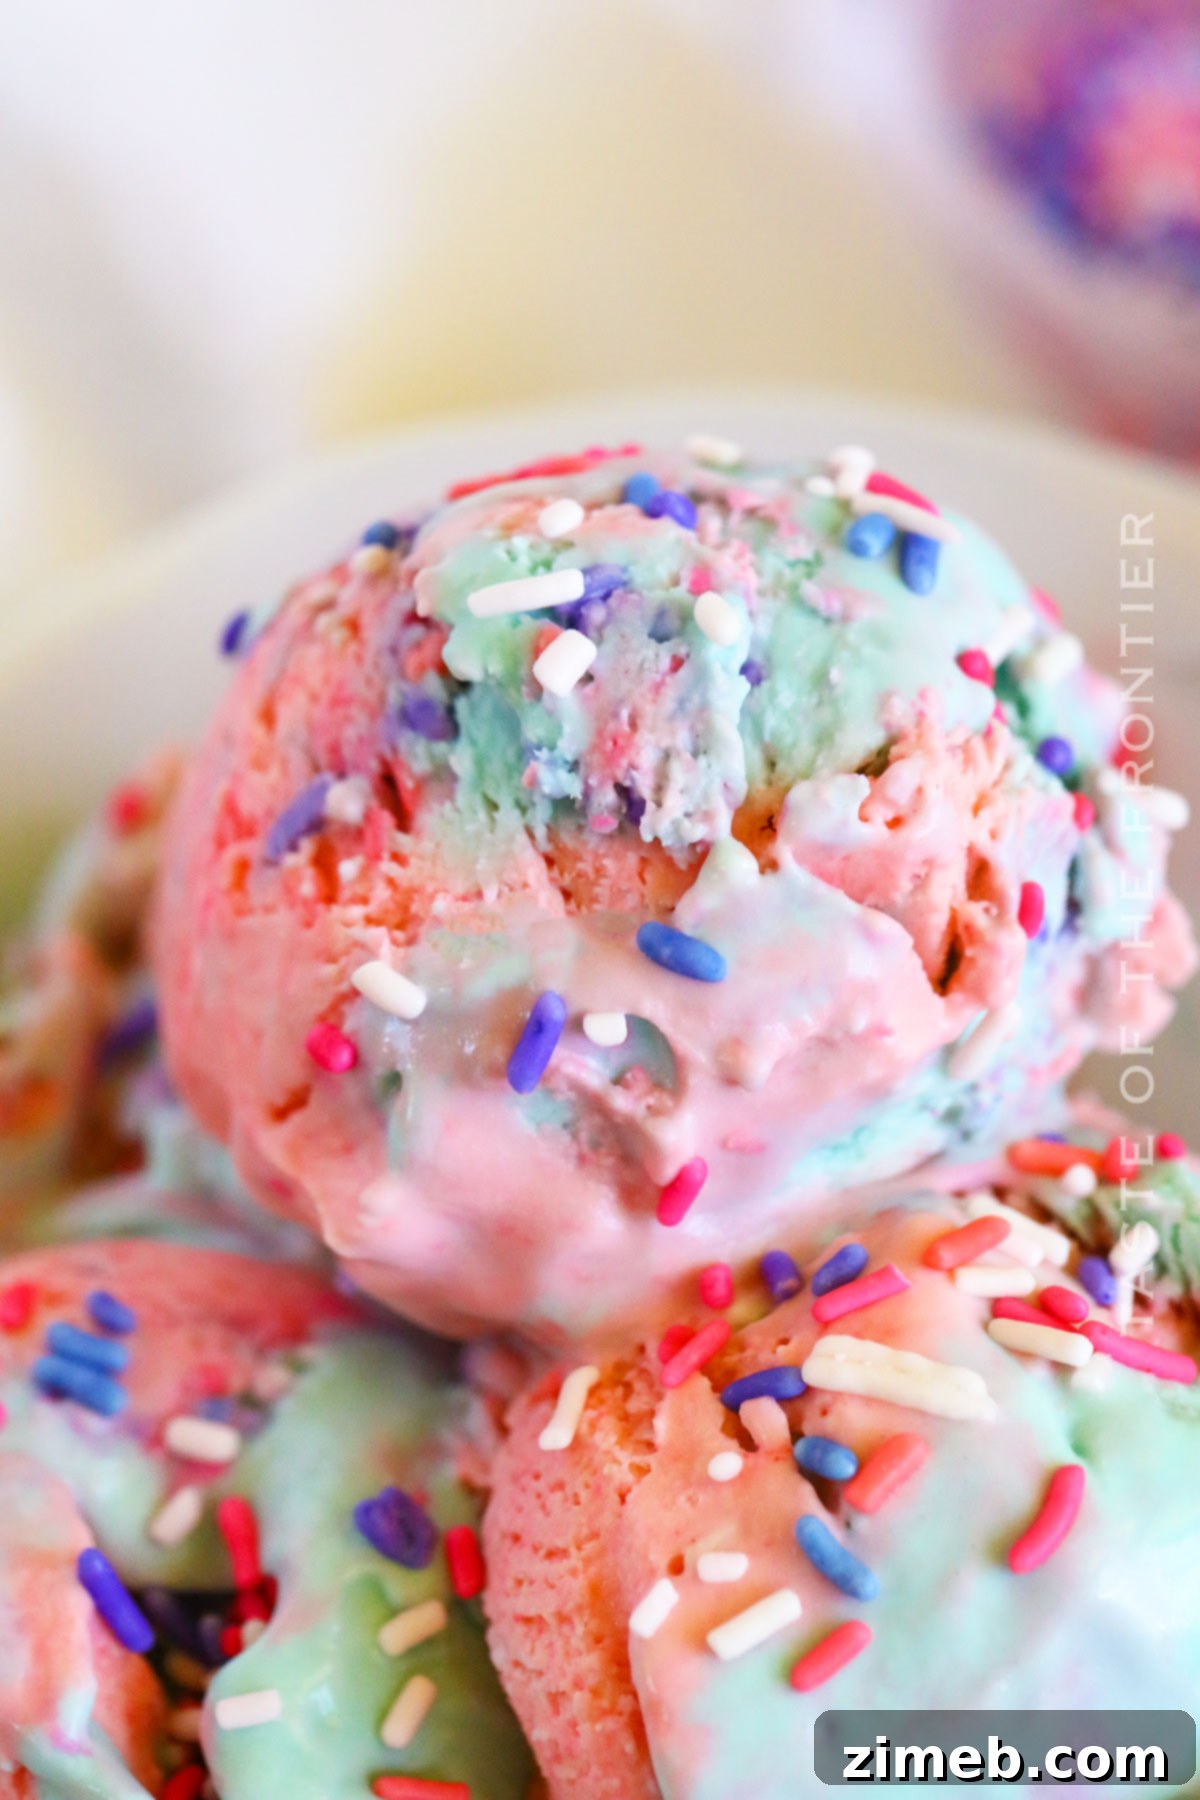
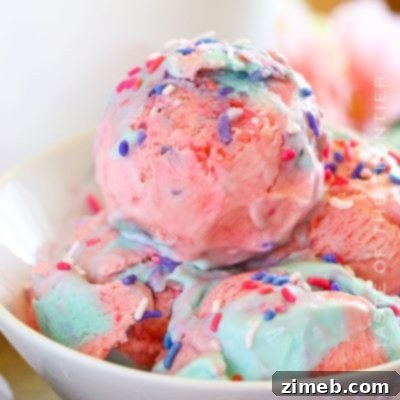
There are countless reasons to try this delightful cotton candy ice cream recipe, but its visual appeal is undeniably one of its biggest draws. The swirling pink and blue colors truly pop, instantly drawing you in and making you crave every last bite. Beyond its stunning appearance, here are the compelling reasons why this whimsical dessert deserves a spot in your recipe collection:
- It’s a **fun, nostalgic treat** that instantly transports you back to the vibrant, joyful atmosphere of summer carnivals, evoking happy childhood memories with every spoonful.
- It’s **incredibly easy to make at home**, requiring no specialized ice cream machine. This makes homemade ice cream accessible to everyone, regardless of their kitchen gadget collection.
- You can **easily customize it** with your favorite colors and an abundance of sprinkles, allowing for creative expression and personal touches that make it truly unique.
- It’s a **whimsical dessert** that is guaranteed to delight both kids and adults alike. Its playful appearance and sweet flavor make it a perfect centerpiece for parties or a special treat to brighten any day.
- It offers **unmatched freshness and flavor** compared to store-bought options. Knowing exactly what goes into your ice cream allows you to control the quality and intensity of the cotton candy flavor.
- It’s a **versatile base** that can be enjoyed plain, in a cone, as part of a sundae, or even incorporated into an ice cream cake, offering endless possibilities for dessert enjoyment.
Exciting Variations and Delicious Add-Ins for Cotton Candy Ice Cream
One of the many reasons to love making homemade ice cream is its incredible versatility. This cotton candy ice cream recipe is a fantastic canvas for creativity, allowing you to experiment with different variations and add-ins to discover your perfect personalized treat. Don’t hesitate to try out various combinations to find what you and your family love the most!
- **Dairy Swaps:** You can experiment with using **nonfat milk** or a **non-dairy alternative** such as coconut cream or almond milk in this ice cream recipe. While the texture might be slightly less rich and creamy compared to using heavy whipping cream, the delightful cotton candy flavor will still shine through beautifully, offering a lighter option.
- **Cookie Crunch:** Swirl in some **Oreo crumbs** or crushed vanilla wafers for a delicious cookies and cream variation that adds satisfying texture and a familiar flavor contrast.
- **Marshmallow Fluff:** Add some **mini marshmallows** or a swirl of marshmallow fluff for extra sweetness, a soft, chewy texture, and an even more whimsical feel.
- **Sprinkle Extravaganza:** Mix in an abundance of **rainbow sprinkles** directly into the ice cream base for a funfetti twist that enhances both the visual appeal and the joyful crunch.
- **Real Cotton Candy Magic:** For an ultimate burst of flavor and fun, gently fold in small pieces of **real cotton candy** just before the final freeze. It will dissolve slightly, adding an intense burst of flavor and a unique, slightly chewy texture.
- **Fruity Twist:** Incorporate a swirl of fruit puree, such as raspberry or blueberry, for a delightful fruity contrast to the sweet cotton candy flavor.
- **Candy Mix-ins:** Stir in other small candies like chopped gummy bears, mini chocolate chips, or even white chocolate chunks for a customized candy-land experience.

If you love this easy cotton candy ice cream recipe, you’re going to adore these other fantastic homemade ice cream flavors and carnival-inspired treats too. Each one offers a unique and delicious experience, perfect for satisfying your sweet tooth. Please click each link below to discover the easy, printable recipe and expand your dessert repertoire!
Check out this recipe

Check out this recipe

Check out this recipe
Check out this recipe

Check out this recipe

More Great Cotton Candy & Carnival-Favorite Recipes
If you’re enchanted by the magic of carnival treats and the sweet allure of cotton candy, then you’ll love exploring these other fantastic recipes that capture that same joyful spirit:
**Cotton Candy Cookies**: Extend the cotton candy theme to delicious, soft cookies for another whimsical treat.
**Make a Root Beer Float**: A classic carnival drink that’s easy to make and always a crowd-pleaser.
**Funnel Cake**: Recreate the quintessential fair food at home with this simple funnel cake recipe.
If you absolutely adore this easy recipe for homemade cotton candy ice cream as much as I do, please take a moment to leave a five-star review. Your feedback is greatly appreciated! And don’t forget to help spread the word by sharing it with your friends and family on Facebook and Pinterest!

CONNECT WITH YUMMI HAUS!
Be sure to follow me on my social media channels, so you never miss a delicious post or a new recipe!
Substack, Facebook, Pinterest, Instagram, Email Subscription
Rate this Recipe
Cotton Candy Ice Cream
Ingredients
- 2 cups heavy whipping cream – COLD
- 14 ounces sweetened condensed milk
- 2 tsp cotton candy flavoring
- 1 tsp vanilla extract
- Light pink food coloring
- Light blue food coloring
- ¼ cup pastel sprinkles – optional
Instructions
-
Place the mixing bowl and the whisk attachment in the freezer to chill for at least 10 minutes while you gather the ingredients.
-
Once the bowl is chilled, pour in the heavy cream and beat on medium speed for approximately 3 minutes – or until the cream has become a whipped consistency.
-
In a separate bowl, combine the sweetened condensed milk with the cotton candy flavoring and the vanilla, mixing until combined.
-
Gently fold that mixture into the whipped cream, taking care not to deflate the cream.
-
Once mixed, portion half of it into a separate bowl.
-
Add a drop of pink food color into one bowl and a drop of blue into the other. Gently fold the color into the ice cream mixture. You can add more coloring until you reach the desired shade – but always start with less since you can always add more but can’t remove it once it’s in there. Also, keep in mind that the color will intensify as it sits.
-
Portion spoonfuls of each mixture into your freezer-safe container – doing a dollop of each at a time. I like to add a spoonful of each and then add a layer of sprinkles before adding more of each mixture. Continue adding layers of colors with the sprinkles until all of the ice cream has been added to the container.
-
Cover and freeze for AT LEAST 4-6 hours to harden. I prefer to let it freeze overnight so it is firm enough for solid scoops when serving.
Notes
I like to use gel food coloring as it is more controllable and doesn’t dilute the consistency of the ice cream mixture. It is also more concentrated, so you can use less to achieve the right color.
Equipment
-
Stand mixer
-
Mixing bowls
-
Rubber Spatula
-
Ice cream container (freezer-safe) – or loaf pan
Nutrition
Nutritional information for the recipe is provided as a courtesy and is approximate. Please double-check with your own dietary calculator for the best accuracy. We at Yummi Haus cannot guarantee the accuracy of the nutritional information given for any recipe on this site.