
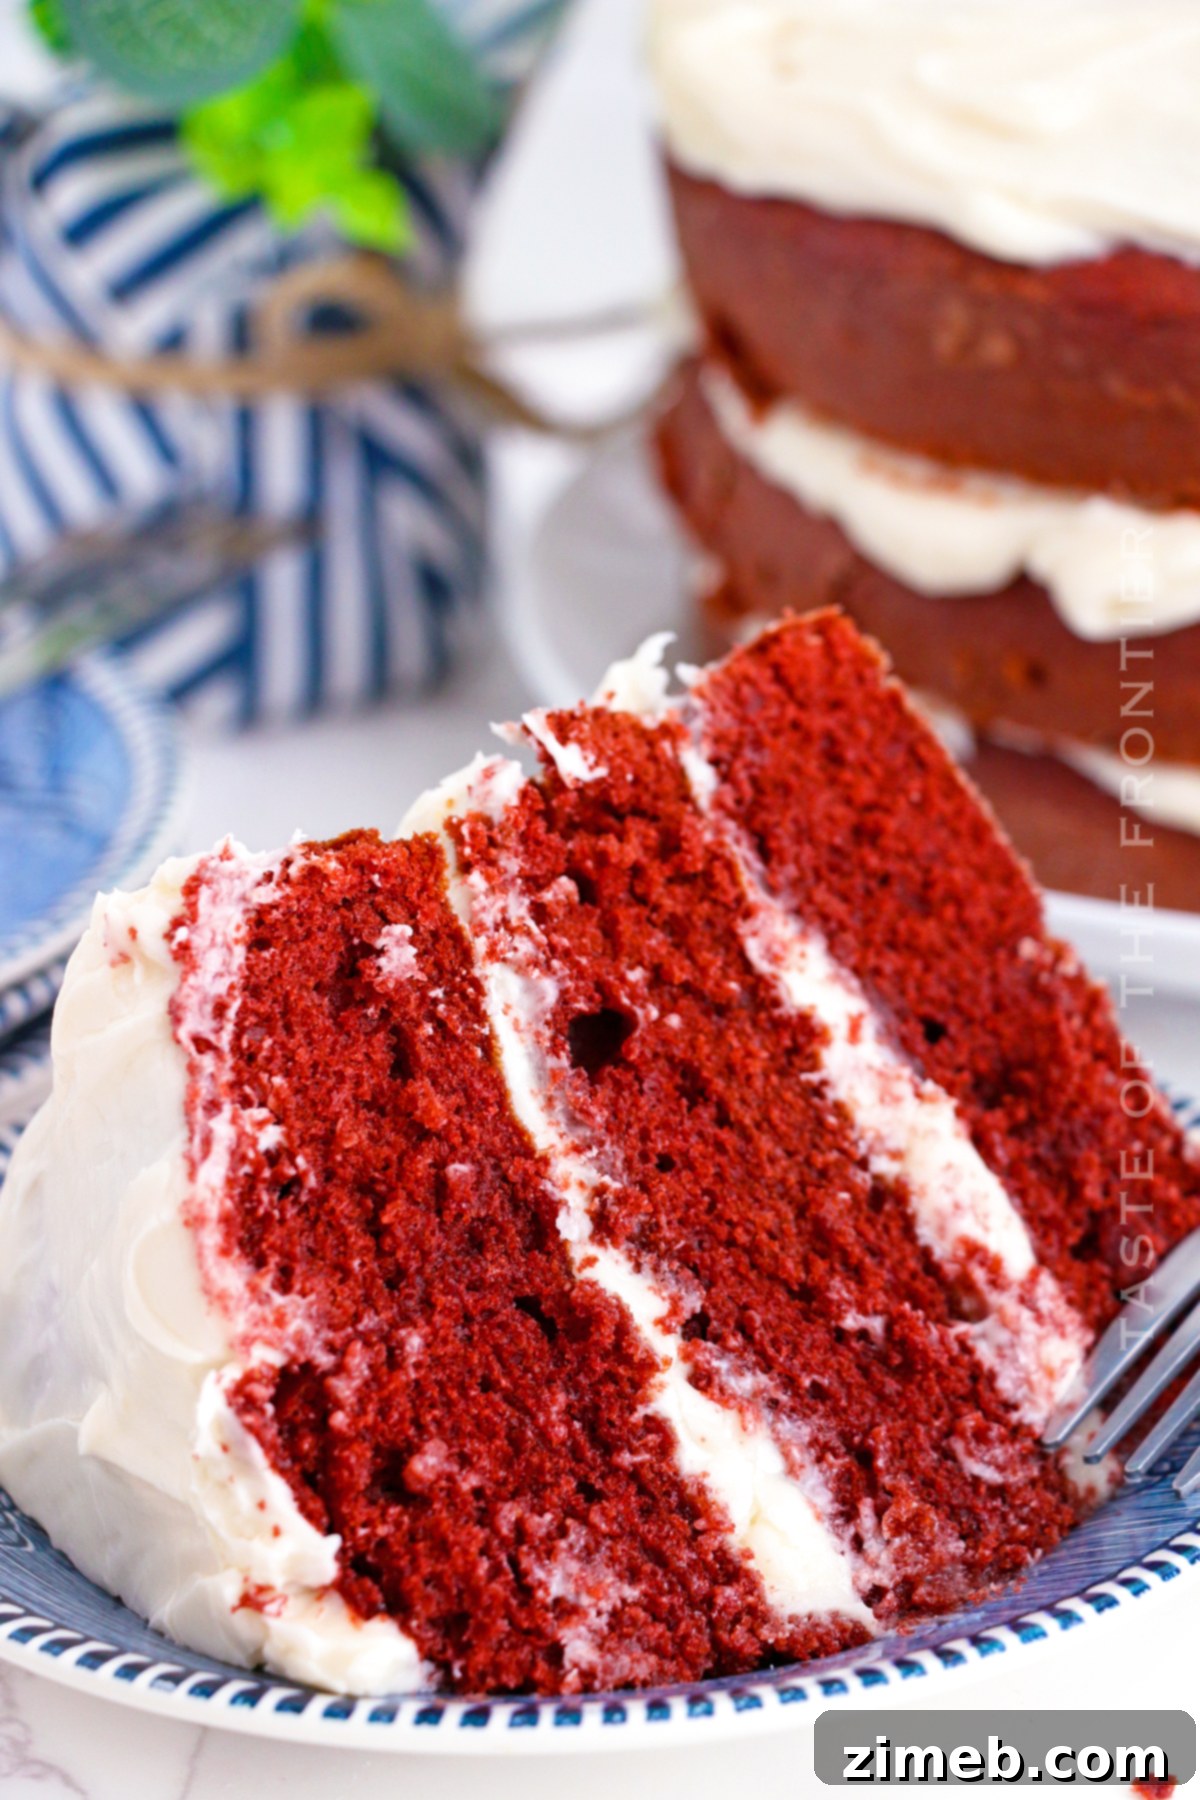
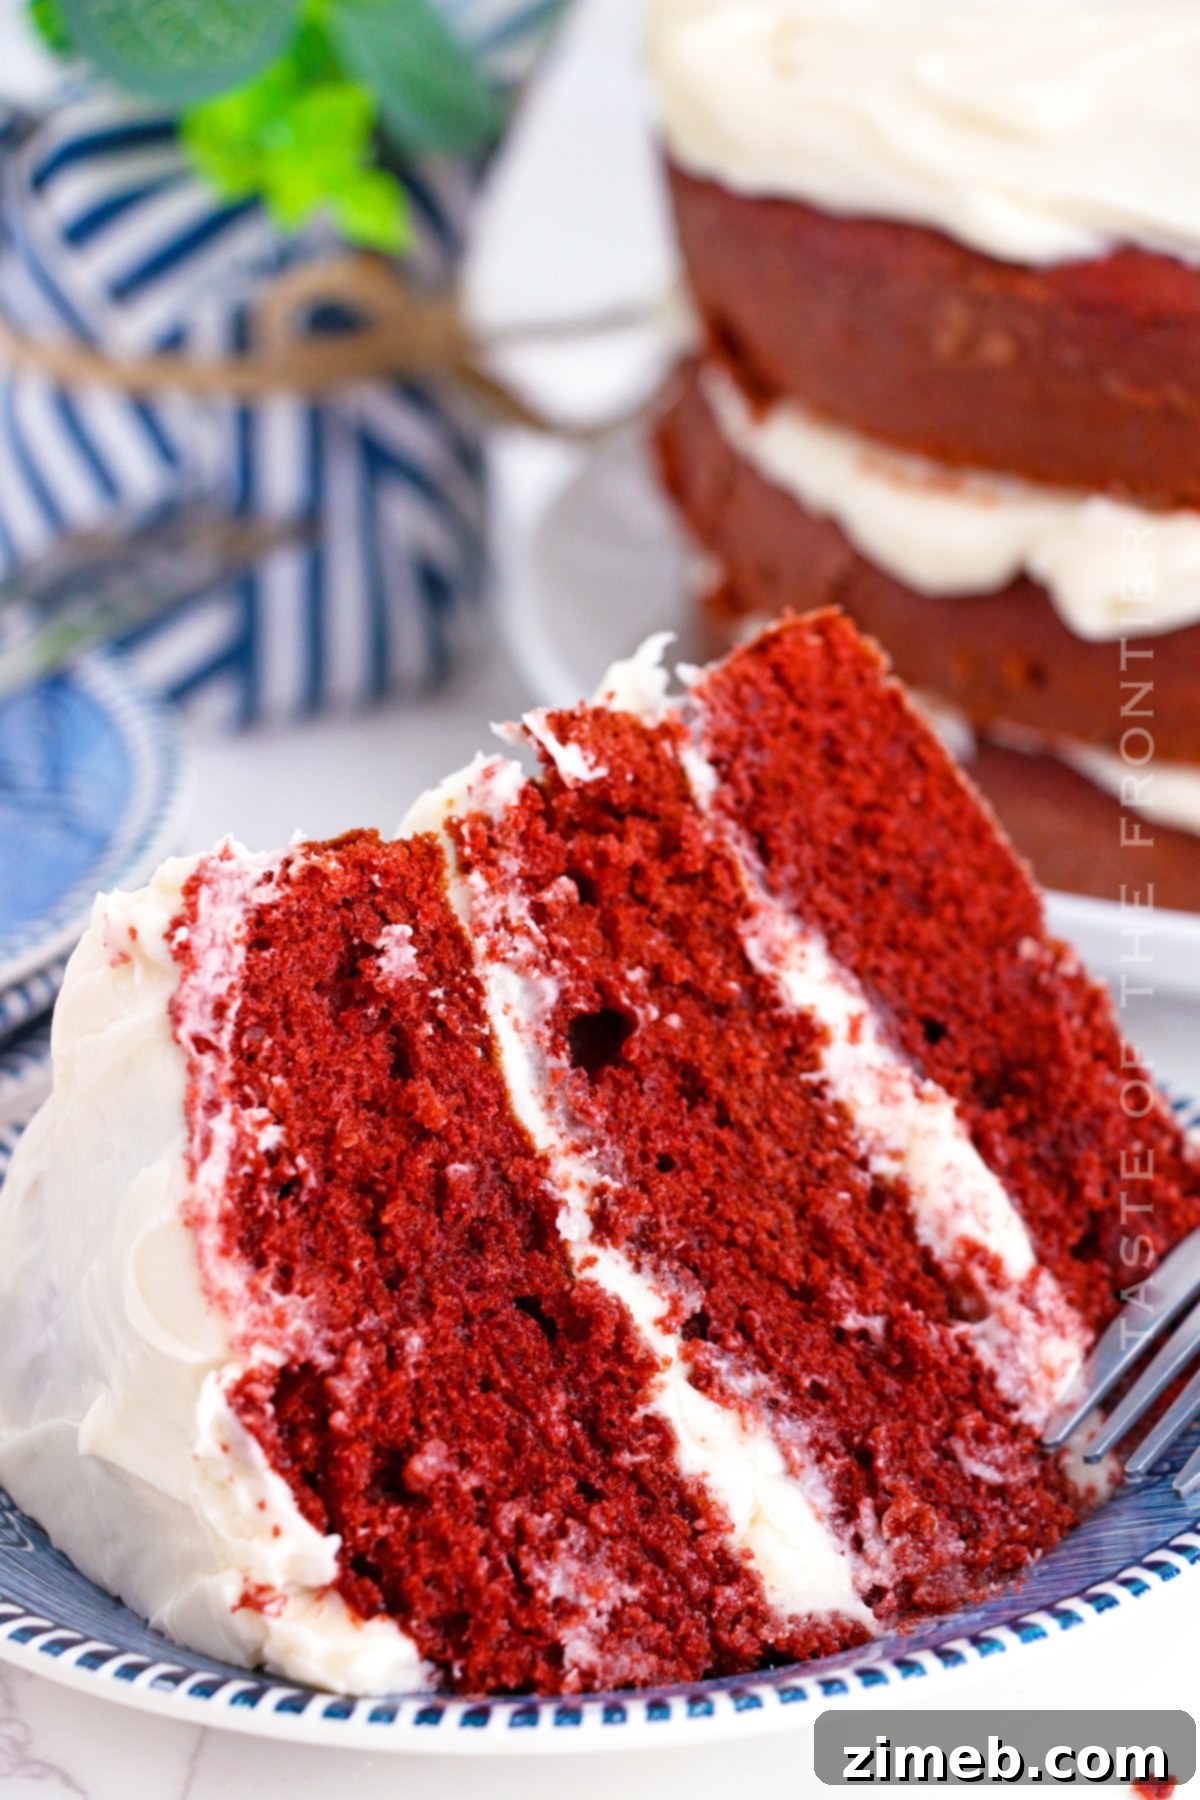
Indulge in the timeless charm of a classic Red Velvet Cake, a dessert that effortlessly captures hearts with its striking crimson layers and rich, tangy cream cheese frosting. This isn’t just any cake; it’s a show-stopping centerpiece perfect for life’s most cherished moments. Whether you’re celebrating a birthday, an anniversary, Valentine’s Day, or simply gathering loved ones for a festive holiday meal, this moist and flavorful Red Velvet Cake recipe promises to deliver perfection every single time. Its irresistible allure makes it a frequently requested favorite among my family and friends, and a go-to for adding a touch of elegance to any occasion.
There’s something truly special about a homemade Red Velvet Cake. The vibrant hue, the subtle hint of cocoa, and the luxurious, velvety texture combine to create an unforgettable experience. This recipe is designed to be accessible for bakers of all skill levels, transforming simple ingredients into a masterpiece that looks as incredible as it tastes. Once you master this easy Red Velvet Cake, it’s sure to earn a permanent spot in your baking repertoire.
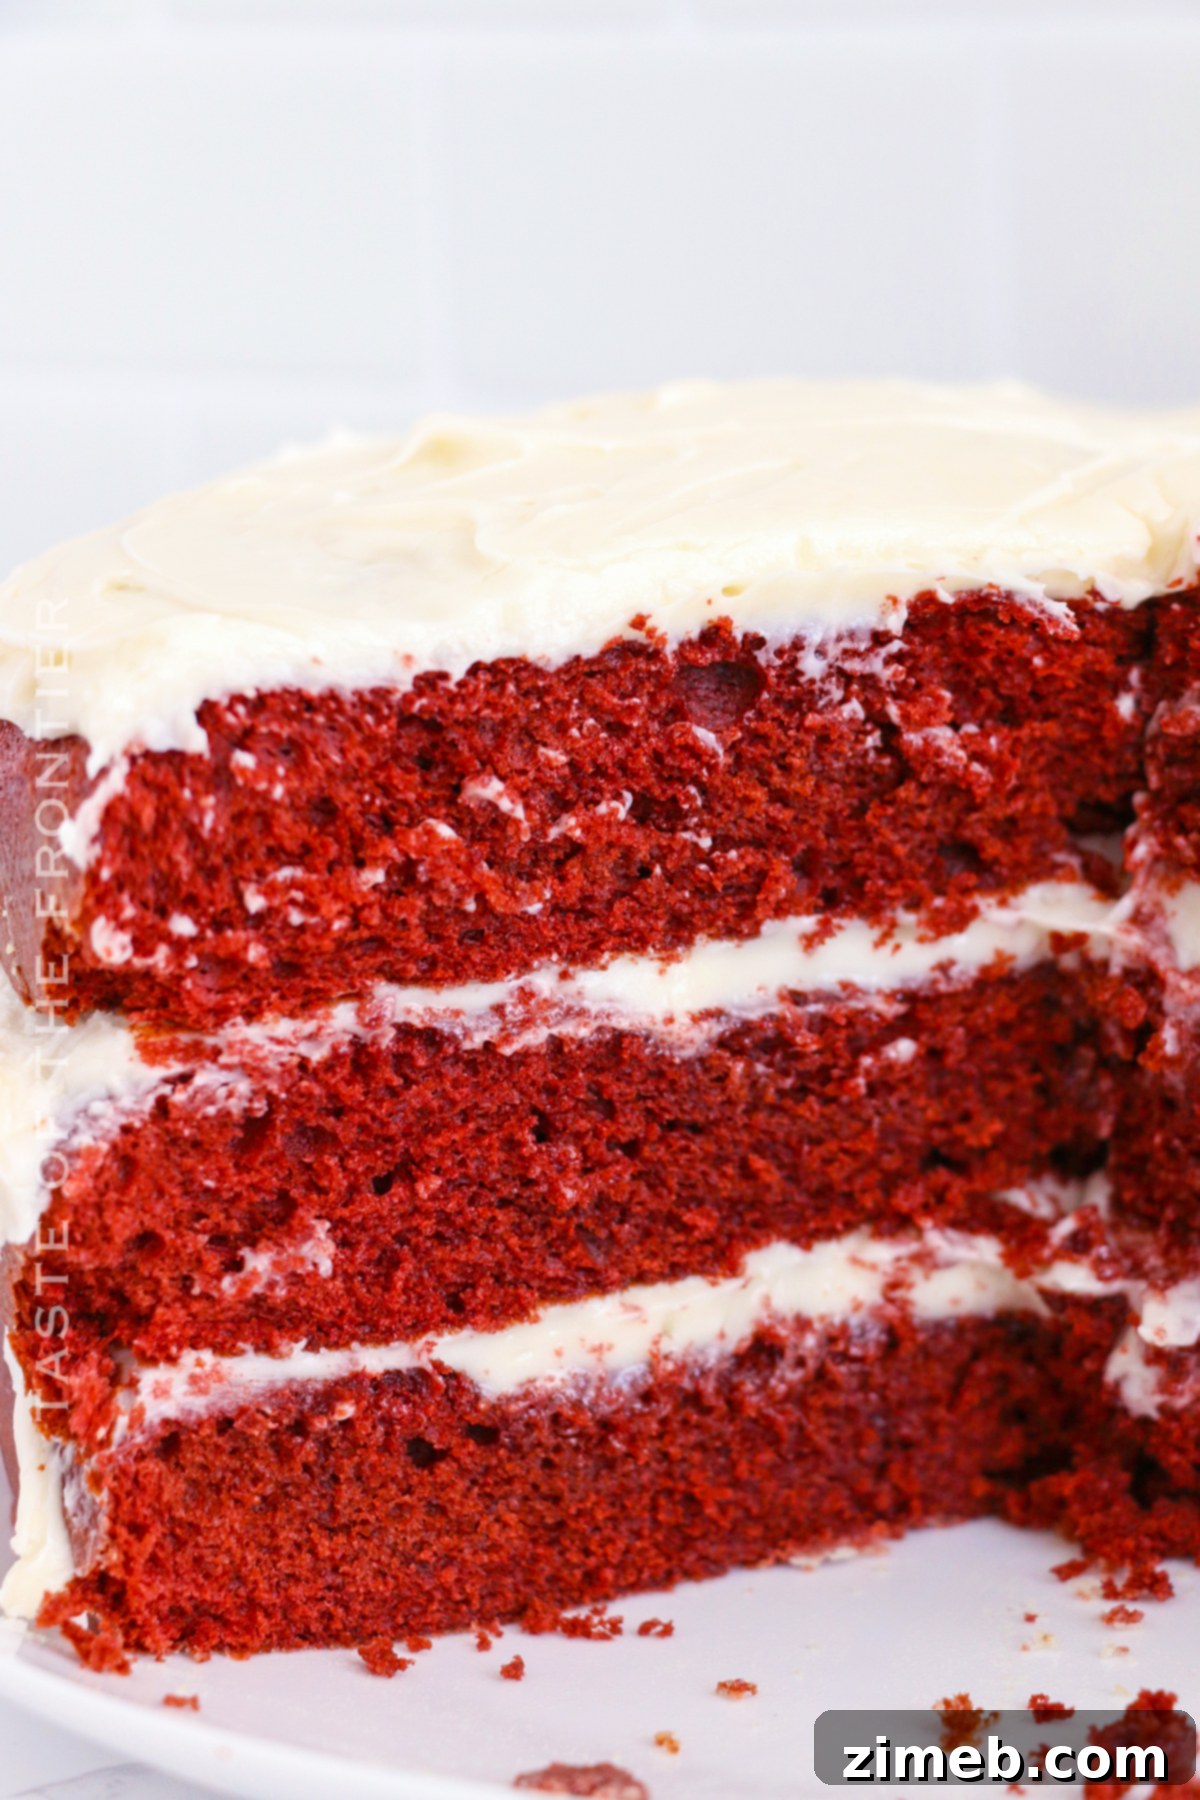
Baking this cake is more than just following steps; it’s about crafting joy. From the moment you mix the batter to the final flourish of frosting, each step contributes to a dessert that’s not only visually stunning but also deeply comforting and satisfying. Its ability to freeze beautifully means you can always have a slice of this deliciousness on hand, making it perfect for preparing ahead or enjoying leftovers whenever the craving strikes.
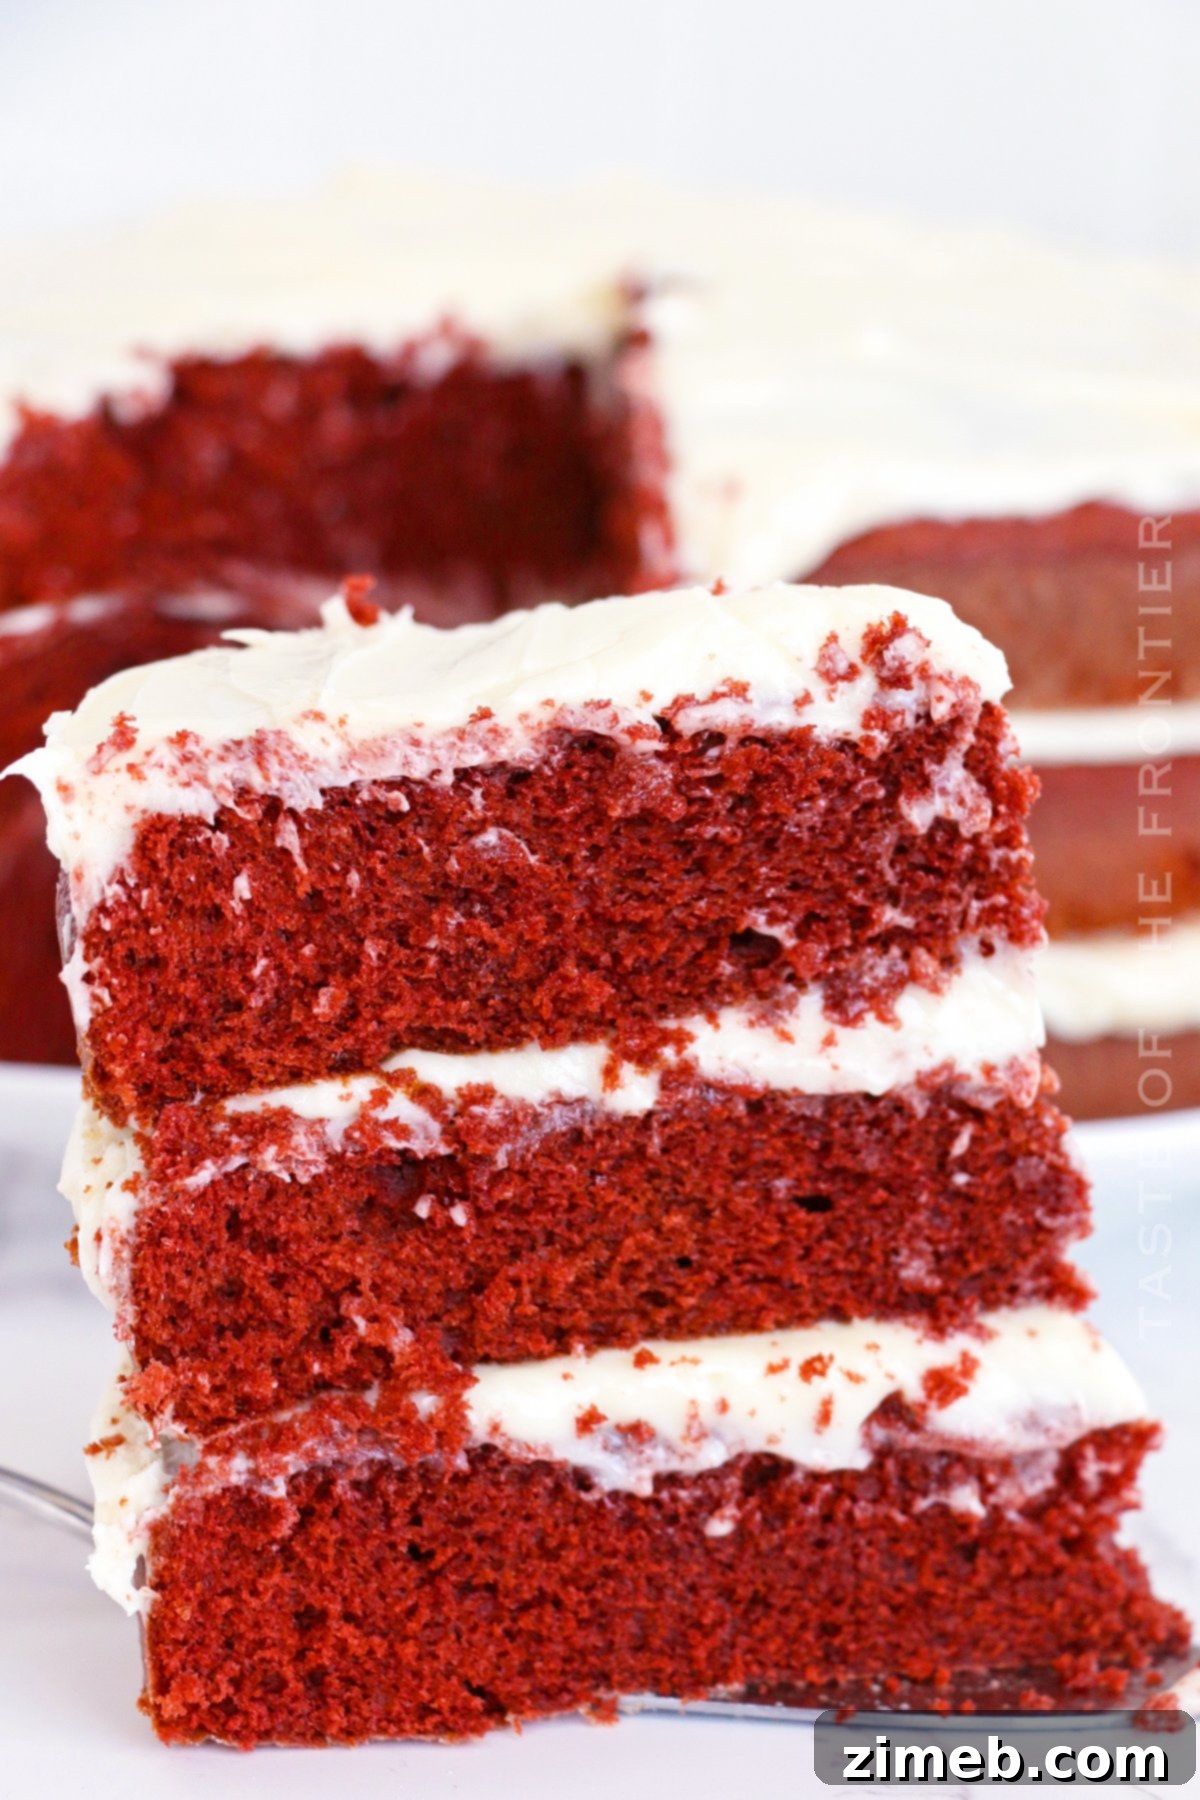
Unraveling the Mysteries of Red Velvet Cake
Often surrounded by fascinating lore and a touch of mystery, Red Velvet Cake holds a special place in the hearts of dessert enthusiasts. Let’s explore some of the most common questions about this beloved treat.
Why is it called Red Velvet Cake?
The name “Red Velvet” has a dual origin. The “velvet” in its name comes from the cake’s remarkably soft, smooth texture, which is a signature characteristic imparted by the cocoa powder and acidic ingredients like buttermilk and vinegar. These ingredients react to create a finely crumbed, tender cake. The “red” aspect, however, has a more debated history.
Originally, some historical accounts suggest that the subtle reddish-brown tint was a natural result of a chemical reaction between the acidic ingredients (vinegar, buttermilk) and unprocessed cocoa powder prevalent in earlier recipes. During times of economic hardship, such as the Great Depression, beet juice or pureed beets were sometimes used to enhance the color and add moisture when more expensive food colorings or abundant ingredients were scarce. Over time, as synthetic food dyes became widely available, the vibrant red hue became a defining feature, and bakers began to intentionally use red food coloring to achieve the iconic, bold crimson color we recognize today.
What does Red Velvet Cake taste like?
A true Red Velvet Cake offers a unique and complex flavor profile that sets it apart from a standard chocolate cake. It has a mild, delicate chocolate taste, distinct from the intense richness of a dark chocolate cake. This gentle cocoa flavor is beautifully complemented by the subtle tanginess provided by ingredients like buttermilk and vinegar in the cake itself, and most notably, the luscious cream cheese frosting. The frosting is a crucial component, adding a creamy, slightly sweet, and tangy contrast that balances the cake’s richness perfectly. It’s a harmonious blend of flavors that is both comforting and sophisticated.
Is Red Velvet a Southern cake?
While the exact origins of Red Velvet Cake are widely debated, with claims from various regions and bakeries (including New York’s Waldorf-Astoria Hotel), it has undoubtedly achieved iconic status as a Southern dessert. Regardless of where it first appeared, Red Velvet Cake has been wholeheartedly embraced by Southern culture, becoming a staple at family gatherings, holidays, and celebrations throughout the region. Its deep roots in Southern culinary tradition have solidified its reputation as a quintessential Southern delicacy, beloved for its charm and distinctive taste.
Preparing Your Red Velvet Cake in Advance
While fresh is always wonderful, a key benefit of this Red Velvet Cake recipe is its versatility for make-ahead preparation, saving you time and stress, especially when entertaining. The cake layers themselves can be baked a day or two in advance. Once fully cooled, wrap each individual layer tightly in plastic wrap to prevent them from drying out. Store them at room temperature. The cream cheese frosting can also be made a day ahead and stored in an airtight container in the refrigerator. When you’re ready to serve, simply bring the frosting to room temperature, give it a quick whip to restore its smooth consistency, and then proceed with assembling and frosting your cake. This method ensures maximum freshness and convenience.
Storage Solutions for Your Delicious Red Velvet Cake
Due to its indulgent cream cheese frosting, proper storage is essential to maintain the quality and safety of your Red Velvet Cake. While it’s best enjoyed at room temperature for optimal flavor and texture, it must be stored in the refrigerator or freezer.
Refrigerator Storage: Leftover cake, or a fully frosted cake, should be stored in an airtight container in the refrigerator for up to 5 days. Covering it prevents it from absorbing other odors and drying out. For the best eating experience, allow refrigerated cake to sit at room temperature for 30-60 minutes before serving.
Freezer Storage: For longer preservation, Red Velvet Cake freezes exceptionally well. You can freeze an entire cake or individual slices. Wrap the whole cake (or slices) tightly in several layers of plastic wrap, then an additional layer of aluminum foil to prevent freezer burn. Store in the freezer for up to 3 months. To thaw, transfer the cake to the refrigerator overnight, then bring to room temperature before serving. Individual slices can be thawed more quickly on the counter for a few hours.
Expert Tips for the Best Red Velvet Cake
Achieving a truly spectacular Red Velvet Cake goes beyond just following the recipe. These simple tips will help you elevate your homemade cake to bakery-quality perfection:
- Room Temperature Ingredients are Key: This is a golden rule in baking, especially for cakes. Ensure your butter, cream cheese, milk, sour cream, and eggs are at room temperature. This allows them to emulsify properly, creating a smooth, lump-free batter and frosting, resulting in a lighter, more even texture in your final cake.
- Do Not Overmix the Batter: Once you add the dry ingredients to the wet ingredients, mix only until just combined. Overmixing develops the gluten in the flour too much, leading to a tough, dense cake. A few small streaks of flour are acceptable; they will disappear during baking.
- Accurate Pan Preparation: Properly greasing and flouring your cake pans is crucial for easy release. You can use butter or shortening for greasing, then dust with a thin layer of flour or cocoa powder (for darker cakes). For extra insurance, you can also line the bottoms of your pans with parchment paper circles.
- Measure Flour Correctly: For the most accurate measurement, spoon flour into your measuring cup and then level it off with a straight edge, rather than scooping directly from the bag. This prevents compacting the flour and using too much, which can dry out your cake.
- Quality Food Coloring: For the most vibrant red color, opt for gel food coloring over liquid. Gel colors are more concentrated, so you’ll need less, and they won’t thin out your batter as much as liquid colors can.
- Don’t Skimp on the Cocoa: While Red Velvet isn’t a dark chocolate cake, the cocoa powder is essential for its characteristic flavor and contributes to the “velvet” texture. Use unsweetened natural cocoa powder, not Dutch-processed, as the natural cocoa reacts better with the baking soda and acidic ingredients.
- Even Cake Layers: To ensure your cake bakes evenly, divide the batter as equally as possible among your prepared pans. A kitchen scale can be helpful for precise measurements.
- Cool Cakes Completely: Resist the urge to frost warm cakes! Warm cakes will melt your frosting, leading to a messy disaster. Allow your cake layers to cool completely on a wire rack before attempting to frost them. This can take several hours.
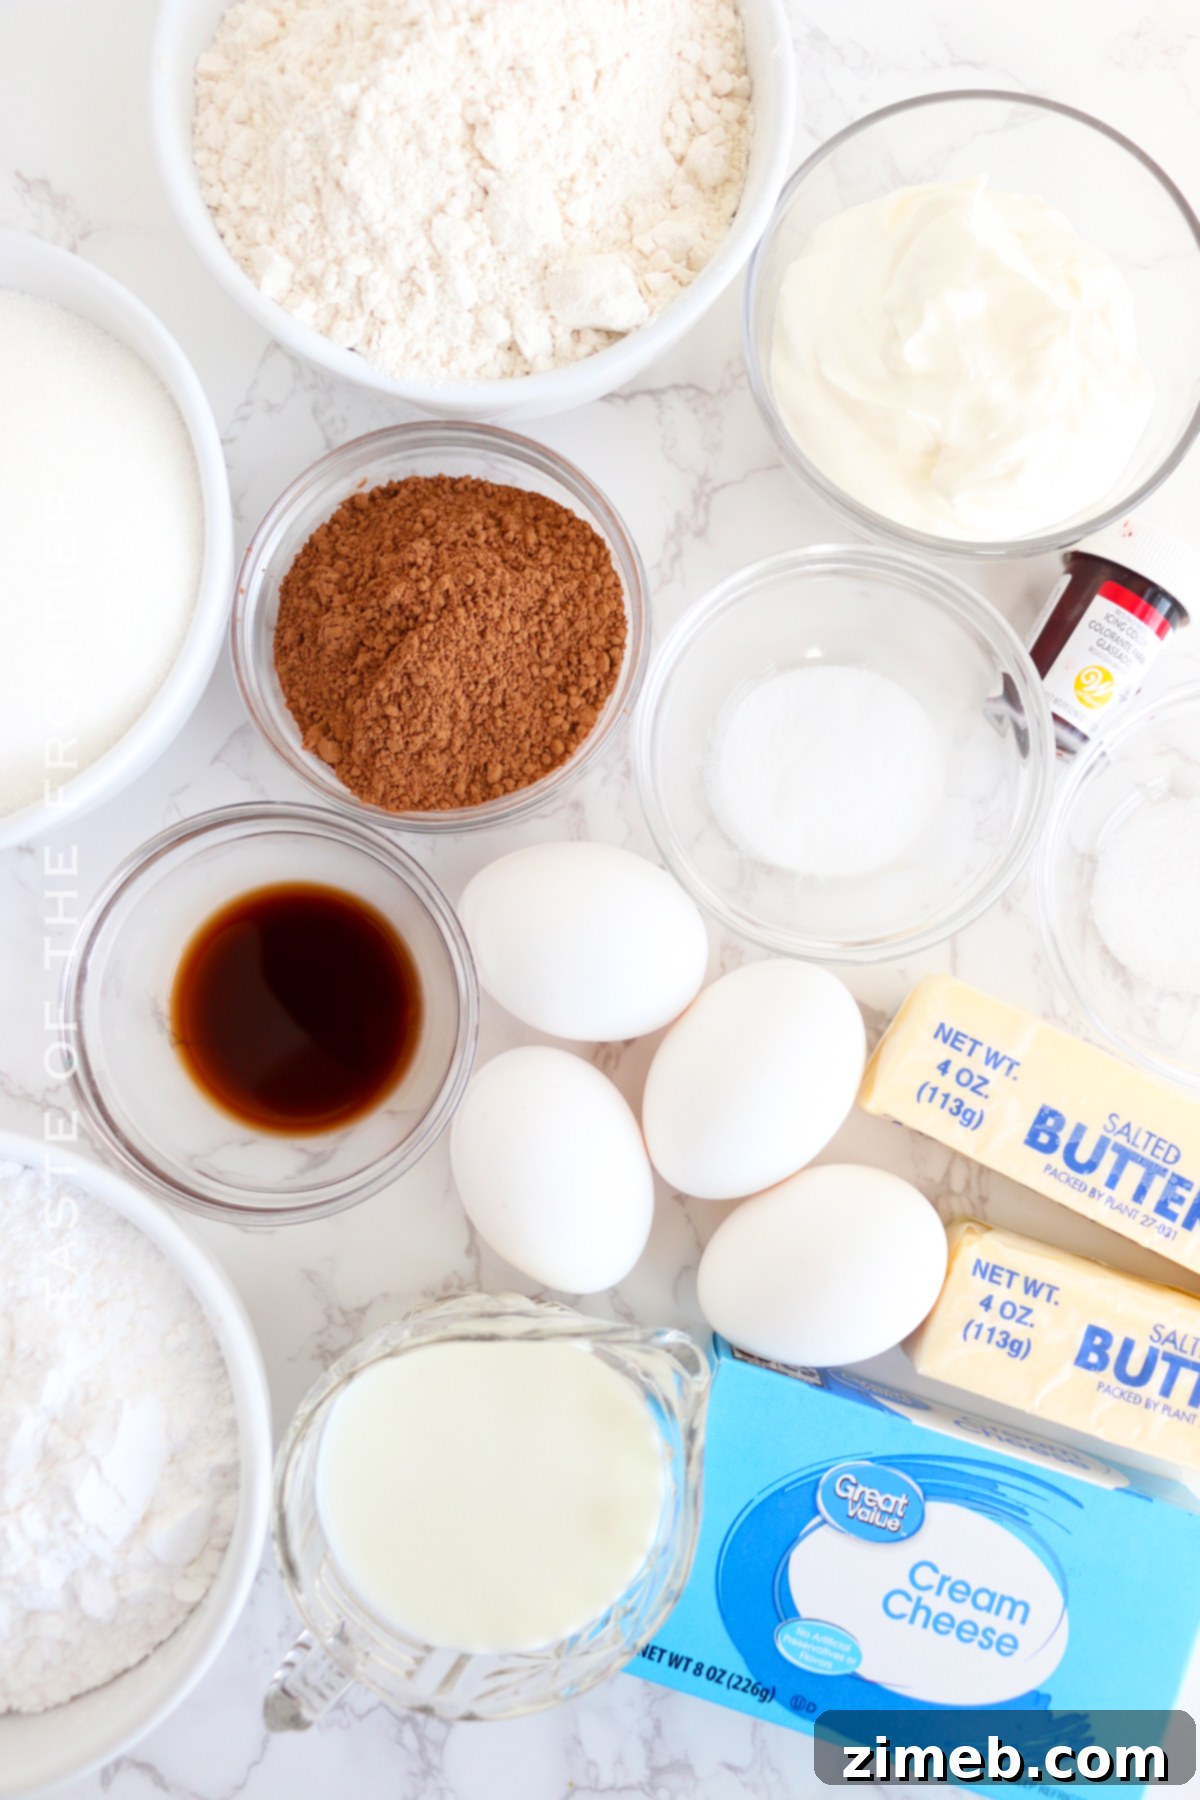
Essential Ingredients for a Classic Red Velvet Cake
Crafting the perfect Red Velvet Cake begins with the right ingredients, and ensuring your dairy products are softened to room temperature is paramount for a smooth batter and a silky frosting.
For the Cake Layers:
- Unsalted Butter: Softened for easy creaming, providing richness and tenderness.
- Granulated Sugar: Sweetens and helps tenderize the cake.
- Eggs: Act as binders, add moisture, and contribute to the cake’s structure.
- Sour Cream: Adds moisture, richness, and a subtle tang that enhances the velvet texture.
- Milk: Thins the batter to the right consistency.
- Liquid or Gel Red Food Coloring: Essential for the signature vibrant red hue. Gel coloring is often preferred for a more intense color with less volume.
- Vanilla Extract: Enhances overall flavor, a crucial aromatic.
- All-Purpose Flour: Provides the main structure of the cake.
- Natural Cocoa Powder: Gives the characteristic mild chocolate flavor and contributes to the velvety texture and chemical reaction with leaveners. Avoid Dutch-processed cocoa.
- Baking Soda: A leavening agent that reacts with the acidic ingredients to create lift and tenderness.
- Salt: Balances the sweetness and enhances all the other flavors.
For the Tangy Cream Cheese Frosting:
- Cream Cheese: Softened for a smooth frosting, providing the signature tangy flavor. Full-fat block cream cheese works best.
- Unsalted Butter: Softened, adds richness and helps create a stable frosting.
- Sour Cream: A small amount adds extra tang and creaminess to the frosting, preventing it from being overly sweet.
- Confectioner’s Sugar (Powdered Sugar): Sweetens the frosting and gives it a smooth, fine texture. Sift if lumpy.
- Vanilla Extract: Complements the cream cheese and butter flavors beautifully.
Kitchen Tools You’ll Need
You don’t need an extensive array of gadgets to create this stunning cake. Just a few basic kitchen supplies will get the job done beautifully:
- Stand Mixer (with paddle attachment) or Electric Hand Mixer: Essential for creaming butter and sugar, and mixing the batter and frosting efficiently to achieve the right consistency.
- Large Mixing Bowls (at least two): One for wet ingredients/batter, another for frosting.
- Three 8-inch Round Cake Pans: For baking even layers.
- Measuring Cups and Spoons: For accurate ingredient measurement.
- Rubber Spatula: For scraping bowls and folding ingredients.
- Wire Rack: For cooling cake layers completely.
- Offset Spatula or Butter Knife: For spreading frosting smoothly.
- Serving Dish or Cake Stand: To present your finished masterpiece.
How to Bake the Ultimate Red Velvet Cake
Even if you’re a novice baker, this step-by-step guide makes crafting a homemade Red Velvet Cake straightforward and enjoyable. Follow these instructions for a moist, tender cake topped with a dreamy cream cheese frosting.
Part 1: Preparing the Red Velvet Cake Layers
- Preheat your oven to 350°F (175°C). Prepare three 8-inch round cake pans by thoroughly greasing them with shortening or softened butter, then lightly dusting with all-purpose flour or cocoa powder. Tap out any excess. For an extra non-stick measure, you can also line the bottom of each pan with a parchment paper circle.
- In a large mixing bowl of a stand mixer fitted with the paddle attachment (or using an electric hand mixer), cream together the softened unsalted butter and granulated sugar on high speed until light and fluffy, about 3-5 minutes. This creaming process incorporates air, essential for a light cake.
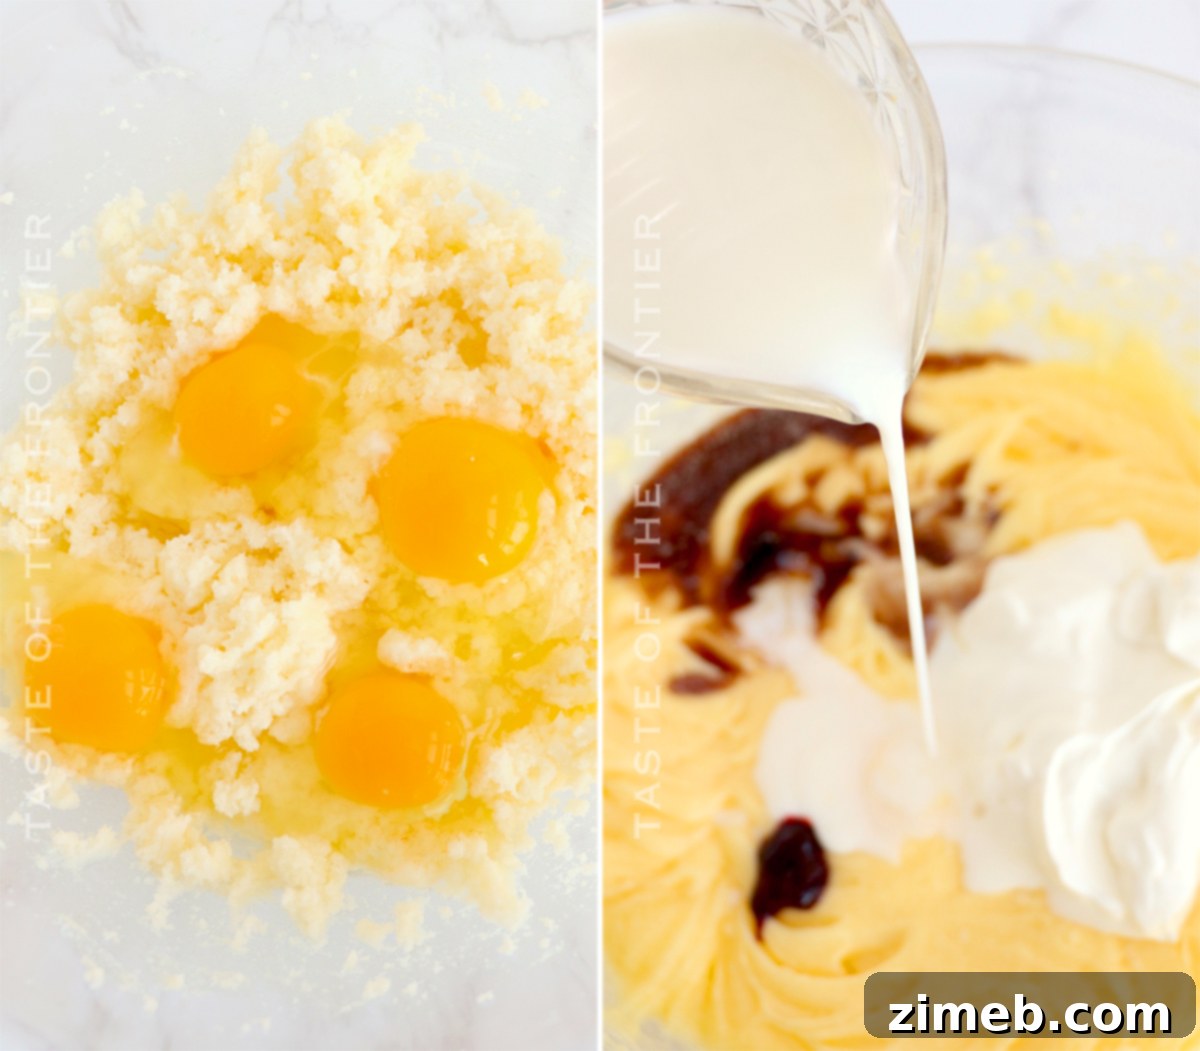
- Reduce the mixer speed to medium. Add the eggs one at a time, beating well after each addition until fully incorporated. Scrape down the sides of the bowl as needed to ensure everything is mixed evenly.
- Once the eggs are combined, mix in the sour cream, milk, red food coloring (start with the recommended amount and add more if you desire a deeper red), and vanilla extract. Beat until all wet ingredients are smoothly combined and the color is uniform.
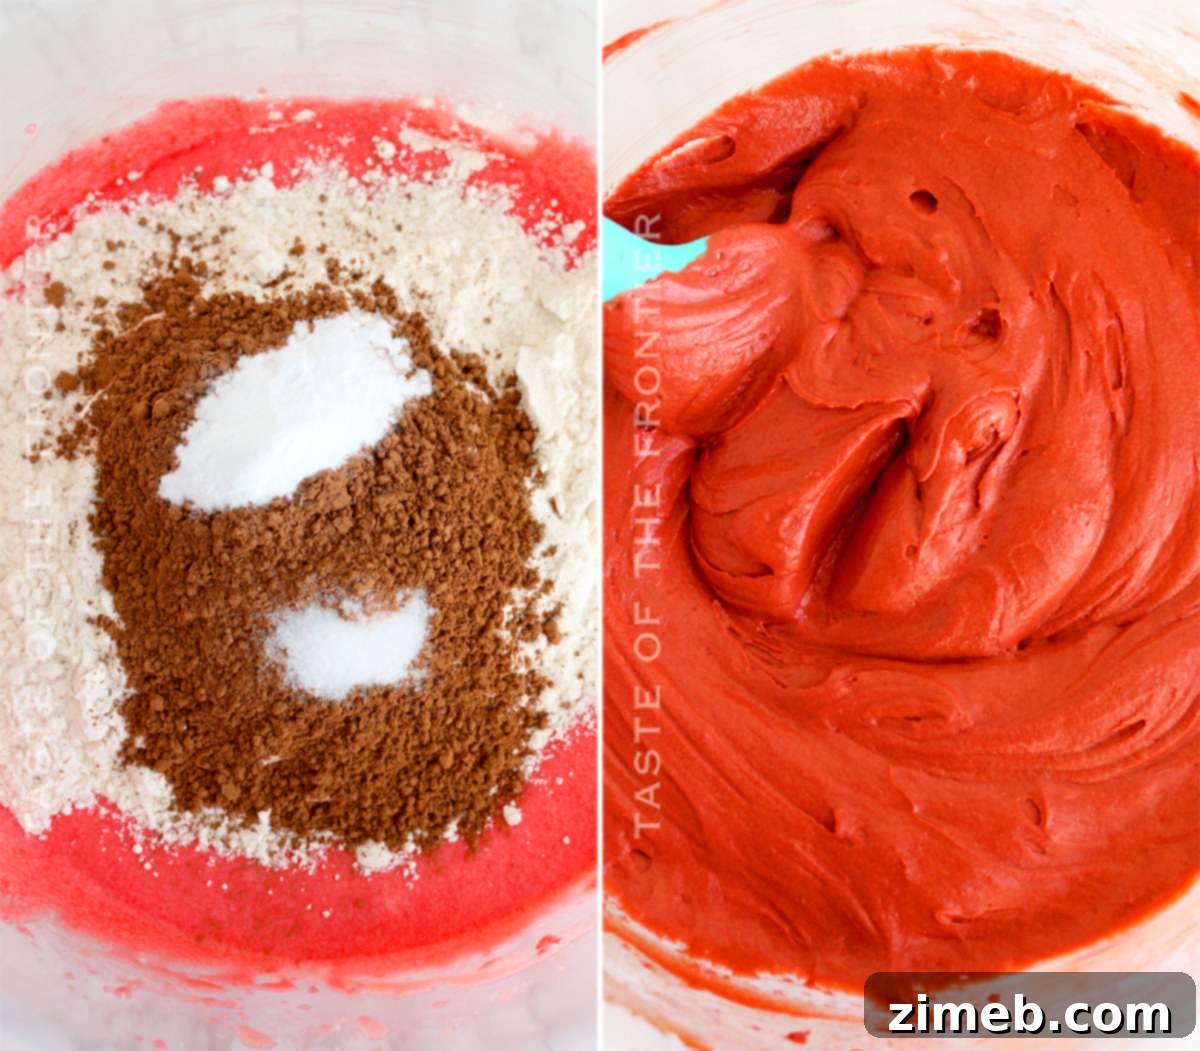
- Turn the mixer to low speed. Gradually add the dry ingredients – all-purpose flour, natural cocoa powder, baking soda, and salt – mixing just until they are fully incorporated and no streaks of flour remain. Be careful not to overmix, which can lead to a tough cake.
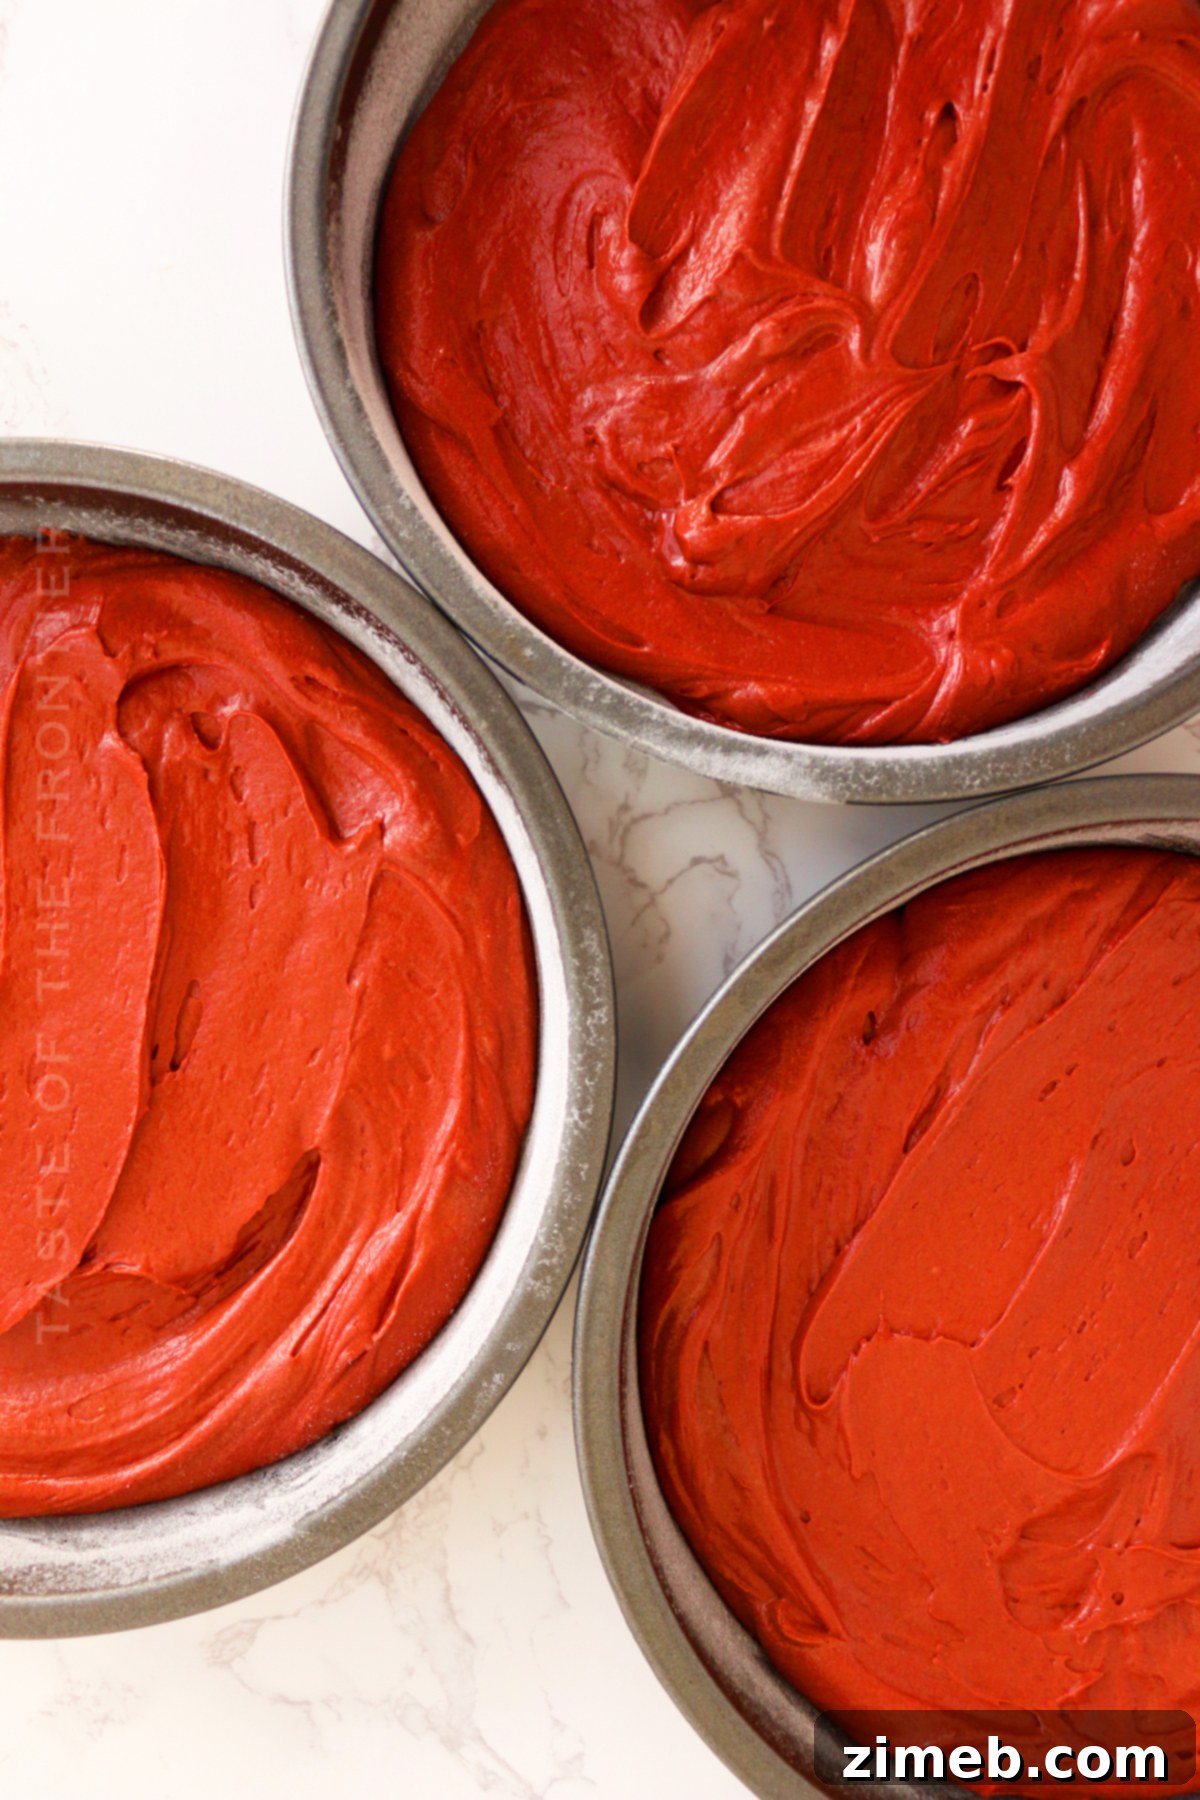
- Divide the vibrant red cake batter evenly among the three prepared round cake pans. Use a spatula to scrape the bottom of the bowl, ensuring all that delicious batter makes it into the pans.
- Bake in the preheated oven for 24-28 minutes, or until a toothpick inserted into the center of a cake comes out clean. Another good indicator of doneness is if the tops spring back when gently pressed.
- Remove the cakes from the oven and allow them to cool in their pans on a wire rack for about 15-20 minutes.
- After brief cooling, carefully invert the pans to release the cakes onto the wire rack. Allow the cake layers to cool completely to room temperature before frosting. This is crucial to prevent the frosting from melting.
Part 2: Crafting the Cream Cheese Frosting
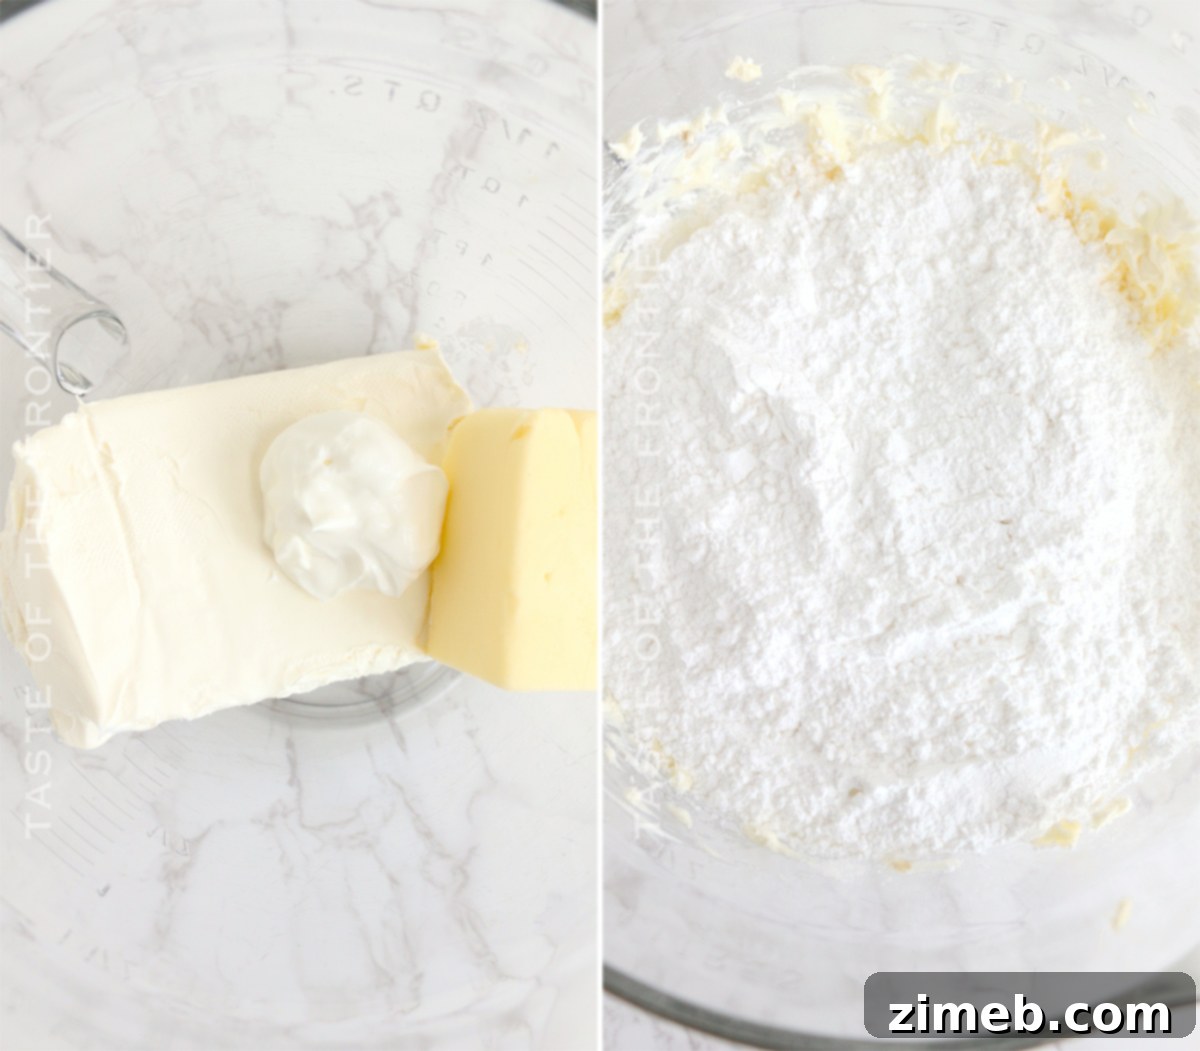
- In a large mixing bowl (or the bowl of your stand mixer), combine the softened cream cheese, softened butter, and sour cream. Beat these ingredients together on medium-high speed until the mixture is completely smooth and creamy, without any lumps.
- Gradually add the confectioner’s sugar, one cup at a time, beating on low speed until just incorporated before adding more. Once all the sugar is added, increase the speed to medium-high and beat until the frosting is light, fluffy, and has a silky, smooth consistency.
- Finally, beat in the vanilla extract until just combined. Taste and adjust sweetness or tanginess if desired.
Part 3: Assembling Your Red Velvet Masterpiece
- Place the first cooled cake layer onto your chosen serving dish or cake stand.
- Using an offset spatula or the back of a spoon, spread about one-third of the cream cheese frosting evenly over the top of the first cake layer.
- Carefully place the second cake layer directly on top of the frosted first layer. Spread another one-third of the frosting evenly over this layer.
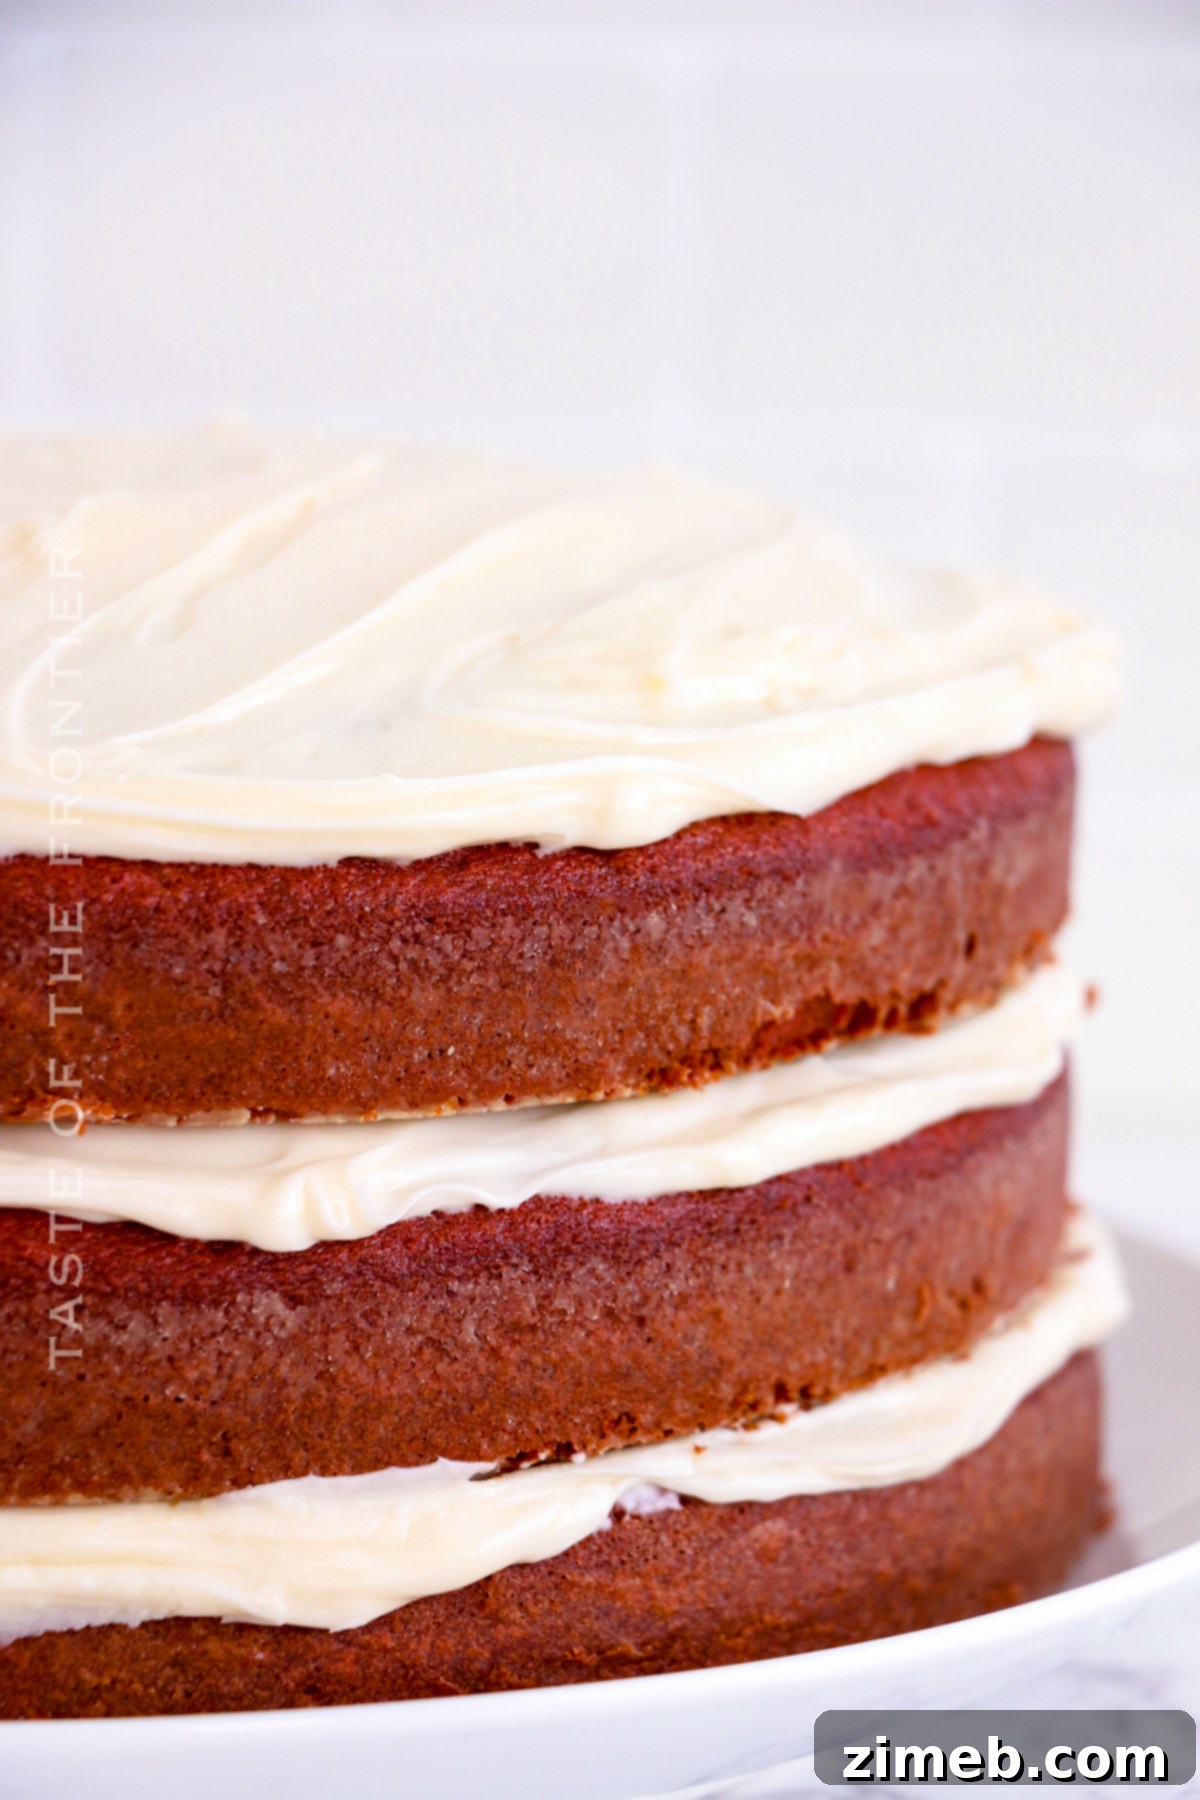
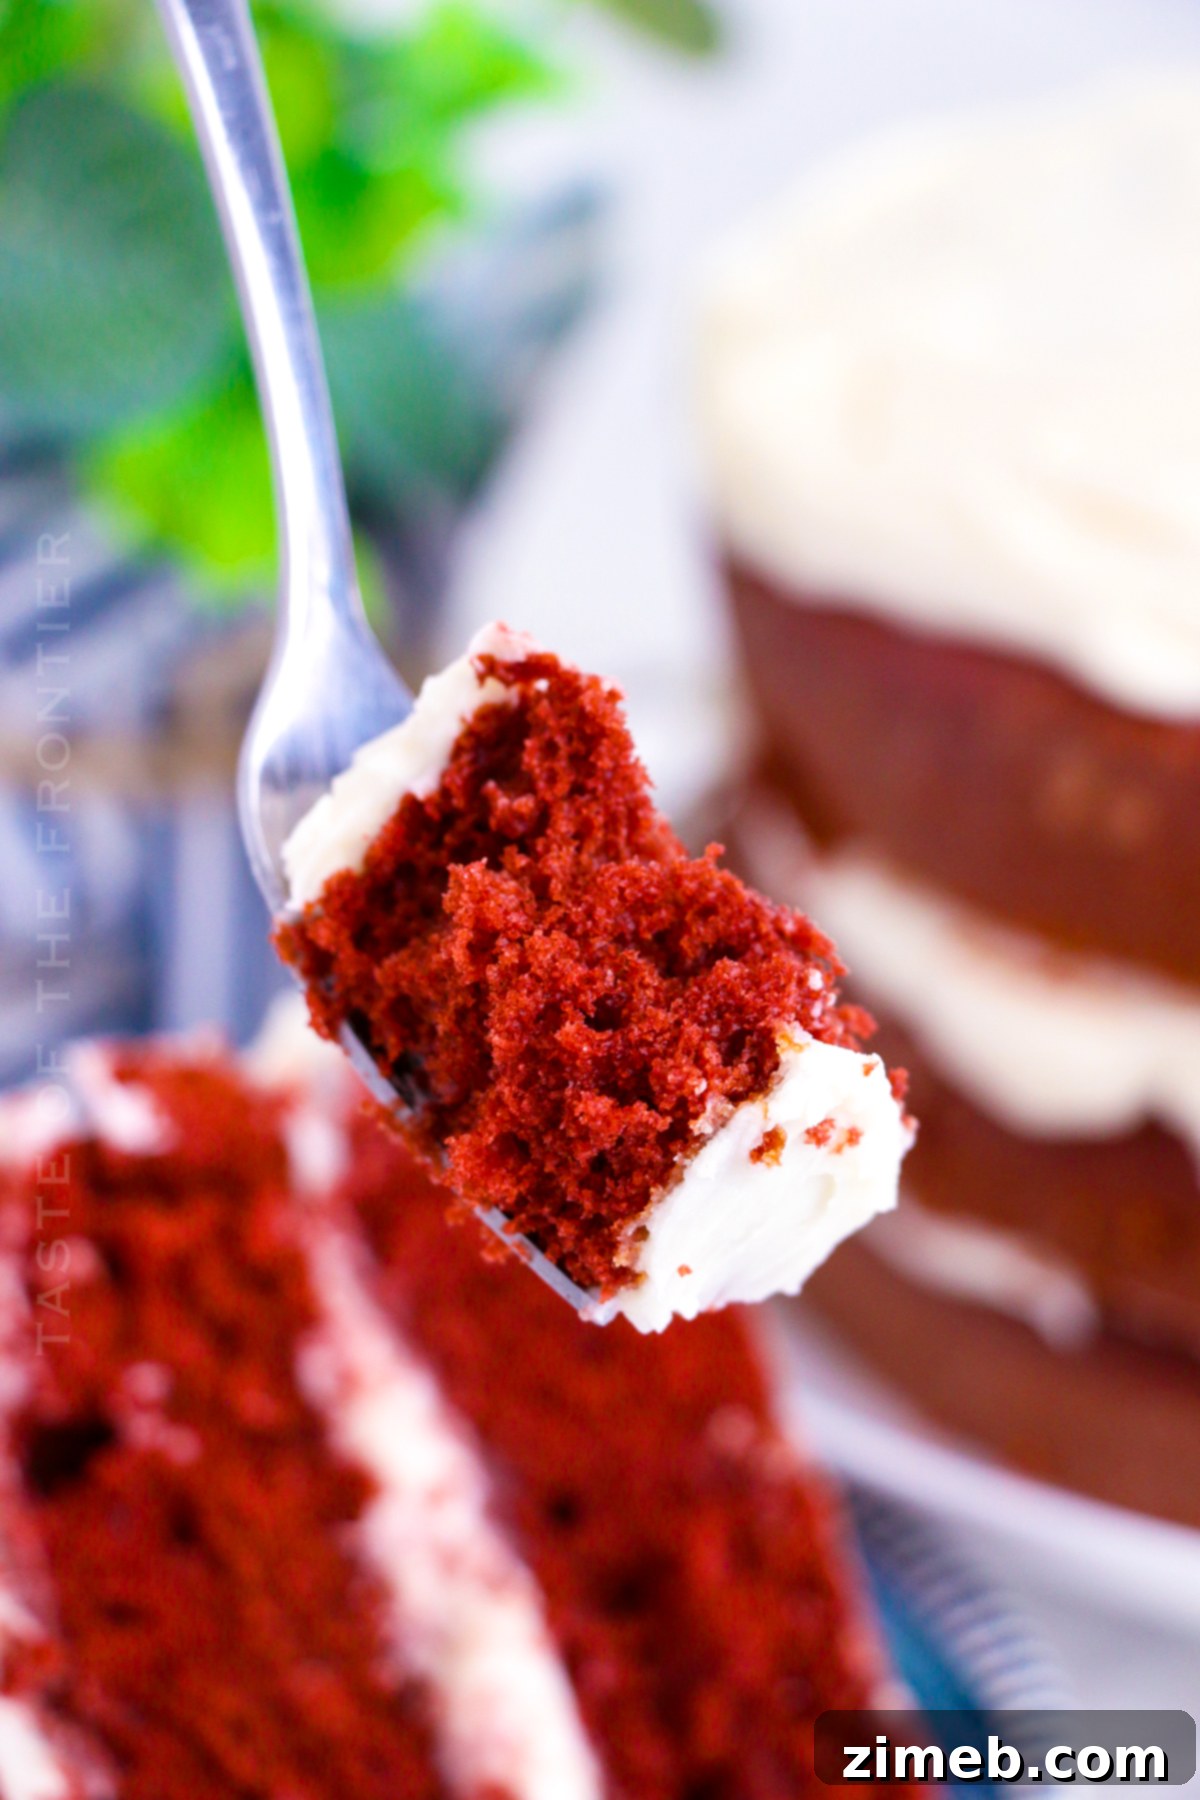
- Place the final cake layer on top. Use the remaining frosting to decorate the top of the cake. For a “naked cake” look, leave the sides exposed, showcasing the beautiful red layers. For a more traditional frosted cake, you can gently spread a thin crumb coat around the sides, then apply a thicker, final layer of frosting.
For more elaborate frosting options, such as piping or a fully covered cake, refer to additional notes on recipe cards or baking guides for adjusting frosting quantities. This recipe provides ample frosting for a gorgeous “naked” 3-layer cake.
Perfect Pairings: What to Serve With Red Velvet Cake
The rich, tangy flavors of Red Velvet Cake make it incredibly versatile for pairing with a variety of accompaniments. Elevate your dessert experience with these delightful suggestions:
- Frozen Desserts: The coolness of ice cream, gelato, or sorbet creates a delightful contrast with the cake’s richness. A scoop of classic vanilla bean ice cream or a bright raspberry sorbet would be exquisite.
- Coffee Creations: A freshly brewed cup of your favorite coffee, whether black, with cream, or spiked with a liqueur like Bailey’s Irish Cream or Frangelico, makes a sophisticated pairing. The coffee’s slight bitterness complements the cake’s sweetness.
- Elegant Teas: For a more refined experience, serve your Red Velvet Cake with a robust black tea, a soothing herbal blend, or a spiced chai tea. The warmth and aromatic notes of tea beautifully balance the dessert.
- Fresh Berries: The bright, tart flavors of fresh berries – raspberries, blueberries, or sliced strawberries – cut through the cake’s richness and add a refreshing element and vibrant color.
- Sparkling Wine or Champagne: For a truly celebratory touch, a glass of chilled sparkling wine or champagne offers effervescence and a dry counterpoint to the cake’s sweetness.
Why This Red Velvet Cake Recipe Deserves a Spot in Your Kitchen
Beyond its undeniable popularity, this Red Velvet Cake recipe offers numerous reasons to become your new baking obsession:
- Visually Stunning: This cake is a true show-stopper. The striking contrast between the deep red cake layers and the bright, creamy white frosting is simply breathtaking, making it a perfect centerpiece for any event or holiday gathering.
- Remarkably Versatile: Its elegant appearance and crowd-pleasing flavor profile make it suitable for nearly any occasion, from casual family dinners to sophisticated celebrations.
- Easily Customizable: While perfect as is, this recipe is a fantastic canvas for your creativity. You can subtly switch up flavors or adornments to make it your unique signature dessert. Dress it up with seasonal fruits, chocolate shavings, or themed sprinkles for holidays like Valentine’s Day or the Fourth of July.
- Achievably Easy: Despite its impressive appearance, this is a surprisingly straightforward cake to bake. The clear instructions and simple ingredient list ensure a beautiful final result without unnecessary complexity, even for bakers new to layered cakes.
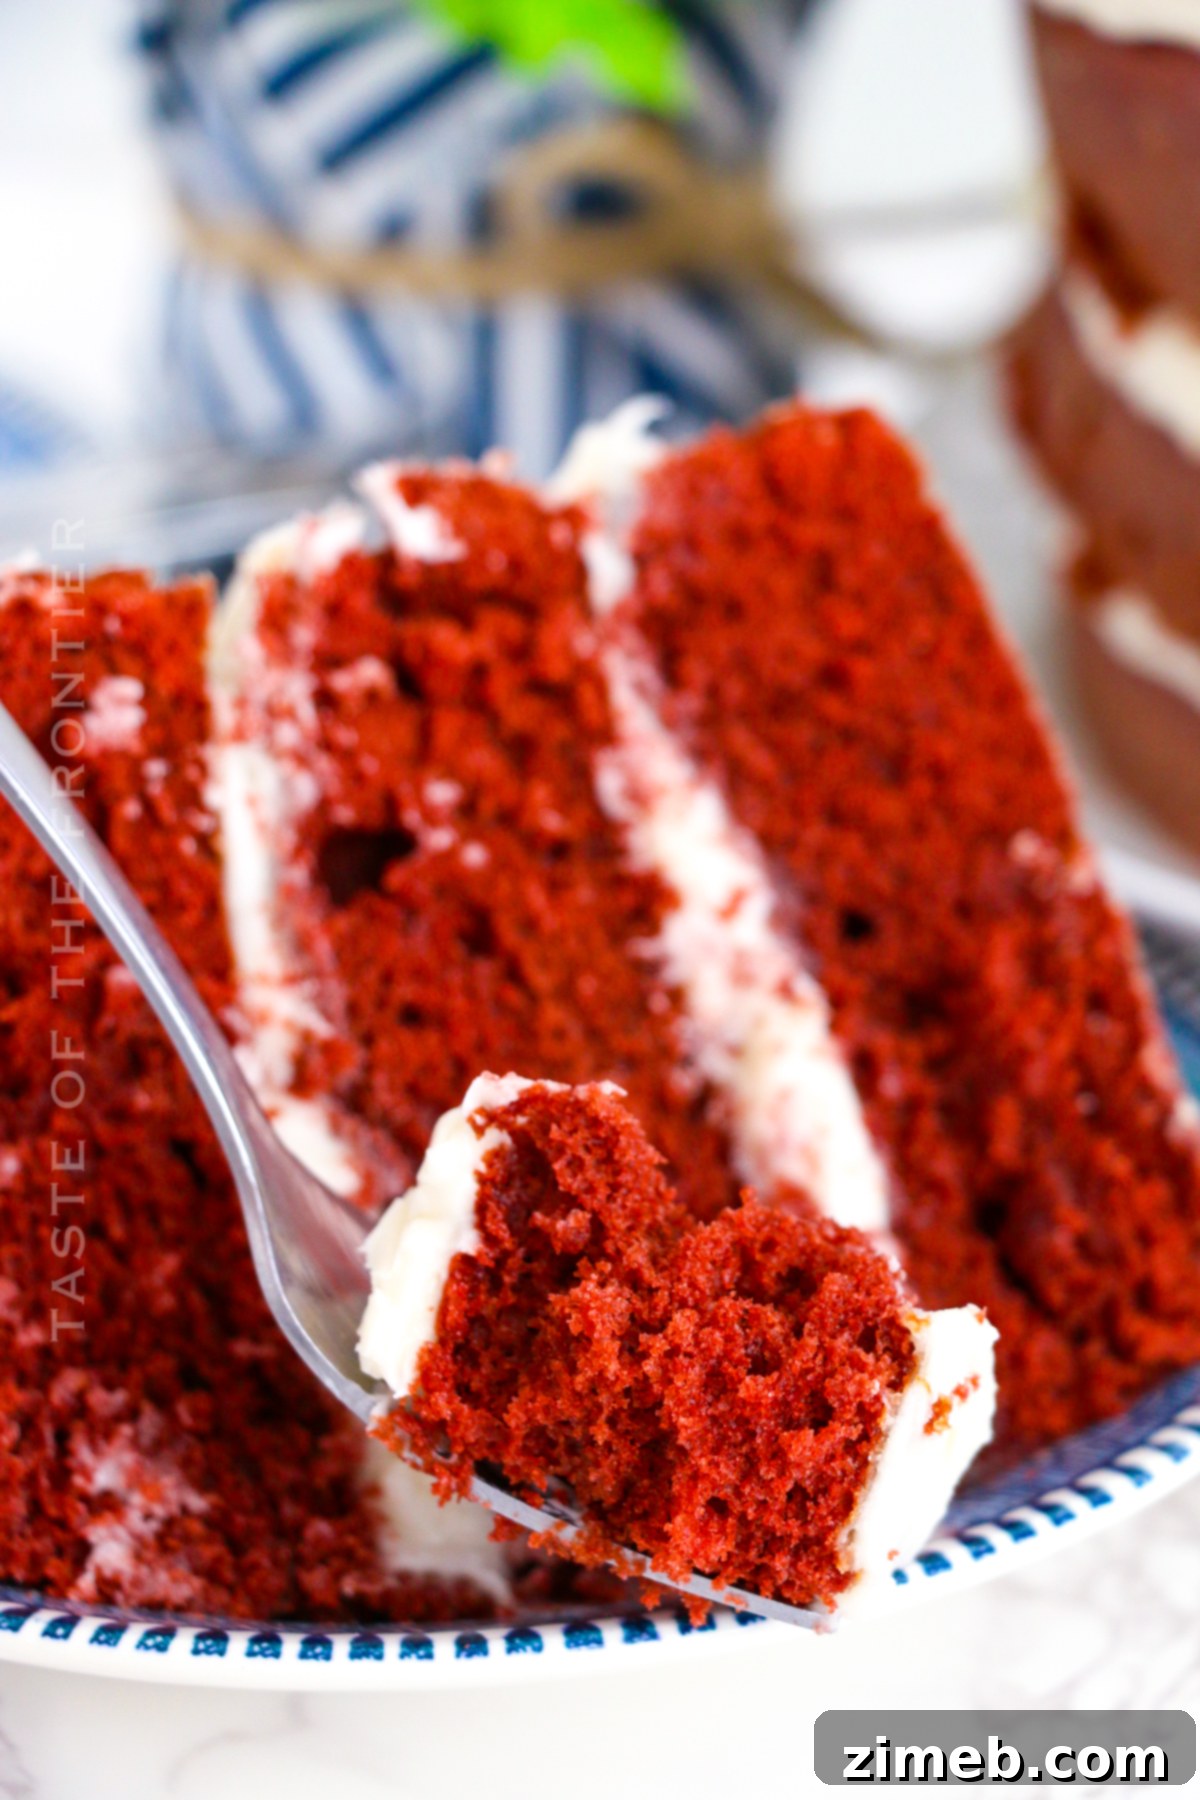
- Irresistibly Delicious: With its moist, tender crumb and perfectly balanced tangy cream cheese frosting, every bite is a delightful experience that will leave everyone asking for the recipe.
Creative Variations and Delicious Add-ins
While the traditional Red Velvet Cake is a universally loved crowd-pleaser, don’t hesitate to personalize it with these exciting variations and add-ins:
- Chocolate Chips: Gently fold in dark, milk, or white chocolate chips into the batter before pouring it into the pans for an extra layer of chocolatey goodness. Alternatively, sprinkle miniature chocolate chips over the top of the frosted cake for a delicate crunch.
- Crunchy Nuts: For added texture and flavor, mix finely crushed pistachios, pecans, or walnuts into the cake batter. These nuts also make a beautiful garnish sprinkled over the frosting.
- Flavorful Extracts: Experiment with different extracts to customize the cake’s aroma. Replace some or all of the vanilla extract with almond extract for a subtle nutty note, or coffee extract to deepen the cocoa flavor without making it taste like coffee. Orange zest can also add a bright, citrusy lift.
- Fresh Fruit Garnishes: Elevate the presentation and add a burst of freshness by garnishing with vibrant fresh fruits like raspberries, blueberries, or thinly sliced strawberries. These also provide a lovely color contrast.
- Individual Cupcakes: Transform this recipe into delightful Red Velvet cupcakes! Simply line muffin tins with cupcake liners, fill them about two-thirds full with batter, and adjust baking time (typically 18-22 minutes). These are perfect for parties or portion control.
- Bundt Cake Style: For a different presentation, bake the batter in a well-greased and floured Bundt pan. The baking time will be longer (around 50-60 minutes). Drizzle with a thin layer of cream cheese glaze for a simpler, yet elegant finish.
Explore More Red Velvet Delights
If you’re captivated by the charm of Red Velvet, you’ll love exploring these other incredible recipes that capture its unique flavor profile:
- Red Velvet Cake Mix Cookies
- Red Velvet Cupcakes with Cream Cheese Frosting
- Frostbitten Red Velvet Brownie Bites
- Edible Red Velvet Cookie Dough
- Red Velvet Bundt Cake
- Valentine Red Velvet Brownies
- Red Velvet Cream Cheese Swirl Brownies
- Red Velvet Crinkle Cookies
- Easy Red Velvet Cake Mix Crinkle Cookies
- Red Velvet White Chocolate Chip Cookies
- Red Velvet Fudge
- Chocolate Chip Red Velvet Mini Loaves
If you adored this easy Homemade Red Velvet Cake recipe, you’ll surely enjoy these other red velvet treats as well. Each link below leads to an easy-to-follow recipe!
Red Velvet Cream Cheese Brownies
Red velvet cream cheese brownies are a decadent dessert that’s also easy to make for holidays and special occasions.
Check out this recipe
Red Velvet Cake Mix Crinkle Cookies
Red Velvet Cake Mix Crinkle Cookies are soft and chewy and so easy to make with just 5 ingredients. Plus, there’s no chill time required! Perfect for Christmas – everyone loves them!
Check out this recipe
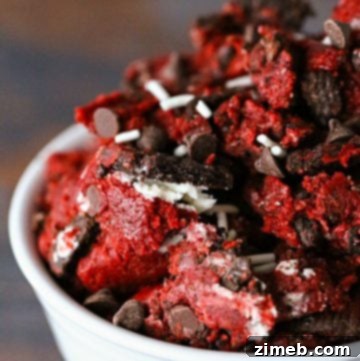
Red Velvet Cookie Dough
Red Velvet Cookie Dough is egg-free, loaded with Oreos, mini chocolate chips, sprinkles & more, making it the perfect 5-minute snack for serious red velvet lovers.
Check out this recipe
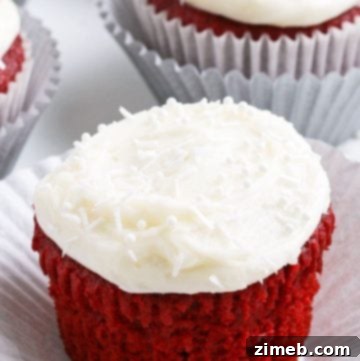
Red Velvet Cupcakes with Cream Cheese Frosting
These Red Velvet Cupcakes with Cream Cheese Frosting are the perfect dessert for Christmas, Valentine’s Day, or any other celebration. Easy to make with a perfect moist crumble. You don’t want to pass these up.
Check out this recipe
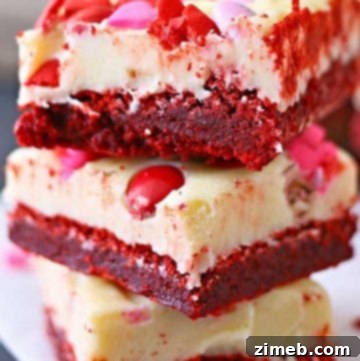
Valentine Red Velvet Brownies
Valentine Red Velvet Brownies are a thick and chewy brownie recipe topped with white chocolate frosting and Valentine sprinkles. Perfect for your sweetie.
Check out this recipe
Other Delicious Cake Recipes to Explore
If you have a passion for baking, you’ll love these other fantastic cake recipes:
Luscious Chocolate Raspberry Cake
The World’s Best Chocolate Cake
Decadent Chocolate Cheesecake
Easy Red Velvet Cake Mix Cookies
If you cherish this recipe for Homemade Red Velvet Cake as much as I do, please take a moment to leave a five-star review, and help me spread the word by sharing it on Facebook and Pinterest! Your support means the world.
CONNECT WITH YUMMI HAUS!
Be sure to follow me on my social media, so you never miss a post!
Substack, FB, Pinterest, IG, Email Subscription
Red Velvet Cake Recipe
This 3-Layer Naked Red Velvet Cake recipe is so easy to make. It’s perfect for special occasions from Valentine’s Day to birthdays and holidays.
Course: Dessert
Servings: 8
Prep Time: 15 mins
Cook Time: 24 mins
Assembly Time: 25 mins
Total Time: 1 hr 4 mins
Ingredients
Cake
- 1 cup butter, softened
- 2 cups granulated sugar
- 4 eggs
- 1 cup sour cream
- ½ cup milk
- 1 oz liquid red food coloring or 1 tbsp gel red food coloring
- 2 tsp vanilla extract
- 2½ cups all-purpose flour
- ½ cup cocoa powder (not Dutch processed)
- 1 tsp baking soda
- ½ tsp salt
Frosting
- 8 oz cream cheese, softened
- 4 tbsp butter, softened
- 2 tsp sour cream
- 3½ cups confectioner’s sugar
- 2 tsp vanilla extract
Instructions
Cake Directions:
- Preheat the oven to 350ºF.
- Prepare three 8-inch round cake pans by spraying them with shortening or softened butter and then adding a light coat of flour or cocoa powder. Set aside.
- In a large mixing bowl, cream together the butter and sugar until light and fluffy.
- Beat in the eggs, one at a time, until fully combined.
- Mix in the sour cream, milk, food coloring, and vanilla extract until evenly dispersed.
- Slowly blend in the flour, cocoa, baking soda, and salt until completely combined, being careful not to overmix.
- Divide the batter evenly between the 3 prepared round cake pans.
- Bake at 350°F for 24 minutes or until a toothpick inserted into the center comes out clean, or cakes spring back when gently pressed.
- Remove the red velvet cakes from the oven and allow them to cool in the pans for 15 minutes.
- Invert the pans to release the cakes onto a wire rack. Allow them to cool completely to room temperature before assembling or decorating.
Frosting
- Beat the softened cream cheese, softened butter, and sour cream together in a large mixing bowl until smooth.
- Gradually add the confectioner’s sugar and vanilla extract. Continue to beat until the mixture has reached a silky, smooth consistency.
Assembly
- Place the first cooled cake layer on a serving dish.
- Use an offset spatula to cover the top of this cake layer with about one-third of the frosting.
- Add the second cake layer on top of the frosting, then spread another one-third of the frosting evenly.
- Place the final cake layer on top and decorate the top with the remaining frosting, creating your desired finish (e.g., a “naked” cake as pictured, or a fully frosted top).
Notes
The frosting quantity provided is perfect for this 3-layer naked cake style. If you desire a semi-naked decoration with a crumb coat around the entire cake, double the frosting recipe. For a fully decorated cake with filling, a crumb coat, a final smooth frosting layer, and any piping, triple the frosting recipe.
Equipment
- 3 8″ cake pans
- Stand mixer or electric hand mixer
- Large mixing bowls
- Offset spatula
Nutrition Information (Approximate per serving)
- Calories: 1016kcal
- Carbohydrates: 139g
- Protein: 11g
- Fat: 48g
- Saturated Fat: 28g
- Cholesterol: 206mg
- Sodium: 424mg
- Potassium: 182mg
- Fiber: 3g
- Sugar: 104g
- Vitamin C: 0.3mg
- Calcium: 104mg
- Iron: 2mg
- Net Carbohydrates: 83g
Nutritional information for the recipe is provided as a courtesy and is approximate. Please double-check with your own dietary calculator for the best accuracy. We at Yummi Haus cannot guarantee the accuracy of the nutritional information given for any recipe on this site.
Love this recipe?
Follow @KleinworthCo for even more tasty recipes!