
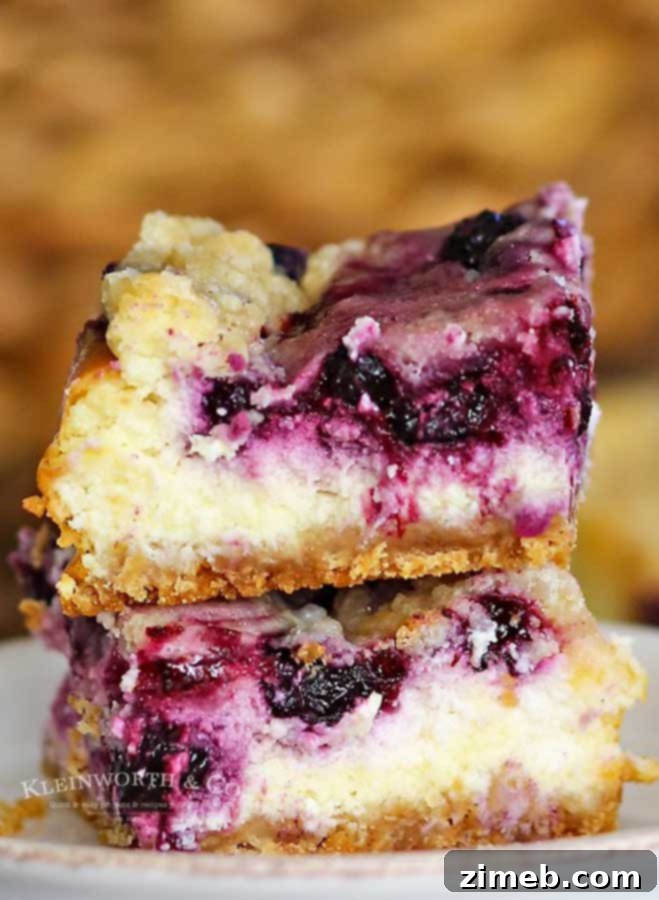
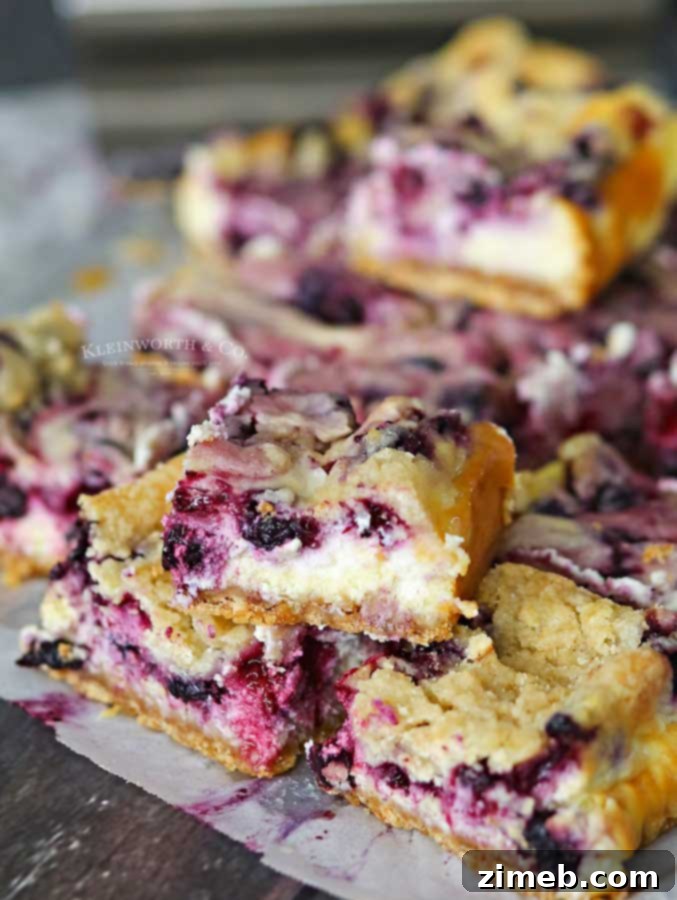
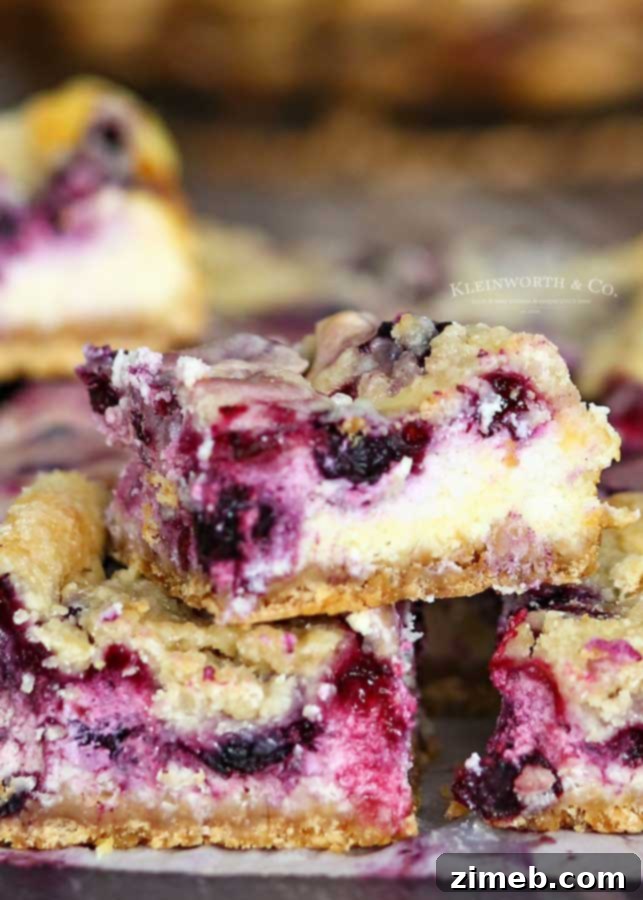
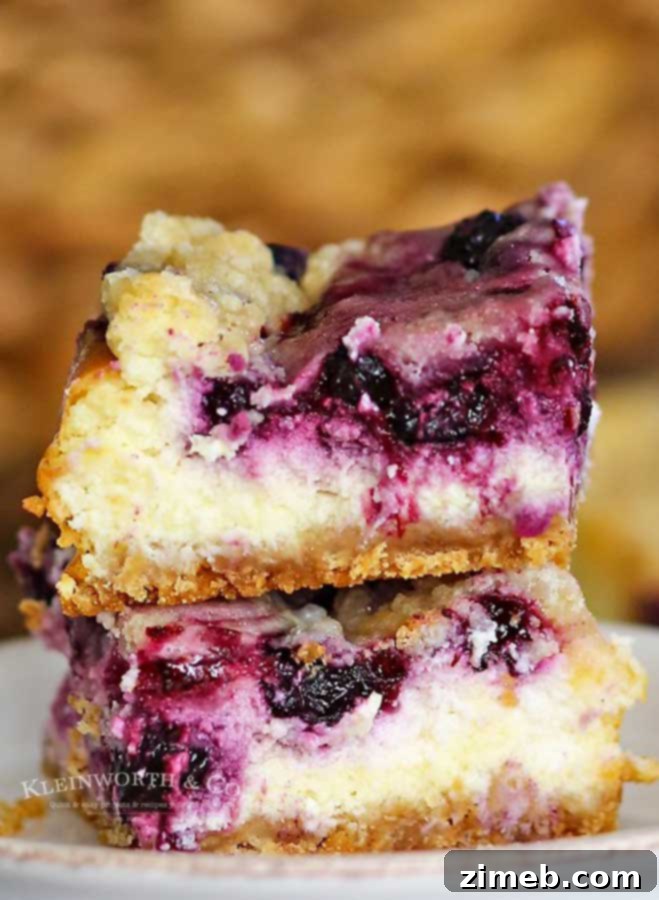
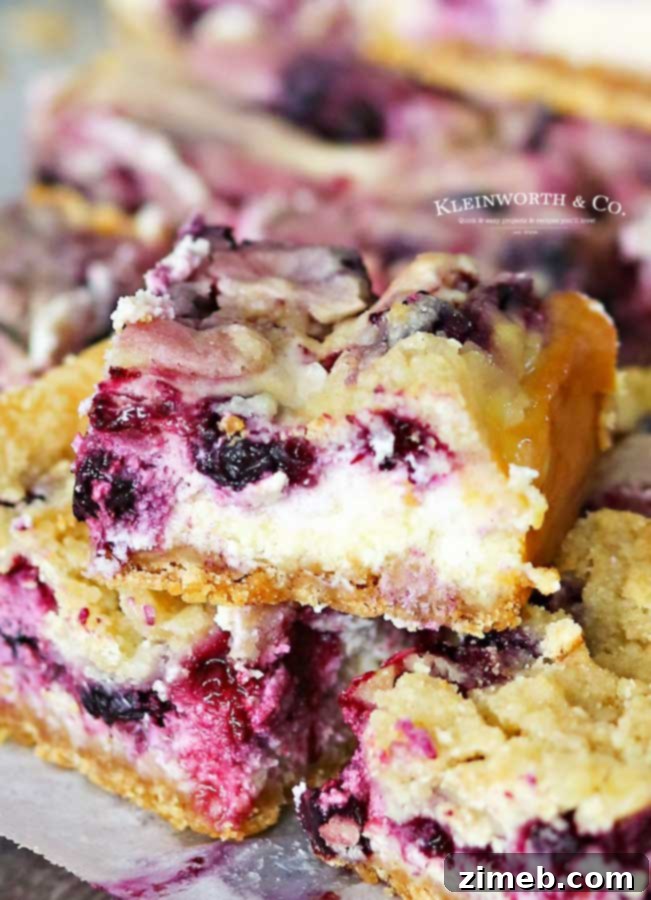
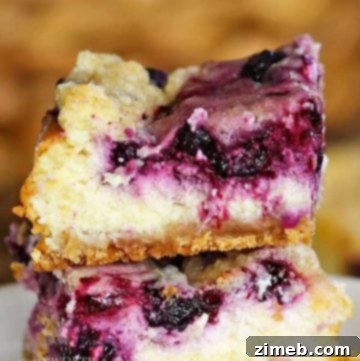
Indulge in the ultimate dessert experience with our irresistible Blueberry Cheesecake Bars! These delectable bars combine the creamy richness of classic cheesecake with the vibrant sweetness of fresh blueberries, all nestled upon a delightful vanilla wafer crust. Prepare yourself for a dessert that will quickly become a cherished family favorite, perfect for any occasion from casual gatherings to elegant celebrations.
For those who adore blueberry recipes, these cheesecake bars are an absolute dream come true. While some might traditionally gravitate towards blackberries or cherries in their fruit desserts, the addition of fresh, juicy blueberries in this recipe proves to be an exceptionally brilliant choice. Each bite offers a harmonious blend of tangy fruit and smooth, velvety cheesecake, creating a flavor profile that is both comforting and exhilarating.
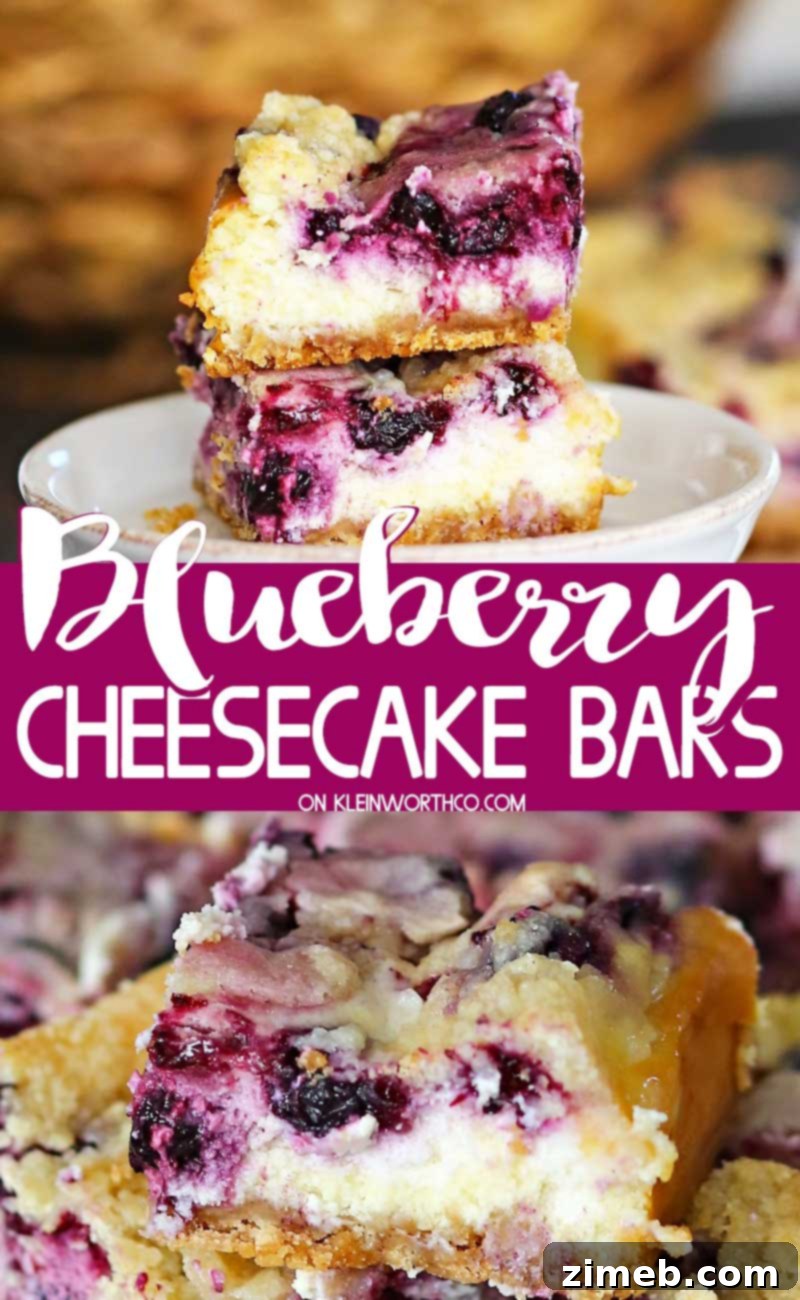
What sets these cheesecake bars apart is their wonderfully substantial texture. Unlike lighter, no-bake bar varieties, these Blueberry Cheesecake Bars boast a thickness reminiscent of a luxurious New York-style cheesecake. This robust consistency ensures a truly satisfying experience, where the creamy filling and a generous scattering of blueberries create a symphony of taste and texture. Get ready to fall in love with these heavenly treats!
The Unexpected Star: Our Vanilla Wafer Crust
Every great cheesecake begins with an exceptional crust, and for these Blueberry Cheesecake Bars, we’ve taken a delightful detour from the ordinary. Initially, the plan was to use classic graham crackers, but a quick check revealed they weren’t as fresh as they should be. This minor setback, however, led to a fantastic culinary discovery that transformed this recipe into something truly special. Instead of scrapping the cheesecake plans, a box of vanilla wafers presented itself as the perfect solution, and what a magnificent choice it turned out to be!
Friends, let me tell you, the vanilla wafer crust is an absolute game-changer and has quickly become my new favorite. It introduces an extra layer of sweetness and a delicate, satisfying crumble that elevates the entire dessert. The subtle vanilla notes beautifully complement the tangy cream cheese and sweet blueberries, adding a depth of flavor that a traditional graham cracker crust simply can’t match. This simple twist proves that sometimes, the best culinary innovations come from unexpected moments of improvisation.
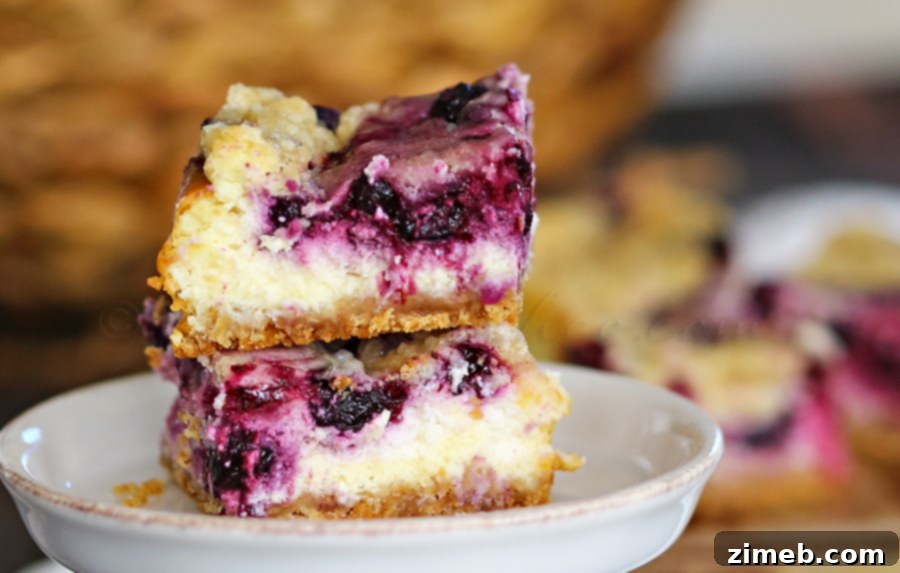
My family absolutely adored this crust. It’s a subtle departure from the norm but offers an incredibly yummy result. If you’re already a fan of vanilla wafers, you will undoubtedly be captivated by them when they’re transformed into a buttery, crumbly cheesecake base. Their inherent sweetness also allowed me to slightly reduce the amount of sugar I would typically incorporate into a standard graham cracker crust, resulting in a perfectly balanced sweetness that doesn’t overpower the other flavors.
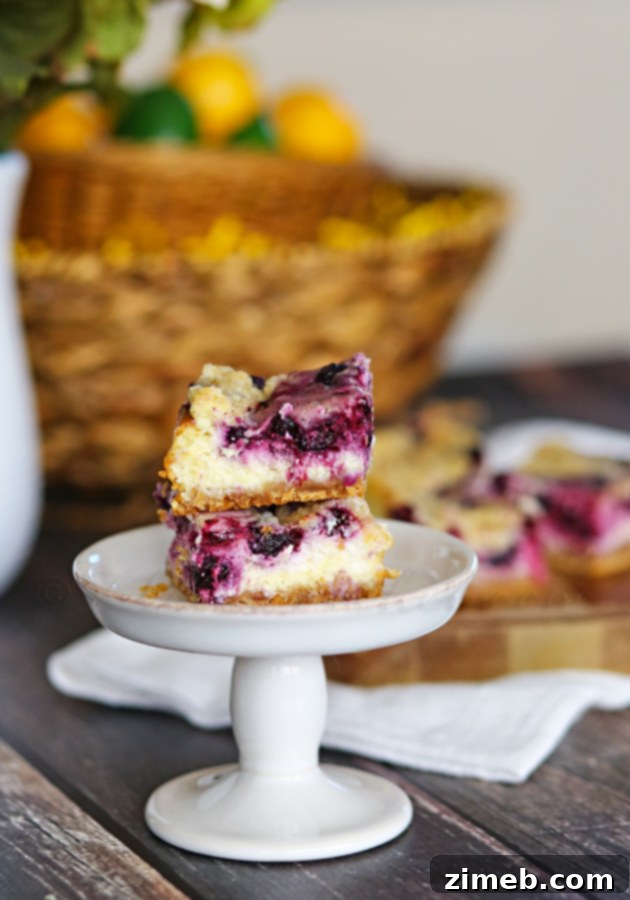
Frequently Asked Questions About Blueberry Cheesecake Bars
Can I use other berries in this cheesecake recipe?
Absolutely! This recipe is wonderfully adaptable to various fruits. We often enjoy making these bars with raspberries, blackberries, and even cherries, all of which yield equally delicious results. The creamy cheesecake base provides a perfect canvas for almost any fruit you prefer. I haven’t personally tried it with peaches yet, but if you do, please share your experience and how it turns out!
What’s the best way to store Blueberry Cheesecake Bars?
To keep things simple and minimize extra dishes, I prefer to store the bars right in the baking dish they were made in. Once cooled and served, simply cover the baking dish tightly with plastic wrap or aluminum foil. It’s a good practice to label it with the date before refrigerating. These delicious cheesecake bars will maintain their freshness and delightful texture for up to 2 days in the refrigerator. Remember, for optimal food safety and to prevent bacterial growth, it’s crucial to refrigerate any leftovers within 1 hour of serving.
Can this recipe be made with frozen blueberries?
Yes, you can certainly use frozen blueberries for this recipe. However, there’s an important step: make sure they are fully thawed and drained of any excess liquid before you incorporate them into the mixture. If you attempt to bake them while still frozen, the extra moisture will release during baking, potentially leading to a soggy, “goopy” mess instead of perfectly set cheesecake bars. A little patience with thawing will ensure a beautiful and delicious outcome.
How many bars does this recipe yield?
The number of bars you get from this recipe truly depends on your preferred serving size. Personally, I like to cut them into a 3×3 grid, which results in 9 generously sized bars. Of course, you have complete flexibility: you could cut them into 4×4 rows to make 16 smaller bars, perfect for a party, or even a 2×2 grid for just 4 super-large, decadent servings. The key is thinking in terms of rows and columns, not necessarily exact inch measurements, to customize your portions.
Can this recipe be doubled?
I frequently double this recipe, especially when entertaining or wanting to have extra on hand. When doubling, I find it best to bake the batches in two separate pans. This approach allows me to keep the baking time consistent for each pan, eliminating the guesswork of adjusting the baking duration for a larger volume in a single, larger pan. Furthermore, I particularly enjoy the specific thickness of these bars, and baking a doubled recipe in a different sized pan might alter that desired consistency. Using two 8×8 pans ensures perfect results every time.
Crafting Your Own Blueberry Cheesecake Bars: A Step-by-Step Guide
- Prepare the Oven: Begin by preheating your oven to 325 degrees Fahrenheit (160 degrees Celsius).
- Line the Pan: Line an 8×8 inch square baking pan with parchment paper, leaving a slight overhang on the sides. This thoughtful step will make removing the chilled bars incredibly easy.
- Form the Crust: In a medium mixing bowl, combine your vanilla wafer crust ingredients. Mix them thoroughly until well combined and moistened. Then, press this mixture firmly and evenly into the bottom of the prepared pan to form a solid crust layer.
- Pre-Bake the Crust: Place the pan with the crust into the preheated oven and bake for 10-12 minutes, or until lightly golden.
- Cool the Crust: Remove the baked crust from the oven and set it aside to cool while you prepare the remaining components of the cheesecake.
- Prepare Blueberry Mixture: In a separate small mixing bowl, gently toss together all the blueberry ingredients (fresh blueberries, sugar, all-purpose flour, and fresh lemon juice). Set this vibrant mixture aside.
- Make the Cheesecake Batter: In a stand mixer bowl (or using a hand mixer), beat together the softened cream cheese, sour cream, and granulated sugar until the mixture is completely smooth and free of lumps.
- Incorporate Wet Ingredients: With the mixer on a low speed, gradually add the vanilla extract, salt, and eggs. Mix until they are just combined. Avoid overmixing once the eggs are added, as this can incorporate too much air and lead to cracks in the cheesecake.
- Pour Batter over Crust: Carefully pour the smooth cheesecake batter evenly over the cooled, baked crust in the pan.
- Spread Evenly: Use a spatula to gently spread the cheesecake batter, ensuring an even layer from edge to edge.
- Top with Blueberries: Now, carefully spoon the prepared blueberry mixture over the cheesecake batter, distributing the blueberries as evenly as possible.
- Bake the Cheesecake: Place the pan back into the oven and bake for 40-50 minutes. The cheesecake is done when the edges are set, the center has a slight jiggle (it shouldn’t be liquid), and the blueberry topping is bubbling and lightly golden. A toothpick inserted near the center should come out almost clean with just a few moist crumbs.
- Cool to Room Temperature: Remove the finished cheesecake bars from the oven and allow them to cool completely on a wire rack until they reach room temperature. This gradual cooling helps prevent cracking.
- Chill Thoroughly: Once at room temperature, transfer the pan to the refrigerator and chill for at least 3-5 hours. This crucial step allows the cheesecake to firm up, making it easier to cut and ensuring a perfectly creamy texture.
- Important Tip: For the smoothest, clump-free cheesecake batter, it is absolutely imperative that your cream cheese, sour cream, and eggs are at room temperature before you begin mixing. This ensures they emulsify properly and create a silky-smooth consistency.
Essential Tools for Perfect Blueberry Cheesecake Bars
Which baking pan do you recommend?
For these particular bars, I highly recommend a sturdy metal baking pan, ideally an 8×8 inch square. Not only is it the perfect size to achieve the desired thickness for your cheesecake bars, but good quality metal pans also distribute heat evenly, leading to consistent baking. Plus, many are designed for easy cleaning and are very affordable, making them a great addition to any baker’s kitchen.
Can I use a graham cracker crust instead?
Certainly! If you prefer a more traditional flavor profile or don’t have vanilla wafers on hand, a graham cracker crust works beautifully. To make it, simply combine 1-1/2 cups of finely ground graham cracker crumbs with 1/3 cup of granulated sugar. Then, drizzle in 6 tablespoons of melted butter and toss with a fork until all the crumbs are uniformly moist. Press this mixture firmly into the bottom of your prepared 8×8 inch pan, just as you would with the vanilla wafer crust, and pre-bake as directed.
Is there an easy way to remove the bars from the pan?
Yes, there’s a simple trick that makes removal a breeze! When you initially line your baking pan with parchment paper, make sure to leave a slight overhang on two opposite sides. Once the cheesecake bars are completely chilled and firm, you can use these overhangs as “handles” to easily lift the entire slab of cheesecake out of the pan. This method ensures the bars remain perfectly intact and prevents any potential sticking or crumbling. Just remember, thorough chilling is key to their structural integrity!
How do I know if the cheesecake bars are done baking?
The classic toothpick test is your best friend when it comes to checking the doneness of these cheesecake bars. After the designated baking time (around 40-50 minutes), gently insert a clean toothpick into the center of the cheesecake. If it comes out mostly clean with just a few moist crumbs clinging to it, your bars are perfectly baked. If the toothpick appears wet or gooey, continue baking in 5-minute increments, checking after each interval, until the toothpick comes out mostly clean.
Can blueberry cheesecake bars be frozen?
Absolutely, these cheesecake bars freeze exceptionally well! In fact, I often utilize the freezer to speed up the chilling process if I’m short on time – though I sometimes get delightfully distracted and forget about them for a couple of days! To freeze them, first ensure they are thoroughly chilled in the refrigerator, then wrap the individual bars or the entire slab tightly in plastic wrap, followed by a layer of aluminum foil. They can be stored in the freezer for up to 1-2 months. When you’re ready to enjoy, simply pull them out and let them thaw at room temperature for about 30-45 minutes before cutting and serving, or thaw them overnight in the refrigerator for a more gradual process. Freezing is a fantastic way to enjoy these treats at your leisure!
Ingredients You’ll Need to Make These Delicious Blueberry Cheesecake Bars
For the Vanilla Wafer Crust:
- Vanilla Wafer cookies, finely crushed: These provide a sweet, buttery, and slightly crisp foundation.
- Granulated sugar: Adds just the right amount of sweetness to the crust.
- Vanilla extract: Enhances the vanilla flavor of the wafers, tying it into the overall dessert.
- Butter, melted & cooled: Binds the crumbs together, creating a firm and flavorful crust.
For the Blueberry Mixture:
- Fresh blueberries: The star of the show, providing bursts of tangy sweetness.
- Granulated sugar: Balances the tartness of the blueberries.
- All-purpose flour: Helps to thicken the blueberry juices slightly during baking, preventing a watery topping.
- Fresh lemon juice: Brightens the flavor of the blueberries and adds a touch of zest.
For the Creamy Cheesecake Filling:
- Cream cheese: The essential ingredient for a rich, tangy, and smooth cheesecake. Ensure it’s at room temperature for best results.
- Sour cream: Adds a luxurious creaminess and a subtle tang that perfectly complements the cream cheese. Also best at room temperature.
- Granulated sugar: Sweetens the cheesecake filling to perfection.
- Eggs: Act as a binder and provide structure, contributing to the smooth texture. Room temperature eggs are crucial.
- Salt: A pinch of salt enhances all the other flavors, balancing the sweetness.
- Vanilla extract: Essential for a classic cheesecake flavor, adding warmth and depth.
Recommended Products for Making Blueberry Cheesecake Bars
Creating these delightful Blueberry Cheesecake Bars is surprisingly simple and immensely rewarding. Chances are, you already have many of the necessary ingredients and tools in your kitchen. However, if you’re new to making homemade cheesecake bars or simply looking to upgrade your baking arsenal, having the right equipment can make the process even smoother. Below is a curated list of items I find indispensable when whipping up this delicious dessert recipe:
- Granulated Sugar: A pantry staple for both the crust and the filling.
- Vanilla Extract: For that essential warm, aromatic flavor.
- All-Purpose Flour: Just a touch for the blueberry topping.
- Stand Mixer or Hand Mixer: Crucial for achieving that perfectly smooth cheesecake batter.
- Mixing Bowls: You’ll need a few different sizes for combining ingredients.
- Spatulas: For scraping bowls and spreading batter evenly.
- Food Processor: Ideal for finely crushing vanilla wafers for the crust.
- Metal 8×8 Baking Pan: The perfect size for these bars.
- Dry Measuring Cups: For precise ingredient measurements.
- Wet Ingredient Measuring Cup: For liquids like milk and oil.
- Measuring Spoons: For smaller quantities of ingredients.
- Silicone Baking Pan: (Optional, but useful for various baked goods).
- Vanilla Wafers: The star of our unique crust!
This is absolutely the perfect blueberry cheesecake bar recipe for any occasion!
Scroll to the bottom for the Printable Recipe Card
More Delightful Bar Recipes You’ll Love
If you’ve fallen in love with this homemade Blueberry Cheesecake Bars recipe, then you’re definitely going to enjoy exploring these other yummy bar recipes. Each one offers a unique flavor profile and is designed to be easy to make and utterly delicious. Click each link below to discover the simple, printable recipe and add more fantastic treats to your baking repertoire!
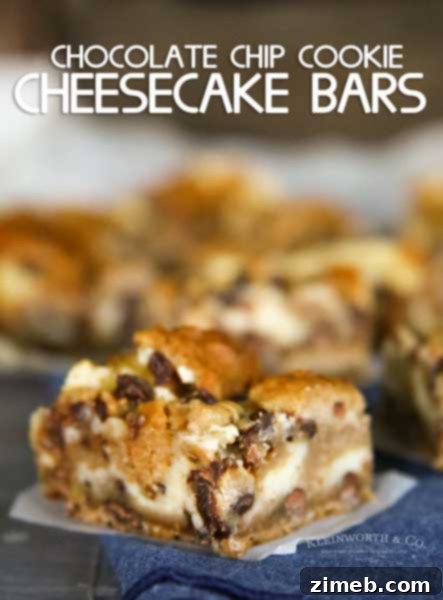
Chocolate Chip Cookie Cheesecake Bars
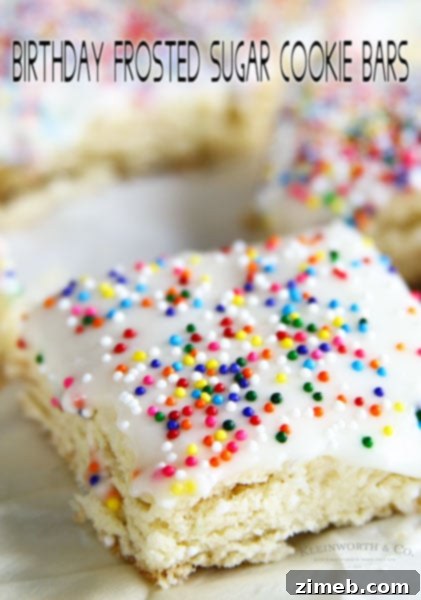
Birthday Frosted Sugar Cookie Bars
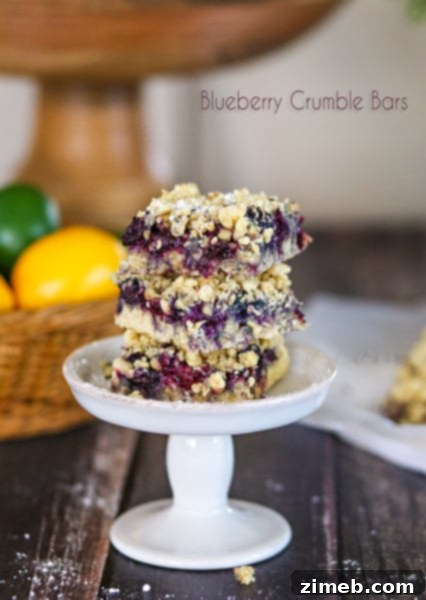
Blueberry Crumble Bars
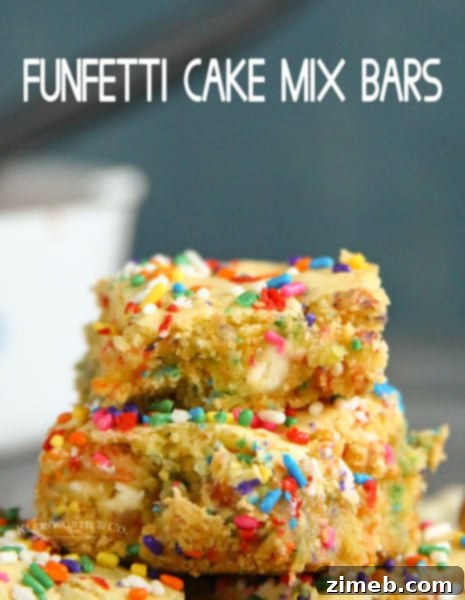
Funfetti Cake Mix Bars
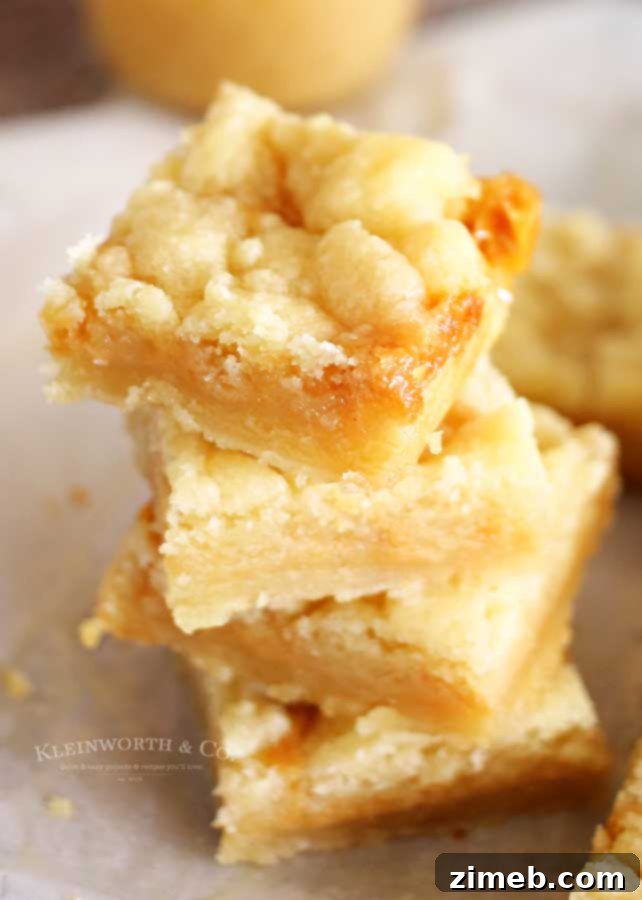
Salted Caramel Butter Bars
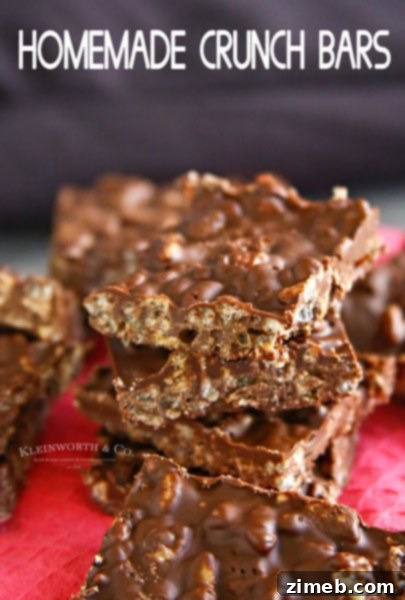
Homemade Crunch Bars
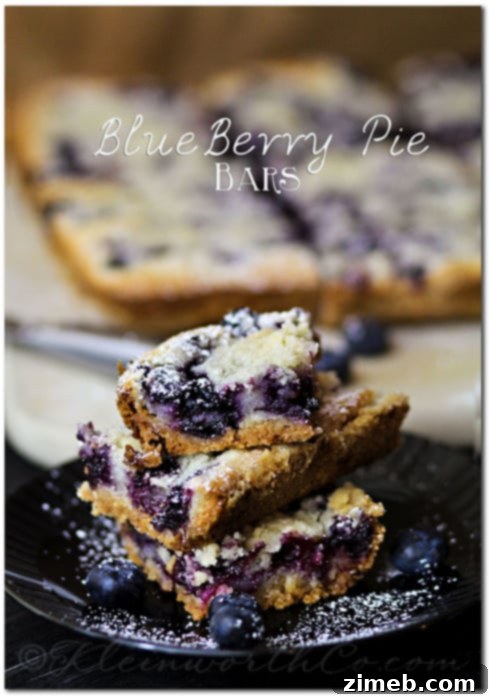
Blueberry Pie Bars
Your New Favorite Easy Cheesecake Bars
These Blueberry Cheesecake Bars are truly a celebration of simplicity and flavor. They’re designed to be straightforward to make, yielding a dessert that’s not only impressive to look at but also incredibly delicious to eat. The blend of a unique vanilla wafer crust, smooth creamy cheesecake, and a generous layer of vibrant blueberries creates an unforgettable treat that will have everyone asking for the recipe. Whether you’re an experienced baker or just starting out, this recipe is guaranteed to bring joy to your kitchen and smiles to those who taste it.
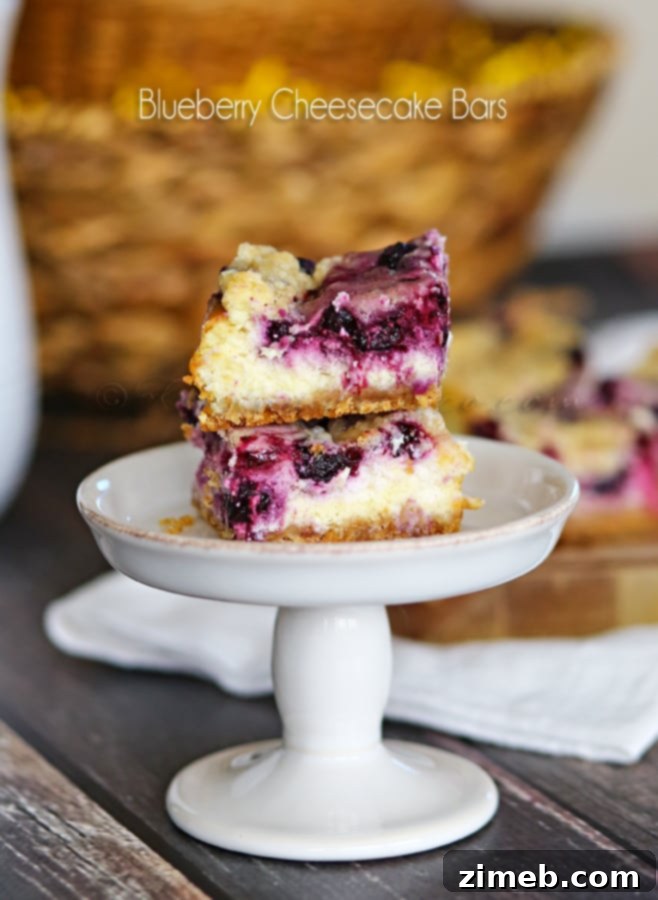
We hope you cherish this recipe as much as we do! If you love these Blueberry Cheesecake Bars, please consider leaving a five-star review and sharing this recipe on your favorite social media platforms like Facebook and Pinterest. Your support helps us continue to bring you more delicious and easy-to-follow recipes.
**CONNECT WITH US!**
Be sure to follow us on our social media channels so you never miss a post! You can find us on Facebook, Pinterest, Instagram, and subscribe to our Email List for exclusive updates and recipes.
Don’t miss these other great ideas from fellow bloggers that perfectly complement our Blueberry Cheesecake Bars theme:
- Blueberry Buckle | A Family Feast
- White Chocolate Blueberry Lasagna | OMG Chocolate Desserts
Blueberry Cheesecake Bars Recipe
Blueberry Cheesecake Bars are a creamy cheesecake recipe made with fresh blueberries & a vanilla wafer crust. This will be one of your favorite desserts!
Course: Dessert
Servings: 9 bars
Prep Time: 10 mins
Cook Time: 1 hr
Chill Time: 3 hrs
Total Time: 1 hr 10 mins (plus chilling)
Ingredients
For the Cheesecake:
- 12 oz. cream cheese, softened to room temperature
- ½ cup sour cream, at room temperature
- ½ cup granulated sugar
- 2 large eggs, at room temperature
- ½ tsp. salt
- 1½ tsp. vanilla extract
For the Blueberry Mixture:
- 2 cups fresh blueberries
- 2 tsp. granulated sugar
- 2 tsp. all-purpose flour
- 1 tbsp. fresh lemon juice
For the Vanilla Wafer Crust:
- 2-2/3 cups Vanilla Wafer cookies, finely crushed (about 40-45 wafers)
- 1 tbsp. granulated sugar
- 1-1/2 tsp vanilla extract
- 4 tbsp. butter, melted & cooled (½ stick)
Instructions
- Preheat oven to 325 degrees F (160 C).
- Line an 8×8 square baking pan with parchment paper, allowing some overhang on the sides for easy removal.
- In a medium-sized mixing bowl, combine the crushed vanilla wafers, 1 tbsp granulated sugar, 1½ tsp vanilla extract, and melted butter for the crust. Mix until well combined.
- Press the crust mixture firmly and evenly into the bottom of the prepared pan.
- Bake the crust for 10-12 minutes, then remove from oven and let cool completely.
- While the crust cools, prepare the blueberry mixture: In a small bowl, gently toss the fresh blueberries with 2 tsp sugar, 2 tsp all-purpose flour, and 1 tbsp fresh lemon juice. Set aside.
- For the cheesecake filling: In a mixer bowl, beat the room temperature cream cheese, sour cream, and ½ cup granulated sugar until smooth and creamy.
- On low speed, add the vanilla extract, salt, and room temperature eggs. Mix until just combined, being careful not to overmix.
- Pour the cheesecake batter over the cooled, baked crust in the pan. Spread evenly with a spatula.
- Carefully spoon the prepared blueberry mixture over the cheesecake batter, distributing the blueberries evenly across the top.
- Place the pan in the preheated oven and bake for 40-50 minutes, or until the cheesecake edges are set and the center has a slight wobble. A toothpick inserted near the center should come out mostly clean.
- Remove from oven and allow to cool completely at room temperature.
- Once cooled, place the pan in the refrigerator and chill for at least 3-5 hours (or preferably overnight) before lifting out, slicing into bars, and serving.
Nutritional information for the recipe is provided as a courtesy and is approximate. Please double-check with your own dietary calculator for the best accuracy. We at this site cannot guarantee the accuracy of the nutritional information given for any recipe on this site.
Love this recipe?
Follow @KleinworthCo for even more tasty recipes!