
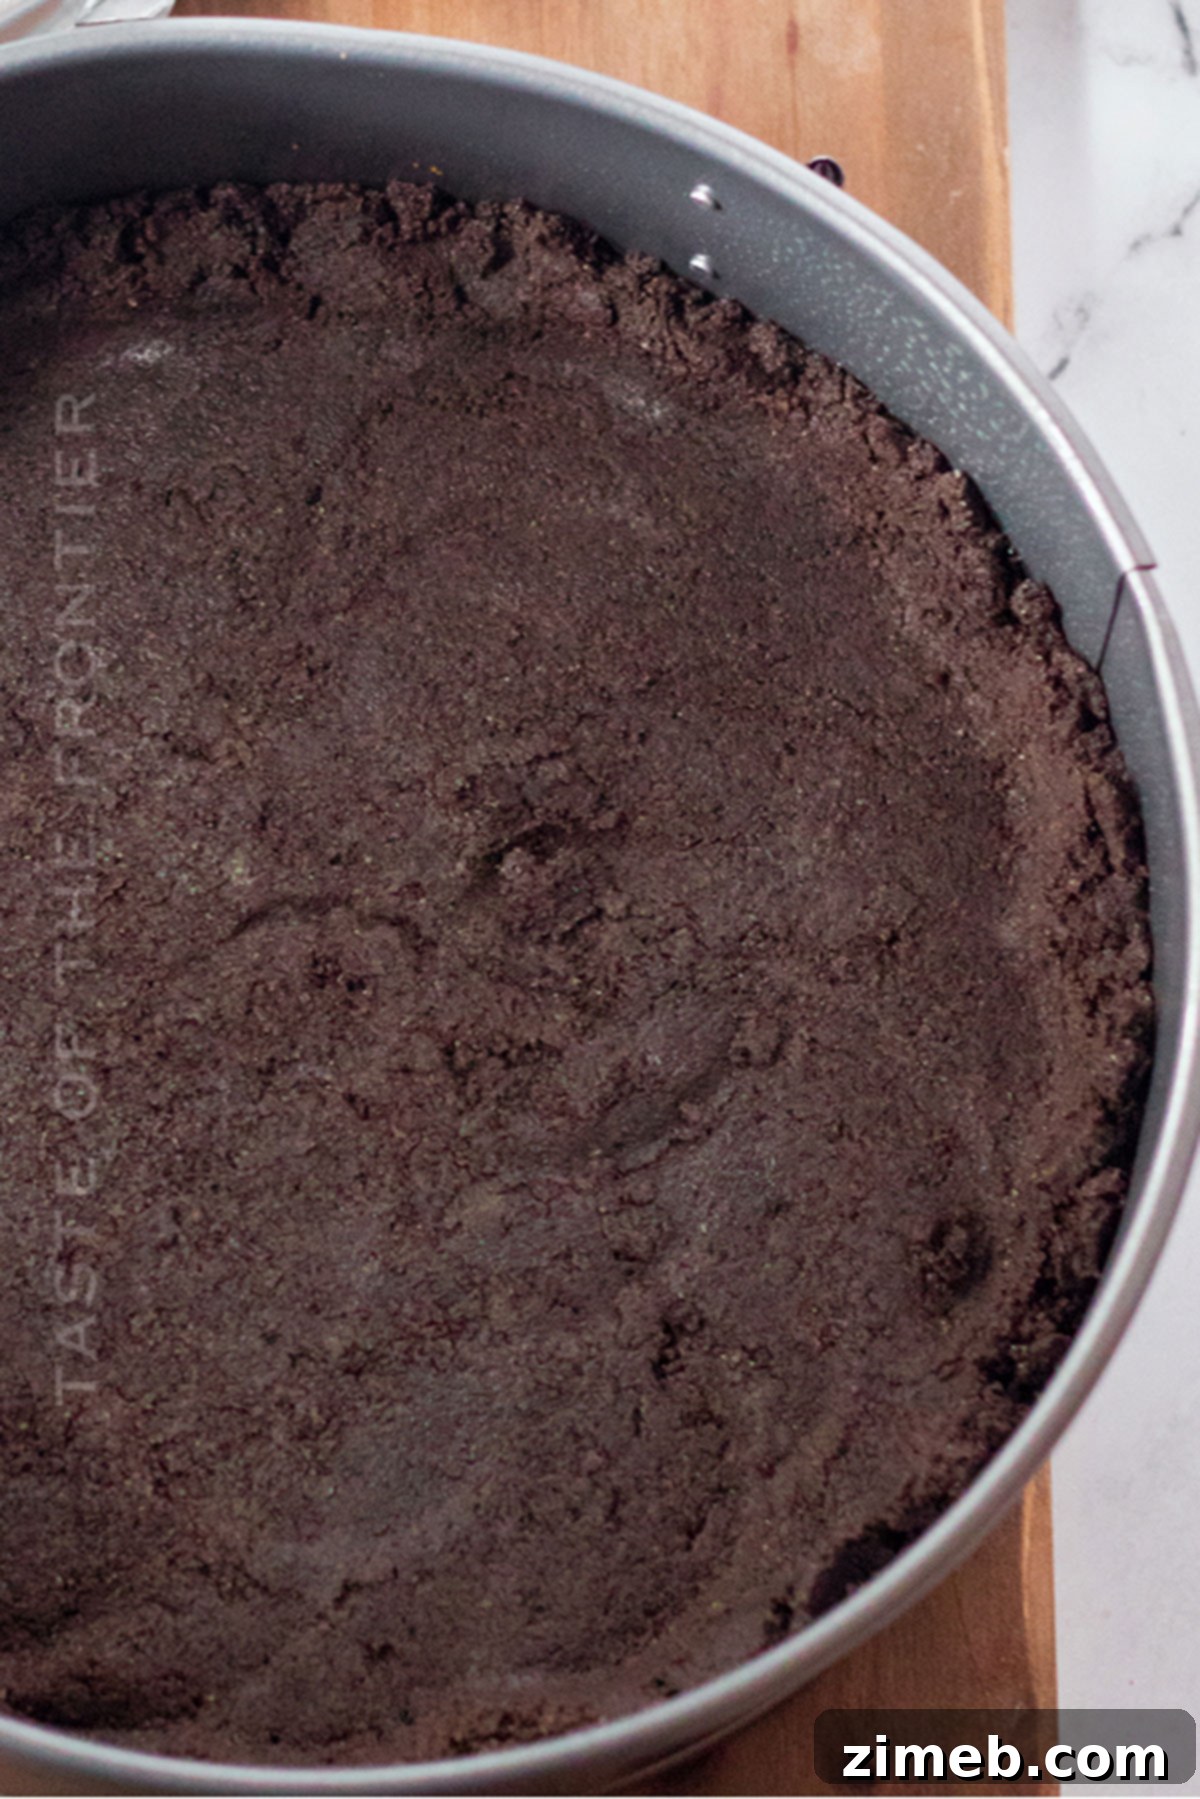
Welcome to the ultimate guide for creating the most delicious, versatile Oreo Cookie Crust – the perfect foundation for all your favorite cheesecakes, no-bake pies, lush layered desserts, and so much more! Prepare to elevate your dessert game to a whole new level.
Do you know what transforms an ordinary pie or cheesecake into an extraordinary culinary delight? A rich, crunchy, and irresistibly chocolatey base! Today, we’re diving into the incredibly simple yet absolutely show-stopping recipe for a homemade Oreo pie crust that promises to steal the spotlight.
This phenomenal crust isn’t just a foundation; it’s a game-changer that will level up any dessert you pair it with. Imagine a deep black layer, bursting with rich chocolate flavor, subtly kissed with butter, patiently waiting to cradle your favorite luscious fillings. Make sure to save this essential recipe for later, because once you try it, you’ll never go back to store-bought crusts again!
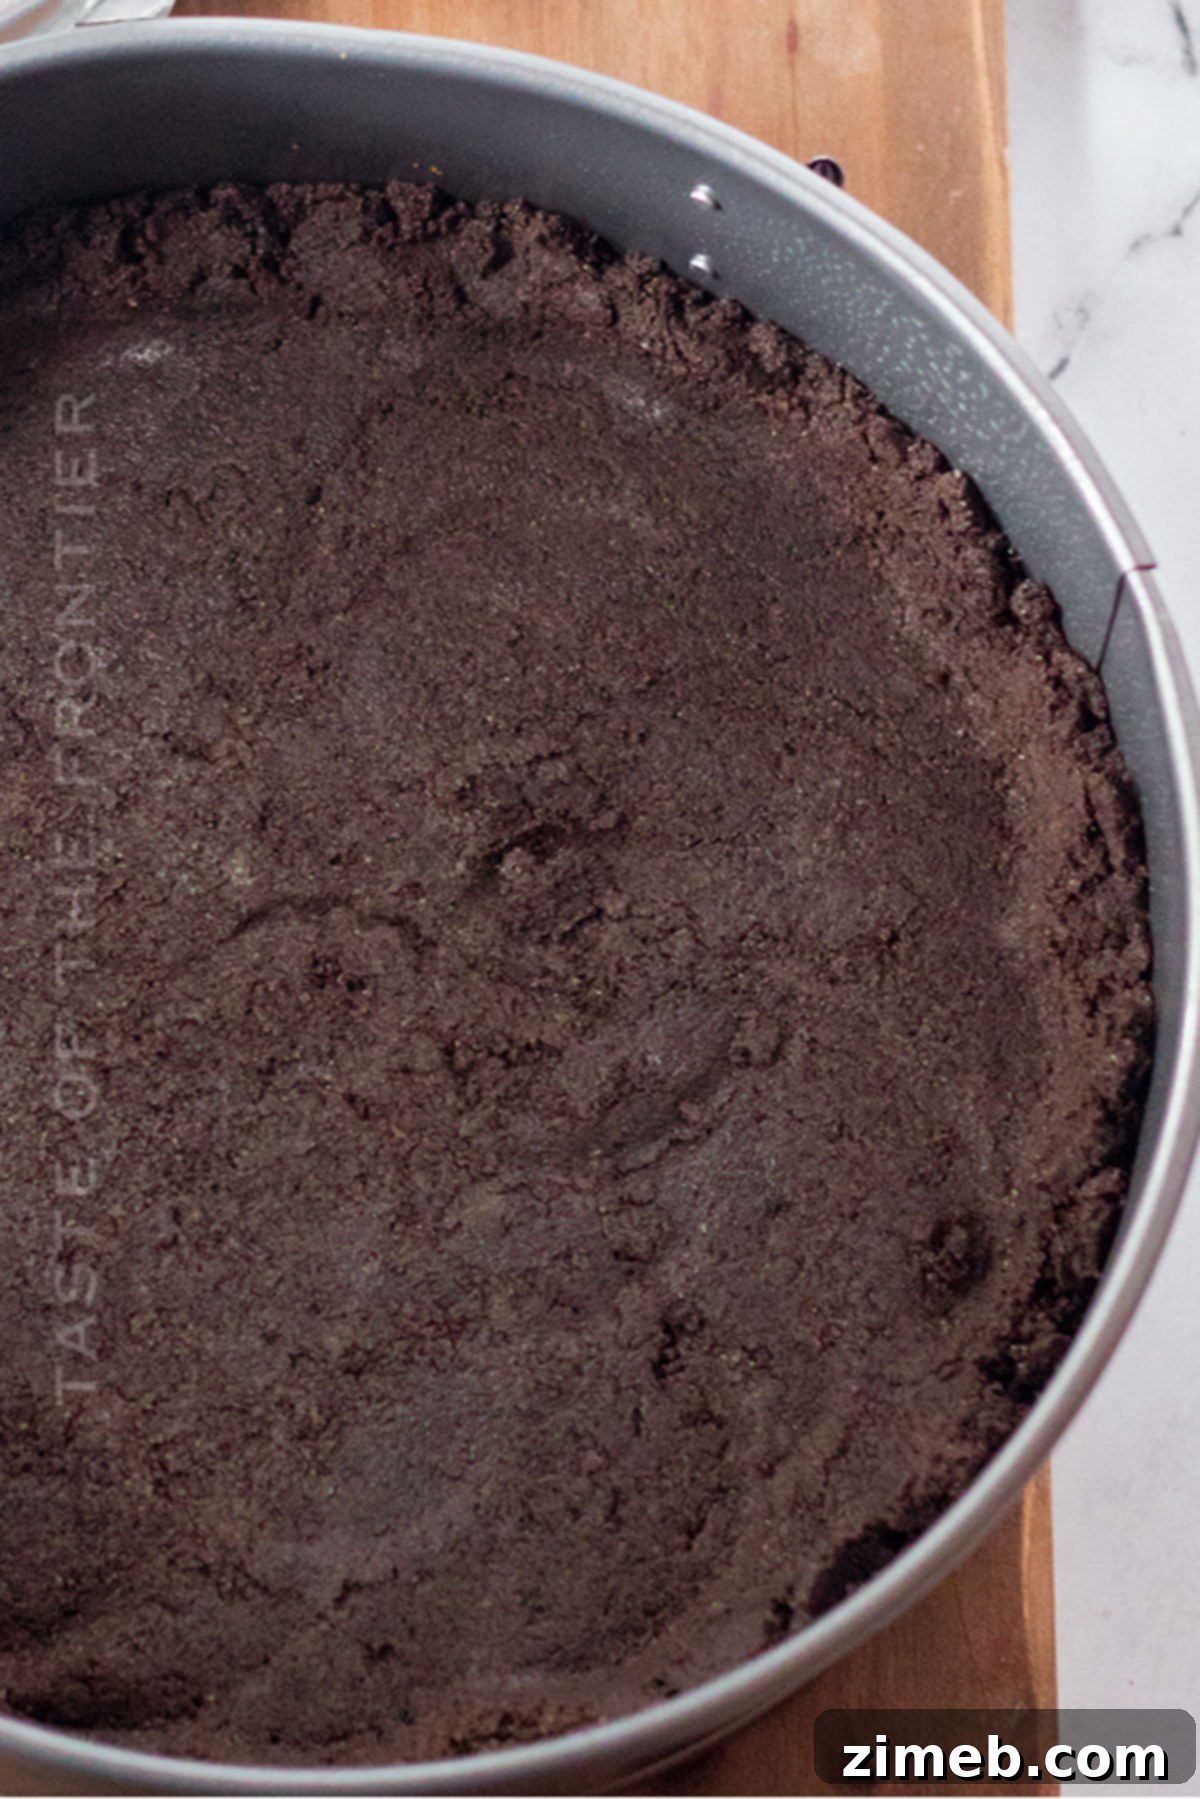
This easy-to-make, homemade Oreo cookie crust is truly the unsung hero behind some of the most memorable desserts. It’s so straightforward to whip up that you’ll wonder why you ever hesitated. Whether you’re envisioning a creamy no-bake cheesecake, a decadent chocolate tart, or a vibrant fruit pie, this crisp and flavorful crust guarantees a standing ovation from your guests. It’s about time your delectable fillings met their perfect, chocolatey match!

The Allure of a Homemade Oreo Cookie Crust
What makes a homemade Oreo cookie crust so special? It’s the perfect blend of texture, flavor, and ease that simply cannot be replicated by store-bought alternatives. Each bite offers a satisfying crunch followed by the iconic, deep chocolate flavor of Oreos, enhanced by the rich depth of real butter. This creates a harmonious balance that complements virtually any sweet filling, from tangy key lime to rich peanut butter.
The dark, striking appearance of the Oreo crust also adds a sophisticated visual appeal to your desserts, making them look as incredible as they taste. Forget about flimsy, bland crusts that crumble at the slightest touch – this recipe delivers a robust, flavorful base that holds its integrity, ensuring every slice is perfect.
Common Questions About Your Oreo Cookie Crust
Do I need a food processor for this recipe?
While a food processor is incredibly convenient for achieving perfectly fine crumbs in mere seconds, it’s not strictly essential. If you don’t own one, simply place your Oreo cookies in a sturdy Ziploc bag, seal it tightly, and use a rolling pin to crush them. This method might require a bit more “elbow grease,” but it’s equally effective. In fact, if you have children around, they often love helping with this part, turning a simple baking step into a fun, memorable activity!
Is it a must to refrigerate before adding my filling?
Absolutely, yes! Refrigerating your Oreo cookie crust is a crucial step that allows the butter to solidify and bind the crumbs together properly. This setting period ensures that your crust is firm, sturdy, and won’t fall apart when you introduce your delicious filling. Think of it as a vital “strength training” session for your crust, giving it the structure it needs to support even the heaviest cheesecakes or pies. A well-chilled crust means no weak or crumbling bases!
Can I use this for both bake and no-bake pie recipes?
You most certainly can! This Oreo cookie crust is remarkably versatile, making it the perfect base for both baked and no-bake fillings. For no-bake desserts, a simple chill in the refrigerator is all you need. If your recipe requires baking, this crust holds up beautifully in the oven, emerging even crispier and more fragrant. Its adaptability makes it a go-to choice for almost any dessert concept you can imagine.
Storage Solutions for Your Oreo Cookie Crust
One of the best features of this Oreo cookie pie crust is its excellent make-ahead potential, which is incredibly helpful, especially during busy holiday seasons. Having a few of these crusts prepped and ready in the freezer means you’re always just a step away from a spectacular dessert!
Refrigerator Storage:
Once you’ve pressed the crust mixture into your pie pan, cover it tightly with plastic wrap. It can be stored in the refrigerator for up to 3 days before you’re ready to add your desired filling. This is perfect for planning ahead or prepping components for a special meal.
Freezer Storage:
For longer-term storage, carefully wrap the pre-pressed crust first in plastic wrap, and then completely encase it in aluminum foil. This double layer of protection helps prevent freezer burn and keeps it fresh. Your frozen Oreo crust can last for up to 3 months. When you’re ready to use it, simply thaw the crust in the refrigerator overnight before adding your filling.
Expert Tips for an Unforgettable Oreo Cookie Crust
Mastering the perfect Oreo cookie crust is all about practice and understanding a few key techniques. My biggest tip is to embrace experimentation! The more you make this recipe, the more intuitive it becomes, and the better your results will be. Here are some pro tips to ensure your crust turns out perfectly every time:
- For an Extra Crispy Crust: If you prefer a firmer, crunchier base, consider pre-baking your crust. Place the pressed crust in a preheated oven at 350°F (175°C) for 8-10 minutes. Let it cool completely before adding your filling.
- Pan Alternatives: No traditional pie pan? No problem! A springform pan is excellent for cheesecakes and allows for easy removal, creating beautiful, clean slices. A tart pan with a removable bottom also works wonderfully, giving your desserts a professional look.
- Adjusting Consistency: If your crushed Oreo mixture feels too dry and crumbly to hold its shape, don’t hesitate to add an extra tablespoon of melted unsalted butter, one at a time, until the mixture resembles wet sand and holds together when pressed.
- Customizing Thickness: For a thinner crust, simply reduce the amount of Oreos and butter proportionately. Conversely, for a thicker, more substantial crust, increase the amounts slightly.
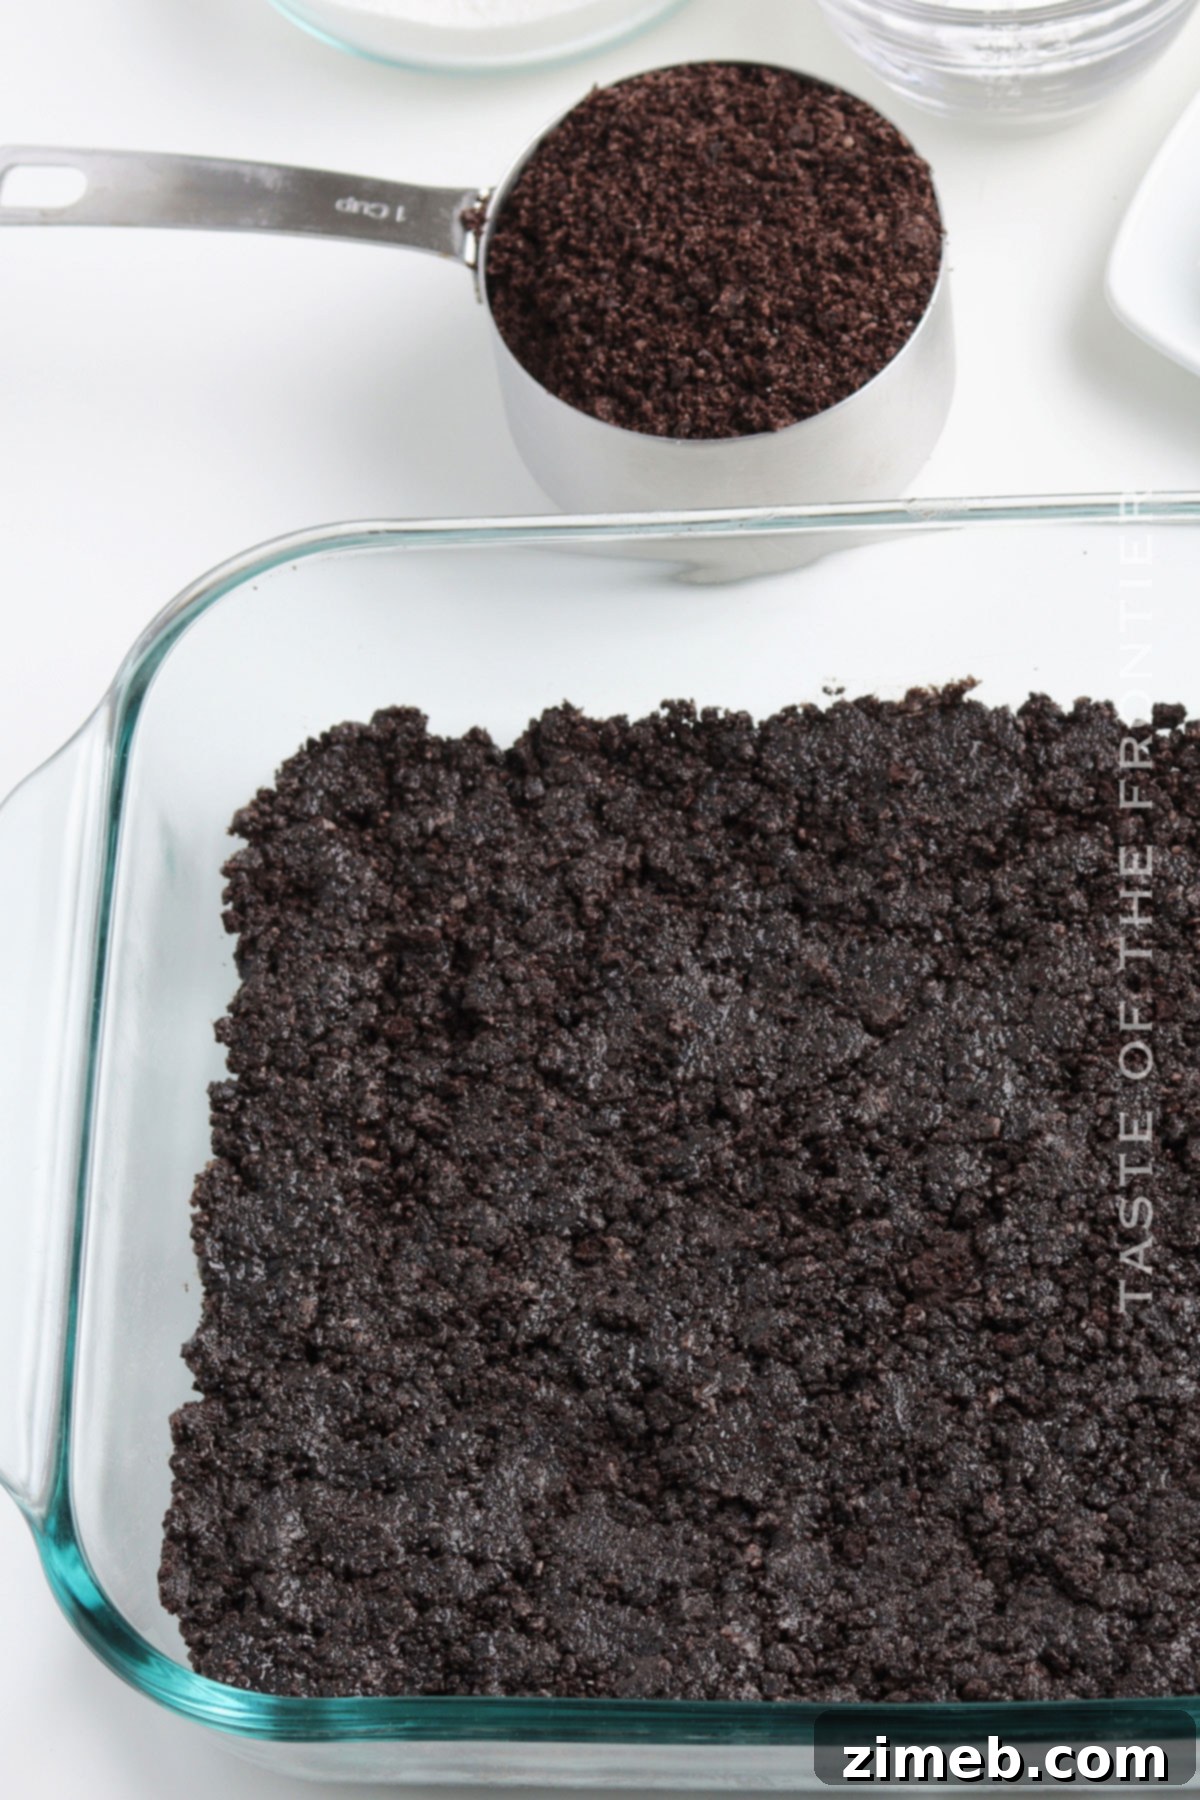
- Even Pressing is Key: Use the bottom of a flat glass or a measuring cup to press the crumb mixture firmly and evenly into your pan. This creates a dense, uniform crust that won’t crumble when cut.
- Preventing a Soggy Crust: For particularly moist fillings, a thin layer of melted white chocolate brushed onto the cooled crust before adding the filling can act as a barrier, preventing sogginess.
Simple Ingredients for a Superior Oreo Cookie Crust
It truly doesn’t get much simpler than this! With just two basic ingredients, you’re on your way to creating an easy Oreo pie crust recipe that you’ll want to keep in your permanent recipe collection. Quality matters, even with just two items!
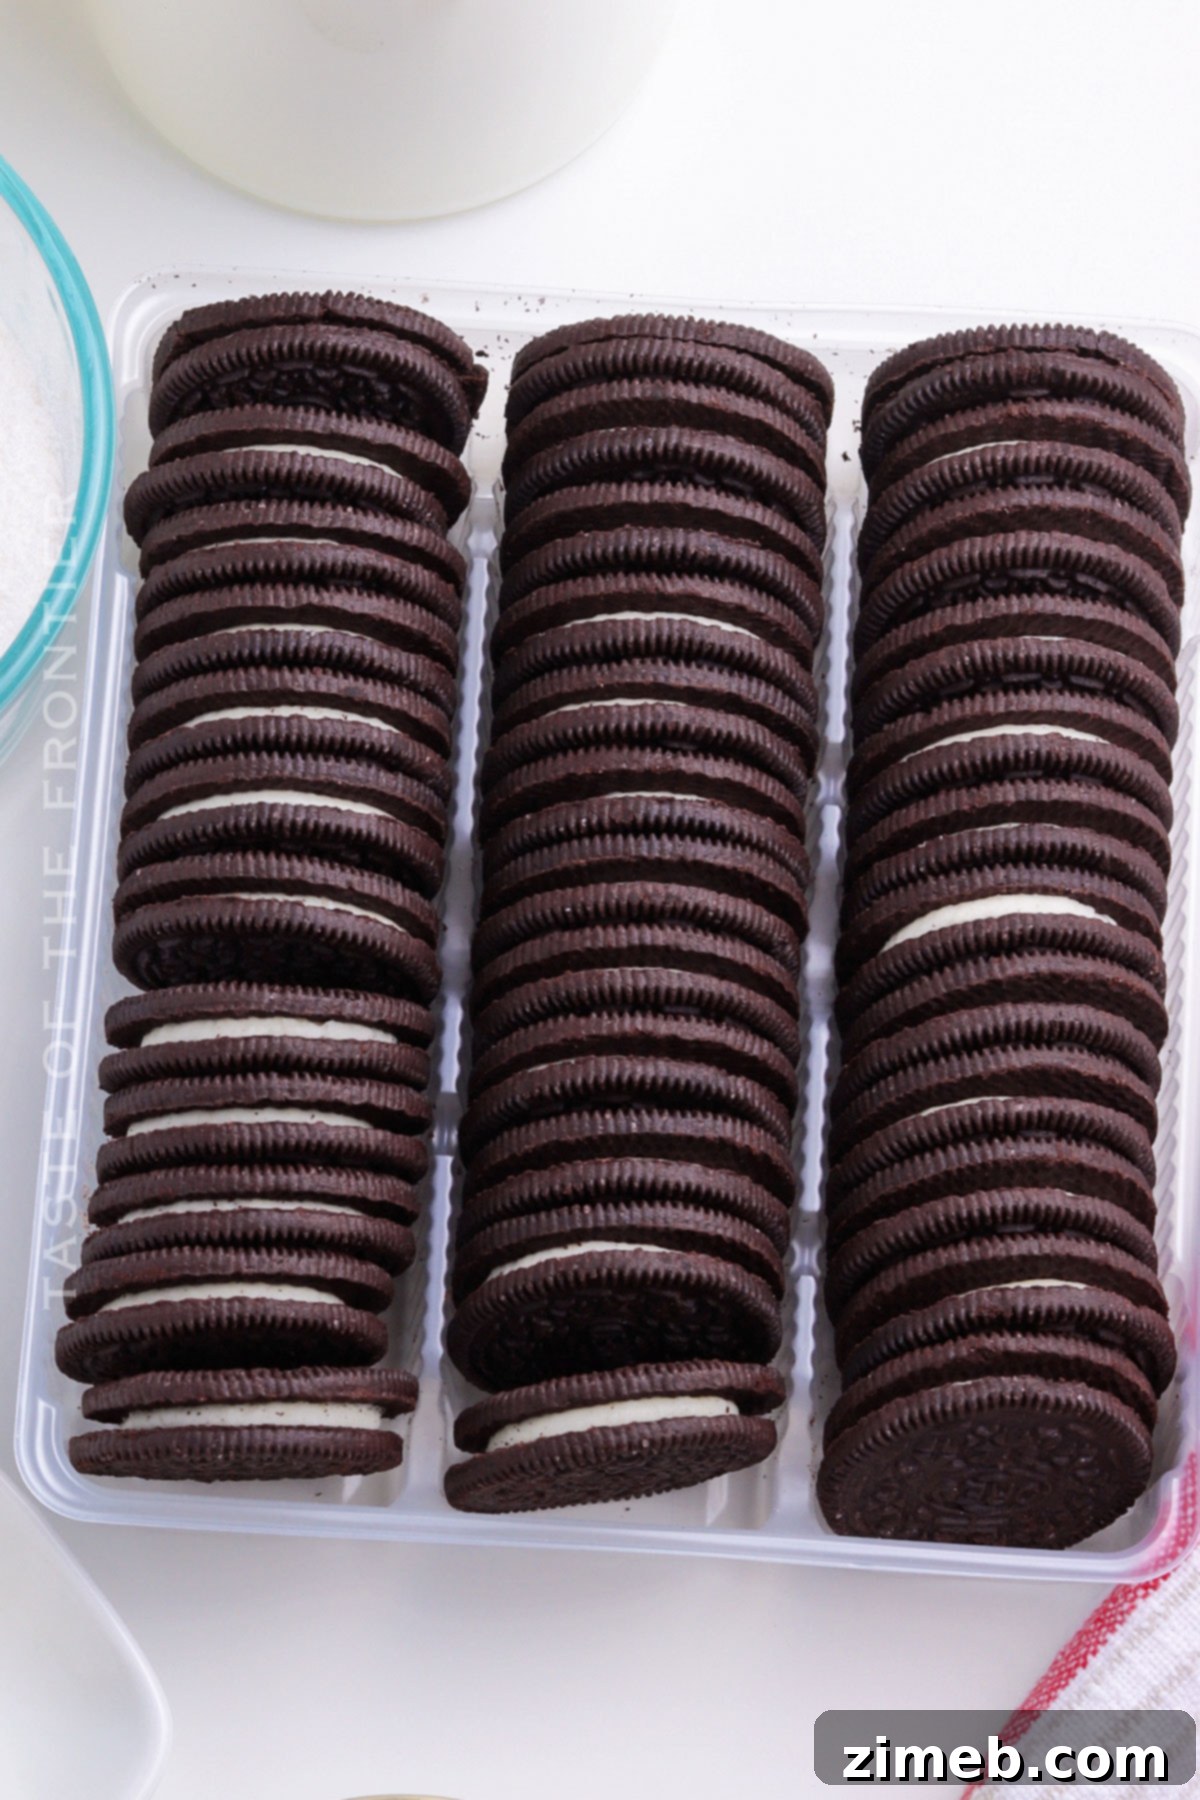
- Oreo Cookies: The star of our show! Any variety works, but classic Oreos provide that quintessential chocolate flavor and dark color. Ensure you’re using whole cookies, including the cream filling, as this contributes to the flavor and texture.
- Butter, unsalted and melted: Unsalted butter allows you to control the overall saltiness of your crust. Melting it ensures it evenly coats the cookie crumbs, acting as the perfect binding agent.
How to Make the Perfect Oreo Cookie Crust: A Step-by-Step Guide
You’ll be amazed at how quickly and effortlessly this delicious Oreo cookie crust comes together. We know you’ve likely got plenty of other baking or cooking tasks on your plate, so this recipe is designed to be efficient without compromising on flavor or quality. Let’s get started!
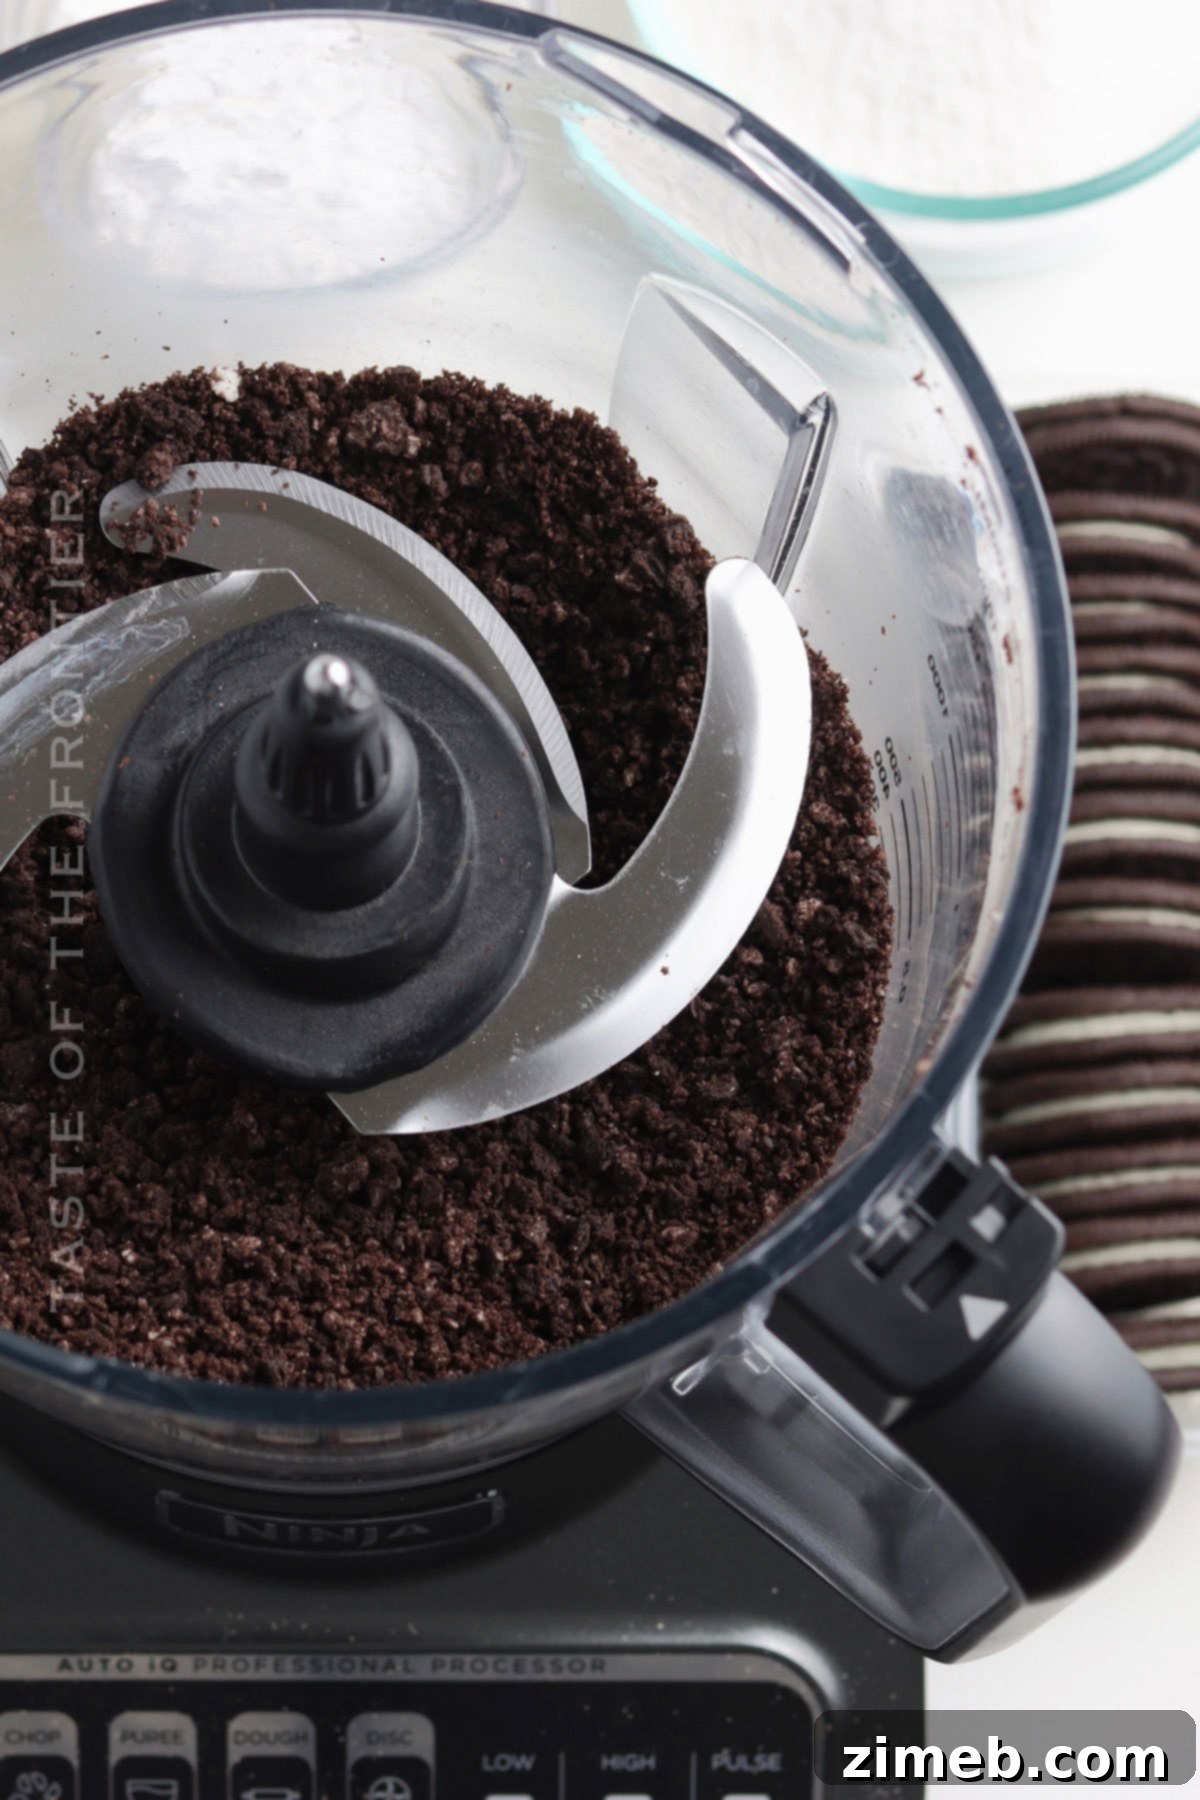
- Crush the Cookies: Begin by placing your Oreo cookies (including the cream filling) into a food processor. Process them until they are transformed into very fine, uniform crumbs. The consistency should resemble damp sand, without any large chunks remaining.
- Transfer and Combine: Carefully transfer these fine cookie crumbs into a large mixing bowl. This gives you ample space to mix in the butter without making a mess.
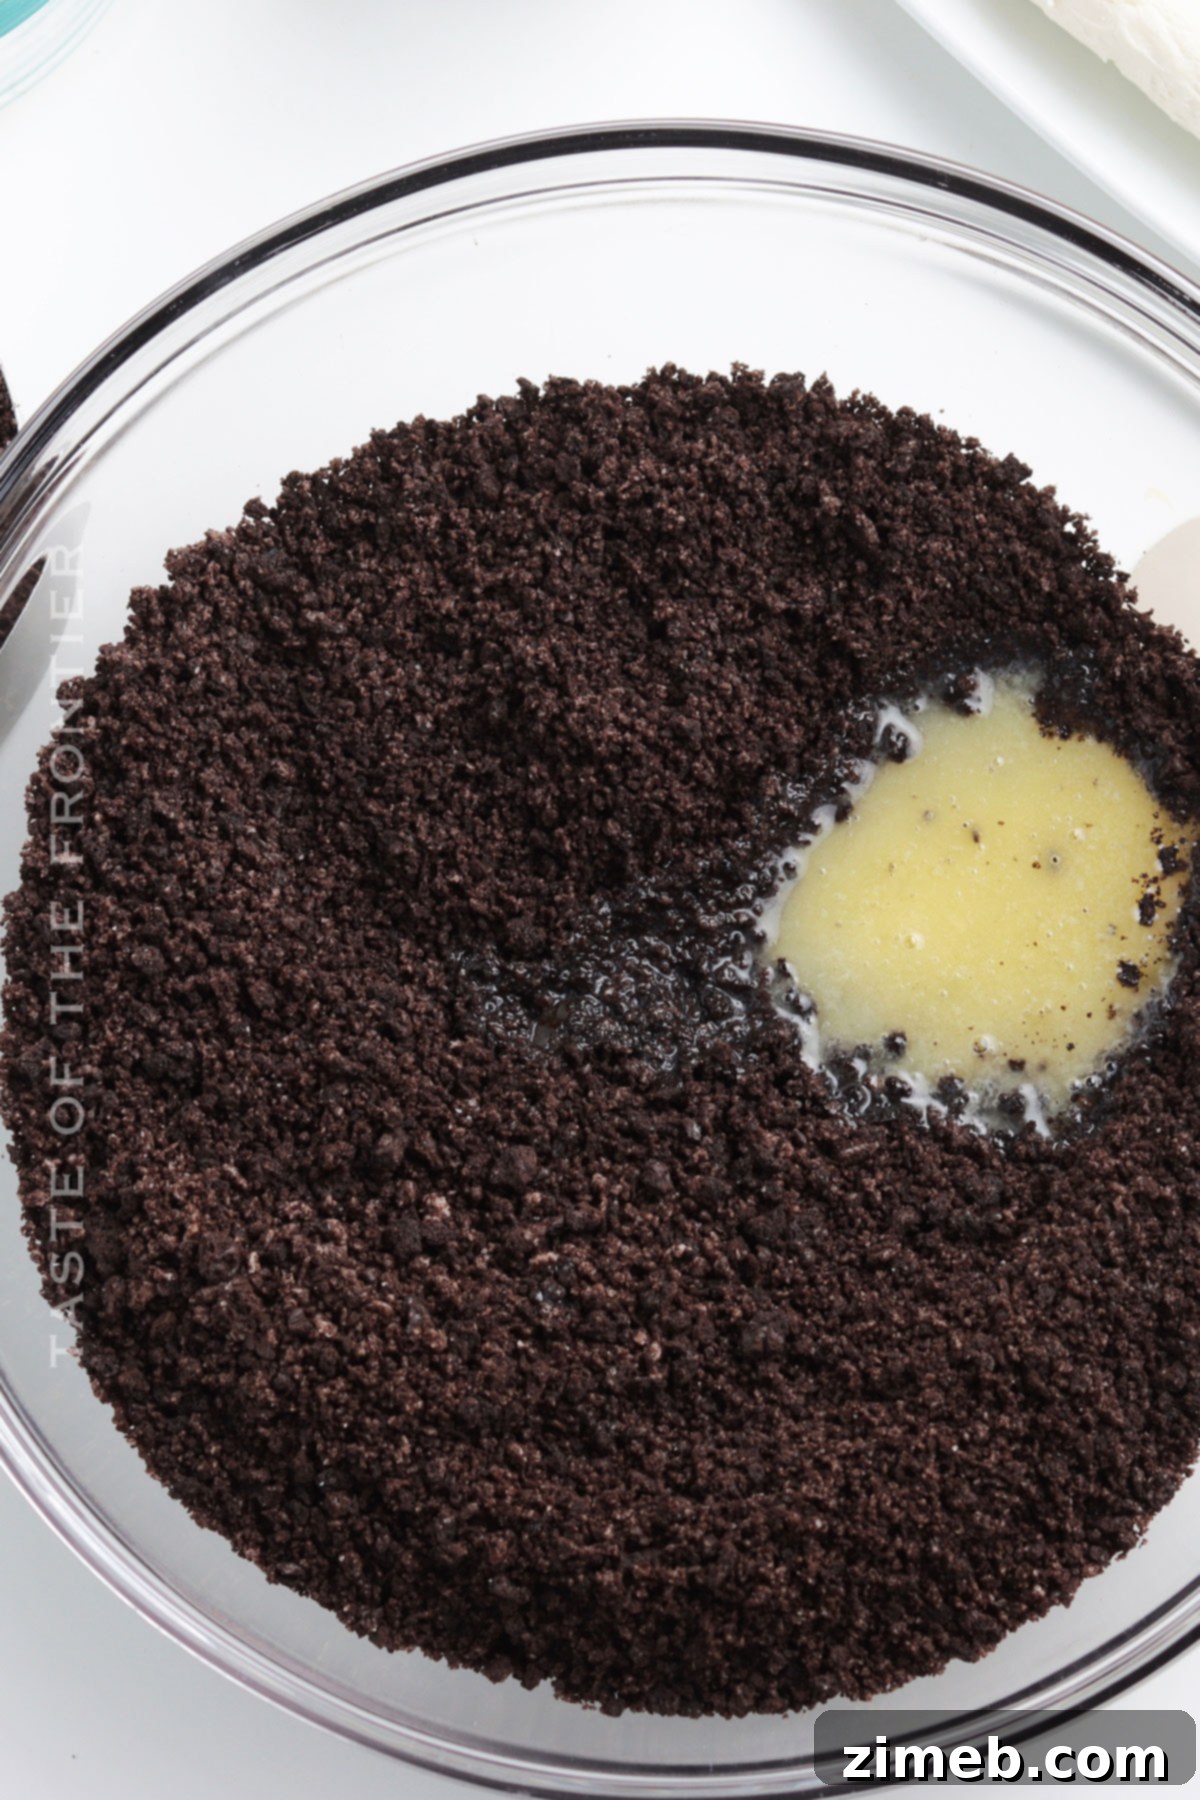
- Add Melted Butter: Pour the warm, melted unsalted butter over the cookie crumbs. Using a spatula or your hands, work the butter into the crumbs thoroughly. Continue mixing until all the crumbs are evenly moistened and the entire mixture appears crumbly but holds together when gently squeezed.
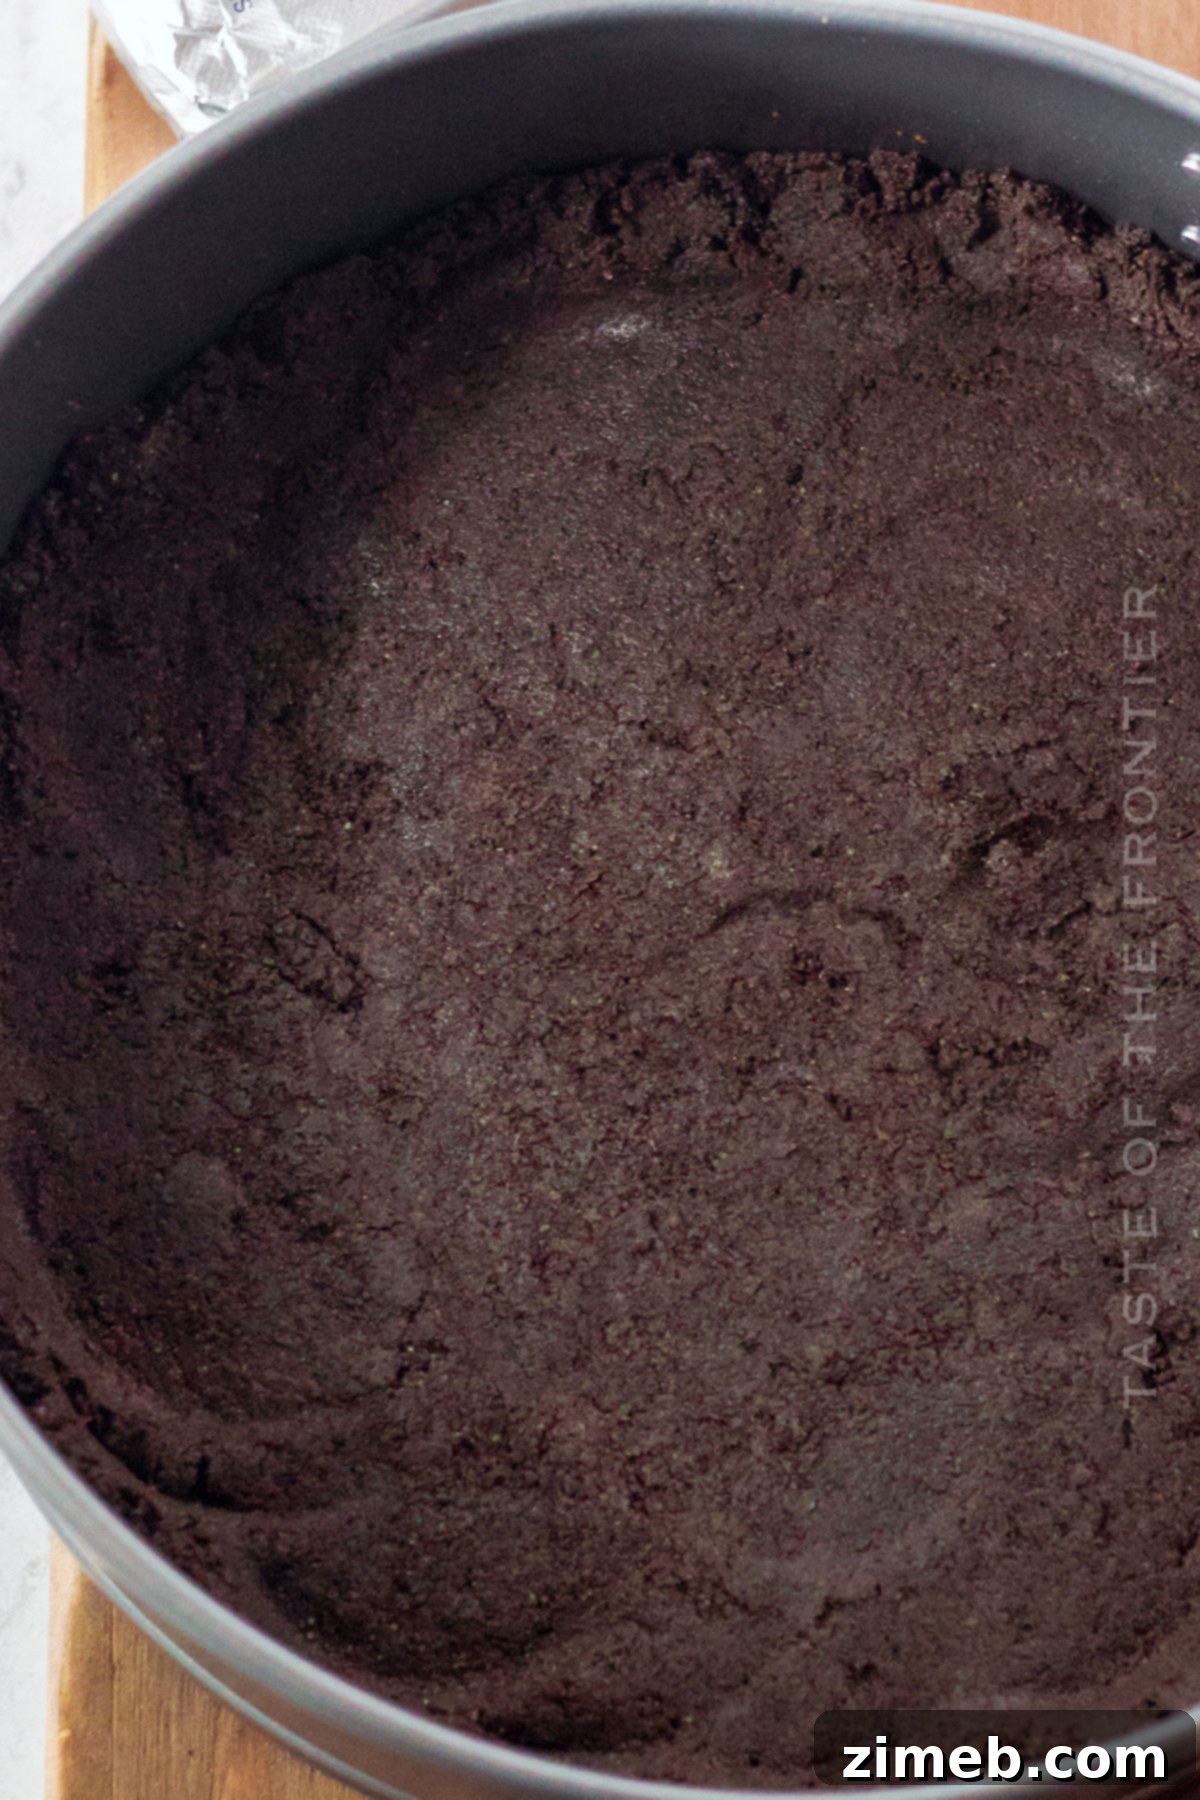
- Press and Chill: Spread the buttery crumb mixture evenly into your chosen pie pan, springform pan, or tart pan. Using the bottom of a flat-bottomed glass or a measuring cup, press the mixture down firmly and evenly across the bottom and up the sides of the pan. This compression is vital for a sturdy crust. Once pressed, refrigerate the crust for at least 30 minutes. This crucial chilling period allows the butter to re-solidify, setting the crust firmly before you add your filling of choice.
Essential Kitchen Supplies You’ll Need for Oreo Cookie Crust
This recipe truly highlights the efficiency of modern kitchen technology, especially your trusty food processor! While optional, it certainly makes quick work of crumb preparation. What would we do without these little perks?
- Pie pan or tart pan: For shaping your crust. A springform pan also works perfectly for cheesecakes.
- Food processor: Ideal for quick and fine crumbs. If you don’t have one, a sturdy Ziploc bag and a rolling pin will do the trick.
- Large or medium bowl: For mixing your cookie crumbs and melted butter.
- Measuring spoons: To accurately measure your melted butter.
- Rubber spatula or spoon: For mixing and transferring ingredients.
- Flat-bottomed glass or measuring cup: For firmly pressing the crust into the pan.
What to Serve With Oreo Cookie Crust: Endless Possibilities
The beauty of a perfect Oreo cookie crust lies in its incredible versatility. It pairs beautifully with a vast array of fillings, enhancing their flavors with its chocolatey depth. What’s your favorite way to use this delicious base? Be sure to let me know in the comments below – especially if it’s a unique or unexpected combination! I love hearing about creative dessert ideas!
- Classic Cheesecake: The rich, tangy cream cheese filling finds its ideal counterpoint in the sweet, crunchy Oreo base.
- Key Lime Pie: The tartness of key lime zest and juice provides a refreshing contrast to the chocolate crust.
- Grasshopper Pie (Minty!): The cool, refreshing mint flavor in a grasshopper pie is perfectly complemented by the deep chocolate notes of an Oreo crust.
- Chocolate Peanut Butter Pie: A match made in heaven! The salty-sweet creaminess of peanut butter filling is irresistible with a chocolate cookie crust.
- French Silk Pie: The velvety smooth, rich chocolate filling of a French silk pie is truly elevated by this crispy, dark chocolate base.
- Any No-Bake Pie Filling You Adore!: From banana cream to coconut, this crust provides an outstanding foundation for any no-bake creation.
Why You Should Make This Easy Oreo Cookie Crust
Baking can sometimes feel intimidating, and often, the crust is perceived as the trickiest part of a pie or tart. That’s precisely where this simple Oreo cookie crust recipe truly shines! It takes all the guesswork and fuss out of creating a delicious base, allowing you to focus on your amazing fillings. Here are just a few compelling reasons why this will become your new go-to recipe:
- Effortlessly Easy: With only two simple ingredients and minimal steps, preparing this crust is an absolute breeze. It’s perfect for beginner bakers or anyone looking for a quick, stress-free dessert component.
- Incredibly Versatile: This crust is a culinary chameleon! It serves as the ideal base for an impressive variety of desserts, including baked and no-bake cheesecakes, creamy pies, layered parfaits, and so much more. Your imagination is the only limit.
- Unmatched Taste: A homemade Oreo crust delivers a rich, authentic chocolatey depth that store-bought crusts simply cannot replicate. The fresh taste and perfect texture will elevate your desserts beyond expectation.
- Customizable Fun: Don’t limit yourself to classic Oreos! Get creative and experiment with different Oreo flavors. Imagine a Golden Oreo crust for a vanilla-infused dessert, a peanut butter Oreo crust for nutty notes, or a mint Oreo crust for a refreshing twist.
Variations and Add-Ins for Your Oreo Cookie Crust
One of the joys of cooking and baking is the ability to customize and experiment. This Oreo cookie crust recipe is a fantastic canvas for creativity! I’ve got some wonderful ideas here to help you change things up a bit, ensuring your desserts always feel fresh and exciting. There are so many different pies and cheesecakes that this crust will perfectly complement. Which variation will be your favorite?
- Golden Delight: For a delightful vanilla twist, swap out regular Oreos for Golden Oreos. This creates a beautiful, lighter-colored crust with a sweet, classic vanilla flavor that pairs wonderfully with fruit tarts or lemon meringue pies.
- Nutty Crunch: Add an extra layer of texture and flavor by mixing in finely crushed peanuts, almonds, or pecans with your Oreo crumbs. This nutty addition provides a satisfying crunch and a deeper, more complex taste profile.
- Chocolate Overload: For the ultimate chocolate lover, drizzle a thin layer of melted dark or milk chocolate over the pressed crust before refrigerating. This creates an extra layer of chocolatey decadence and a glossy finish.
- Salted Edge: Introduce a sophisticated contrast by adding a pinch (about ¼ teaspoon) of fine sea salt to the crumbs. The hint of salt perfectly balances the sweetness of the Oreos, resulting in a popular salted chocolate crust that enhances rich caramel or chocolate fillings.
- Minty Fresh: For a refreshing pop of flavor, use mint Oreos and, if desired, a few drops of peppermint extract to give your crust an invigorating boost. This is sensational with chocolate, cream, or even a subtle key lime filling.
Don’t Miss Our Classic Flaky Pie Crust!
Check out this recipe
If you love this easy cookie crust recipe, you’re going to adore these complementary recipes to use it with too. Each one offers a fantastic way to showcase your perfect Oreo crust. Please click each link below to find the easy, printable recipe!
Check out this recipe

Check out this recipe
Check out this recipe
Check out this recipe
Check out this recipe
More Great Oreo Desserts to Explore
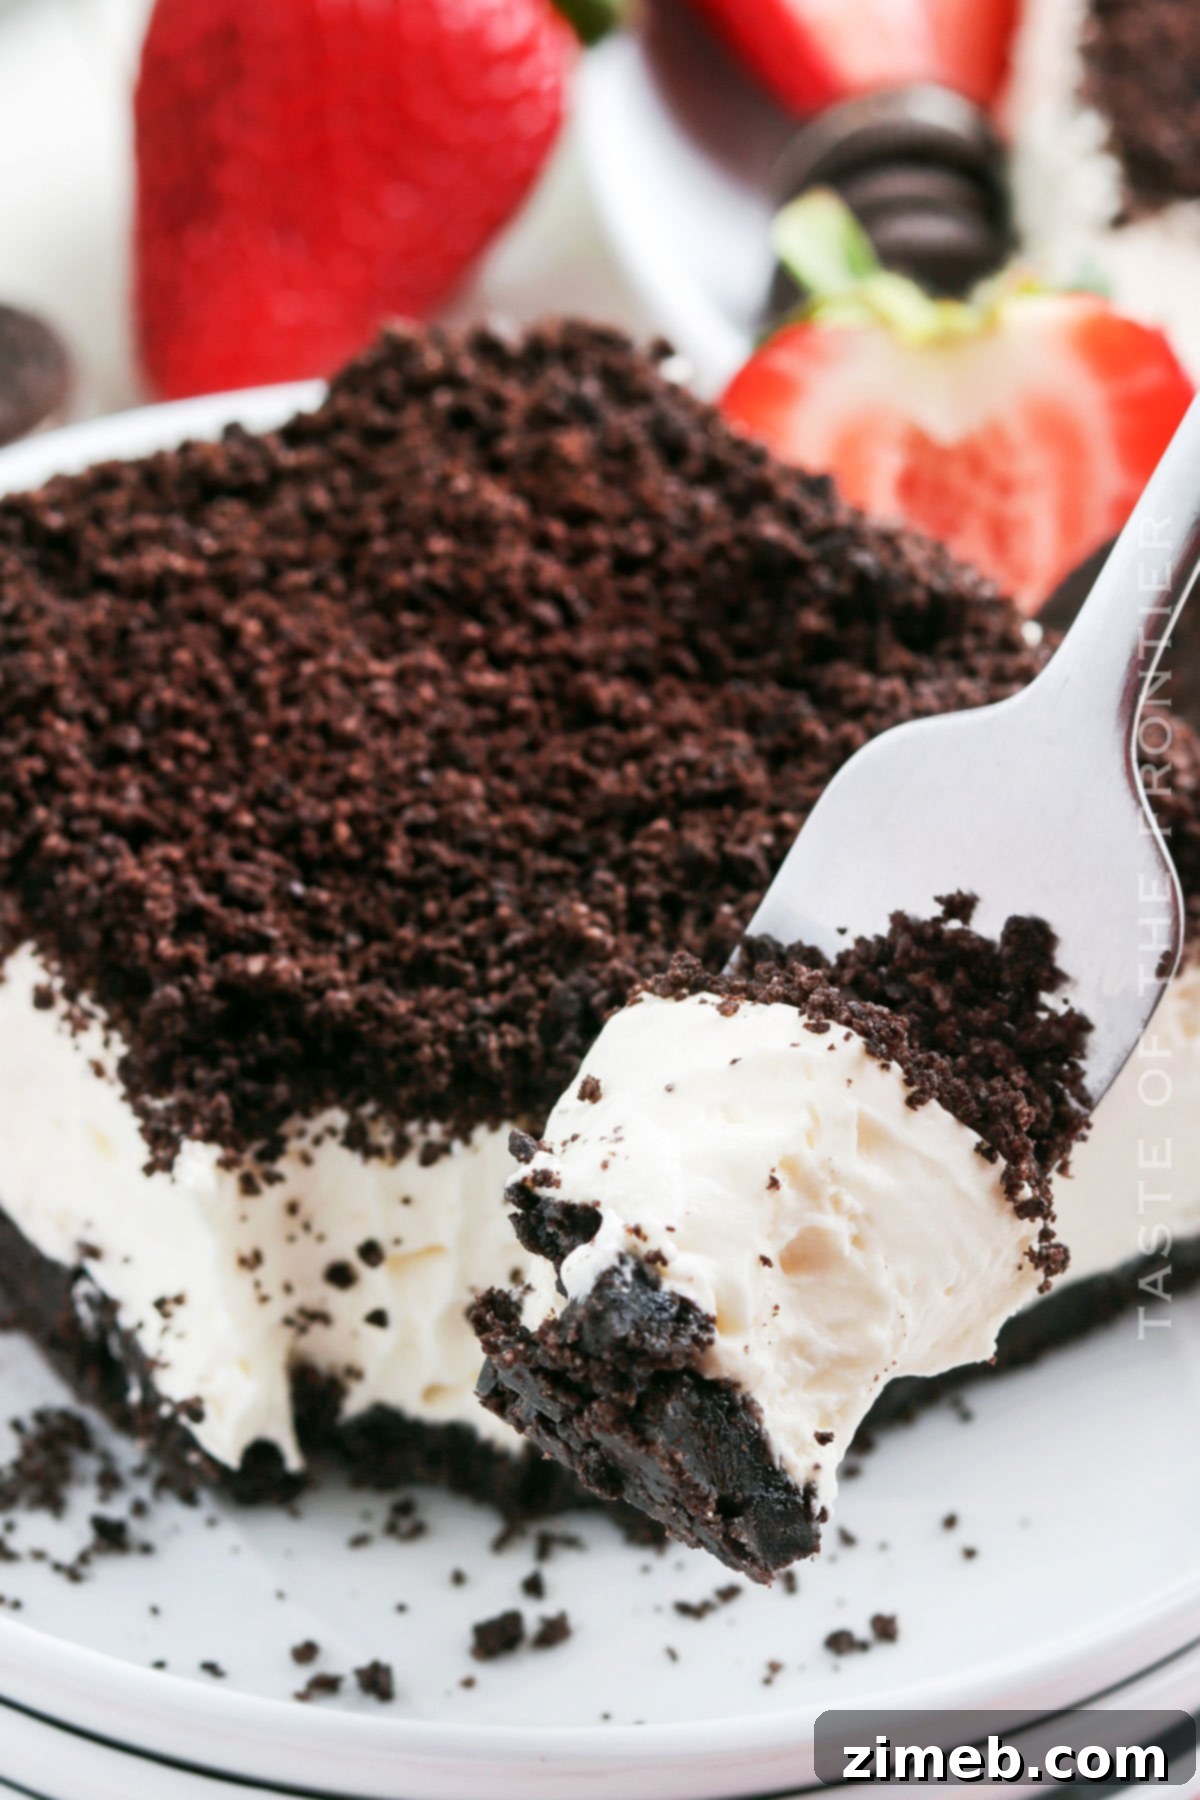
If you’ve fallen in love with the versatility and deliciousness of Oreo cookies in your crust, you’ll be thrilled to discover how these iconic cookies can transform other desserts. Here are some more fantastic Oreo-inspired recipes that you absolutely must try:
- Oreo Balls – Oreo Truffles
- No-Bake Peppermint Oreo Bars
- Oreo Frosting
- Oreo Cruffins
CONNECT WITH YUMMI HAUS!
Be sure to follow me on my social media, so you never miss a post!
Substack, FB, Pinterest, IG, Email Subscription
Rate this Recipe
Oreo Cookie Crust
Ingredients
- 24 Oreo cookies
- 4 tbsp butter unsalted – melted
Instructions
-
Place the cookies in a food processor and process until they reach the consistency of fine crumbs.
-
Transfer the cookie crumbs to a large mixing bowl.
-
Pour the melted butter into the crumbs and work it together until the crumbs are moist and the mixture is crumbly.
-
Spread the mixture into a pie pan, press into a flat, even layer, and refrigerate for at least 30 minutes to set before adding your filling of choice.
Nutrition
Nutritional information for the recipe is provided as a courtesy and is approximate. Please double-check with your own dietary calculator for the best accuracy. We at Yummi Haus cannot guarantee the accuracy of the nutritional information given for any recipe on this site.