
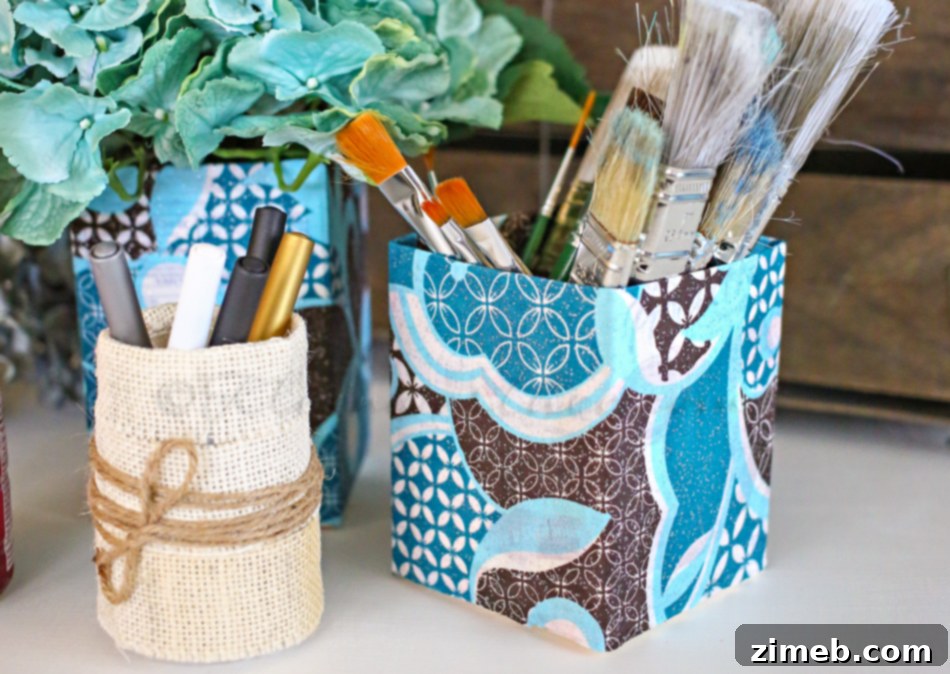
Are you ready to transform your space and embrace a clutter-free lifestyle? We certainly are! There’s an undeniable joy that comes from keeping things tidy and organized. Clutter, for many of us, is more than just a physical accumulation; it can also weigh on our minds, making it harder to focus and feel peaceful. That’s why we’re so excited to share this incredibly simple yet effective DIY project: charming desk organizers made from items you likely already have on hand. These aren’t just practical storage solutions; they’re a testament to the power of repurposing, transforming everyday discards into beautiful, functional pieces.
This project was initially inspired by my desire to create a clean, inspiring workspace for my daughter. Her crafting supplies, while a source of endless creativity, often found themselves in a delightful disarray. With these custom-made organizers, her tiny desk now looks neat and inviting, making her creative process even more enjoyable. The best part? This DIY comes together quickly, making it a perfect craft for busy parents or anyone looking for a satisfying project without a huge time commitment. Repurposing is a passion of mine – the idea of giving new life to something destined for the recycle bin truly brings a smile to my face. It’s an eco-friendly approach that saves money and sparks creativity, proving that beauty and utility can often be found in the most unexpected places.
The Sustainable Secret: Upcycling Coffee Creamer Bottles
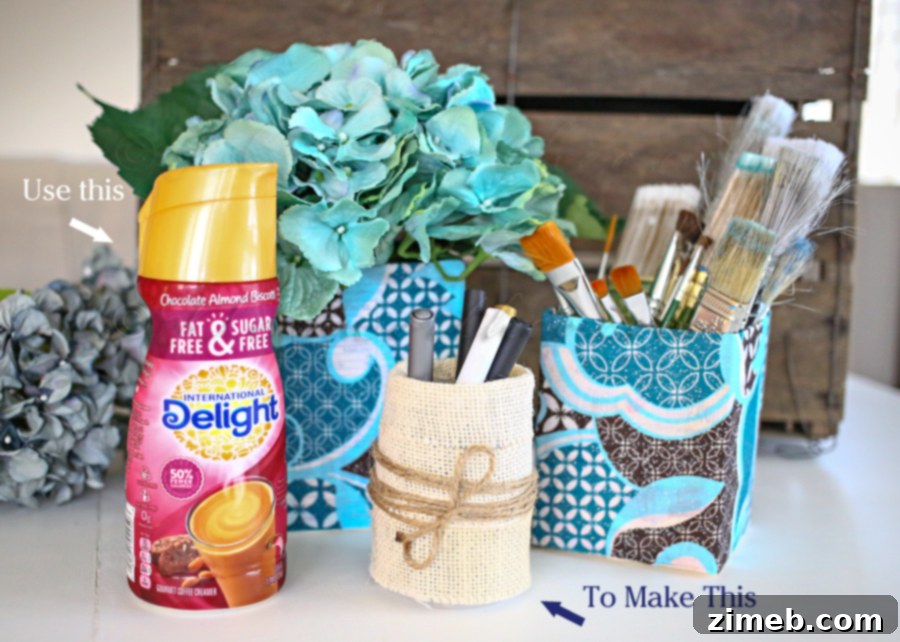
One of the main components of this project comes from something I use constantly: coffee creamer bottles. As a regular consumer, I often find myself with empty bottles. While they could easily go into the recycling bin, I prefer to find creative ways to extend their lifecycle. Upcycling isn’t just about reducing waste; it’s about unlocking the hidden potential in everyday items. By giving these bottles a new purpose, not only do I save them from the landfill, but I also avoid the expense of purchasing new organizers that would serve the exact same function. This mindful approach to consumption is both rewarding and practical, proving that sustainable living can be integrated into our daily crafting. So, I save these sturdy containers, knowing they’ll soon be transformed into something wonderful, like these custom desk organizers for my daughter’s room, adding a touch of personalized charm and much-needed order.
Our Daily Delight: Fueling Creativity with International Delight
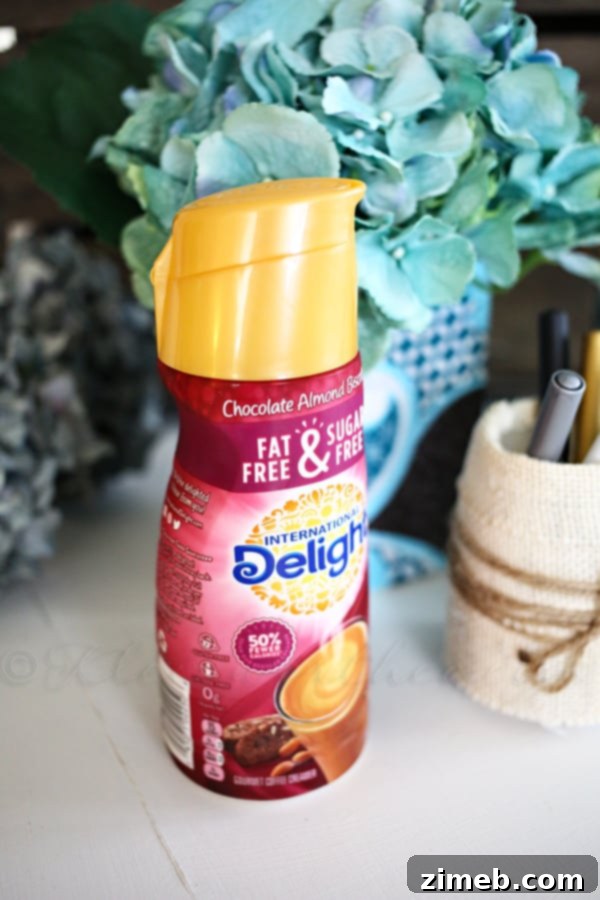
Beyond their utility for crafting, these bottles come from a product I genuinely enjoy. I’ve recently been stocking up on several International Delight Fat-Free & Sugar-Free creamers. As we embark on a new year, I’m always seeking innovative ways to embrace healthier habits and make choices that benefit my well-being without feeling deprived. It’s crucial to find a balance, as deprivation can often lead to a setback. Swapping out my regular International Delight Creamer for these delicious fat-free and sugar-free versions is exactly what I need to stay on track. They offer all the rich flavor I love, but with lighter credentials.
The Chocolate Almond Biscotti flavor was readily available at my local store and quickly became a favorite. However, International Delight offers an array of other enticing Fat-Free & Sugar-Free options, including Toasted Hazelnut, French Vanilla, Caramel Creme, and Caramel Marshmallow. I’m eagerly anticipating the day these incredible flavors hit my store shelves – they sound absolutely amazing! Knowing that I can indulge in a delightful coffee experience while sticking to my health goals makes my mornings even better. It’s a small change that brings significant enjoyment and ensures I have plenty of fantastic bottles for my next repurposing adventure!
Crafting Your Custom Desk Organizers: A Step-by-Step Guide
This project is incredibly straightforward, perfect for crafters of all skill levels. Here’s how you can create your own stylish and functional desk organizers:
Materials You’ll Need:
- Empty and cleaned International Delight coffee creamer bottles (various sizes and shapes work great!)
- Empty and cleaned iced coffee cartons (for square organizers)
- Scissors or a craft knife (for cutting plastic and cardboard)
- Hot glue gun and glue sticks
- Burlap fabric (or any fabric of your choice)
- Sisal twine or decorative ribbon
- Mod Podge (for fabric-covered cartons)
- Paintbrush or foam brush (for Mod Podge)
- Optional: Ruler, marker, sandpaper (for smoothing rough edges)
Instructions for Bottles:
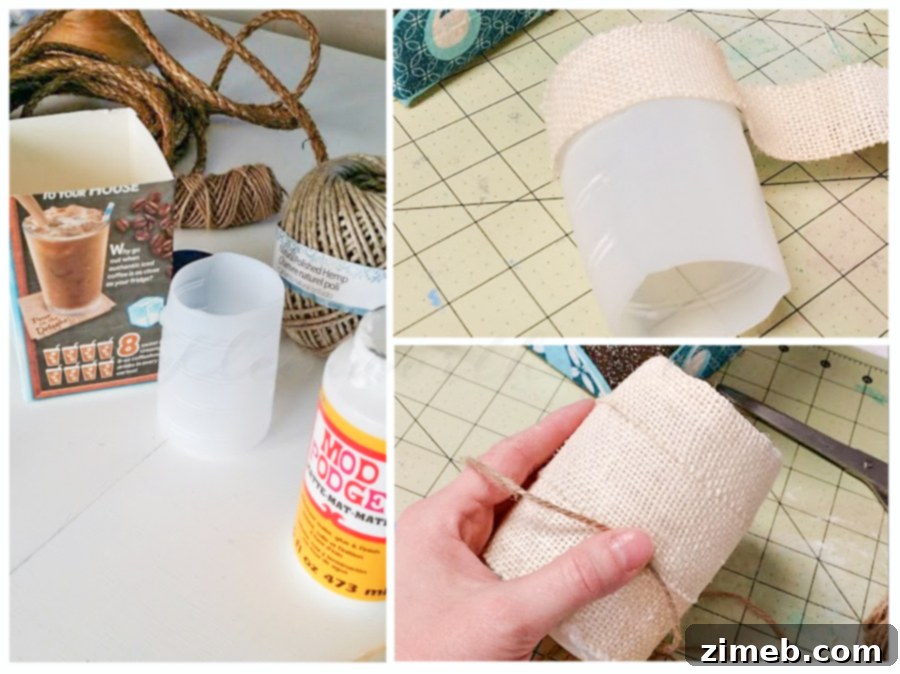
Step 1: Prepare Your Bottles. Begin by thoroughly washing and drying your empty International Delight creamer bottles. Ensure there’s no residue left inside. Remove any labels if desired, though some can be covered by the fabric.
Step 2: Cut the Bottles. Carefully cut off the top portion of each bottle. You can vary the height of your organizers to accommodate different supplies. A sharp pair of craft scissors or a utility knife works best for this. If using a utility knife, always cut on a protected surface and exercise extreme caution. For plastic bottles, you might find it easier to score a line first with a marker and ruler. Once cut, gently sand any rough edges with fine-grit sandpaper for a smoother finish and safer handling.
Step 3: Attach the Burlap. Now it’s time to add the decorative touch. Apply a line of hot glue along the bottom edge of your chosen fabric (like burlap) and adhere it to the base of the bottle. Carefully wrap the fabric around the bottle, applying hot glue in sections to secure it smoothly. Trim any excess fabric, ensuring the seam is neat.
Step 4: Add Sisal or Ribbon. To finish off the look, apply a small dot of hot glue near the top edge of the burlap-covered bottle. Begin wrapping sisal twine or a decorative ribbon tightly around the bottle, working your way down a few inches or covering just the top rim. Secure the end with another small dab of hot glue. This detail adds a rustic charm and helps to cover any raw edges of the fabric.
EASY!
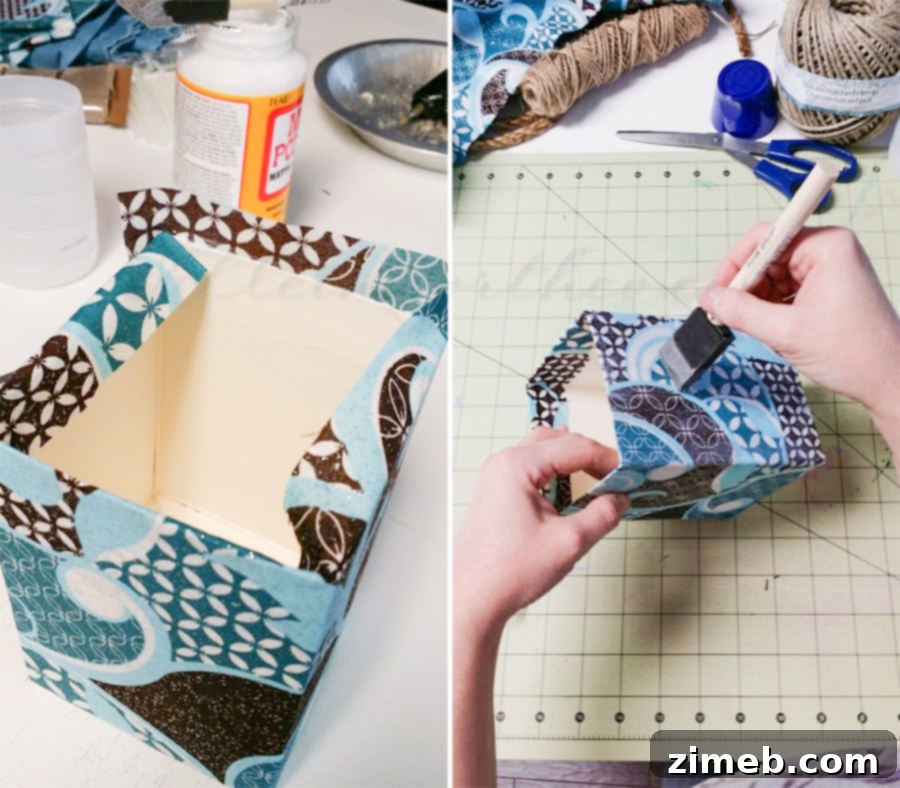
Instructions for Cartons:
Step 1: Prepare and Cut Cartons. Just like the bottles, thoroughly clean and dry your iced coffee cartons. Cut off the top portion of the carton to your desired height. The square shape of these cartons makes them ideal for holding larger items or providing a different aesthetic to your organizer collection.
Step 2: Apply Mod Podge and Fabric. Coat the entire outside surface of the carton with a generous layer of Mod Podge using a paintbrush or foam brush. Immediately press your chosen fabric firmly all around the carton, smoothing out any bubbles or wrinkles as you go. Ensure the fabric is taut and fully adhered.
Step 3: Finish the Top Edge. For a clean, professional finish, fold in about ¾ inch of the fabric at the top edge of the carton. Apply a thin line of Mod Podge to the inside of the carton along this edge and press the folded fabric down securely. This creates a neat, finished rim.
Step 4: Seal with Mod Podge. Once the fabric is smoothly applied and the top edge is folded, give the entire fabric-covered carton another coat of Mod Podge over the top of the fabric. This acts as a sealant, protecting the fabric, adding durability, and giving it a slight sheen. Allow it to dry completely before use.
Again – very simple & takes very little time.
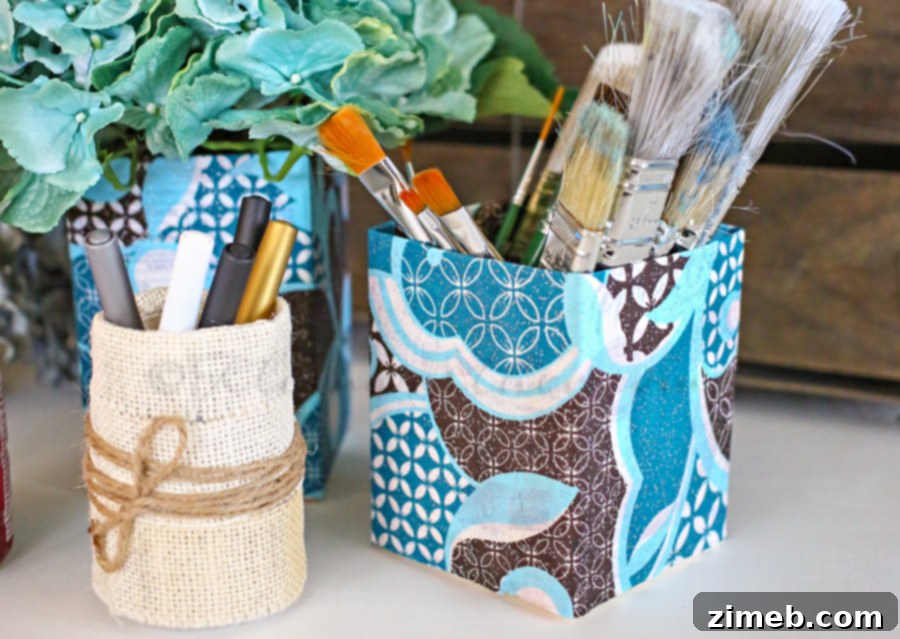
These square cartons are particularly effective for storing larger items, such as paint brushes, rulers, or markers, which often prove challenging to organize in round containers. The varied shapes and sizes of your repurposed bottles and cartons will allow you to create a versatile and comprehensive organization system tailored to your specific needs.
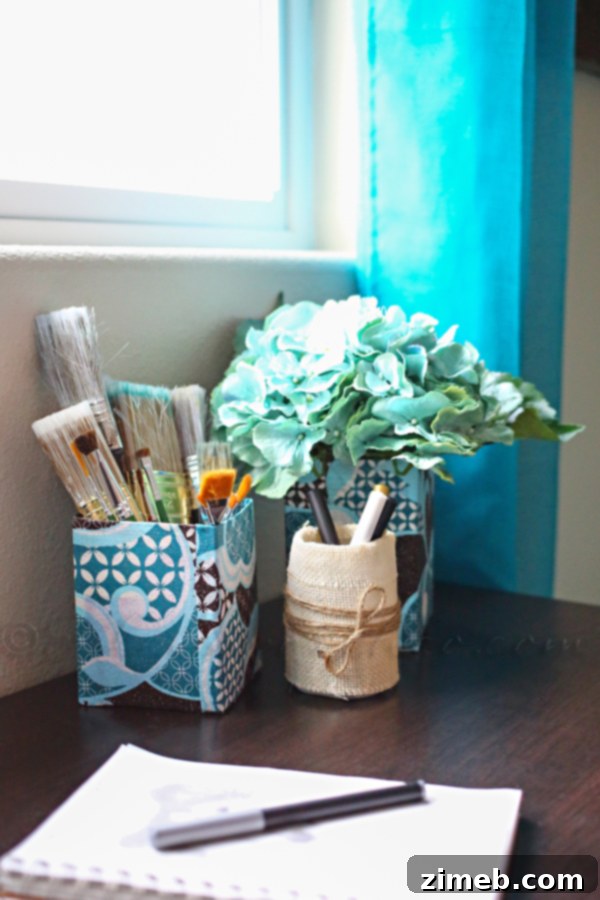
A Touch of Joy and Practicality
My daughter absolutely adores these new organizers! She had been asking me to incorporate this specific fabric into something for her room, and seeing her craft supplies neatly arranged in these personalized containers brings her immense joy. It’s a wonderful example of how a simple DIY project can not only declutter a space but also add a touch of personal style and happiness.
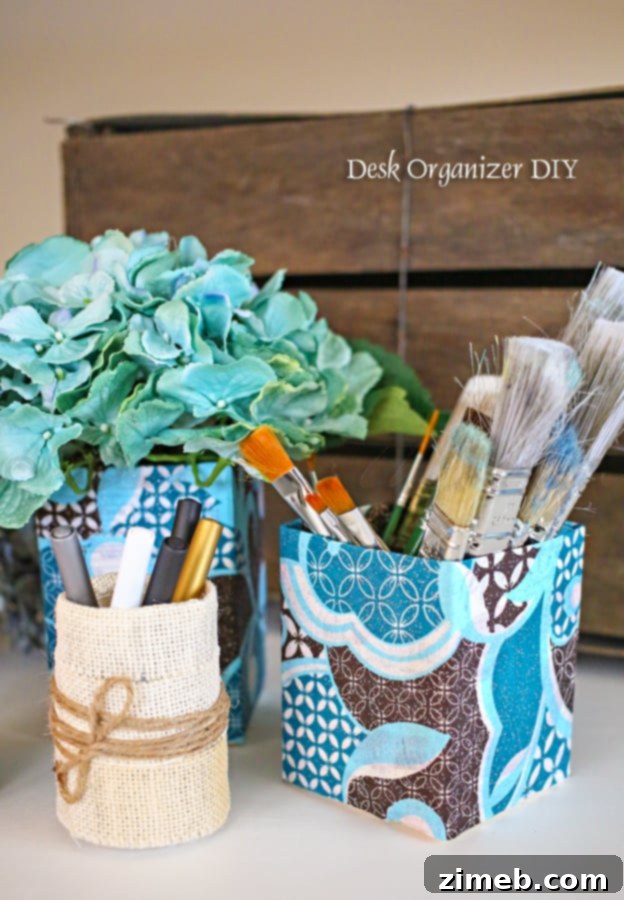
Simple, useful, and made with love – you truly can’t beat a combination like that. The added bonus is that I’m always purchasing new International Delight creamer, so I’ll have a continuous supply of bottles and cartons ready for future organizing projects. This means I can easily expand our collection, create more for other areas of the house, or even make thoughtful, handmade gifts for friends and family. It’s a sustainable cycle of enjoyment, creativity, and tidiness!
Engage and Explore with International Delight!

Want to add more delight to your day? Be sure to head over and play HAZELNUT BLITZ!
It’s a fantastic, fun game where you play to WIN GREAT PRIZES – daily packs will be awarded, along with valuable coupons. There are multiple exciting ways to be entered into the sweepstakes:
- Play the game directly
- Upload International Delight creamer receipts
- Answer delightful quiz questions, and more!
PLAY HERE
For product availability in your area, visit International Delight’s store locator.
For more detailed information on their delicious range of creamers, see International Delight’s creamer page.
Discover More Creative Repurposing Projects!
If you’re inspired by the magic of repurposing and want to explore more DIY ideas, check out these fantastic projects:
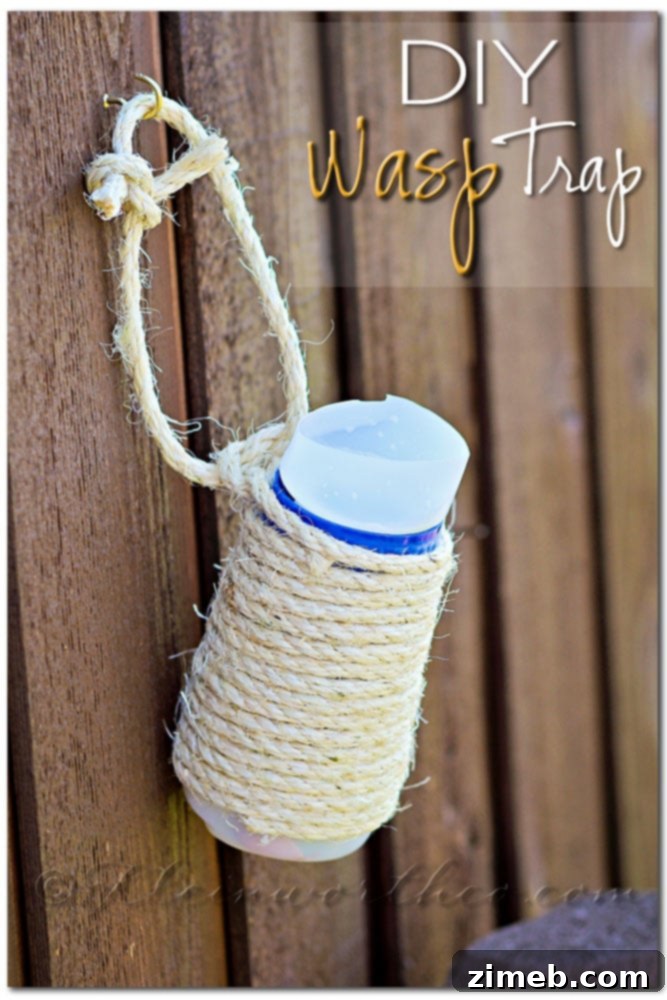
Wasp Control with DIY Wasp Trap
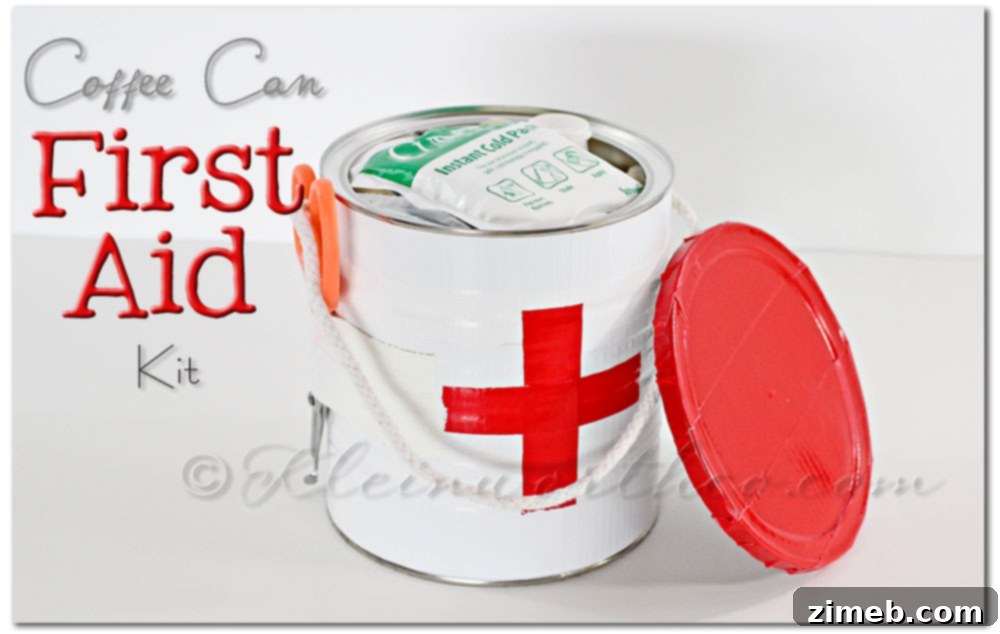
First Aid Kit and Printable Checklist
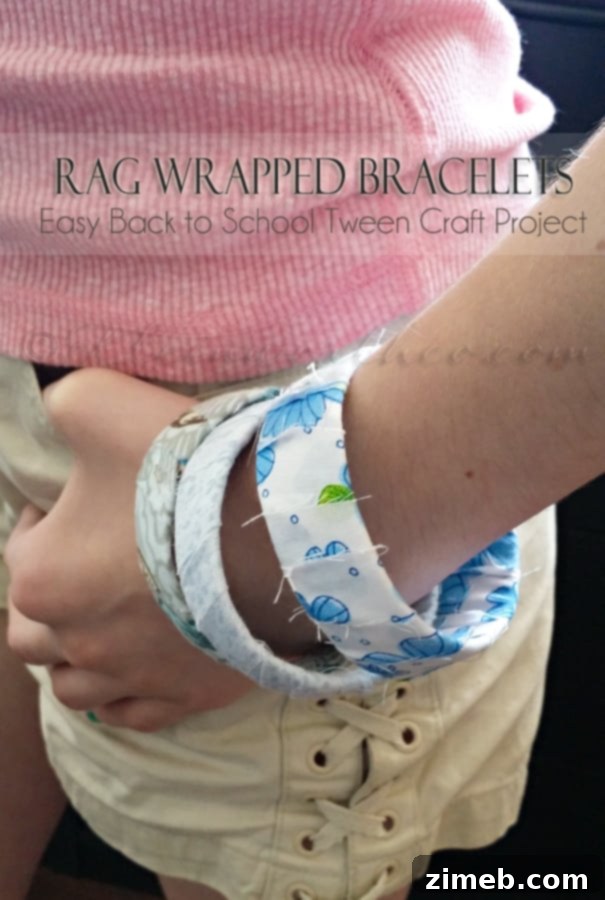
Rag Wrapped Bracelets
To see where I am linking today, you can visit HERE.
This is a sponsored conversation written by me on behalf of International Delight. The opinions and text are all mine.