
Easy DIY Outdoor Benches: Craft Stylish & Sturdy Garden Seating in Under an Hour
Transforming your outdoor living space doesn’t have to be a costly or time-consuming endeavor. Imagine adding beautiful, robust wooden garden furniture to your yard in just about 30 minutes per bench! Our incredibly simple DIY outdoor bench project offers a fantastic solution for enhancing your patio, deck, or garden with comfortable and functional seating. These benches are not only quick to build but also incredibly durable, making them a perfect addition for family gatherings, entertaining guests, or simply enjoying a quiet moment in your backyard oasis. This guide will walk you through creating stunning, long-lasting outdoor furniture that combines rustic charm with practical design, proving that impressive woodworking projects can indeed be accessible to everyone.
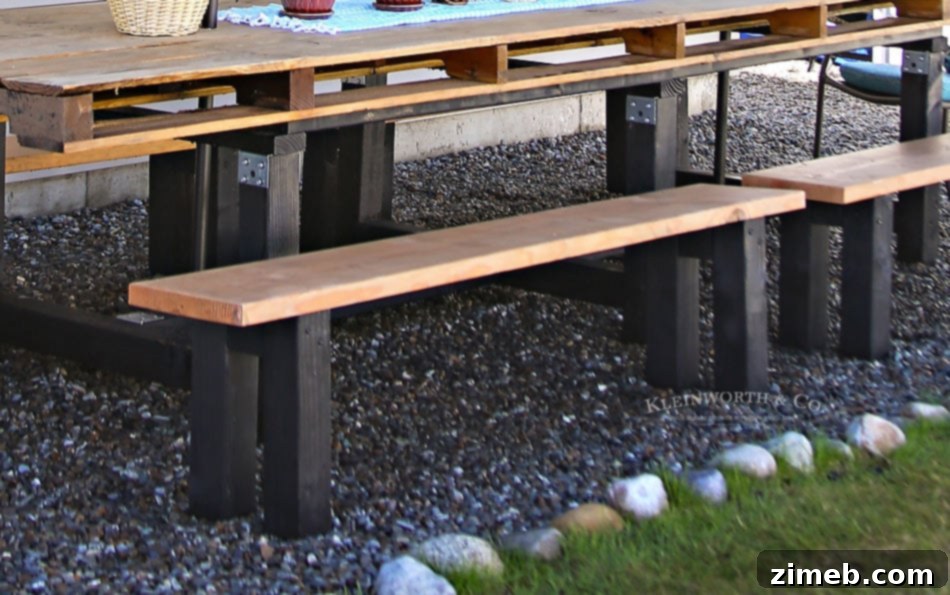
Just a few weeks ago, we proudly showcased our beautifully decorated Pallet Dining Table, perfect for spring gatherings. Following that, we unveiled the construction of our impressive 13-foot dining table, a true centerpiece for any outdoor area. When you have a dining table of such grand proportions, seating everyone comfortably becomes a key consideration. That’s where these remarkably simple and sturdy DIY Outdoor Benches come into play! We designed and built these benches specifically to accommodate seating for up to 12 people around our expansive table. You’ll be astonished by how quickly these pieces come together. Each bench took us approximately 30 minutes to assemble, with the majority of that time dedicated to waiting for the wood stain to dry. It’s truly a testament to how accessible and rewarding DIY woodworking can be. Get ready to dive into a project that yields beautiful results with minimal effort!
Easy DIY Outdoor Benches: The Ultimate Guide to Building Durable Garden Furniture
Crafting your own outdoor benches offers a multitude of benefits that extend far beyond simple cost savings. Opting for a DIY approach allows for complete customization, ensuring your furniture perfectly matches your aesthetic preferences and the specific dimensions of your outdoor space. Unlike mass-produced items, your handmade benches will possess a unique character and a personal touch, making your backyard truly one-of-a-kind. Furthermore, constructing these benches yourself provides a profound sense of accomplishment and pride, knowing that you’ve created something functional and beautiful with your own hands. Beyond aesthetics and personal satisfaction, these DIY benches are engineered for durability, designed to withstand the elements and provide comfortable seating for years to come. They are a practical, stylish, and sustainable choice for anyone looking to enhance their outdoor living experience.
This post contains some affiliate links. Click here to read my full disclosure policy.
Materials You’ll Need (Per Bench)
Gathering your materials efficiently is the first step to a smooth and quick build. For each robust outdoor bench, you will need:
- One 6-foot long plank (1x12x6): This will serve as the main seating surface for your bench. A 1x12x6 piece provides ample width and length for comfortable seating.
- One 8-foot long 4×4 (cut into 6 pieces): The 4×4 lumber is essential for constructing the sturdy leg assemblies. You will need to cut this into six individual pieces for optimal support. While the exact length of each leg piece can be customized to your desired bench height, we recommend ensuring the central support pieces are at least 4-5 inches long to provide adequate strength and stability. This specific dimension is crucial for preventing any wobbling or structural compromise.
- Ultra-long screws (approximately 5 inches long): These extra-long screws are critical for securely joining the thick wooden components, ensuring a strong and lasting bond. We highly recommend using these – very long screws – for maximum structural integrity.
- Wood Stain of Choice: Personalize your benches with a stain that complements your outdoor decor. We achieved our look using two different stains for a multi-toned effect. For the robust leg pieces, we applied Minwax Pro Series Multi-Surface Wiping Stain. For the bench top, we opted for Thompson’s Waterseal Transparent Stain in Cedar, which not only provides a beautiful finish but also offers excellent weather protection.
Having these materials ready will ensure your project proceeds without interruption, allowing you to focus on the simple assembly process.
Essential Tools You’ll Need
While this project is incredibly straightforward, having the right tools on hand will make the process even smoother and more enjoyable. You’ll need:
- Power Drill: Essential for pre-drilling pilot holes and driving the screws.
- Drill Bits: A selection of bits, specifically one sized appropriately for your pilot holes (slightly smaller than your screw shank).
- Measuring Tape: For accurate measurements of your wood pieces and screw placement.
- Pencil: For marking cutting lines and screw locations.
- Saw (Miter Saw or Circular Saw): If your 4×4 isn’t pre-cut, you’ll need this to cut it into the six required pieces for the legs.
- Safety Glasses: Always protect your eyes when working with power tools and wood.
- Work Gloves: To protect your hands during staining and assembly.
- Paint Brushes or Rags: For applying the wood stain evenly.
With these basic tools and materials, you’re well-equipped to create beautiful and durable outdoor benches!
Step-by-Step Guide to Building Your Easy Outdoor Bench
The beauty of this project lies in its simplicity. With just a few strategic cuts and screws, you’ll have a robust bench ready for use. Follow these easy steps to bring your outdoor benches to life.
Step 1: Prepare Your Wood and Apply Stain
Before assembling your bench, it’s a great idea to prepare your wood pieces, especially since these benches will be exposed to the outdoor elements. First, if your 4×4 lumber isn’t already cut, carefully measure and cut it into six equal sections for the legs. Ensure all edges are smooth. We prefer to apply the stain to our individual wood pieces *before* assembly. This method ensures that every surface, including those that might be difficult to reach once assembled, receives a thorough and even coat of stain. This not only enhances the wood’s natural beauty but also provides crucial protection against moisture, UV rays, and general wear and tear, significantly extending the life of your outdoor furniture. Allow the stain to dry completely according to the manufacturer’s instructions before proceeding to assembly. This drying time is often the longest part of the entire project, so plan accordingly.
Step 2: Assemble the Leg Structures
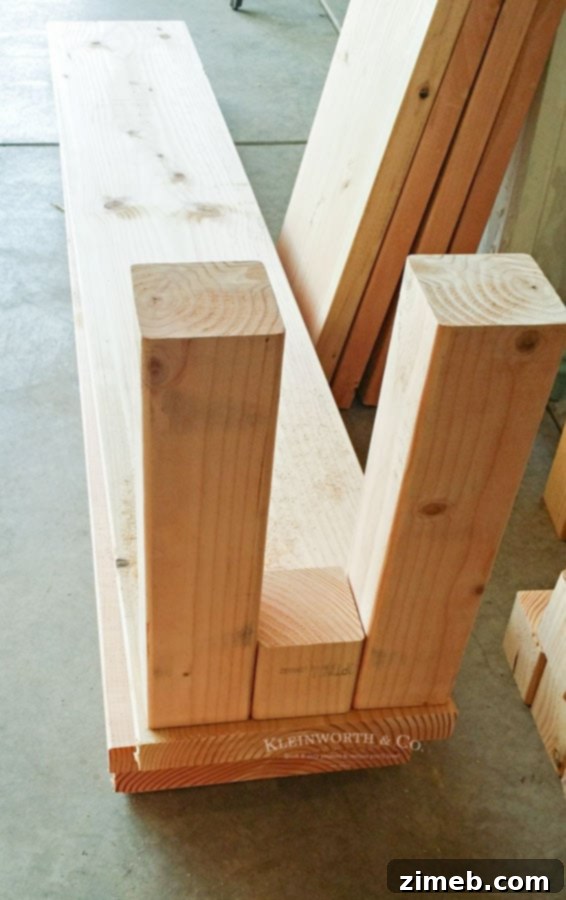
Now that your wood pieces are stained and dry, it’s time to build the foundational leg structures for your bench. For each end of the bench, you will create an ‘H’ shape using two vertical 4×4 pieces (your legs) and one horizontal 4×4 piece (the stretcher). Arrange the two vertical leg pieces parallel to each other. Position one of the shorter 4×4 pieces horizontally between them, securing it flush with the top of the vertical legs. This horizontal piece adds crucial stability and forms the top of your leg assembly where the bench seat will eventually rest. It’s vital to remember a key woodworking principle: always drill pilot holes before driving screws into wood, especially into thick pieces like 4x4s. Pilot holes prevent the wood from splitting and ensure your screws go in straight and strong. Once your pilot holes are drilled, use your ultra-long screws to firmly attach the horizontal stretcher to the two vertical leg pieces. Repeat this process for the other end of the bench. The original diagram shows how these pieces come together to form two sturdy end supports.

You can clearly visualize the assembly here: the horizontal support piece is securely screwed into two spots on each of the vertical leg pieces. Always remember the importance of drilling pilot holes first to prevent any cracking of your beautiful wood. Then, carefully drive in those ultra-long screws. This method creates an exceptionally strong and stable leg structure, ready to support the bench top and years of use. As mentioned, we like to stain our pieces initially, prior to assembly, to ensure comprehensive coverage, especially since these robust benches are specifically designed to live outdoors and endure various weather conditions.
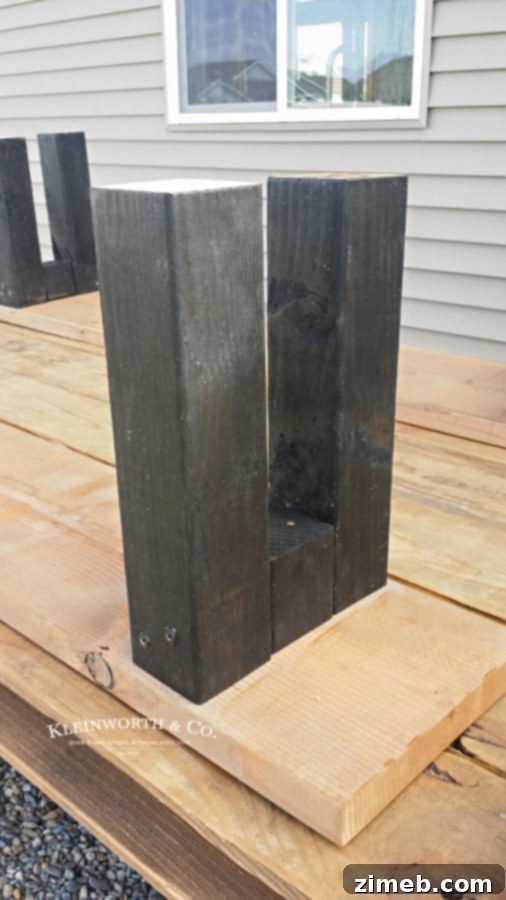
A closer look here clearly illustrates the precise placement of the screws, showcasing the robust connection.
Step 3: Secure the Bench Top
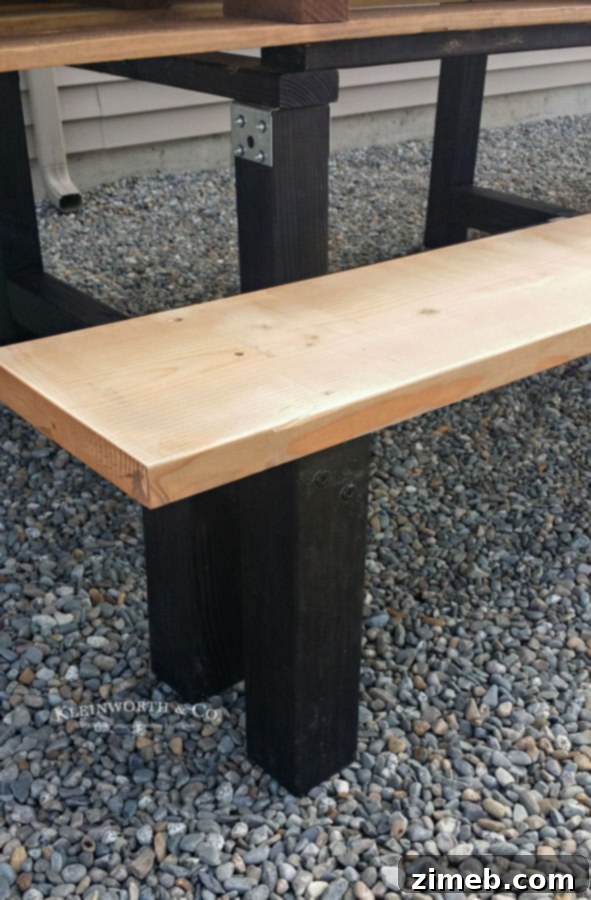
With your two sturdy leg assemblies complete, the final step is to attach the long 1x12x6 plank that will form the bench’s seating surface. Carefully position the plank on top of your two assembled leg structures, ensuring it is centered and extends evenly on both ends. This is where your measuring tape will come in handy again. Once you’re satisfied with the placement, it’s time to secure the top. Using the same ultra-long screws as before, drive them down through the top of the seat plank and into the horizontal 4×4 pieces of your leg assemblies. As always, remember the golden rule of woodworking: drill pilot holes first! These holes will guide your screws, prevent splitting, and ensure a clean, strong attachment. We recommend using at least two screws per leg assembly (total of four screws for the bench top) to guarantee maximum stability and durability. The objective is to create a seamless and incredibly strong connection between the bench top and its base, resulting in a piece of furniture that can withstand heavy use and the rigors of outdoor living. This straightforward method ensures your bench will be solid and reliable for years to come.
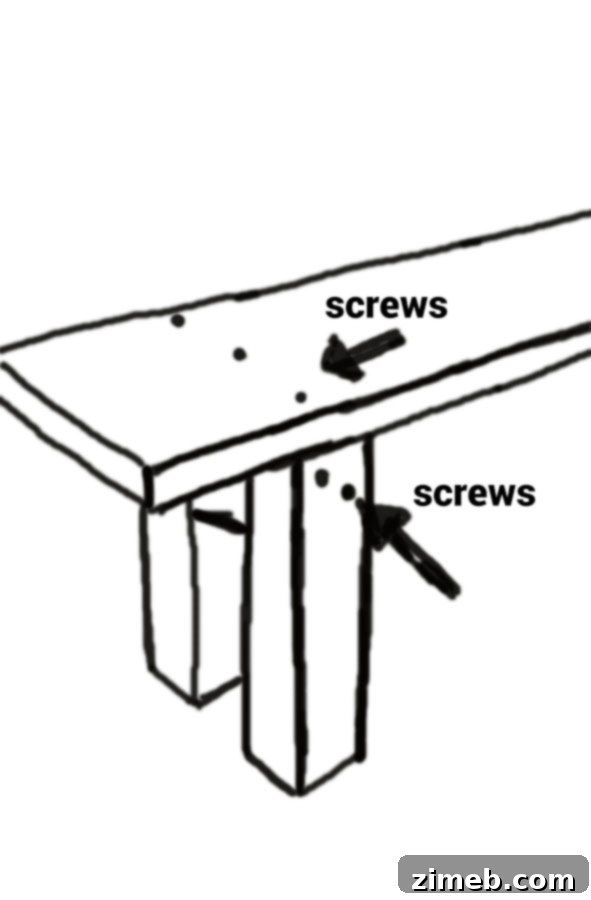
This visual guide clearly indicates the optimal locations for adding your screws. Once again, always prioritize drilling those pilot holes before inserting the screws for a flawless finish.
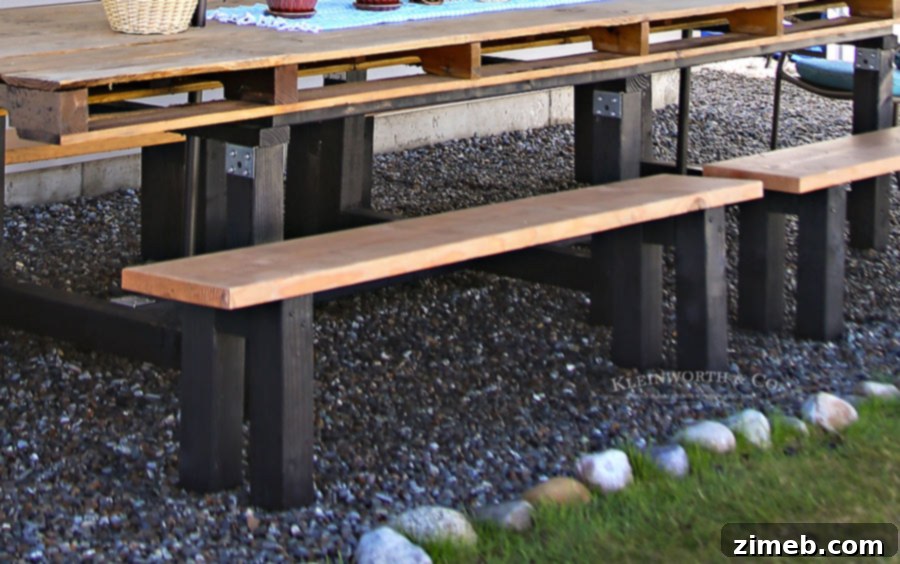
See? We told you these were simple, easy, and incredibly quick to build! With just a few steps, you’ve created a functional and beautiful piece of outdoor furniture.
Enjoy Your Handmade Outdoor Seating!
Congratulations! You’ve successfully built your very own sturdy and stylish outdoor bench. These DIY benches are not only a testament to clever design but also to the power of simple woodworking. They stand as a perfect complement to any outdoor dining table, especially expansive ones like our 13-foot pallet table, providing ample seating for entertaining friends, family, and guests. Their robust construction ensures they can withstand countless gatherings and seasons, offering a comfortable and reliable spot for everyone. Embrace the satisfaction of creating something functional and beautiful with your own hands. These benches will undoubtedly become a cherished part of your outdoor living space, enhancing comfort and adding a touch of rustic elegance to your garden or patio.
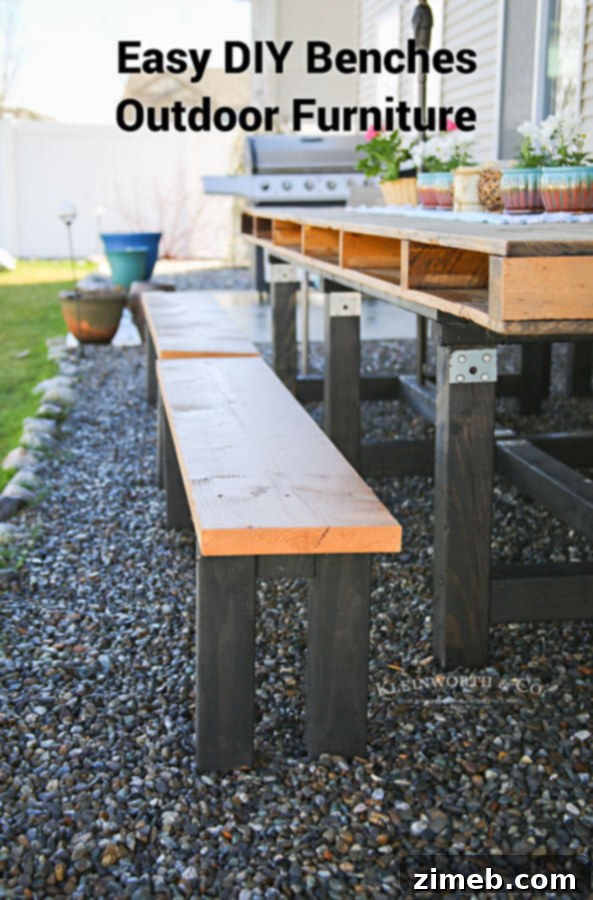
These benches are the perfect addition to our outdoor dining table, providing us with plenty of room for entertaining and creating lasting memories.
If you embark on this rewarding project, we’d absolutely love to see your creations! Please leave a link to your project in the comments or tag us on Instagram @KleinworthCo. We can’t wait to see your unique take on these easy DIY benches!
Customization & Maintenance Tips for Your Outdoor Benches
One of the greatest advantages of DIY projects is the freedom to personalize your creations. While our benches feature a rustic stained look, you’re encouraged to let your creativity shine! Consider painting your benches in vibrant colors to add a pop to your garden, or choose a muted tone for a more contemporary feel. Adding weather-resistant cushions can drastically increase comfort and introduce new textures and patterns. Don’t limit yourself to pine; explore different wood types like cedar or redwood for natural rot resistance and unique grain patterns. You can also adjust the length of the bench to fit smaller spaces or create individual seating units. Regular maintenance is key to prolonging the life of your outdoor furniture. Periodically inspect your benches for any loose screws and tighten them as needed. Depending on your climate, consider reapplying a protective stain or sealant every one to two years to guard against sun, rain, and temperature fluctuations. A simple cleaning with mild soap and water can also keep your benches looking fresh season after season. With a little care, your handmade benches will provide comfort and style for many years to come.
Looking for more easy ways to spruce up your space and enhance your outdoor living?
Once you’ve mastered the art of building these simple benches, you might be inspired to tackle more projects that transform your home and garden. Check out these fantastic ideas for further DIY inspiration:
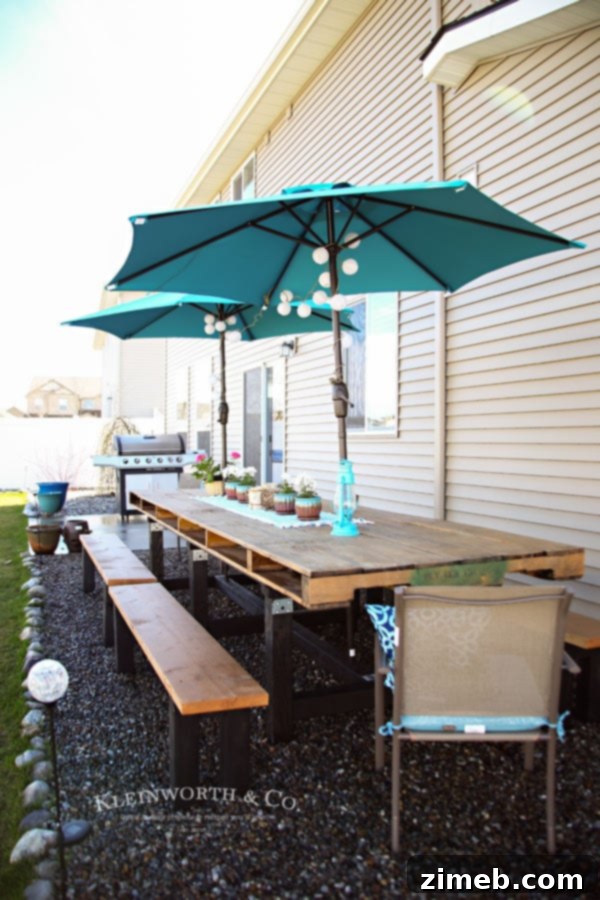
DIY Pallet Outdoor Dining Table
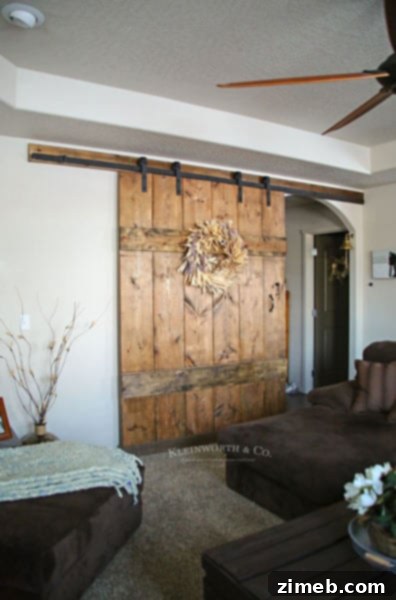
Wide Rustic Barn Door
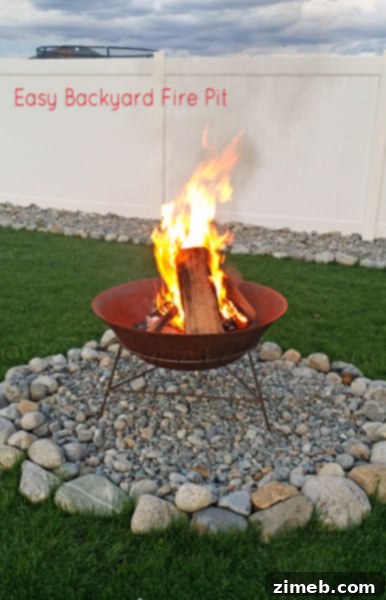
Easy Backyard Fire Pit
And don’t miss these other great ideas from talented bloggers who share our passion for DIY:
DIY Vintage Ring Toss from i should be mopping the floor
Garden Hose Spring Wreath from Create Craft Love
To see where I am linking today- visit HERE