
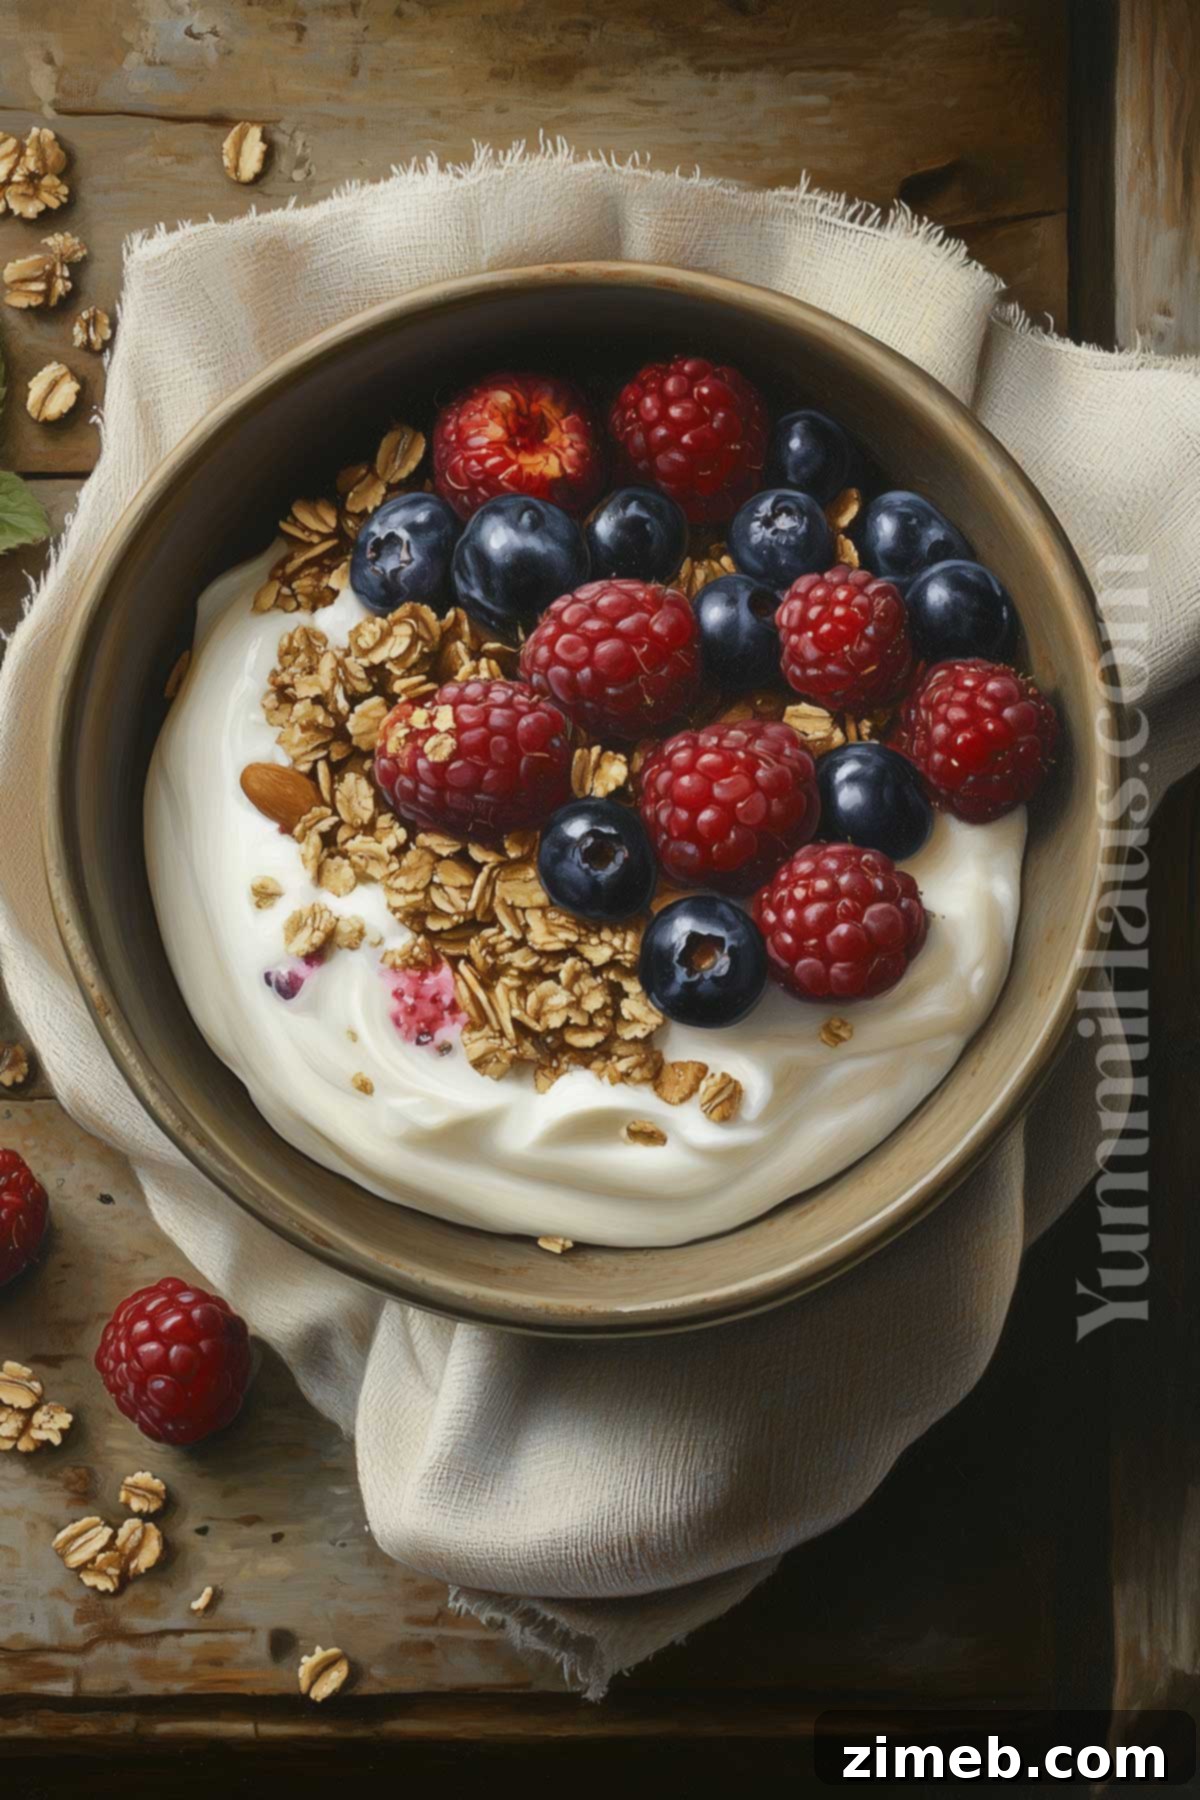
Unlock the secrets to crafting your own incredibly healthy, creamy, and wonderfully thick homemade yogurt right in your slow cooker. Forget about expensive store-bought tubs or specialized yogurt makers; this simple, hands-off method transforms basic ingredients into a delicious, probiotic-rich staple that will elevate your breakfasts, smoothies, and baking endeavors. Prepare to experience yogurt that’s not just superior in taste and texture, but also significantly more cost-effective.
If you cherish the satisfaction of made-from-scratch recipes that offer both nutritional benefits and culinary versatility, then you’re in for a treat. With just two primary ingredients – milk and a starter yogurt – you can effortlessly create a large batch of plain, unflavored yogurt from the comfort of your kitchen. This guide will walk you through every step, ensuring you achieve perfect results every time, making homemade slow cooker yogurt a regular part of your healthy lifestyle.
- Why You’ll Love This Homemade Yogurt
- Essential Ingredients for Slow Cooker Yogurt
- Kitchen Equipment You’ll Need
- Step-by-Step Guide to Making Yogurt in a Slow Cooker
- Proper Storage for Fresh Homemade Yogurt
- Can You Freeze Homemade Yogurt?
- Substitutions & Variations for Your Yogurt
- Expert Tips for the Best Crock Pot Yogurt
- Frequently Asked Questions About Homemade Yogurt
- Delicious Recipes Using Your Homemade Yogurt

Why You’ll Love This Homemade Yogurt
Making yogurt in your slow cooker is more than just a recipe; it’s a culinary revelation. Here’s why this method will quickly become your favorite:
- Unmatched Quality and Flavor: Prepare yourself for a yogurt experience far superior to anything you’ve ever bought from a store. Homemade slow cooker yogurt boasts a rich, creamy texture and a fresh, natural flavor that commercial brands simply can’t replicate.
- Effortless and Hands-Off Preparation: This recipe is designed for maximum convenience. Once you’ve set your slow cooker, the process is largely hands-off, allowing you to go about your day while your delicious yogurt quietly cultures to perfection. No constant stirring, no complex monitoring.
- Simple, Wholesome Ingredients: With just two core ingredients – milk and a live culture yogurt – you can create a wholesome, additive-free product. You control what goes into your yogurt, ensuring it’s packed with natural probiotics and free from unwanted sugars or stabilizers.
- No Specialized Equipment Required: Forget about investing in an expensive yogurt maker. Your trusty slow cooker is all you need, making this an accessible and budget-friendly project for any home cook.
- Cost-Effective: Producing your own yogurt significantly cuts down on grocery expenses. You’ll be amazed at how much you save by making large batches at a fraction of the cost of store-bought alternatives. Plus, by reserving a small portion from each batch, you can continuously create new yogurt, extending your savings even further.
Essential Ingredients for Slow Cooker Yogurt
Crafting delicious homemade yogurt requires only two simple yet crucial ingredients. The quality of these components directly impacts the final texture and flavor of your yogurt.
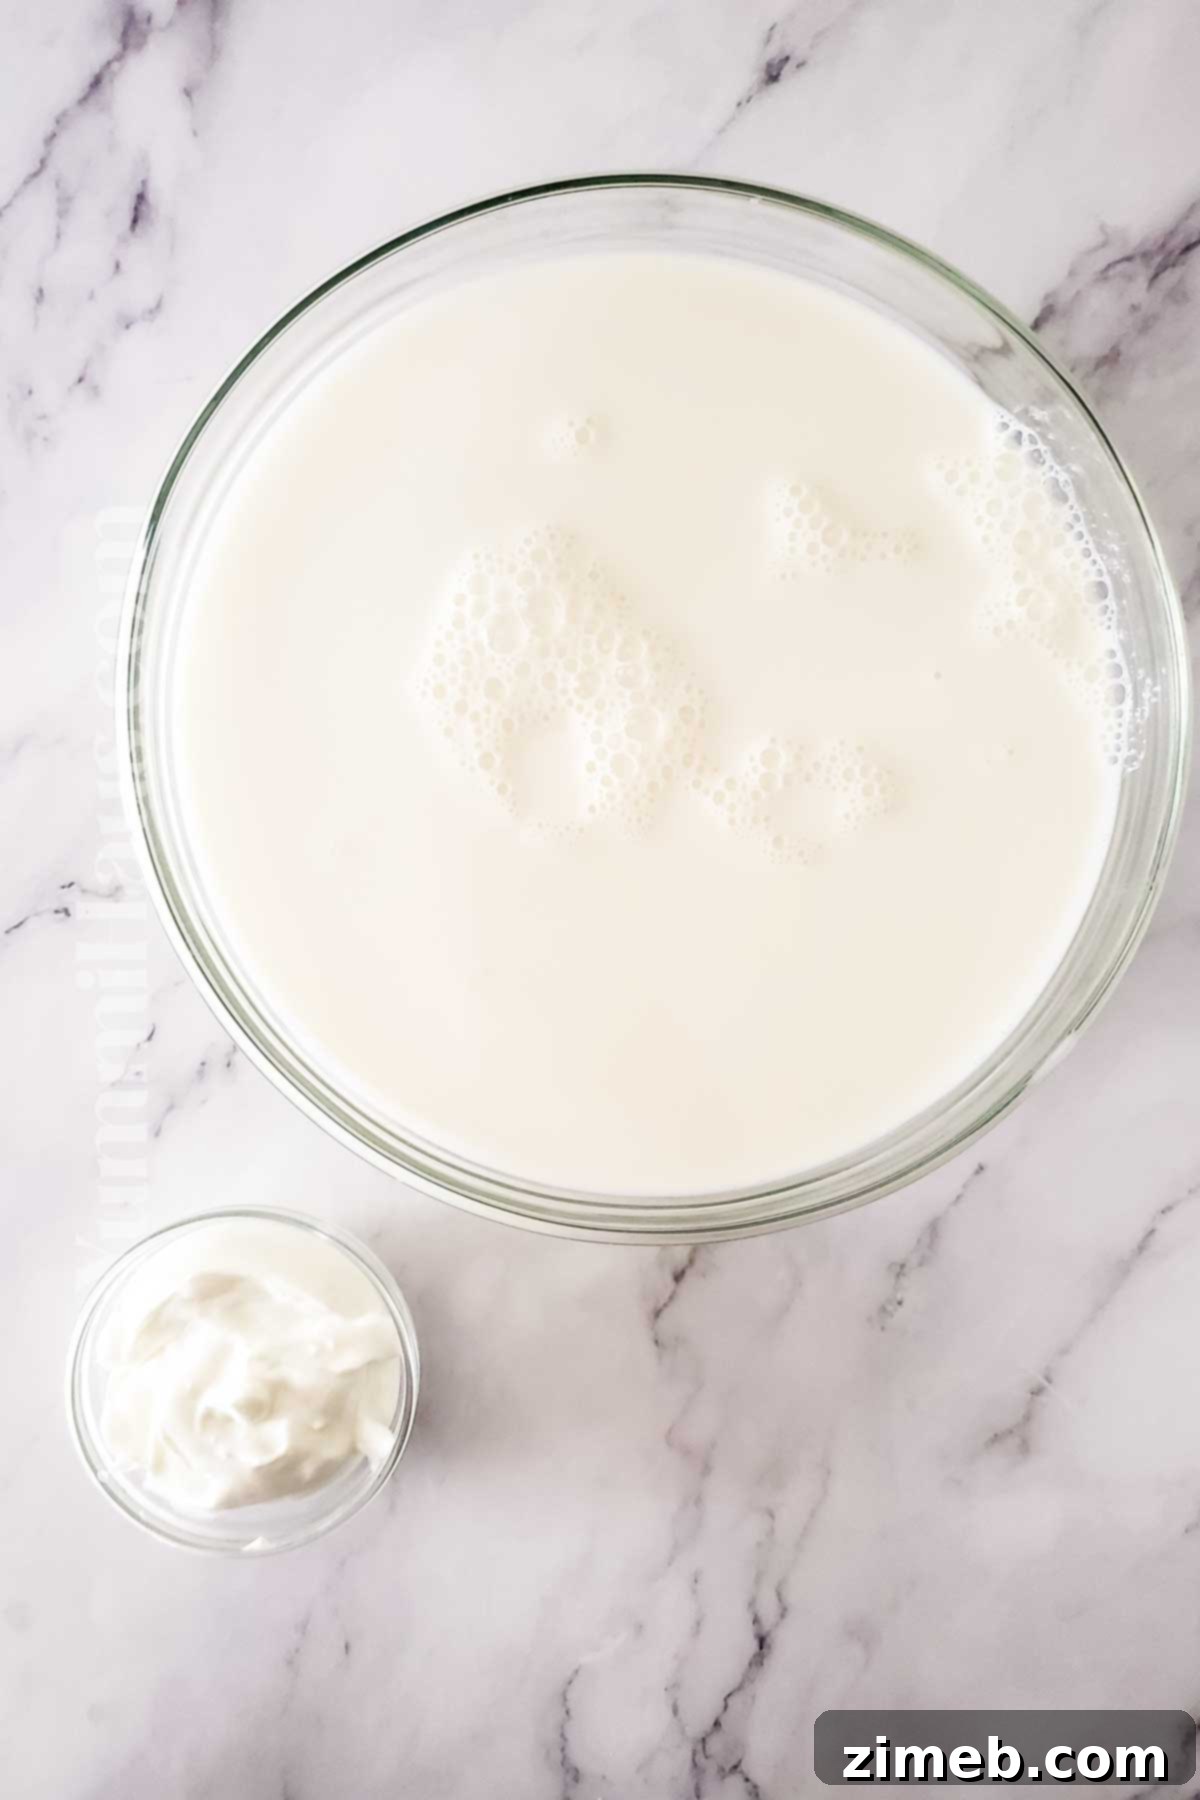
- Organic Whole Milk: For a truly rich and creamy homemade yogurt, whole milk is highly recommended. A half-gallon (approximately 8 cups) will yield a substantial batch. Opt for organic milk whenever possible, and if you have access to raw milk, it can produce an exceptionally thick and flavorful result. The key is to choose milk without any added sugars or high fructose corn syrup, ensuring a pure, unadulterated base for your yogurt. While whole milk is ideal, you can experiment with lower-fat milk varieties if you prefer a lighter yogurt, though the texture may be slightly thinner.
- Plain Yogurt (with Live and Active Cultures): This acts as your essential yogurt starter. The live and active cultures are the beneficial bacteria responsible for fermenting the milk and turning it into yogurt. Always check the label to ensure your chosen plain yogurt explicitly states it contains “live and active cultures.” High-quality organic plain yogurt is an excellent choice for your initial starter. Alternatively, you can use a half-cup of plain Greek yogurt or even reserve a portion from your previous homemade batch to kickstart your next one, making this process incredibly sustainable.
Kitchen Equipment You’ll Need
You don’t need a fancy setup to make exceptional homemade yogurt. Just a few basic kitchen tools will suffice:
- 6-Quart Crockpot or Slow Cooker: This is the star of our recipe, providing the consistent, low heat needed for the milk and the ideal environment for culturing. A 6-quart capacity is perfect for making a generous batch.
- Instant-Read Thermometer: Absolutely essential for ensuring your milk reaches the correct temperature for both heating and cooling. Precise temperature control is key to successful yogurt making and preventing curdling or bacterial issues.
- Optional: Cheesecloth, Coffee Filters, or Strainer Lined with Cheesecloth: If you desire a thicker, Greek-style yogurt, these items will be indispensable for straining out the whey.
- Optional: Thick Bath Towel or Tea Towel: Wrapping your slow cooker in a towel during the incubation phase helps maintain a stable temperature, especially in cooler environments, which promotes optimal culturing.
Step-by-Step Guide to Making Yogurt in a Slow Cooker
1: Cook The Milk to the Ideal Temperature
The initial heating of the milk is crucial for sterilizing it and altering its protein structure, which helps the yogurt thicken effectively.
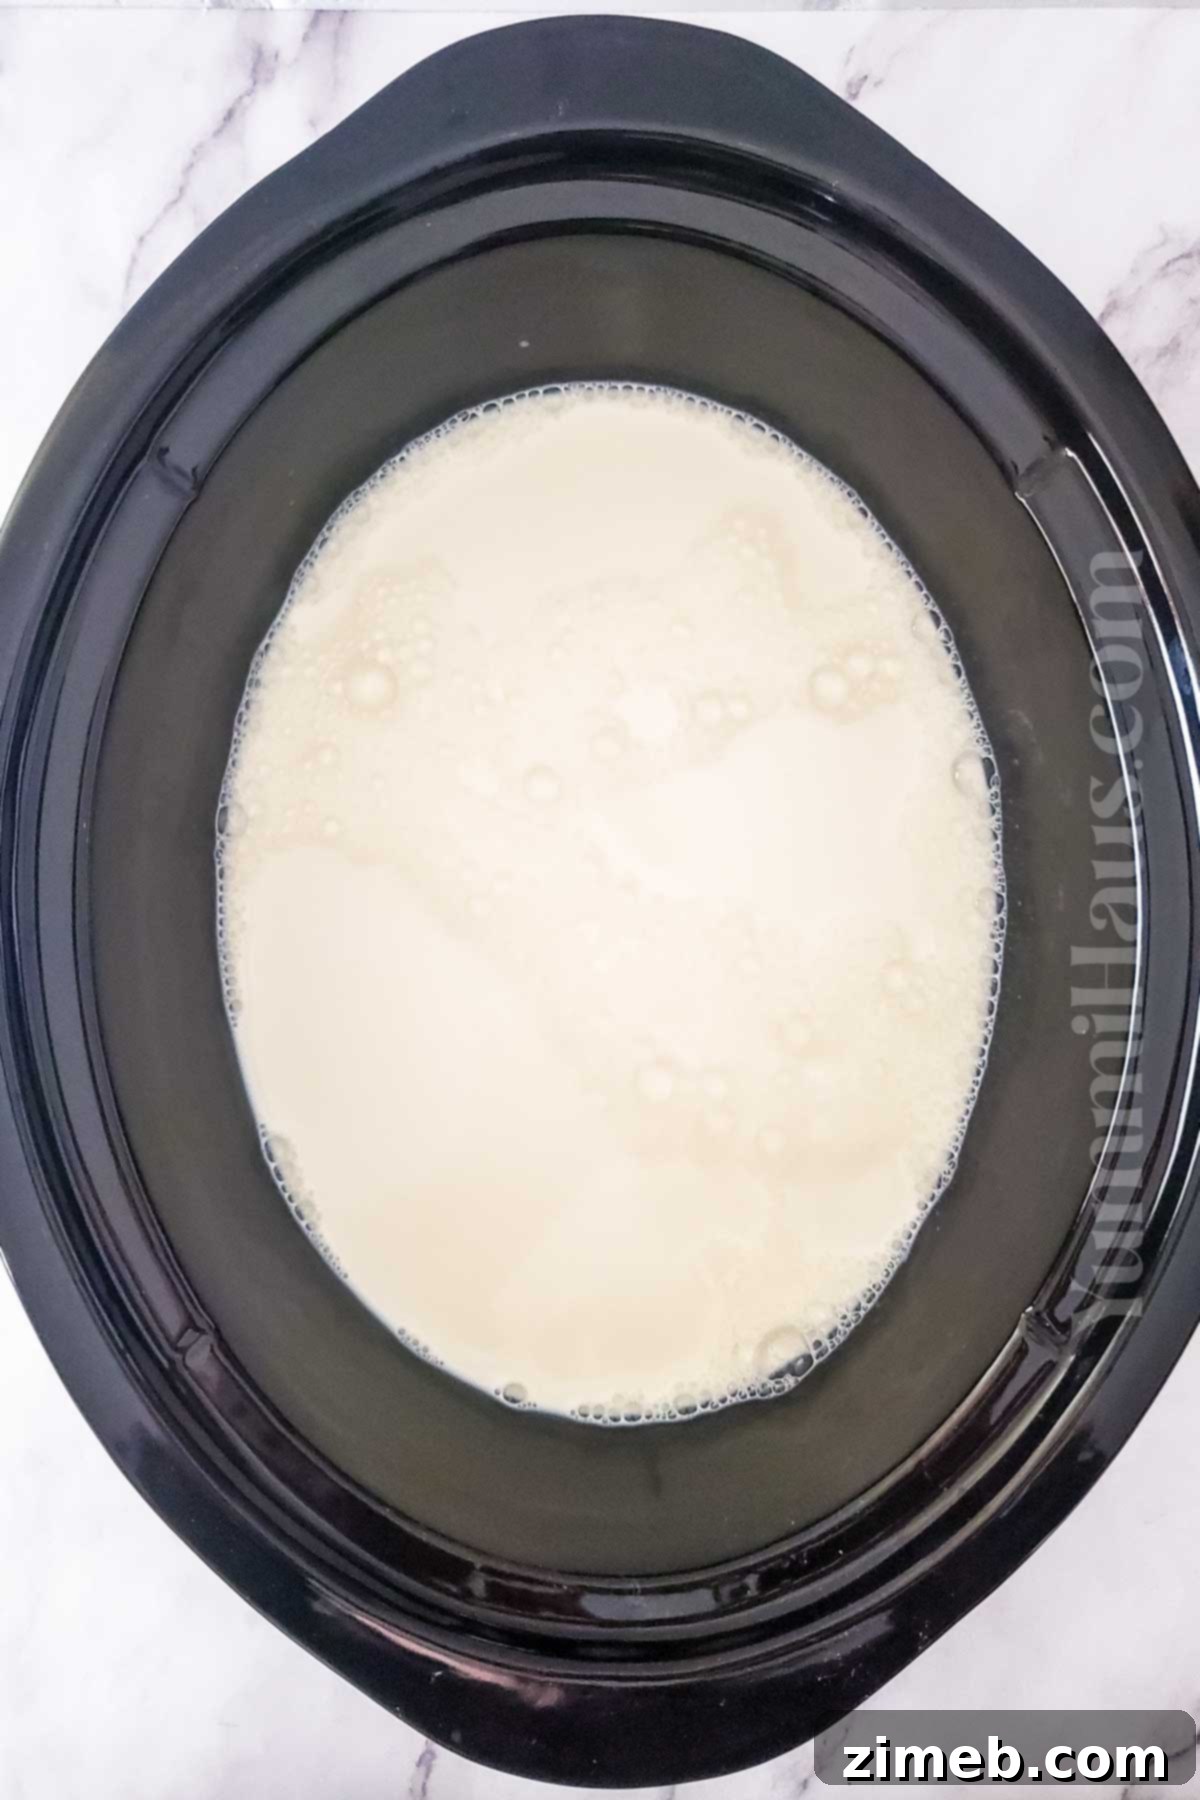
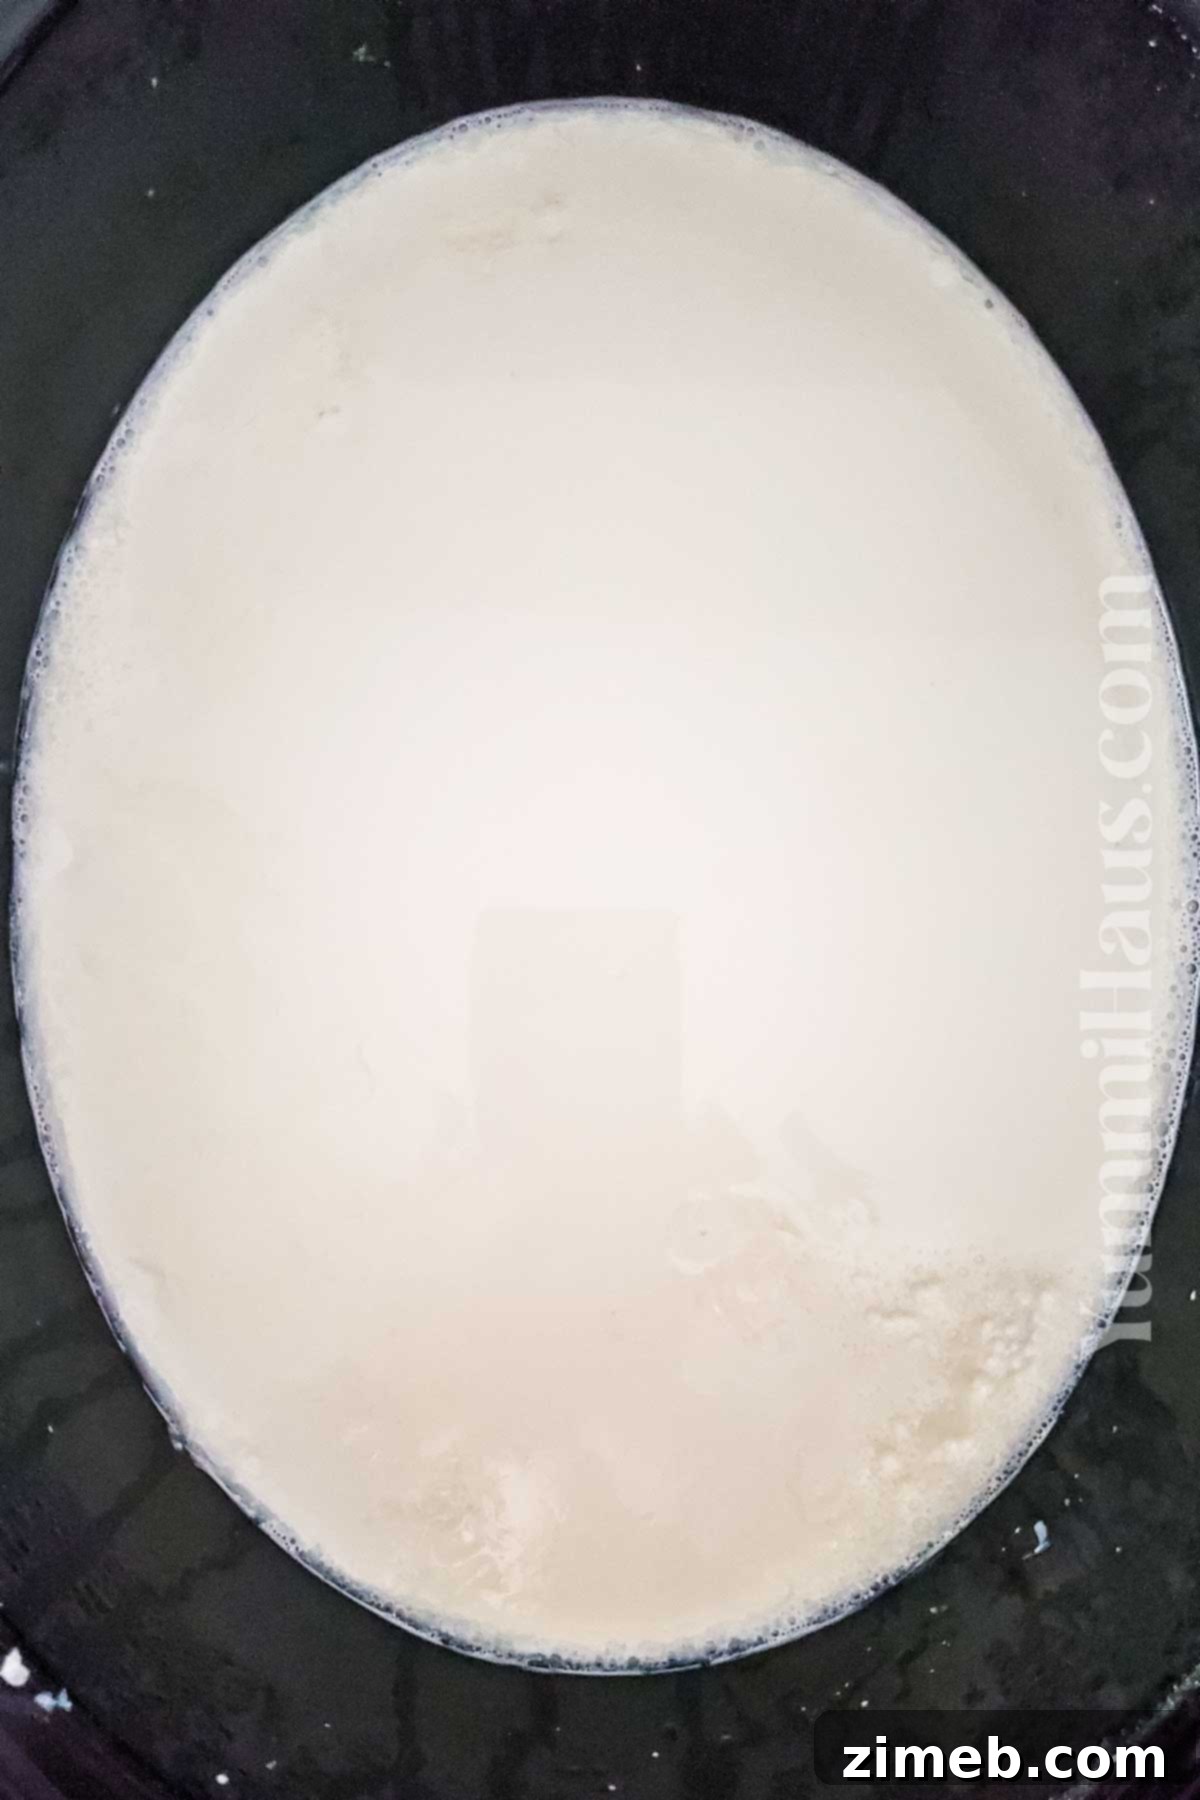
- Heat the Milk: Carefully pour your desired amount of milk (e.g., a half-gallon for 8 cups of yogurt) into the insert of your slow cooker. Cover the slow cooker with its lid and set it to the “low” heat setting. Allow the milk to cook for approximately 2 ½ hours. During this time, the milk’s temperature should reach around 180°F (82°C). Use your instant-read thermometer to verify this temperature. Heating the milk helps to kill off any unwanted bacteria and denatures the milk proteins, preparing them for the culturing process.
- Cool the Milk: Once the milk has reached 180°F, turn off or unplug your slow cooker. It is critical to let the milk cool down significantly before adding your starter yogurt. Keep the lid on and allow the milk to cool for about 3 hours, or until its temperature drops to 110°F (43°C). This temperature is vital because it’s warm enough for the yogurt cultures to thrive but not so hot that it kills them. Always use your instant-read thermometer to confirm the temperature.
2: Introduce the Starter and Culture the Yogurt
Once the milk is at the perfect temperature, it’s time to introduce the live cultures that will transform it into creamy yogurt.
- Stir in the Starter Yogurt: Once the milk has cooled to 110°F, remove a small amount of the warm milk and whisk it gently with your ½ cup of plain yogurt (containing live active cultures) in a separate bowl until smooth. This tempering step prevents the starter from shocking and helps it integrate evenly. Then, stir this mixture back into the main batch of milk in the slow cooker. Ensure the starter is well combined throughout the milk.
- Incubate the Yogurt: Cover the slow cooker tightly. For optimal culturing, allow the mixture to sit undisturbed for an additional 8-12 hours. During this period, the beneficial bacteria in your starter yogurt will work their magic, consuming the lactose and thickening the milk into yogurt. For best results and to maintain a consistent temperature, you can wrap the entire slow cooker in a thick bath towel or tea towel. The longer it cultures, the tangier and often thicker your yogurt will become.
- Refrigeration (Optional Early Stage): If you are concerned about leaving it out for the full 8-12 hours, you can transfer the slow cooker insert to the refrigerator after about 6 hours of initial incubation at room temperature. The culturing process will slow down considerably in the fridge but continue safely, further thickening the yogurt and preventing the growth of undesirable bacteria.
- Transfer and Store: Once the yogurt has reached your desired thickness and tanginess, transfer it to clean, airtight containers. Your homemade slow cooker yogurt is now ready to be stored in the refrigerator and enjoyed!
3*: Optional: Make Greek-Style Yogurt
For those who prefer an extra-thick, protein-rich Greek-style yogurt, a simple straining process is all that’s required.
- Strain for Thickness: After your yogurt is fully cultured, place a strainer (or colander) over a large bowl and line it with several layers of cheesecloth or a clean tea towel. Pour the finished yogurt into the lined strainer. As the whey (the yellowish liquid) drains off, the yogurt will become progressively thicker.
- Refrigerate While Straining: Allow the yogurt to drain in the refrigerator. The longer you let it drain, the denser and creamier it will become. You can strain it for anywhere from 2 to 24 hours, depending on your preferred consistency. Discard the collected whey or save it for other culinary uses (it’s great in smoothies or for baking!).
Proper Storage for Fresh Homemade Yogurt
Once your slow cooker yogurt is ready, proper storage ensures its freshness and extends its shelf life.
Store your fresh homemade yogurt in an airtight container in the refrigerator. It will typically stay fresh and delicious for up to 2 weeks. As a natural living product, you’ll notice that your slow cooker yogurt may continue to thicken and become slightly more tangy the longer it sits in the fridge. This is a normal part of the process as the cultures remain active, albeit at a slower pace in the cold environment. Always use clean utensils when scooping out yogurt to prevent contamination and ensure it lasts as long as possible.
Can You Freeze Homemade Yogurt?
Yes, homemade yogurt can be frozen for longer storage, typically up to 2 months. However, there’s a caveat to consider regarding texture.
Freezing and thawing homemade yogurt can cause it to develop a grainier, sometimes curdled texture due to the ice crystals forming and altering the milk proteins. While it’s perfectly safe to eat, the smooth, creamy consistency you initially achieved might be compromised. For this reason, I generally don’t recommend freezing it if you plan to enjoy it plain or with berries where texture is paramount. However, frozen yogurt is perfectly suitable for applications where the texture change won’t be noticeable. It works wonderfully in smoothies, where it contributes creaminess without the graininess being an issue, or in baked goods that call for yogurt. Simply thaw it in the refrigerator or at room temperature before using it in your chosen recipe.
Substitutions & Variations for Your Yogurt
One of the best aspects of making homemade yogurt is the ability to customize it to your liking. Here are some ideas to get you started:
- Thick Greek-Style Yogurt: As mentioned in the instructions, for a thicker, protein-rich Greek yogurt, simply strain your finished yogurt through a cheesecloth-lined colander in the refrigerator. The longer it strains, the thicker it becomes.
- Self-Sustaining Starter Culture: Always remember to reserve about ½ cup of your freshly made yogurt to use as a starter for your next batch. This creates a sustainable cycle, saving you money and ensuring a consistent culture. Store it separately and label it with the date.
- Adjusting Consistency with Milk Type: The type of milk you use significantly affects the final consistency. Raw milk often yields a naturally thicker yogurt, while lower-fat content milks (like 2% or 1%) will produce a thinner result. Skim milk can also be used for a virtually fat-free yogurt, though it will be the thinnest.
- Using Milk Kefir as a Starter: For an intriguing flavor profile, try using milk kefir as your starter culture instead of plain yogurt. This will impart a more distinct tangy flavor and unique probiotic benefits to your homemade yogurt.
- Fruit-Flavored Yogurt: Transform your plain yogurt into a delightful fruit-flavored treat. Simply stir in fresh fruit, fruit puree, or homemade jam after the yogurt is done. If using frozen fruit, blend it directly with the yogurt as you would for a smoothie for a refreshing, icy twist.
- Vanilla or Other Flavored Yogurt: If plain yogurt isn’t your preference, adding extracts is an easy way to customize the flavor. A splash of vanilla extract is a classic choice. You can also incorporate other extracts like almond or lemon. For sweetness, stir in natural sweeteners like honey, maple syrup, or agave nectar to taste.
- Exploring Different Milk Types: While this recipe focuses on cow’s milk, many other dairy milks can be used. Non-homogenized milk, different forms of pasteurized milk, or even rehydrated powdered milk can work. While I haven’t extensively tested non-dairy options, some plant-based milks can also be cultured, though they may require different starters or thickening agents to achieve a similar consistency.
Expert Tips To Make The Best Crock Pot Yogurt
Achieving consistently perfect homemade slow cooker yogurt is easy with a few insider tips:
- Maintain Your Starter Culture: Always save a portion of your current batch (about ½ cup) to use as the starter for your next one. Label it with the date and store it separately in the fridge to ensure a fresh, active culture for future yogurt making.
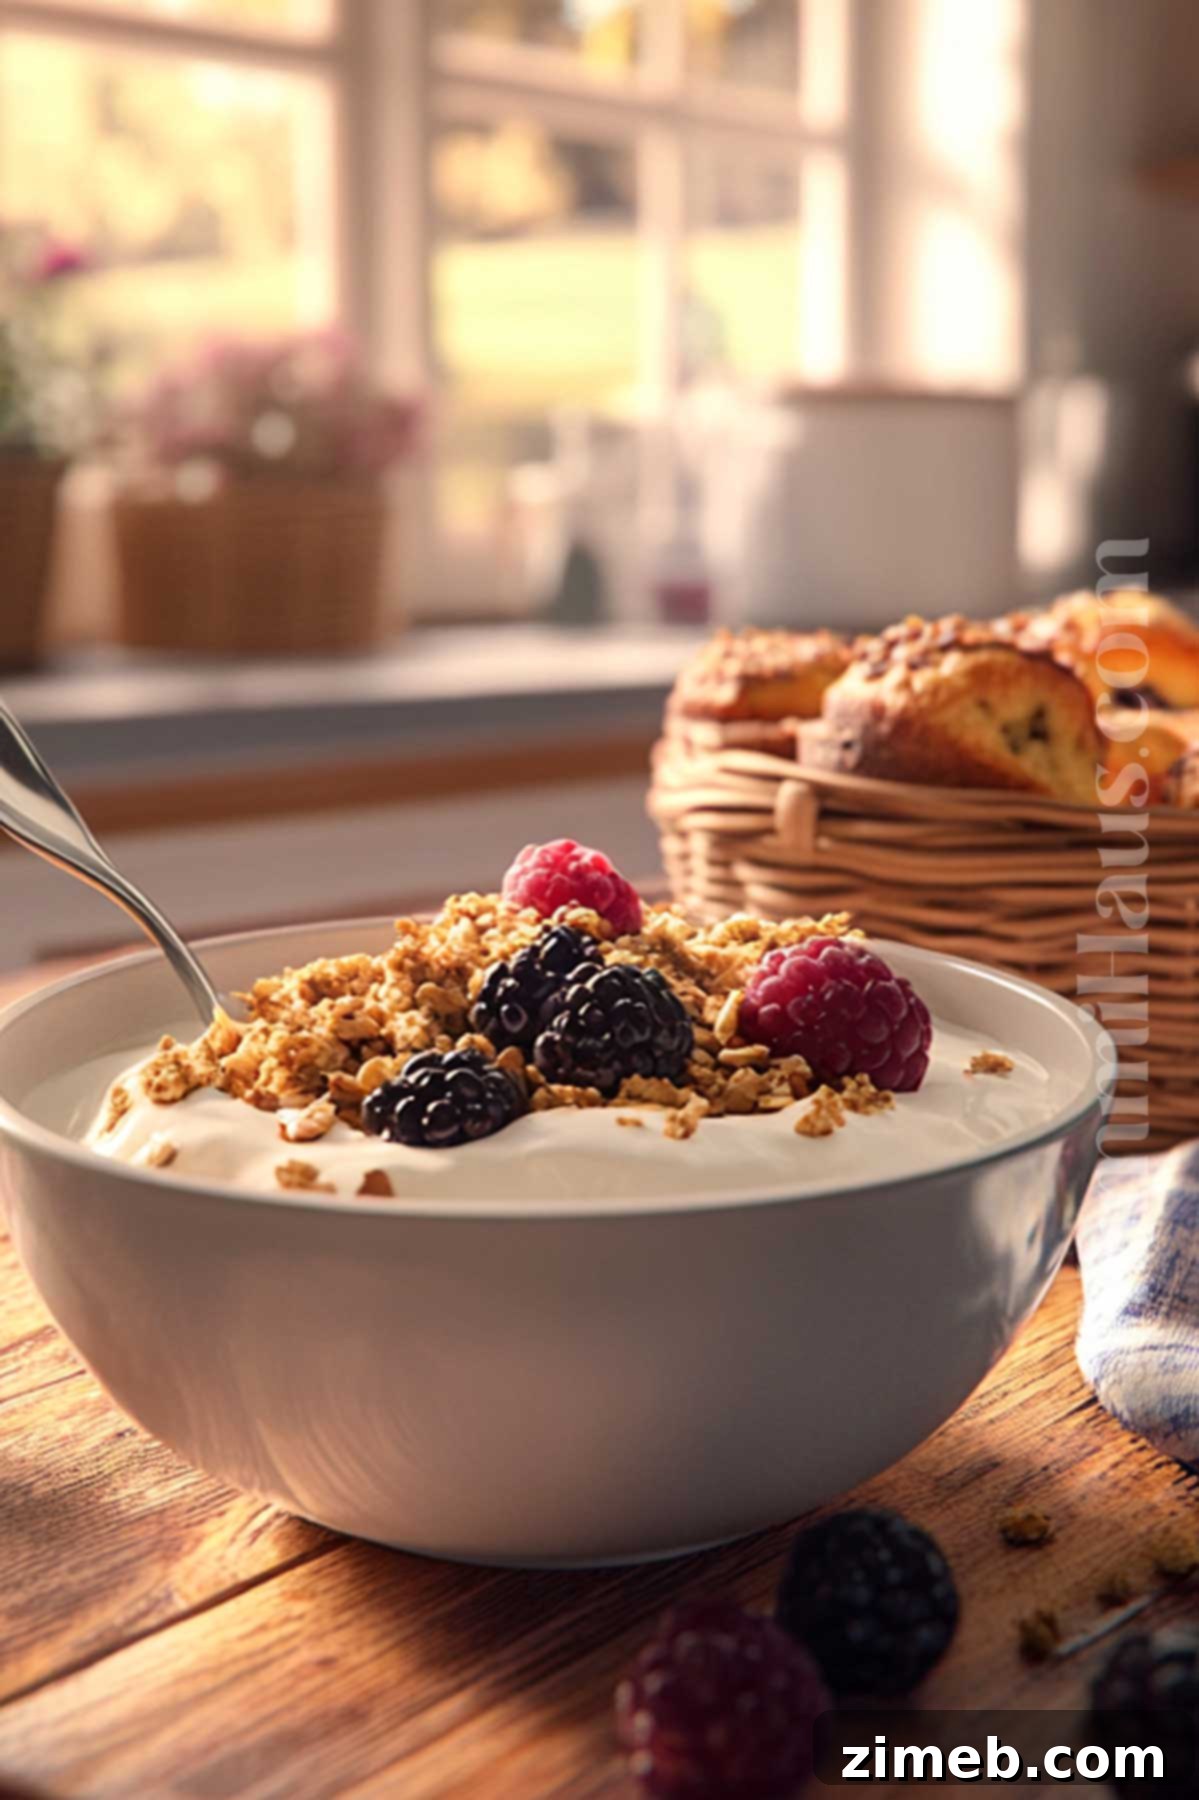
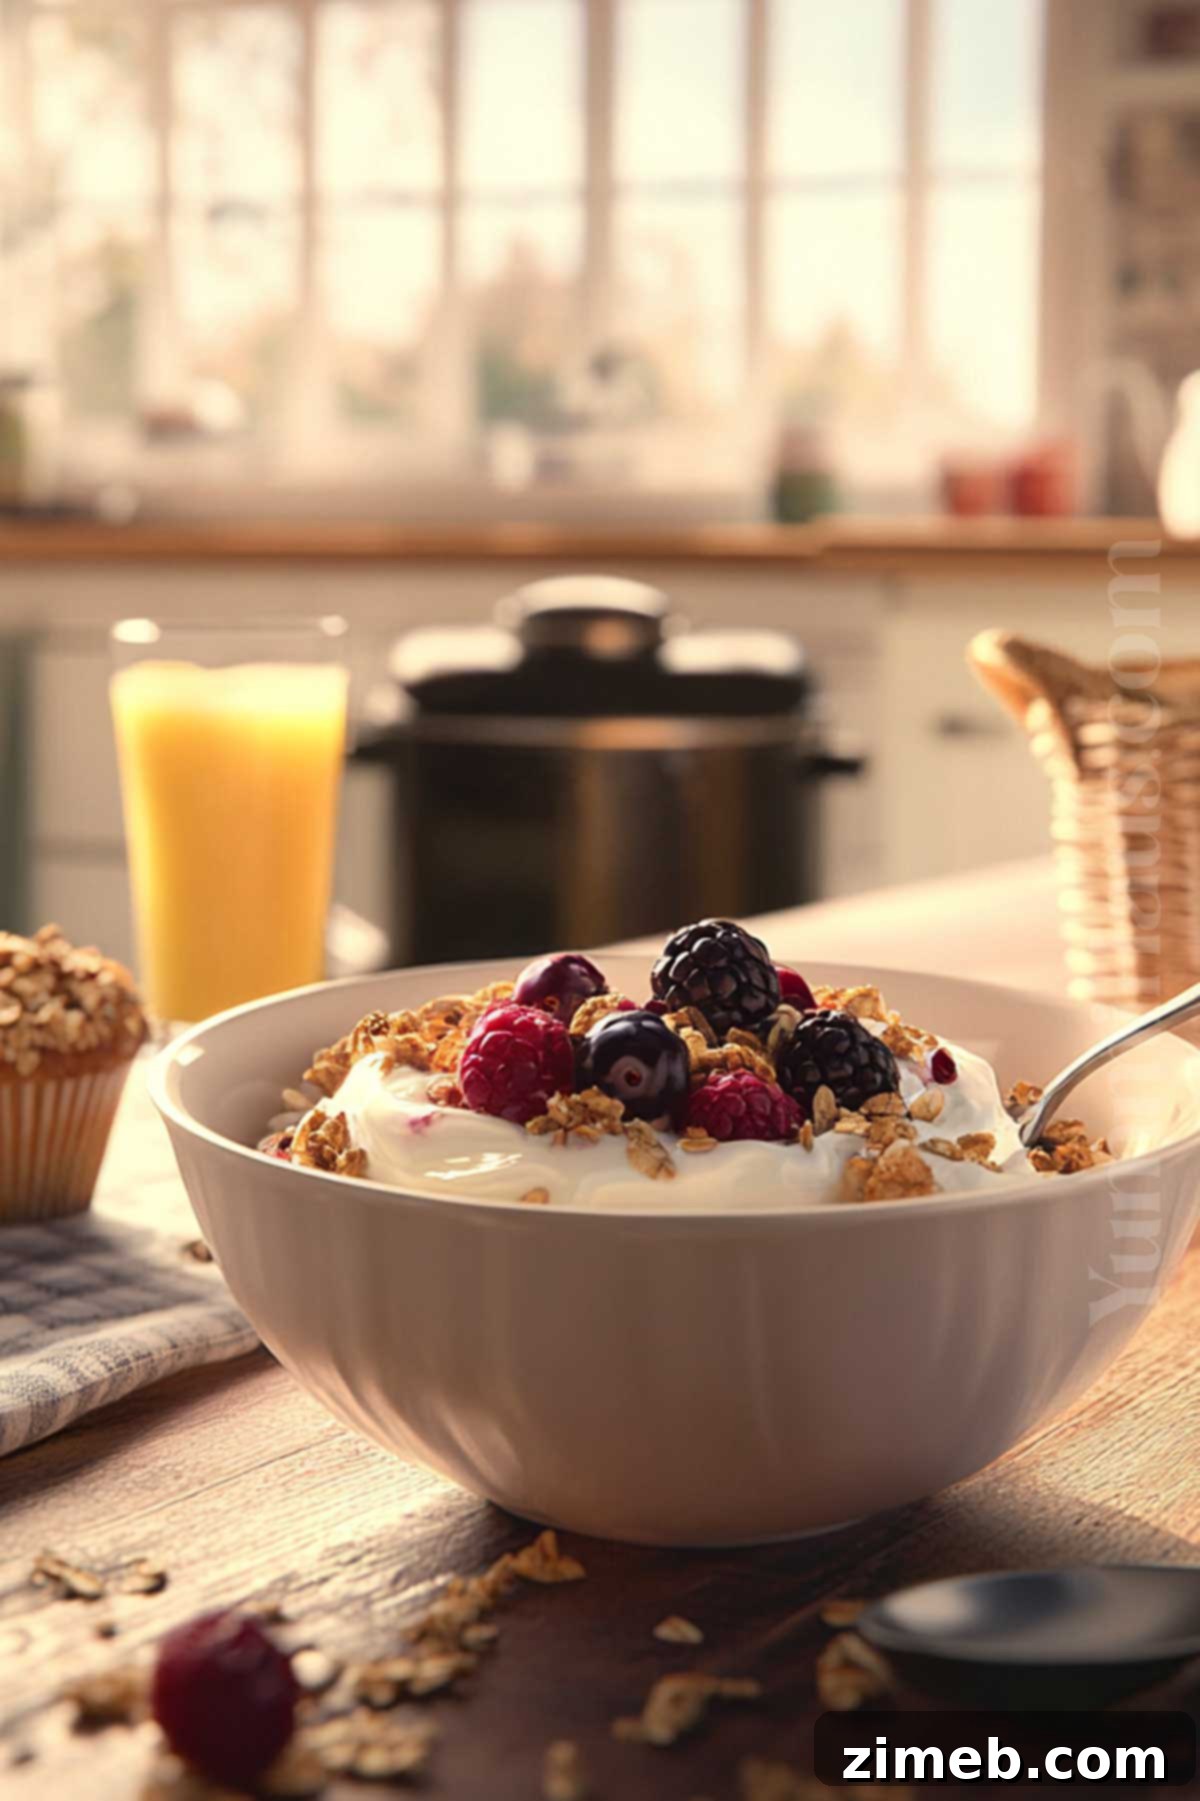
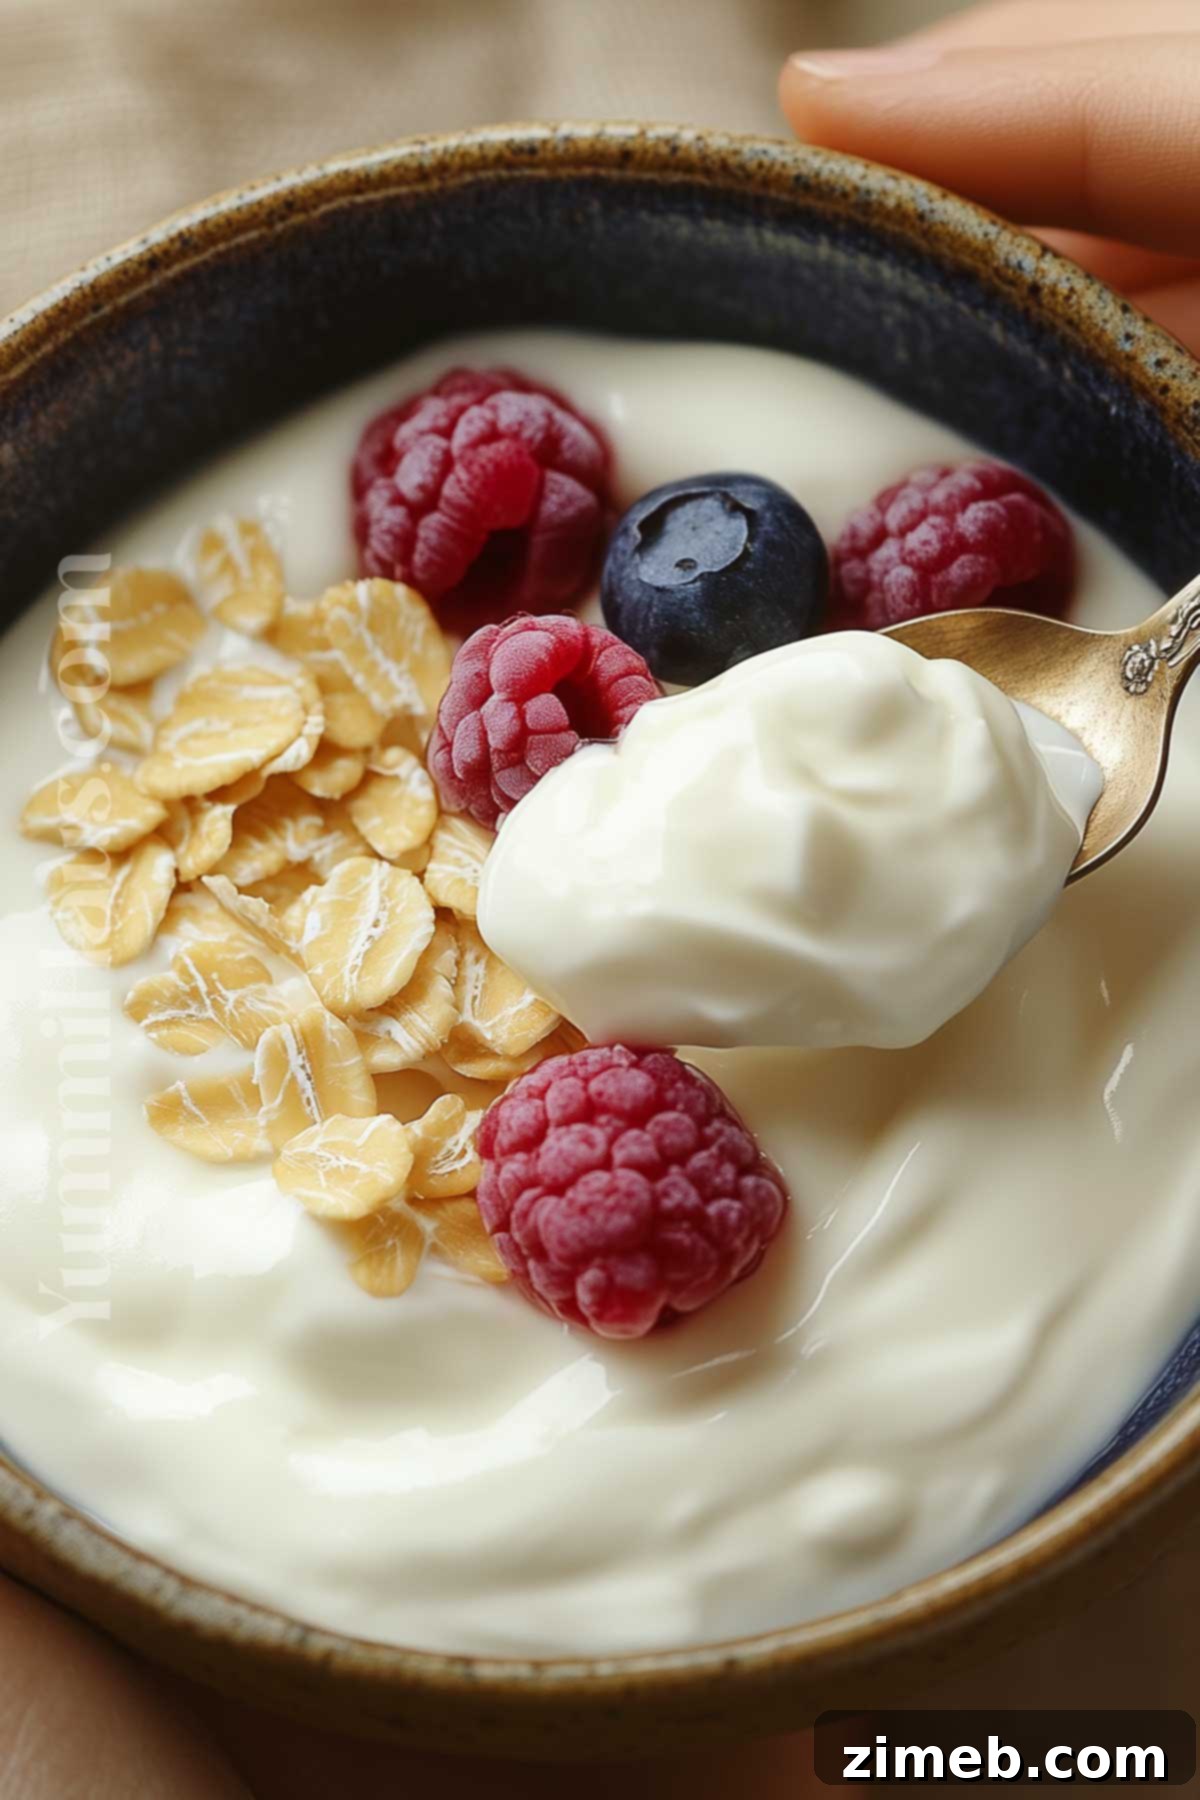
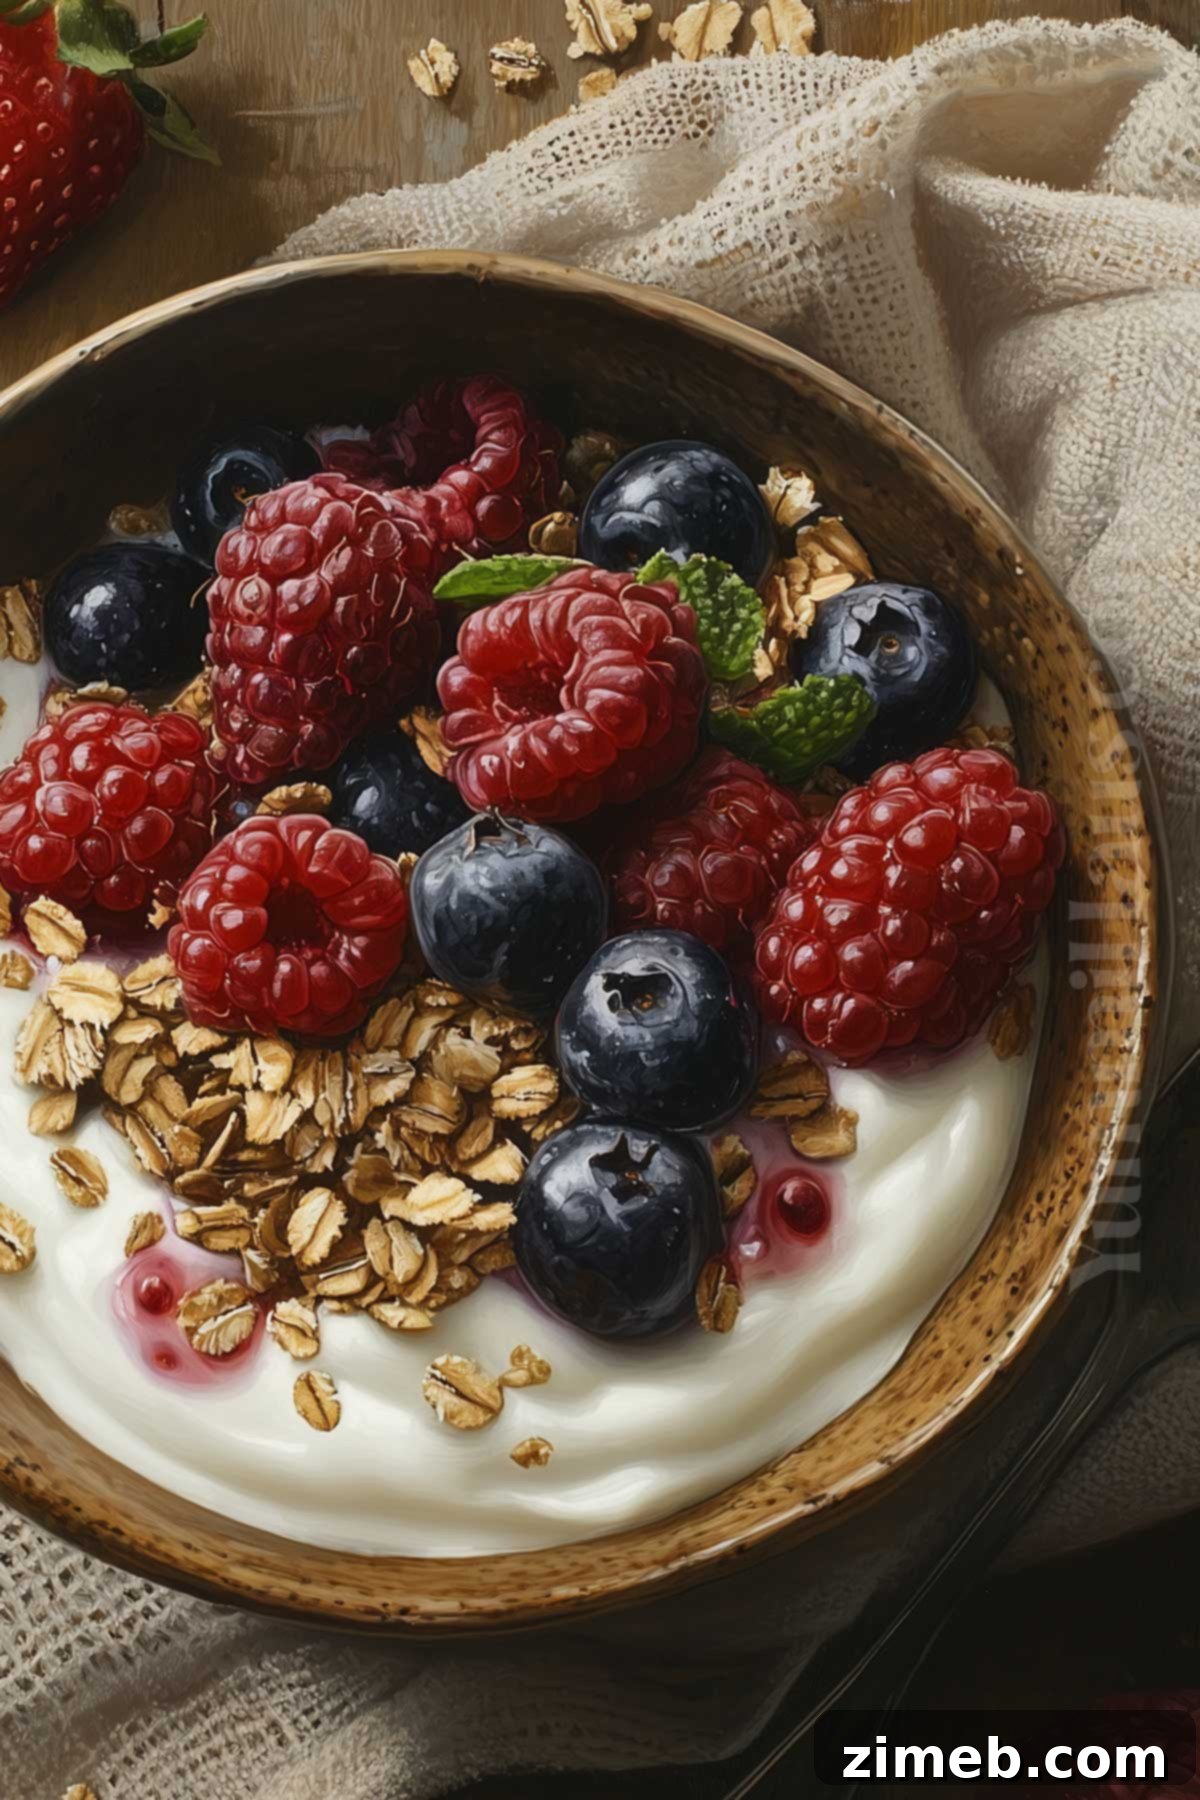
- Serving Suggestions: Homemade yogurt is incredibly versatile. Serve it simply with a drizzle of local honey, a sprinkle of crunchy granola, fresh berries, a touch of coconut syrup, or rich maple syrup for a delightful breakfast or snack.
- Versatile Culinary Substitute: This homemade yogurt can easily replace sour cream or plain Greek yogurt in nearly any baking or cooking recipe. It adds a wonderful tang and moisture to dishes like marinades, salad dressings, pancakes, muffins, and even savory sauces.
- Temperature is Paramount: Precision in temperature is the single most important factor for successful yogurt. An instant-read thermometer is not an optional tool; it’s essential. Ensure the milk reaches 180°F and then cools to precisely 110°F before adding the starter to activate the cultures effectively without killing them.
Frequently Asked Questions About Homemade Yogurt
Will Greek Yogurt Curdle In A Slow Cooker?
Greek-style yogurt, like any cultured dairy product, will curdle if subjected to high heat once the cultures are active. This is why in yogurt making, we only heat the milk first to a high temperature, then allow it to cool significantly to around 110°F (43°C) before adding the yogurt starter. If the temperature is maintained below 110°F, the yogurt will not curdle; instead, it will thicken beautifully as the beneficial bacteria ferment the lactose.
Is It Really Cheaper To Make Your Own Yogurt?
Absolutely! Making your own yogurt at home is significantly more economical than purchasing it from the store. You can expect to save 2-3 times the cost, especially because you can continuously reuse a small portion of your homemade yogurt as a starter for subsequent batches. This self-sustaining process makes homemade yogurt a very budget-friendly option for families.
Does Yogurt Get Thicker The Longer You Cook It?
Yogurt doesn’t necessarily get thicker the longer you “cook” it in the traditional sense. In fact, overcooking (meaning heating to too high a temperature after the starter is added) can actually cause it to split or curdle, ruining the texture. Homemade yogurt primarily thickens during its incubation period as the cultures convert lactose to lactic acid, and it continues to thicken slightly as it sits and chills in the fridge. If you desire a truly thick homemade yogurt, the best methods are to strain the whey after it’s done culturing or to add milk powder to the raw milk during the initial heating phase, which boosts its protein content.
What Is The Best Milk For Making Yogurt?
For making consistently creamy and robust homemade yogurt in a slow cooker or a yogurt maker, organic whole milk is generally considered the best choice. Its higher fat content contributes to a richer flavor and a thicker texture. However, if you prefer a lighter yogurt, you can certainly use lower-fat milk varieties such as 2% or 1%, though the resulting yogurt will naturally be thinner. Skim milk is also an option for a very light yogurt.
What Not To Do When Making Yogurt?
To ensure a successful batch of homemade yogurt, avoid a few common pitfalls. Firstly, do not expose your yogurt to direct sunlight or drafts while it is setting; a warm, dark, and undisturbed environment is ideal for proper culturing. Secondly, and critically, do not heat the yogurt starter or add it to milk that is too hot (above 110°F/43°C). High heat will kill the beneficial bacteria in the starter, preventing the milk from fermenting and potentially leading to a split, curdled, or unsafe product. The goal is to cultivate the good bacteria, not to destroy them or promote the growth of undesirable bacteria.
If you love this easy recipe for basic foods, you’re going to love these other basic recipes you didn’t know you could make at home too. Please click each link below to find the easy, printable recipe!
Check out this recipe
Check out this recipe
Check out this recipe
Check out this recipe
Check out this recipe
Use This Yogurt In These Recipes
Your versatile homemade slow cooker yogurt can be the star ingredient in a variety of delicious dishes:
- Yogurt-Marinated Chicken
- Strawberry Cheesecake Frozen Yogurt
- Parfait Cups
- 3-Ingredient Homemade Bagels
CONNECT WITH YUMMI HAUS!
Be sure to follow me on my social media, so you never miss a post!
Substack, FB, Pinterest, IG, Email Subscription
Rate this Recipe
Slow Cooker Yogurt
Back to Basics, Breakfast
8
cups
5 mins
12 hrs
12 hrs 5 mins
Ingredients
-
8
cups
whole milk
½ gallon -
½
cup
plain yogurt
It should have live and active cultures
Instructions
-
Add the milk to the slow cooker insert. Cover and cook on low for 2 ½ hours.
-
Unplug or turn off the cooker and allow the milk to cool for 3 hours until it is 110 F, covered.
-
Stir in the yogurt. Cover and let it sit for an additional 8-12 hours. The yogurt should thicken over this time.
-
Transfer to an airtight container. Store in the refrigerator.
Notes
Reserve ½ cup of the yogurt to use when making your next batch.
Equipment
-
slow cooker
-
instant-read thermometer
Nutrition
Calories: 154kcal |
Carbohydrates: 12g |
Protein: 9g |
Fat: 8g |
Saturated Fat: 5g |
Cholesterol: 30mg |
Sodium: 97mg |
Potassium: 384mg |
Sugar: 12g |
Calcium: 314mg |
Iron: 0.01mg |
Net Carbohydrates: 12g
Nutritional information for the recipe is provided as a courtesy and is approximate. Please double-check with your own dietary calculator for the best accuracy. We at Yummi Haus cannot guarantee the accuracy of the nutritional information given for any recipe on this site.
Love this recipe?
Follow @KleinworthCo for even more tasty recipes!