
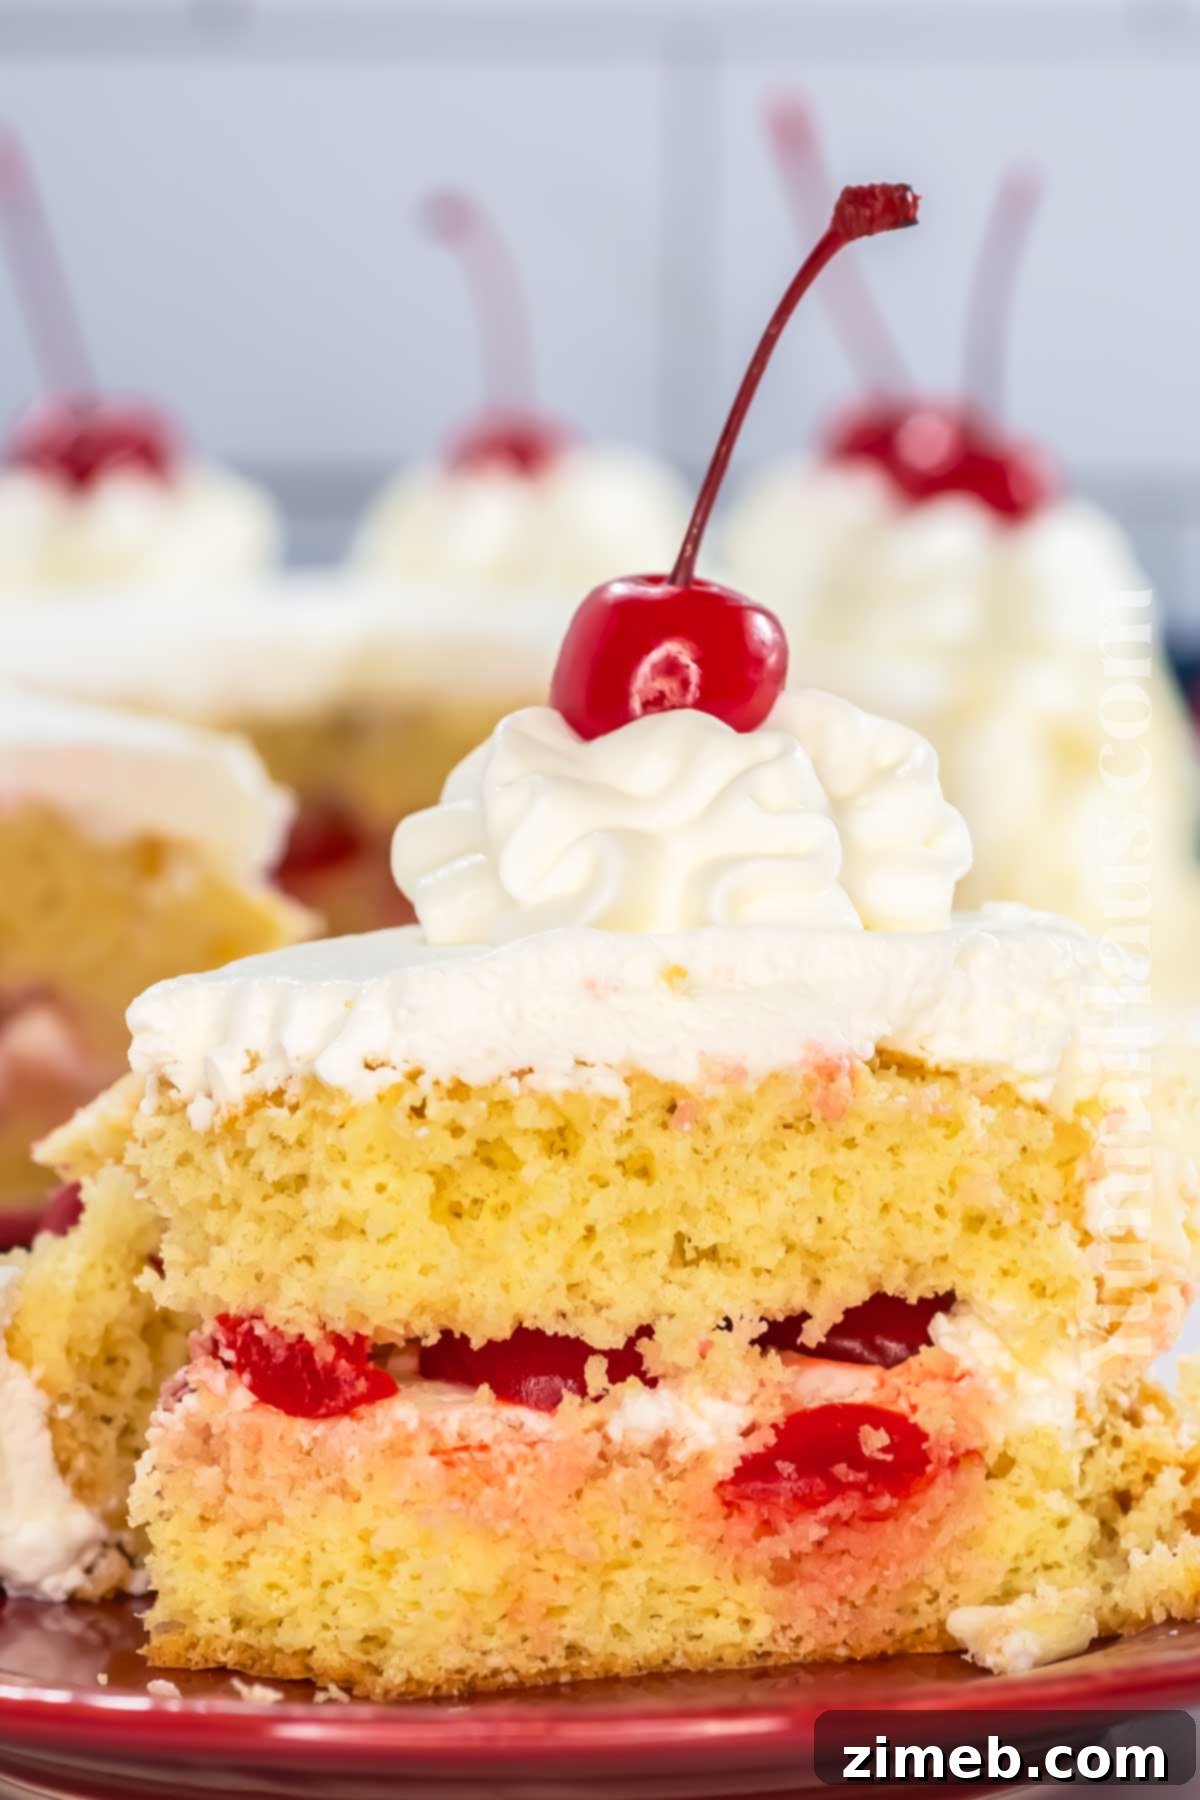
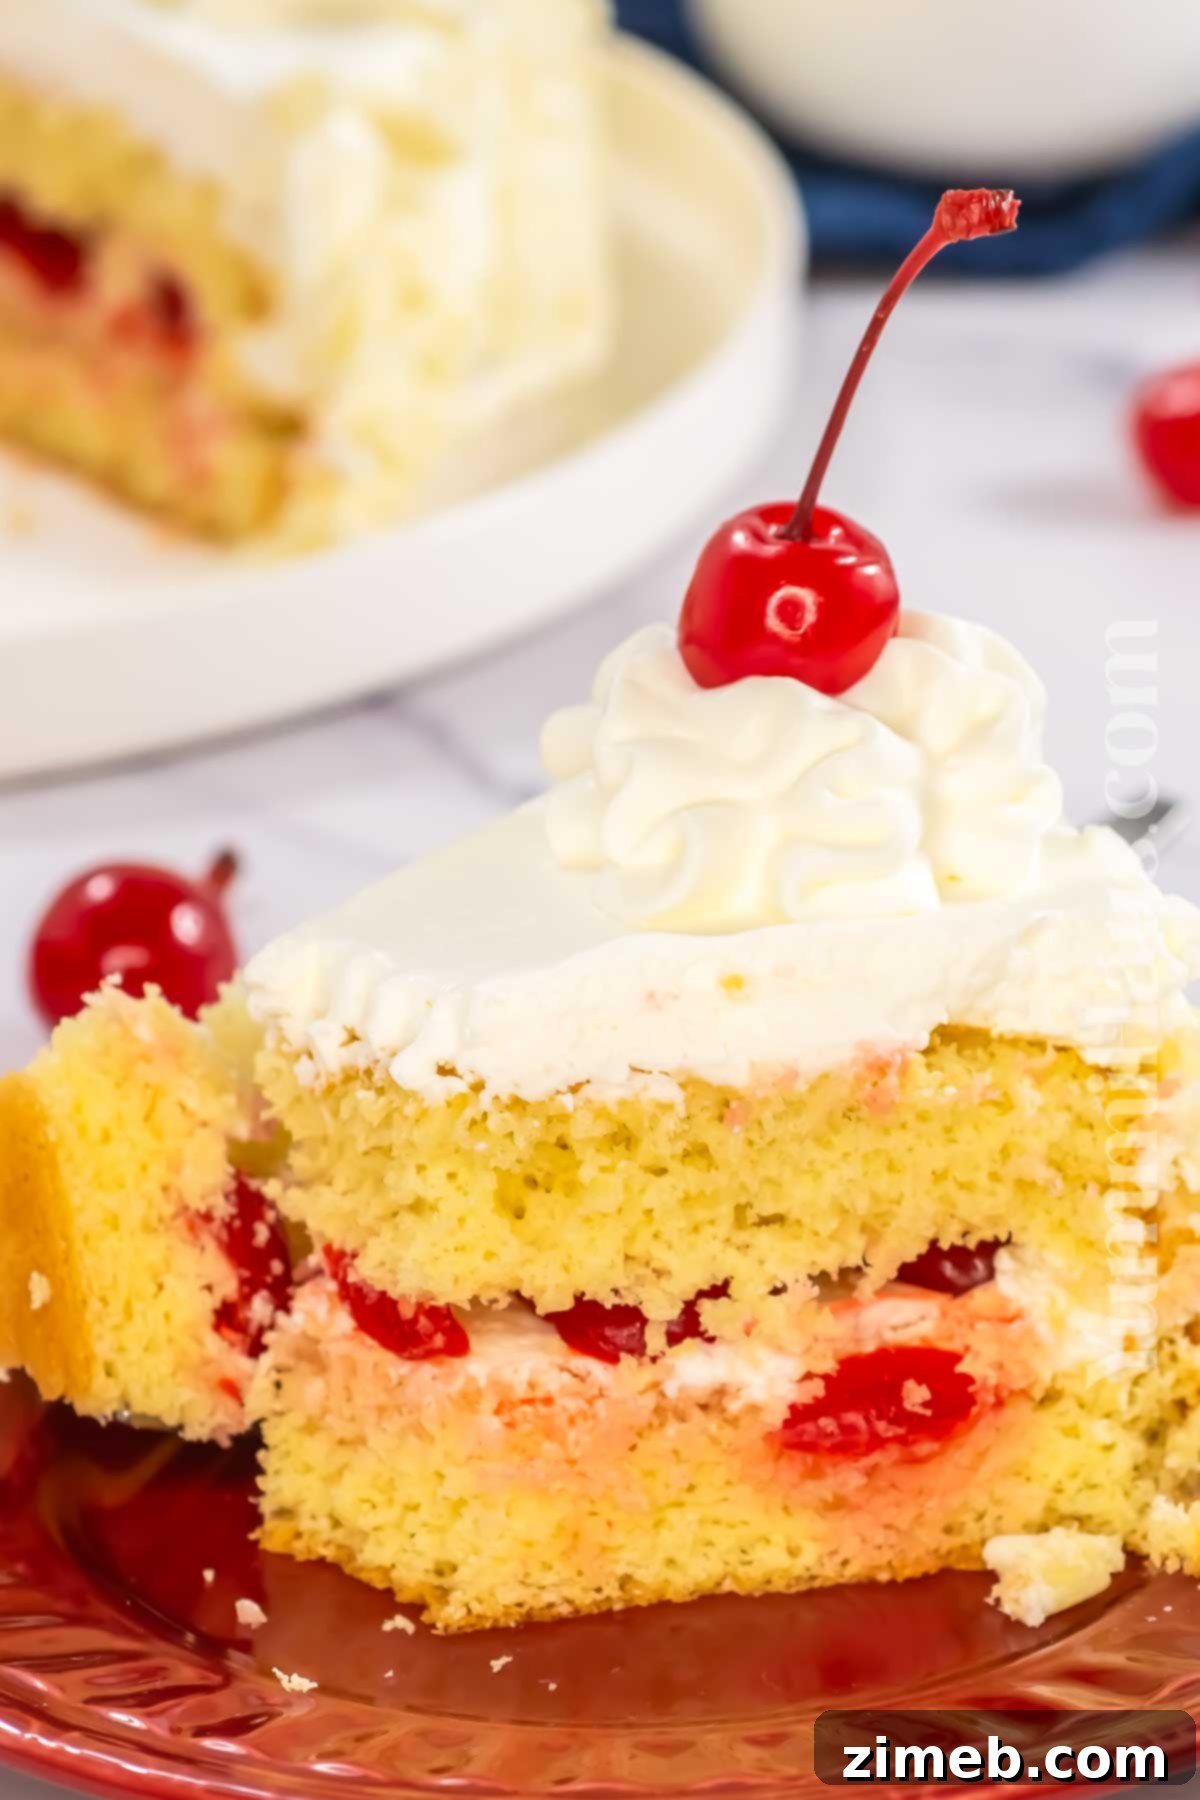
Indulge in the exquisite charm of our Easy White Forest Cake, a delightful 45-minute masterpiece perfect for any celebration. This stunning dessert features layers of moist, vanilla-infused sponge cake, generously filled with juicy, sweet, and tart cherries, all enveloped in a cloud of luscious whipped cream. It’s an elegant showstopper that promises a truly memorable sweet experience, whether for a birthday, Mother’s Day, or a festive summer gathering.
Picture a pristine white cake, pure in flavor and light in texture – a beautiful and utterly delicious creation. Its sophisticated appearance, reminiscent of a wedding cake, makes it an ideal centerpiece for special occasions, bringing joy and a touch of elegance to every slice.
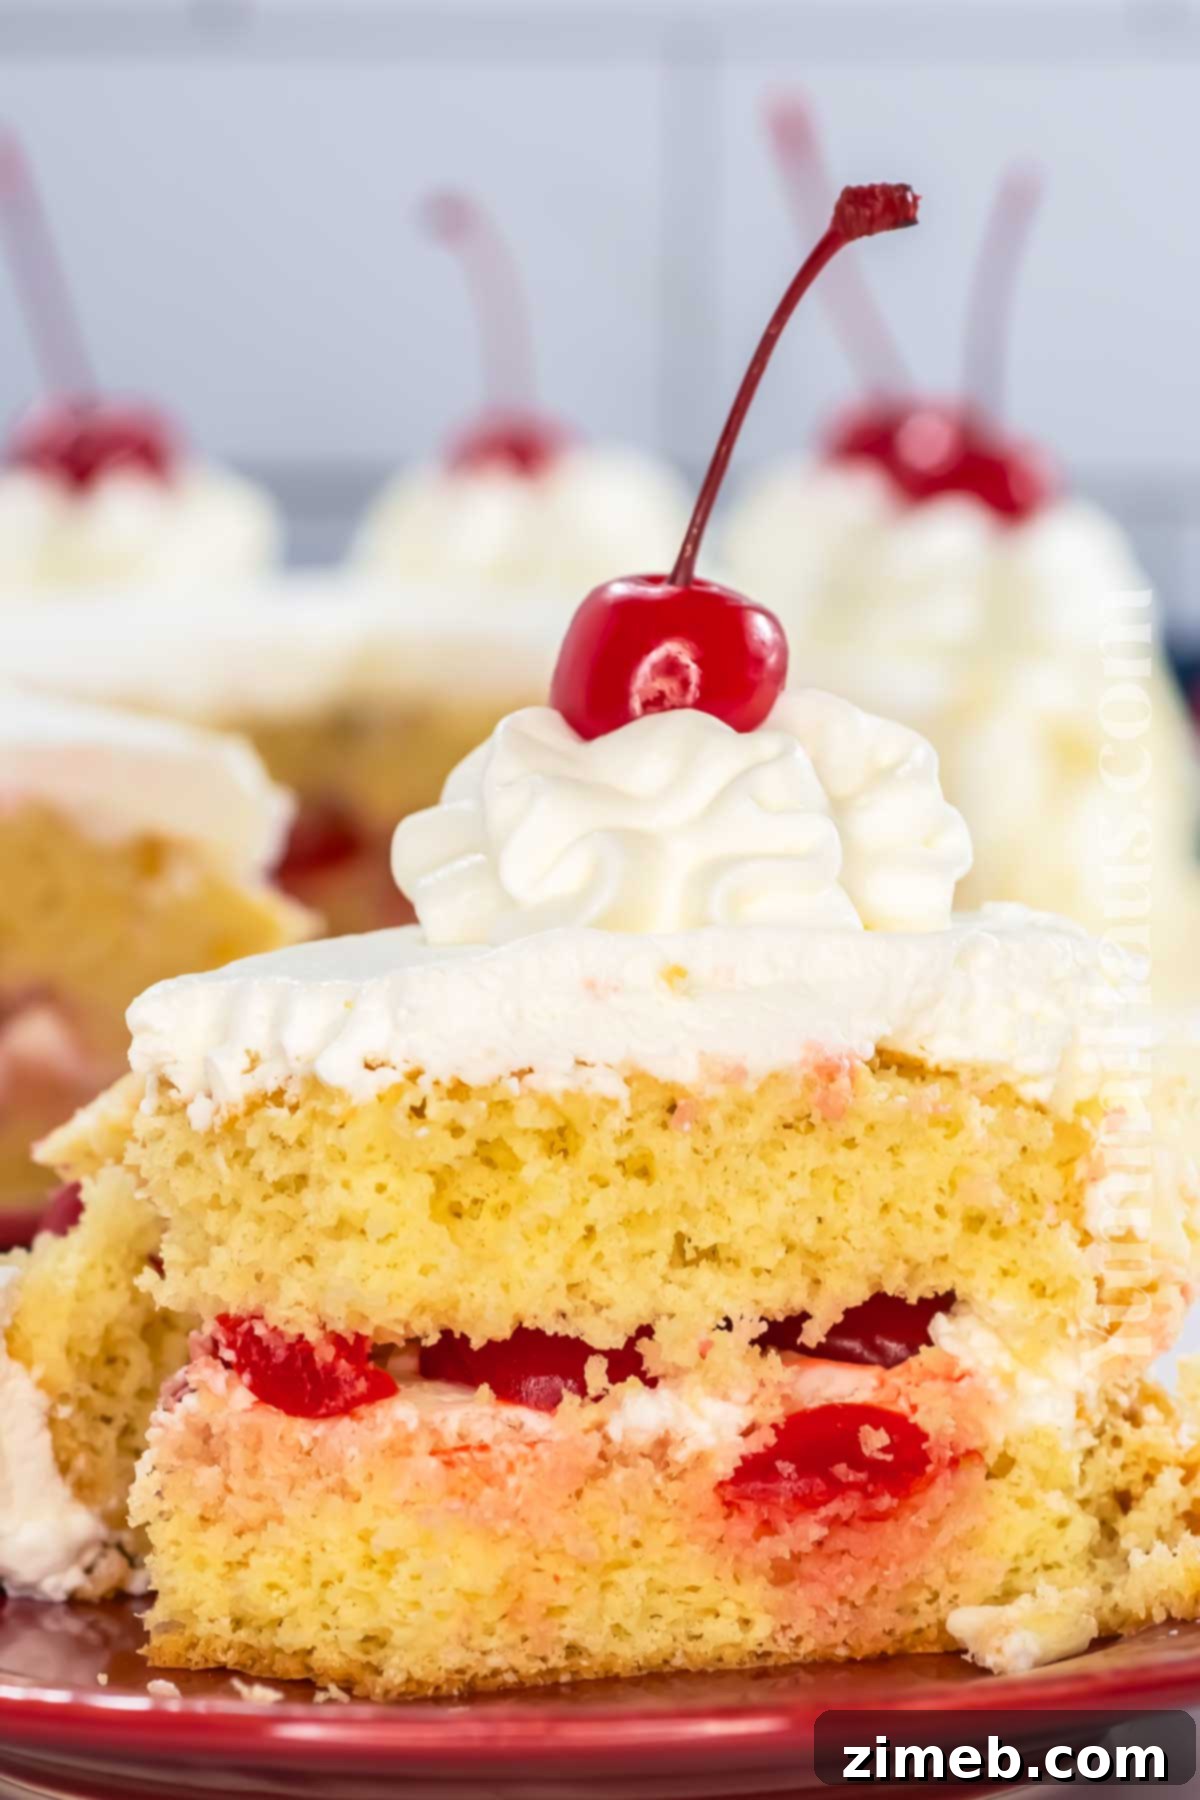
For those who appreciate a classic layer cake, the key elements are unmistakable: a perfectly moist and flavorful sponge, an abundance of rich filling, and an endless cascade of creamy frosting. Our White Forest Cake embodies all these qualities and more. It’s light, sweet, and incredibly festive, ensuring that one slice might just lead to a second, or even a third!
This delightful white twist on the timeless Black Forest Cake is precisely what you need to savor the peak of cherry season. It captures the essence of fruity sweetness and creamy indulgence, reimagined in a bright and airy presentation.
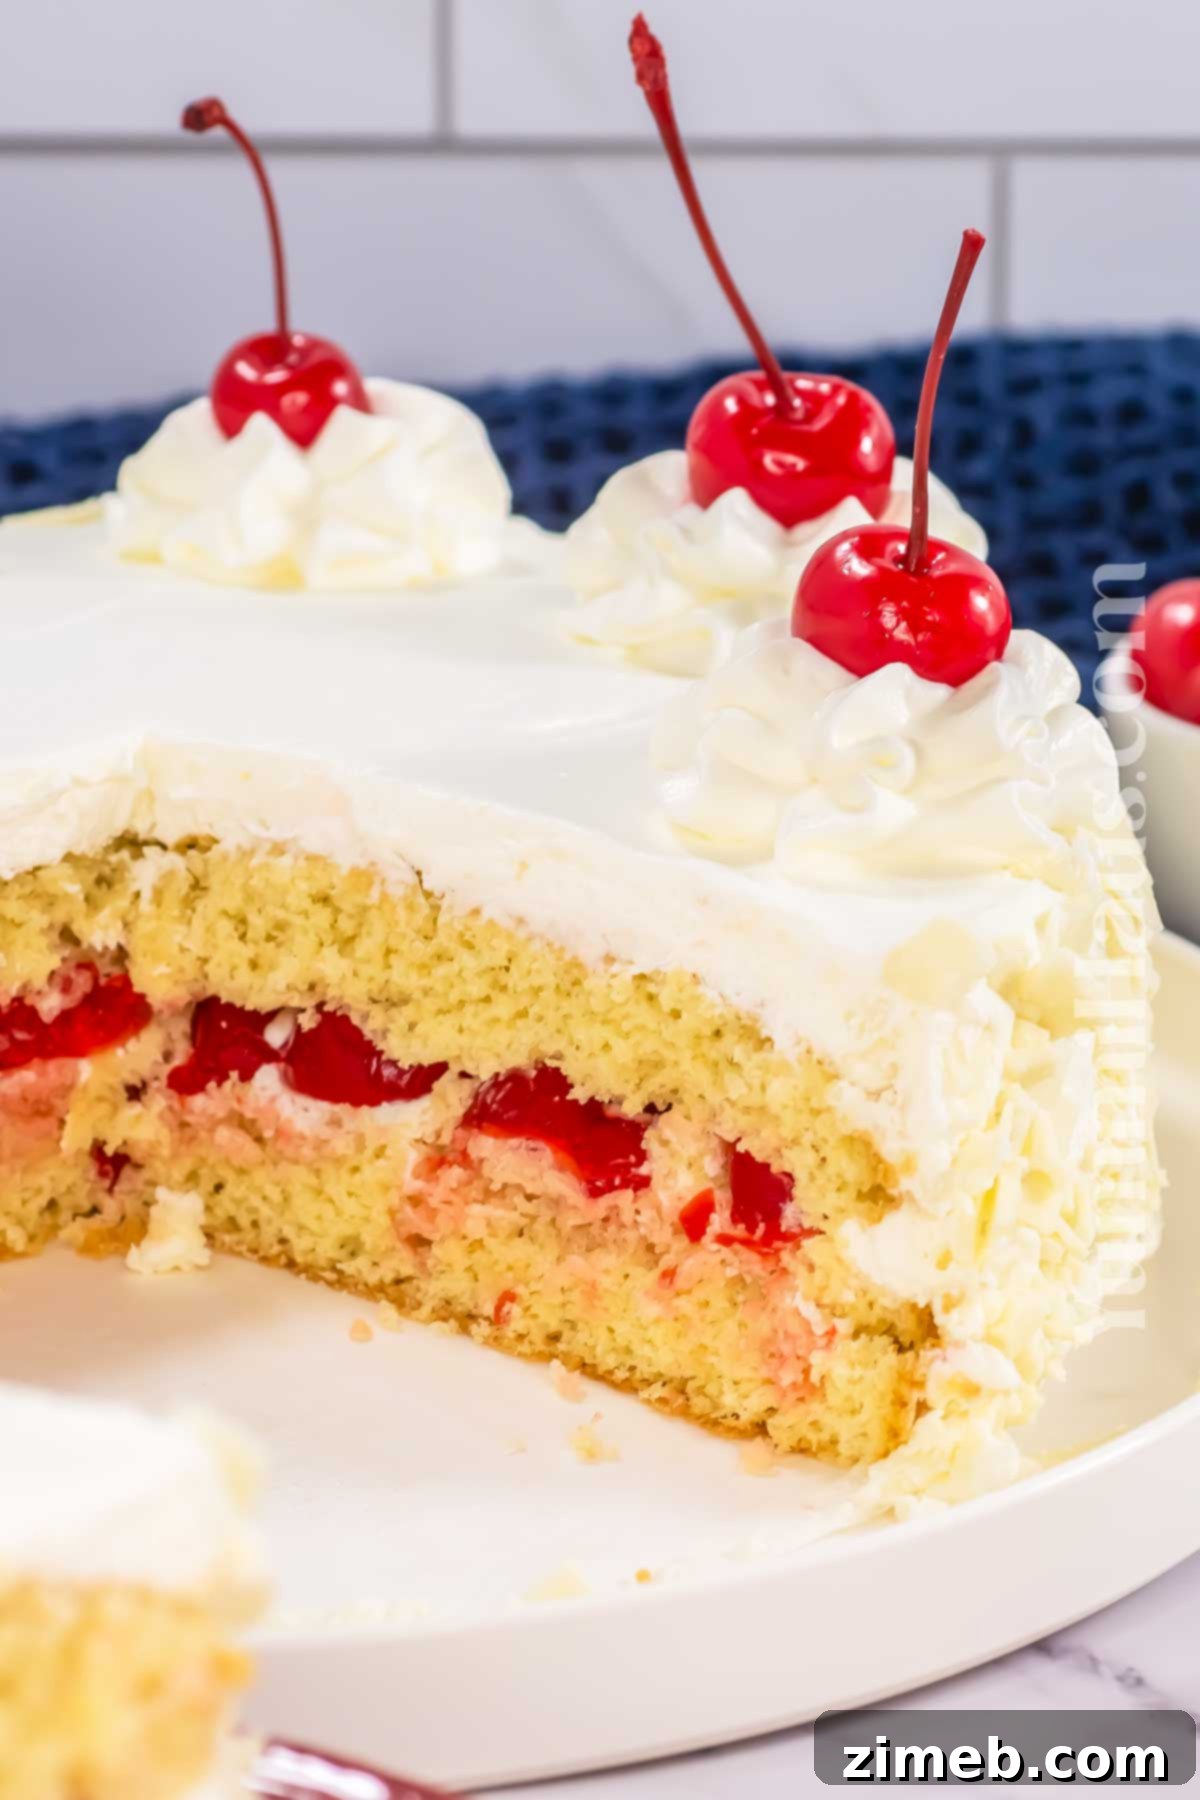
White Forest Cake vs. Black Forest Cake: A Delicious Comparison
While both White Forest Cake and its more traditional counterpart, the Black Forest Cake, are iconic layered desserts, they boast distinct characteristics that set them apart. Understanding these differences helps us appreciate the unique charm of each.
A classic Black Forest Cake typically features rich chocolate cake layers, often soaked in Kirschwasser (cherry liquor), generously filled with a dark cherry compote, and frosted with decadent whipped cream, then adorned with dark chocolate shavings. The flavors are deep, intense, and often carry a subtle alcoholic note from the Kirsch.
In contrast, our White Forest Cake recipe presents a brighter, lighter experience. It calls for tender vanilla cake layers, a creamy filling made with luscious white chocolate and whipped cream, and a vibrant cherry filling. Instead of liquor, a touch of lemon juice can brighten the cherry flavor, making it 100% kid-friendly. The visual appeal is also strikingly different, with its elegant white exterior offering a sophisticated alternative to the darker, more rustic Black Forest. Both, however, remain undeniably delicious and rich layered cakes that captivate with their harmonious blend of fruit and cream.
Essential Ingredients & Smart Substitutions for Your White Forest Cake
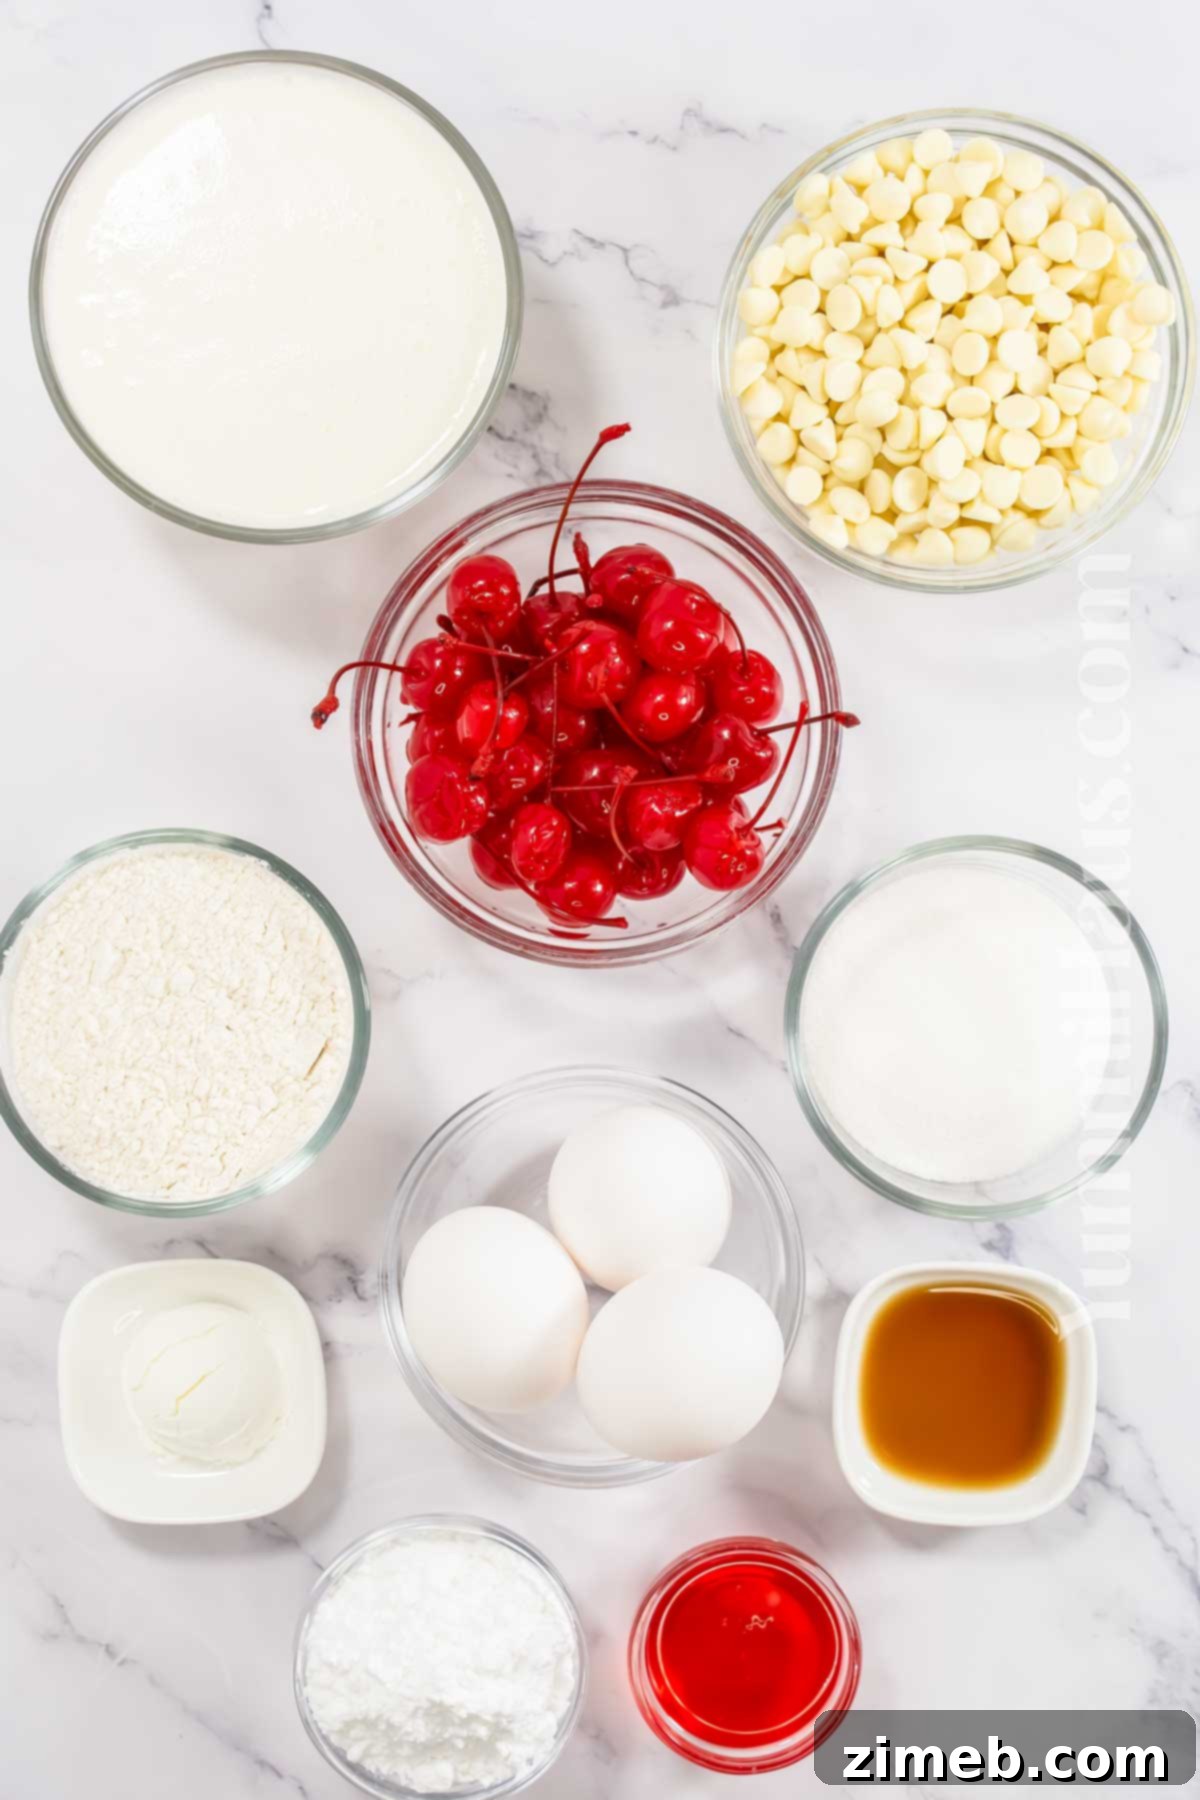
Creating this absolutely stunning White Forest Cake is surprisingly simple, relying on just a few basic pantry staples and, of course, delicious cherries. You’ll be amazed at how easily these accessible ingredients transform into a gourmet dessert. Moreover, unlike many traditional Black Forest recipes, this version contains no alcohol, making it a perfect, kid-friendly treat for everyone to enjoy.
For precise measurements, always refer to the detailed recipe card conveniently located at the bottom of this page.
Crafting the Perfect Vanilla Cake Layer
- Eggs: You’ll need three large eggs, ideally at room temperature, for optimal whipping and cake structure. While some recipes suggest using only egg whites for a purer white cake, using whole eggs results in a beautifully fluffy texture and rich flavor, which I personally adore. The slight creamy hue from the yolks doesn’t detract from its “white forest” charm.
- Granulated Sugar: Essential for sweetness and also plays a crucial role in creating the light, airy sponge texture when whipped with eggs.
- Vanilla Extract: The classic flavoring for this elegant white chocolate cake. For the best taste, always opt for good-quality pure vanilla extract or, for an even richer aroma and subtle flecks, vanilla bean paste. Feel free to experiment with other extracts like almond, lemon, or coconut for a unique twist, though vanilla remains the beloved choice.
- All-Purpose Flour: The foundation of our cake. If you have cake flour on hand, it will yield an even tenderer crumb due to its lower protein content. If using cake flour, you can skip the cornstarch mentioned below. For those with dietary restrictions, a gluten-free all-purpose flour blend can be used successfully to create a delicious zero-gluten cake.
- Cornstarch: This is a clever kitchen hack! Adding a small amount of cornstarch to all-purpose flour mimics the lower protein content of cake flour, resulting in a softer, more delicate crumb. It’s an easy way to achieve bakery-quality texture without buying a specialized flour.
You might notice that this sponge cake recipe doesn’t traditionally call for baking powder or baking soda. Authentic sponge cakes rely purely on the air whipped into eggs for their lift. However, if you prefer a slightly more open and sturdy texture, you can certainly incorporate a small amount of baking powder into the dry ingredients. To simplify things even further, a good quality white cake mix from a box can be a fantastic shortcut for the cake layers.
Crafting the Irresistible Cherry Syrup and Filling
- Granulated or Powdered Sugar: Either works beautifully to sweeten the syrup. Granulated sugar is typically used for cooking the syrup, while powdered sugar is great for a quick, no-cook option if simply mixing with juice.
- Cherry Juice: The base of our flavorful syrup. This can be easily obtained from canned cherries (ensure you drain them thoroughly and reserve the juice) or by pressing fresh cherries.
For the cherry filling itself, you have several convenient options. A good quality store-bought or homemade cherry pie filling offers a quick and robust flavor. Alternatively, cherry jam or preserves can provide a delightful, spreadable layer. If using thawed frozen cherries, simply cook them down with a bit of sugar and cornstarch to create a luscious cherry sauce that perfectly complements the cake. Canned cherries, drained and lightly sweetened, also work wonderfully.
A splash of lemon juice is a secret weapon here; it brilliantly enhances the natural berry flavor of the cherries and provides a bright, acidic counterpoint, much like how liquor functions in a traditional Black Forest cake, but without the alcohol. This creates a wonderfully complex flavor profile.
The Luxurious White Cream Layer
- Heavy Cream (Full Fat, 36%+): The star of our cream topping. It’s crucial to use heavy cream or heavy whipping cream with a high-fat content (36% or more) to ensure it whips up beautifully into stable, fluffy peaks.
- Confectioner’s Sugar (Powdered Sugar): This fine sugar dissolves easily into the cream, sweetening it without a grainy texture, and also helps to stabilize the whipped cream, ensuring it holds its shape.
While a quick and fresh whipped cream topping is my personal favorite for its light and airy texture, feel free to explore other creamy options to suit your taste. Buttermilk topping can add a tangy complexity, cream cheese frosting offers a denser, richer finish, and a classic Chantilly cream provides an elegant touch. For an extra indulgent twist, a homemade white chocolate ganache, whipped until fluffy, makes an exquisite frosting. This ganache is surprisingly easy to prepare, requiring just heavy whipping cream, quality white chocolate chips, a touch of butter, and a hint of vanilla extract.
If you’re seeking convenience and want to skip additional cooking, store-bought stabilized whipped cream in a tub or a simple mixture of white chocolate instant pudding can also provide a delicious and quick alternative for your creamy layers.
Delectable Cherry Filling & Elegant Decorations
- Maraschino Cherries or Fresh Cherries: These vibrant gems are perfect for both the filling and as a beautiful garnish. Maraschino cherries offer a classic, bright red pop of color and distinct sweetness, especially when used with stems for decoration. Fresh pitted cherries, in season, provide a more natural, subtle sweetness and a beautiful aesthetic.
- White Chocolate: A key decorative element, adding both visual appeal and a delightful complementary flavor. For elegant white chocolate shavings or curls, you’ll want to melt a good quality white chocolate bar, spread it thinly, allow it to set again (you can even chill it briefly), and then use a sharp knife or vegetable peeler to create beautiful curls. These shavings provide a sophisticated finish that elevates the entire cake. Alternatively, you can simply chop a piece of white chocolate bar into small shards for a more rustic look.
Essential Kitchen Equipment for Your White Forest Cake
Having the right tools can make the baking process smooth and enjoyable. Here’s what you’ll need to create this magnificent White Forest Cake:
- Double Boiler: Essential for gently heating the egg and sugar mixture without scrambling the eggs, ensuring a smooth, stable base for your sponge cake. Don’t be intimidated; baking over a double boiler in the oven is simpler than it sounds and yields fantastic results.
- 8-inch Round Cake Pan: A single pan is perfect for creating a beautiful two-layer cake. If you envision a taller cake with more layers, simply prepare additional pans or bake in batches.
- Saucepan: For preparing the delightful cherry syrup. A small saucepan is ideal for boiling down the cherry juice and sugar to the perfect consistency.
- Stand Mixer or Hand Mixer with Mixing Bowl: Crucial for whipping the eggs to triple their volume for the sponge cake and achieving perfectly stiff peaks for the whipped cream. A stand mixer offers hands-free convenience, but a good quality hand mixer works just as well.
- Piping Bag fitted with a Large Star Tip: For elegant decorative swirls of whipped cream on top of your cake. A large star tip creates beautiful, defined patterns.
- Kitchen Thermometer: Highly recommended for accurately monitoring the temperature of the egg and sugar mixture in the double boiler, ensuring it reaches the ideal 104 degrees F for food safety and optimal whipping.
- Pastry Brush: Indispensable for evenly coating your cake layers with the cherry syrup, allowing them to soak in all that sweet and tart goodness.
- Offset Spatula: While not listed in the original, this tool is incredibly helpful for spreading frosting smoothly and evenly over the sides and top of the cake, ensuring a professional finish.
Step-by-Step Guide: How to Bake the Perfect White Forest Cake
Creating this stunning White Forest Cake is a rewarding process. Follow these detailed steps to ensure a delicious and beautifully assembled dessert.
1. Prepare Your Fluffy Vanilla Sponge Cake Batter
- Preheat Oven: Begin by preheating your oven to 350 degrees F (175 degrees C). This ensures the oven is at the correct temperature when your batter is ready.
- Prepare Cake Pan: Take an 8-inch round cake pan. Line the bottom with parchment paper, then grease both the bottom (under and on top of the parchment) and the sides of the pan. Finally, dust it lightly with flour, tapping out any excess. This meticulous preparation prevents sticking and ensures your cake releases easily. Set the prepared pan aside.
- Combine Ingredients in Double Boiler: In the top of a double boiler (or a heatproof bowl set over a saucepan of simmering water), combine the room temperature eggs, granulated sugar, and vanilla extract.
- Heat and Whisk: Heat the mixture over the simmering water, stirring constantly with a whisk, until the sugar is completely dissolved and the mixture reaches 104 degrees F (40 degrees C). Using a kitchen thermometer for accuracy is highly recommended. This gentle heating helps the sugar dissolve and warms the eggs, allowing them to whip to a greater volume.
- Whip Eggs to Volume: Carefully transfer the warm egg mixture to the bowl of a stand mixer fitted with the whisk attachment (or use a large mixing bowl with a hand mixer). Beat on medium-high speed for approximately 10 minutes, or until the mixture has tripled in volume, becoming thick, pale, and ribbony. This step is crucial for the sponge cake’s light texture.
- Gently Fold in Dry Ingredients: Sift the all-purpose flour and cornstarch together. Then, add the sifted flour mixture to the whipped egg mixture in small increments, folding gently with a spatula. Be careful not to deflate the airy egg mixture; this preserves the cake’s lightness. Stir until just combined, ensuring no pockets of dry flour remain.
2. Bake Your Perfect Sponge Cake
- Fill Pan: Carefully transfer the prepared cake batter into the greased and floured 8-inch round pan. Ensure you don’t overfill the pan; the cake will expand slightly during baking.
- Bake to Golden Perfection: Bake in the preheated oven for 25-30 minutes. The cake is done when the center is set, a toothpick inserted into the middle comes out clean or with just a few moist crumbs, and the top is a beautiful golden brown.
- Cool Completely: Remove the cake from the oven and allow it to cool completely in the pan on a wire rack before attempting to handle or assemble. A fully cooled cake is much less likely to crumble or break when sliced.
3. Prepare the Sweet & Tart Cherry Syrup
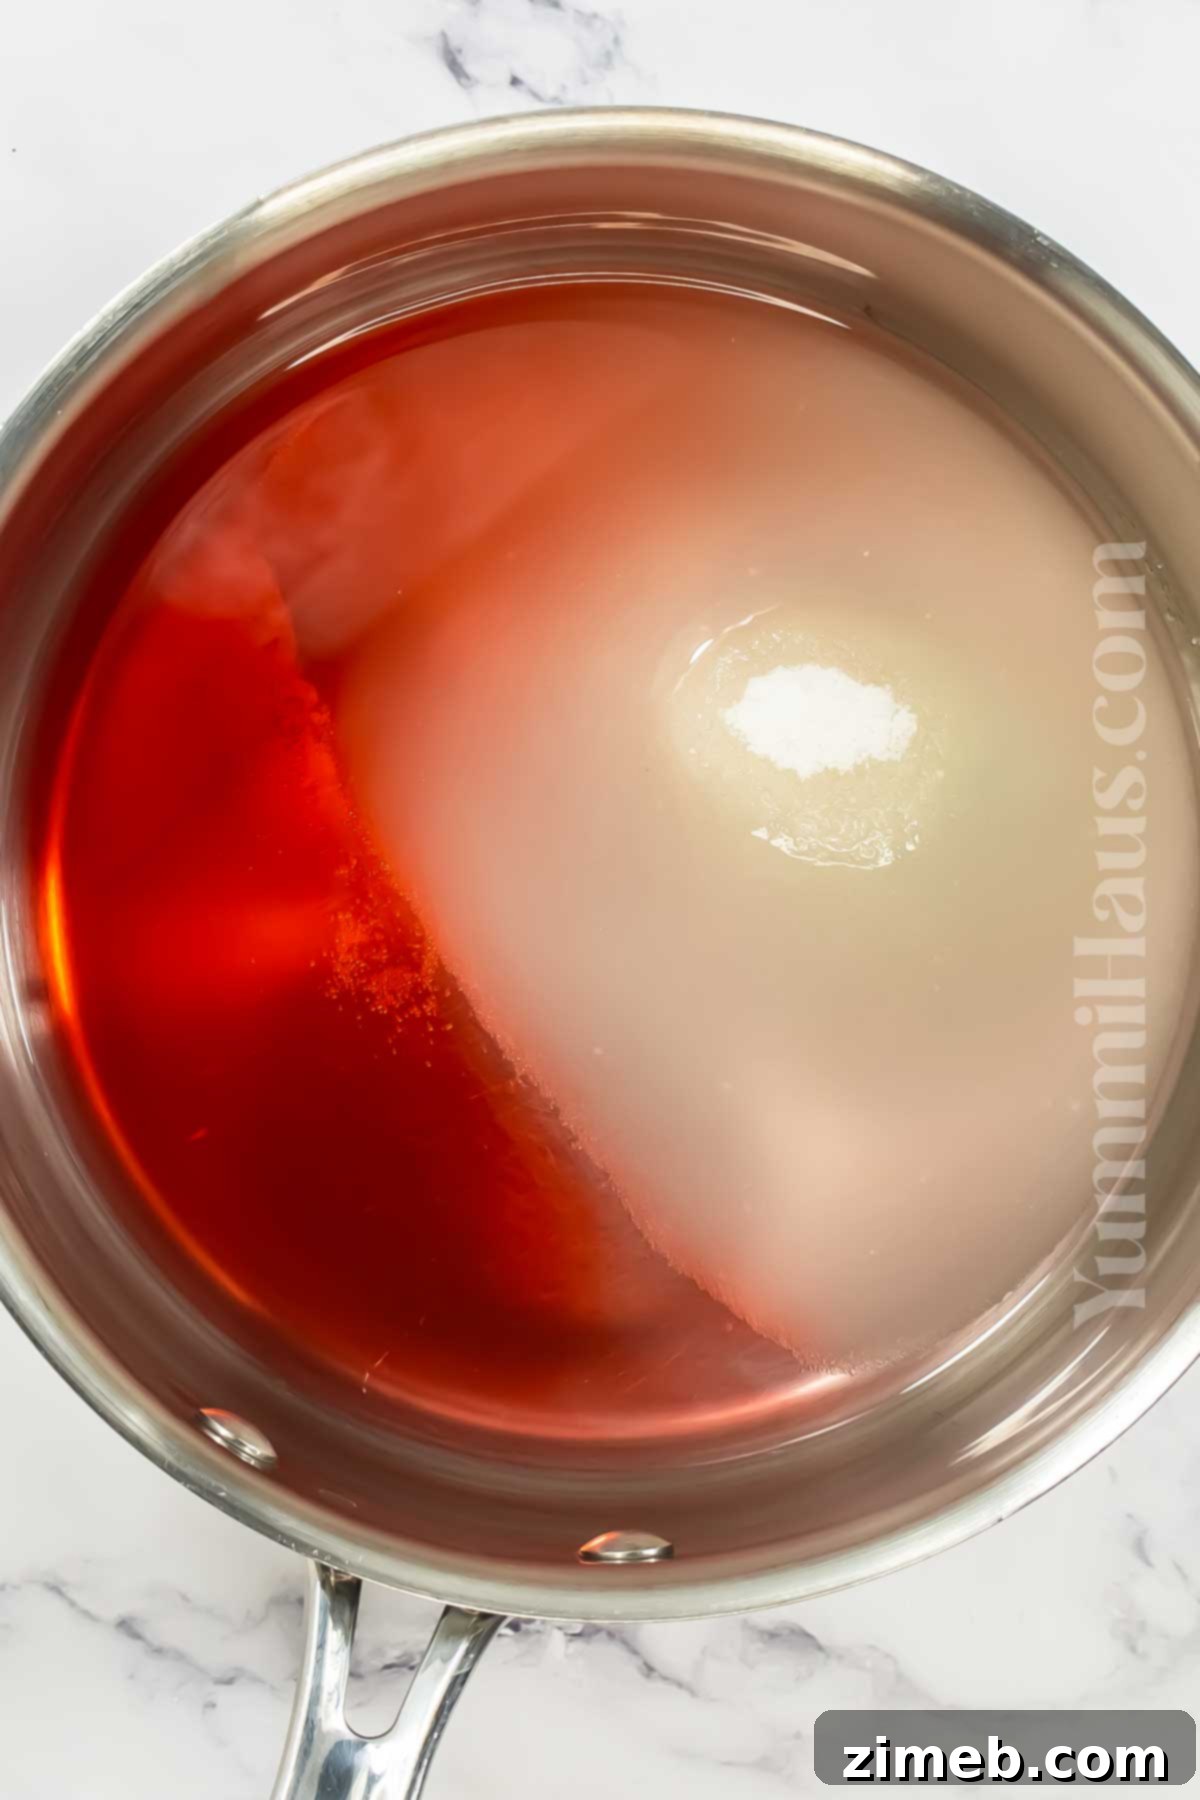
While your cake cools, you can prepare the delicious cherry syrup. Combine the granulated sugar and the reserved cherry juice (from your canned cherries) in a small saucepan. Bring the mixture to a boil over medium-low heat and let it simmer for about 10 minutes, allowing the sugar to fully dissolve and the flavors to meld. Once cooked, set the syrup aside to cool completely. This cooling is important before brushing it onto the cake layers.
4. Whip Up the Fluffy Cream
In the clean, chilled bowl of a stand mixer fitted with a whisk attachment (or using a hand mixer), combine the cold heavy cream and confectioner’s sugar. Start mixing on low speed until the sugar is incorporated. Then, increase the speed to medium-high and continue beating until stiff peaks form. Be careful not to overbeat, as this can turn the cream grainy or buttery. The whipped cream should be light, airy, and hold its shape beautifully.
5. Assemble Your Exquisite White Forest Cake
Now for the most exciting part – assembling your beautiful cake!
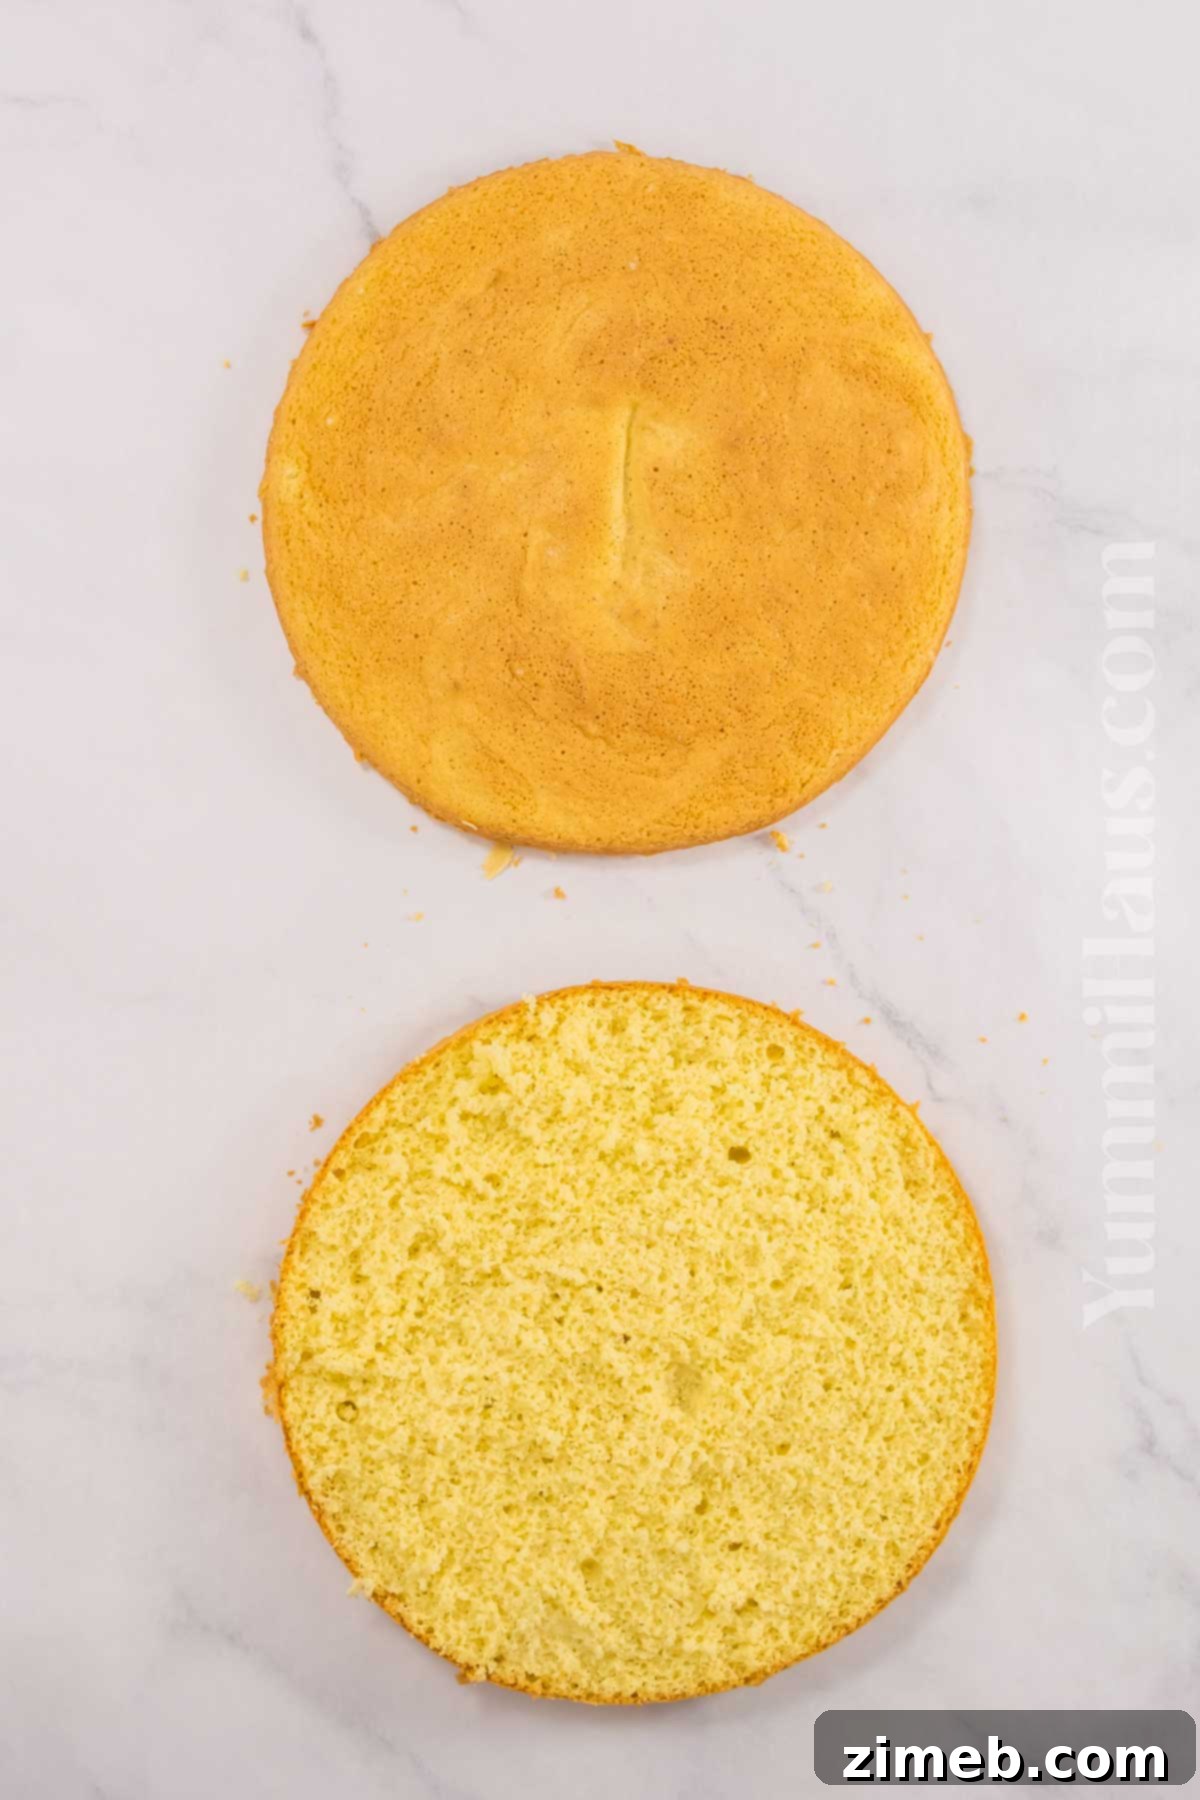
- Level and Slice Cake: Carefully remove the cooled cake from its pan. If your baked cake has a slight dome on top, use a serrated knife to carefully trim it, creating a perfectly even surface. Then, horizontally slice the cake in half, yielding two thinner, even layers.
- Moisten with Syrup: Using a pastry brush, generously coat both cut sides of the cake layers with the cooled cherry syrup. Allow the layers to soak in this sweet and tart goodness, which adds incredible flavor and moisture.
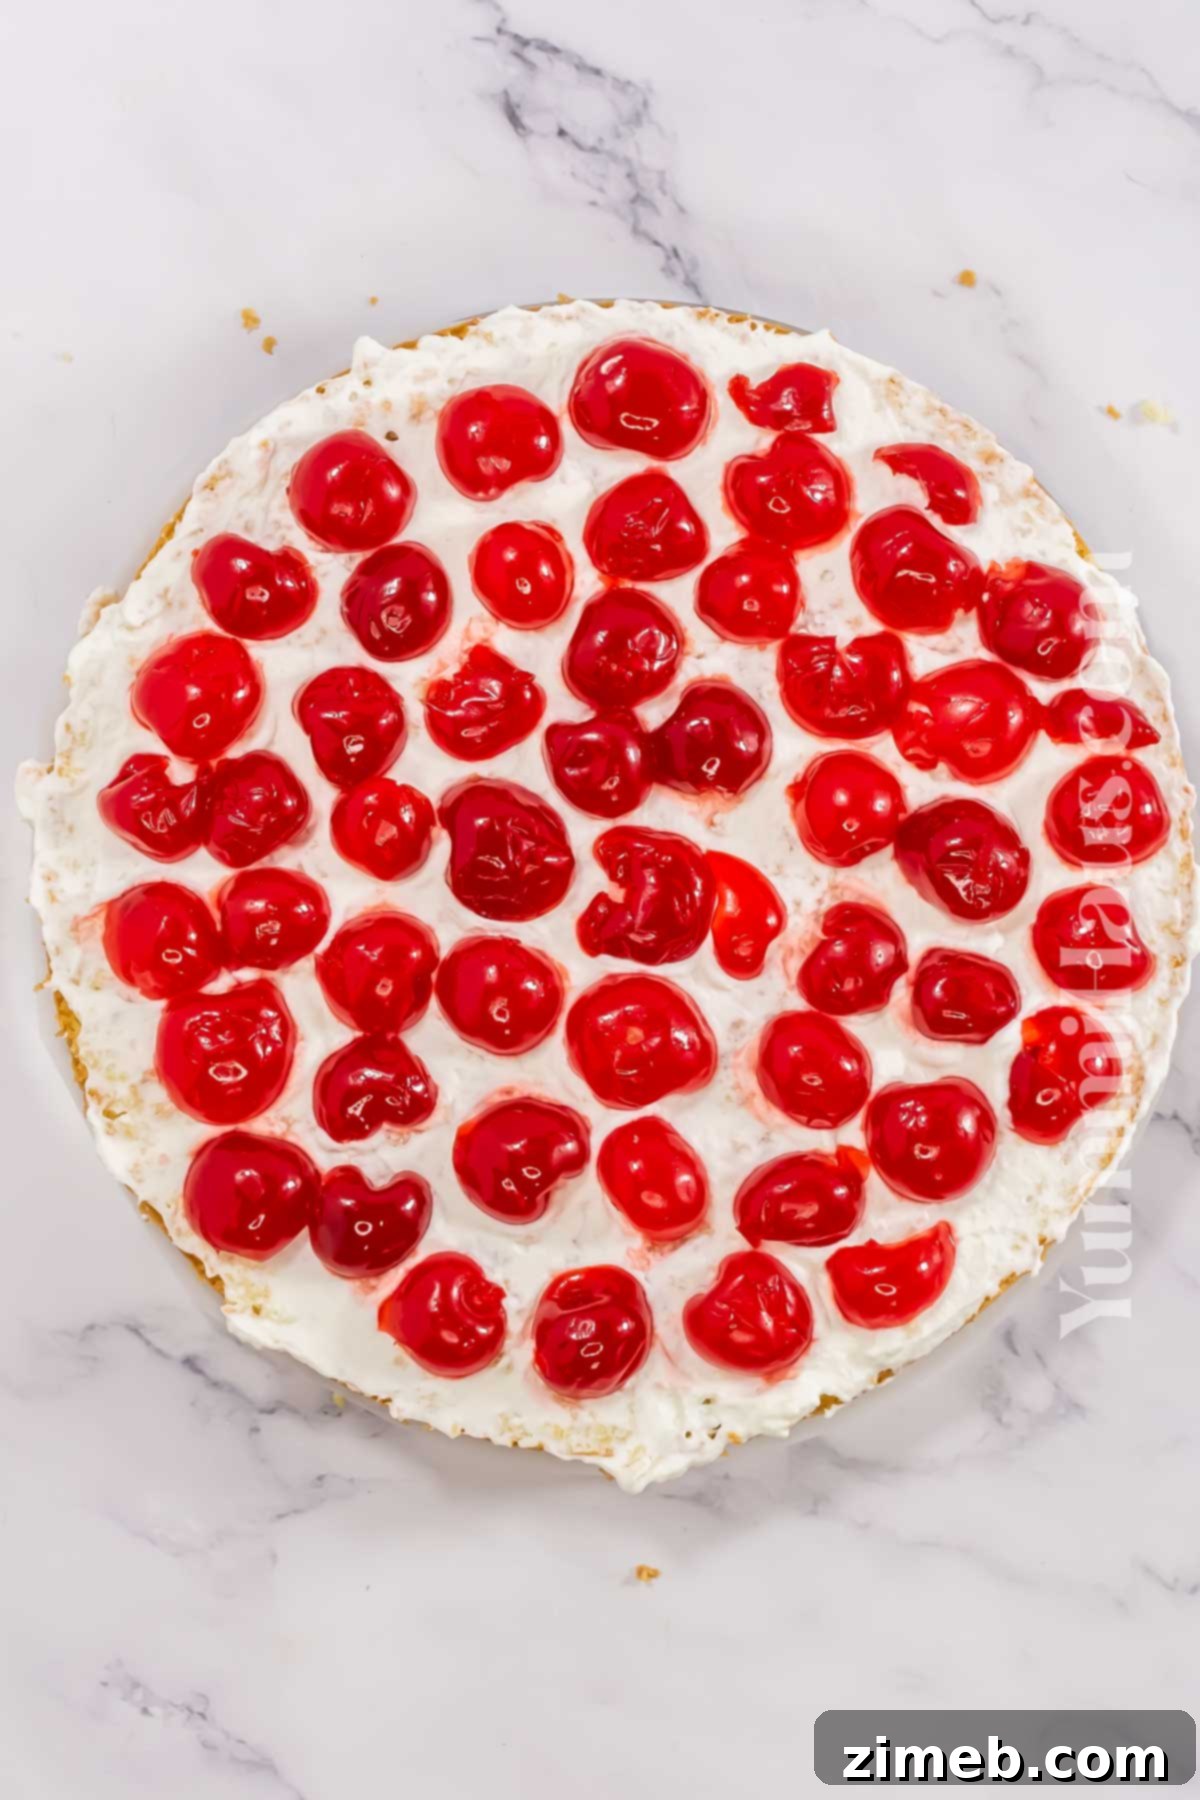
- First Layer of Cream & Cherries: Place one cake layer on your serving plate or cake stand. Spread a thin, even layer of the prepared whipped cream over the bottom half of the cake.
- Add Cherry Filling: Take some of your maraschino or fresh cherries (pitted if fresh), cut them in half if desired, and arrange them evenly on top of the cream layer.
- Second Cake Layer: Carefully position the top half of the cake over the cherries and gently press it into place to secure the layers.
- Frost the Cake: Using an offset spatula, spread an even and generous layer of whipped cream over the sides and the top of the entire cake. Strive for a smooth, clean finish.
- Decorate with White Chocolate: Gently press your white chocolate shavings, curls, or chopped pieces onto the sides of the cake, creating an attractive texture and additional flavor.
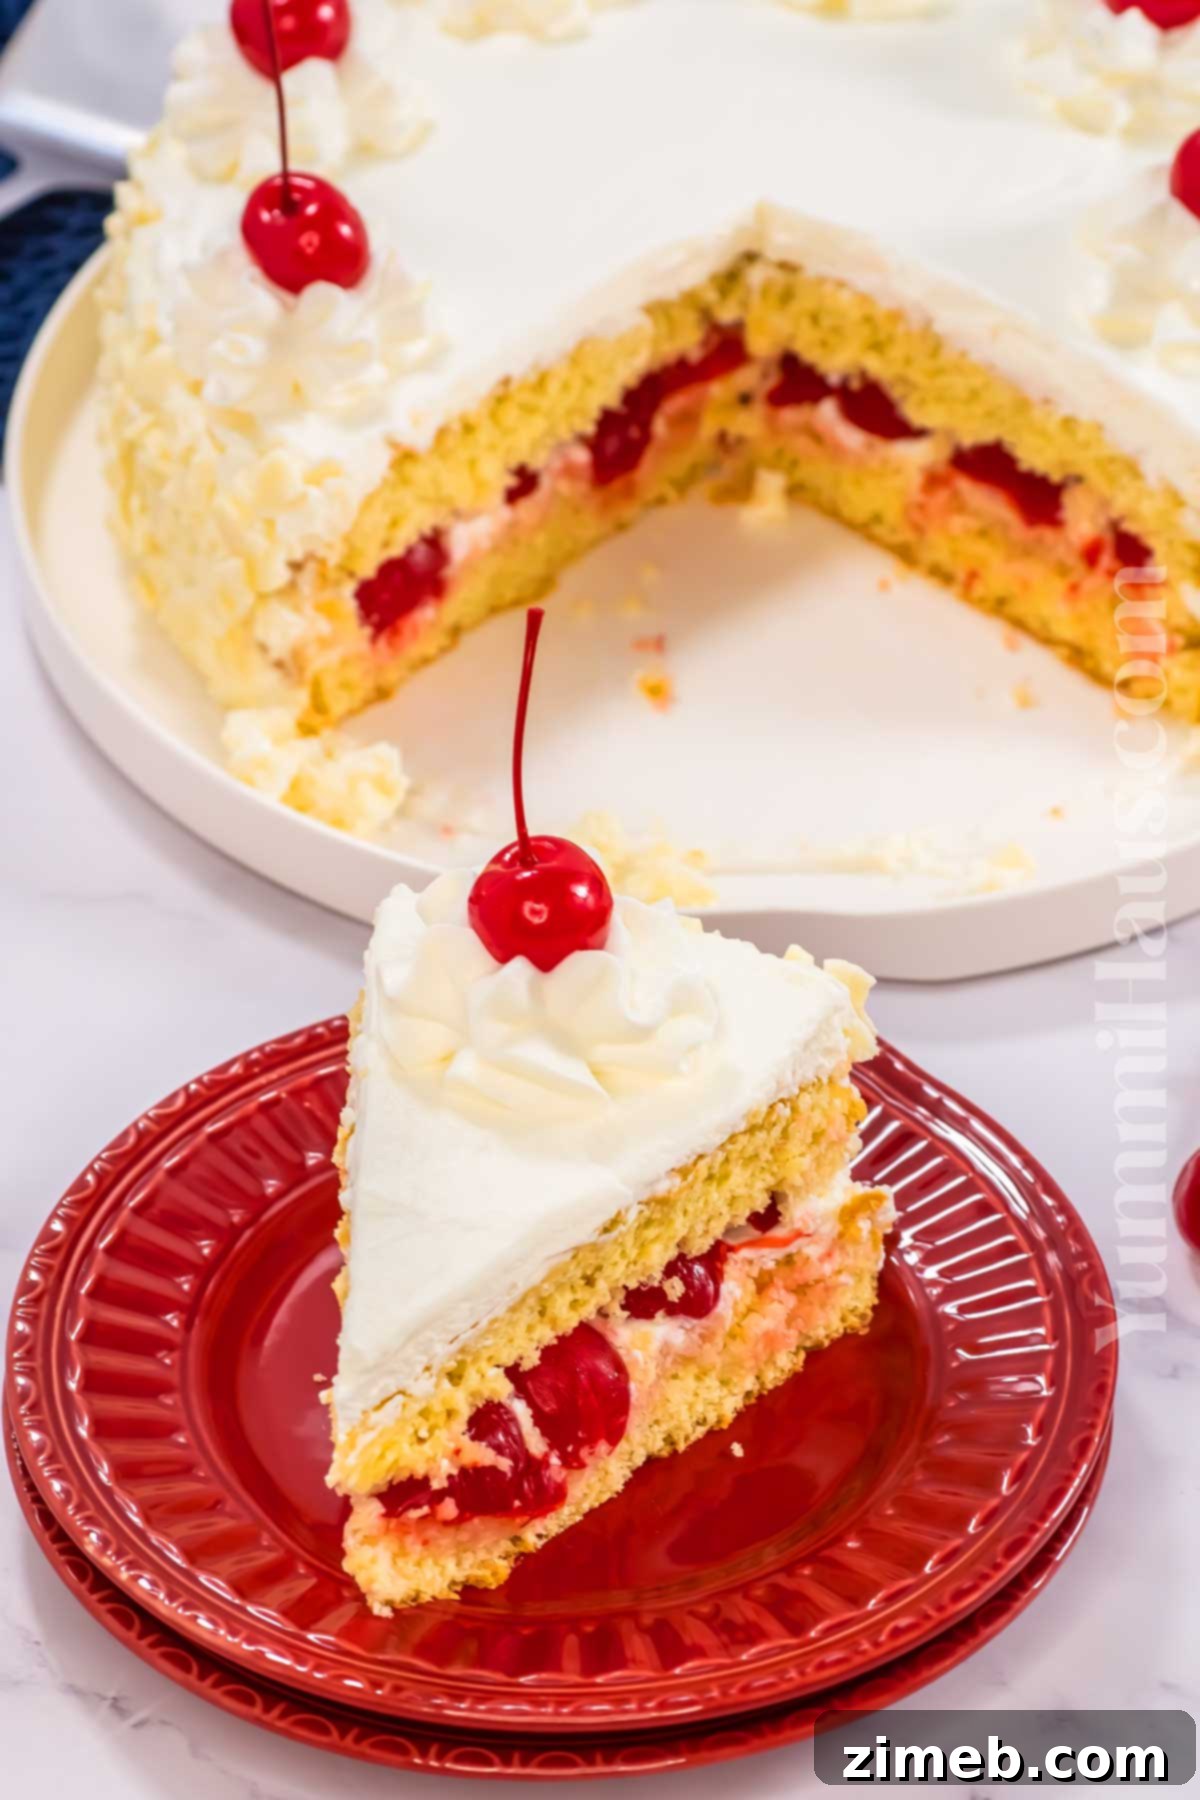
- Pipe Cream Swirls: Transfer the remaining whipped cream into a piping bag fitted with a large star tip. Pipe eight beautiful, generous swirls of cream around the outer edge of the top of the cake.
6. Chill, Garnish, and Serve Your Masterpiece
To ensure your White Forest Cake sets beautifully and is easy to slice, chill it in the refrigerator for at least 2-4 hours. This allows the cream to firm up and the flavors to fully meld.
About 20-30 minutes before you’re ready to serve, take the cake out of the fridge. For a final flourish, insert a whole maraschino or fresh cherry with a stem on top of each piped swirl of cream. This adds a vibrant color contrast and classic elegance.
Optional Decorations: Feel free to get creative with additional garnishes! Beyond white chocolate curls and whole cherries, consider mini white chocolate chips, a sprinkle of fresh lemon zest for brightness, toasted coconut flakes for a tropical hint, thinly sliced almonds for texture, or even a dusting of cocoa powder for a subtle contrast. The options are truly endless, and many ingredients pair wonderfully with the rich cream and vanilla cake.
Once chilled and garnished, your White Forest Cake will be very easy to slice into perfect portions. Serve and enjoy!
Storage Tips for Your White Forest Cake
Proper storage is key to keeping your delicious White Forest Cake fresh and delightful. Store any leftover cake in an airtight container in the refrigerator for up to 2-3 days. This prevents the cake from drying out and ensures the cream remains firm and fresh. For best flavor, allow chilled cake to come to room temperature for 20-30 minutes before serving.
Make-Ahead Strategies for Effortless Baking
Planning ahead can significantly reduce stress on the day of your event. Here’s how you can prepare various components of your White Forest Cake in advance:
- Cake Layers: You can bake the cake layers ahead of time. Once completely cooled, wrap them tightly in plastic wrap. They will stay fresh at room temperature for up to 24 hours. For longer storage, refrigerate them for a couple of days or wrap them in an additional layer of foil and freeze for up to a month. Thaw frozen layers in the refrigerator overnight before assembling.
- Whipped Cream: It’s best to prepare the whipped cream just before you are ready to assemble the cake. Freshly whipped cream has the best texture and stability.
- Cherry Filling/Syrup: The cherry filling or syrup can be made 4-5 days in advance. Store it in an airtight container in the refrigerator until ready to use. This allows the flavors to deepen beautifully.
Creative Substitutions & Delicious Variations
Customizing your White Forest Cake is easy and fun! Here are some ideas to adapt the recipe to your preferences or what you have on hand:
- For a Richer, Creamier Cake Batter: To achieve an even more moist and tender crumb, consider incorporating some vegetable oil or melted unsalted butter into your batter. For unparalleled richness and a delicate tang, a spoonful of sour cream or plain full-fat yogurt can be added, yielding an incredibly decadent texture.
- Missing the Boozy Element? If you enjoy the hint of liquor found in traditional Black Forest Cake, you can easily add it to this white version. Incorporate Kirschwasser (cherry liquor), a complementary fruit liqueur, or even a splash of bourbon into the cherry filling. Alternatively, brush the cooled cake layers with Amaretto or a cherry brandy instead of the simple syrup for an adult twist.
- Homemade Fresh Cherry Filling: For a truly vibrant and fresh flavor, make your own cherry filling. Combine pitted fresh cherries with a tablespoon of cornstarch (to thicken), a squeeze of lemon juice, and a few tablespoons of sugar in a small bowl. Transfer this mixture to a saucepan over low-medium heat. Bring it to a gentle simmer, then reduce the heat and let it cook for about 5 minutes, stirring occasionally, until the sauce has thickened. Cool completely before spreading over your cake layers.
- To Make an Eggless Cake: While this recipe relies on eggs for structure, you can adapt it to be eggless. Simply omit the eggs and compensate by adding both baking powder and baking soda to the dry ingredients (e.g., 1 tsp baking powder and ½ tsp baking soda). A touch of vegetable oil will also help maintain moisture. The baking time might be slightly longer, so check for doneness carefully.
- Effortless Chocolate Shavings: Creating elegant white chocolate shavings is much easier if you start with a very cold chocolate bar. Pop your white chocolate bar into the freezer for 10-15 minutes. Then, use a sharp vegetable peeler or a thin, sharp knife to gently scrape along the edges of the bar, creating beautiful curls and shavings for garnish.
Expert Tips for Baking Your Best White Forest Cake
Achieving a bakery-worthy White Forest Cake is within reach with these helpful tips:
- Prevent a Soggy Cake: Always ensure you thoroughly drain any excess liquid from the cherries you are using, especially if they are canned or thawed. Too much moisture can make your cake layers unpleasantly soggy.
- Accurate Flour Measurement: For consistent results, especially with delicate sponge cakes, measure your flour precisely. Always fluff the flour first, then use the “scoop and level” method (scooping flour into your measuring cup and leveling off the top with a straight edge). For ultimate accuracy, use a digital kitchen scale.
- Trimming Cake Layers: If you find your cake layers are too crumbly to trim evenly, place them in the freezer for 20-30 minutes. The cold will firm them up, making them much easier to slice cleanly without excessive crumbling.
- Don’t Overwork Whipped Cream: Be vigilant when whipping cream. Stop as soon as stiff peaks form. Overworking whipped cream can quickly turn it grainy, watery, or even into butter, losing its light and fluffy texture.
- Utilize Offset Spatulas: These specialized spatulas are a baker’s best friend for frosting. Their angled blade makes it significantly easier to spread cream smoothly and evenly over the top and sides of the cake, helping you achieve a professional-looking finish.
- Batch Baking Strategy: If you’re baking multiple layers or a double batch of cake, keep the unbaked batter refrigerated until you are ready to bake each pan. This ensures consistent rising and texture across all layers.
Frequently Asked Questions About White Forest Cake
Here are answers to some common questions about this delightful dessert:
How Does White Forest Cake Taste?
This White Forest Cake offers a truly harmonious blend of sweet and tart flavors, alongside a delightful interplay of textures. The light, vanilla-infused sponge cake provides a delicate foundation, which is beautifully complemented by generous layers of sweet, fluffy whipped cream. Bursting with flavor, the juicy cherries deliver a bright, tart counterpoint that cuts through the richness of the cream and the delicate sweetness of the white chocolate shavings. Each bite is a symphony of soft cake, smooth cream, crunchy chocolate, and the refreshing pop of fruit, creating an incredibly indulgent yet balanced dessert experience.
Is There a Difference Between White Cake and Vanilla Cake?
Yes, there is a subtle but notable difference between white cake and vanilla cake, primarily concerning their color and, sometimes, their flavoring. Traditional white cake recipes typically exclude egg yolks, using only egg whites to achieve a pure, pristine white crumb. This focus on color often means they might not always feature a prominent flavoring extract, aiming for a cleaner, more neutral taste that allows other elements (like frosting) to shine.
In contrast, vanilla cake recipes frequently use whole eggs, resulting in a slightly creamier or yellowish crumb. The defining characteristic of a vanilla cake is the presence of vanilla extract (or vanilla bean paste), which is its primary flavor. While many white cakes are flavored with vanilla, a cake specifically labeled “vanilla cake” ensures that delightful aroma and taste are at its core, regardless of the egg components.
What Can I Add to White Cake Mix to Make It Taste Better?
Elevating a store-bought white cake mix is simple and can yield fantastic results. To make it richer and more moist, replace the water with milk or even buttermilk (which adds a lovely tang). For enhanced flavor, incorporate additional flavoring extracts like a high-quality vanilla extract, almond extract for a delicate nutty note, lemon extract for brightness, or coconut extract for a tropical twist. Stirring in some white chocolate chips or finely chopped white chocolate chunks into the batter before baking will also add pockets of creamy sweetness, making your cake mix taste truly homemade and irresistible.
If you love this elegant cake recipe, you’re sure to enjoy these other delightful cake creations too. Click each link below to discover easy, printable recipes that will inspire your next baking adventure!
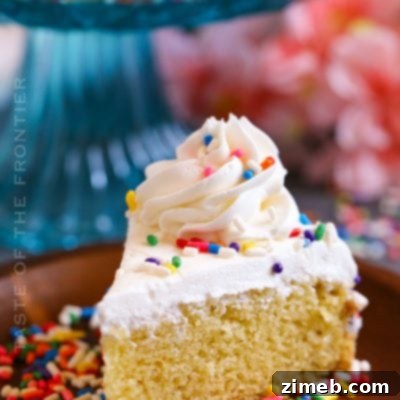
Elevate your special day with this charming Small Birthday Cake that proves good things truly come in small packages.
Check out this recipe
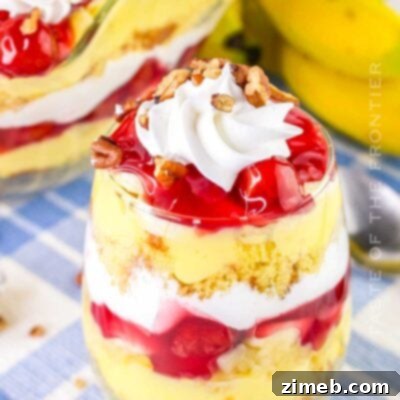
Classic Punch Bowl cake with layers of sweet cherry pie filling, crushed juicy pineapples, bananas, and fluffy whipped topping is SO GOOD.
Check out this recipe
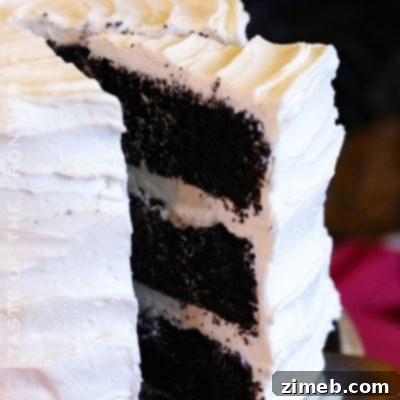
This Black Velvet Cake decorated as a Mummy Cake for Halloween is perfect for a spooky celebration. Rich, flavorful, and easy to make!
Check out this recipe
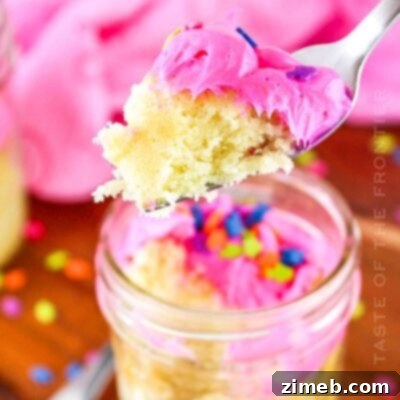
Perfect for gifting or enjoying on the go, these individual-sized Cake in a Jar treats offer layers of moist cake and creamy frosting in a portable jar. Easy to make, customizable, and utterly delicious!
Check out this recipe
Single-layer chocolate cake made with creamy Nutella and topped with Chocolate Whipped Cream or a homemade Nutella buttercream frosting.
Check out this recipe
Explore More Black Forest Inspired Delights
If you’re a fan of the classic cherry and chocolate pairing, you’ll adore these other Black Forest themed recipes:
- Black Forest Ice Cream
- Classic Black Forest Cake
CONNECT WITH YUMMI HAUS!
Be sure to follow us on our social media channels so you never miss a delicious post!
Substack, Facebook, Pinterest, Instagram, Email Subscription
White Forest Cake
Servings: 8 servings
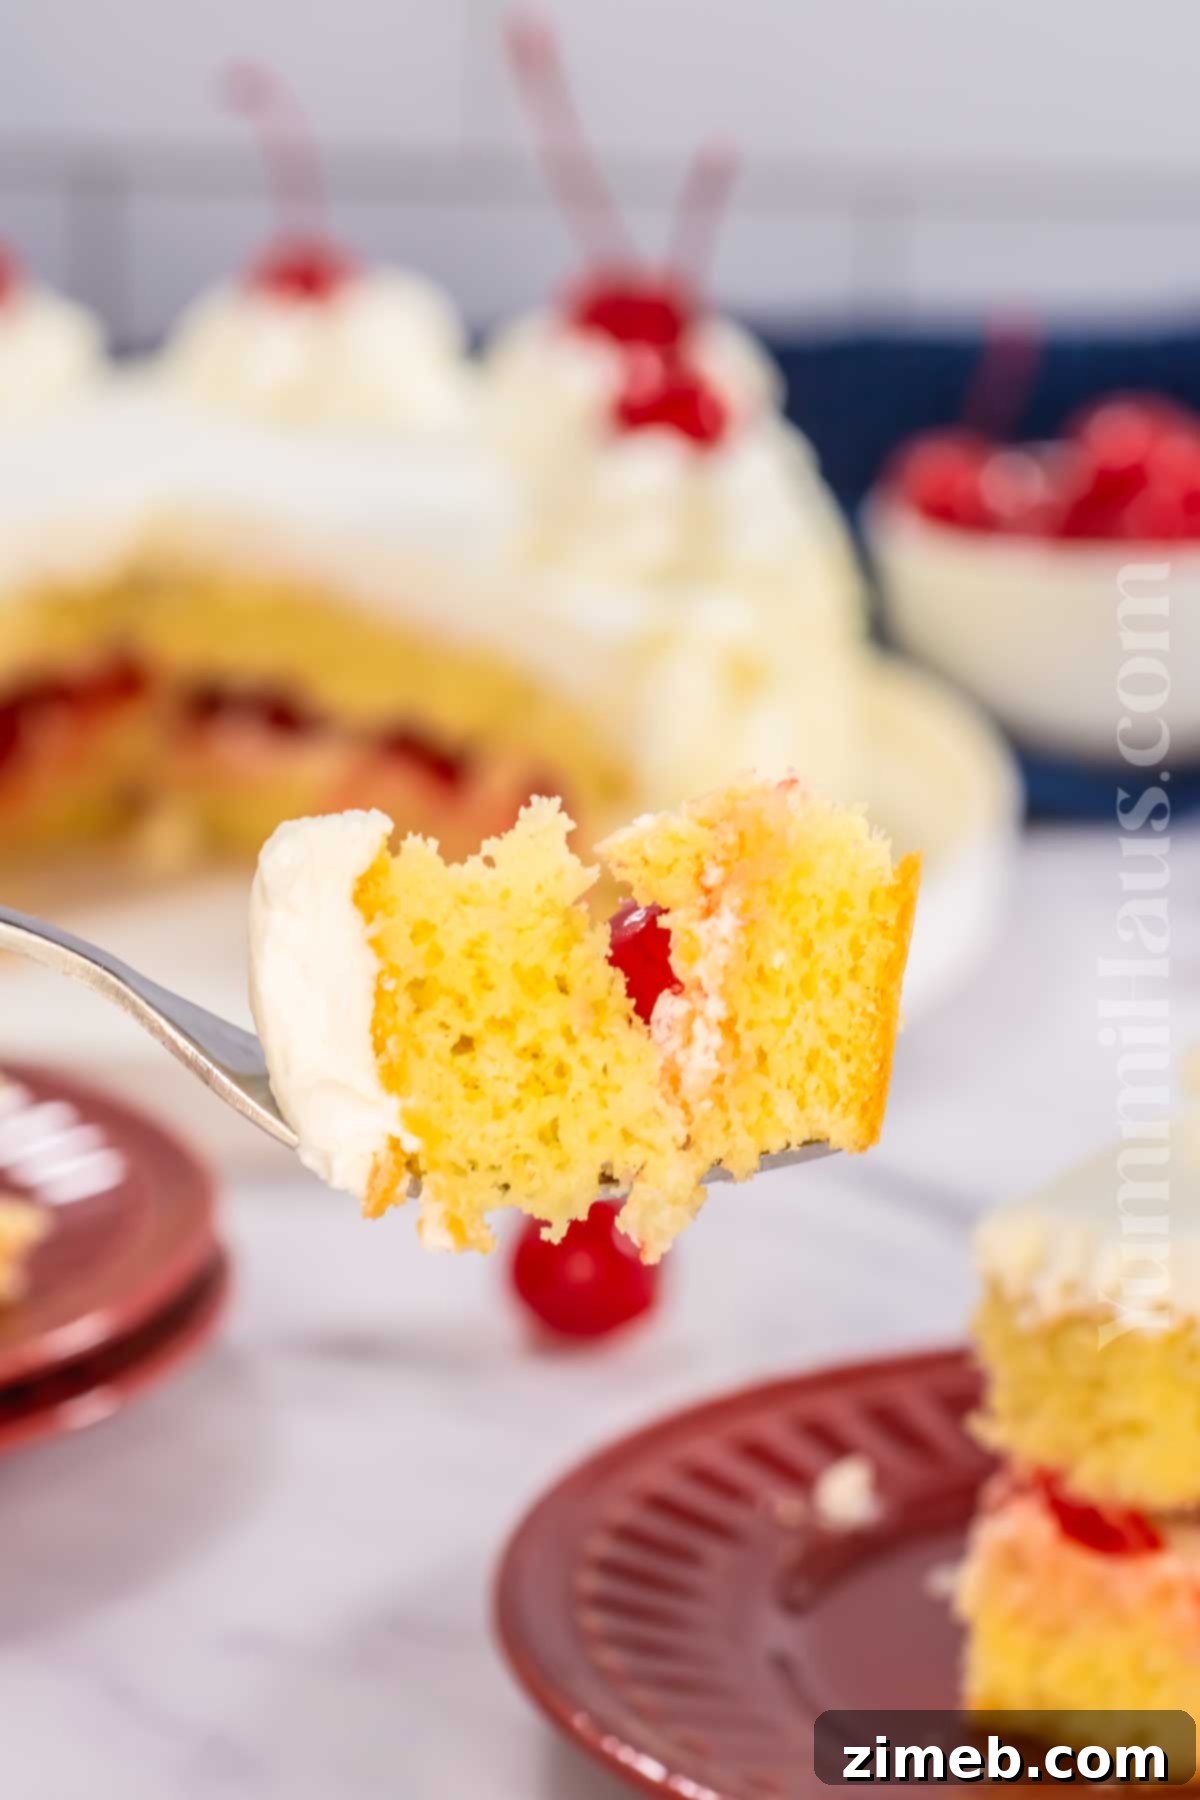
White Forest Cake features a light vanilla sponge cake, whipped cream, luscious white chocolate shavings, and a burst of cherry filling.
Pin Recipe
Cook Time: 25 mins
Decorate/Chill Time: 4 hrs
Total Time: 4 hrs 45 mins
Ingredients
Cake
- 3 large eggs, room temperature
- ½ cup granulated sugar
- 1 tsp pure vanilla extract
- 1 cup all-purpose flour (or cake flour)
- 1 tbsp cornstarch (omit if using cake flour)
Syrup
- ⅓ cup granulated sugar
- ½ cup cherry juice (from canned cherries or fresh)
Cream
- 2 ½ cups heavy cream (full fat, 36%+)
- ¼ cup confectioner’s sugar
Filling/Decoration
- 12 oz maraschino cherries (or fresh, pitted)
- ½ cup white chocolate, melted and broken into shavings/pieces
Instructions
Cake
- Preheat the oven to 350 degrees F (175 C).
- Line an 8-inch round cake pan with parchment paper, grease the bottom and sides, and dust lightly with flour. Set aside.
- Combine the eggs, granulated sugar, and vanilla extract in a double boiler.
- Heat the mixture over simmering water, stirring constantly, until the sugar is dissolved and it reaches 104 degrees F (40 C).
- Carefully transfer the mixture to a stand mixer bowl. Beat on medium-high speed for about 10 minutes until tripled in volume and pale.
- Gently fold in the all-purpose flour and cornstarch in small increments until just combined, being careful not to deflate the batter.
- Transfer the batter to the prepared pan, ensuring it’s not filled to the brim.
- Bake for 25-30 minutes, or until the center is set, a toothpick comes out clean, and the cake is golden brown.
- Allow the cake to cool completely in the pan on a wire rack before assembling.
Syrup
- In a small saucepan, combine ⅓ cup granulated sugar and ½ cup cherry juice.
- Bring to a boil over medium-low heat, then cook for 10 minutes until slightly thickened. Set aside to cool completely.
Whipped Cream
- In a stand mixer bowl, combine 2 ½ cups cold heavy cream and ¼ cup confectioner’s sugar.
- Stir on low speed until combined, then increase to medium-high, beating until stiff peaks form. Avoid overbeating.
Assemble
- Carefully remove the cooled cake from its pan. If domed, trim the top to create an even surface. Slice the cake horizontally into two thinner layers.
- Using a pastry brush, generously coat both cut sides of the cake layers with the cooled cherry syrup.
- Place one cake layer on your serving plate. Spread a thin layer of whipped cream over it.
- Cut some maraschino cherries in half and arrange them over the cream.
- Position the second cake layer on top of the cherries and gently press into place.
- Spread an even layer of whipped cream over the sides and top of the entire cake.
- Gently press the white chocolate shavings or pieces onto the sides of the cake.
- Transfer the remaining whipped cream to a piping bag fitted with a large star tip.
- Pipe eight large swirls around the outer edge of the top of the cake.
- Chill the cake in the refrigerator for 2-4 hours to allow it to set.
- Before serving, take the cake out of the fridge for 20-30 minutes. Insert a whole cherry on top of each piped cream swirl.
- Slice and serve your beautiful White Forest Cake.
Notes
Storage: Store leftover White Forest Cake in an airtight container in the refrigerator for up to 2 days. For best taste, allow to come to room temperature for 20-30 minutes before serving.
Nutrition
Serving: 1 serving | Calories: 573 kcal | Carbohydrates: 66g | Protein: 7g | Fat: 32g | Saturated Fat: 20g | Cholesterol: 148mg | Sodium: 57mg | Potassium: 178mg | Fiber: 2g | Sugar: 51g | Vitamin C: 1mg | Calcium: 108mg | Iron: 1mg | Net Carbohydrates: 61g
Nutritional information for the recipe is provided as a courtesy and is approximate. Please double-check with your own dietary calculator for the best accuracy. We at Yummi Haus cannot guarantee the accuracy of the nutritional information given for any recipe on this site.
Love this recipe?
Follow @KleinworthCo for even more tasty recipes!