
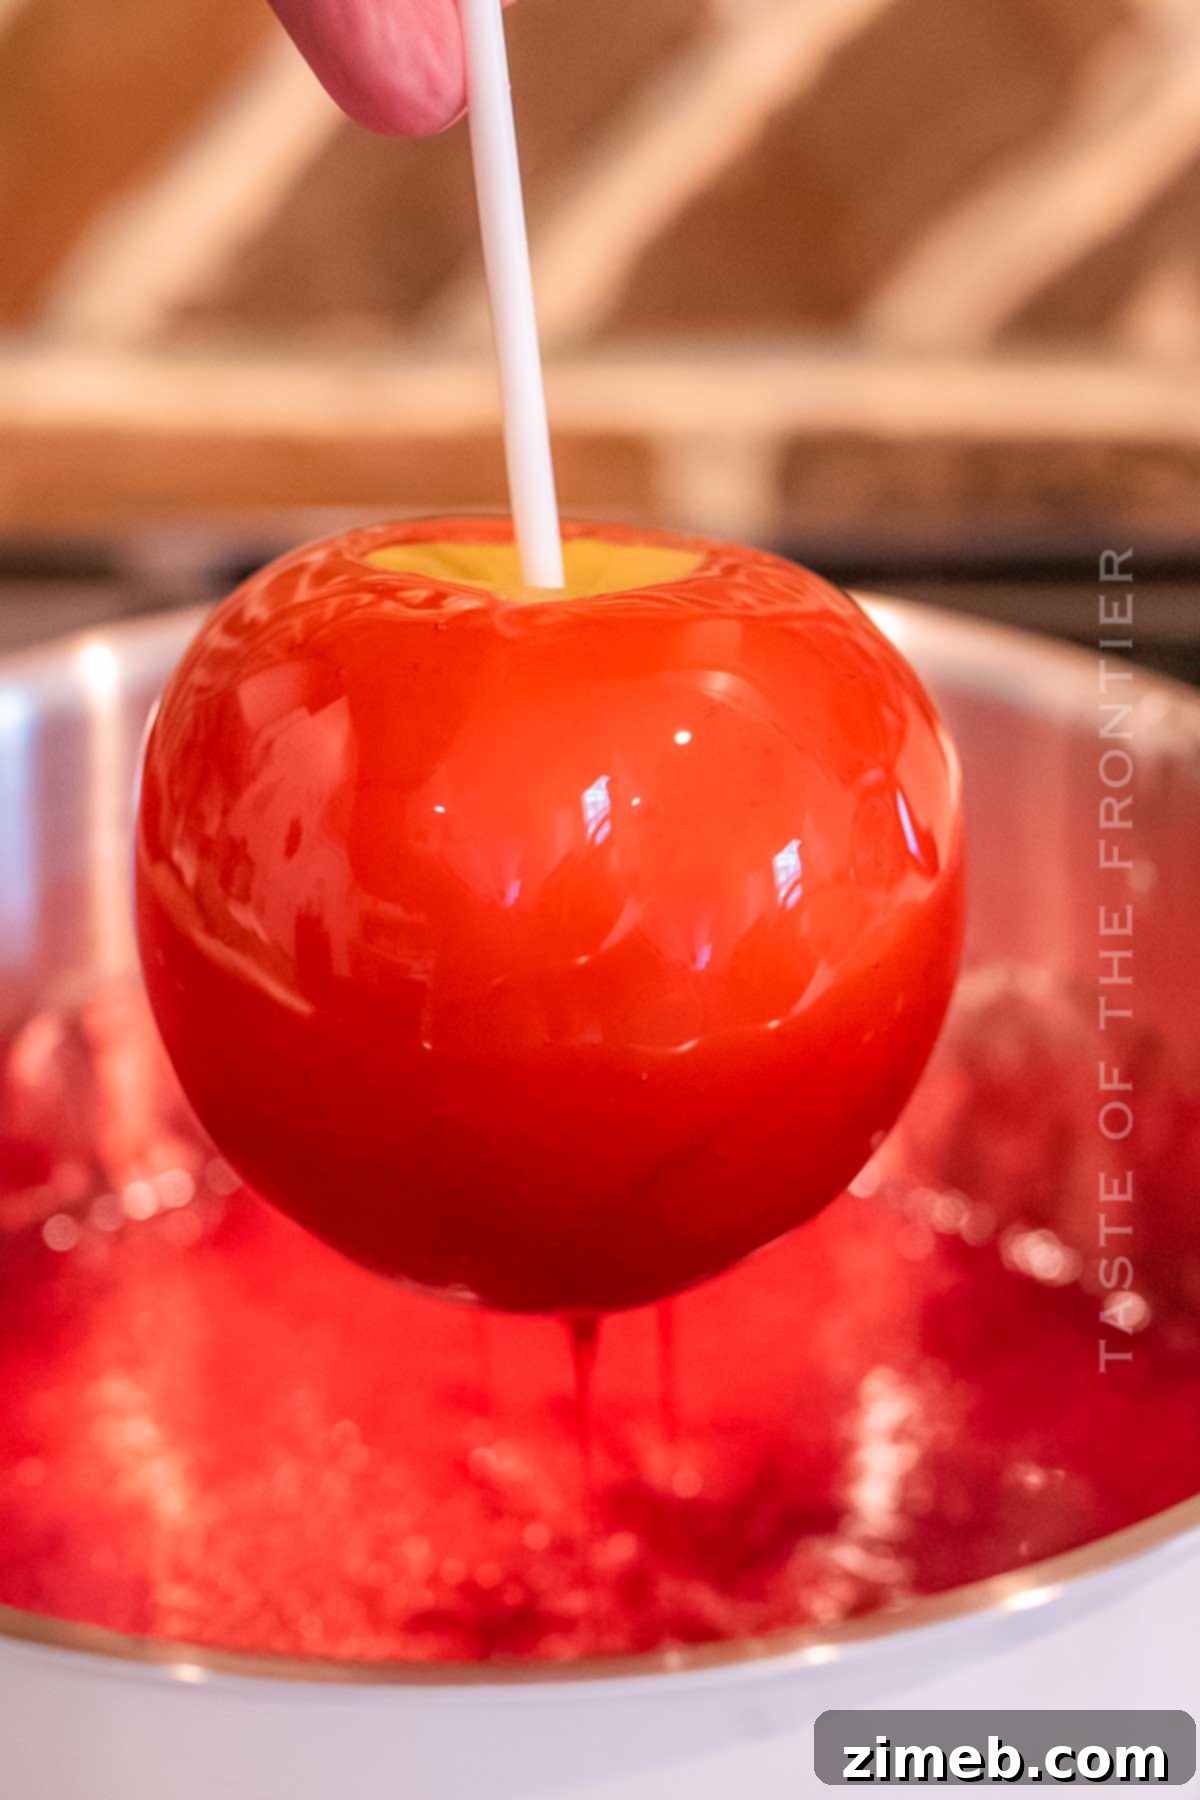
Step into a world of sweet nostalgia with our incredibly easy, 4-ingredient candied apples recipe! This classic treat, adored by both adults and children, is the perfect way to celebrate the vibrant flavors of the harvest season. Imagine biting into a crisp, juicy apple, enveloped in a glistening, hard candy shell – a truly irresistible delight that brings back cherished childhood memories and creates new ones.
Candied apples aren’t just a dessert; they’re an experience. They embody the essence of autumn, making them a quintessential sweet treat for fall gatherings, Halloween parties, or simply as a delightful indulgence any time you crave that perfect balance of sweet and tart, sticky and crunchy. This recipe simplifies the process, ensuring you can create these iconic confections with minimal effort and maximum enjoyment, transforming fresh apples into dazzling, handheld works of art.
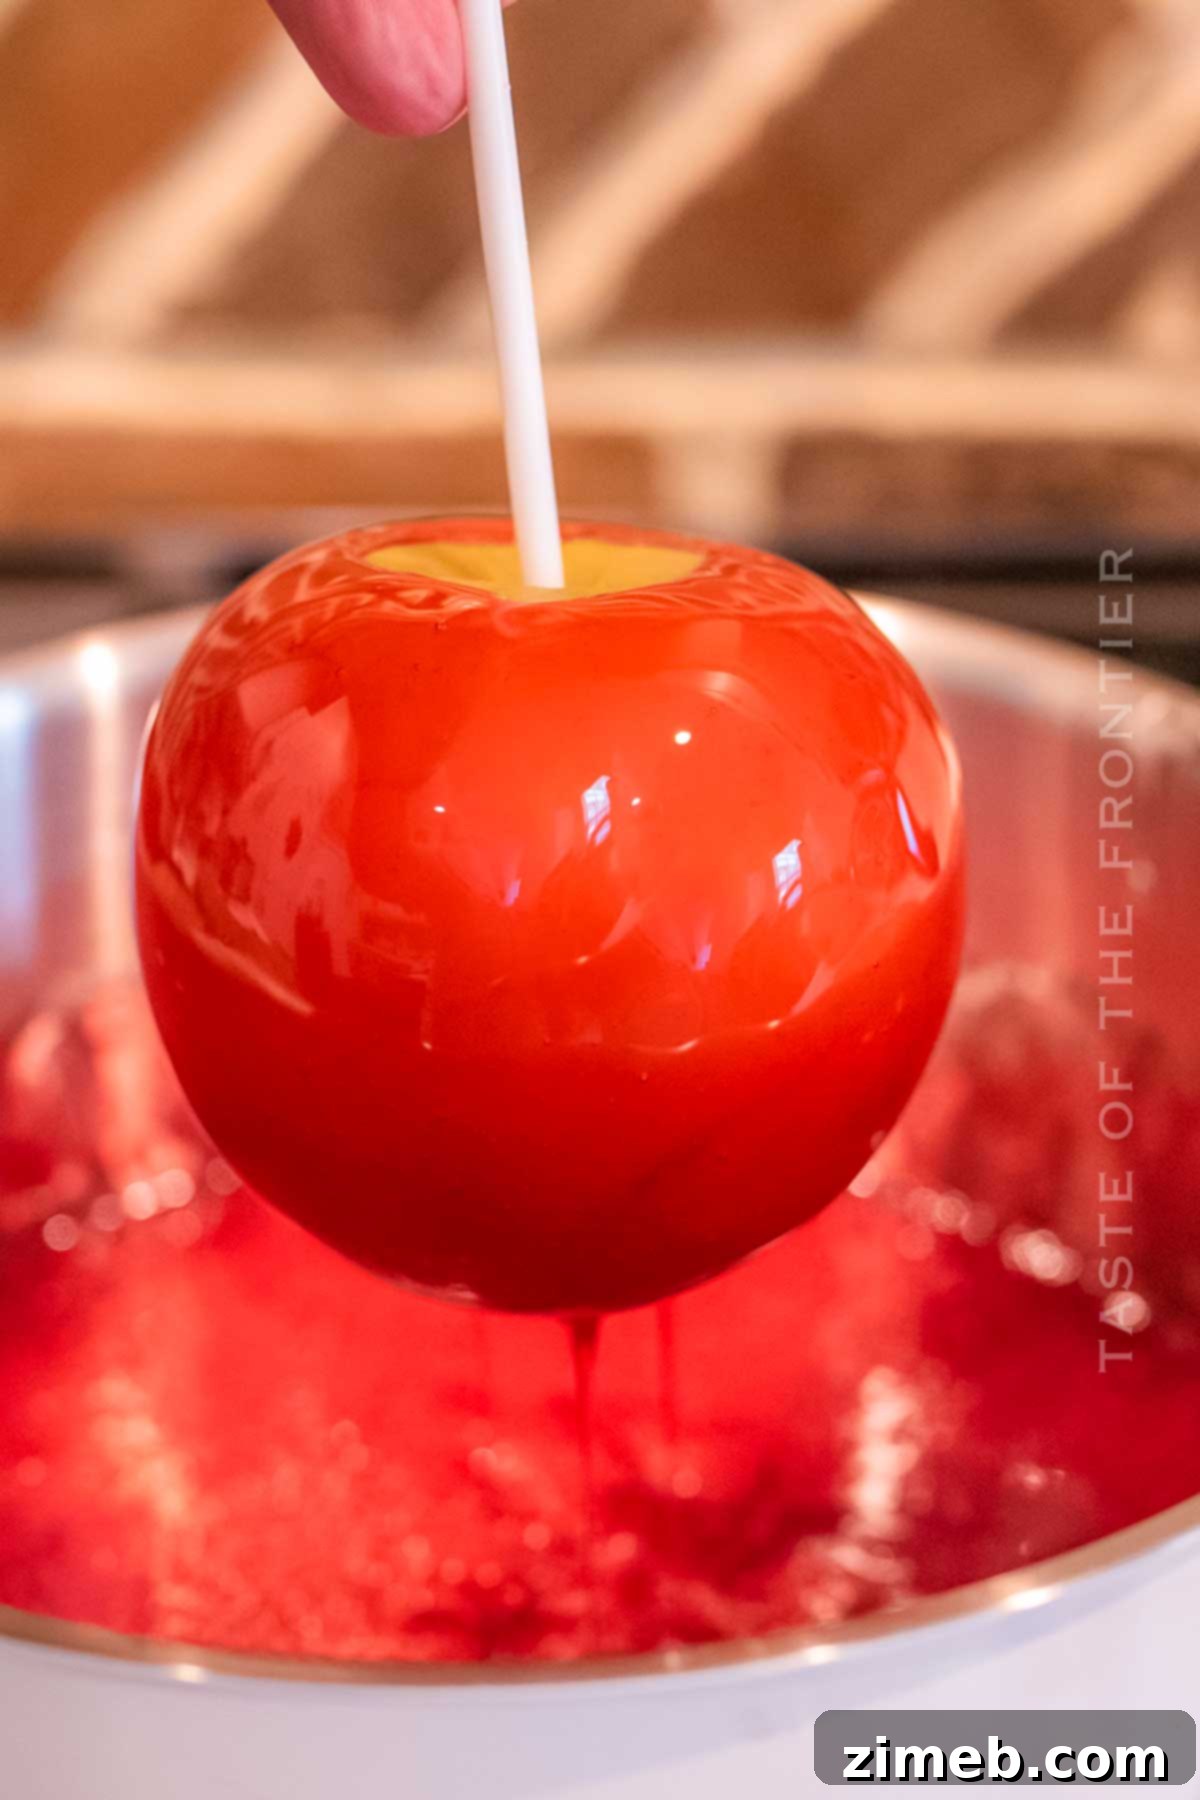
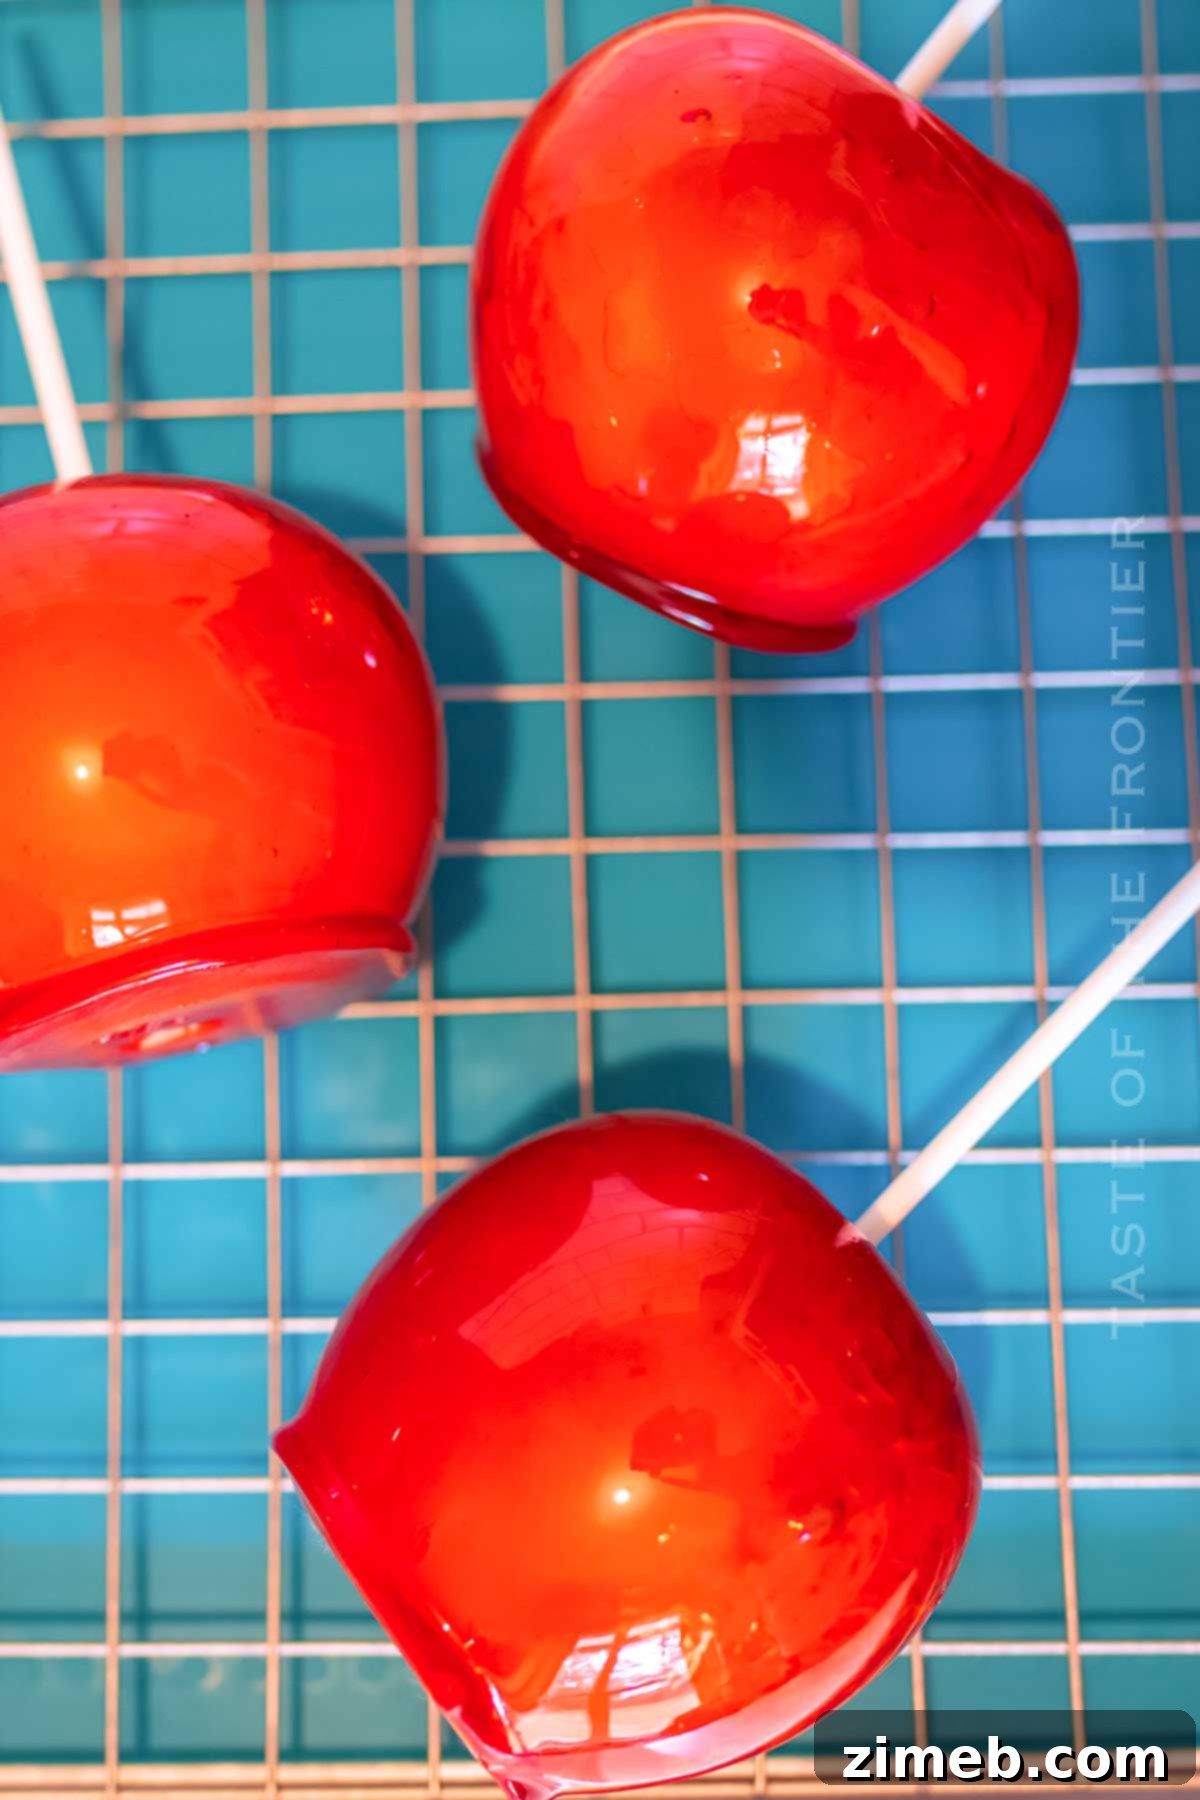
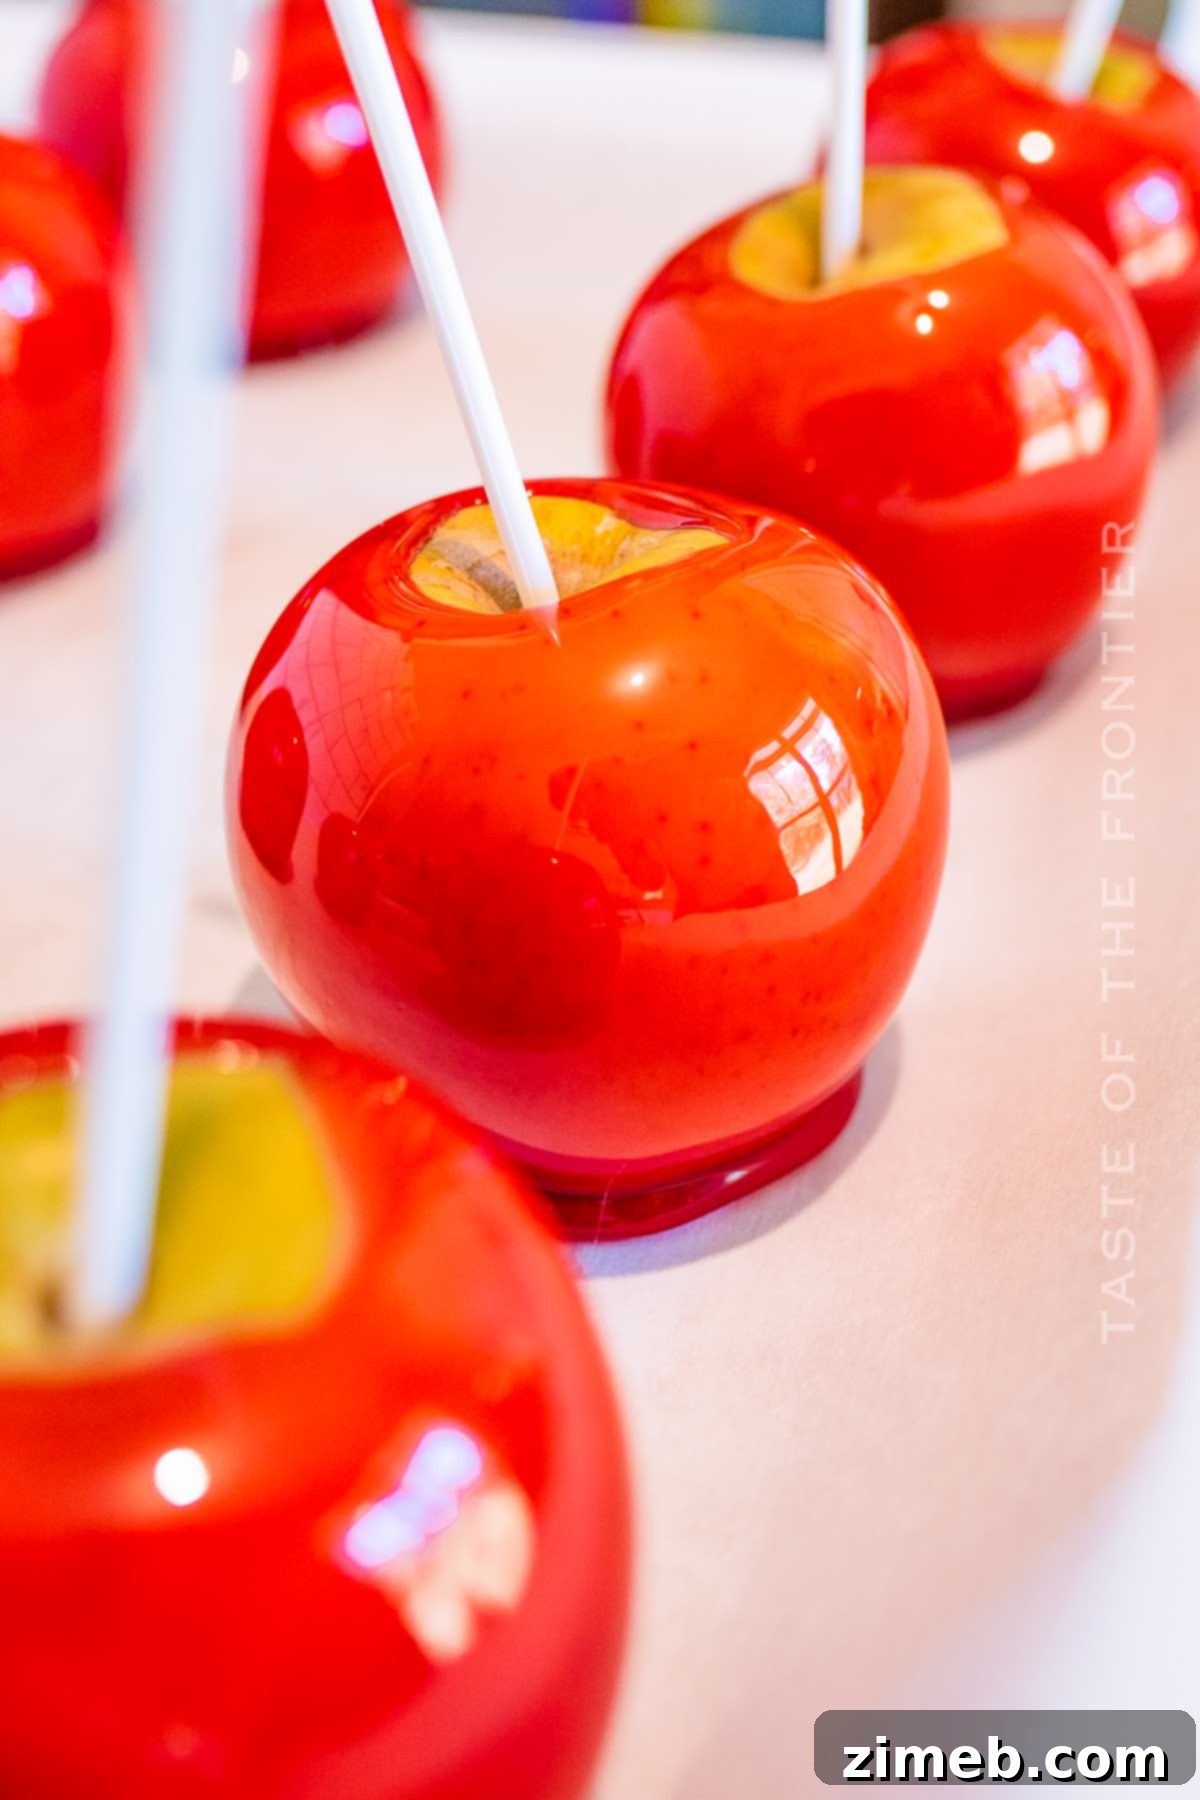
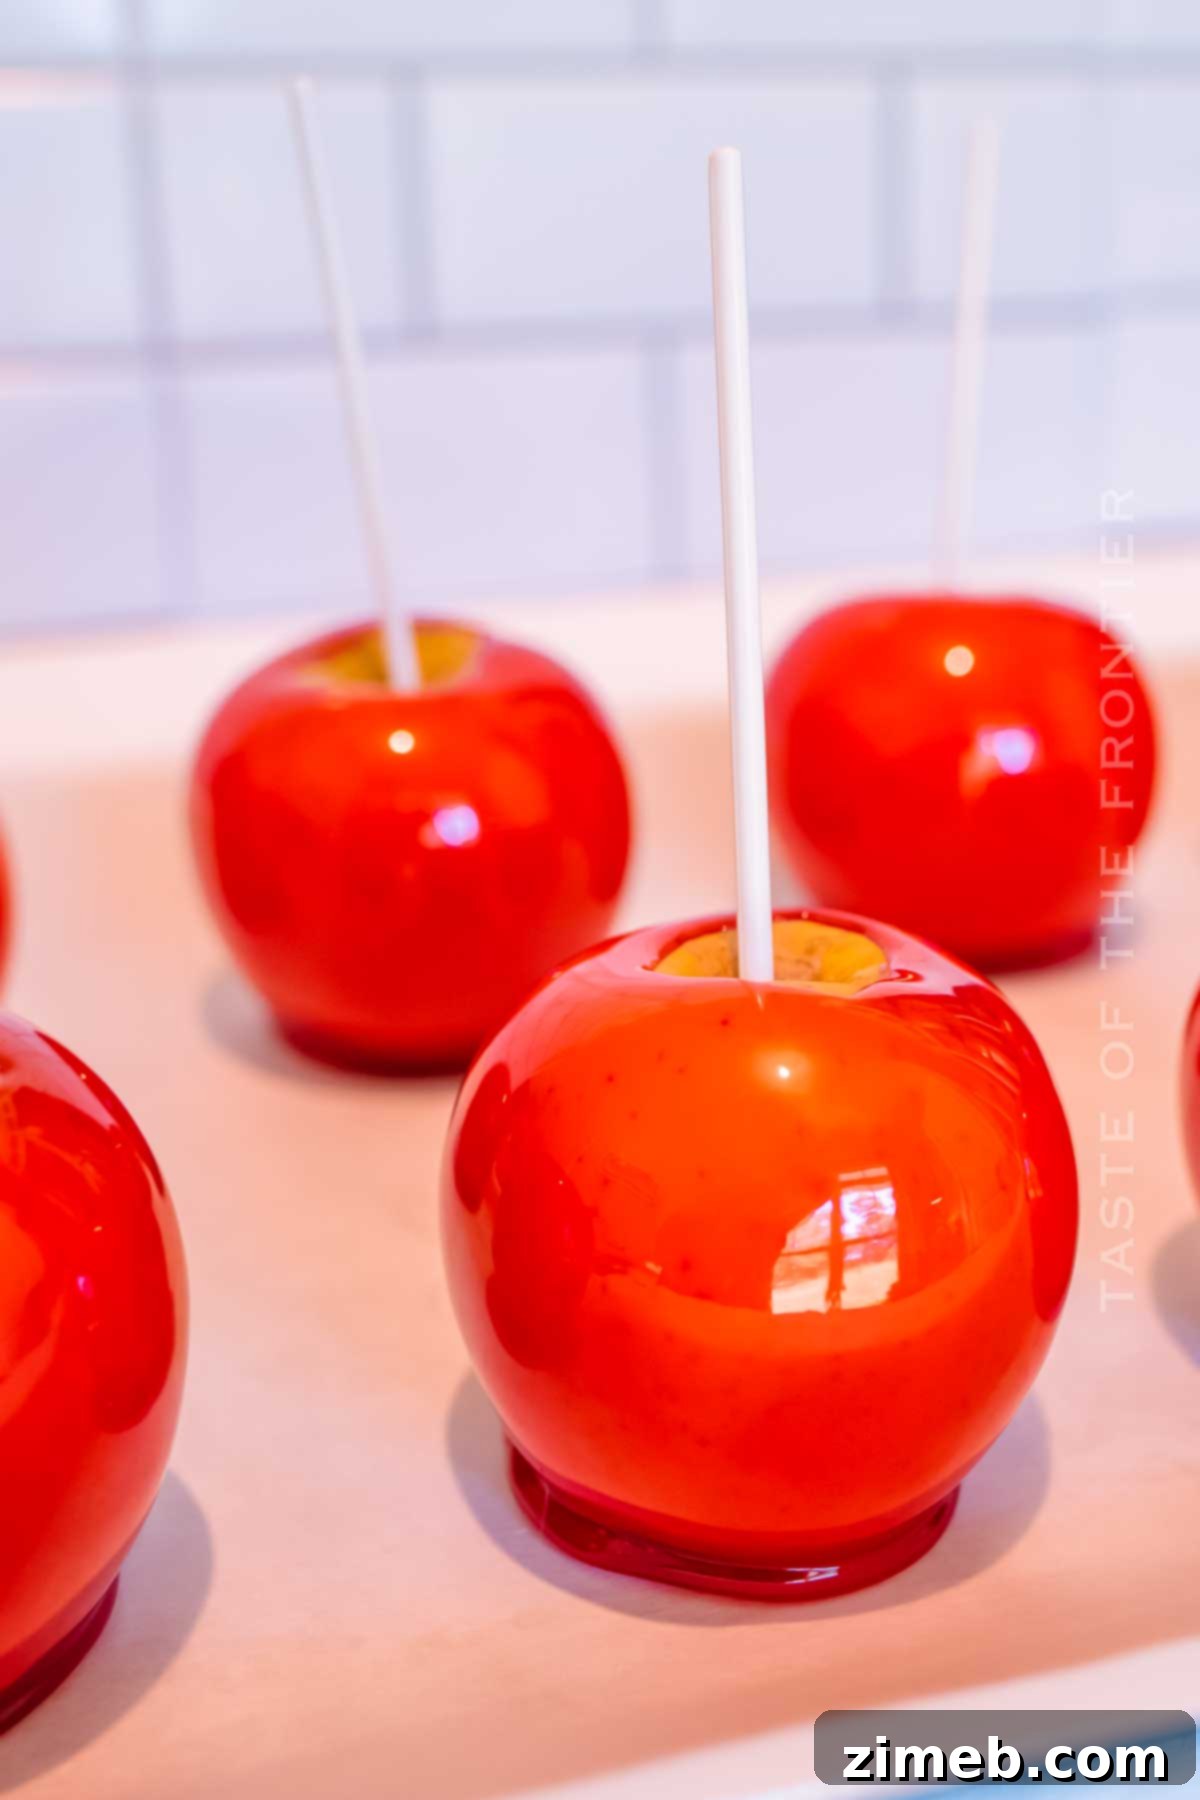
These vibrant, glossy candied apples are more than just a sweet treat; they’re a centerpiece! Their bright red sheen instantly captures attention, making them ideal for adding a festive touch to any celebration. Whether you’re hosting a kids’ birthday party, setting up a spooky Halloween feast, or simply enjoying the cozy ambiance of a fall evening, these juicy, sugary delights are guaranteed to bring happy smiles and a delightful crunch to everyone.
Why You’ll Adore Crafting Your Own Candied Apples
There’s a special kind of satisfaction that comes from making homemade treats, and candied apples are no exception. This recipe offers numerous compelling reasons why you’ll fall in love with the process and the delicious outcome:
- **Effortless & Quick Preparation:** Forget complicated steps and lengthy ingredient lists. This simple recipe focuses on ease, allowing you to whip up a batch of stunning candied apples without fuss. Unlike recipes that involve unwrapping countless individual red hot cinnamon candies, our method is streamlined for convenience, saving you time and effort.
- **Perfect for Apple Abundance:** If you’ve been blessed with a bountiful apple harvest or simply picked up a large bag from your local orchard or market, this recipe is an excellent way to utilize them creatively. It transforms fresh, crisp apples into an exciting dessert, preventing waste and maximizing their delicious potential.
- **Fun for All Ages:** Making candy apples is an incredibly enjoyable activity, especially when shared with children. The hands-on process, from inserting sticks to dipping the apples in the vibrant syrup, provides a fantastic opportunity for family bonding and creating lasting memories. Kids will love watching the transformation and, of course, devouring their own homemade creations.
- **A Delicious & Thoughtful Treat:** While undeniably sweet, these candied apples are a delightful treat that can be enjoyed by many. They are naturally gluten-free (when using appropriate sugar) and vegan-friendly, making them a considerate option for guests with various dietary preferences. Plus, you control the ingredients, ensuring a wholesome and fresh dessert.
Selecting the Perfect Apples for Your Candied Creations
The foundation of an exquisite candied apple lies in choosing the right apple. While most firm, ripe apples will work beautifully, certain varieties truly shine in this recipe. The key is to select apples that can withstand the hot syrup without becoming mushy and offer a delightful contrast to the sweet coating.
For an authentic, crisp candied apple experience, consider using **Granny Smith apples**. Their tart flavor beautifully cuts through the sweetness of the candy coating, creating a perfectly balanced taste. Granny Smiths are also wonderfully firm and crisp, ensuring that satisfying “snap” when you bite into them. Other excellent choices for a tart and crisp profile include **Honeycrisp**, **Fuji**, or **Pink Lady** apples. These varieties hold their shape well and provide a bright, invigorating flavor.
If you prefer a sweeter candied apple, **Cosmic Crisp**, **Gala**, or **Red Delicious** are fantastic options. These red apples tend to be naturally sweeter and often have a slightly softer texture, which can be a wonderful complement to the hard candy shell if that’s your preference. Experimenting with different apple types can help you discover your favorite combination!
Regardless of the variety, prioritize garden-fresh or organic apples whenever possible. These are often free from the waxy coating commonly found on store-bought apples, which can hinder the candy syrup from properly adhering. If you do use store-bought apples, a crucial first step will be to thoroughly remove any wax, a process we’ll detail further in the instructions.
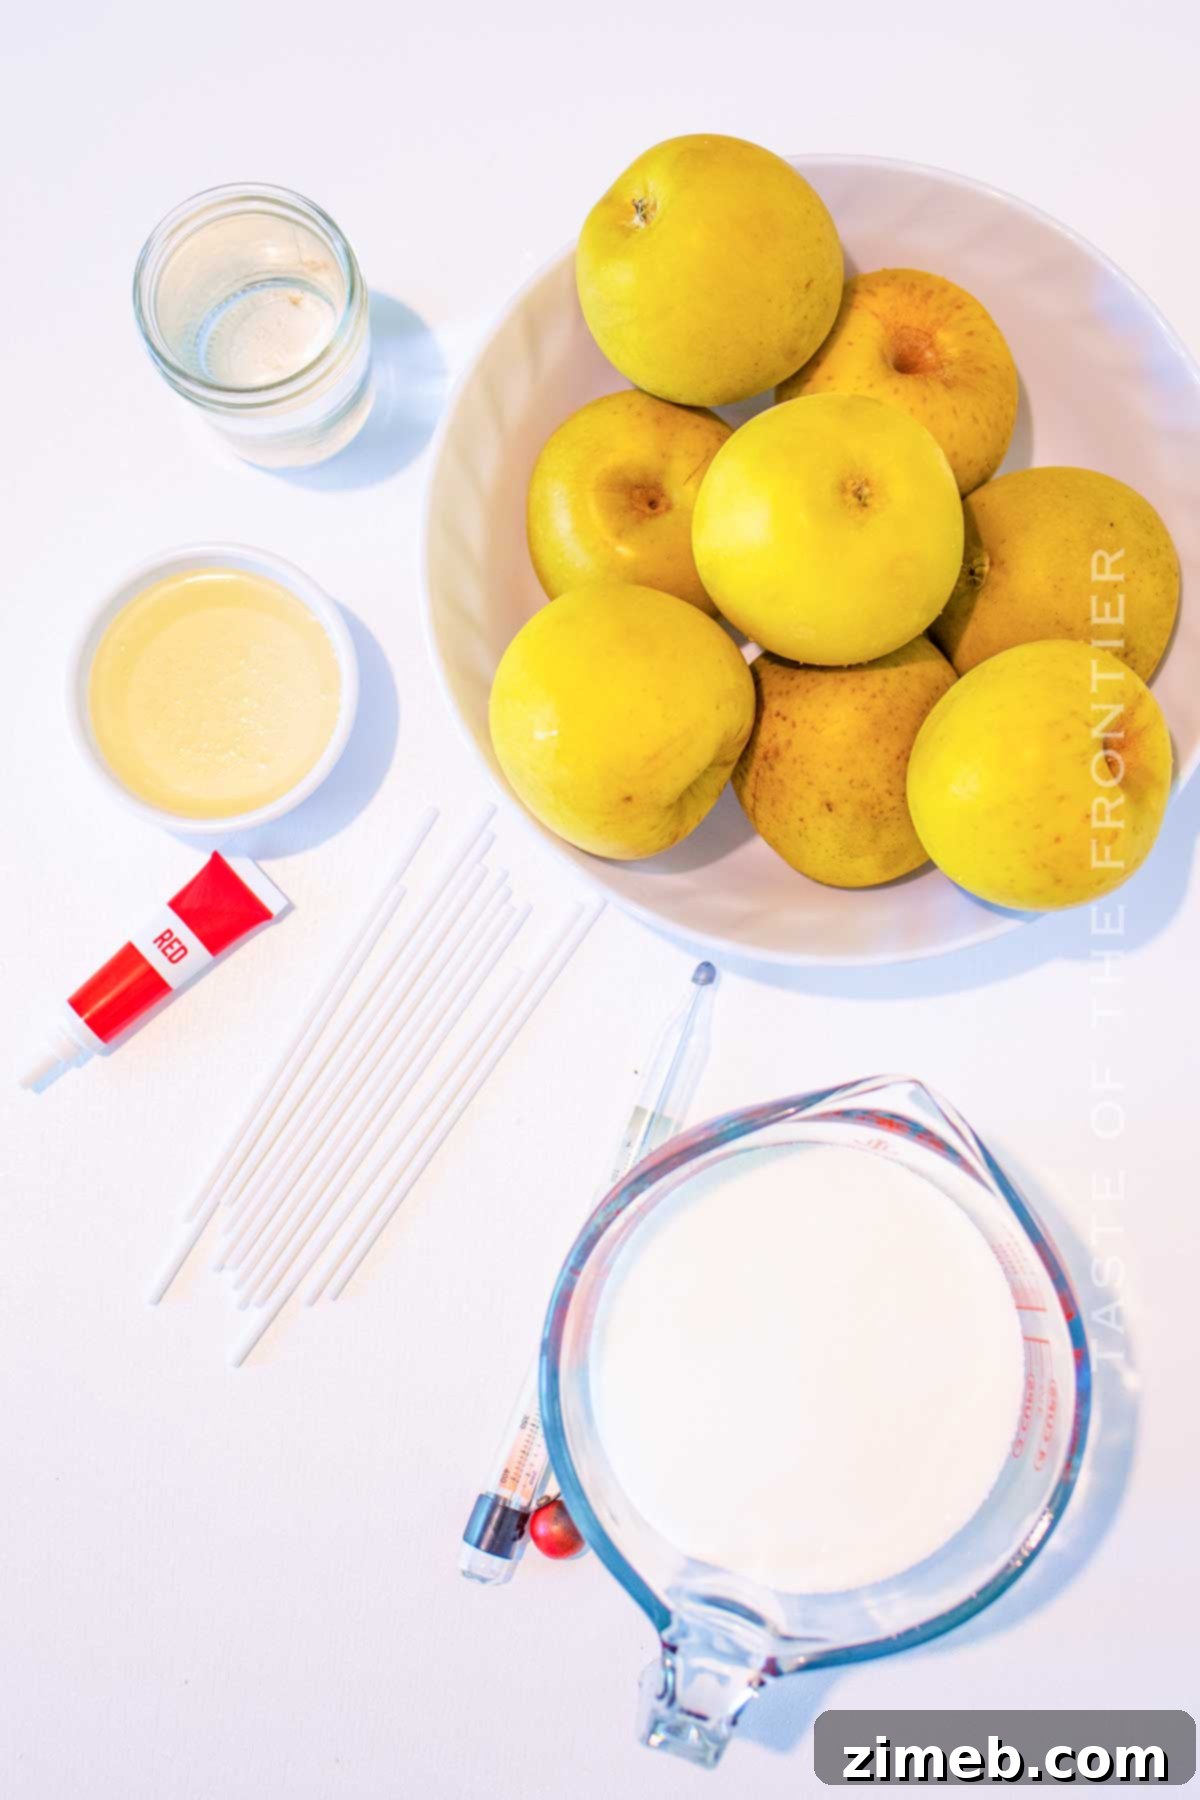
Essential Ingredients for the Perfect Candy Coating
The magic of candied apples comes from their simple yet spectacular coating. This brilliant, hard candy shell requires just a few basic ingredients, easily found in any pantry or grocery store. Together, they create the glossy, crisp finish that defines this beloved treat.
- **Granulated Sugar:** This is the primary ingredient, forming the bulk of the candy coating. When heated to high temperatures, granulated sugar caramelizes and hardens into a beautiful, brittle shell.
- **Light Corn Syrup:** Crucial for achieving that perfectly smooth, non-crystallized candy coating. Corn syrup acts as an invert sugar, preventing the granulated sugar from forming large, gritty crystals, which results in a clear, glassy finish. It also helps achieve the “hard crack” stage more reliably.
- **Water:** Used to dissolve the sugar and corn syrup initially, allowing the mixture to reach the desired temperature and consistency during cooking.
- **Red Food Coloring:** (Optional, but highly recommended!) While not essential for taste, a few drops of red food coloring give candied apples their iconic, vibrant hue. Gel food coloring works exceptionally well as it provides intense color without adding excess liquid, ensuring your apples have that classic, eye-catching appeal.
Key Equipment for Candied Apple Success
Beyond your ingredients, having the right tools on hand will make the candy apple-making process smooth and enjoyable. These essential pieces of equipment ensure safety, precision, and the best possible results:
- **Lollipop Sticks or Wooden Skewers:** You’ll need sturdy sticks to hold your apples. Lollipop sticks, popsicle sticks, or even craft sticks are perfect for this. Ensure they are strong enough to support the weight of a candy-coated apple.
- **Baking Sheet Lined with Parchment Paper:** A sturdy baking sheet or cookie sheet is essential for cooling your candied apples. It must be lined with parchment paper to prevent the hot candy from sticking as it hardens. Note: Wax paper will not work, as the hot candy can melt into it.
- **Dutch Oven or Heavy-Bottomed Saucepan:** A Dutch oven or any heavy-bottomed saucepan is ideal for making the candy syrup. The heavy bottom helps distribute heat evenly, preventing the sugar from burning. Choose a pot that is deep enough for the melted sugar syrup to fully submerge an apple. If your pot isn’t quite deep enough, you can always tilt it slightly while dipping to ensure full coverage.
- **Candy Thermometer:** An absolute must-have for candy making! A candy thermometer accurately measures the temperature of the sugar syrup, ensuring it reaches the critical “hard crack stage” (300-310°F or 149-154°C). This precision is vital for the candy to harden correctly and achieve that satisfying crunch.
- **Heat-Resistant Spatula or Spoon:** For stirring the syrup and adding food coloring safely.
- **Pastry Brush:** Optionally, a clean pastry brush dipped in water can be used to brush down sugar crystals that form on the sides of the pot during cooking, preventing crystallization in your final syrup.
Mastering the Art of Homemade Candy Apples: Step-by-Step Guide
Crafting these iconic treats is a rewarding process, and with our clear instructions, you’ll be enjoying perfectly coated candied apples in no time. Follow these steps carefully for success:
- **Prepare the Apples:** Begin by thoroughly washing and drying each apple. This step is crucial. If your apples have a waxy coating (common on store-bought varieties), it’s essential to remove it. To do this, briefly dip the apples in boiling water for about 10 seconds, then immediately wipe them clean with paper towels. Let them cool and dry completely, ideally overnight, to ensure no moisture remains. Any wax or moisture will prevent the candy from adhering properly to the apples.
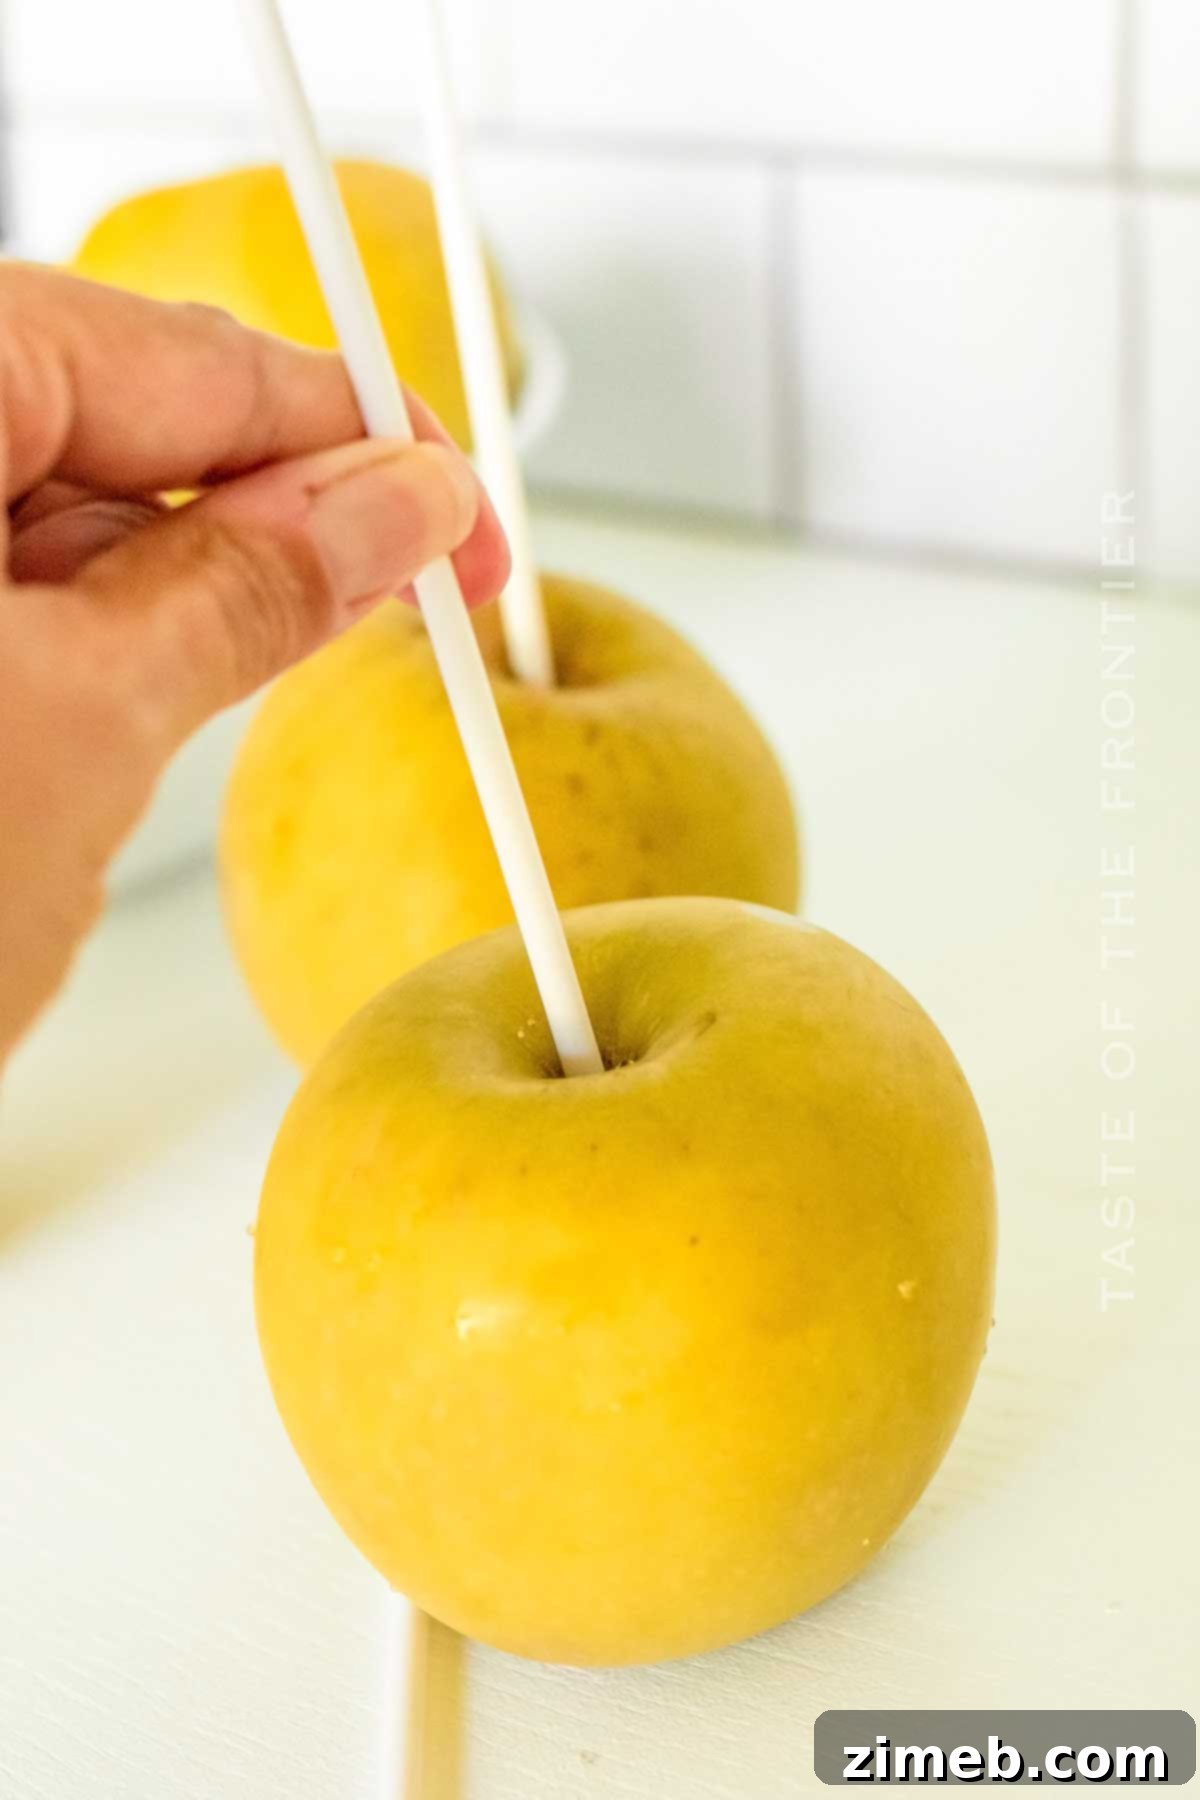
- **Insert the Sticks:** Once the apples are clean and dry, carefully insert a lollipop stick or wooden skewer into the stem end of each apple. Push the stick about halfway down into the apple’s core. Ensure the stick is firmly in place and can support the apple’s weight even when held upside down.
- **Prepare Your Workspace:** Line a baking sheet with parchment paper. This will be where your candied apples cool and harden, preventing them from sticking to the surface. Set this aside within easy reach of your stovetop.
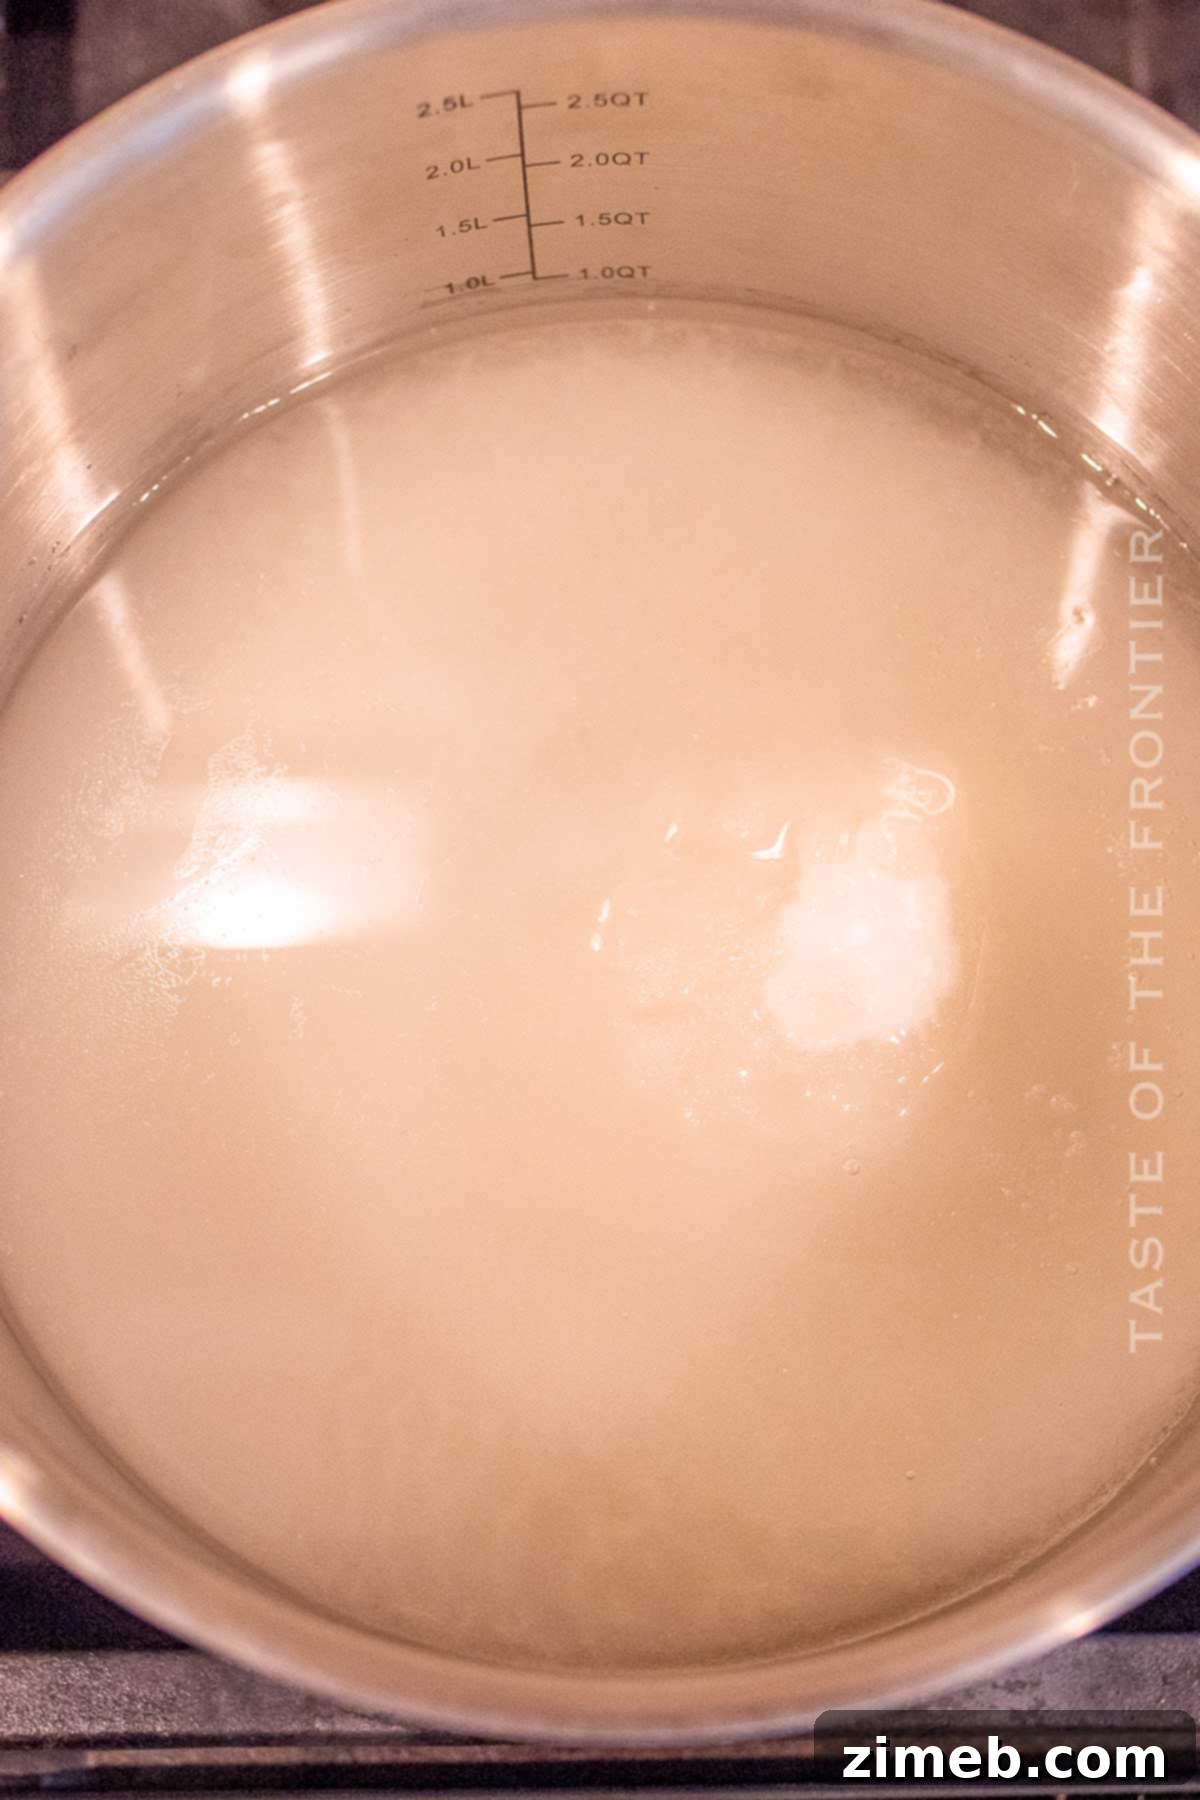
- **Combine Coating Ingredients:** In your chosen large pot or Dutch oven, combine the granulated sugar, water, and light corn syrup. Stir these ingredients gently until they are well mixed.
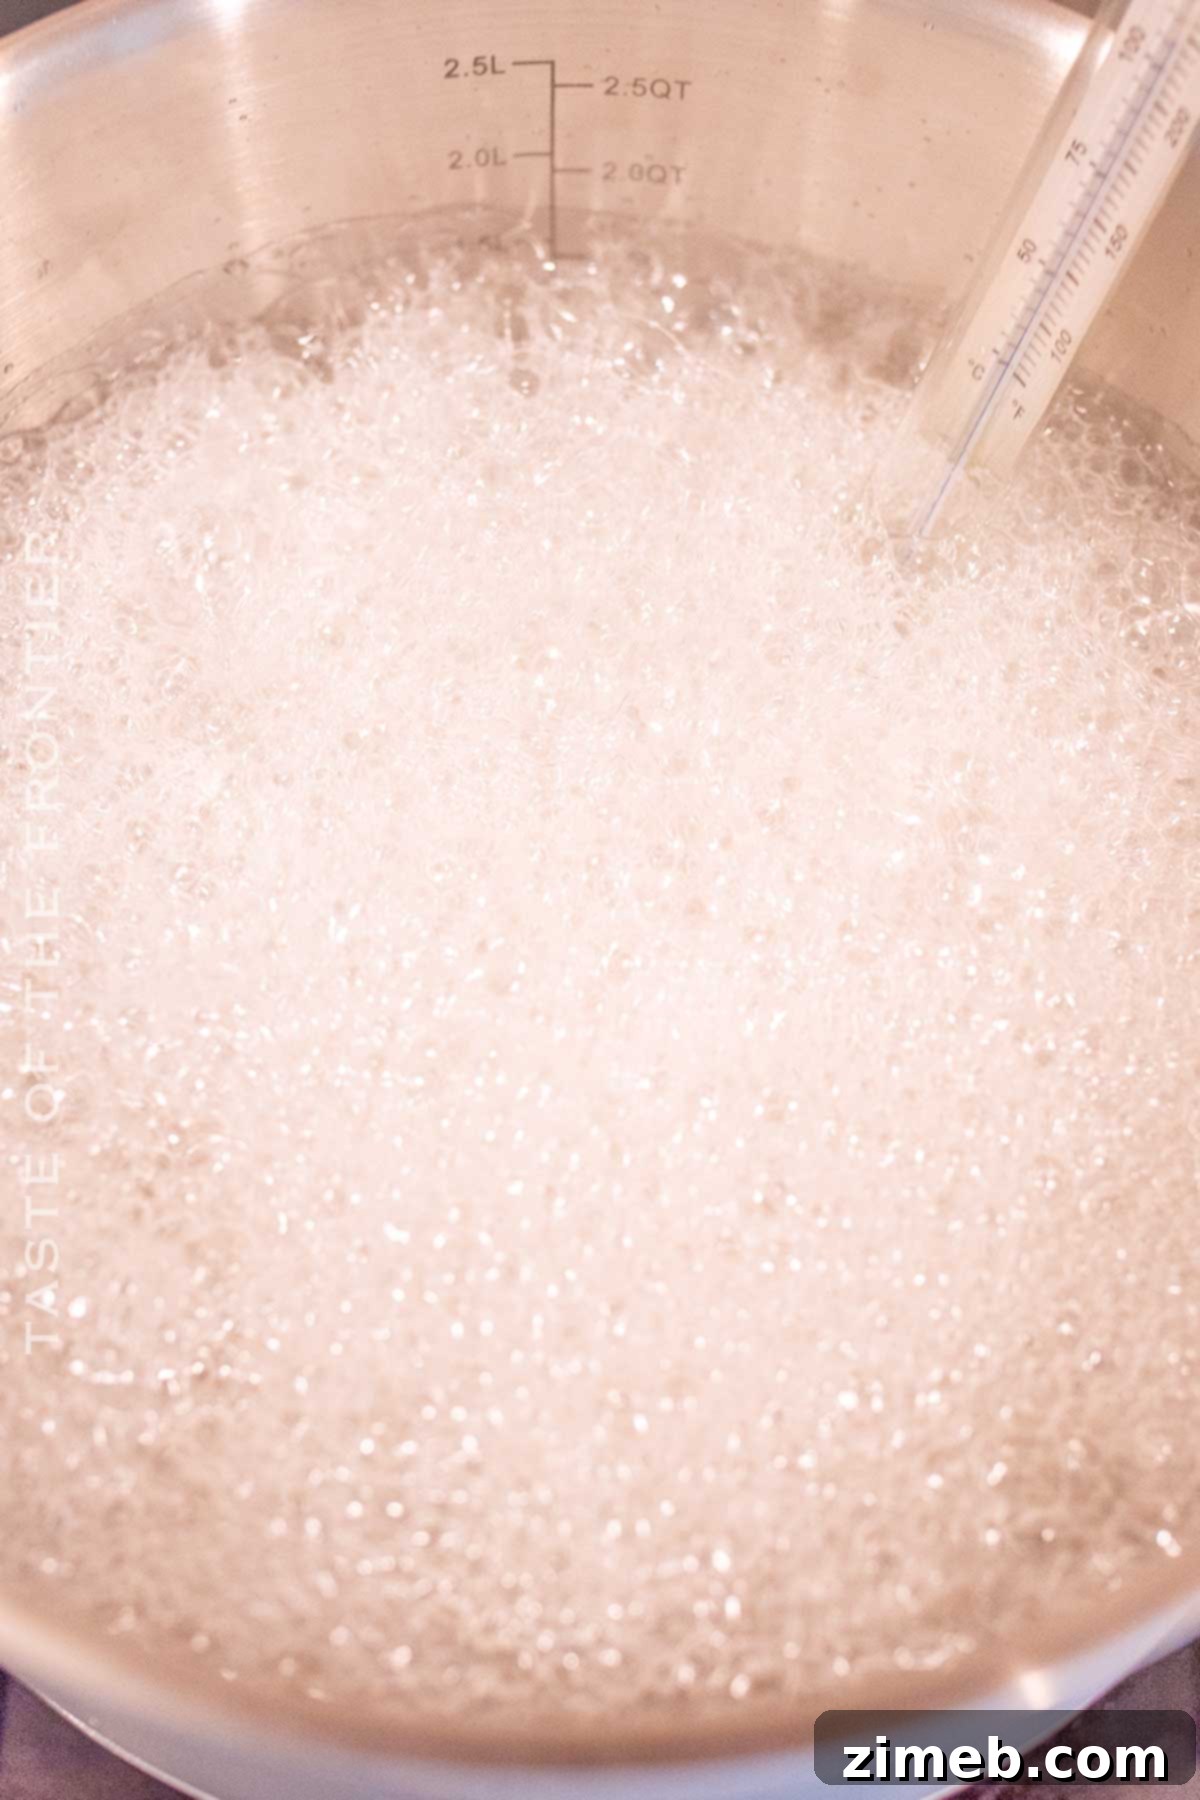
- **Heat the Mixture:** Place the pot over medium heat. Bring the mixture to a rolling boil. During this initial phase, resist the urge to stir the syrup too much, as this can encourage crystallization. If you see sugar crystals forming on the sides of the pot, gently brush them down with a clean, wet pastry brush. This stage can take approximately 20-30 minutes, so be patient.
- **Reach Hard Crack Stage:** This is the most critical step. Attach your candy thermometer to the side of the pot, ensuring the tip is submerged in the syrup but not touching the bottom. Continue to cook the mixture until it reaches a temperature between 300 to 310 degrees F (149 to 154 degrees C). This is known as the “hard crack stage,” where the sugar forms brittle threads when cooled. If you don’t have a thermometer, perform the cold water test: drop a small amount of hot syrup into a glass of very cold water. If it immediately forms hard, brittle threads that snap when bent, it’s ready.
- **Add Food Coloring (Carefully!):** Once the syrup reaches the hard crack stage, immediately remove the pot from the heat. VERY CAREFULLY stir in the red food coloring. Be extremely cautious as the hot syrup can bubble, pop, and splash. Wearing heat-resistant gloves and long sleeves is recommended. The red color is entirely optional but adds that traditional, festive look to your candy apples.
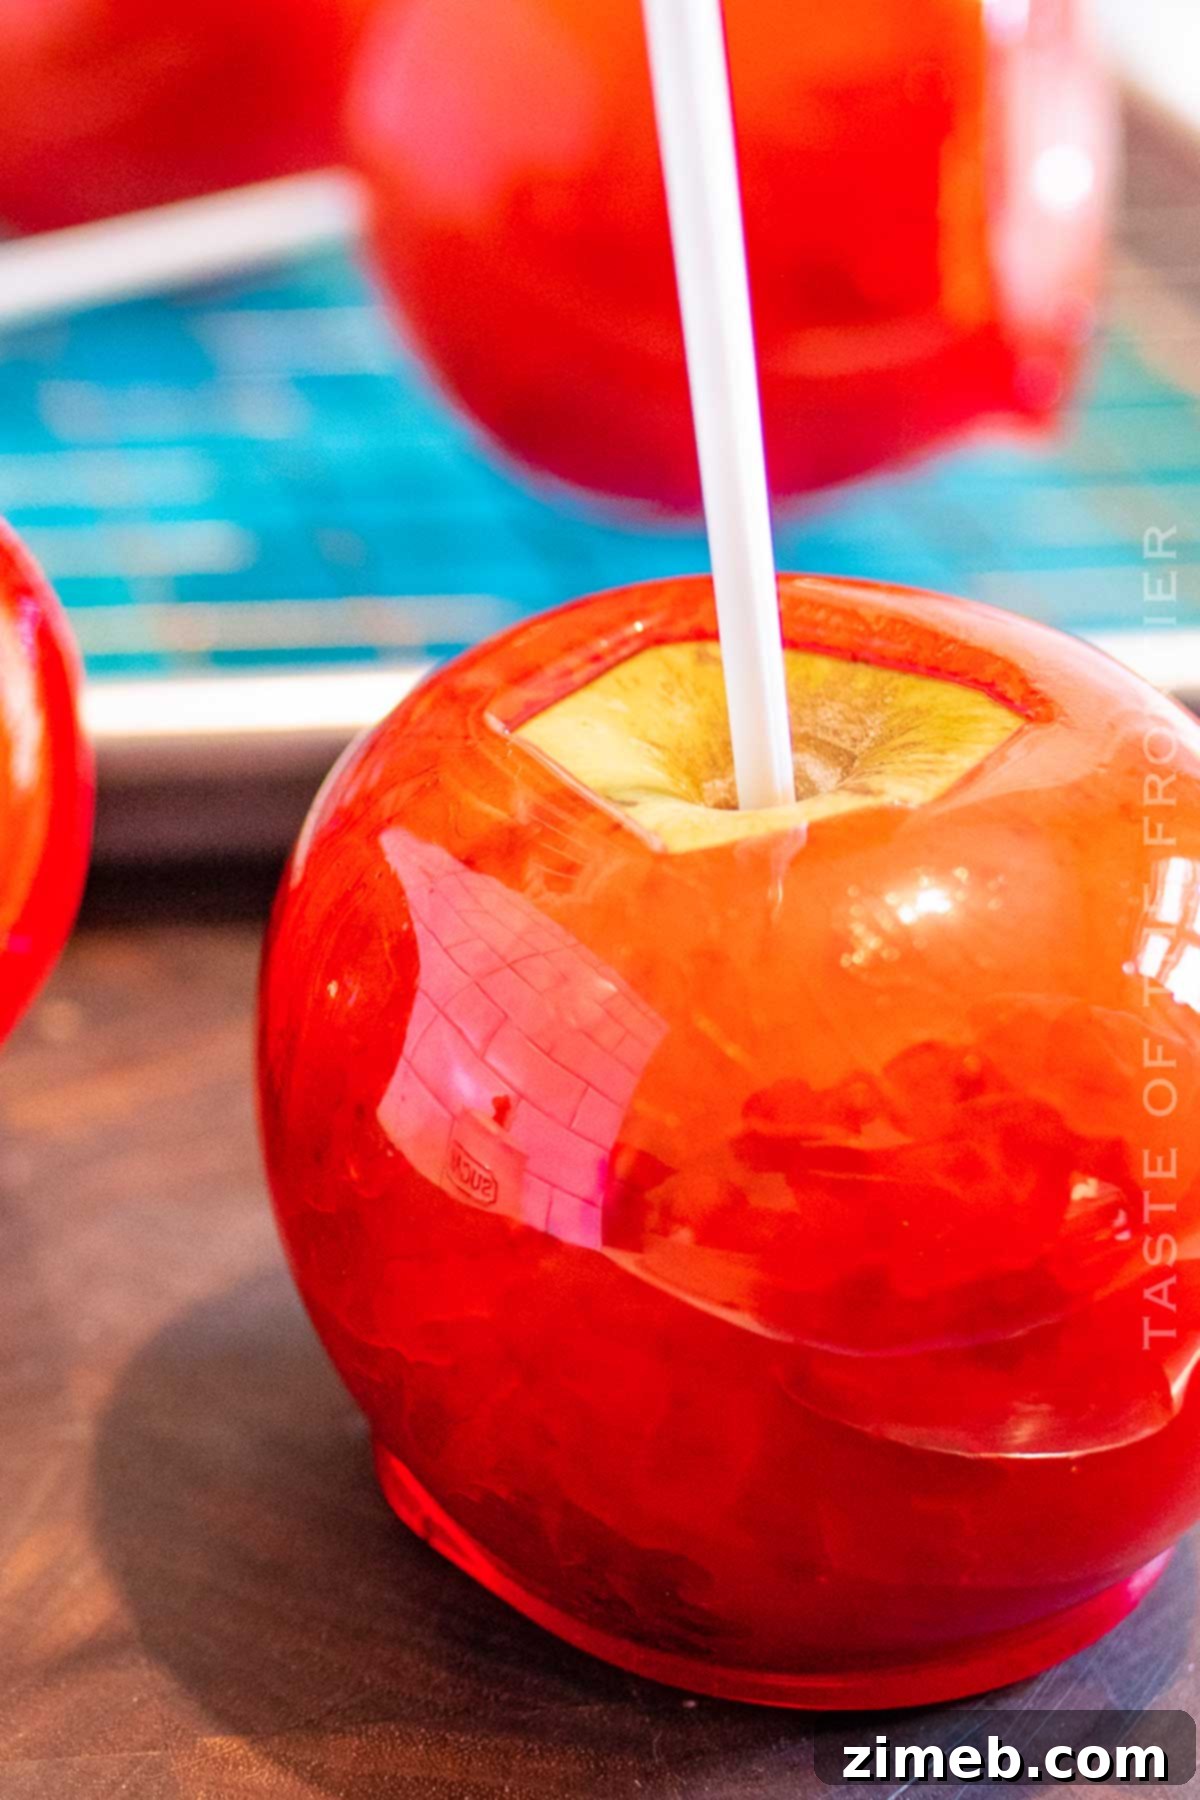
- **Dip the Apples:** Working quickly but carefully, grasp each prepared apple by its stick. Dip the apple into the hot candy coating, swirling it around to ensure the entire surface is evenly covered. Allow any excess candy mixture to drip back into the pan. Speed is key here, as the syrup will begin to harden quickly once removed from the heat.
- **Cool and Harden:** Transfer the dipped apples to the prepared parchment-lined baking sheet. Ensure there’s adequate space between each apple so they don’t touch. Allow the apples to cool completely at room temperature. It will take approximately 10 to 15 minutes for the candy coating to harden fully and become glossy and brittle.
- **Serve and Enjoy:** For more comfortable eating, especially for children or guests, you can cut the apples into quarters before serving, ideally in individual cupcake liners to contain any sticky drips. The hardened candy can be quite firm to bite into directly, so many kids (and adults!) enjoy licking the sweet coating first.
Storing Your Delicious Candied Apples
Candied apples are best enjoyed fresh, ideally on the same day they are made, to ensure the candy coating remains perfectly crisp and the apple is at its juiciest. However, if you have leftovers or wish to prepare them a day in advance, proper storage is key to maintaining their quality.
To store, individually wrap each cooled and hardened candy apple tightly in plastic wrap. This protective layer helps prevent the candy from becoming sticky due to humidity. Once wrapped, store the apples in the refrigerator. They will typically last for 2-3 days when stored this way. Over time, the candy coating may start to soften slightly, but the delicious flavor will remain.
Exciting Candy Apple Recipe Variations
While the classic red candied apple is a beloved treat, there’s a world of creativity to explore! Here are some delightful variations to customize your homemade candy apples:
- **Flavorful Infusions:** Elevate your candy coating with subtle flavorings. Add a few drops of pure vanilla extract, almond extract, or even a hint of peppermint oil to the hot syrup (after removing it from the heat, just before dipping) for a unique taste experience. For a spiced fall treat, consider adding a tiny amount of cinnamon oil or a pinch of ground cinnamon to the mixture.
- **Decadent Caramel Apples:** If you adore the chewy richness of caramel, transforming your candied apples is simple. Instead of a hard sugar coating, melt soft caramel candies (or use a pre-made caramel topping) in a large bowl. Dip each apple into the melted caramel, ensuring full coverage. This creates a soft, gooey contrast to the crisp apple.
- **Irresistible Chocolate Apples:** For chocolate lovers, a luscious chocolate coating is a fantastic alternative. Simply melt your favorite chocolate (dark, milk, or white) in a double boiler or microwave. Dip your apples into the melted chocolate, allowing any excess to drip off, then let them set on parchment paper until hardened.
- **Gluten-Free Friendly:** This recipe is naturally gluten-free when you use standard granulated sugar and corn syrup, as both are typically gluten-free. For extra assurance, you can opt for certified gluten-free caster sugar.
- **Dazzling Decorations:** Unleash your inner artist with various decorations! After dipping your apples in the candy coating (and before it fully hardens), roll them in festive sprinkles, finely crushed nuts (like peanuts or pecans), mini chocolate chips, or even shredded coconut. For an elegant touch, drizzle cooled caramel or melted white chocolate over the hardened red candy. You can also tie a cute ribbon bow around each stick for gifting or presentation. For truly show-stopping apples, add a touch of edible glitter to the hot coating mixture just before dipping.
Expert Tips for Crafting the Ultimate Candied Apples
Achieving candy apple perfection involves a few insider tricks. Keep these tips in mind to ensure your homemade treats turn out flawlessly every time:
- **Reheating the Coating:** Don’t panic if your candy coating starts to thicken or harden in the pot while you’re dipping apples. Simply return the pot to very low heat and gently re-melt the mixture until it reaches the desired fluid consistency. Be careful not to overheat it and risk burning the sugar.
- **Avoid Greasy Surfaces:** Never spray your baking sheet or parchment paper with cooking spray. The oil residue will transfer to your candy apples, resulting in an unpleasant oily taste and feel. Parchment paper is designed to be non-stick without any added grease.
- **Dry Apples are Key:** This cannot be stressed enough – ensure your apples are completely dry before coating them. Any moisture on the apple’s surface will prevent the sugar syrup from adhering properly, leading to a patchy, uneven, or sliding coating.
- **Tilting for Even Coverage:** To make dipping easier and ensure the entire apple is submerged, slightly tilt your saucepan to one side. This creates a deeper pool of syrup, making it simpler to cover the top of the apple without needing a deeper pot.
- **Preventing Bubbles for a Smooth Finish:** Bubbles in your candy coating can result in an uneven, unsightly finish. These bubbles often indicate that there might still be some wax or moisture left on the apple skin, which reacts with the hot sugar. Ensure thorough wax removal and drying for the smoothest coating.
- **Mindful Eating:** When serving, advise guests not to attempt cutting the candy apples into thin slices, especially when the coating is very hard. This can cause the brittle candy to shatter and crumble excessively, making for a messy and less appealing presentation. It’s often easier to bite directly into the apple or cut it into larger wedges.
- **Leftover Syrup? Make Lollipops!** Don’t let any leftover sugar mixture go to waste! Pour small puddles of the remaining hot syrup onto a clean piece of parchment paper. While the syrup is still hot and pliable, insert a lollipop stick into each puddle. Allow them to cool completely, and you’ll have delicious homemade lollipops!
Frequently Asked Questions About Candied Apples
Here are answers to some of the most common questions about making and enjoying homemade candy apples:
How To Effectively Remove Wax Coating from Store-Bought Apples
Removing the waxy coating from store-bought apples is a crucial step for successful candy apples. If left on, the wax creates a barrier that prevents the sugar syrup from adhering properly, leading to a patchy or sliding candy shell. To thoroughly remove wax: bring 5 cups of water to a boil and add 1 tablespoon of white vinegar. Briefly dip each apple into the boiling water mixture for about 10 seconds. Immediately remove the apples and, while still warm, vigorously wipe them clean with paper towels. The heat helps soften the wax, and the friction removes it. After cleaning, ensure the apples cool and dry completely, ideally overnight, before you begin the candy-making process.
What Is The Fundamental Difference Between Candied Apples and Caramel Apples?
The primary difference lies in their coating! A caramel apple features a soft, chewy, toffee-flavored coating made from melted caramel, which typically remains pliable. In contrast, a candied apple boasts a hard, brittle sugar syrup shell, often tinted a vibrant red with food coloring, that shatters delightfully when you bite into it. Both are beloved apple treats, but they offer distinct textures and flavor experiences.
Why Aren’t My Candy Apples Hardening Properly?
The most common reason candy apples fail to harden is that the sugar coating did not reach the correct temperature. For a hard, brittle candy shell, the syrup must reach the “hard crack stage,” which is between 300 to 310 degrees Fahrenheit (149 to 154 degrees Celsius). Without a candy thermometer for precise measurement, it’s easy to undercook the syrup. Always use a reliable candy thermometer, or meticulously perform the cold water test, to ensure the syrup is cooked to the precise temperature for perfect hardening.
Is It Absolutely Necessary to Clean Apples Before Making Candy Apples?
Yes, cleaning your apples thoroughly is absolutely essential for successful candy apples! You must wash them, ensure they are completely dry, and most importantly, confirm there is no waxy coating left on the apple skins. As mentioned, wax and moisture are the biggest enemies of a perfectly adhering candy coating. A clean, dry apple surface ensures your syrup sticks beautifully, resulting in a smooth, even, and long-lasting candy shell.
DON’T MISS THESE HOLIDAY E-BOOKS!


If you’re enchanted by this nostalgic dessert recipe, you’ll undoubtedly adore these other delectable treats too. Click each link below to discover easy, printable recipes that promise to tantalize your taste buds!

Make a Root Beer Float
Check out how to Make a Root Beer Float! With bubbly root beer and creamy vanilla ice cream, it’s a great way to cool down and enjoy a treat!

Bread Pudding with Vanilla Sauce
This nostalgic Bread Pudding with Vanilla Sauce is a cozy comfort food dessert recipe that’s perfect to serve on a chilly fall night.
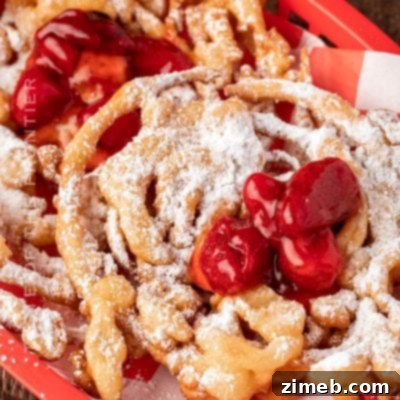
Funnel Cake
Funnel Cake just like you get at the fair or theme park. So warm & covered in powdered sugar! It brings back all those great childhood memories of summer.

Frosted Animal Cookies
These copycat frosted animal cookies combine simple vanilla cookies with a sweet confectioner’s glaze and festive rainbow nonpareils.
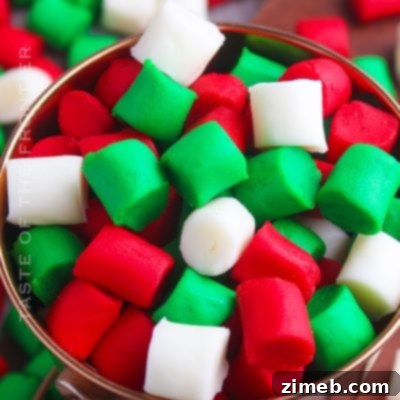
Butter Mints
A party isn’t complete without these classic Butter Mints. Not only are they easy to make but they can be customized for any occasion.
More Great Apple Treats to Explore
If you have a passion for apple-infused delights, don’t stop at classic candied apples! There’s a whole orchard of delicious recipes waiting for you. Dive into these other fantastic apple treats:
- Mummy Candy Apples
- Black Candy Apples
- Cinnamon Candy Apples
- Homemade Caramel Apples
CONNECT WITH YUMMI HAUS!
Be sure to follow me on my social media, so you never miss a post!
Substack, FB, Pinterest, IG, Email Subscription

Candied Apples
Make these nostalgic Candied Apples to celebrate the harvest season! Great for fall gatherings, Halloween parties, and more.
Ingredients
- 10 apples (8-10 apples)
- 3 cups granulated sugar
- 1 cup water
- ½ cup light corn syrup
- ½ teaspoon red food coloring
Instructions
- Wash and dry apples; if your apples have a wax coating, dip them in boiling water to remove the wax. (This is very important for making the candy stick to the apples.)
- Insert lollipop sticks into the top of each apple, about halfway down.
- Line a baking sheet with parchment paper and set aside.
- Combine the sugar, water, and corn syrup in a large pot. A Dutch oven works well for this.
- Bring the mixture to a boil over medium heat.
- Using a candy thermometer, cook the mixture until it reaches 300 degrees Fahrenheit (the hard crack stage).
- Remove the mixture from heat and CAREFULLY stir in red food coloring. It may pop and splash – so be careful.
- Carefully dip each prepared apple into the mixture, swirling to cover the entire apple.
- Allow any excess candy mixture to drip back into the pan before moving the apples to the parchment-lined baking sheet.
- Allow the apples to cool completely before serving.
Nutrition
Serving: 1 serving |
Calories: 374 kcal |
Carbohydrates: 98 g |
Protein: 0.5 g |
Fat: 1 g |
Saturated Fat: 0.1 g |
Sodium: 14 mg |
Potassium: 196 mg |
Fiber: 4 g |
Sugar: 83 g |
Vitamin C: 8 mg |
Calcium: 12 mg |
Iron: 0.2 mg |
Net Carbohydrates: 81 g
Nutritional information for the recipe is provided as a courtesy and is approximate. Please double-check with your own dietary calculator for the best accuracy. We at Yummi Haus cannot guarantee the accuracy of the nutritional information given for any recipe on this site.
Follow @KleinworthCo for even more tasty recipes!