The Ultimate Red, White, and Blue Layer Cake: Your Go-To Patriotic Dessert
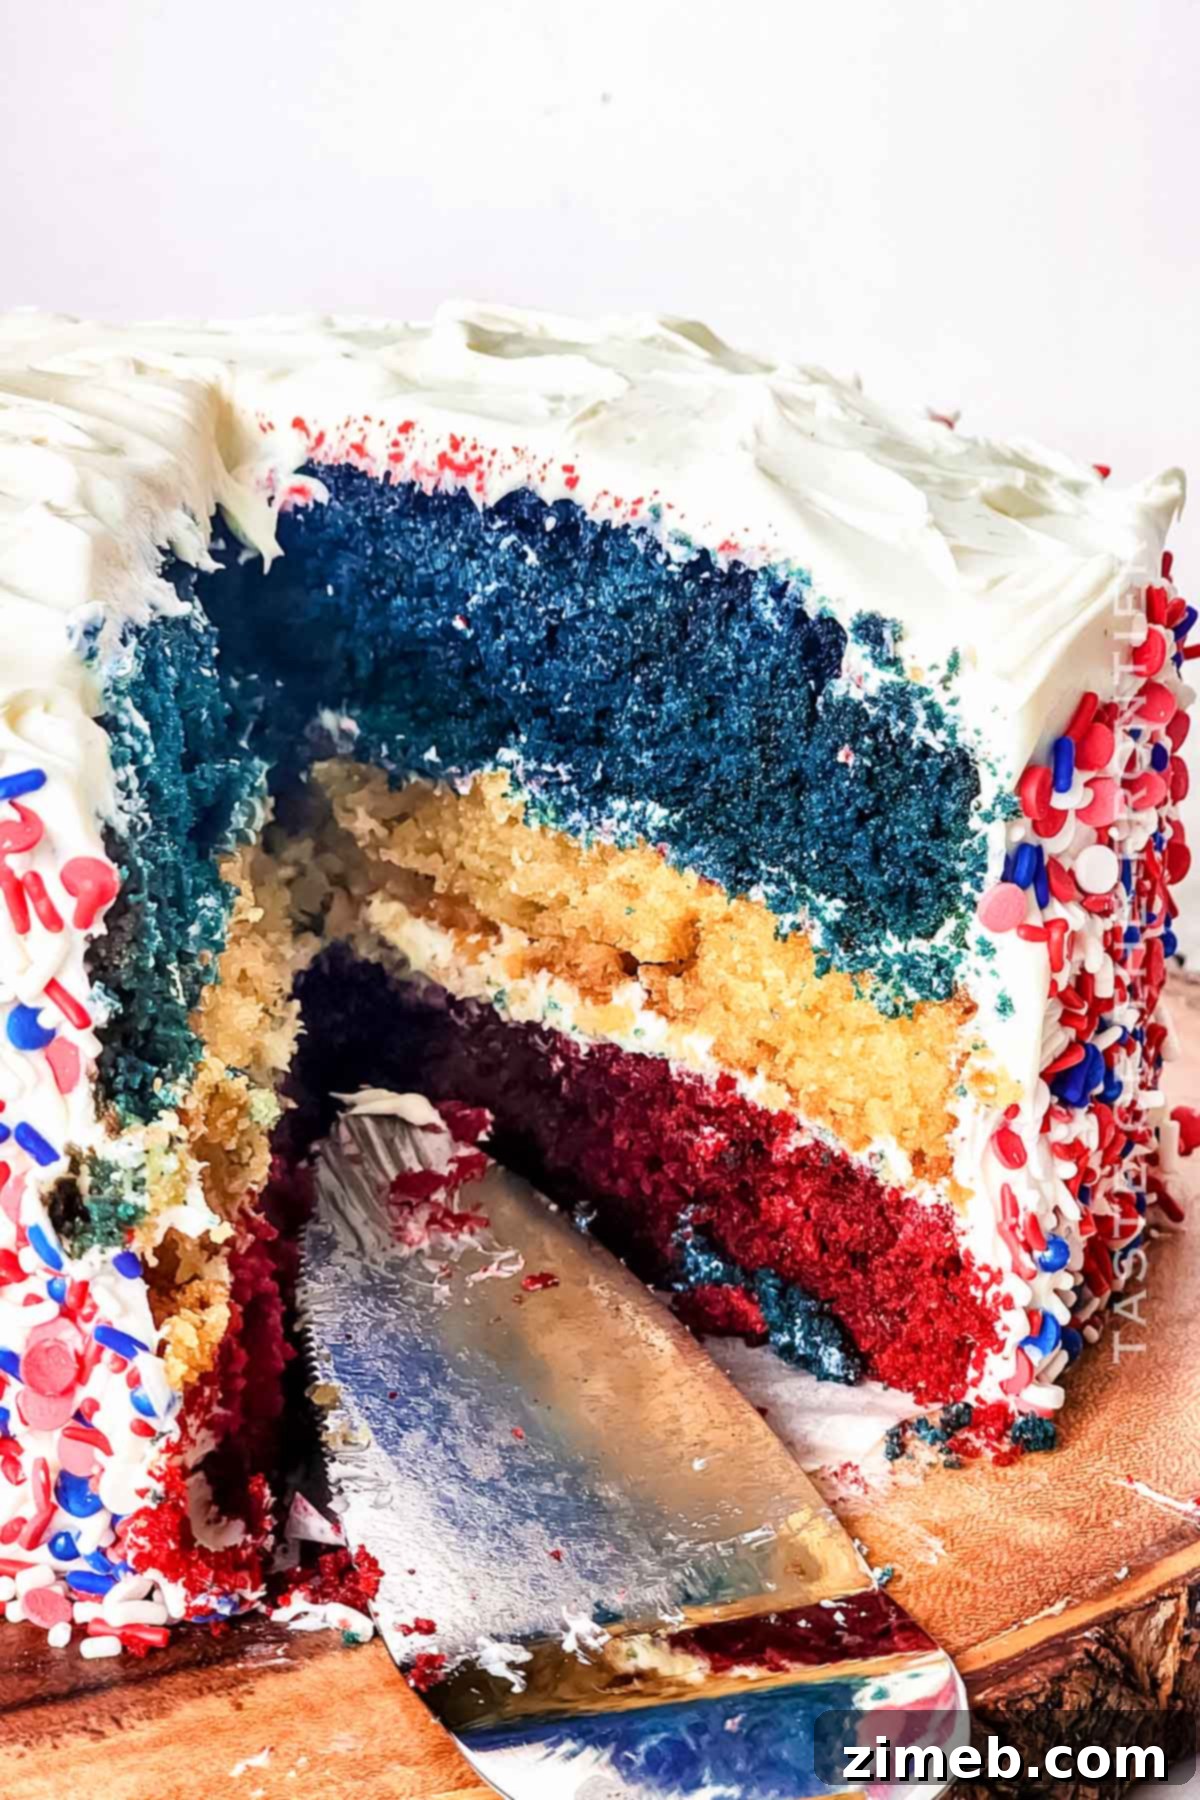
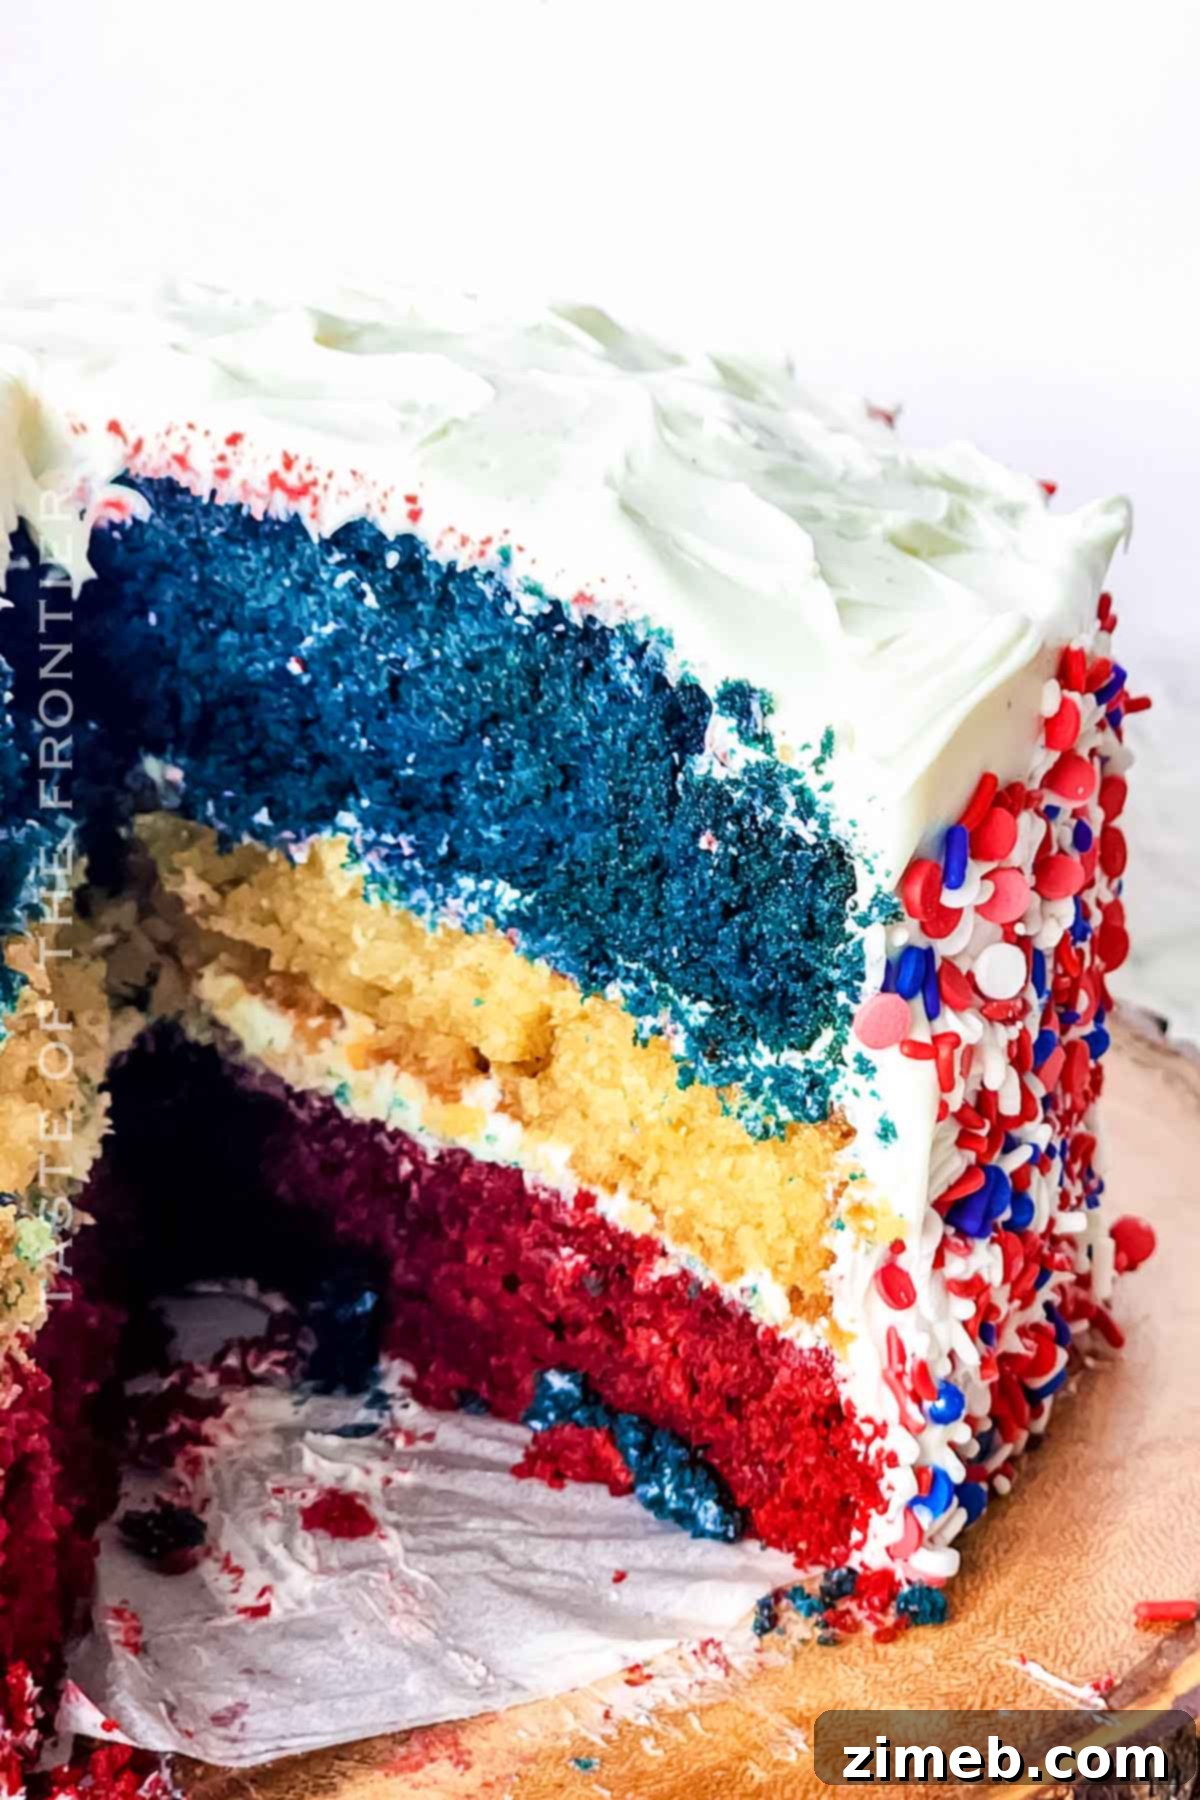
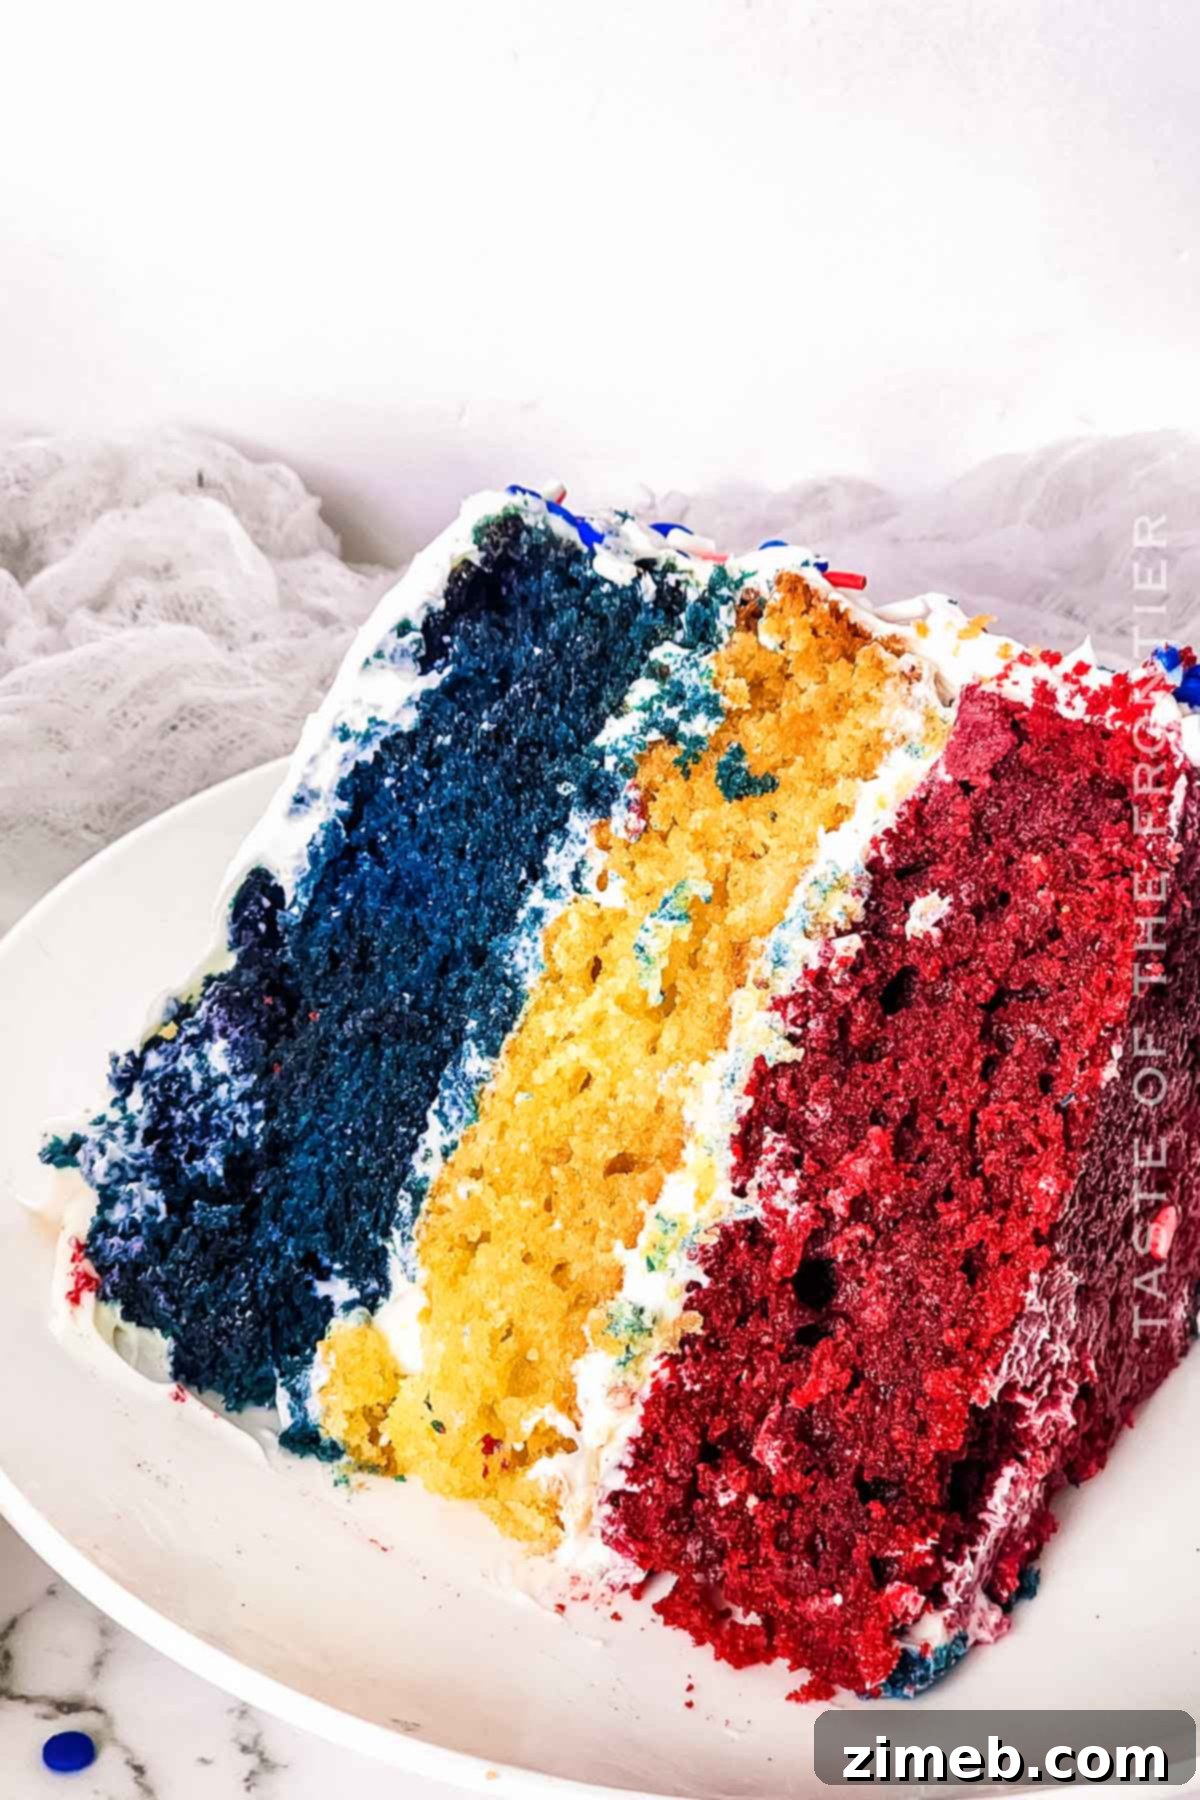
Celebrate America’s spirit with a dessert that’s as dazzling as a fireworks display – this incredible 3-layer Red, White, and Blue Cake! Perfect for your Fourth of July gatherings, Memorial Day barbecues, or any occasion that calls for a vibrant patriotic centerpiece, this cake is more than just visually stunning. It’s a symphony of flavors and textures, combining moist velvet cake layers with a rich, tangy cream cheese frosting and a festive shower of sprinkles. Forget complicated recipes; this guide will walk you through creating a showstopping dessert that will earn you rave reviews from friends and family, making every celebration extra special.
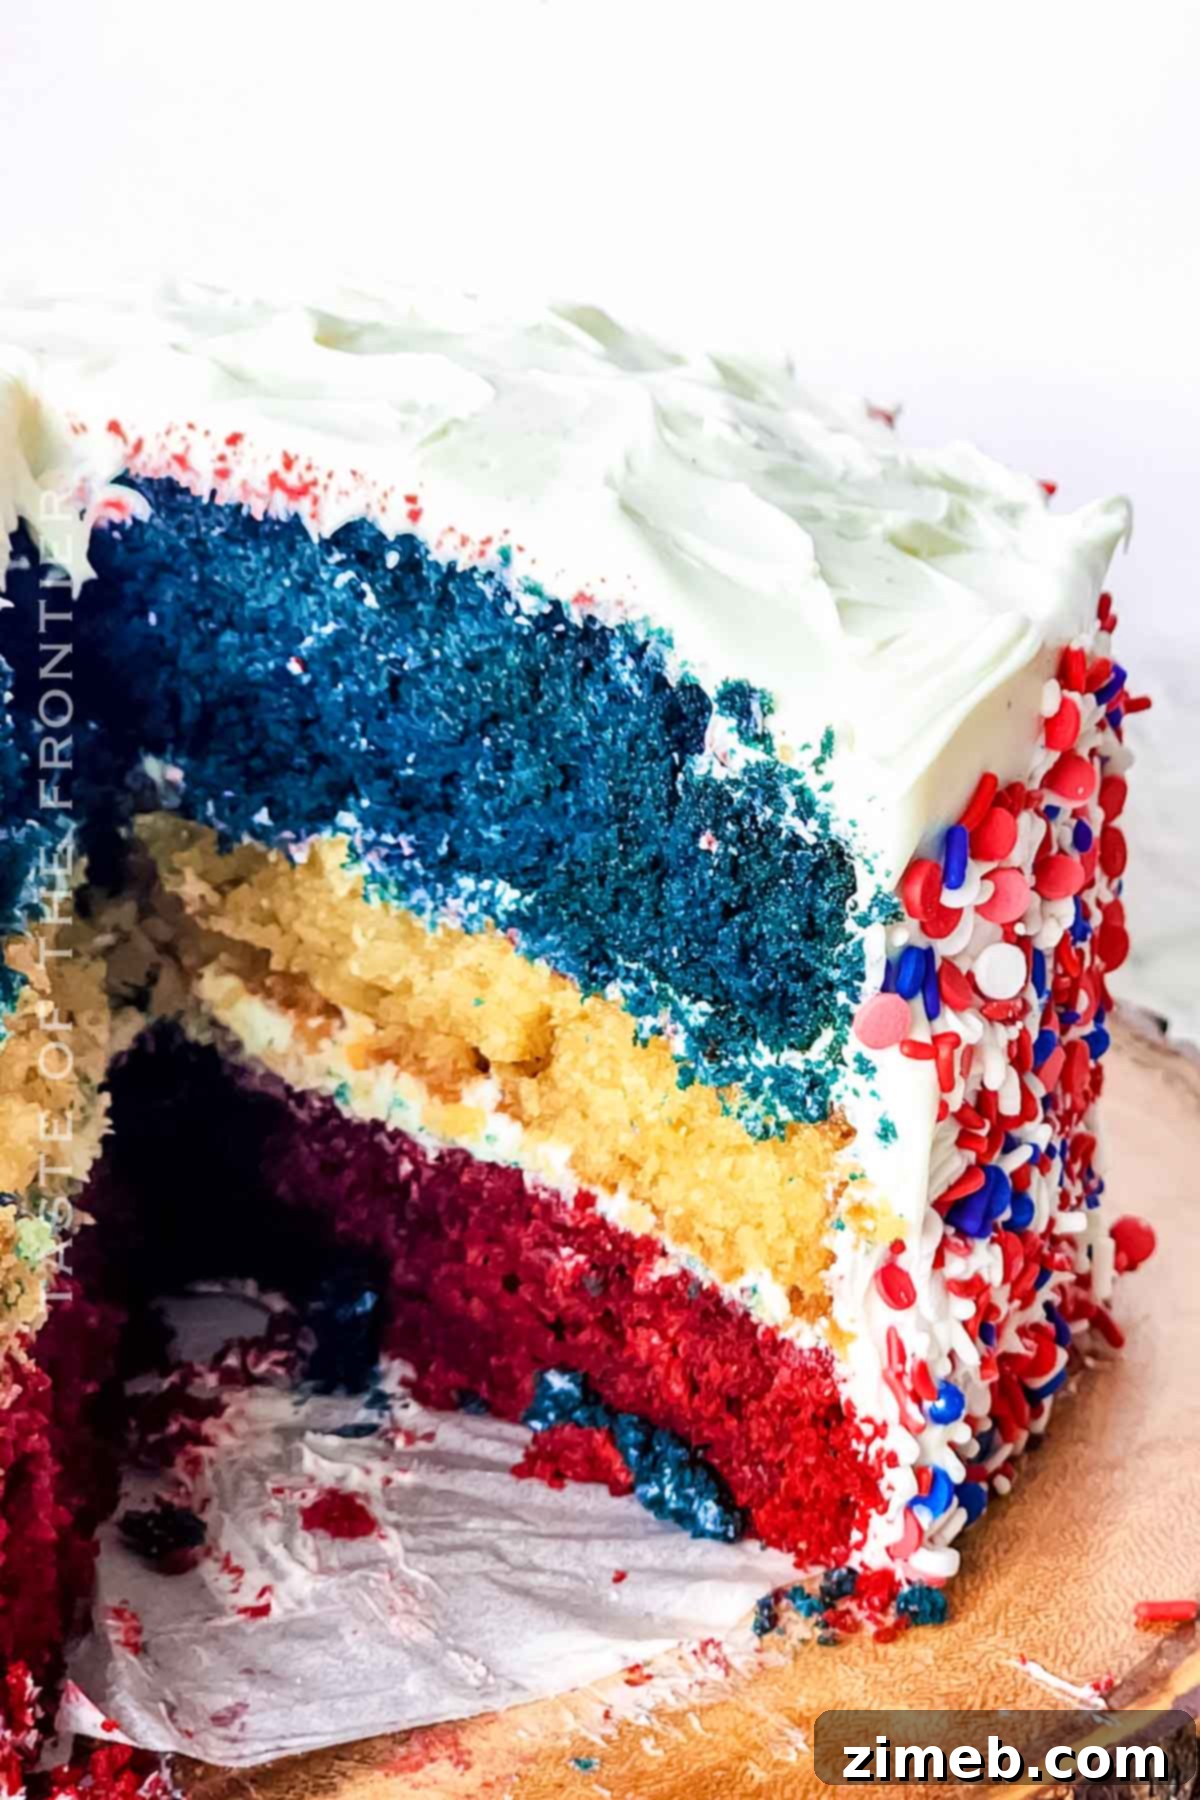
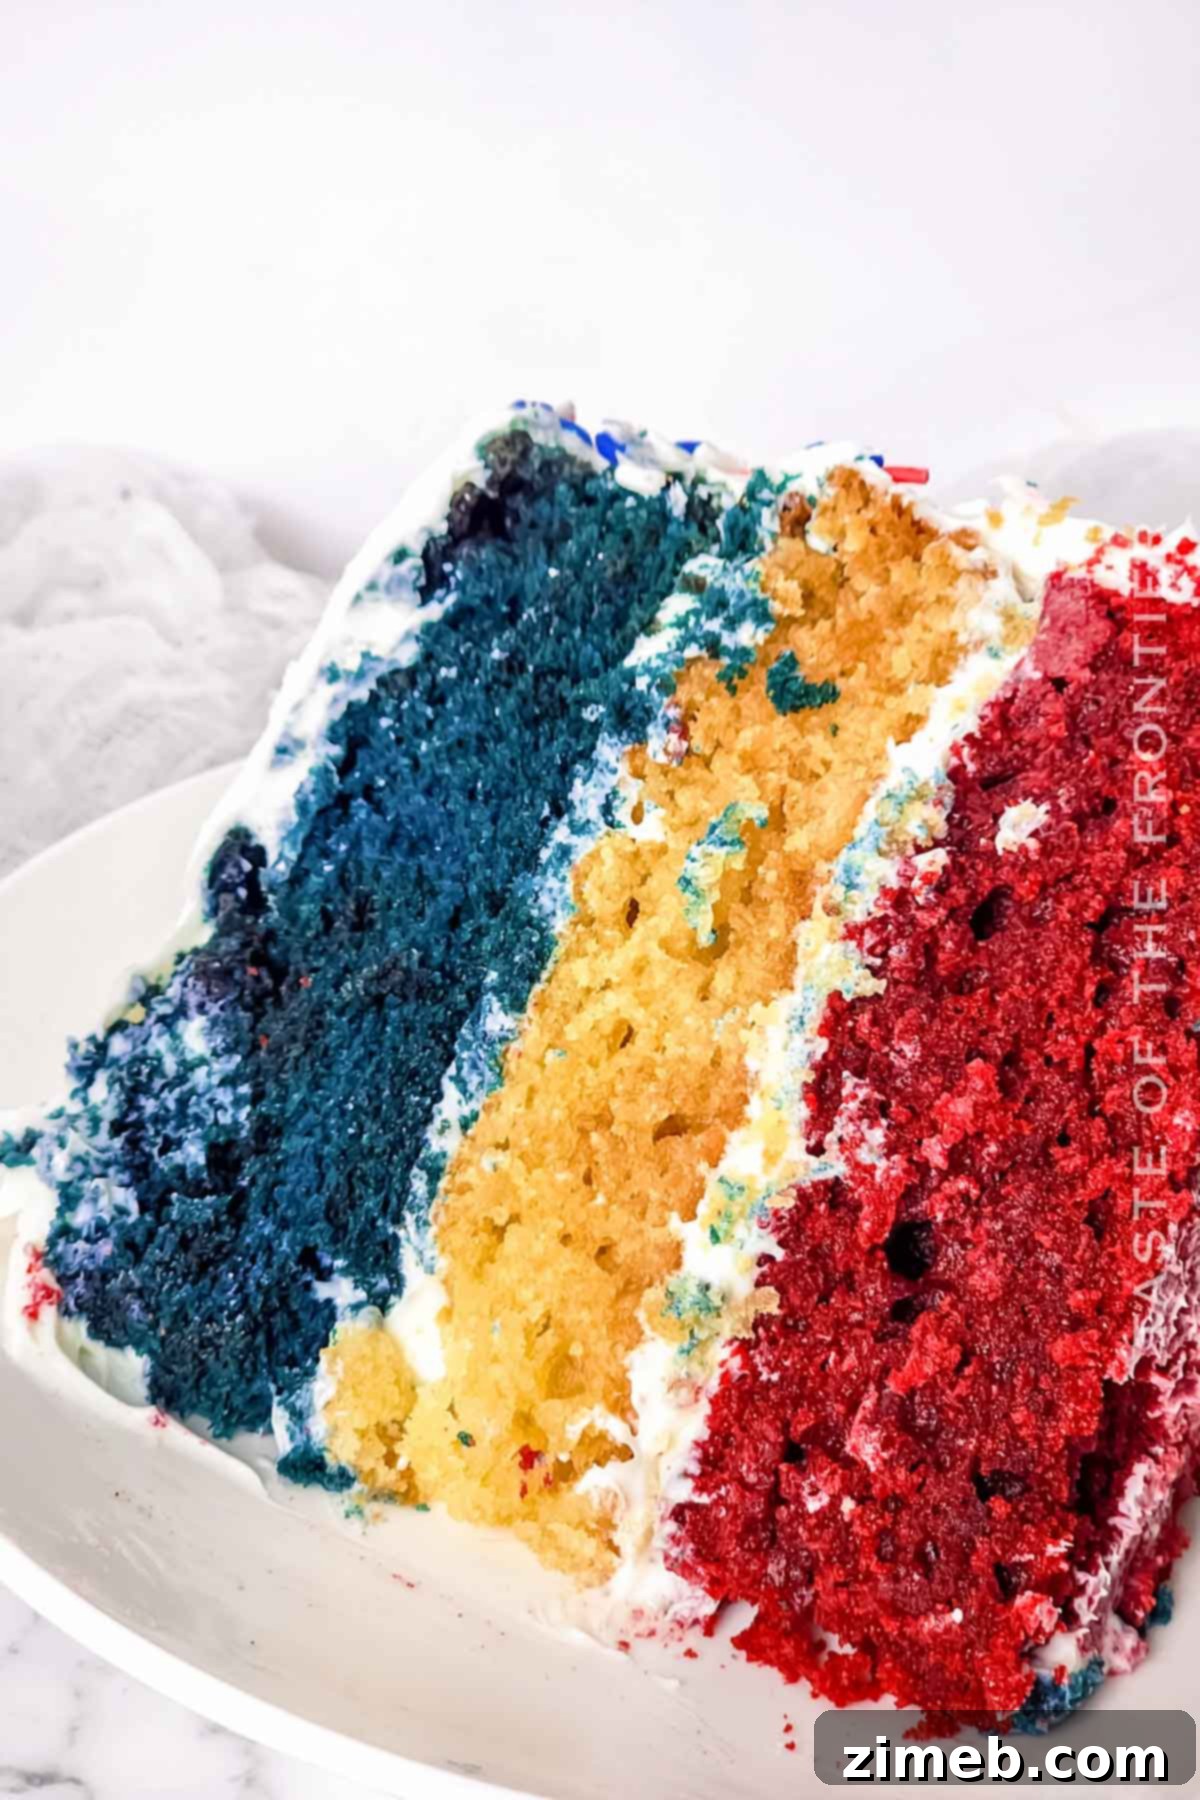
There’s something truly magical about a homemade cake, especially one that proudly displays the national colors. This Red, White, and Blue Cake captures that magic with its distinct, vibrantly colored layers, each one perfectly moist and tender. Paired with a luscious cream cheese frosting that balances sweetness with a delightful tang, it’s a dessert that tastes as amazing as it looks. And don’t let its impressive appearance intimidate you! We’ve designed this recipe to be straightforward and accessible, even for novice bakers. With clear instructions and helpful tips, you’ll be able to create a professional-looking cake that tastes even better than it appears. So, preheat your oven, gather your ingredients, and prepare to bake a masterpiece that embodies the joy and pride of patriotic holidays.
Common Questions About Making Your Red, White, and Blue Cake
Whether you’re an experienced baker or just starting out, you might have some questions about perfecting your patriotic cake. Here are answers to some of the most frequently asked questions to ensure your baking experience is smooth and successful.
Can I use egg whites instead of whole eggs in the cake recipe for a lighter texture?
Absolutely! Using egg whites instead of whole eggs is a fantastic way to achieve a lighter, more delicate crumb in your cake layers. This can be particularly appealing for a white cake layer, contributing to its ethereal appearance. As a general rule, two egg whites can typically replace one whole egg in most cake recipes. Keep in mind that this substitution might slightly alter the richness, but it will certainly enhance the lightness, creating a beautiful contrast with the creamy frosting.
How can I ensure the cake layers are perfectly even?
Achieving perfectly even cake layers is key to a beautiful presentation. One of the most effective methods is to use a kitchen scale. After preparing your cake batter, divide it equally by weight into your three prepared cake pans. If you don’t have a kitchen scale, a large measuring cup can help you distribute the batter as evenly as possible by volume. Another pro tip is to use “baking strips” around your cake pans, which help the cake bake more evenly by insulating the sides, preventing doming in the center.
Do I have to use cream cheese frosting, or can I choose another type?
While cream cheese frosting is a classic and highly recommended choice for velvet cakes, offering a wonderful balance to their richness, you are certainly not limited to it. If you prefer a different flavor profile or texture, several other frostings would work beautifully. A classic vanilla buttercream offers a smooth, sweet finish. For a lighter touch, a stabilized whipped cream frosting can provide a delicate contrast. You could even experiment with a lemon-infused buttercream to add a zesty brightness. The most important thing is to choose a frosting you and your guests will love!
Can I make this cake gluten-free or dairy-free?
Yes, with a few modifications, you can adapt this recipe to be gluten-free or dairy-free. For a gluten-free version, simply substitute the all-purpose flour with a high-quality gluten-free all-purpose flour blend that contains xanthan gum. When going dairy-free, replace the milk with a plant-based alternative like almond milk or soy milk, and use a dairy-free butter substitute. For the cream cheese frosting, look for dairy-free cream cheese alternatives and butter substitutes. Always double-check ingredient labels to ensure they meet your dietary needs.
What type of food coloring should I use for vibrant layers?
To achieve truly vibrant red and blue layers without affecting the cake batter’s consistency, gel food coloring is highly recommended. Unlike liquid food coloring, gel colors are concentrated, meaning you’ll need only a few drops to get intense hues. This prevents adding excess liquid to your batter, which can impact the cake’s texture. Look for “super red” and “royal blue” gel colors for the best results.
Storage Guidelines for Your Red, White, and Blue Cake
Proper storage is essential to keep your Red, White, and Blue Cake fresh and delicious, especially with its creamy frosting. This cake is ideal for Independence Day parties and other patriotic events, and knowing how to store it ensures every slice is as good as the first.
Refrigerator Storage
Due to the cream cheese frosting, this cake must be stored in the refrigerator. To maintain its freshness and prevent it from drying out, place the cake in an airtight container. This will protect it from absorbing other odors in your fridge and keep the frosting perfectly set. Stored correctly, your Red, White, and Blue Cake will remain delicious for up to 5 days, making it perfect for enjoying over an extended holiday weekend.
Freezer Storage
If you’re planning ahead or have delightful leftovers, this patriotic cake freezes beautifully. You can freeze the entire cake or individual slices. For best results, wrap the cake or slices tightly in plastic wrap, then place them in an airtight freezer-safe container or a heavy-duty freezer bag. This double layer of protection helps prevent freezer burn. The cake can be frozen for up to 3 months. When you’re ready to enjoy it, simply thaw the cake overnight in the refrigerator before serving. This gradual thawing helps preserve its moist texture and flavor.
Essential Tips for a Perfect Patriotic Cake
Baking a showstopping cake is an art, and these tips will help ensure your Red, White, and Blue Cake turns out perfectly every time. An electric mixer, whether handheld or stand, will significantly speed up the process and ensure a smooth, well-combined batter and frosting. Let technology do the heavy lifting for you!
- Room Temperature Ingredients: Always ensure your ingredients, especially butter, cream cheese, and eggs, are at room temperature before you begin. This allows them to cream together more smoothly, creating an emulsified batter and a lump-free, airy frosting.
- Do Not Overmix the Batter: Once you add the dry ingredients to your wet mixture, mix just until combined. Overmixing develops the gluten in the flour, leading to a tough, dry cake. A light hand is key to a tender crumb.
- Cool Cake Layers Completely: Patience is a virtue when it comes to frosting! Allow your cake layers to cool completely on a wire rack before attempting to frost them. If the layers are even slightly warm, the frosting will melt and slide off, making a messy situation.
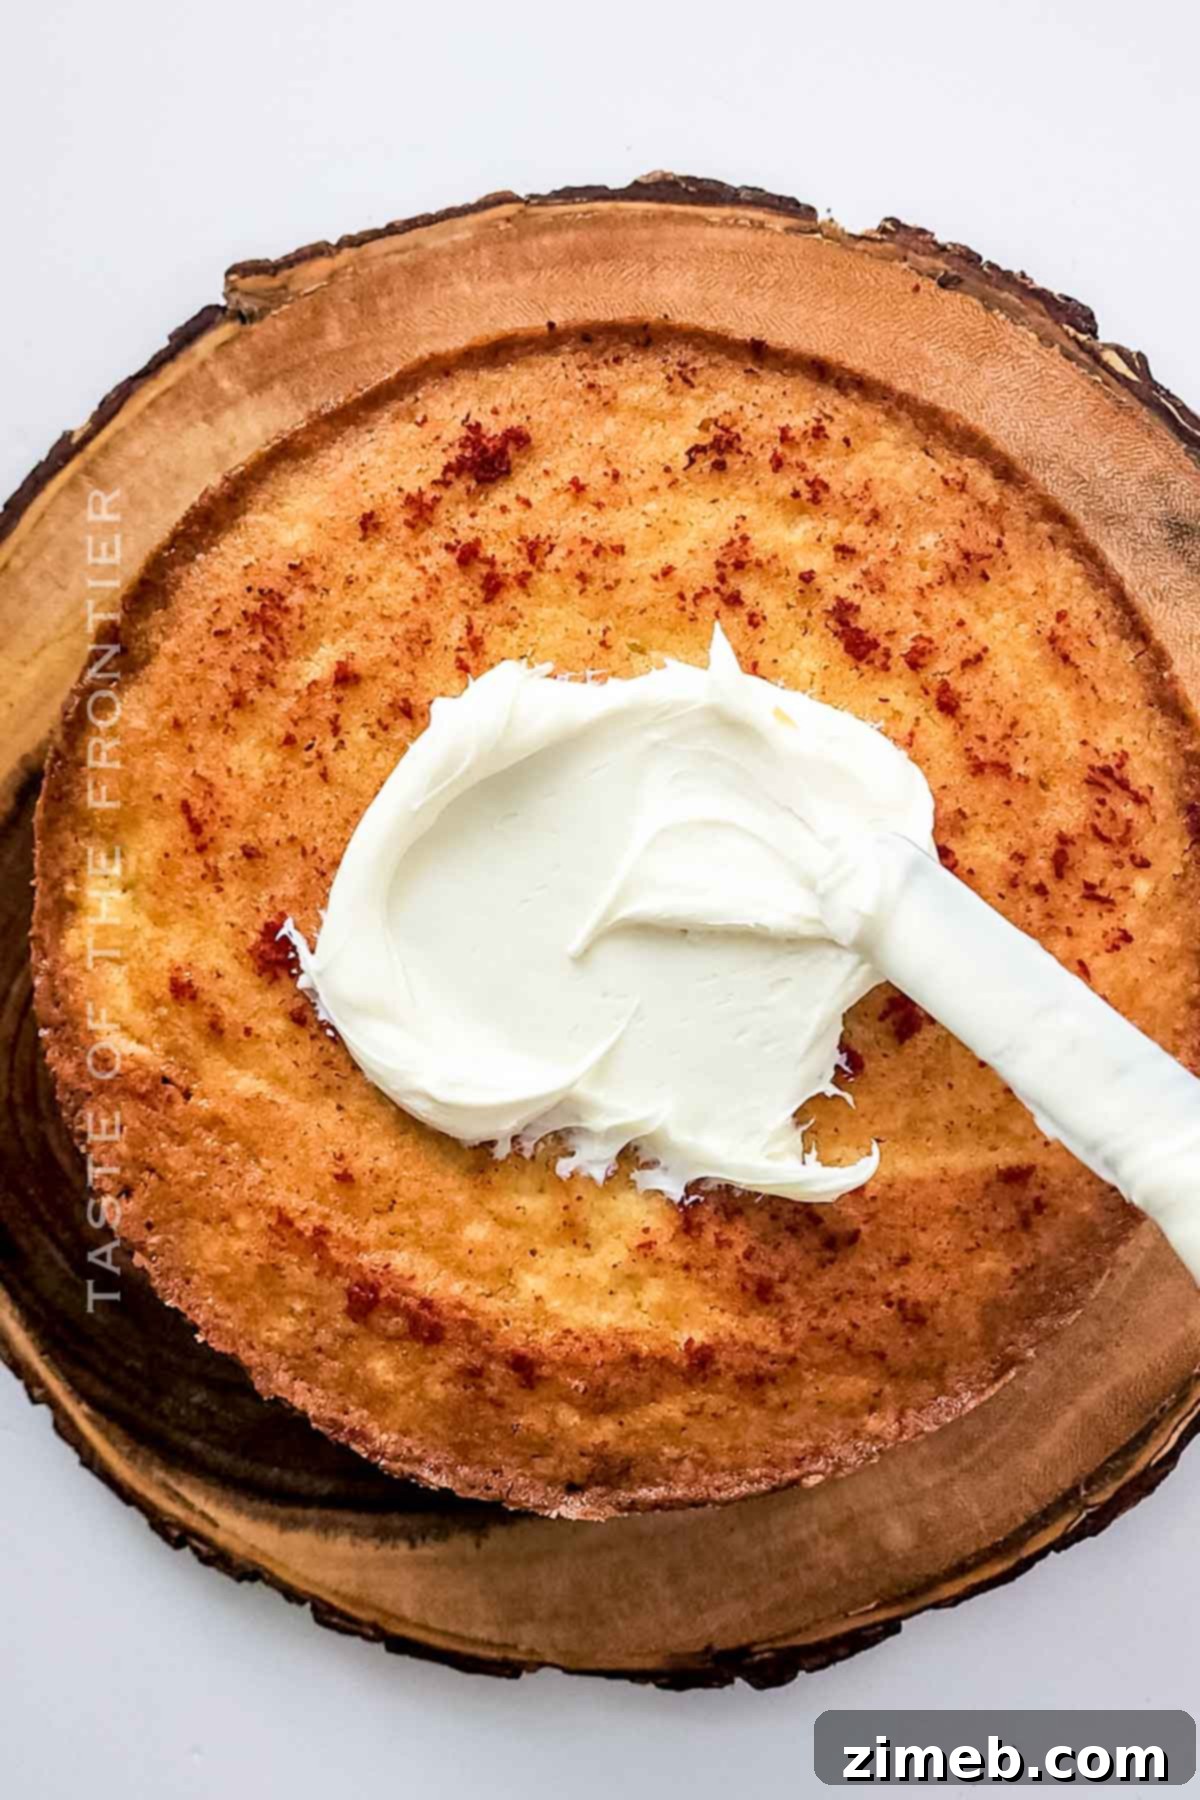
- Apply a Crumb Coat: For a professional-looking finish, apply a thin layer of frosting, known as a “crumb coat,” to the entire cake first. This traps any loose crumbs, preventing them from mixing into your final, visible layer of frosting. Chill the cake for about 15-20 minutes after the crumb coat before applying the main frosting layer.
- Use an Offset Spatula for Smooth Frosting: An offset spatula is an invaluable tool for spreading frosting smoothly and evenly. Its angled blade keeps your knuckles clear of the cake, allowing for graceful application.
- Level Your Cake Layers: If your cake layers bake with domed tops, use a serrated knife or a cake leveler to gently trim them flat once cooled. This ensures a stable, even cake with perfectly straight sides when stacked.
- Quality Food Coloring: For truly vibrant red and blue layers that pop, invest in high-quality gel food coloring. A little goes a long way, and it won’t thin out your batter like liquid food coloring can.
- Prep Your Pans Properly: Always grease and flour your cake pans, or line them with parchment paper circles, to ensure your cakes release easily without sticking.
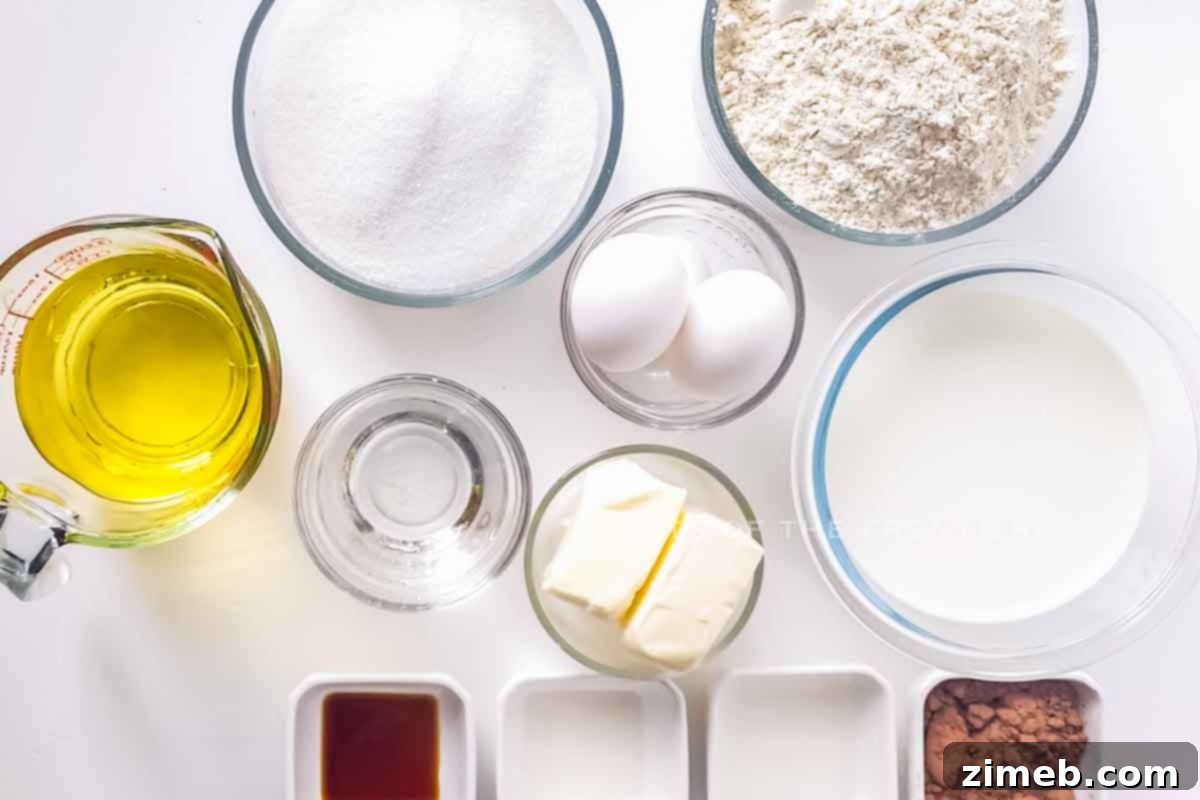
Ingredients for Your Homemade Red, White, and Blue Cake
While using a box mix for each cake layer is an option for convenience, baking from scratch allows for superior flavor and texture. This recipe calls for fresh, quality ingredients that will elevate your patriotic dessert to new heights. Here’s what you’ll need for this delicious 3-layer velvet cake and rich cream cheese frosting:
For the Cake Layers (Multiply quantities by 3 for each distinct colored layer, adjusting cocoa and extracts as specified below):
- Unsalted butter, softened
- Salt
- Granulated sugar
- Large eggs
- Whole milk
- Vegetable oil
- Warm water
- White vinegar (essential for velvet cake texture and color)
- Vanilla extract
- Almond extract (adds a lovely depth of flavor)
- All-purpose flour
- Baking soda
- Baking powder
- Cocoa powder (for red and blue layers only, enhances velvet texture)
- Red gel food coloring (for the red layer)
- Blue gel food coloring (for the blue layer)
For the Cream Cheese Frosting:
- Cream cheese, full-fat and softened (brick style, not whipped)
- Unsalted butter, softened
- Vanilla extract
- Confectioner’s sugar (powdered sugar)
- Red, white, and blue sprinkles (optional, for decoration)
How to Make Your Dazzling Red, White, and Blue Layer Cake
Creating this stunning cake is a surprisingly straightforward process, broken down into manageable steps. Follow along to bake and decorate your patriotic masterpiece!
Cake Layers (Prepare each layer in a separate bowl simultaneously)
- Preheat your oven to 350°F (175°C). Prepare three 8-inch round cake pans by coating them thoroughly with nonstick baking spray, or by greasing and flouring them.
- In three separate large mixing bowls, you will prepare each of the distinct cake batters simultaneously for efficiency.
- To each of the three bowls, add ¼ cup unsalted butter and ½ teaspoon salt. Beat with a hand mixer until light and fluffy.
- Next, add 1 cup of granulated sugar to each bowl and continue beating until the mixture is creamy and well combined.
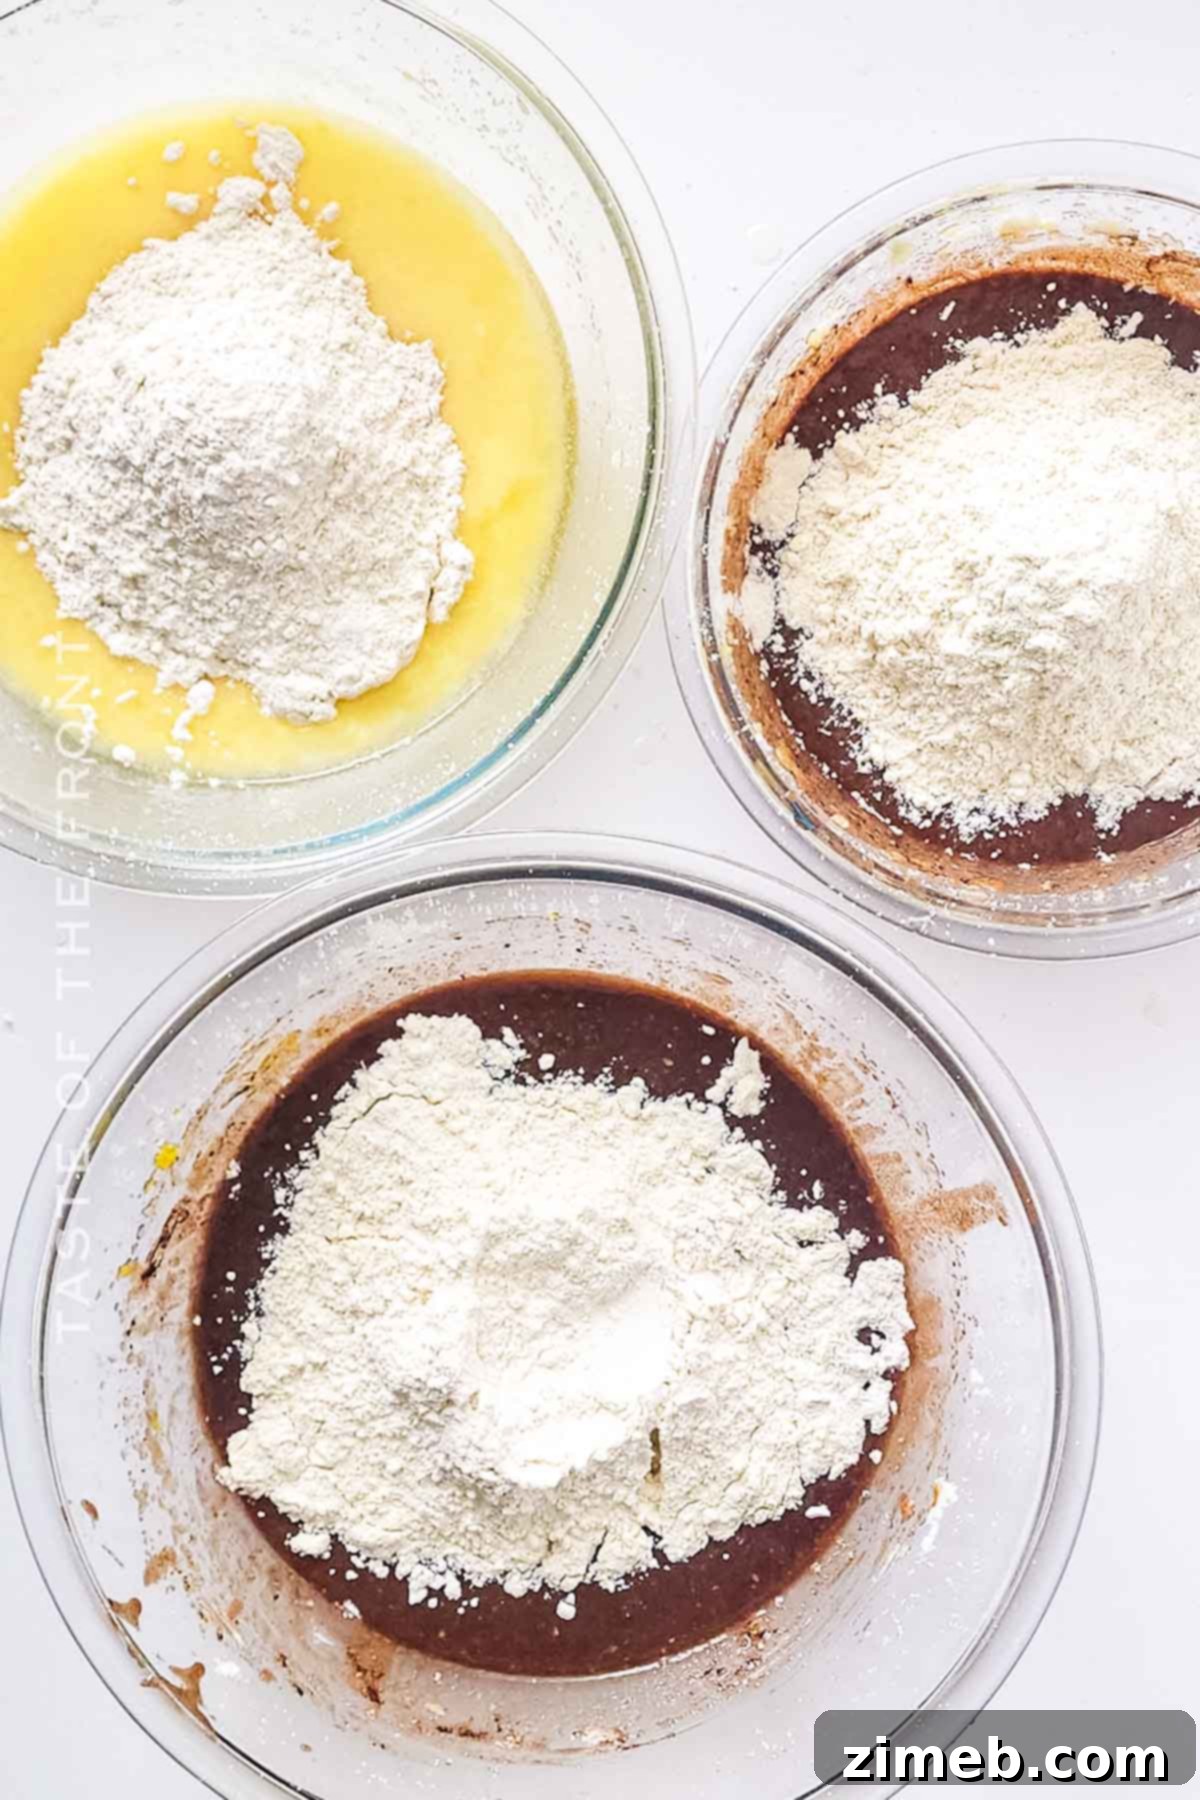
- Into each bowl, incorporate 1 large egg, ½ cup milk, ½ cup vegetable oil, ⅛ cup warm water, 1 ½ teaspoons white vinegar, ½ teaspoon vanilla extract, and ¼ teaspoon almond extract. Beat well with the hand mixer until all the wet ingredients are thoroughly combined.
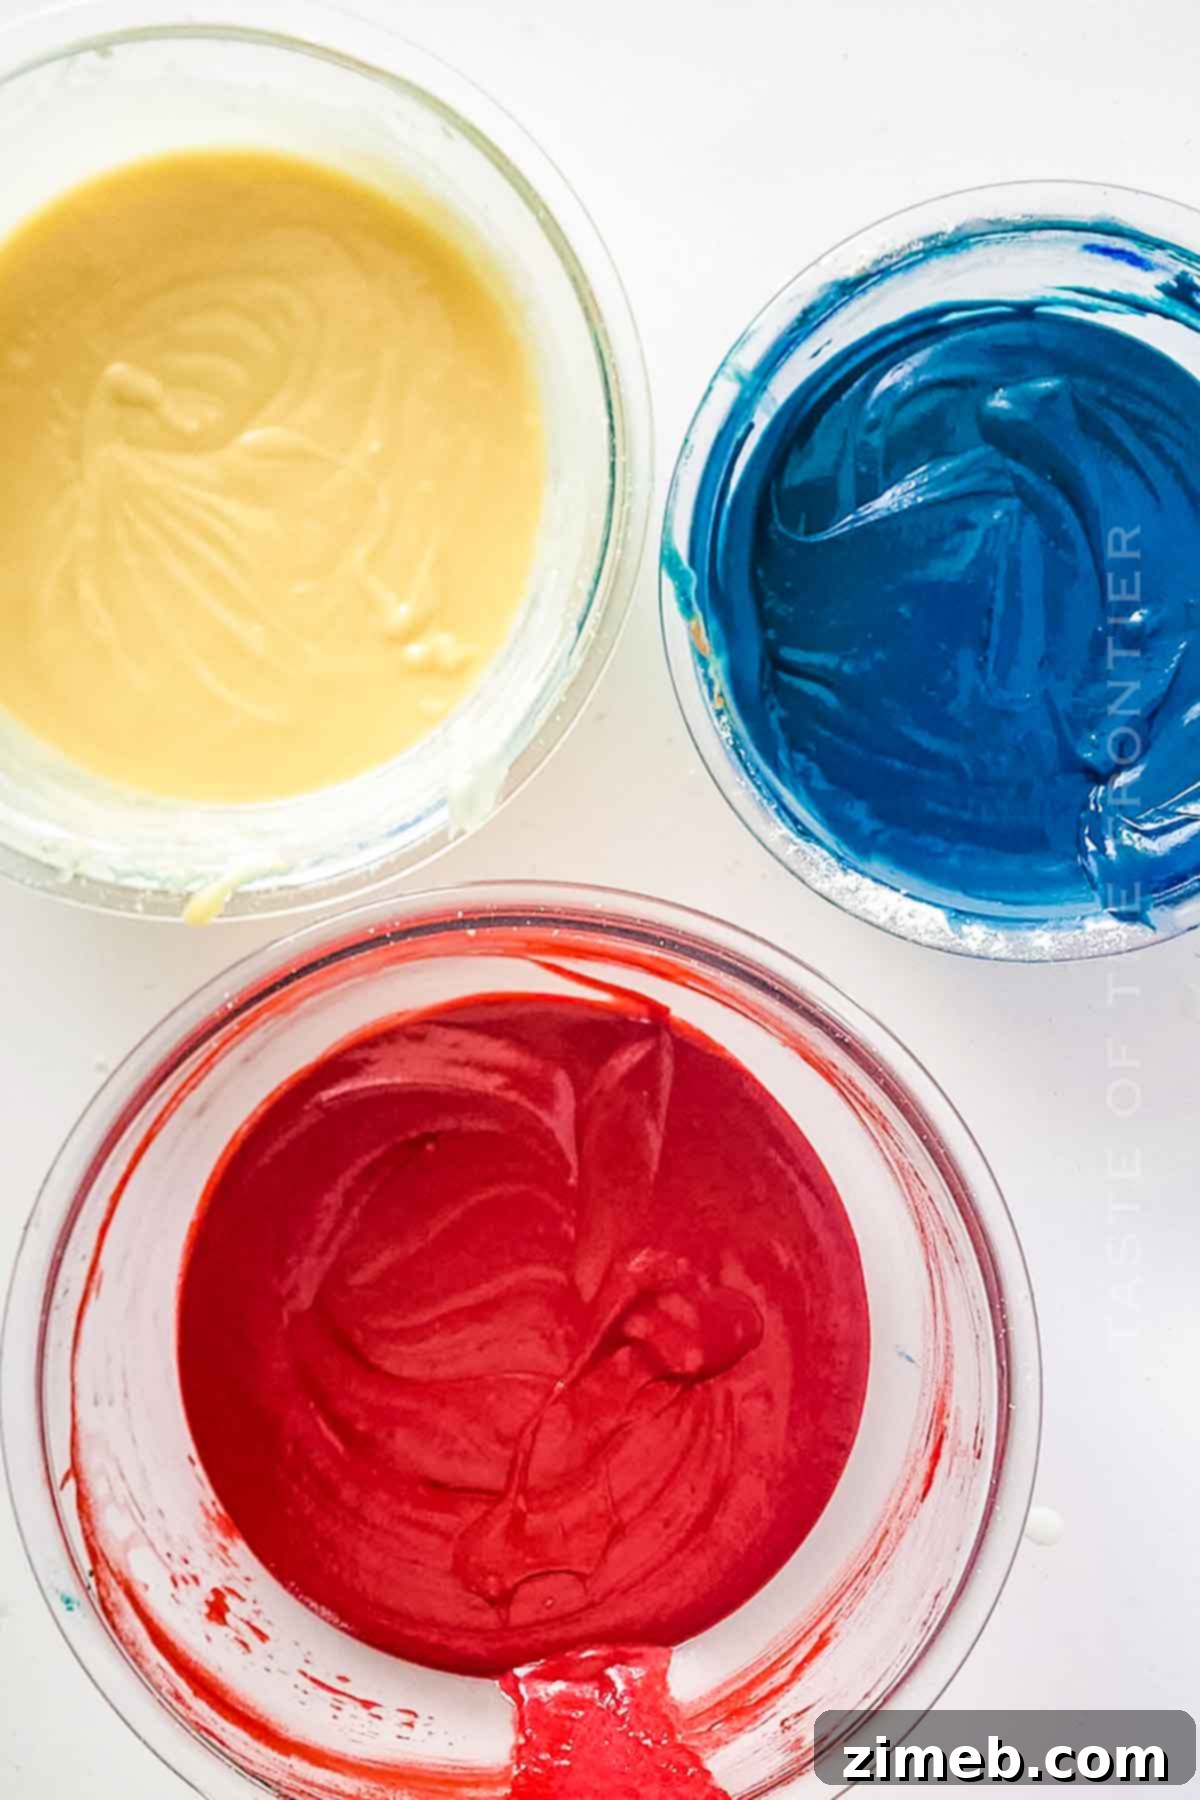
- **For the White Velvet Layer:** To one of the bowls, add 1 ¼ cups all-purpose flour, ½ teaspoon baking soda, and ¼ teaspoon baking powder. Mix on low speed until the batter is just smooth, being careful not to overmix. Set this white batter aside.
- **For the Red and Blue Velvet Layers:** To the remaining two bowls, add 1 ¼ cups all-purpose flour, 1 ½ tablespoons cocoa powder, ½ teaspoon baking soda, and ¼ teaspoon baking powder. Mix with the hand mixer until the batters are smooth. The cocoa powder is traditional for velvet cakes, adding depth of flavor and helping to achieve rich color.
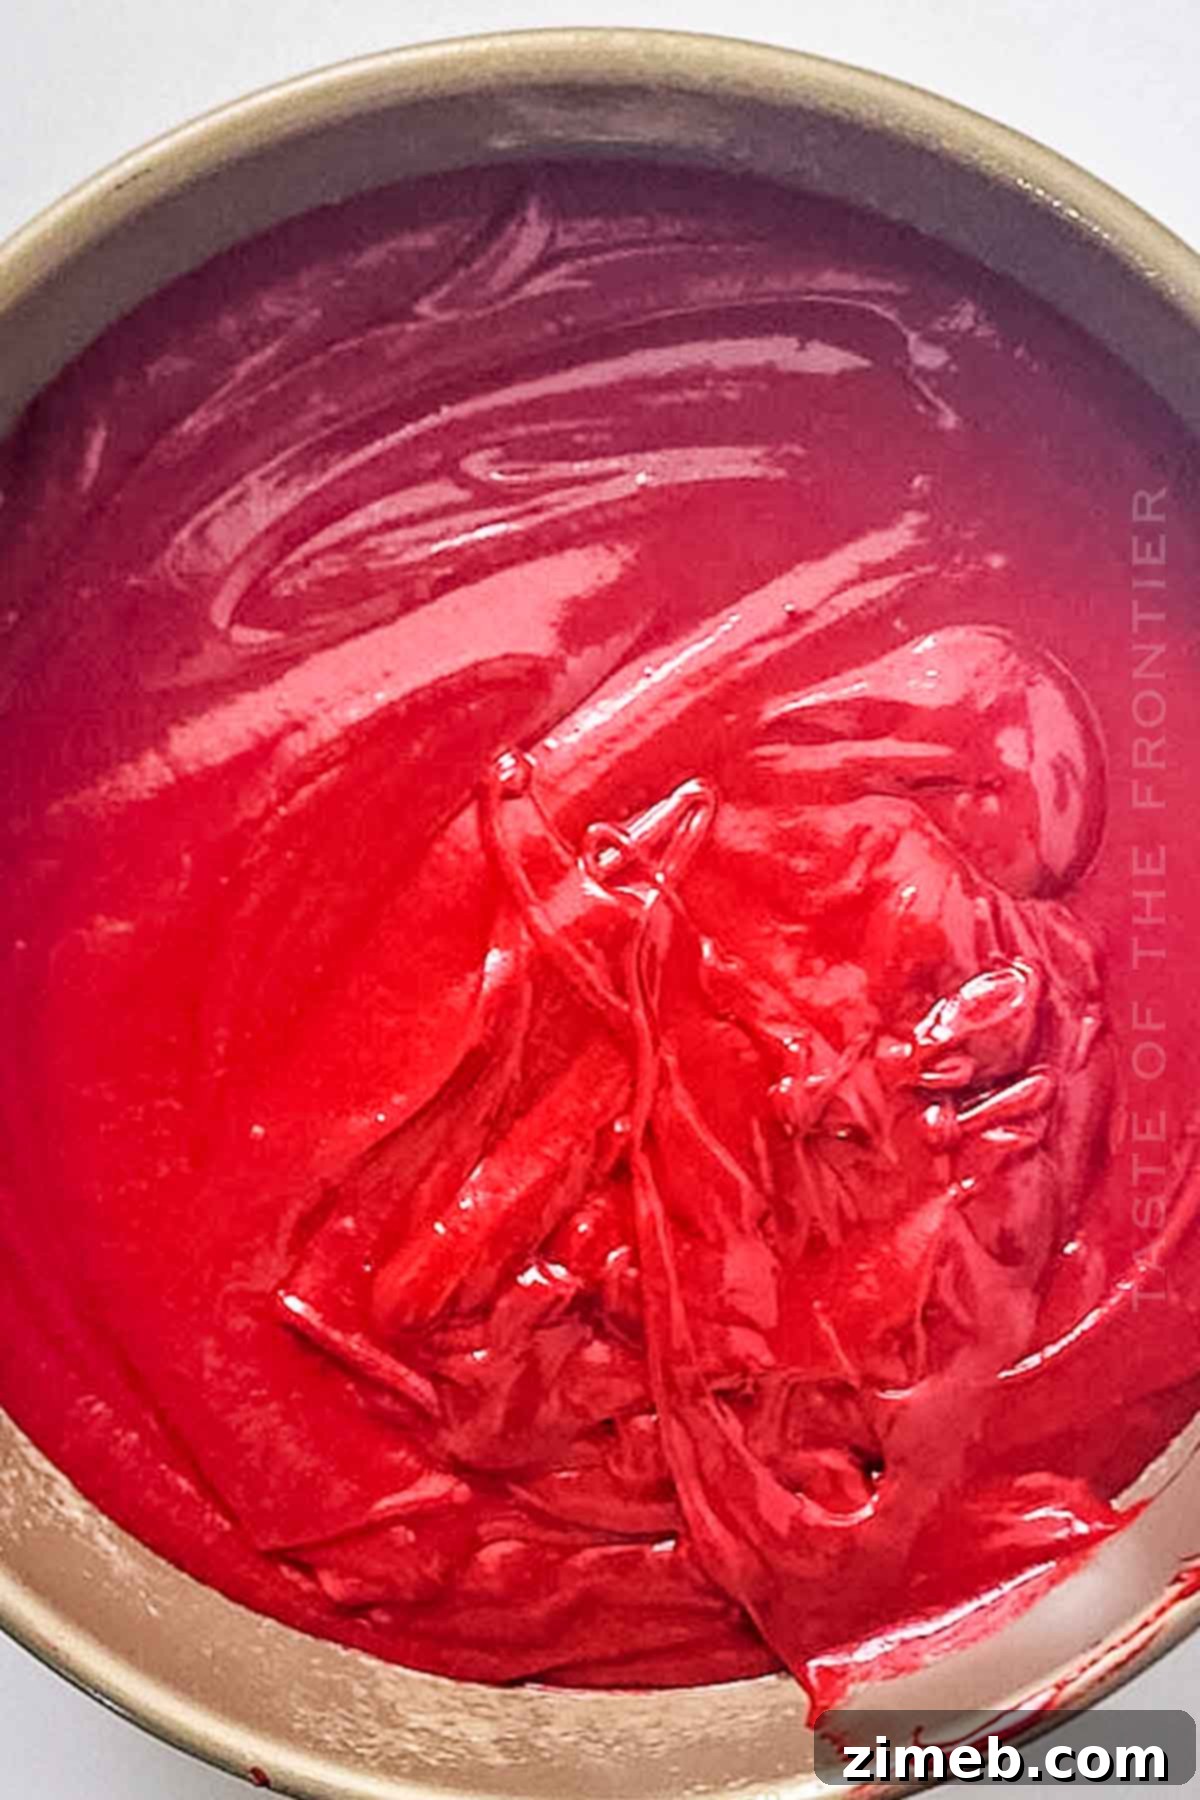
- Now, it’s time for the color! To one of the cocoa-infused batters, add 3-4 drops of red gel food coloring. To the other, add 3-4 drops of blue gel food coloring. Use a rubber spatula to gently fold in the colors until they are evenly distributed and the batters are vibrantly colored. Avoid using the mixer for this step to prevent overmixing.
- Pour each colored batter into one of the previously prepared 8-inch round cake pans. Ensure the batter is evenly spread.
- Bake the cakes in the preheated oven for 35-40 minutes, or until a wooden skewer or toothpick inserted into the center of a cake comes out clean.
- Once baked, remove the cakes from the oven and let them cool in their pans on a wire rack for about 10-15 minutes before inverting them directly onto the wire rack to cool completely. It is crucial for the cakes to be entirely cool before frosting.
Cream Cheese Frosting
- In the bowl of a stand mixer fitted with the paddle attachment (or using a hand mixer in a large bowl), beat 16 ounces of softened cream cheese until it is light and fluffy, about 2-3 minutes.
- Add 1 cup (2 sticks) of softened unsalted butter to the cream cheese. Beat again until the mixture is well blended and smooth.
- Slowly add 3 teaspoons of vanilla extract and 1 cup of confectioner’s sugar, mixing on low speed until just incorporated.
- Continue adding the remaining confectioner’s sugar, one cup at a time, mixing on low until each addition is just blended in.
- Once all the sugar is incorporated, increase the mixer speed to high and whip the frosting for 1-2 minutes. This step is vital for aerating the frosting, making it extra fluffy and smooth.
- Your cream cheese frosting is now ready for spreading. If you plan on piping intricate decorations, it’s recommended to chill the frosting in the refrigerator for about 1-2 hours. This firms it up, allowing it to hold its shape better during piping and preventing decorations from sagging prematurely.
Decorate
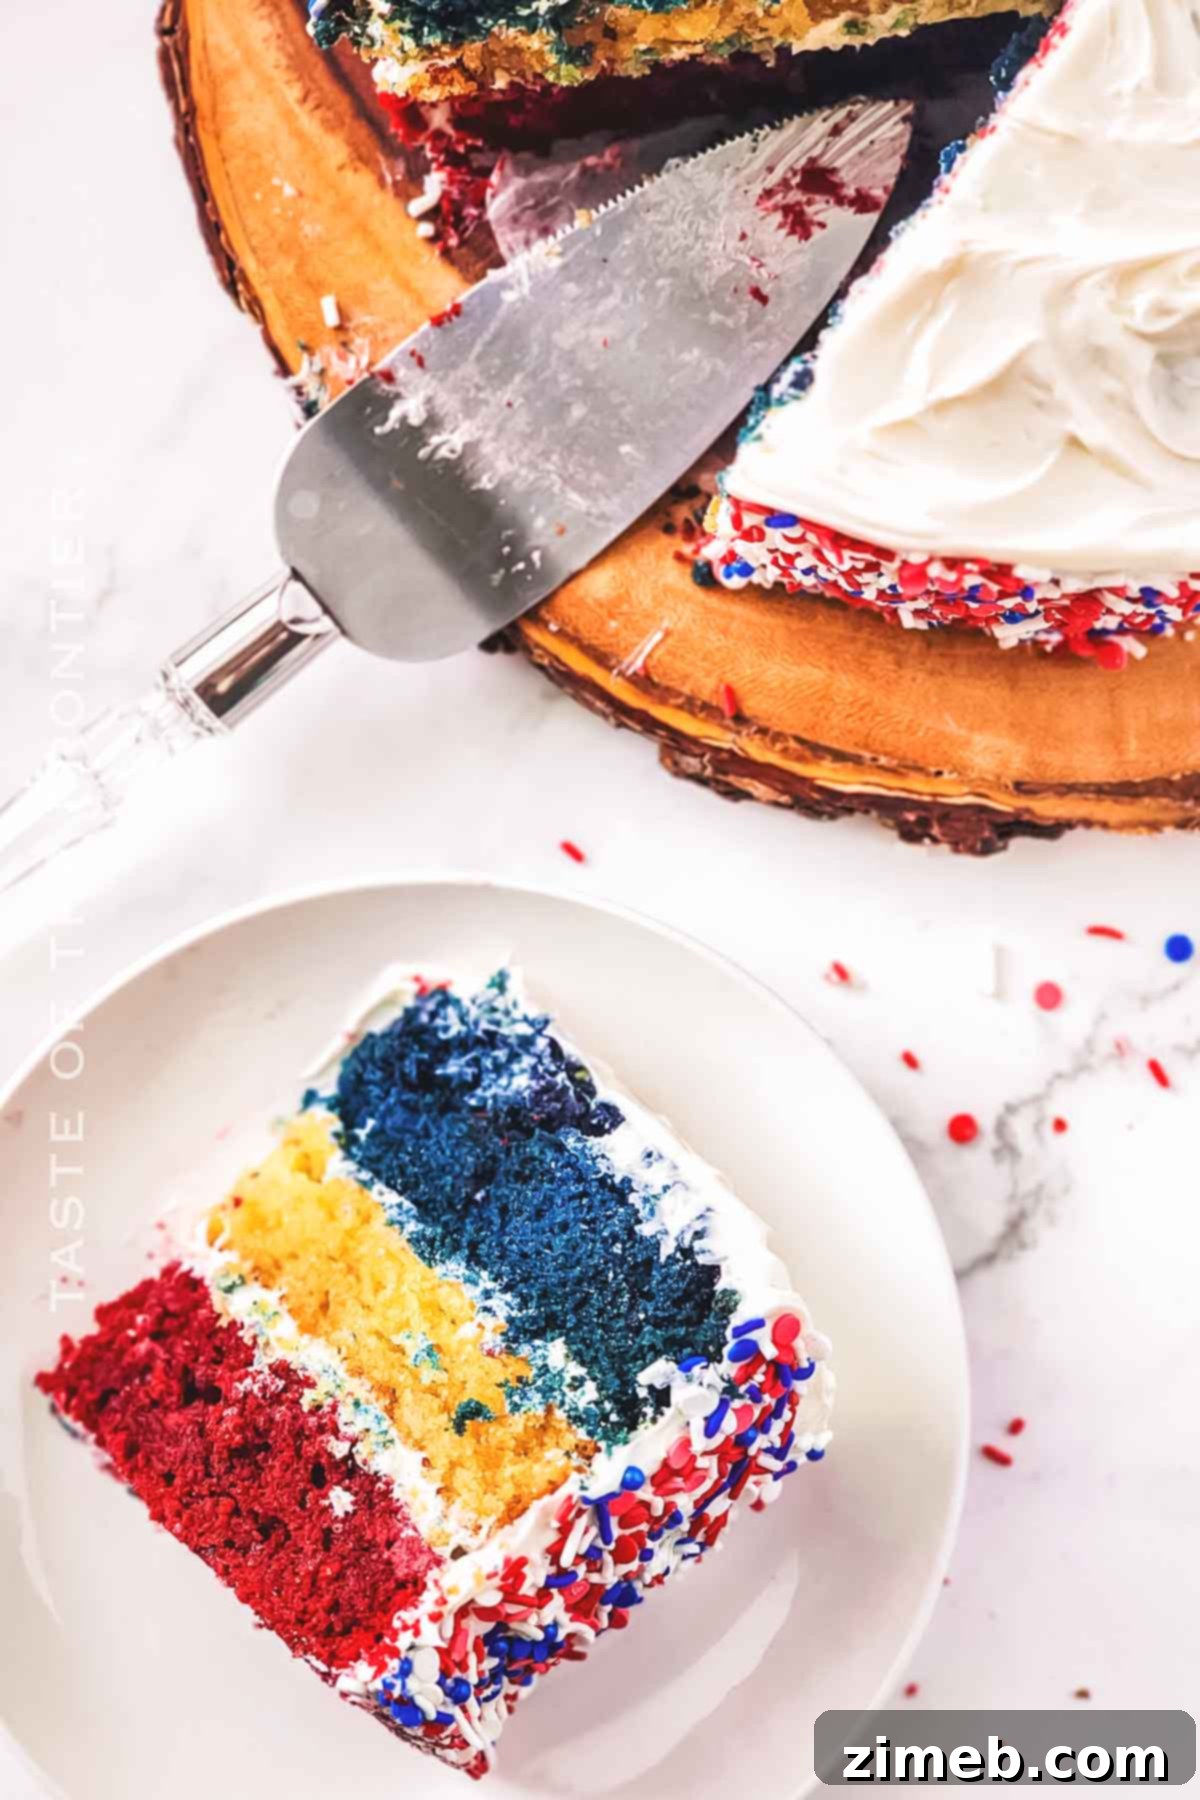
- Once your cake layers are completely cool, place the blue velvet layer on your serving plate or cake stand as the base.
- Spread an even layer of cream cheese frosting over the blue layer.
- Carefully place the white velvet layer on top of the frosting. Add another generous layer of frosting.
- Finally, place the red velvet layer on top. Frost the top and sides of the entire cake, smoothing it out with an offset spatula for a polished finish. Remember the crumb coat tip for a cleaner result!
- For a festive touch, generously sprinkle the cake with red, white, and blue sprinkles if desired.
Kitchen Supplies You’ll Need for Your Red, White, and Blue Cake
Having the right tools can make all the difference in your baking journey. Here’s a list of essential kitchen supplies that will help you create your magnificent patriotic cake with ease. Remember, allowing your cake to cool on a wire rack is crucial; if it’s too warm when frosted, the cake will crumble and the frosting will melt!
- Three 8-inch Round Cake Pans: Essential for baking the individual layers that make up your impressive cake.
- Electric Mixer (Handheld or Stand): Speeds up the creaming of butter and sugar and ensures your frosting is light and fluffy.
- Large Mixing Bowls (3): Necessary for preparing each distinct cake batter separately and simultaneously.
- Measuring Cups and Spoons: For accurate measurement of all ingredients, crucial for successful baking.
- Rubber Spatula: Perfect for folding in dry ingredients without overmixing and for gently incorporating food coloring.
- Wire Cooling Racks: Allows air to circulate around your cakes, ensuring they cool completely and preventing condensation.
- Parchment Paper: For lining cake pans, ensuring easy release and preventing sticking.
- Offset Spatula: The baker’s secret weapon for smoothly spreading frosting and creating a professional finish.
- Kitchen Scale (Optional but Recommended): For precisely dividing batter into pans, leading to perfectly even cake layers.
What to Serve With Your Red, White, and Blue Cake
This Red, White, and Blue Cake is a vibrant, sweet treat that perfectly embodies the joyous spirit of summer celebrations. To complement its rich flavors and festive appeal, consider pairing it with refreshing beverages and light, complementary side desserts.
For drinks, a glass of crisp sparkling lemonade or classic iced tea offers a refreshing counterpoint to the cake’s sweetness. Both are light and invigorating, ideal for a warm holiday gathering. If you prefer something with a bit more depth, a lightly sweetened iced coffee can provide a delightful contrast, its slight bitterness balancing the cake’s richness beautifully. For those enjoying an adult gathering, consider a festive patriotic punch or a light rosé wine.
If you’re serving this showstopper at a barbecue, you might want to offer additional dessert options that are fresh and fruity. Grilled peaches, with their smoky sweetness, or a tangy fruit sorbet made from seasonal berries (strawberries, raspberries, blueberries) would make an excellent companion. These lighter options cleanse the palate and add another layer of sophisticated flavor to your dessert spread without overpowering the star of the show.
Why You Should Make This Red, White, and Blue Cake
Beyond its stunning appearance, this Red, White, and Blue Cake offers numerous reasons why it should be your top choice for your next patriotic celebration. It’s truly a centerpiece that garners compliments and creates lasting memories!
- Unforgettably Festive: With its bold, distinct layers of red, white, and blue, this cake instantly evokes a sense of patriotic spirit and celebration. It serves as a fantastic visual anchor for any holiday spread, making your gathering feel extra special and themed.
- Absolutely Delicious: This isn’t just a pretty face; it’s a truly delicious cake! The moist, tender velvet cake layers are perfectly complemented by the rich, creamy, and slightly tangy cream cheese frosting. It’s a flavor combination that consistently pleases crowds and leaves everyone wanting another slice.
- Surprisingly Versatile: While it shines as a patriotic dessert, the concept of layered colored cakes is incredibly versatile. You can easily adapt this recipe for other holidays or special occasions by simply changing the food coloring to match your theme – think pastels for Easter, green for St. Patrick’s Day, or team colors for a sports event!
- A Fun Baking Project: Baking this cake is an enjoyable and rewarding activity, whether you tackle it solo or with company. It’s a wonderful opportunity to involve family and friends, especially kids, in the kitchen. Measuring, mixing, and adding colors can turn baking into a delightful and memorable experience.
- Impressive Yet Achievable: Despite its impressive multi-layered appearance, this cake is designed to be achievable for bakers of all skill levels. With clear steps and helpful tips, you can create a dessert that looks professionally made without the stress, proving that you don’t need to be a pastry chef to bake something spectacular.
Creative Variations and Delicious Add-Ins for Your Cake
While the classic Red, White, and Blue Cake is perfect as is, you can always personalize it with creative variations and add-ins to suit your taste or occasion. These ideas will help you put your unique twist on this festive dessert.
- Explore Different Color Palettes: Don’t limit yourself to red, white, and blue! This cake can be adapted for any holiday or theme. Use pastel colors for baby showers or Easter, vibrant hues for birthdays, or even school colors for graduation parties. The possibilities are endless!
- Experiment with Frosting Flavors: While cream cheese frosting is a beloved classic, feel free to try other frostings. A zesty lemon cream cheese frosting could add a refreshing tang, or a rich chocolate ganache between layers could elevate the decadence. Vanilla buttercream or a fluffy meringue frosting are also excellent choices for different textures and flavors.
- Add Fresh Berries: For a burst of natural flavor and an extra touch of patriotic flair, decorate your cake with fresh berries. Arrange fresh strawberries, raspberries, and blueberries on top or between layers for added moisture, flavor, and visual appeal. This not only tastes delicious but also enhances the natural colors.
- Incorporate Candy or Chocolates: For a fun twist, especially when catering to a younger crowd, consider topping your cake with patriotic-colored M&Ms, sprinkles, or even small white chocolate stars. Melted white chocolate drizzled over the top could also create an elegant finish.
- Sparkle with Edible Glitter or Sparklers: For a truly dazzling Fourth of July effect, edible glitter can add a subtle shimmer to your frosting. For a dramatic presentation, carefully place food-safe sparklers on top just before serving (ensure this is done outdoors and with caution, keeping them away from flammable decorations).
- Introduce a Filling: Beyond the frosting, a thin layer of fruit jam (like raspberry or blueberry), lemon curd, or even a mascarpone cream could be spread between the cake layers for an extra layer of flavor and texture.
If you love this easy patriotic cake recipe, you’re going to adore these other festive treats too! Click each link below to discover more delicious, printable recipes that celebrate red, white, and blue.
4th of July Cupcakes
Celebrate Independence Day with these adorably delicious 4th of July Cupcakes, complete with homemade candy melt sparklers! They are also perfect for Memorial Day, Flag Day, and Labor Day gatherings.
Check out this recipe

4th of July Jello Shots
These 4th of July Jello Shots are a classic summer party favorite. Crafted with red wine and blackberry brandy for a sangria-inspired taste, they’re ideal for any adult holiday celebration!
Check out this recipe
4th of July Truffles
Celebrate with these absolutely delicious no-bake 4th of July Truffles. They are easy to make with chocolate Oreo truffles and adorned with red, white, and blue chocolate decorations!
Check out this recipe
Patriotic Mini-Cheesecakes
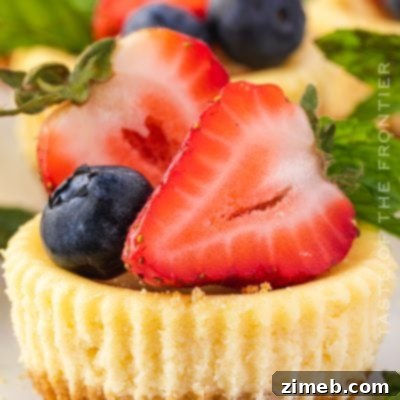
Patriotic Mini-Cheesecakes offer an easy, individual cheesecake recipe topped with macerated strawberries and blueberries. They are the perfect red, white, and blue treat to help you celebrate Memorial Day or the 4th of July!
Check out this recipe
Patriotic Pinwheel Cookies
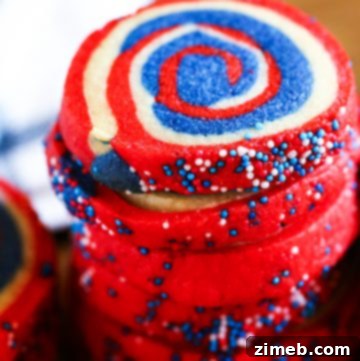
Patriotic Pinwheel Cookies are the ideal festive dessert for the 4th of July, Memorial Day, or simply to celebrate all things red, white, and blue. Their swirl design is always a hit!
Check out this recipe
More Great Red, White, and Blue Recipes
- 4th of July Cookies
- Fourth of July Cupcakes
- Red White and Blue Popsicles
- July 4th Rice Krispie Treats
If you love this recipe for a patriotic cake as much as we do, please consider leaving a five-star review and help us spread the joy by sharing it on Facebook and Pinterest!
CONNECT WITH YUMMI HAUS!
Be sure to follow us on social media so you never miss a post!
Substack, FB, Pinterest, IG, Email Subscription