
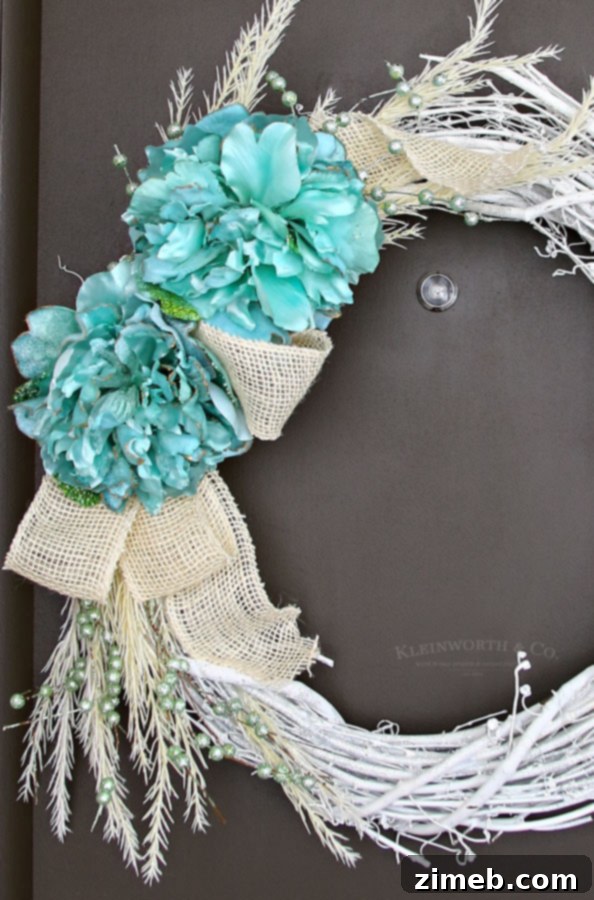
Effortless Elegance: Crafting Your Own Mint & White Winter Wreath in 20 Minutes
As the festive sparkle of Christmas decorations fades, many of us are left with a subtle decorating dilemma. That in-between period, stretching from the end of the holiday season to the first whispers of spring or Valentine’s Day, often leaves our homes feeling a bit bare, especially the front door. A wreath is more than just a decoration; it’s a welcoming embrace, a statement of warmth and hospitality. This is precisely why having a beautiful, non-holiday specific wreath gracing your front door is an absolute must during the winter months.
Imagine a wreath that perfectly bridges this decorative gap – one that brings a fresh, serene pop of color without feeling out of place. We’re thrilled to share an incredibly simple yet stunning DIY project: a Mint & White Winter Wreath. This elegant wreath is designed to invigorate your porch with a sophisticated palette, offering a touch of frosted beauty that’s both inviting and stylish. The best part? You can craft this gorgeous piece in about 20 minutes, making it an ideal weekend project for even the busiest schedules. Get ready to transform your entryway and impress your guests with this enchanting winter creation!
Why a Winter Wreath is Essential for Your Home Decor
The transition from the vibrant reds and greens of Christmas to the starker beauty of winter can sometimes leave our home decor feeling a little lackluster. Without a festive wreath, your front door might appear plain, lacking the character and charm it deserves. This is where a dedicated winter wreath truly shines. Unlike holiday-specific decor, a winter wreath is designed to evoke the serene and crisp atmosphere of the season without leaning on specific themes like Santa or snowflakes. It offers a subtle elegance that complements the natural winter landscape, providing a much-needed visual anchor for your home’s exterior.
Moreover, crafting your own winter wreath is not just about filling a decorative void; it’s an opportunity to infuse your personal style into your home. The mint and white color scheme we’ve chosen for this project is particularly versatile. Mint, a soft and refreshing hue, brings a touch of unexpected cheer and a cool undertone reminiscent of frosty mornings. Paired with classic white, it creates a clean, sophisticated, and distinctly wintery aesthetic that avoids feeling cold or stark. This combination is perfect for adding a ‘pop of color’ that is gentle yet impactful, ensuring your porch remains vibrant and welcoming throughout the colder months.
Simple Steps to Create Your Own Winter Wonderland Wreath
Creating a beautiful winter wreath doesn’t require advanced crafting skills or hours of dedicated time. With just a few key supplies and some creative spirit, you can assemble a stunning piece that looks professionally made. The process is incredibly satisfying, allowing you to customize every detail to suit your taste and home decor. Follow these easy steps to bring your Mint & White Winter Wreath to life.
This post contains some affiliate links. Click here to read my full disclosure policy.
Gathering Your Essential Supplies
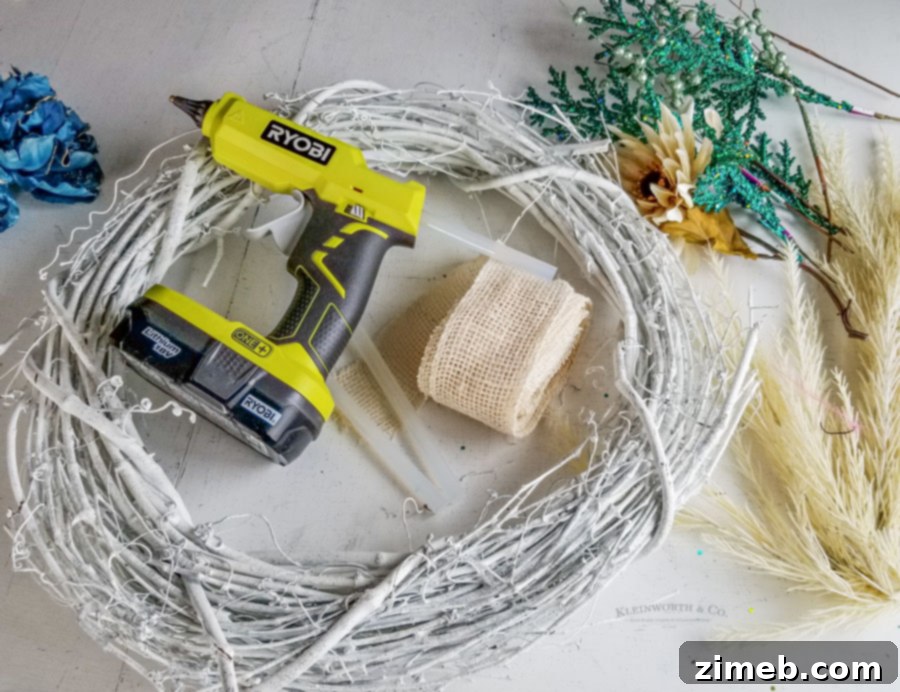
Before you begin, ensure you have all your materials ready. Having everything laid out not only speeds up the process but also allows you to visualize your design before any gluing takes place. For this project, you will need:
- White Grapevine Wreath: A grapevine wreath provides a natural, rustic base that beautifully complements the delicate mint and white tones. The white finish adds to the frosty winter theme, but you can also spray paint a natural grapevine wreath white if desired.
- Hot Glue Gun & Glue Sticks: An essential tool for securing all your elements quickly and effectively. Make sure your glue gun is heated and ready to go.
- Burlap Ribbon: Opt for a wider burlap ribbon in a neutral tone, such as natural, cream, or white, to create a rustic yet elegant bow. This adds texture and visual interest.
- Silk Flowers: Choose silk flowers in shades of mint, white, or cream. Look for varieties with a delicate, wintery feel, such as small roses, hydrangeas, or even faux berries.
- White Floral Twig Pieces: These feathery, wispy white branches add a frosted, ethereal quality to your wreath, mimicking snow-covered twigs.
- Mint Embellishments: Small decorative elements in mint green, such as frosted pinecones, tiny ornaments, or faux eucalyptus leaves, will tie the color scheme together beautifully.
It’s always a good idea to pull out more supplies than you anticipate using. Sometimes, seeing various options laid out can spark new creative ideas, or you might find that a different piece works better for balance and fullness. Don’t be afraid to experiment with your choices!
Crafting Your Ribbon Accent
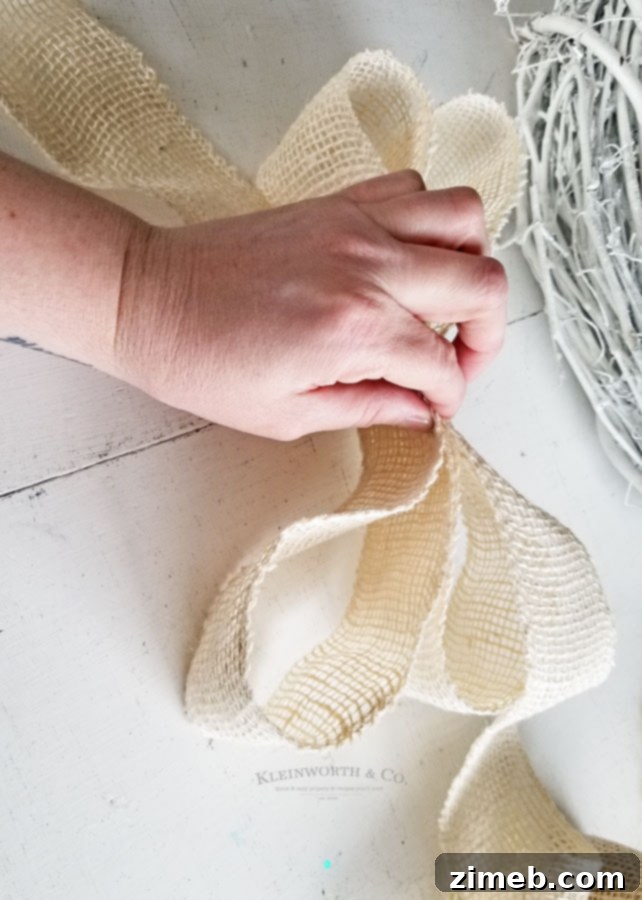
While a traditional bow is lovely, for this wreath, we’re aiming for a more organic, gathered look. Begin by taking a generous length of your burlap ribbon. Instead of tying a complex bow, simply gather the ribbon into a series of soft loops and folds, creating a voluminous but natural shape. Hold the center of the gathered ribbon firmly with your fingers. To secure this shape, take a piece of twine or a thin wire and tightly wrap it around the pinched center of the ribbon. This will create a secure foundation that you can then easily attach to your wreath. Feel free to adjust the loops until you achieve a pleasing, symmetrical or asymmetrical arrangement that speaks to your aesthetic. This technique is faster and offers a slightly less formal, more rustic appeal.
Attaching the Focal Point: Your Ribbon Bow
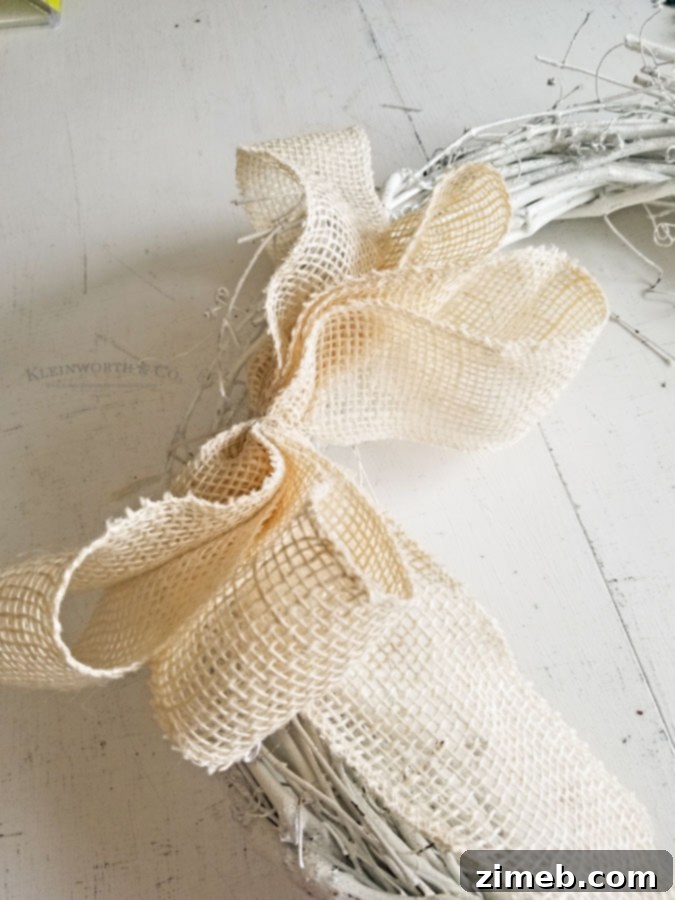
With your gathered ribbon secured, it’s time to attach it to the grapevine wreath. Decide where you want your main decorative cluster to be – typically the bottom left or right side, or perhaps directly at the bottom for a more traditional look. Apply a generous amount of hot glue to the back of your secured ribbon piece. Firmly press the ribbon onto the grapevine wreath, holding it in place for several seconds until the glue cools and sets. Ensure it’s securely adhered, as this bow will often be the heaviest initial element and acts as a base for subsequent additions.
Building the Frosted Foundation with Twigs
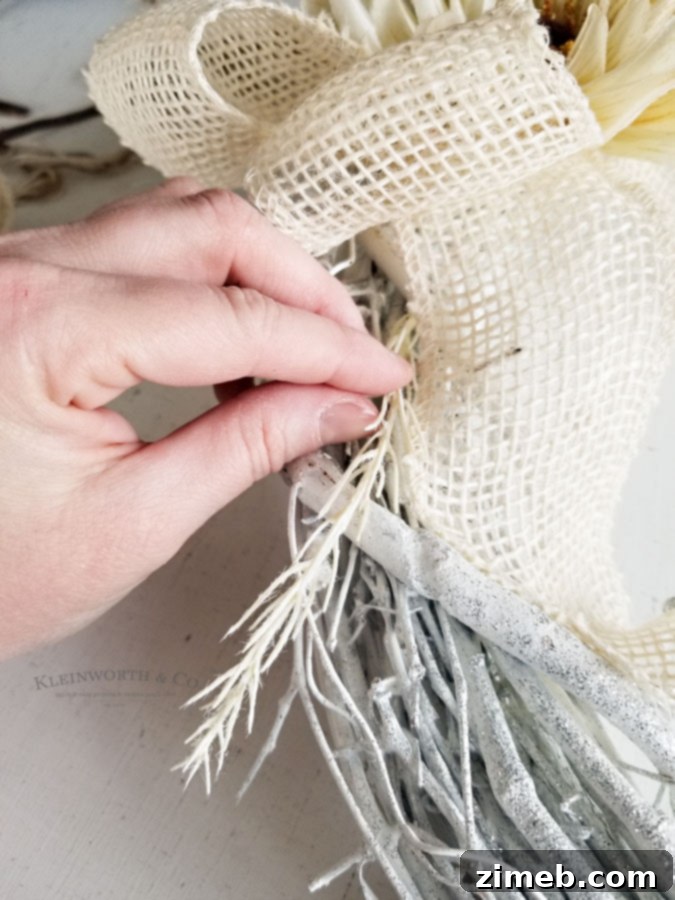
Now, let’s add the beautiful, frosty texture. Take your bundle of white floral twig pieces. These usually come as a single bunch, so you’ll need to snip off individual branches or smaller clusters using wire cutters. Begin inserting and gluing these pieces around the area where you’ve placed your bow, working outwards. Think about creating a sense of movement and fullness. Vary the lengths of the twigs you use, tucking some deeper into the grapevine base and letting others extend outwards to add dimension. There’s no wrong way to do this; it’s all about personal preference and achieving a look that feels balanced and abundant. Continue adding twigs until the area is as full and feathery as you desire, mimicking the delicate beauty of frosted foliage.
Integrating Minty Accents and Embellishments
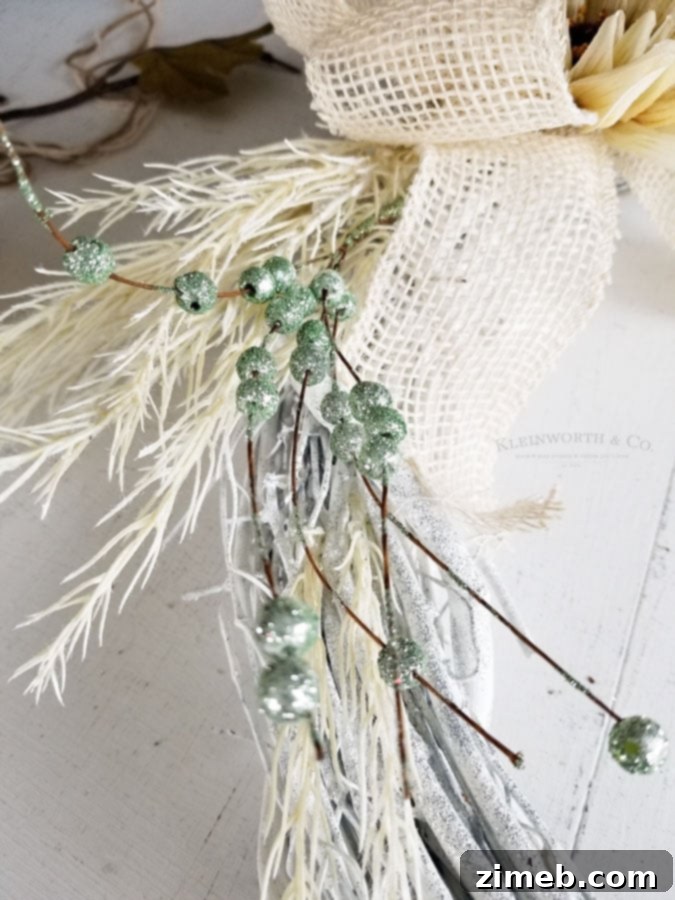
To infuse our signature mint color, it’s time to add the mint embellishments. If you have any cute mint-colored elements left over from previous decor, now is the perfect time to repurpose them. These could be small frosted ornaments, faux leaves, or even tiny berries. Strategically place these embellishments amongst the white twigs and around the bow area. Don’t overcrowd the wreath; instead, aim for scattered pops of color that draw the eye. Experiment by simply “sliding” them into the wreath first to see where they look best before applying a small dab of hot glue to secure them permanently. These small details will greatly enhance the overall mint and white theme, adding depth and visual interest.
The Finishing Touch: Adding Silk Flowers
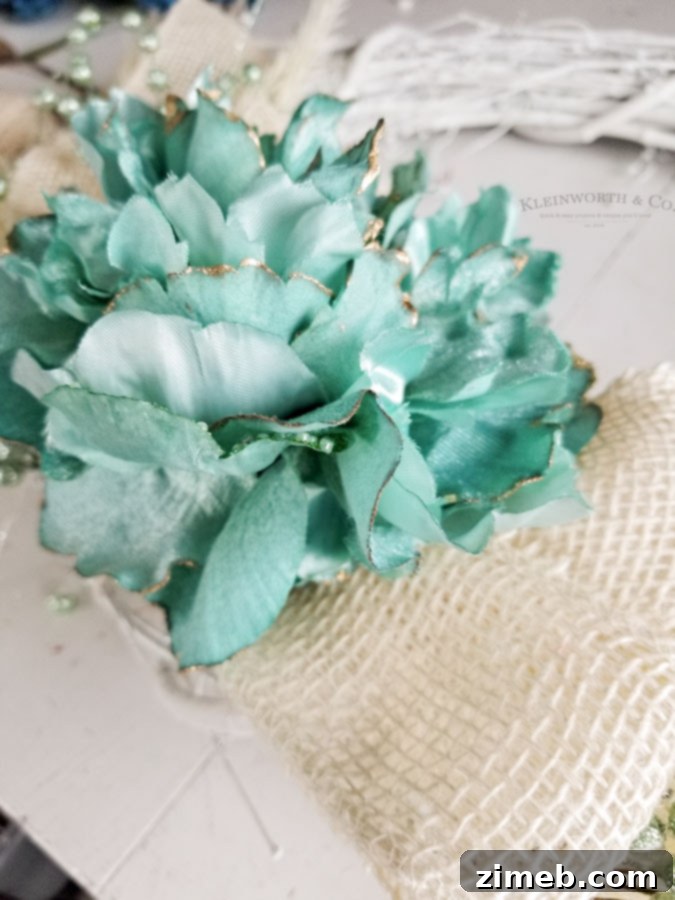
The final step is to incorporate your chosen silk flowers. This is where the wreath truly comes alive! While cream flowers can be beautiful, sometimes they might lean towards a fall aesthetic, which isn’t what we’re aiming for during winter. For this project, a lovely mint or white flower will provide that perfect ‘pop’ of refreshing color. Snip individual flower heads or small clusters from their stems. Arrange them artfully within the existing twig and embellishment cluster, making sure they are nestled securely. Apply a small amount of hot glue to the base of each flower and press it firmly into the wreath until the glue cools and holds it securely. Step back frequently to assess the balance and ensure the flowers are evenly distributed and aesthetically pleasing. These floral additions complete the elegant and frosty look of your winter wreath.
Styling Your Mint & White Winter Wreath
Once your beautiful new Mint & White Winter Wreath is complete, the joy continues as you get to display it! A well-placed wreath instantly elevates your home’s curb appeal, making your entryway more inviting and stylish. Consider these tips for styling your wreath to maximize its impact and ensure it perfectly complements your home’s exterior throughout the winter season.
Displaying Your Masterpiece
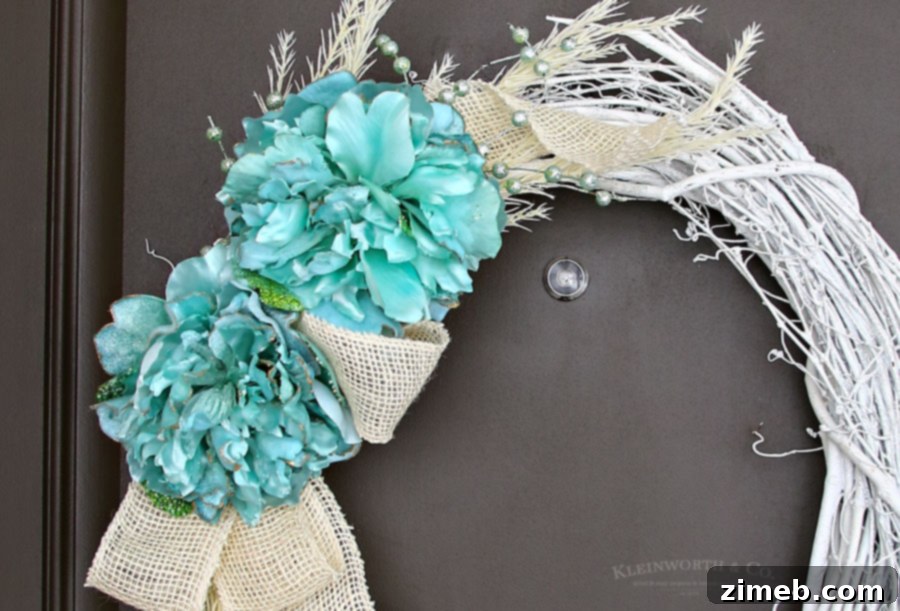
Hang your wreath proudly on your front door. A classic wreath hanger over the top of the door works perfectly, or you can use a strong adhesive hook if your door material allows. The contrast of the cool mint and crisp white against a darker door, like a rich brown or deep charcoal, is particularly striking. It creates a vibrant focal point that instantly brightens up your porch, drawing the eye and welcoming visitors. The soft hues prevent the overall look from being too stark, offering a gentle yet refreshing visual appeal.
Tailoring to Your Home’s Aesthetic
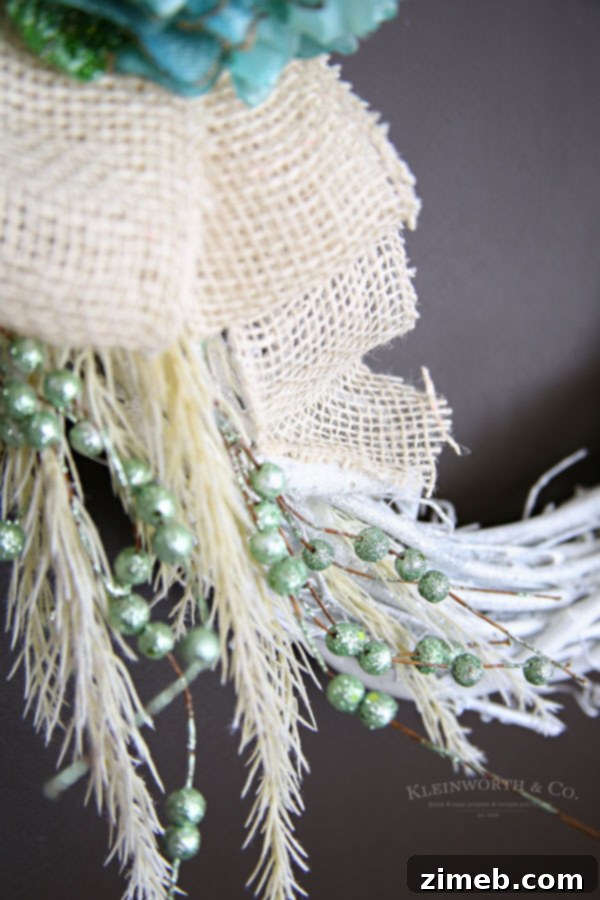
The beauty of this mint and white palette lies in its adaptability. If your front door is a lighter color, such as white or light gray, you might consider reversing the color emphasis. Imagine a natural grapevine wreath (or one painted a soft mint color) adorned with more prominent white and cream ribbons, flowers, and embellishments. This reversal ensures the wreath still “pops” against your door, creating a harmonious yet noticeable contrast. The goal is always to make your wreath stand out beautifully against your home’s existing color scheme, ensuring it enhances, rather than blends into, your entryway. Experiment with placement; sometimes slightly off-center or higher/lower than usual can create a unique visual statement.
Elevating Your Porch Decor
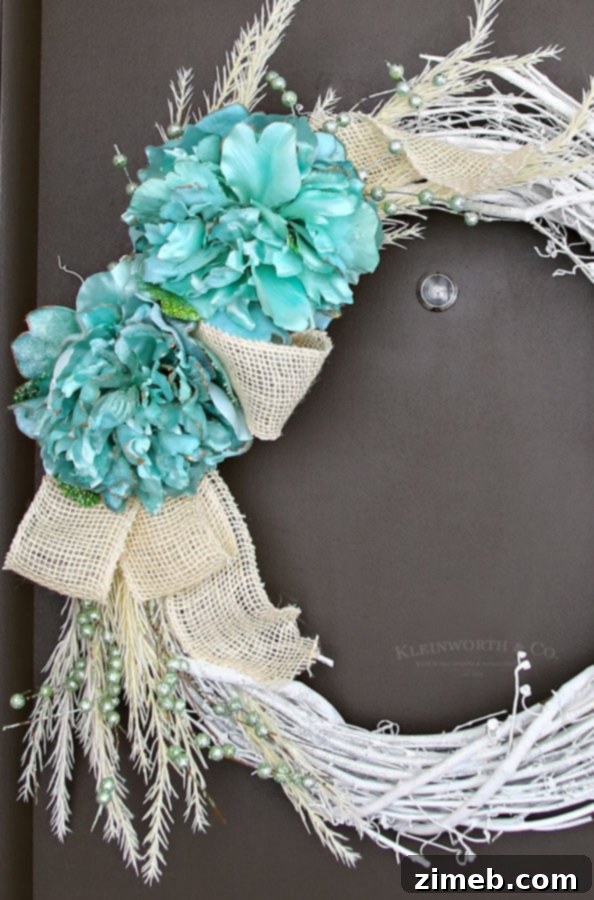
This beautiful wreath is more than just a door decoration; it’s exactly what your porch needs to brighten it up and transition smoothly into the colder months. Complement your wreath with other subtle winter decor elements on your porch. Consider adding a simple doormat in a neutral or complementary color, a pair of elegant lanterns, or even some small, potted evergreens. The key is to keep the surrounding decor understated to allow your handcrafted wreath to truly be the star of the show. The overall effect will be a welcoming, serene, and stylish entryway that celebrates the understated beauty of winter.
Winter Wreath DIY: Tips for Longevity and Customization
Your handcrafted Mint & White Winter Wreath is not just a temporary decoration; with a little care, it can adorn your door for many seasons to come. To ensure its longevity, especially if exposed to the elements, consider spraying it with a UV protective sealant. This will help prevent the colors from fading and protect the materials from moisture. If possible, bring your wreath indoors during extreme weather conditions like heavy snow or strong winds to preserve its delicate components.
The beauty of DIY projects lies in their endless possibilities for customization. While we’ve focused on mint and white for a fresh, frosty look, feel free to adapt this tutorial to match your personal style or existing home decor. Consider other serene winter palettes like silver and icy blue, or perhaps warm creams and subtle metallics for a cozier feel. You could also experiment with different types of ribbons – velvet for a luxurious touch, or plaid for a rustic charm. Varying the types of faux foliage, from frosted eucalyptus to shimmering berry branches, can also drastically change the wreath’s character. Don’t hesitate to let your creativity guide you!
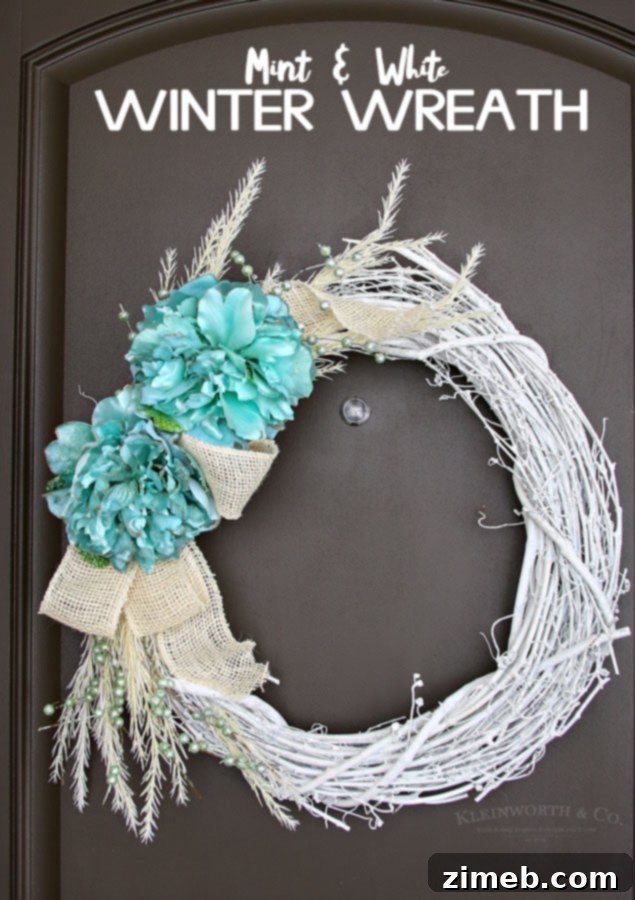
We hope this tutorial inspires you to create a beautiful and welcoming winter wreath for your home. It’s a quick, easy, and rewarding project that adds a personalized touch to your seasonal decor. Be sure to bookmark this page or Pin it to your favorite DIY projects board on Pinterest so you can easily reference these steps whenever inspiration strikes. Happy crafting!
Looking for more creative ideas for your home?
Explore these fantastic DIY projects and home transformations to spark your next endeavor:

Master Bath Mini Budget Makeover: Discover how to refresh your bathroom without breaking the bank!

Paper Flower Wreath Cricut Tutorial: A delicate and intricate wreath project perfect for adding a touch of handmade elegance.
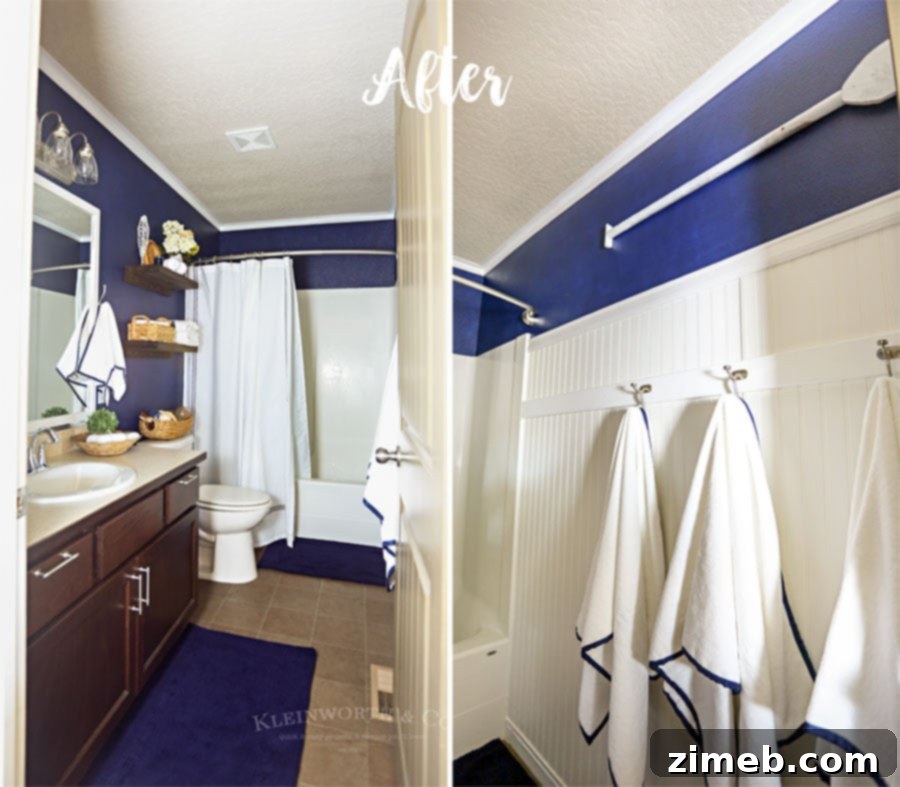
Nautical Navy & White Bathroom Makeover: Dive into a stylish transformation with this classic color combination.
Don’t miss these inspiring home decor ideas from fellow bloggers for even more inspiration to personalize your living spaces:
- Birch Log Decorating Idea | Blue Roof Cabin: Learn how to incorporate natural elements into your winter decor.
- Oversized Cardboard LOVE Letters in Faux Bois Wrapping Paper | Home Stories A to Z: Creative ideas for styling your mantelpiece after the holidays.