
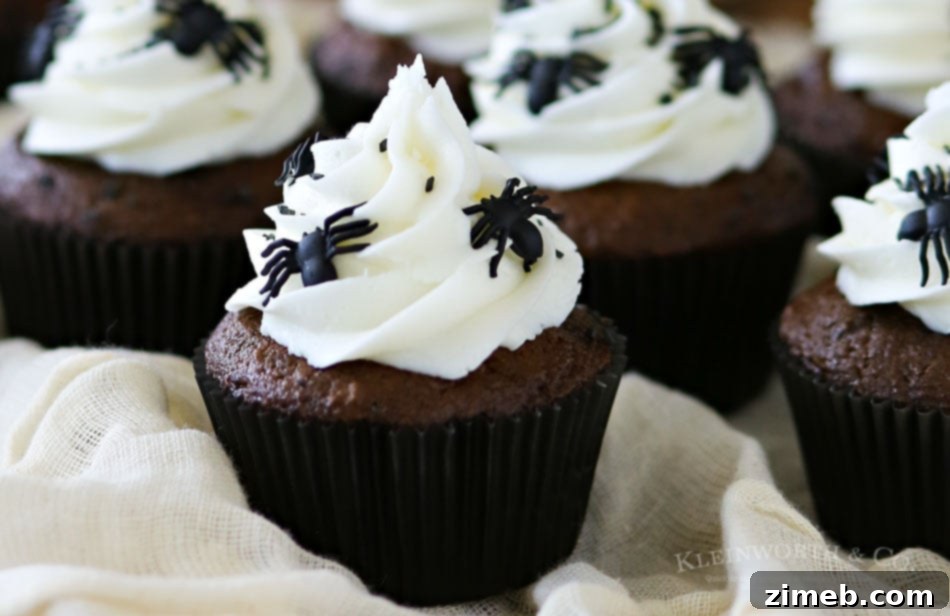
Spooktacularly Simple: How to Make Creepy Halloween Spider Cupcakes
Halloween is a magical time of year when creativity comes alive, especially in the kitchen! There’s nothing quite like whipping up a batch of spooky, fun treats to get into the festive spirit. These **Creepy Halloween Spider Cupcakes** are not only incredibly easy to make but also serve as the ultimate showstopper for any Halloween party menu. If you’re looking to add some delightfully eerie edibles to your celebration without spending hours in the kitchen, you’ve found your go-to recipe.
My passion for holiday baking runs deep, a joyous tradition I inherited from my incredible mom. Her kitchen was always a hub of activity, filled with the aroma of freshly baked goods for every conceivable occasion. From whimsical cookie cutters to endless bins of cake decorating supplies and a diverse collection of cake pans, her baking arsenal was truly a sight to behold. I’m fortunate enough to have inherited her cherished supplies, which means my own collection of holiday-themed items is now overflowing. It might seem a little extravagant, but I wouldn’t trade it for anything. Many of my fondest memories with my mom revolve around our baking adventures, making these traditions incredibly special to me.
Inspired by those heartwarming memories and the spirit of Halloween, I decided to pull out all the stops to create these super fun and utterly delicious Creepy Halloween Spider Cupcakes. I was thrilled to share this recipe as part of Alli from Cupcake Diaries’ annual 30 Days of Halloween event. They’re designed to be straightforward, ensuring anyone can achieve a spectacularly spooky result, and trust me, they taste as good as they look!
Why These Spider Cupcakes Are a Must-Have for Your Halloween Bash
Jump to RECIPE HERE
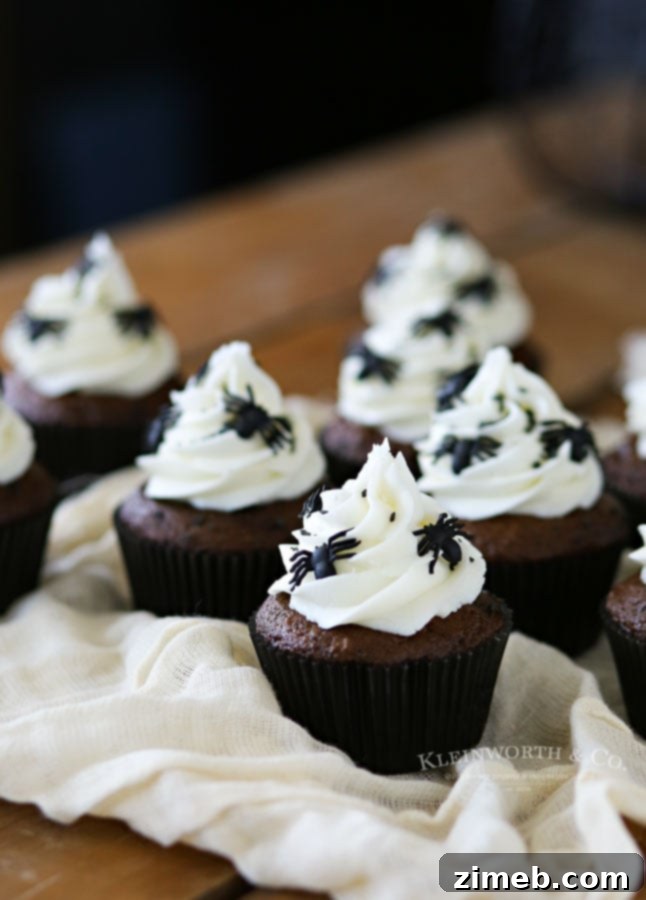
Whether you’re hosting a grand Halloween party at your home or simply need a festive treat to bring to a school or office celebration, these spider cupcakes are an absolute winner. Kids, in particular, are captivated by them. They strike the perfect balance between being “creepy enough” with their spider toppers to fit the Halloween theme, yet not so scary that they’ll frighten the littlest partygoers. Their playful design and rich flavor make them an irresistible centerpiece on any dessert table.
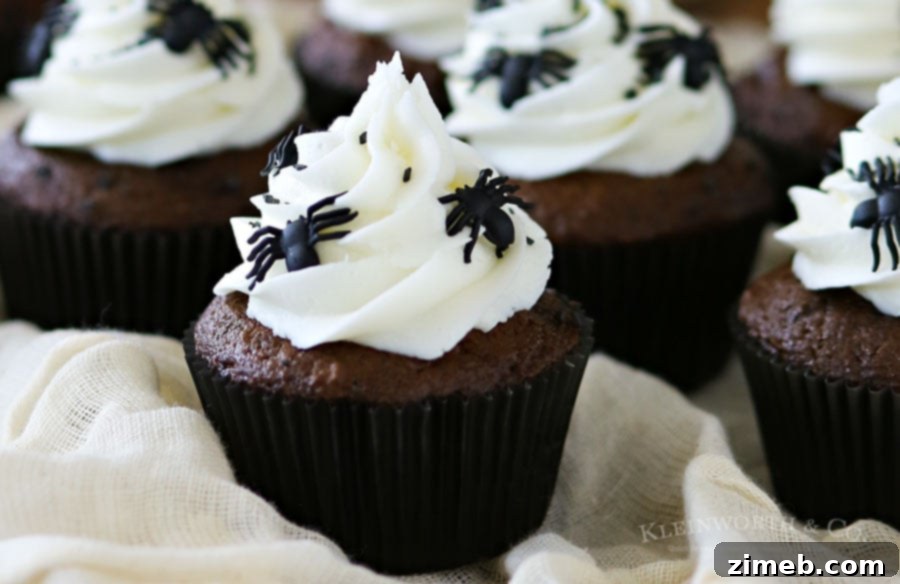
The beauty of this recipe lies in its simplicity. Even novice bakers can achieve impressive results, making it an excellent choice for a last-minute Halloween activity or a fun project with children. We start with a convenient cake mix, which saves valuable time without compromising on flavor, and then elevate it with a homemade frosting that is incredibly smooth and easy to pipe. The real magic happens with the final touch – adorable mini plastic spiders that transform ordinary cupcakes into extraordinary spooky treats.
Essential Tools & Ingredients for Your Spider Cupcakes
To make these festive cupcakes, you’ll need a few key items to ensure success and create that perfect spooky swirl:
- Wilton 1M Tip Open Star Drop Flowers Icing Cake Decorating Tip: This tip is crucial for achieving that classic, beautiful frosting swirl.
- Decorating Frosting Bag: A sturdy bag is essential for piping the frosting neatly onto your cupcakes.
- Decorating Bag Band: Helps keep your frosting secure in the bag, preventing leaks and making piping easier.
- Black Cupcake Liners: These enhance the spooky aesthetic, providing a dark contrast to the frosting.
- Mini Halloween Spiders: The star of the show! These small plastic spiders are what truly make these cupcakes “creepy.”
- Betty Crocker Cake Mix – Devil’s Food: A rich, dark cake base is perfect for a spooky theme.
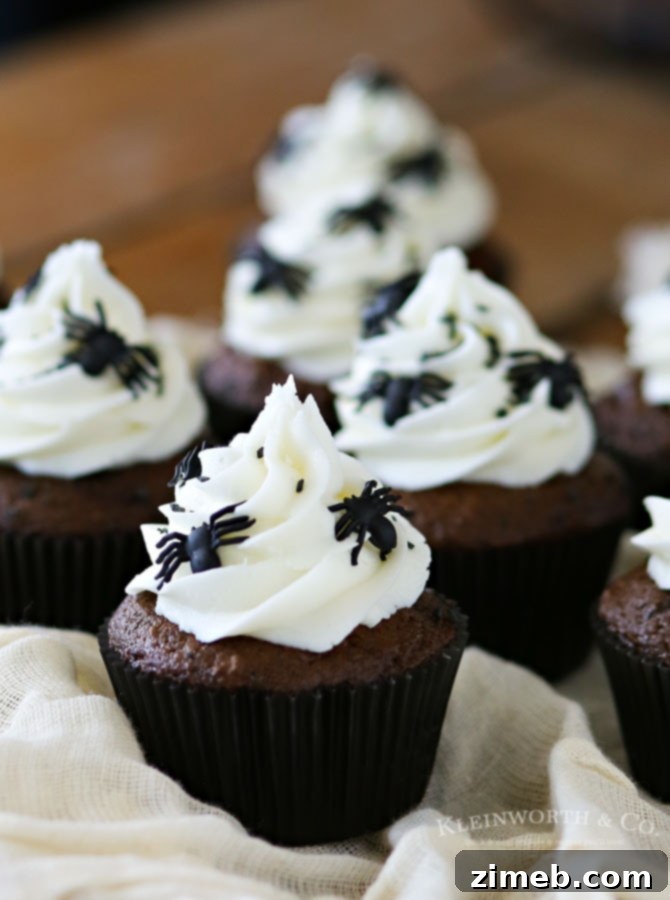
The choice of Devil’s Food cake mix is deliberate; its deep, dark hue provides a striking contrast with the lighter frosting, making the little spiders pop even more. Of course, you can choose any flavor you like, but for a truly “creepy” vibe, dark chocolate is hard to beat!
Creepy Halloween Spider Cupcakes Recipe
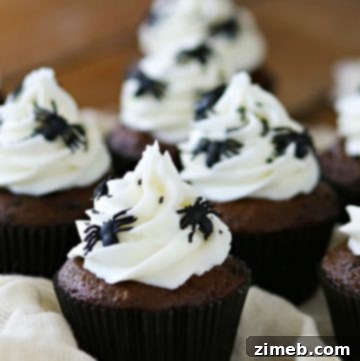
Creepy Halloween Spider Cupcakes
Servings: 24 cupcakes
Summary: These Creepy Halloween Spider Cupcakes are a breeze to prepare and make a wonderfully spooky addition to any Halloween party spread. They’re an easy and fun way to introduce festive food into your celebration!
Prep Time: 15 mins
Cook Time: 25 mins
Total Time: 40 mins
Ingredients
- For the Cupcakes:
- 1 box Cake Mix + additional ingredients per box instructions (e.g., eggs, oil, water)
- For the Frosting:
- 1/2 cup salted butter, softened
- 1/2 cup shortening
- 8 cups (1-2 lb bag) confectioners sugar (no sifting needed)
- 2 tsp clear vanilla extract
- 1/3 – 1/2 cup milk (adjust for desired frosting thickness)
- For Decoration:
- 1 package small plastic spiders
Instructions
-
Step 1: Bake the Cupcakes. Follow the package directions for your chosen cake mix to prepare and bake the cupcakes. Make sure to use your festive black cupcake liners for an extra spooky touch!
-
Step 2: Cool Completely. Once baked, remove the cupcakes from the oven and allow them to cool completely on a wire rack. This is a crucial step; frosting warm cupcakes will result in melted, messy frosting.
-
Step 3: Prepare the Frosting. In a stand mixer fitted with a paddle attachment, cream together the softened salted butter and shortening until the mixture is smooth and fluffy. This usually takes 2-3 minutes on medium speed.
-
Step 4: Add Flavor. Blend in the clear vanilla extract until well combined. Clear vanilla is used to maintain a bright white frosting, but regular vanilla extract works just as well if you don’t mind a slightly off-white tint.
-
Step 5: Incorporate Sugar and Milk (Part 1). Add about half of the confectioners sugar to the mixer bowl. Pour in most of the milk (start with 1/3 cup). Begin mixing on a slow speed until the sugar is moistened, then increase the speed to medium and whip until the mixture is well combined and smooth.
-
Step 6: Incorporate Sugar and Milk (Part 2). Add the remaining confectioners sugar and the rest of the milk, or adjust the milk quantity based on how thick you prefer your frosting. If it’s too thick, add more milk a tablespoon at a time; if it’s too thin, add a bit more confectioners sugar.
-
Step 7: Achieve Perfect Texture. Beat the frosting on medium-high speed for approximately 3-4 minutes, scraping down the sides of the bowl occasionally. You want a very smooth, light, and airy texture that holds its shape well for piping.
-
Step 8: Frost the Cupcakes. Fit a decorating bag with your large open star tip (like the Wilton 1M). Fill the bag with the prepared frosting. Pipe the frosting onto each cooled cupcake in a beautiful swirl pattern, starting from the outside edge and working your way inward and upward.
-
Step 9: Add the Spiders. Carefully place several mini plastic spiders on top of the frosting swirls of each cupcake. Arrange them to look as if they are crawling on the frosting, adding to the “creepy” effect.
-
Step 10: Serve and Enjoy! Your Creepy Halloween Spider Cupcakes are now ready to be showcased and devoured. These are best enjoyed fresh, but can be stored in an airtight container at room temperature for up to 2-3 days.
Nutritional information for the recipe is provided as a courtesy and is approximate. Please double-check with your own dietary calculator for the best accuracy. We at Yummi Haus cannot guarantee the accuracy of the nutritional information given for any recipe on this site.
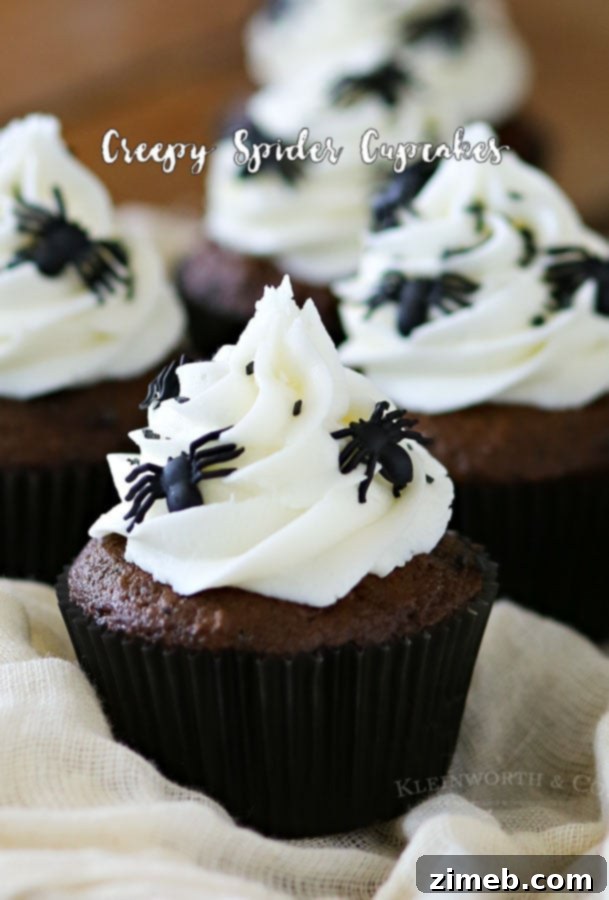
Tips for Perfect Spider Cupcakes Every Time
- Don’t Overmix the Cake Batter: Overmixing can lead to tough, dry cupcakes. Mix just until the ingredients are combined.
- Cool Completely: As mentioned in the recipe, fully cooled cupcakes are essential for frosting. If you’re short on time, pop them in the fridge for 15-20 minutes after they’ve cooled slightly on the counter.
- Achieving the Right Frosting Consistency: The amount of milk needed for the frosting can vary based on humidity and how packed your confectioners’ sugar is. Start with the lower amount and add more gradually until you reach a pipeable, yet firm, consistency. It should hold its shape without being too stiff or too runny.
- Piping Technique: If you’re new to piping, practice on a piece of parchment paper first. You can scoop the frosting back into the bag and try again until you feel confident. A steady hand and even pressure are key to beautiful swirls.
- Spider Placement: Get creative with your spider arrangement! Have some crawling up the sides, some perched on top, or even a cluster for an extra creepy effect.
- Storage: Store frosted cupcakes in an airtight container at room temperature for up to 2-3 days. For longer storage, they can be refrigerated, but bring them to room temperature before serving for the best texture.
These Creepy Halloween Spider Cupcakes are undeniably the treat you’ll want gracing your Halloween party table. Their charmingly eerie appearance and delightful taste are sure to be a hit with guests of all ages. The joy of creating something so festive and fun, particularly during a holiday that encourages imagination and delight, is truly unparalleled.
Baking these cupcakes brings me back to those cherished moments with my mom, stirring in a little bit of love and a lot of happy memories into every batch. It’s a simple pleasure that connects generations and adds a personal touch to any celebration. So, gather your ingredients, embrace the spooky spirit, and get ready to create some unforgettable Halloween treats!
If you make this recipe, we’d love to see your creations! Please leave a link or tag us on Instagram @KleinworthCo.
We’re proud to have shared this recipe with TheBestDessertRecipes.com – feel free to explore all my featured recipes there for more sweet inspiration.
Looking for More Spooktacular Halloween Ideas?
Halloween fun doesn’t stop at cupcakes! Explore more creative and festive ideas to complete your holiday celebration:

Day of the Dead Face Paint Tutorial
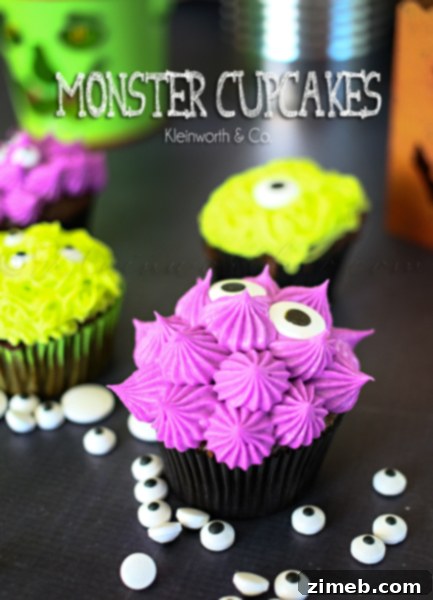
Whimsical Monster Cupcakes
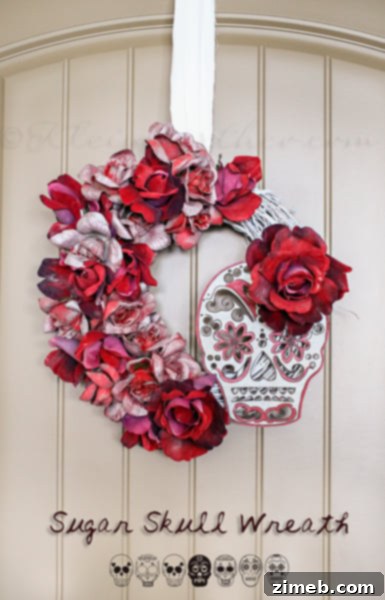
DIY Sugar Skull Wreath
You won’t want to miss other fantastic Halloween ideas from these talented bloggers!
For more inspiration and where I’m linking today, visit HERE.