
*Disclosure: This post contains affiliate links. I have been compensated either monetarily or with product for this content. All opinions expressed are truthful and my own.
Transforming a simple bedroom into a vibrant and enchanting space doesn’t have to be complicated or costly. With a touch of creativity and the right tools, you can craft a stunning focal point that reflects personal style. This guide will walk you through creating a beautiful and impactful girls floral wall using the remarkably easy-to-use Big Blooms Paper Flower Kits. Imagine a wall blossoming with custom-designed paper flowers, bringing a burst of color and a whimsical charm to any room. This DIY project is perfect for adding a significant decorative statement without the commitment of paint or permanent fixtures, making it an ideal choice for renters or those who love to frequently refresh their decor.
Crafting a Dreamy Girls Floral Wall: An Easy DIY Guide
Every child deserves a room that feels like a personal sanctuary—a place where dreams can flourish and creativity can take flight. For far too long, my daughters’ rooms remained functional but lacked that special, personalized touch. After moving into our new home last summer, promises of fun and whimsical room makeovers were made, but life’s demands quickly pushed these projects to the back burner. While we managed to introduce some new bedding, a few art pieces, and minor decor, the idea of a full-scale renovation, involving paint or significant revamping, felt overwhelming. That’s when I discovered the incredible Big Blooms Paper Flower Kits, and everything clicked into place. I instantly envisioned a captivating floral accent wall, and the wide array of colors available meant I could perfectly match them to our existing room themes, particularly one featuring refreshing turquoise, mint, and rich brown tones.
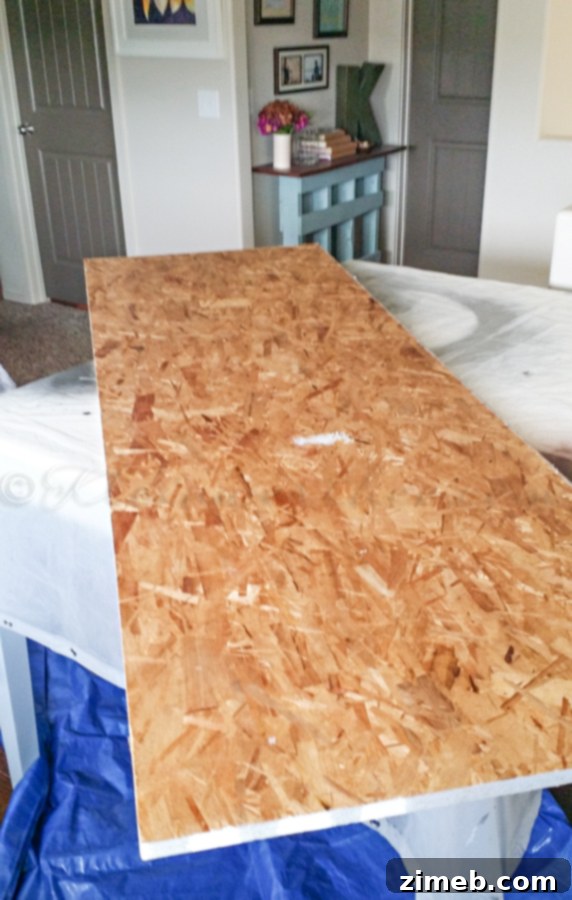
The beauty of this project lies in its simplicity and versatility. Instead of attaching flowers directly to the wall, which can be daunting for many, we opted for a movable panel. This approach offers several advantages: it’s less permanent, allows for easy repositioning or even transfer to another room, and provides a clean, consistent backdrop for your floral arrangement. To start, I sourced an extra piece of plywood that we had on hand from a previous backyard project. Repurposing materials is not only eco-friendly but also helps keep project costs down. The initial step involved carefully trimming the plywood to the desired height, ensuring it would fit perfectly behind the bed without clashing with the headboard or dominating the space. Once cut, the edges were meticulously sanded to achieve a smooth finish, preventing splinters and preparing the surface for painting. This careful preparation is key to a professional-looking end result, setting the stage for a truly exquisite DIY room decor transformation.
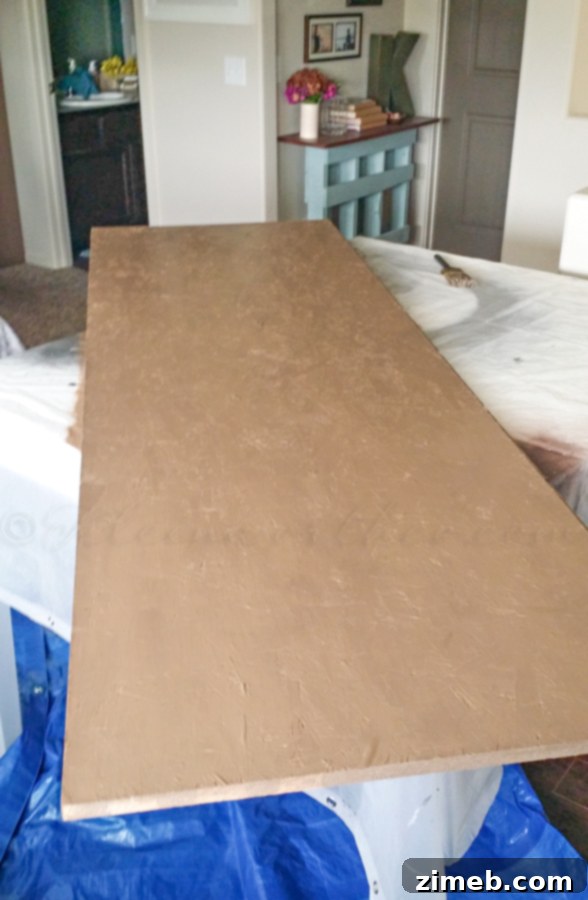
With the plywood prepped, it was time to add a base color that would complement the room’s existing palette and make the vibrant paper flowers truly pop. I chose a rich brown paint, identical to the shade I had used on her dresser. This thoughtful detail creates a cohesive and integrated look within the room, making the floral wall art feel like a natural extension of the decor rather than an afterthought. Applying a couple of even coats ensured complete coverage and a durable finish, providing the perfect canvas for the impending floral explosion. The brown background not only anchors the design but also allows the brighter flower colors to stand out beautifully, enhancing the overall visual impact of this unique bedroom feature.
Assembling Your Big Blooms: A Creative Journey
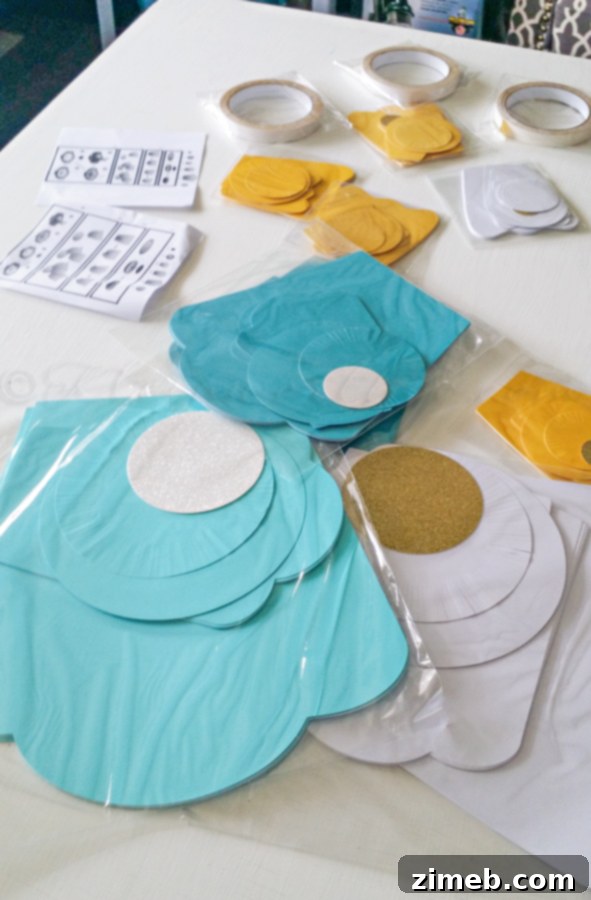
Now came the most exciting part: bringing the flowers to life! The Big Blooms Paper Flower Kits truly live up to their name, offering an array of stunning possibilities. I had a wonderful selection to choose from, including some delicate pink hues, but to perfectly align with the existing room theme of turquoise, mint, and browns, we focused on the aqua, white, and turquoise kits. To add an extra layer of visual interest and playful energy, we strategically incorporated some bright yellow flowers. This careful selection process is crucial for creating a harmonious yet dynamic paper flower wall decor that truly resonates with the room’s aesthetic.
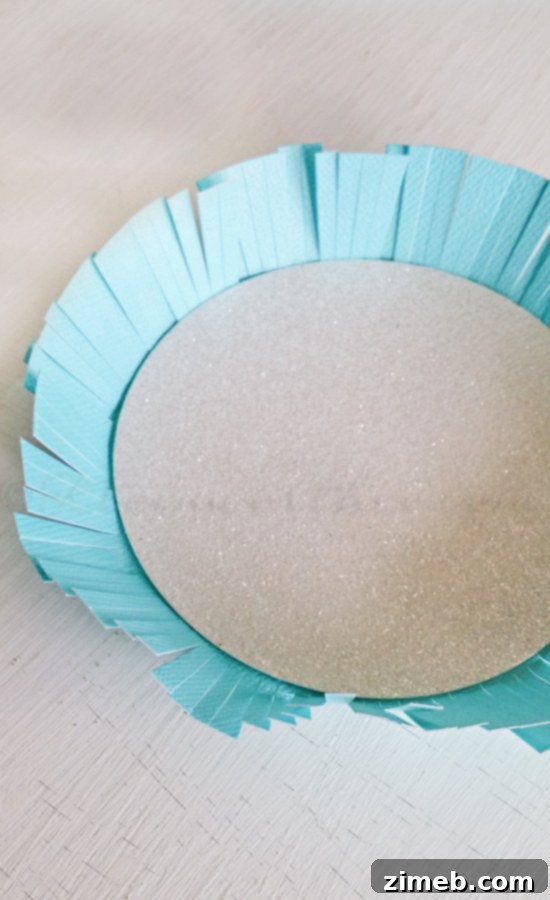
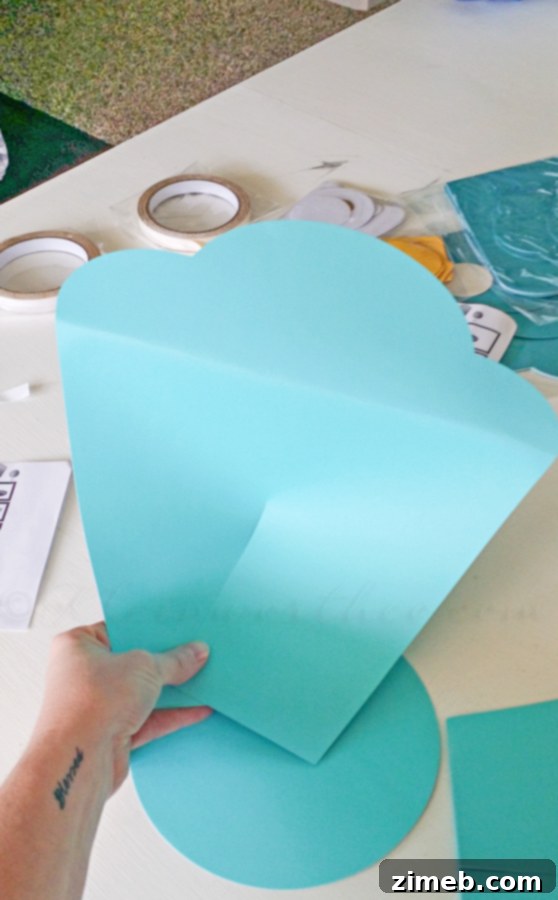
One of the standout features of these kits is their incredible ease of assembly. Even if you’re a beginner crafter, you’ll find the process straightforward and enjoyable. Each kit is thoughtfully designed, containing everything you need: perfectly pre-cut petals, beautiful centerpieces, and reliable adhesive. The instructions are simple to follow, typically involving just folding and attaching the petals in a layered fashion to create full, dimensional blooms. This user-friendly design means less time struggling and more time enjoying the creative process, making these kits ideal for anyone looking to add a personalized touch to their space without specialized crafting skills. The result is a collection of impressive large and small paper flowers that look intricate but were surprisingly simple to create. Assembling these vibrant elements is a rewarding experience, transforming flat paper into stunning three-dimensional art that will define your DIY floral wall.
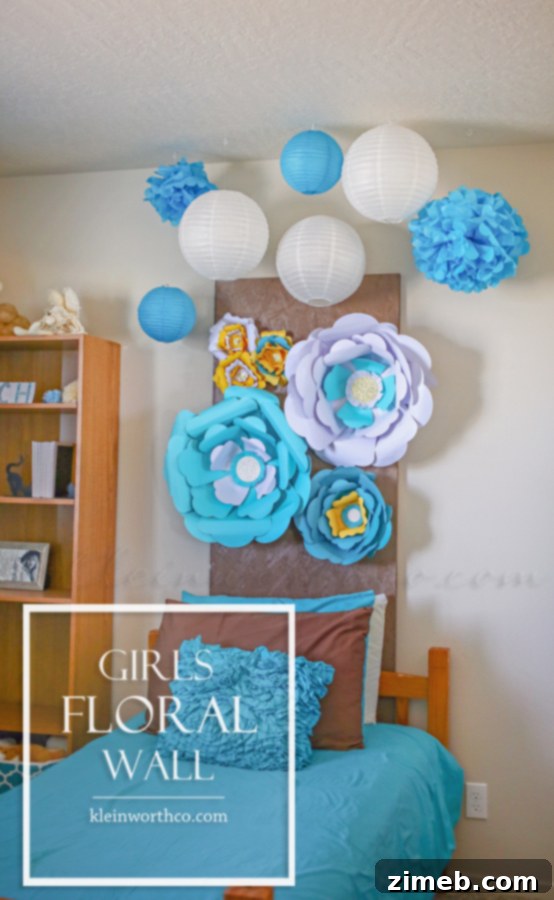
Once all the paper flowers were beautifully assembled, it was time to bring the entire vision together by attaching them to the painted plywood board. For a secure and lasting hold, I utilized a staple gun. This method ensures that each bloom remains firmly in place, even with time. Before permanently attaching anything, I carefully measured the placement, taking into account where the headboard would sit and allowing ample room for pillows. This foresight prevents the beautiful floral display from being obscured and ensures it’s perfectly framed within the bedroom space. I arranged the flowers in a dynamic, yet balanced composition, mixing various sizes and colors to create a natural, cascading effect. Some flowers were grouped closely, while others were spread out, adding depth and visual interest to the overall design. This thoughtful arrangement transforms a simple board into a captivating piece of bedroom wall art.
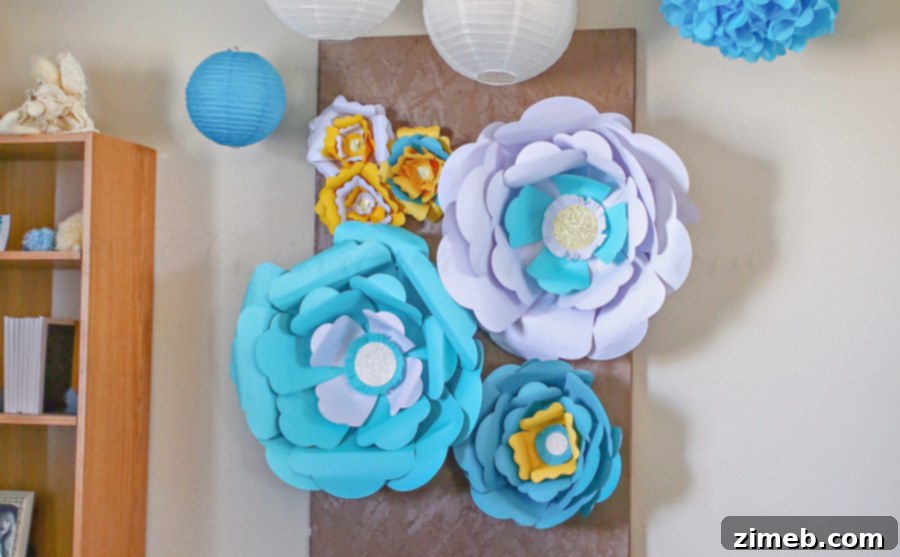
While the Big Blooms Paper Flower Kits typically come with flowers in a single color per kit, I couldn’t resist adding my own creative twist. I love to mix things up and inject unique personality into every project. So, instead of adhering strictly to the single-color design, I decided to swap petals and centerpieces between like-sized flowers from different color kits. This ingenious technique allowed us to create stunning multi-colored blooms, adding another layer of dimension and visual intrigue to the floral accent wall. Imagine an aqua flower with a vibrant yellow center, or a turquoise bloom with white accents—these subtle yet impactful changes make the entire display feel custom-made and truly one-of-a-kind. This personalization elevates the project from a simple craft to a bespoke piece of art, showcasing how a little experimentation can yield extraordinary results for your teen room decor.
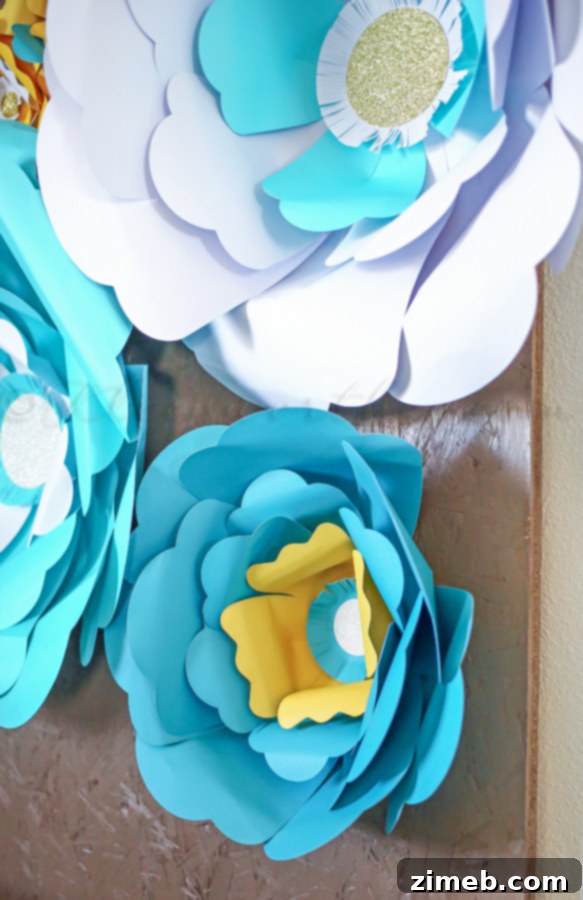
The Enchanting Final Reveal: A Teen Girl’s Dream Room
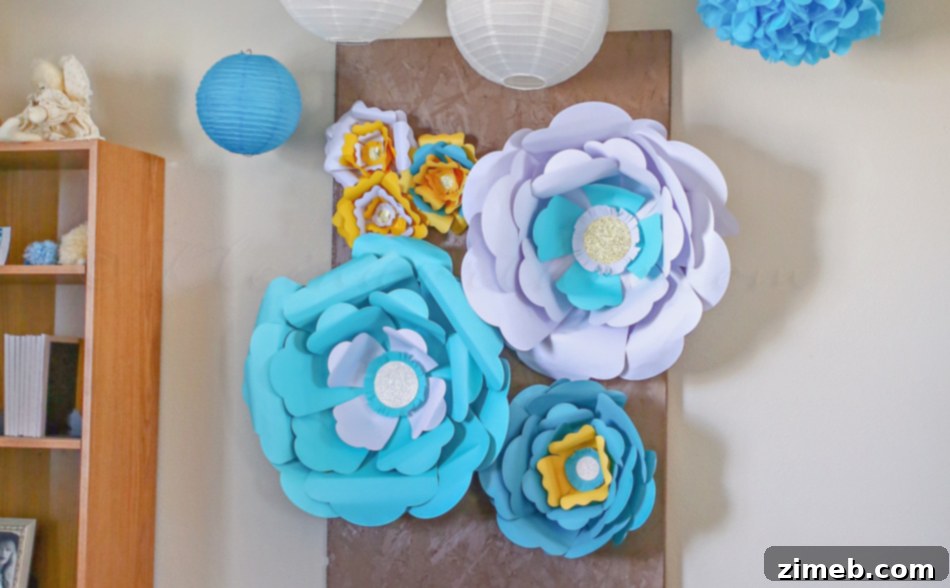
The finished girls floral wall is everything we envisioned and more. It transformed a once plain wall into a captivating masterpiece, radiating beauty and charm. The blend of aqua, white, turquoise, and pops of yellow against the warm brown backdrop creates a sophisticated yet playful aesthetic. What we love most is how it achieves a perfectly pretty and undeniably girly look without being overly fussy or juvenile. It strikes an ideal balance, making it absolutely perfect for a teen girl’s room—a space that needs to evolve with her tastes while still maintaining a sense of youthful wonder. This stunning addition serves as a powerful focal point, drawing the eye and infusing the entire room with personality and flair. It’s a testament to how simple paper crafts can make a big impact, creating a stylish and inviting atmosphere that my daughter adores, proving that easy crafts can lead to extraordinary results in home decoration.
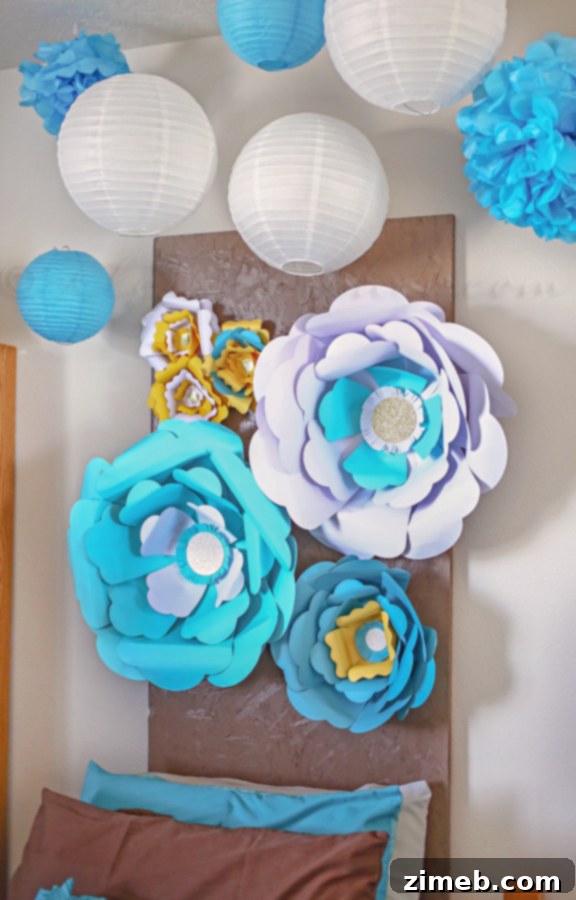
Ready to create your own captivating paper flower wall? You can find these fantastic Big Bloom Paper Flower Kits at Michaels, making it incredibly convenient to gather all the supplies you need to embark on this rewarding DIY journey. Whether you’re aiming for a subtle floral touch or a dramatic statement wall, these kits provide the perfect foundation for expressing your creativity and personalizing any room. Don’t underestimate the power of simple paper crafts to completely revolutionize a space. It’s an accessible project that promises stunning results and a unique touch that will be admired by all who see it.
Looking for More Fun Home Projects and DIY Decor Ideas?
If you enjoyed bringing this floral wall art to life and are eager to explore more creative ways to enhance your home, you’re in luck! There’s a world of inspiring DIY projects waiting to be discovered, perfect for adding personalized charm to every corner of your living space. From sparkling accents to rustic textures, these projects are designed to be fun, achievable, and incredibly rewarding. They offer fantastic opportunities to flex your creative muscles and infuse your home with unique handmade touches. Check out these other engaging tutorials to continue your crafting adventure and discover new ways to make your home truly your own.
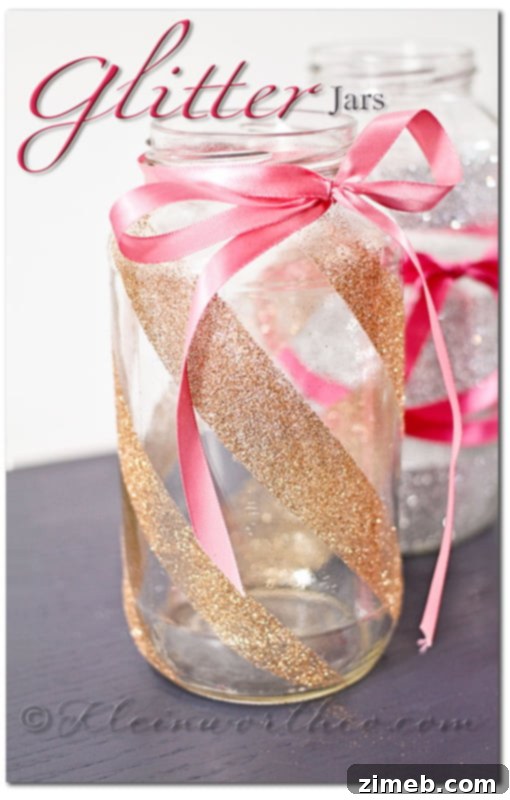
Glitter Jars Tutorial: Sparkle Up Your Space
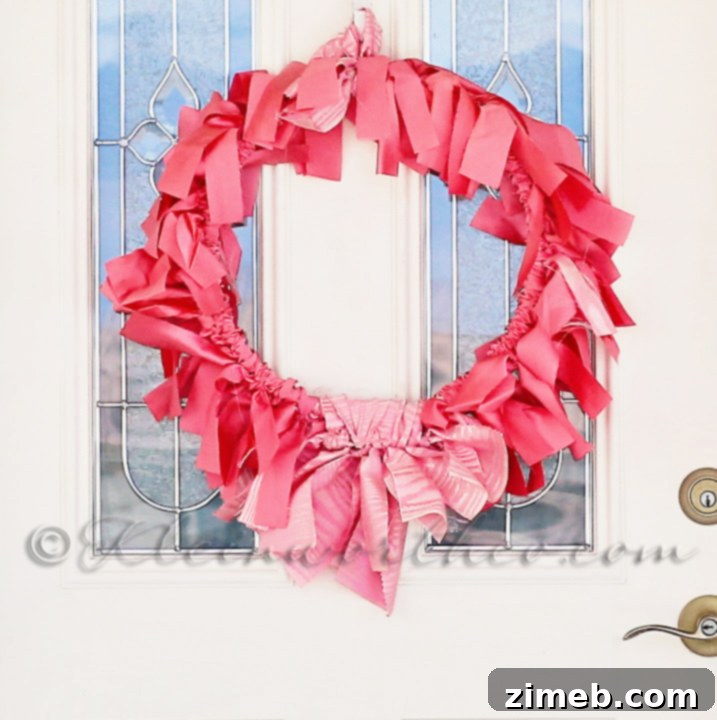
Simple 30 Minute Tie-Tab Wreath: Quick & Easy Decor
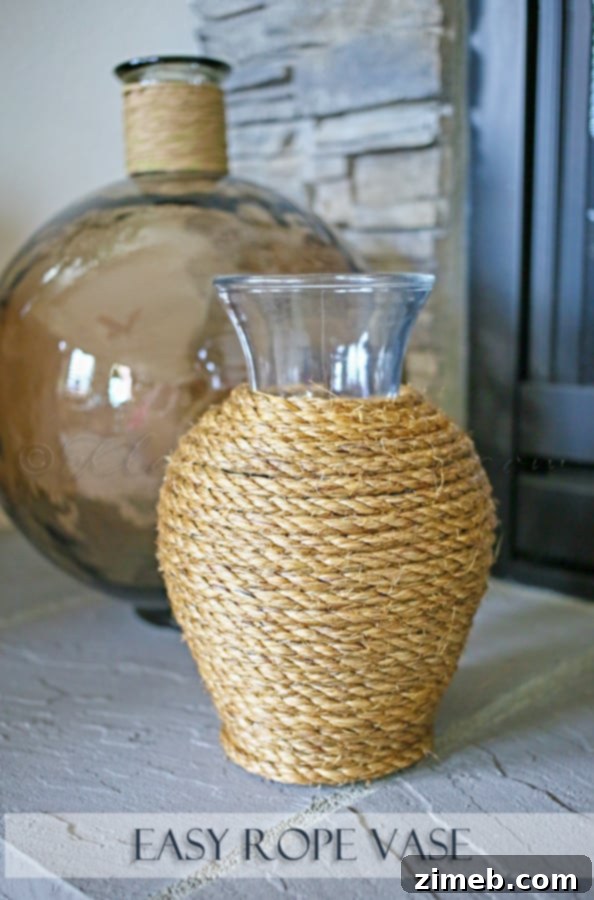
Easy Rope Vase: Add Rustic Charm to Your Home
To see where I am linking today for more inspiration and creative ideas, please visit HERE.