
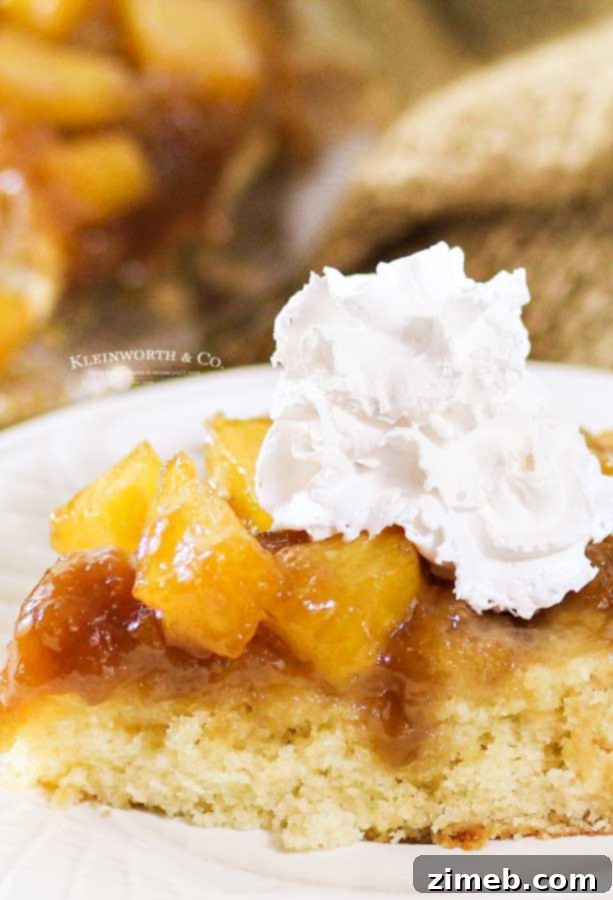
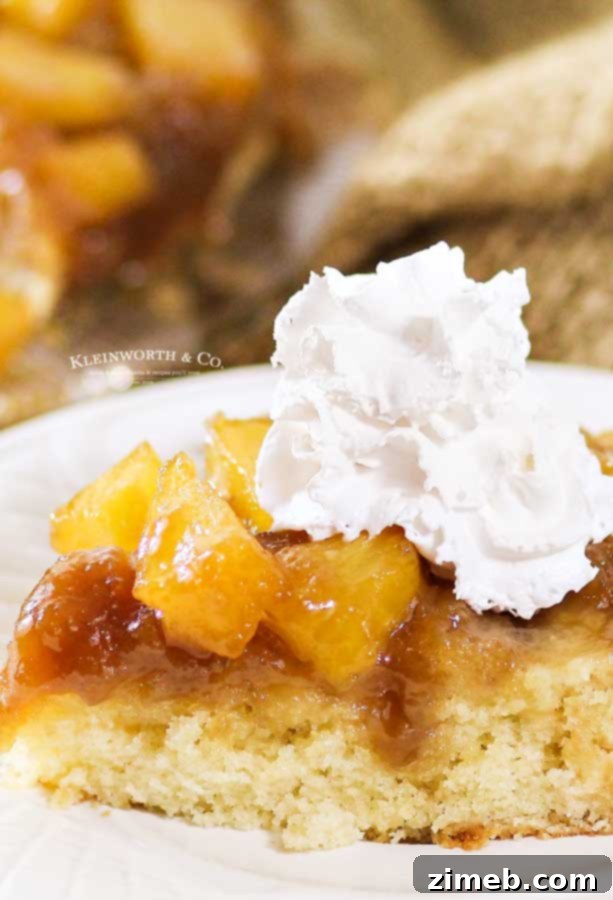
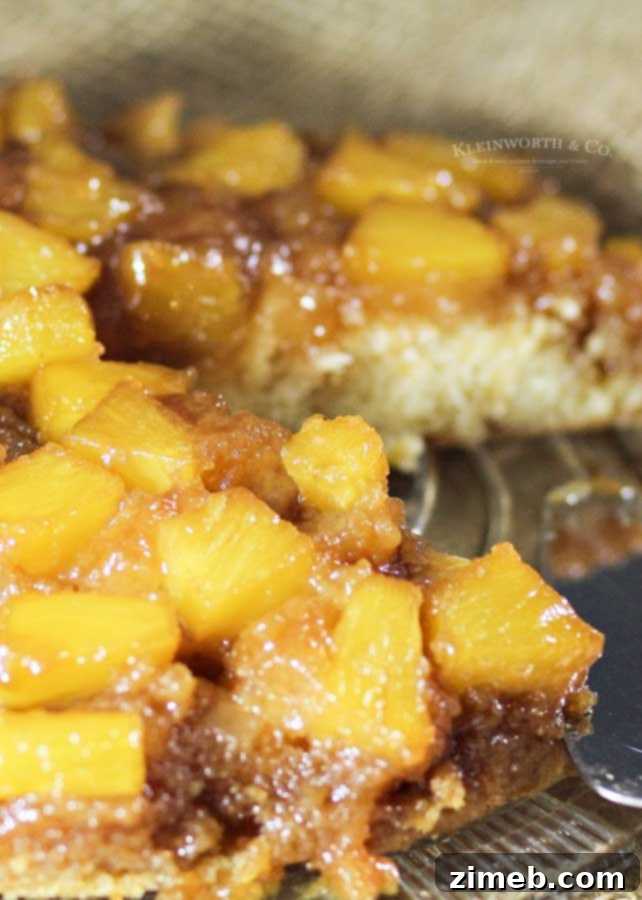
This Pineapple Upside-Down Cake is a true masterpiece – a light and incredibly moist cake crowned with juicy pineapple chunks, enveloped in a rich, thick caramelized sugar layer, and often finished with a dollop of whipped cream. It’s surprisingly easy to make and utterly delicious, promising a delightful dessert experience every time.
Are you, like me, utterly captivated by the vibrant flavor of pineapple? There’s something undeniably enchanting about this tropical fruit, especially when its sweet-tart notes are perfectly harmonized with a delicate, buttery cake and a decadent, golden caramel topping. It’s a combination that truly sings, which explains why I can never get enough of this incredible **Pineapple Upside-Down Cake**.

The Allure of Homemade Pineapple Upside-Down Cake
My fascination with pineapple runs deep. During the glorious summer months, our home is never without at least one or two fresh ones, becoming my go-to breakfast every single morning. The taste of fresh, ripe pineapple is simply unparalleled, so much so that I rarely opt for canned varieties anymore. While fresh pineapple can be a bit trickier to source in the colder seasons, I truly savor every bite when it’s available, making the most of its natural sweetness and tangy zest.
Recently, I found myself with an abundance of ripe pineapples, and with a trip planned, I needed to put them to good use. The unanimous decision among the family was clear: a classic Pineapple Upside-Down Cake. It had been far too long since I last baked one, and the craving for its unique blend of flavors was strong. This cake embodies a nostalgic charm, bringing warmth and comfort with every forkful.
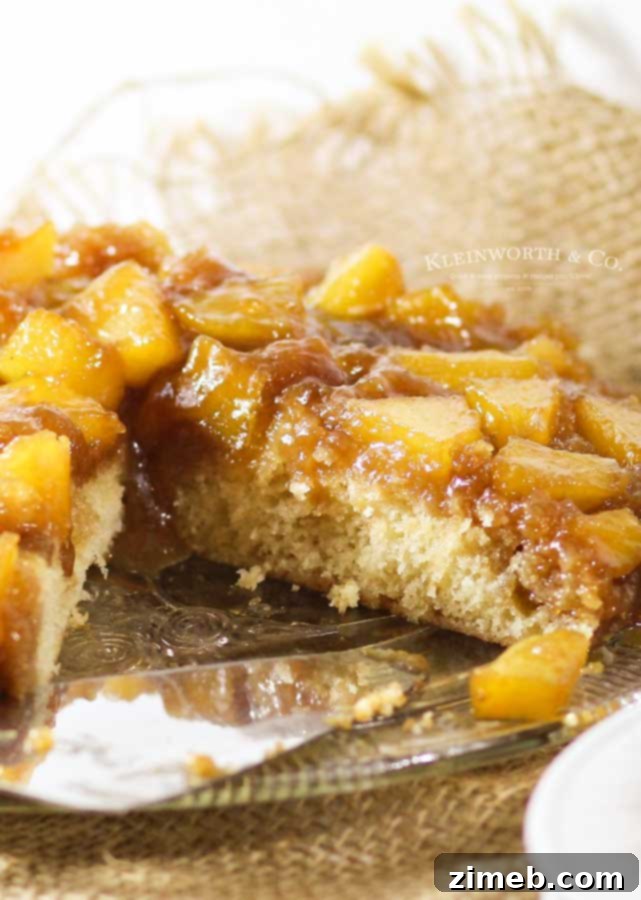
I recall a recipe from my husband’s grandmother, which, while traditional, often involved canned pineapple and a boxed cake mix. While convenient, I wanted to elevate the experience and truly showcase the fresh fruit’s vibrant taste. So, I turned to a trusted, time-tested recipe I had on hand, opting for a scratch-made cake that promised an even more exceptional flavor and texture. The results were absolutely spectacular. The cake emerged from the oven, a glistening testament to homemade goodness, its golden-brown caramel perfectly encasing the tender pineapple chunks.
After capturing its beauty in photos, we eagerly devoured slices topped with fluffy whipped cream. The following evening, we gently warmed the leftovers and served them with a generous scoop of rich butter pecan ice cream. Oh, what a treat! Each bite was a delightful fusion of warm, tangy pineapple, rich caramel, and creamy, nutty ice cream – truly DELISH!
This post contains some affiliate links. Click here to read my full disclosure policy.
Crafting Your Perfect Pineapple Upside-Down Cake: A Modern Twist on a Classic
While traditional pineapple upside-down cakes often feature neat pineapple rings and vibrant maraschino cherries, my approach embraces the natural beauty and convenience of fresh pineapple chunks. Since I was working with fresh fruit that I had already cut into succulent pieces, we decided to lean into that rustic charm. The irregular shapes of the chunks added a wonderful texture and a burst of natural sweetness to every slice, creating a more dynamic and engaging dessert.
As for the cherries, my husband only prefers fresh cherries, not the syrupy maraschino variety often found in traditional recipes. To keep everyone happy and simplify the ingredient list, we opted to omit them entirely. And honestly? The cake was just as spectacular without them. The bold flavor of the pineapple and the rich caramel truly shine through, making cherries an optional addition rather than a necessity. Nobody at the table seemed to miss the cherries one bit. (Though, I must admit, I might have snuck a couple of fresh ones onto my own serving afterward!)
Frequently Asked Questions About Pineapple Upside-Down Cake
How do you serve Pineapple Upside-Down Cake?
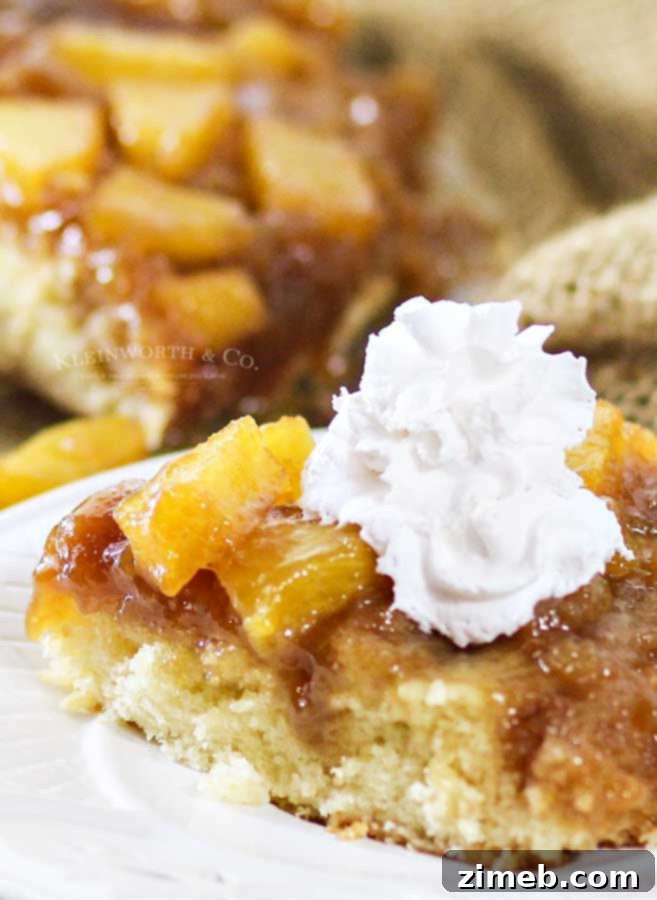
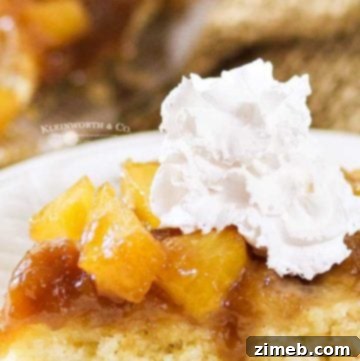
Once your exquisite Pineapple Upside-Down Cake has cooled sufficiently, a world of serving possibilities opens up. I personally adore it with a simple, elegant dollop of freshly whipped cream, as you can see in these enticing photos. The lightness of the cream perfectly complements the rich cake and tangy pineapple. However, for a truly indulgent experience, my family often prefers it à la mode, paired with a scoop of their favorite vanilla bean or butter pecan ice cream. The warmth of the cake against the cool, melting ice cream is a match made in heaven, offering a delightful contrast in temperatures and textures.
Can I use canned pineapple for this recipe?
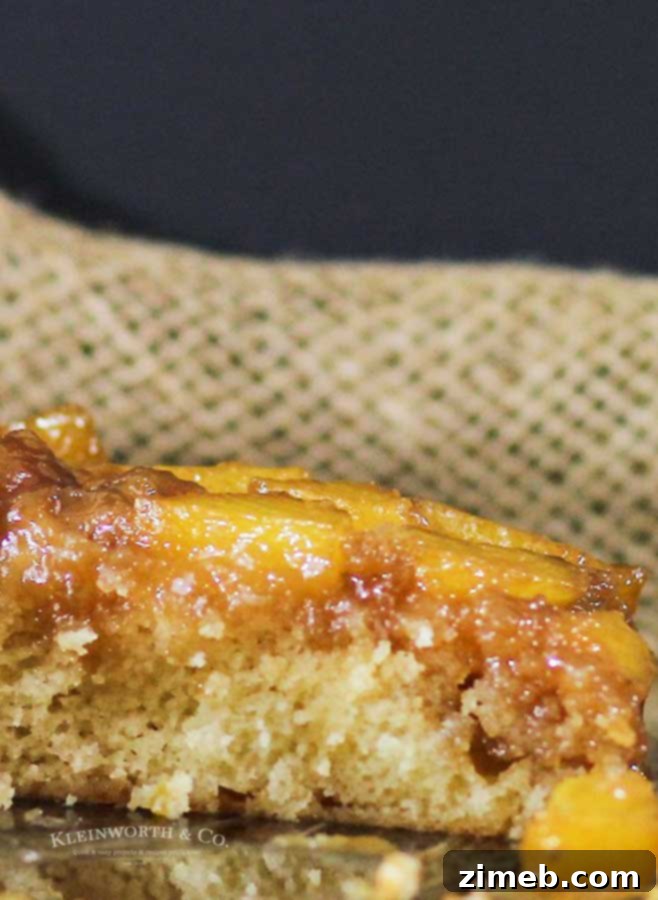
Absolutely, you can certainly use canned pineapple if fresh pineapple isn’t readily available or if you’re looking for a convenient alternative. However, there’s a crucial step: **ensure you drain the canned pineapple exceptionally well** before adding it to the pan. Pineapples, especially canned varieties, contain a significant amount of moisture. Baking with undrained canned pineapple will introduce excess liquid into your cake, which can drastically alter the cake’s consistency, making it soggy or dense, and may also extend the baking time considerably. To avoid a watery caramel layer or a gummy cake, I recommend pressing the pineapple chunks between layers of paper towels to remove as much moisture as possible. A well-drained canned pineapple will still yield a delicious, moist cake, maintaining that signature tender texture without compromise.
How do I ensure my cake releases perfectly from the pan?
The moment of truth – flipping the cake – is always a mix of excitement and nervous anticipation! After investing all that effort into mixing, baking, and patiently waiting for that perfect golden brown crust, the last thing anyone wants is a portion of the glorious cake adhering stubbornly to the pan, ruining the perfect presentation. To prevent such a tragedy and ensure a flawless release, there are two golden rules:
- **Grease Your Pan Generously and Thoroughly!** This step is paramount. Don’t just lightly coat it; ensure every nook and cranny of your 9-inch round cake pan is well-greased with butter, shortening, or a high-quality baking spray designed for non-stick results. Some experienced bakers even lightly flour the greased pan for extra insurance against sticking. The goal is to create a barrier that allows the rich caramel and tender cake to slide out effortlessly.
- **Follow the Recipe’s Instructions for Flipping Precisely.** The timing of the flip is critical. The recipe instructs you to let the cake cool for a specific duration (10-15 minutes in this case) after removing it from the oven, before inverting it onto your serving platter. This cooling period is essential as it allows the caramelized sugar topping to firm up and set just enough to hold its beautiful shape and adhere to the cake, but not so much that it hardens and sticks to the pan. Rushing this step (flipping too soon) can cause the caramel to be too liquid and run everywhere, while letting the cake cool too long can make the caramel brittle and prone to sticking. Trust the process, and you’ll be rewarded with a beautifully intact and stunning Pineapple Upside-Down Cake.
Can this recipe be frozen?
While I generally advocate for enjoying fresh baked goods, I do not recommend freezing this Pineapple Upside-Down Cake once it’s baked. The combination of the inherent moisture from the pineapple and the sticky caramelized sugar layer means that upon thawing, the cake would likely become a soggy, unappealing mess. The delicate texture would be compromised, and the deliciousness would diminish significantly. For the best experience, preserving its moist crumb and glistening topping, it’s always best to enjoy this cake fresh within a few days of baking.
How can I reheat this cake?
If you have leftover slices and wish to enjoy them warm, reheating is quite simple and can bring back some of that freshly baked warmth. Place an individual slice on a microwave-safe plate and microwave for approximately 30 seconds. If your cake has been refrigerated, you’ll want to extend the microwave time to about 60-90 seconds to ensure it’s warmed through evenly. Be careful not to overheat, as this can dry out the cake and alter its texture. A gently warmed slice is pure comfort!
Step-by-Step Guide: How to Make the Perfect Pineapple Upside-Down Cake
Creating this delightful Pineapple Upside-Down Cake is a rewarding experience, transforming simple ingredients into a show-stopping dessert. Follow these detailed steps to ensure a perfect bake, from the luscious caramel topping to the tender cake:
- **Prepare Your Pineapple:** Begin by peeling, coring, and cutting your fresh pineapple into beautiful, uniform, bite-sized chunks. This step ensures even cooking and distribution of fruit. If using canned pineapple, remember to drain it thoroughly, patting it dry with paper towels to remove any excess moisture that could affect the cake’s texture. Set the prepared pineapple aside.
- **Prepare Your Pan:** Generously butter or grease a 9-inch round cake pan. This is a non-negotiable step for a clean flip and flawless presentation. Ensure the butter or baking spray covers all interior surfaces, including the sides.
- **Preheat Oven:** Preheat your oven to a precise 350 degrees Fahrenheit (175 degrees Celsius). Accurate oven temperature is key for even baking.
- **Combine Dry Ingredients:** In a medium-sized bowl, whisk together the all-purpose flour (ensuring it’s spooned into the measuring cup and then leveled for accuracy), baking powder, and salt. This step aerates the dry ingredients and ensures leavening is evenly distributed. Set this dry mixture aside.
- **Create the Caramel Layer:** In a small saucepan, combine 4 tablespoons of unsalted butter with 1/2 cup of packed light brown sugar. This combination will form the rich, golden caramel topping.
- **Simmer and Thicken:** Bring the butter and brown sugar mixture to a gentle simmer over medium heat, stirring constantly with a heat-resistant spatula. Continue stirring until the mixture darkens slightly, becomes smooth, and thickens into a rich, luscious caramel sauce. This usually takes about 2-3 minutes once simmering.
- **Spread Caramel:** Carefully pour the hot caramel mixture into your prepared cake pan and spread it evenly across the bottom. Work quickly but carefully as the caramel will begin to set.
- **Arrange Pineapple:** Now, artfully arrange the prepared pineapple chunks in a single layer over the still-warm caramelized sugar. Ensure they are distributed nicely for an even fruit topping on every slice.
- **Generously Sprinkle Sugar:** Sprinkle an additional amount of brown sugar generously over the pineapple layer. This extra layer of sugar helps to deepen the caramelization and enhance the fruity flavor.
- **Cream Butter and Sugar for Batter:** In a stand mixer fitted with the paddle attachment, beat the remaining unsalted butter (which should be at room temperature for optimal creaming) with the granulated sugar on medium-high speed. Continue beating until the mixture becomes light, fluffy, and noticeably pale in color, usually 3-5 minutes. Remember to scrape down the sides of the bowl as needed to ensure everything is well combined.
- **Incorporate Eggs and Milk:** Beat in the large eggs one at a time, allowing each egg to fully incorporate into the mixture before adding the next. This creates a stable emulsion. Follow this by beating in the 2% milk until just combined.
- **Add Vanilla:** Stir in the vanilla extract, ensuring it’s evenly distributed throughout the batter. Vanilla adds a wonderful aromatic depth to the cake.
- **Mix Dry into Wet:** Reduce the mixer speed to low. Gradually add the reserved flour mixture (from step 4) to the wet ingredients, beating only until just combined. Be careful not to overmix; overmixing can develop the gluten too much, leading to a tough cake. Stop mixing as soon as no streaks of flour remain.
- **Pour Batter and Bake:** Carefully and gently spread the cake batter evenly over the pineapple and caramel layer in the pan, ensuring not to disturb the fruit arrangement too much. Transfer the pan to the preheated oven and bake for approximately 55-60 minutes, or until a wooden toothpick inserted into the very center of the cake comes out clean, with no wet batter clinging to it.
- **Cool Before Inverting:** Once baked, remove the cake from the oven and place it on a wire rack to cool in the pan for at least 10-15 minutes. This crucial cooling period allows the caramel to firm up and set slightly, and the cake structure to stabilize, which is essential for a clean and successful release when inverted.
- **Invert and Serve:** After the cooling period, carefully place your chosen serving platter or cake stand upside down directly over the cake pan. With a swift and confident motion, invert the cake onto the platter. Lift the pan slowly and gently to reveal your stunning, perfectly formed Pineapple Upside-Down Cake. Serve warm with whipped cream, ice cream, or simply as is, and savor every glorious bite!
Can this recipe be halved?
Halving this delicious cake recipe would require significant adjustments, particularly to the baking time and potentially the pan size, and could alter the final texture. For the best possible result, it is generally recommended to make the recipe exactly as it is written. If you find yourself with more cake than you immediately need, consider sharing it with friends, family, or neighbors – they will surely appreciate such a thoughtful treat! This cake keeps wonderfully for 4-5 days when stored correctly, providing ample time to savor every last slice without compromising on freshness.
Do you recommend this as a thoughtful gift?
Absolutely! This Pineapple Upside Down Cake makes for a truly fabulous and deeply appreciated gift for friends, family, or neighbors. Its homemade charm, combined with the irresistible flavor and beautiful presentation, is sure to bring smiles and warmth. We often use convenient disposable plates when giving this cake as a gift, making it easy for the recipient. It’s especially wonderful to share on a Friday afternoon, allowing them to enjoy it as a delightful dessert that evening and have delicious leftovers throughout the entire weekend, extending the joy of your thoughtful gesture.
Can this recipe be doubled?
While I haven’t personally experimented with doubling this particular recipe, if you choose to do so, I believe the most successful approach would be to mix a double quantity of batter and then divide it between two separate 9-inch round cake pans, effectively baking two individual cakes. This ensures consistent baking and optimal texture for both. I strongly advise against attempting to double the batter and bake it in one single, larger dish. Baking a significantly thicker cake will drastically alter the baking time, likely causing the edges to become dry and overbaked while you tirelessly wait for the center to cook through properly. For optimal results, stick to the recommended pan size per batch or bake two separate cakes.
How do you store this pineapple upside down cake recipe?
Proper storage is key to maintaining the freshness and deliciousness of your Pineapple Upside-Down Cake. The simplest and often preferred method is to cover the cake with plastic wrap or aluminum foil, keeping it on the serving dish it was inverted onto, and store it at room temperature. This works wonderfully in most environments, preserving its moist crumb and rich flavors.
However, if you reside in a particularly humid or extremely dry climate, your cake will fare better if refrigerated. A climate-controlled environment will help it stay fresh for the longest possible time, preventing it from drying out or becoming overly moist. Whichever method you choose, always ensure the cake is well-covered to protect it from air. Regardless of the storage method, aim to enjoy your homemade Pineapple Upside-Down Cake within 2-3 days for the best quality, flavor, and texture. Beyond this, the quality may start to decline.
Key Ingredients for Your Delightful Pineapple Upside-Down Cake
To embark on this delightful baking journey and create a truly memorable Pineapple Upside-Down Cake, gather these essential ingredients:
- **Unsalted Butter:** At room temperature for easy creaming, plus a bit more for preparing the pan.
- **Baking Powder:** The leavening agent that gives your cake its perfect rise and tender crumb.
- **All-Purpose Flour:** The foundation of your cake, ensure it’s spooned and leveled for accuracy.
- **Table Salt:** A pinch of salt balances the sweetness and enhances all the flavors.
- **Light Brown Sugar:** Essential for the rich, deep caramelized topping.
- **Fresh Pineapple Chunks:** Or two cans of well-drained chunked pineapple for that juicy, tangy layer.
- **Granulated Sugar:** For the perfect sweetness in your cake batter.
- **Large Eggs:** Bring moisture, richness, and structure to the cake.
- **Vanilla Extract:** A foundational flavor enhancer, adding warmth and aromatic depth.
- **2% Milk:** Contributes to the cake’s moist texture and tender crumb.
Recommended Tools and Products for a Smooth Baking Experience
Crafting this homemade pineapple upside-down cake is incredibly straightforward and rewarding. Chances are, you already have many of the necessary items in your kitchen! However, if you’re new to making pineapple upside-down cake, or simply looking to enhance your baking arsenal for consistent success, here’s a list of products and tools I find indispensable. These are the items I absolutely can’t live without when baking this delightful dessert, ensuring it comes out perfectly delicious and easy every single time:
- High-Quality 9-inch Round Baking Pan: A reliable, heavy-bottomed pan is crucial for even baking and a beautiful, clean flip.
- Granulated Sugar: For that ideal level of sweetness in your moist cake batter.
- Pure Vanilla Extract: A foundational flavor enhancer that brings warmth, complexity, and a delightful aroma to your cake.
- All-Purpose Flour: The backbone of your cake structure; ensure it’s spooned and leveled for accurate measurements.
- Stand Mixer: While a hand mixer works, a stand mixer is ideal for creaming butter and sugar to fluffy perfection, making the batter light, airy, and consistent.
- Heat-Resistant Spatulas: Essential for efficiently scraping down bowls, smoothly spreading the hot caramel, and carefully folding in ingredients.
- **Baker’s Joy (or similar non-stick baking spray with flour)**: A game-changer for foolproof cake release, especially critical for delicate upside-down cakes.
- Baking Powder: The primary leavening agent that ensures your cake achieves a beautiful rise and a tender crumb.
- Light Brown Sugar: Crucial for creating the rich, deep, and glossy caramel topping that defines this iconic cake.
- Table Salt: A small but mighty ingredient that balances the sweetness and enhances all the delicious flavors in the cake.
If you adore this delightful homemade pineapple upside-down cake from scratch, you’re in for a treat with these other fabulous cake recipes too. Each link below leads to an easy, printable recipe that promises equally delicious results, perfect for expanding your baking repertoire!

Best Yellow Cake Recipe
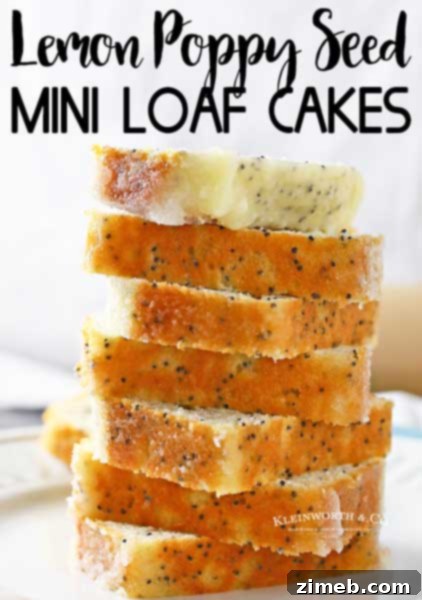
Lemon Poppy Seed Mini Loaf Cakes

Best White Cake Recipe
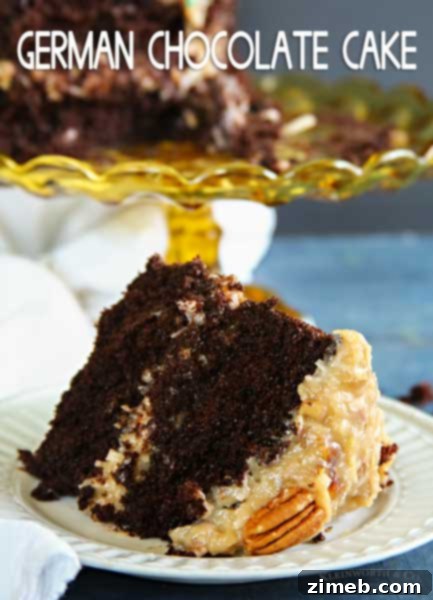
Best German Chocolate Cake

Homemade Funfetti Cake
Blueberry Swirl Pound Cake

Oreo New York Cheesecake
If you love this simple upside down cake as much as I do, please take a moment to write a five-star review below. Your valuable feedback helps others discover and enjoy this wonderful recipe, and motivates me to keep creating! And don’t forget to help me share the deliciousness on Facebook and Pinterest with your friends and family!
CONNECT WITH YUMMI HAUS!
Be sure to follow me on my social media channels, so you never miss a post!
Substack, Facebook, Pinterest, Instagram, Email Subscription

Rate this Recipe
Pineapple Upside-Down Cake Recipe
Ingredients
- ¾ cup unsalted butter at room temperature plus a bit more for the pan (1½ sticks)
- 1 tsp baking powder
- 1½ cups all-purpose flour. Spooned & leveled.
- ½ tsp salt
- ½ cup packed light brown sugar + more for sprinkling
- ⅔ medium pineapple peeled, cored & cut into chunks ( or 2 cans of chunked pineapple- drained well)
- 1 cup granulated sugar
- 2 large eggs
- 1 tsp vanilla extract
- ½ cup 2% milk
Instructions
-
Prepare your pineapple- set aside.
-
Butter or grease well a 9″ round cake pan.
-
Preheat the oven to 350 degrees.
-
In medium bowl whisk together flour, baking powder & salt- set aside.
-
In a small saucepan, combine 4 tbsp of the butter & the brown sugar.
-
Bring to a simmer- stirring constantly until mixture is slightly darkened & thick.
-
Pour into prepared pan & spread out.
-
Add the prepared pineapple in a single layer in the pan.
-
Sprinkle generously with more brown sugar.
-
In a stand mixer, beat the remaining butter with the granulated sugar on med-high until fluffy. Scrape down bowl as necessary.
-
Beat in eggs one at a time. Followed by the milk.
-
Beat in vanilla.
-
Reduce the mixer to low- add flour mixture. Beat until combined.
-
Carefully spread batter over the pineapple & bake until toothpick inserted in center comes out clean- approx 55-60 min.
-
Let cool at least 10-15 min before inverting on serving platter.
Nutritional information for the recipe is provided as a courtesy and is approximate. Please double-check with your own dietary calculator for the best accuracy. We at Yummi Haus cannot guarantee the accuracy of the nutritional information given for any recipe on this site.