
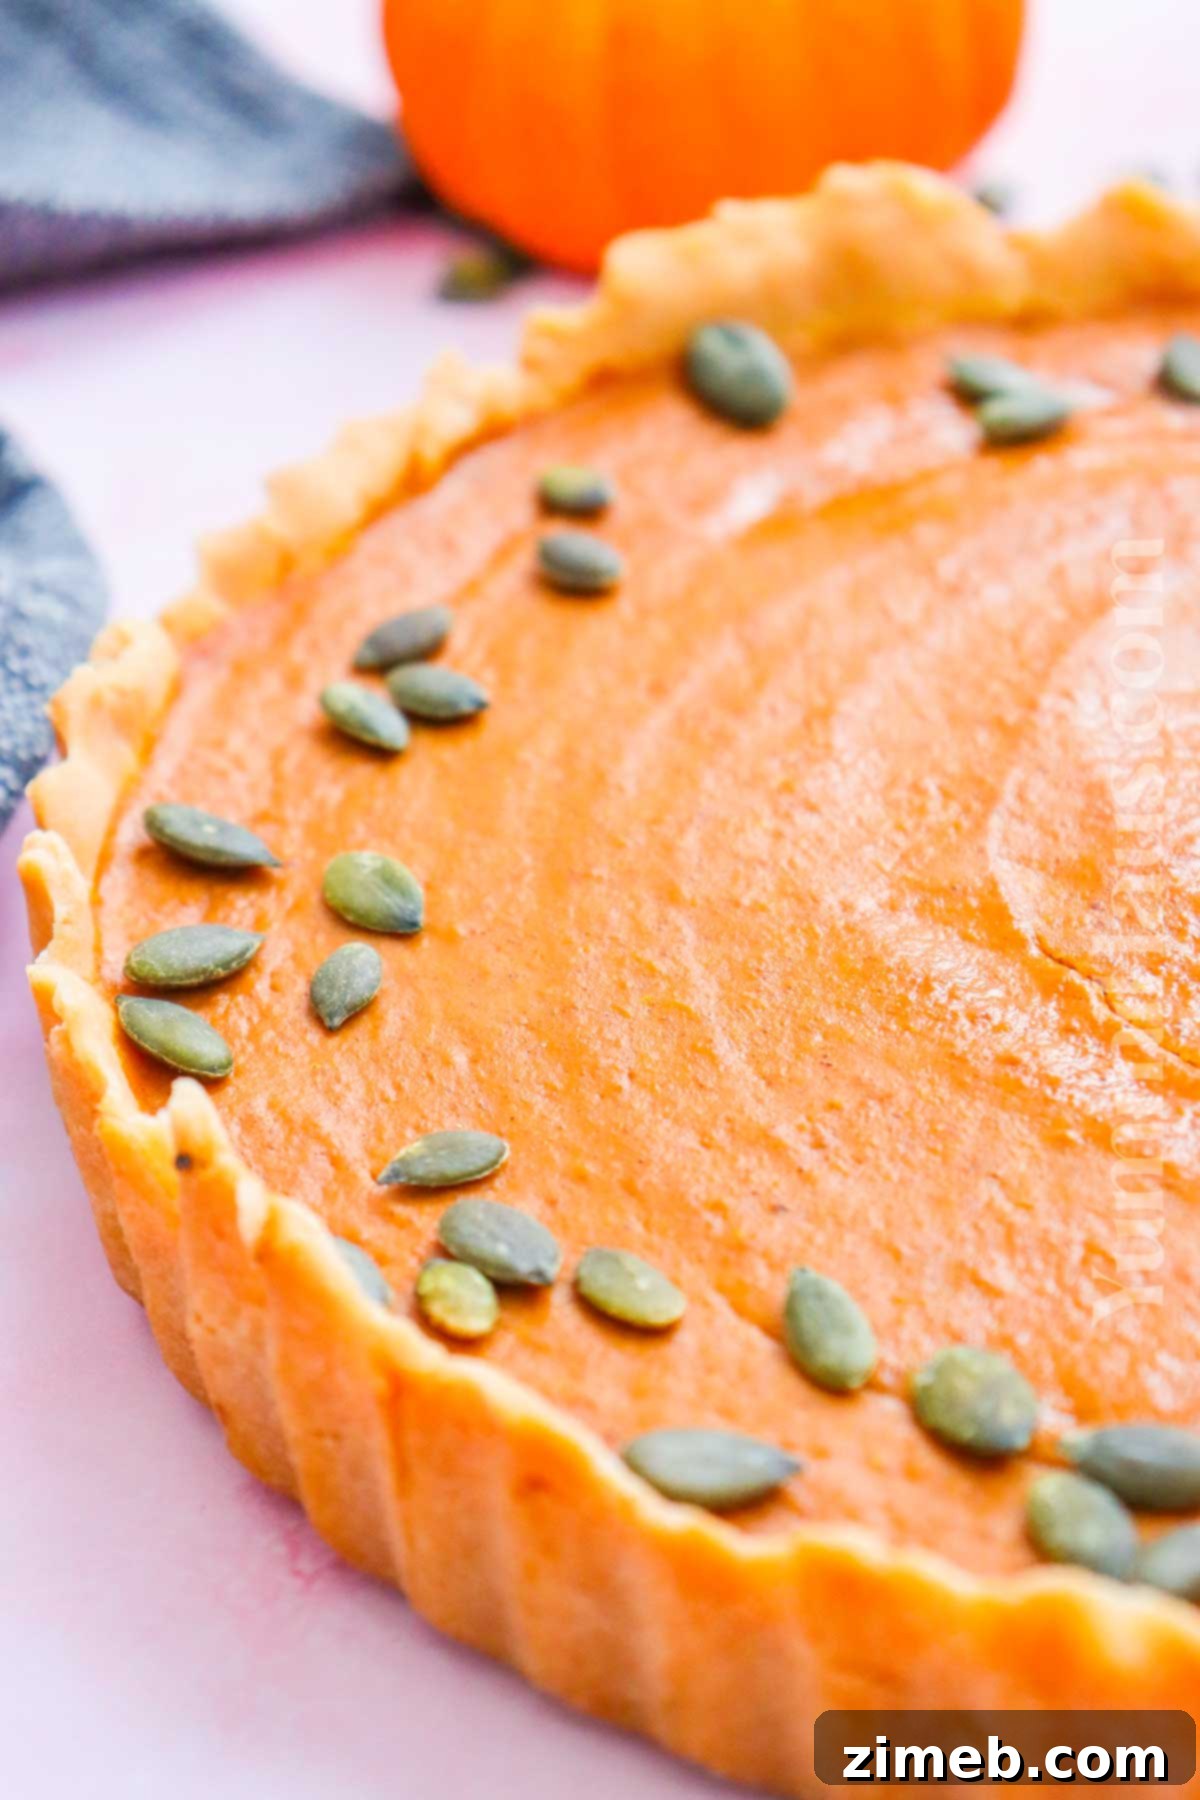
Indulge in the heartwarming tradition of homemade pumpkin pie, now crafted to perfection for everyone to enjoy. This exquisite recipe delivers a lush, creamy pumpkin puree filling, infused with classic autumnal spices, all nestled within a gluten-free flaky crust that melts in your mouth with rich buttery flavors. It’s a delightful re-imagining of a beloved classic, ensuring no one misses out on this essential holiday dessert.
Pumpkin pie is a quintessential crowd-pleaser, especially at Thanksgiving dinner parties and potlucks. For those with dietary restrictions, the thought of navigating gluten or dairy in traditional pie crusts can be a genuine nightmare, often leading to missing out on this festive treat. This carefully developed gluten-free recipe ensures that you can savor every bite without compromise. You’ll be amazed at how this pie captures all the deliciousness of a conventional pumpkin pie, so much so that no one will guess it’s “something different”! While my base recipe includes dairy, I’ve also provided clear instructions in the variations section for making it entirely vegan, ensuring even more inclusivity for your holiday table.
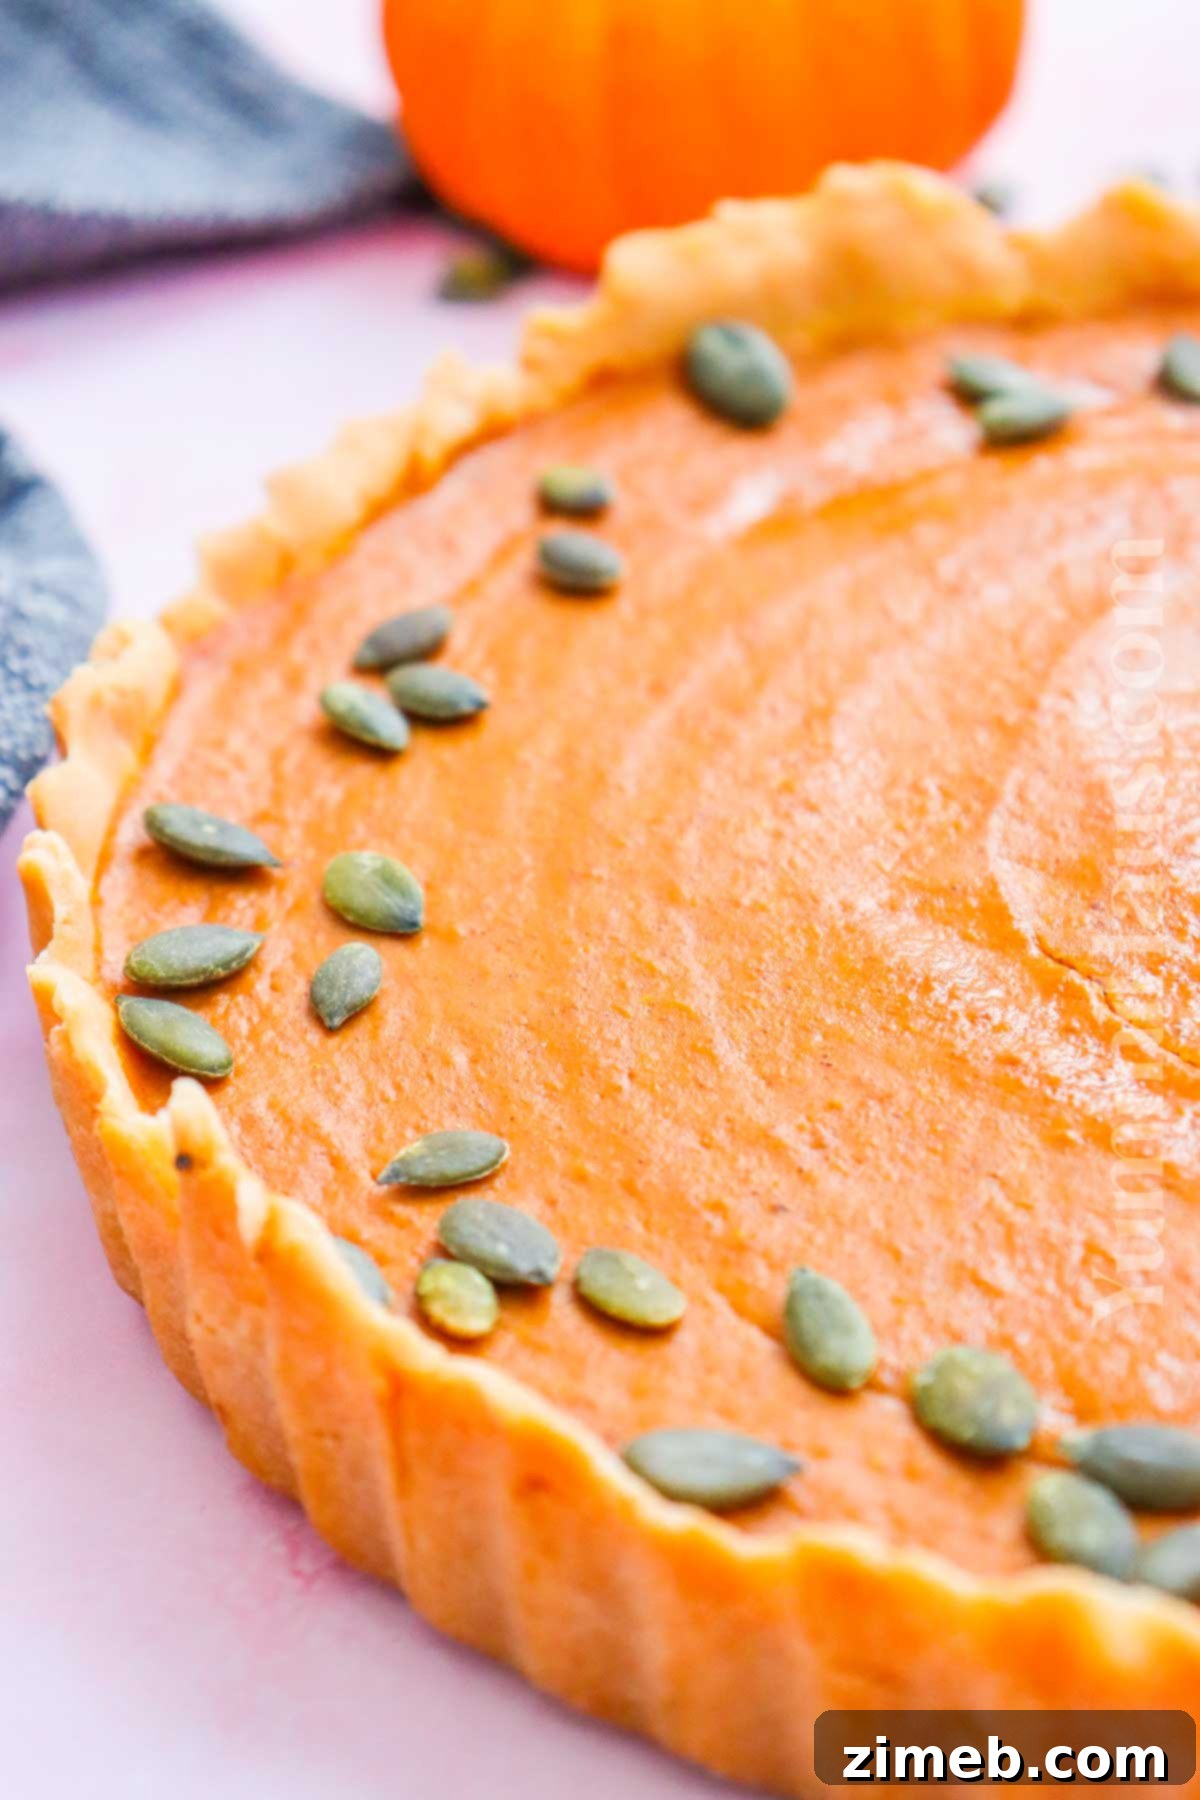
Creating this gluten-free pumpkin pie isn’t just about dietary needs; it’s about crafting an exceptional dessert that stands proudly among any holiday spread. The secret lies in a harmonious blend of high-quality ingredients and precise techniques, yielding a pie with a wonderfully smooth, spiced filling and a perfectly tender, golden-brown crust. This recipe proves that ‘gluten-free’ doesn’t mean sacrificing flavor or texture. Instead, it opens up a world of possibilities for delicious, inclusive baking, making your holiday celebrations sweeter for all your guests.
Why You’ll Adore This Gluten-Free Pumpkin Pie Recipe
This Gluten-Free Pumpkin Pie is more than just a dessert; it’s a celebration of flavor, tradition, and inclusivity. Here’s why this recipe will become your new holiday favorite:
- **Perfect for Dietary Needs:** This recipe is a blessing for anyone with celiac disease, gluten sensitivity, or those simply choosing a gluten-free lifestyle. It allows everyone at your table to partake in the traditional pumpkin pie experience during the bustling holiday season, eliminating the stress of finding suitable alternatives.
- **A True Celebration of Pumpkin Flavor:** Soft, moist, and perfectly spiced, pumpkin pies are an absolute must in the fall. This recipe truly spotlights the rich, earthy sweetness of pumpkin, enhanced by a carefully balanced blend of aromatic spices that evoke the cozy essence of autumn.
- **Surprisingly Simple to Make:** Whether you choose to embark on making my homemade gluten-free pie crust from scratch or opt for the convenience of a pre-made gluten-free crust, this recipe is designed to be straightforward and approachable. Detailed instructions ensure a smooth baking process, regardless of your experience level.
- **Flavor Uncompromised:** The use of a specialized gluten-free flour blend ensures that the texture of the crust is beautifully flaky and buttery, without any gritty aftertaste often associated with gluten-free baking. The robust pumpkin filling remains rich and creamy, ensuring that the pie’s incredible taste is in no way affected by its gluten-free nature. This truly is an amazing pie, perfect for making your Thanksgiving feast memorable and inclusive.
Essential Ingredients for Your Gluten-Free Pumpkin Pie
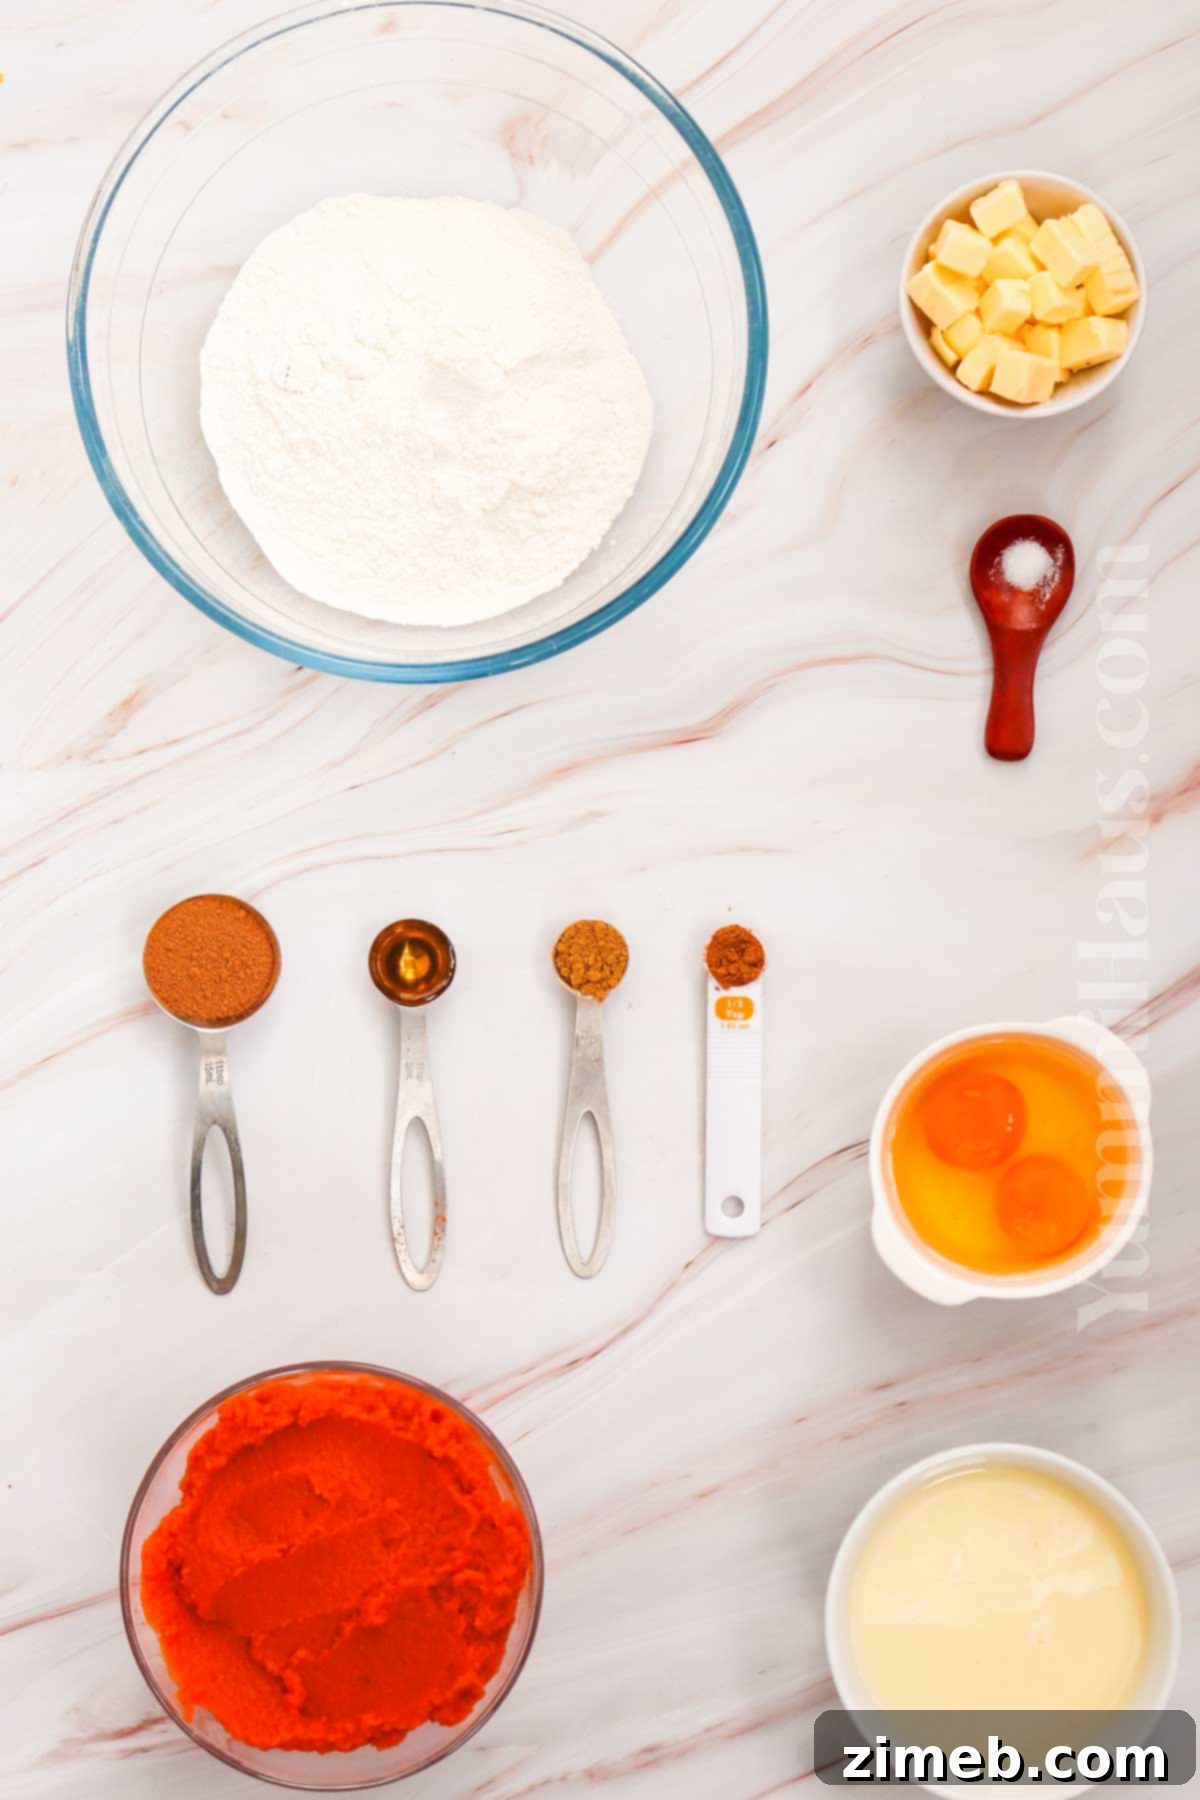
Crafting a whole, delicious gluten-free pumpkin pie requires only a handful of basic ingredients. The list becomes even shorter if you opt for a pre-made crust, but for the ultimate flavor and texture, I highly recommend making your own. Let’s delve into what you’ll need for both the crust and the luscious filling.
The Perfect Gluten-Free Pie Crust
A great pie begins with a fantastic crust, and this gluten-free version is no exception. It’s designed to be flaky, tender, and full of buttery flavor.
- **Gluten-Free Flour:** This is the cornerstone of our crust. You have several options here:
- **Almond Flour:** Offers a tender, slightly nutty crust.
- **Coconut Flour:** Highly absorbent, use sparingly and often mixed with other flours.
- **Gluten-Free All-Purpose Flour Blend:** Many excellent commercial blends are available. Look for ones that contain xanthan gum, or be prepared to add a small amount separately to aid with structure. There isn’t a single “best” gluten-free flour; experiment to find your preferred blend.
For best results, a good quality gluten-free all-purpose blend is often the most reliable choice for achieving a traditional pie crust texture.
- **Salt:** A pinch of salt is crucial for balancing the sweetness of the pie and enhancing the overall flavor of the crust.
- **Unsalted Butter, chilled and cubed:** The temperature of your butter is paramount for a flaky crust. Cold butter, cut into small cubes, prevents it from fully incorporating into the flour, creating pockets of steam during baking that result in those desirable flaky layers. If you only have salted butter, you can use it, but omit the added salt in the recipe and taste the dough to ensure it’s not too salty.
- **Ice Water:** Just like with butter, using ice-cold water is essential. It helps keep the butter cold and prevents the dough from becoming tough. Adding it gradually, a tablespoon at a time, ensures you reach the perfect consistency – a dough that comes together without being overly wet or sticky, making it easier to roll out into a perfectly flat layer that won’t tear or break, guaranteeing a buttery taste in every bite.
The Rich and Creamy Pumpkin Pie Filling
The heart of our pie is this wonderfully smooth and spiced pumpkin filling.
- **Pumpkin Puree:** Crucially, use canned pumpkin purée, not pumpkin pie filling. Pumpkin purée is 100% pumpkin, while pie filling contains added spices and sweeteners, which can throw off the balance of this recipe. When preparing gluten-free recipes, always double-check canned products to ensure they don’t contain gluten-rich additives like wheat flour. For the freshest taste and complete control, making your own pumpkin puree from scratch is an excellent option.
- **Sweetened Condensed Milk (1 can):** This ingredient is key to achieving the signature creamy texture and rich sweetness of the pie filling. It also helps the filling set beautifully.
- **Large Eggs:** Eggs act as the primary binder and thickener, making the whole filling come together and set into a custardy, smooth dessert. They contribute to the pie’s structure and richness.
- **Spices:** The magic of pumpkin pie lies in its aromatic spice blend. We’ll use:
- **Ground Cinnamon:** The dominant spice, providing warmth and sweetness.
- **Ground Ginger:** Adds a subtle peppery warmth and depth.
- **Allspice:** Brings together notes of cinnamon, cloves, and nutmeg, completing the classic pumpkin pie profile.
Alternatively, you can use a pre-made pumpkin pie spice blend for convenience, ensuring it’s a high-quality, gluten-free option.
- **Vanilla Extract:** A touch of vanilla rounds out the flavors, adding a subtle sweetness and enhancing the overall aroma of the pie.
Essential Kitchen Equipment
Having the right tools makes the baking process smoother and more enjoyable. Here’s what you’ll need for this gluten-free pumpkin pie:
- **Glass Pie Dish (9-inch):** A glass pie dish is excellent for even baking, allowing you to see when the crust is perfectly golden-brown at the bottom. You can use it for both baking and serving, or transfer your masterpiece to a more decorative pie plate for presentation.
- **Large Mixing Bowls:** You’ll need at least two: one for preparing the pie crust dough and another for whisking the pumpkin pie filling.
- **Whisk (or Stand Mixer):** Essential for thoroughly combining the filling ingredients until smooth and lump-free. A stand mixer with a whisk attachment can make this step effortless.
- **Optional, Pastry Cutter:** This specialized tool is fantastic for cutting cold butter into flour when making the gluten-free crust dough. It helps maintain the butter’s cold temperature and creates the perfect crumbly texture.
- **Optional, Food Processor:** A food processor can significantly speed up the process of mixing the pie dough, ensuring the butter is evenly distributed without overworking the dough. Use pulse settings to avoid over-processing.
- **Plastic Wrap:** For chilling the pie dough.
- **Rolling Pin:** For rolling out the chilled pie crust dough to the correct thickness.
- **Sharp Knife or Kitchen Shears:** For trimming excess pie dough around the edges.
- **Wire Rack:** Crucial for cooling the pie completely after baking, which prevents a soggy bottom and allows the filling to fully set.
How To Make the Ultimate Gluten-Free Pumpkin Pie
Follow these detailed steps to create a truly unforgettable gluten-free pumpkin pie that will impress everyone at your holiday gathering.
Step 1: Preparing the Perfect Gluten-Free Pie Crust
The key to a flaky crust is keeping your ingredients cold and handling the dough minimally.
- **Combine Dry Ingredients:** In a medium-sized mixing bowl, thoroughly whisk together the gluten-free flour blend and salt. This ensures even distribution of the salt throughout the crust.
- **Cut in the Butter:** Add the chilled, cubed unsalted butter to the flour mixture. Using your hands or a pastry cutter (or pulsing briefly in a food processor), work the butter into the flour until the mixture resembles coarse crumbs, with some pea-sized pieces of butter remaining. Avoid overworking the dough, as warmth from your hands can melt the butter.
- **Add Ice Water Gradually:** Begin adding the ice water, 1 tablespoon at a time, incorporating it into the mixture with a fork. Mix just until the dough starts to come together. Be cautious not to add too much water; you might not need all 4 tablespoons. The dough should be moist enough to hold its shape but not sticky.
- **Chill the Dough:** Gently gather the dough into a ball. Flatten it slightly into a disk shape, then wrap it tightly with plastic wrap. Refrigerate the dough for at least 30 minutes (or up to 2 days) while you prepare the pie filling. Chilling is crucial for developing flavor and making the dough easier to roll.
Step 2: Crafting the Creamy Pumpkin Pie Filling
This is where the magic of the pumpkin flavor truly comes alive.
- **Preheat Your Oven:** Preheat the oven to 425 degrees F (220 degrees C). This initial high temperature helps the crust set quickly.
- **Combine Wet Ingredients:** In a large mixing bowl or the bowl of a stand mixer, combine the pumpkin puree, sweetened condensed milk, and large eggs. Whisk vigorously until the mixture is completely smooth and well combined. If using a stand mixer, use the whisk attachment on medium speed.
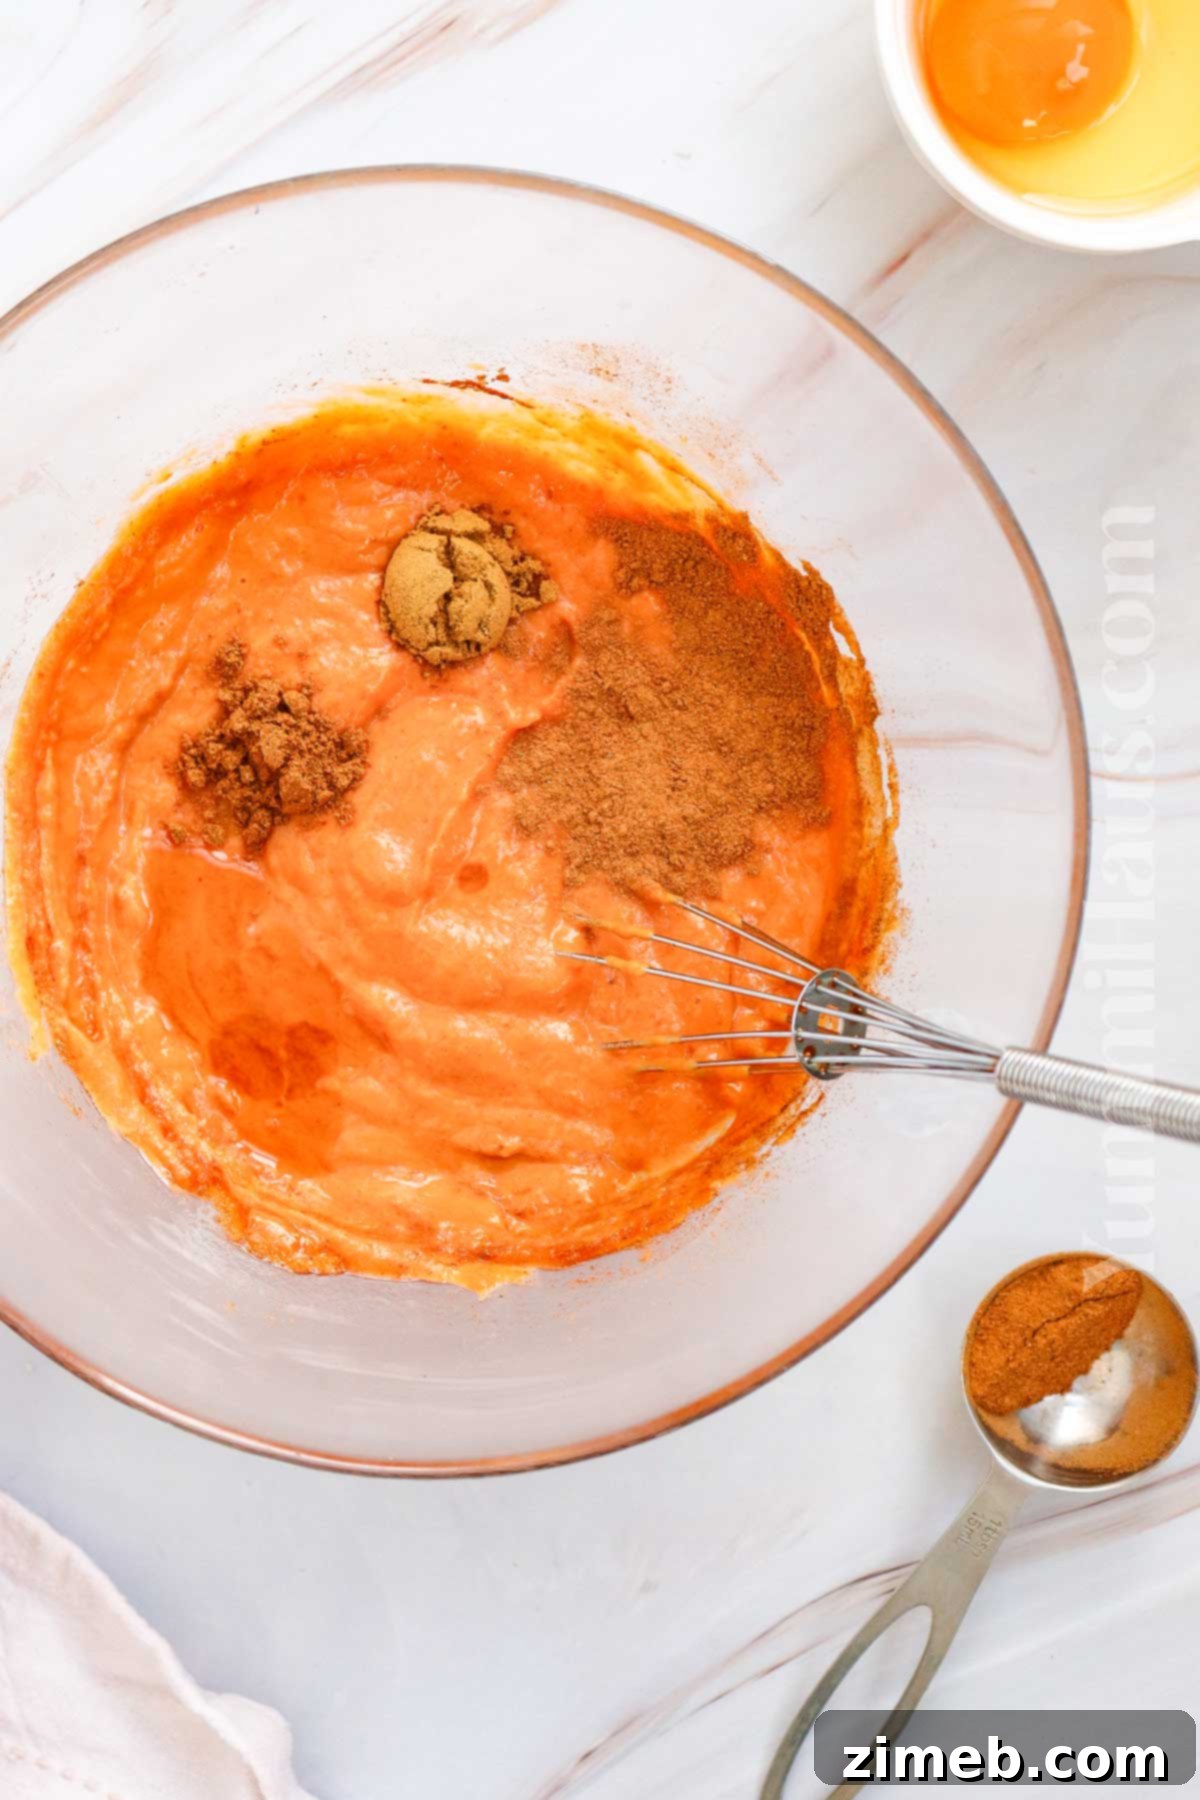
- **Add Spices and Vanilla:** Introduce the ground cinnamon, ground ginger, allspice, and vanilla extract to the pumpkin mixture. Mix again until all the spices are fully incorporated, ensuring a beautifully fragrant and evenly spiced filling.
- *(Note: The original HTML had an empty list item here. I’ll omit it for fluency.)*
Step 3: Assembling and Baking Your Masterpiece
Bringing all the elements together for a perfectly baked pie.
- **Roll Out the Crust:** Once the dough is sufficiently chilled, remove it from the refrigerator. On a lightly floured surface (using gluten-free flour), roll out the dough to approximately ⅛ inch thick. Gluten-free dough can be more delicate, so handle it gently.
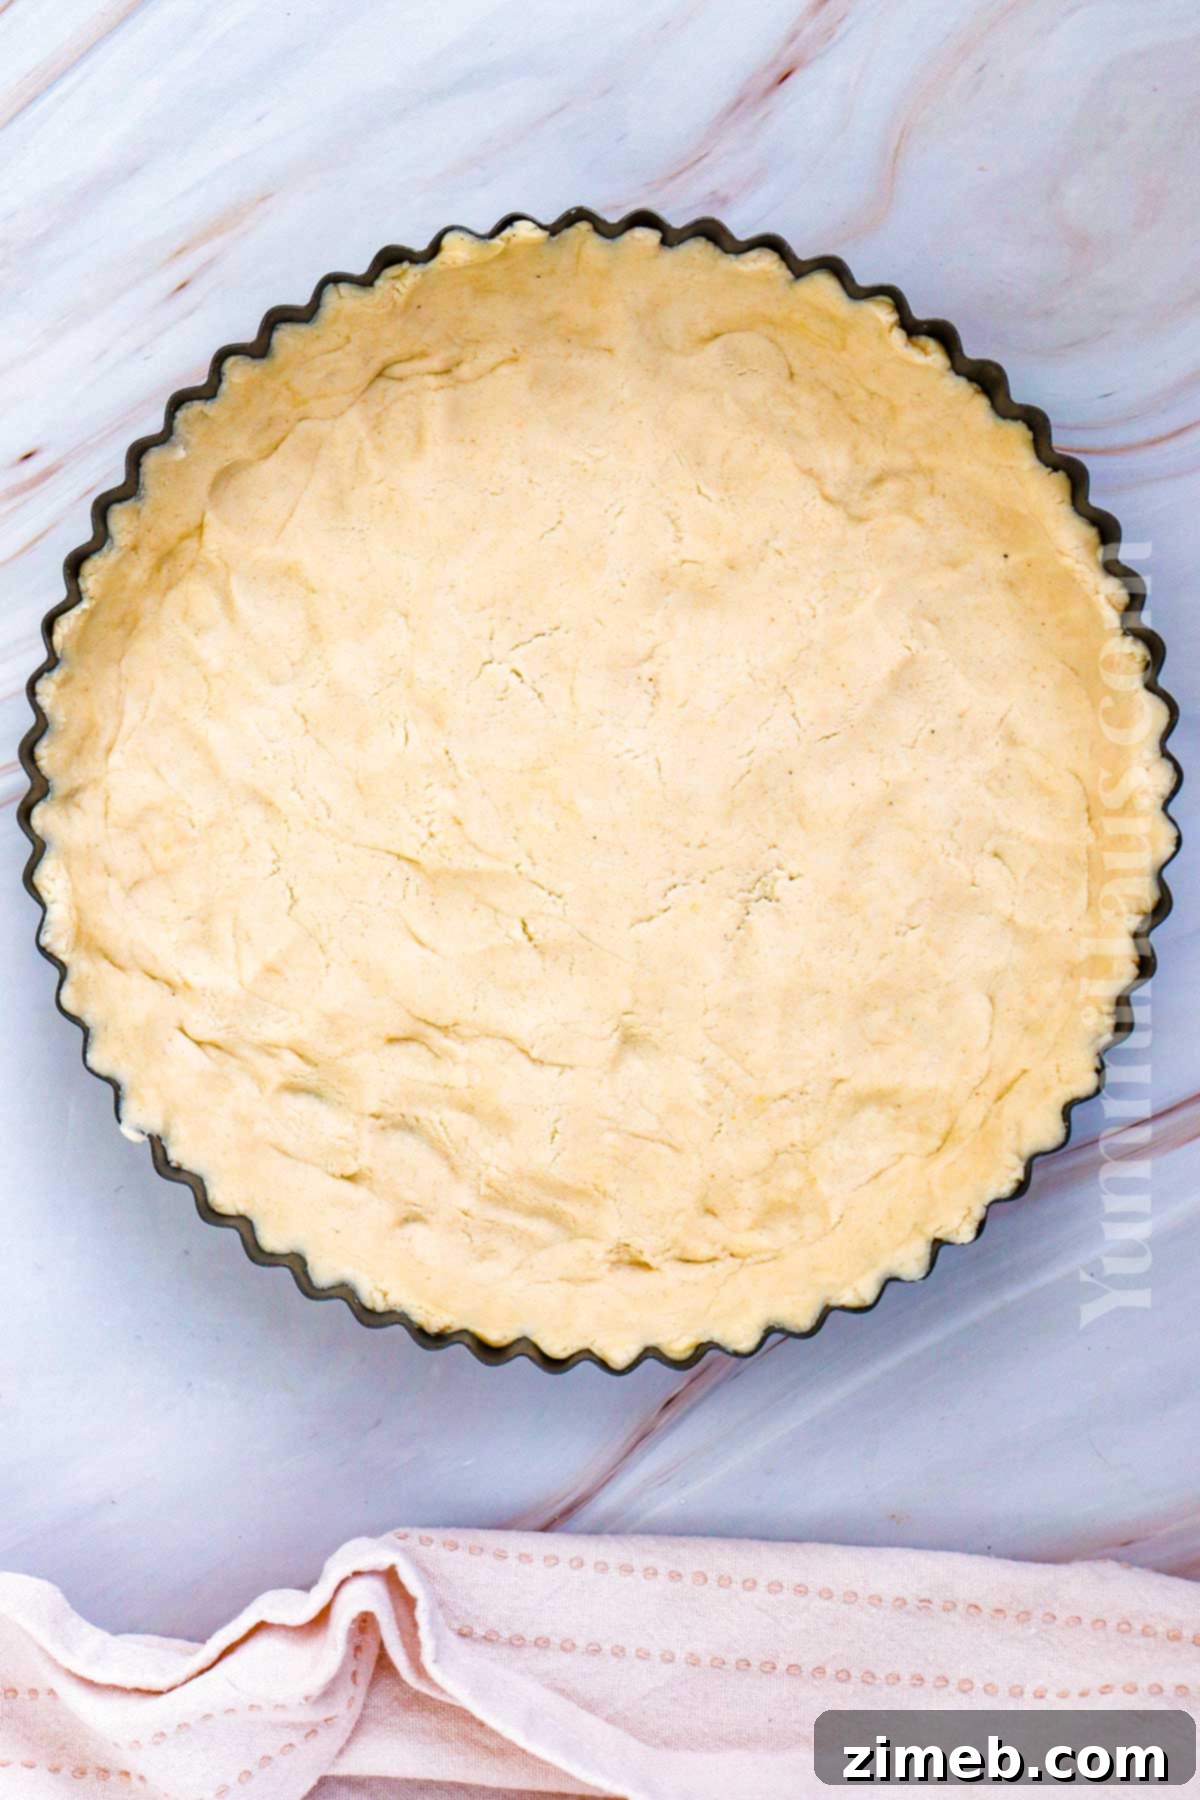
- **Line the Pie Plate:** Carefully transfer the rolled-out crust into the bottom of your glass pie plate. Gently press it into the bottom and up the sides of the plate, ensuring it fits snugly without tearing.
- **Trim and Crimp Edges:** Trim any excess dough from the edges, leaving about an inch overhang. Fold the overhang under, then crimp the edges as desired to create a decorative finish. You can use your fingers or a fork for this.
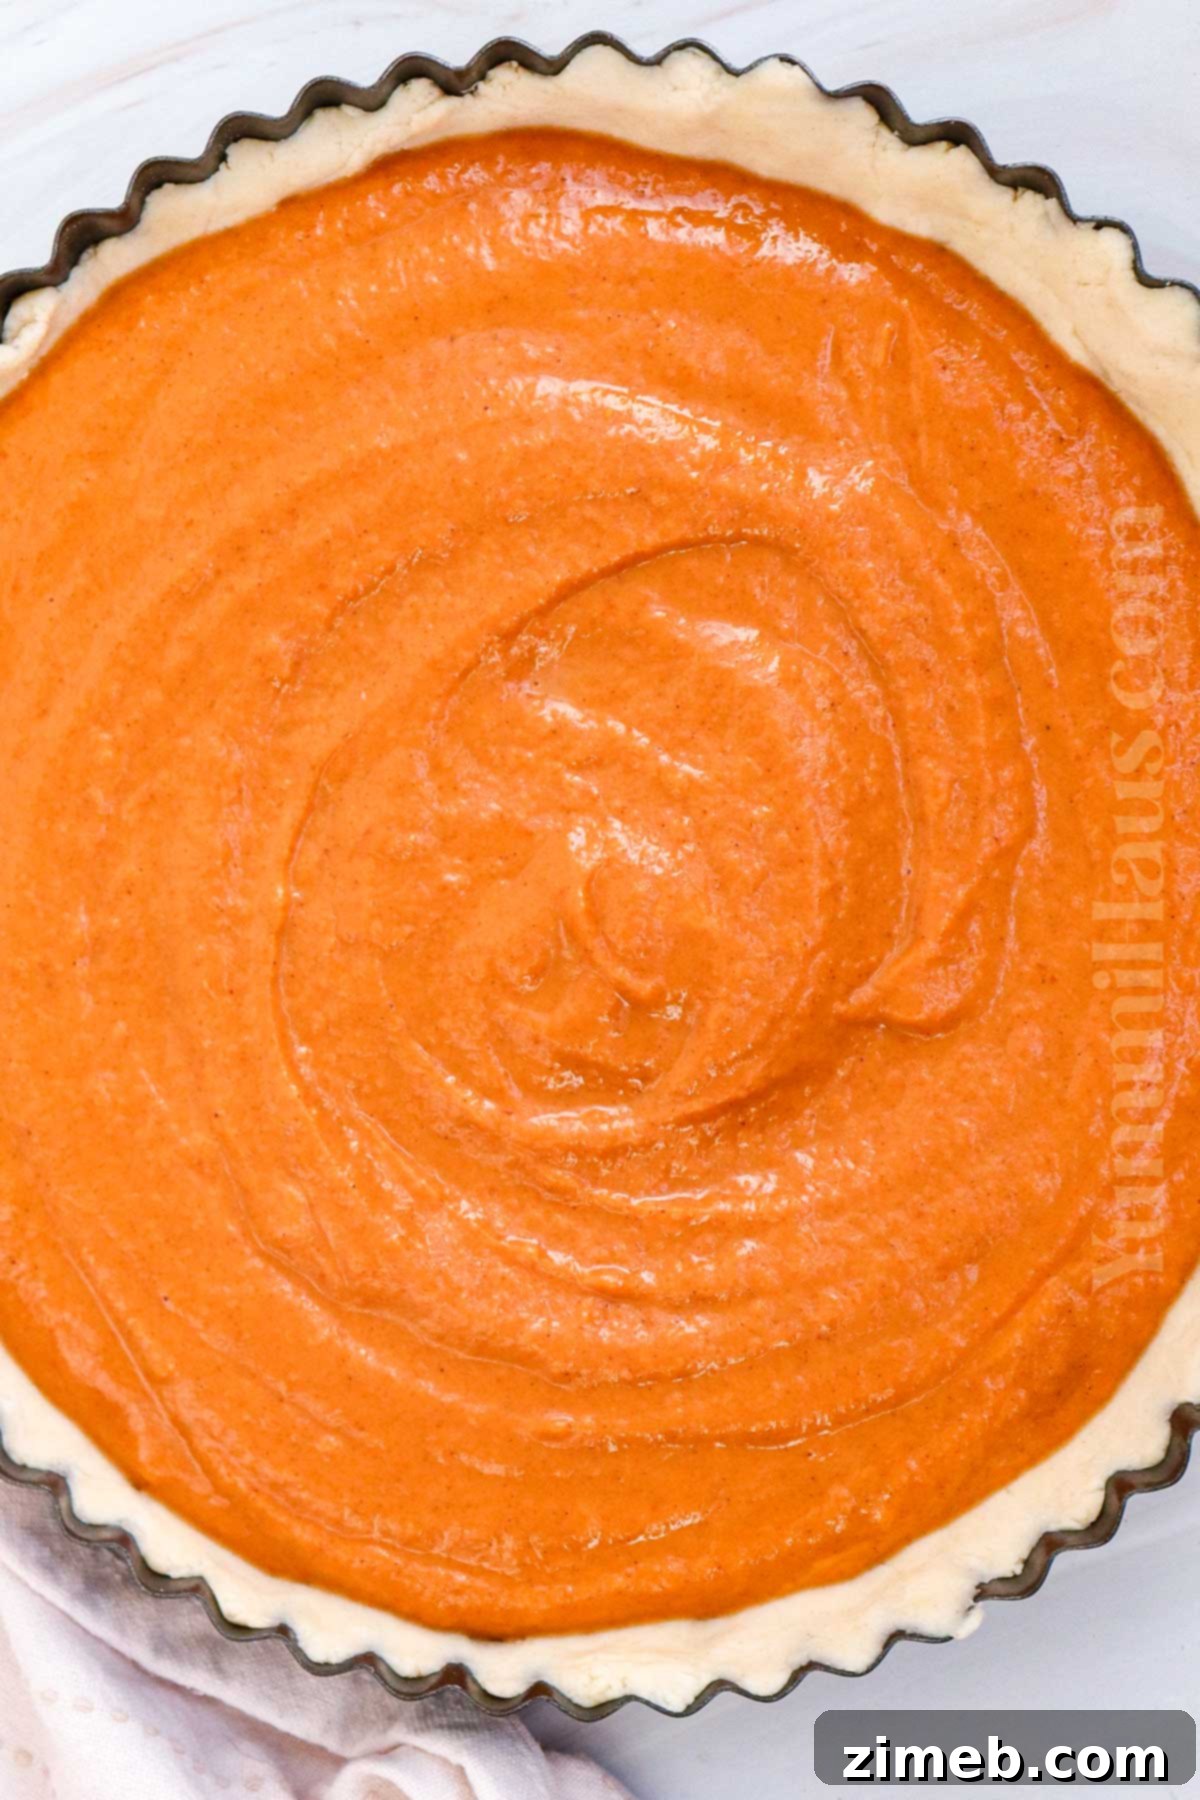
- **Pour in the Filling:** Carefully pour the smooth pumpkin filling mixture into the prepared crust. Ensure it’s evenly distributed.
- **Initial Bake (High Heat):** Bake the pie in the preheated 425 degrees F (220 degrees C) oven for 15 minutes. This initial burst of heat helps to set the crust and begin baking the filling.
- **Reduce Heat & Continue Baking:** After 15 minutes, reduce the oven temperature to 350 degrees F (175 degrees C). Continue baking for an additional 35-40 minutes. The pie is done when the edges appear set, but the center may still have a slight jiggle. A knife inserted into the center should come out clean. If the edges of the crust start to brown too quickly, loosely cover them with aluminum foil.
- **Cool Completely:** Remove the pie from the oven and allow it to cool completely on a wire rack. This is a critical step, as the filling continues to set as it cools. Rushing this step can result in a runny pie.
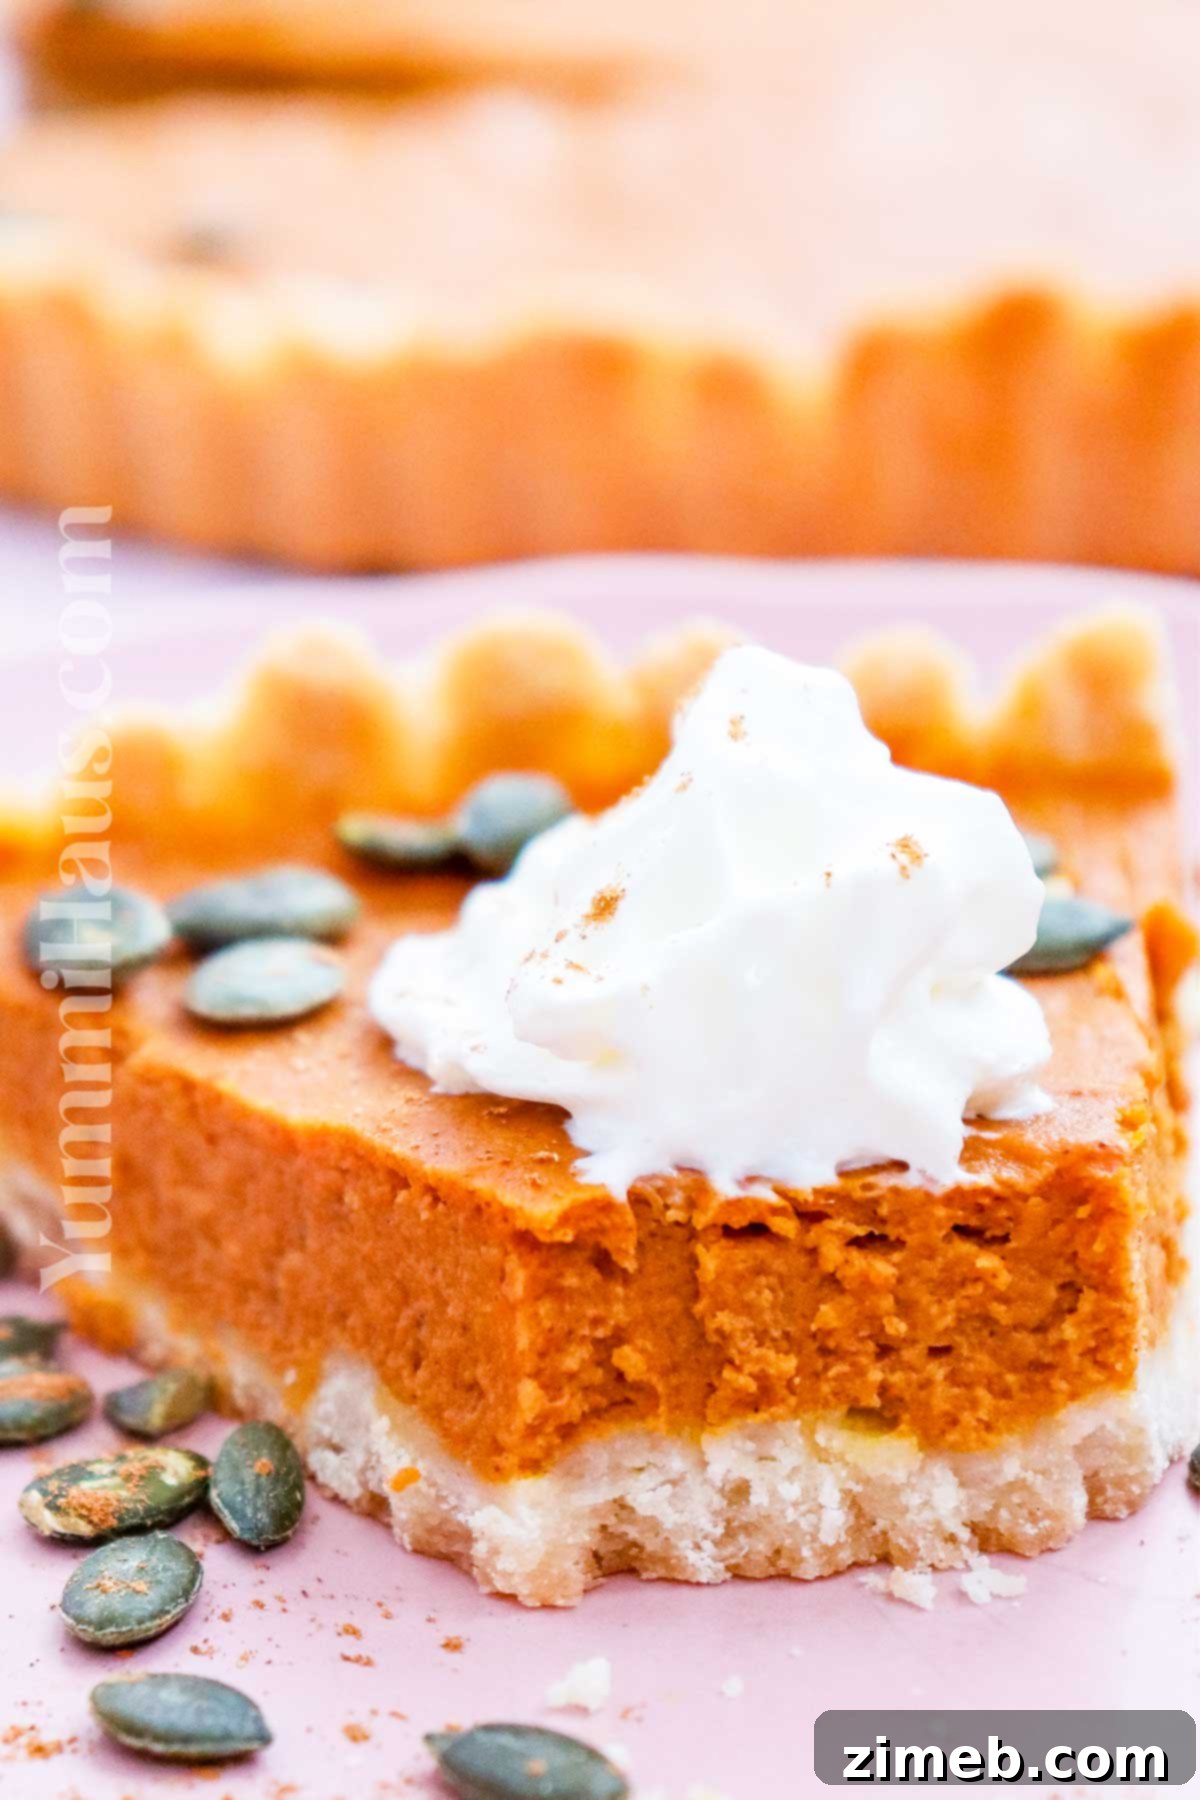
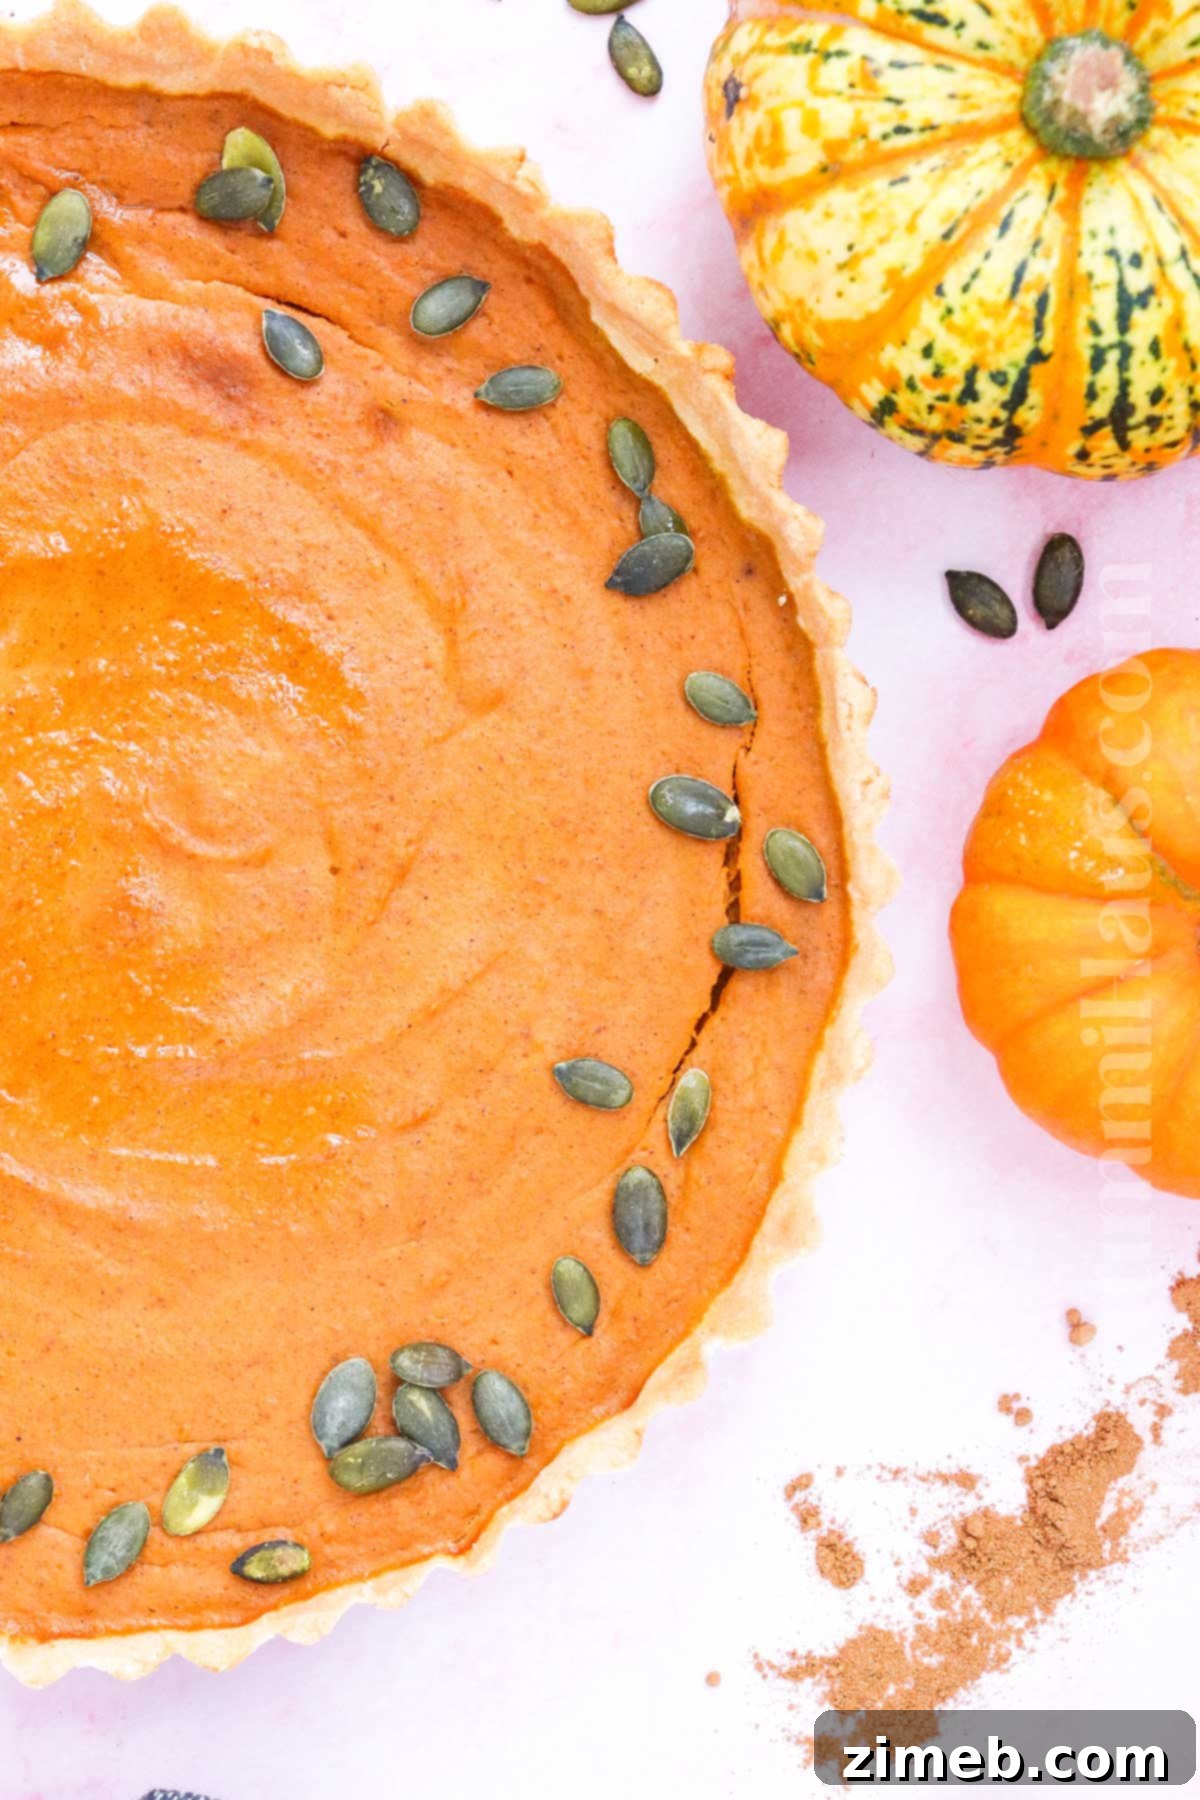
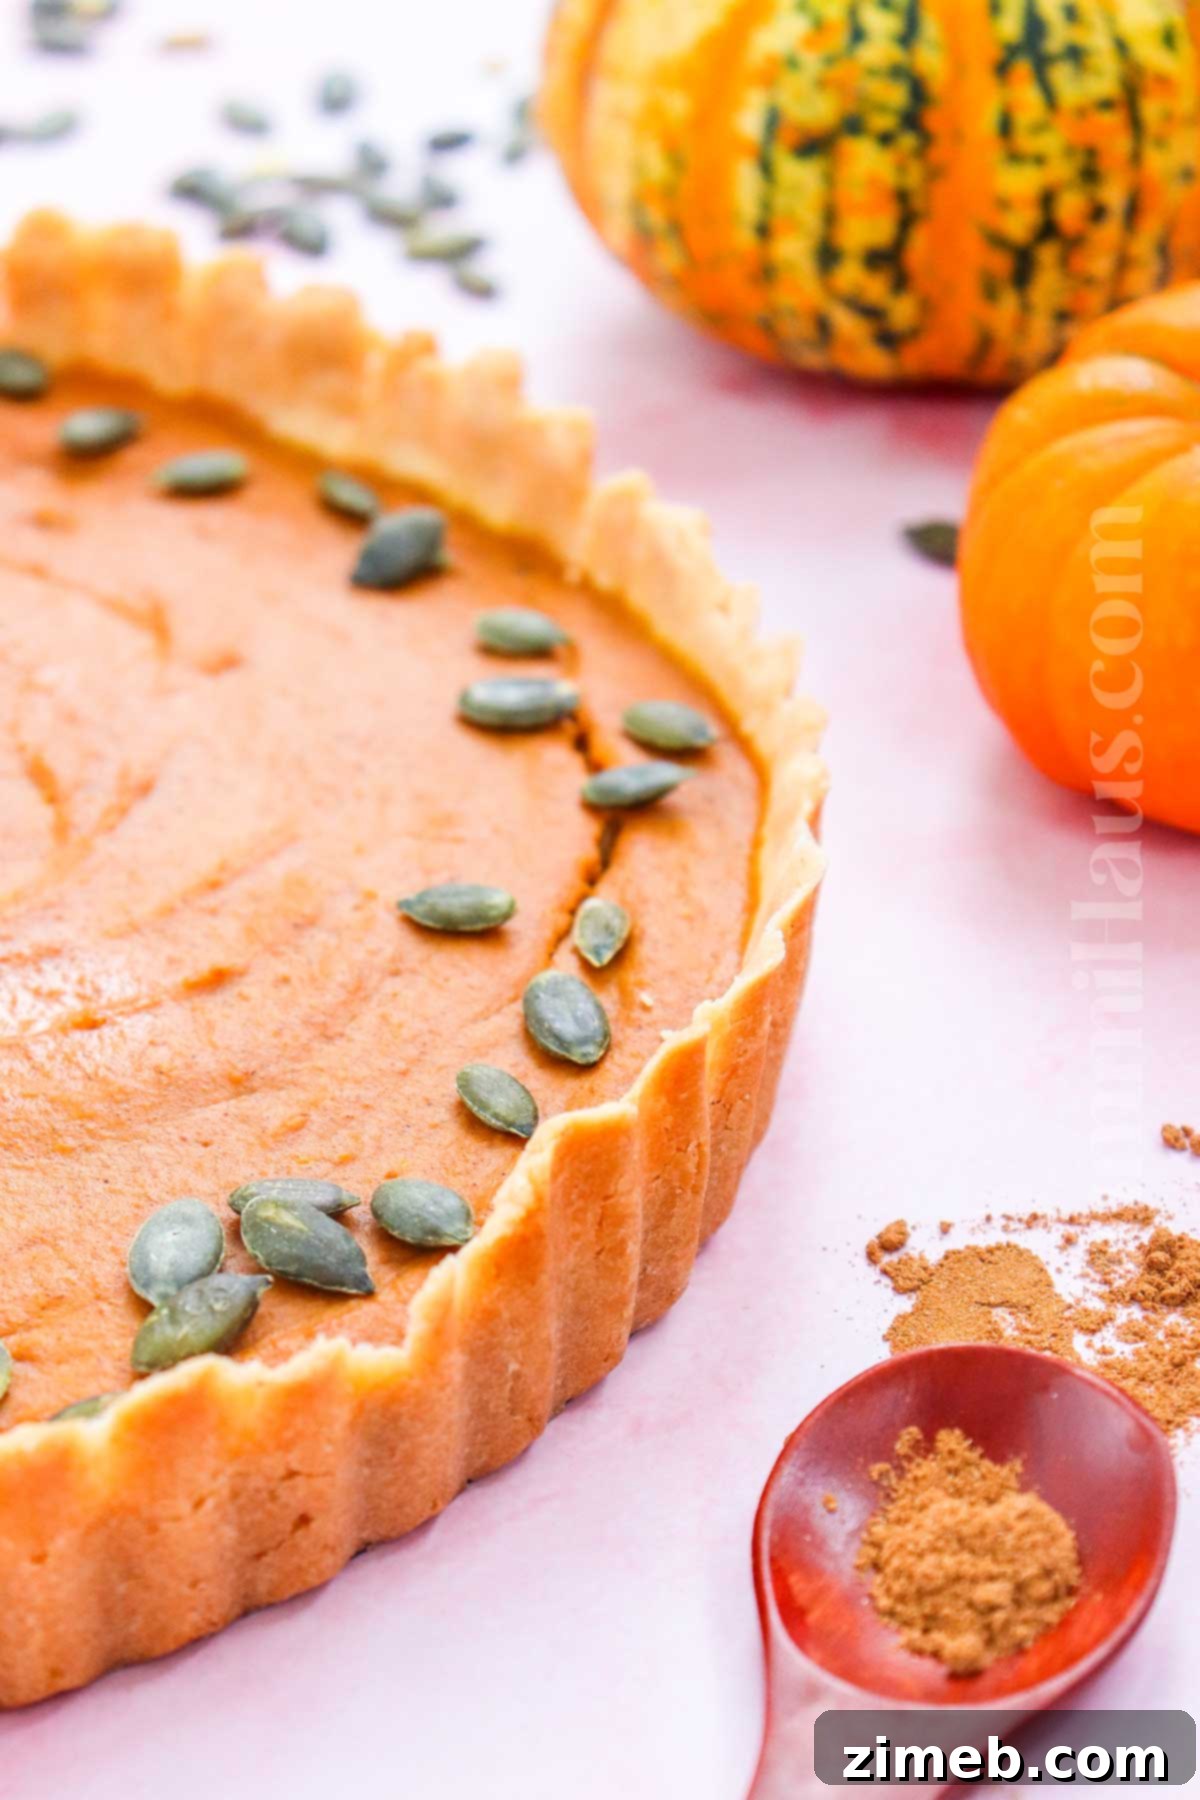
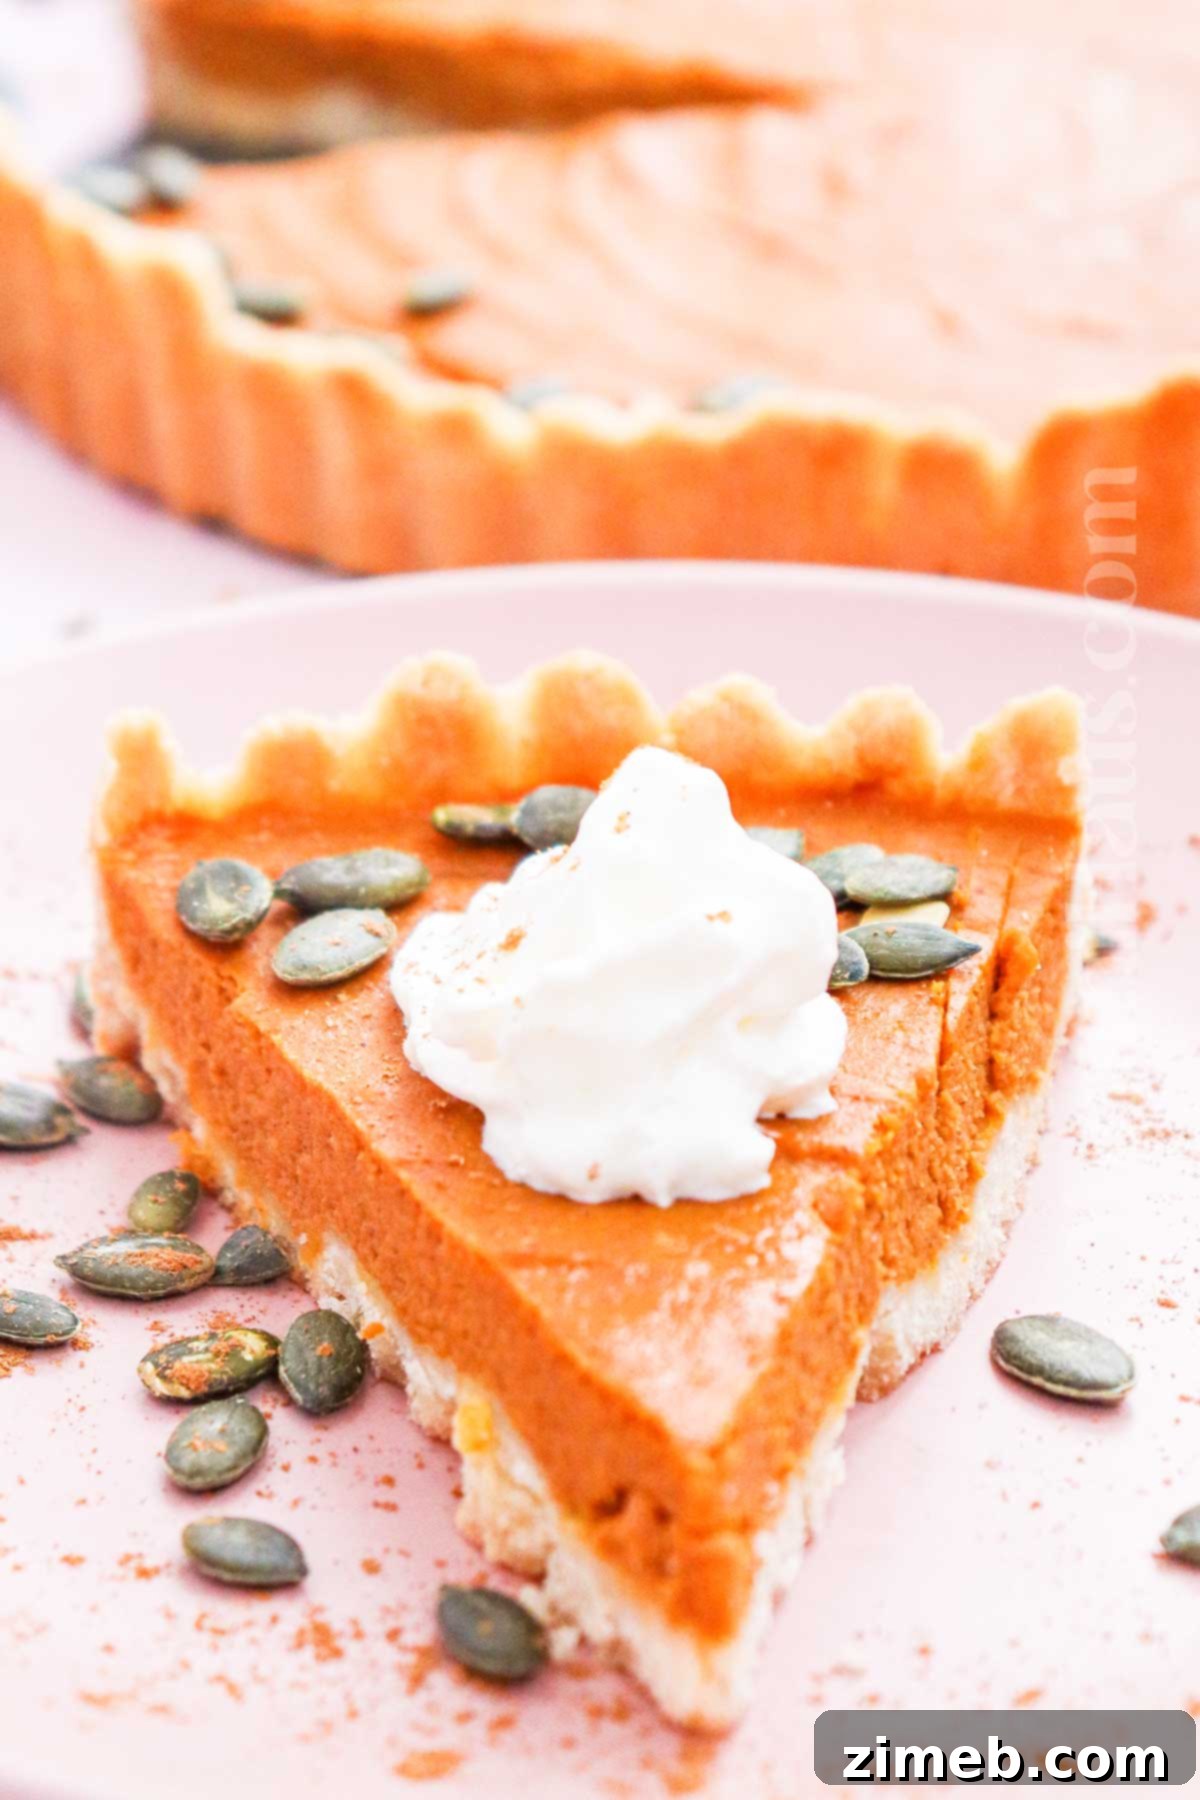
- **Serve and Enjoy:** You can serve this pie either warm (slightly warm, not hot) or chilled. For an extra special treat, top it with a generous scoop of vanilla ice cream, a dollop of fresh whipped cream, chopped nuts (like pecans or walnuts), or toasted pepitas for a textural contrast. Chilled pie is generally much easier to slice neatly.
Storage and Make-Ahead Tips
Proper storage ensures your delicious gluten-free pumpkin pie remains fresh and enjoyable for days.
To prepare your pie in advance or store any delicious leftovers, place the cooled gluten-free pumpkin pie in an airtight container. It will keep beautifully in the refrigerator for 3-4 days. This makes it an excellent make-ahead dessert for busy holiday schedules.
For longer storage, you can also freeze individual slices of the gluten-free pumpkin pie for 2-3 months. Wrap each slice tightly in plastic wrap, then place them in an airtight freezer-safe container or bag. When you’re ready to enjoy a slice, simply thaw it overnight in the refrigerator. Serve it with some fresh whipped cream and a comforting cup of tea for a delightful treat.
Creative Substitutions & Delicious Variations
This recipe is wonderfully adaptable, allowing you to tailor it to various dietary needs or simply to explore different flavor profiles.
- **Crust Convenience:** While homemade is superb, you can always purchase a **pre-made gluten-free pie crust** for a quicker option. Just ensure it’s certified gluten-free. For a unique twist, you can also create an easy crust using crushed gluten-free cookies (like graham crackers or gingersnaps), crackers, or even certain gluten-free cereals mixed with melted butter. An egg wash on the crust (before filling) is completely optional but can add a lovely sheen and help with browning.
- **Sweet Potato Swap:** If you love the flavor of sweet potatoes, you can easily substitute **pumpkin with an equal amount of cooked and pureed sweet potatoes**. This creates a similar creamy texture with a slightly different earthy sweetness.
- **Creamy Filling Alternatives:** To adjust the richness or dairy content of the pumpkin filling, you can replace the sweetened condensed milk with other creamy liquids:
- **Evaporated Milk:** For a slightly less sweet but still rich filling.
- **Condensed Coconut Milk:** An excellent dairy-free alternative that adds a subtle coconut flavor.
- **Heavy Cream:** For an incredibly rich and luxurious filling.
- **Unsweetened Condensed Milk:** If you prefer to control the sweetness yourself.
To balance the sweetness when using unsweetened options, you can add brown sugar for a lovely caramel note, maple sugar for a distinct fall flavor, or coconut sugar for a more unrefined sweetness.
- **Vegan & Gluten-Free Pumpkin Pie:** To make this recipe completely **vegan and gluten-free**, a few simple swaps are needed. Use vegan butter in place of dairy butter for the crust. For the filling, substitute the eggs entirely; you can use a flax egg (1 tablespoon ground flaxseed meal mixed with 3 tablespoons water, let sit for 5 minutes) per egg, or a commercial egg replacer. For the condensed milk, opt for condensed coconut milk. A small amount of cornstarch or arrowroot powder can be added to the filling (along with vegetable oil for richness if desired) to help ensure it sets properly without eggs.
- **Dough Enhancers (Optional):** Some gluten-free pie crust recipes suggest adding a touch of **vinegar** to the dough, which can help control the structure and prevent the dough from becoming overworked. **Xanthan gum** is another common additive in gluten-free baking, mimicking the elastic properties of gluten, which can improve dough texture and prevent crumbling. However, I typically don’t add either of these to my recipe, and the results are consistently fantastic, proving they aren’t always necessary for a great outcome.
- **Crustless Option:** For an even lighter, truly gluten-free and often lower-carb alternative, consider making a **crustless pumpkin pie**. Simply prepare the filling as directed and pour it directly into a greased pie dish. You get all the rich, creamy pumpkin flavor without any crust at all!
Expert Tips for the Best Gluten-Free Pumpkin Pie
Achieving pumpkin pie perfection, especially with a gluten-free crust, can be easy with these insider tips:
- **Enhanced Browning for Crust:** For a beautifully golden-brown gluten-free pie dough, consider adding a bit of sour cream to the mixture. The fats and acids in sour cream can help promote a richer color during baking.
- **Gentle Handling of Dough:** Remember that homemade gluten-free crust dough is generally softer and more delicate than its traditional counterpart. Handle it gently when rolling and transferring to prevent tearing or crumbling. Work quickly to keep the butter cold.
- **Serve Chilled for Best Slices:** If you plan to serve the pie cold, storing it in the fridge for at least 3-4 hours (or even overnight) before dinner is essential. This allows the filling to fully firm up, resulting in perfectly clean and neat slices.
- **Secure the Crust:** When pressing the crust into the pie dish, ensure it’s firmly seated against both the bottom and sides. You can use the bottom of a clean glass or the back of a spoon to smooth it out and pack it nicely, which helps prevent shrinking and makes for a more sturdy base.
- **Prevent Over-Browning:** If the edges of your pie crust are browning faster than the center of the pie is cooking through, create a foil collar. Simply cut a circle out of aluminum foil with a hole in the middle, then place it over the pie, covering just the crust edges. This will shield them from direct heat.
- **Silky Smooth Filling:** Even if you’re using canned pumpkin puree, give it an extra pulse or two in a food processor or blender before mixing it with the other ingredients. This simple step helps to break down any residual fibers, resulting in the smoothest and silkiest pie filling imaginable.
Frequently Asked Questions About Gluten-Free Pumpkin Pie
Does Pumpkin Pie Filling Contain Gluten?
Traditionally, homemade pumpkin puree and basic pumpkin pie filling are naturally gluten-free foods. The primary ingredients – pumpkin, sugar, eggs, and spices – do not contain gluten. However, when you opt for store-bought canned pumpkin puree or especially pre-made pumpkin pie filling, it’s crucial to check the ingredient label carefully. These commercial products can sometimes contain various additives, enhancers, preservatives, or non-gluten-free thickeners (like wheat flour or modified food starch derived from wheat) that introduce gluten. Always look for labels that explicitly state “gluten-free” to ensure safety for those with celiac disease or gluten sensitivities.
Why Does My Gluten-Free Pie Crust Fall Apart?
Gluten-free pie crusts are inherently more delicate and less elastic than regular pie crusts because they lack the gluten protein that provides structure and flexibility. This makes them more prone to falling apart, especially if they become soggy from the pie filling. Several factors can contribute to this:
- **Overworking the Dough:** Too much handling can make the butter melt and the dough tough, leading to a crumbly rather than flaky texture.
- **Insufficient Chilling:** Not chilling the dough long enough can make it difficult to roll out and prone to breaking.
- **Too Much Liquid:** Adding too much ice water can make the dough overly sticky and then brittle after baking.
- **Soggy Bottom:** A common culprit is a soggy bottom caused by the moisture from the filling soaking into the unbaked crust. To prevent this, consider **blind-baking** (or par-baking) your gluten-free crust with pie weights first. This creates a barrier and partially cooks the crust before the wet filling is added, helping it to stay flaky and intact.
- **Incorrect Flour Blend:** Some gluten-free flour blends perform better in crusts than others. Experiment to find a blend that yields a good texture.
By handling the dough gently, ensuring adequate chilling, using cold ingredients, and potentially blind-baking, you can significantly improve the strength and flakiness of your gluten-free pie crust.
If you adore this delightful holiday recipe, make sure to explore these other holiday favorites for a truly festive spread. Click each link below to discover the easy, printable recipe!
Check out this recipe

Check out this recipe
Check out this recipe
Check out this recipe
Check out this recipe
Discover More Delicious Gluten-Free Recipes
Expand your gluten-free baking repertoire with these fantastic recipes, perfect for any occasion:
Gluten-Free Christmas Cookies
Gluten-Free Eggless Cookie Dough
Chocolate Chip Cookie Cup Sundae ~ Gluten Free
Gluten Free Vegan Cheesecake
CONNECT WITH YUMMI HAUS!
Be sure to follow me on my social media, so you never miss a post!
Substack, FB, Pinterest, IG, Email Subscription
Rate this Recipe
Gluten-Free Pumpkin Pie
Ingredients
Pie Crust
- 1 ½ cup gluten-free flour
- ½ teaspoon salt
- ¼ cup unsalted butter chilled and cubed
- 4 tablespoons ice water 3-4 tbsp
Pie Filling
- 15 oz pumpkin puree 1 can – not pumpkin pie filling
- 14 oz sweetened condensed milk 1 can
- 2 large eggs
- 1 tbsp ground cinnamon
- ½ teaspoon ground ginger
- ⅓ teaspoon allspice
- 1 teaspoon vanilla extract
Instructions
Crust
-
Combine the flour and salt in a medium mixing bowl.
-
Work the butter into the flour mixture using your hands or a pastry cutter until the mixture resembles coarse crumbs.
-
Work the ice water into the mixture using a fork. Be sure to add 1 tbsp at a time so that you don’t add too much. You may not use it all.
-
Pull the dough for the crust together into a ball. Flatten it into a disk and wrap it with plastic wrap. Refrigerate while you make the pie filling. (chill for at least 30 minutes)
Filling
-
Preheat the oven to 425 degrees.
-
Combine the pumpkin puree, sweetened condensed milk, and eggs in a large mixing bowl or the bowl of a stand mixer. Whisk until the mixture is smooth.
-
Add the cinnamon, ground ginger, allspice, and vanilla. Mix until incorporated.
Assemble
-
When you are ready to fill the pie – roll the dough out on a well-floured surface to approx ⅛” thick.
-
Lay the crust in the bottom of the pie plate, press into the bottom, and up the sides of the plate.
-
Trim any excess dough and crimp the edges as desired.
-
Transfer the pie filling mixture to the prepared crust.
-
Bake for 15 minutes.
-
Reduce the oven temperature to 350 degrees. Continue baking for an additional 35-40 minutes or until a knife inserted in the center of the pie returns clean. The edges should look set but the center may have a slight jiggle still until cooled.
-
Remove and cool on a wire rack.
-
You can serve this pie either warm or chilled with a scoop of vanilla ice cream, whipped cream, chopped nuts, or toasted pepitas.
Equipment
-
9″ pie plate
Nutrition
Nutritional information for the recipe is provided as a courtesy and is approximate. Please double-check with your own dietary calculator for the best accuracy. We at Yummi Haus cannot guarantee the accuracy of the nutritional information given for any recipe on this site.