
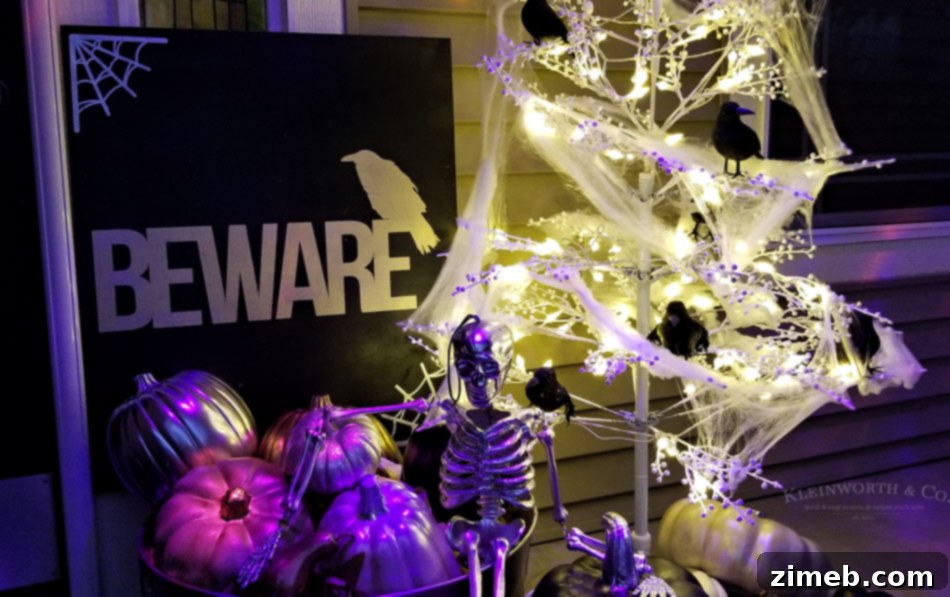
Craft a Spooktacular “Beware” Halloween Porch Sign with Cricut: Your Ultimate DIY Guide
As autumn leaves begin to fall and a crisp chill fills the air, there’s an undeniable buzz of excitement for Halloween. It’s a time for spooky delights, sweet treats, and, of course, transforming our homes into festive havens. When it comes to holiday decorating, nothing quite sets the mood like a welcoming (or perhaps, a warning!) porch display. This year, I embarked on a creative journey to craft a unique Black & Metallic Glam theme for my Halloween porch, and at the heart of it all is this incredible Beware Halloween Porch Sign. What once felt like a daunting task of freehand painting has now become an absolute joy, all thanks to the magic of my Cricut Cutting Machine. If you’re looking to add a personalized, professional touch to your Halloween decor without the hassle, this detailed tutorial is your perfect guide.
Gone are the days of uneven lines and wobbly letters. With Cricut, creating custom signs for any season has become incredibly simple and satisfying. The precision and versatility of this machine open up a world of possibilities for DIY enthusiasts, allowing even beginners to achieve stunning, professional-looking results. For this particular project, I dove into the extensive library of designs available within the Cricut Design Space platform, easily finding the perfect elements to complement my theme. Join me as I walk you through each step, from selecting your design to the final paint application, ensuring your porch sign is the envy of the neighborhood.
Unleash Your Creativity: Easy Cricut Projects for Halloween Decor
This post contains some affiliate links. Click here to read my full disclosure policy.
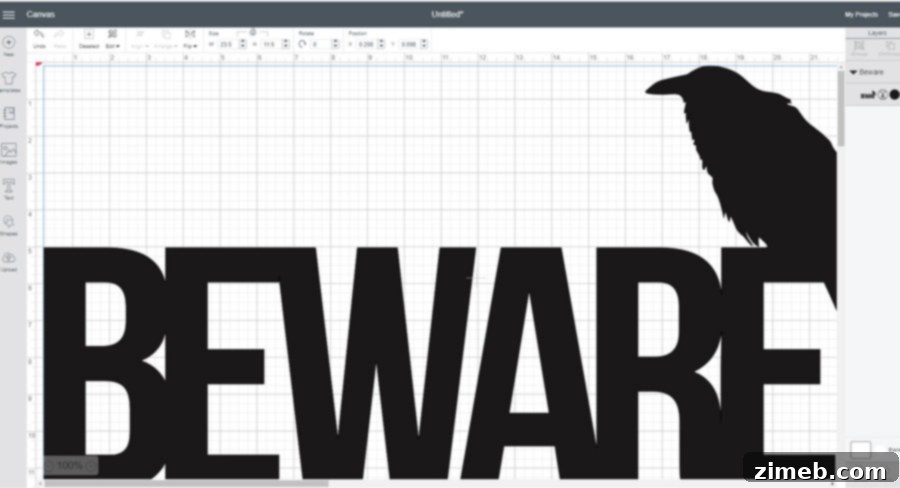
My design aesthetic often gravitates towards classic black and white, a timeless combination that truly shines during the spooky season. This year, I was particularly drawn to incorporating majestic ravens into my Halloween narrative, setting a sophisticated yet eerie tone. As I explored the vast array of cut files in Cricut Design Space, a particular design featuring a raven caught my eye – it was absolutely perfect for my vision. The beauty of Cricut is its ability to transform an idea into a tangible project with remarkable ease. Once selected, I simply inserted the design into my project canvas.
Sizing your design is a crucial step to ensure it fits your chosen surface. For this striking porch sign, I aimed for a bold, impactful statement, so I resized the raven and “Beware” text to perfectly fit a 12×24 cut mat. This allowed for a generously sized sign that would be visible and impressive from the street. While individual cut files are typically around $0.99, investing in the annual Cricut Access subscription for just $9.99 a month offers unlimited access to an incredible collection of designs, fonts, and projects – an invaluable resource for any crafting enthusiast. Once your image is perfectly scaled, the Cricut program seamlessly guides you through the next steps. It’s truly a beginner-friendly process: securely adhere your vinyl to the cutting mat, load the mat into your Cricut machine, select the material type you’re working with (in this case, stencil vinyl), and press “Go.” The machine then takes over, executing precise cuts with impressive speed and accuracy. It’s a marvel of modern crafting!
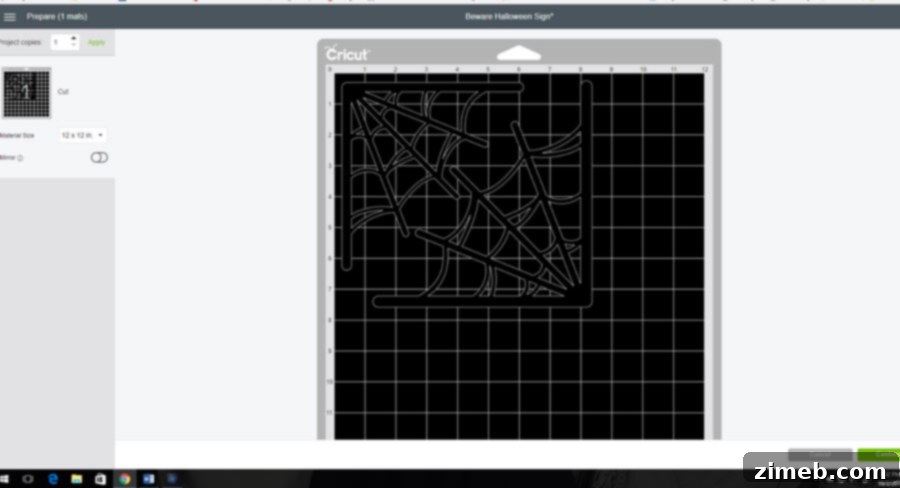
To enhance the eerie elegance of my Halloween porch sign, I decided to incorporate delicate spiderweb designs. The process was just as straightforward as with the main text and raven. I simply searched for suitable spiderweb cut files within Design Space, added them to my project, and adjusted their size to complement the overall composition. Knowing I wanted two spiderwebs to create a balanced look, I easily duplicated the design and repositioned them on the canvas. Here’s a pro-tip for efficiency: if you want to cut multiple designs from a single piece of vinyl without multiple passes, you can “weld” them together. To do this, hold down the Ctrl key (or Command on Mac) and click on each layer you wish to select. Then, at the bottom of the Design Space interface, click the “Weld” button. This smart function instructs the Cricut machine to treat the selected designs as one contiguous cut, maximizing your vinyl usage and minimizing waste – a win-win for any crafter!
Crafting Your Bewitching Porch Sign: Step-by-Step Guide
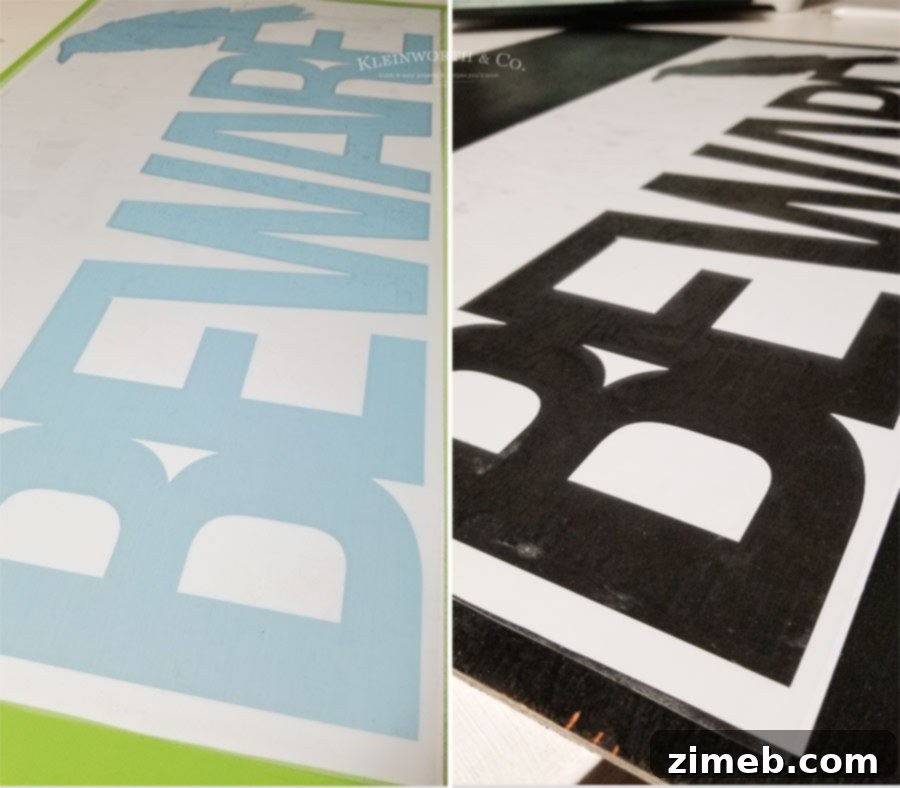
Once your Cricut machine has worked its magic and completed all the cuts, it’s time for the “weeding” process. This step involves carefully removing the excess vinyl that you don’t want as part of your final design. Since I was creating a stencil for painting, my goal was to keep the outer portion of the vinyl – essentially the negative space that forms the letters and shapes – and remove the actual letters themselves. This technique ensures that when you paint, the color adheres only to the designated areas, creating crisp, clean lines. After meticulously weeding, the next step is to apply transfer tape over your cut vinyl. Transfer tape is essential for lifting your intricate vinyl design from its backing paper and transferring it cleanly onto your project surface. Press the transfer tape firmly onto your vinyl stencil, then carefully peel it off the cutting mat, ensuring the vinyl adheres completely to the tape.
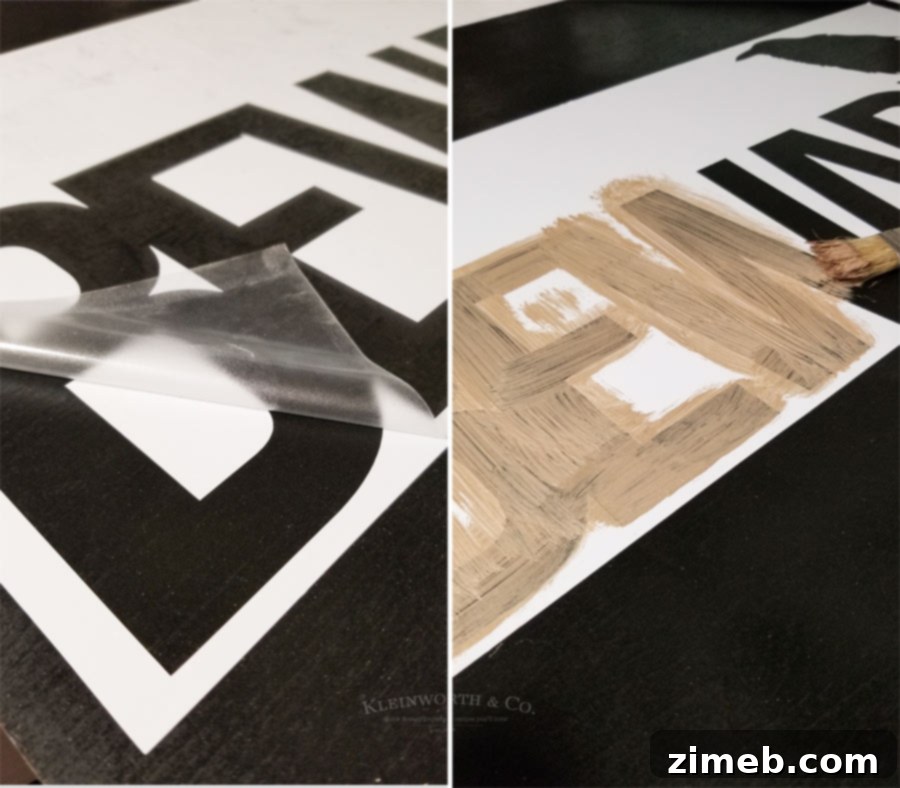
With your vinyl stencil now attached to the transfer tape, gently peel off the paper backing to expose the adhesive side of the vinyl. Carefully position your stencil exactly where you want it on your wooden board. For this particular project, my husband graciously painted a thin piece of plywood for me while tackling other spray-painting tasks, ensuring a smooth, ready-to-stencil surface. Once your stencil is perfectly aligned, press it down firmly onto the board, paying close attention to any intricate details, and use a scraper tool (or even a credit card) to burnish the vinyl, ensuring it adheres well and prevents paint bleed. Then, slowly and carefully remove the transfer tape, revealing your perfectly placed vinyl stencil. Now comes the exciting part: adding your paint! For a touch of glam that perfectly complements my Black & Metallic theme, I opted for gold paint. Using a paint brush, apply your chosen color, using a dabbing motion to minimize bleeding under the stencil. Allow the paint to dry for a little while – just enough to be tacky, not fully dry – before carefully peeling away the vinyl stencil. This timing helps achieve those super crisp lines that elevate your sign from homemade to professional.
I repeated this precise process for the spiderweb designs, ensuring each element was perfectly placed and painted. The entire project, from selecting designs in Design Space to the final reveal, took me approximately 90 minutes. It’s incredibly rewarding to create such a stunning piece of holiday decor with such ease and efficiency. This “Beware Halloween Porch Sign” isn’t just a decoration; it’s a testament to how simple and fun holiday crafting can be with the right tools. Its striking appearance instantly elevates any porch, creating a wonderfully spooky ambiance that delights both trick-or-treaters and passersby.
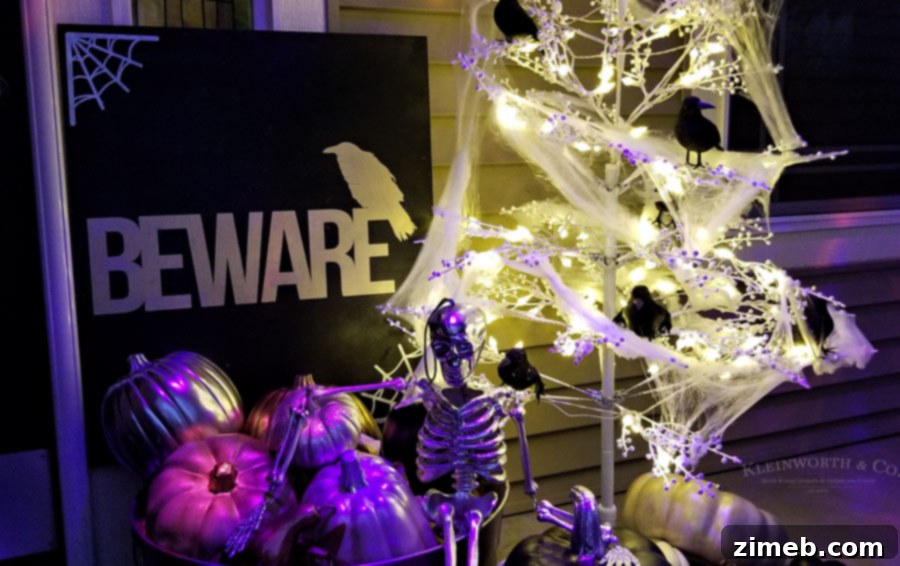
If you’re eager to infuse your porch with a super fun, custom touch for Halloween…
this DIY Beware Halloween Porch Sign is the perfect project to embark on!
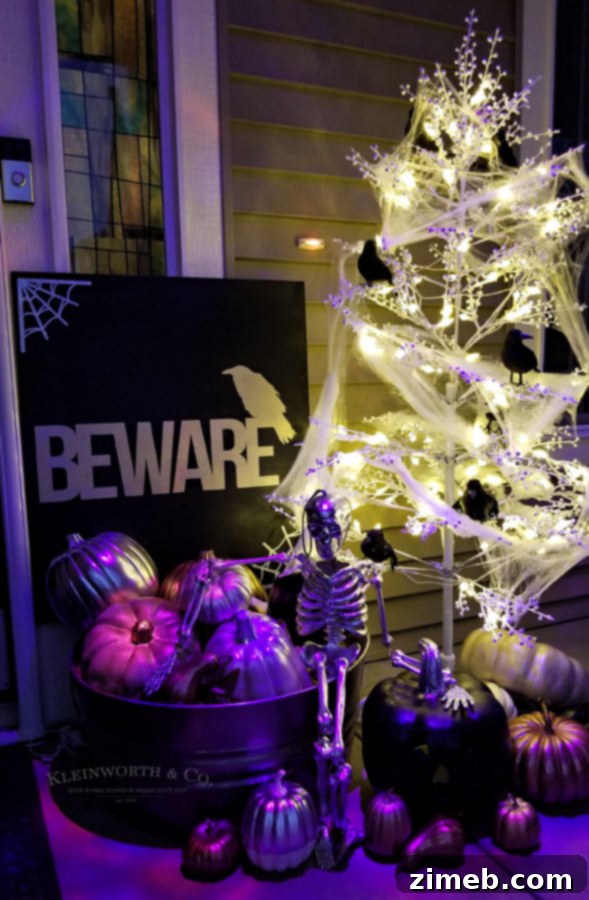
Don’t let these fantastic ideas slip away! Be sure to bookmark your favorite tutorials and recipes here, or pin them directly to your preferred Pinterest boards for easy access when inspiration strikes. This ensures you’ll always have these creative guides at your fingertips for future crafting adventures or festive celebrations. Crafting your own Halloween decor adds a personal touch that store-bought items simply can’t replicate, making your home truly unique and memorable for the holiday season.
For this enchanting “Beware” Halloween Porch Sign project, you will need the following essential materials:
Cricut Explore Air 2: The heart of this project, offering precise cutting for intricate designs.
Vinyl for Stencils: Specifically designed for temporary adhesion, crucial for creating crisp paint lines.
Transfer Tape: An indispensable tool for cleanly lifting and applying your vinyl stencil to your project surface.
Gold Paint: Choose a metallic gold for a sophisticated, glamorous touch that pops against a dark background.
Paint Brush: A foam or stencil brush works best for dabbing paint and preventing bleed under the stencil.
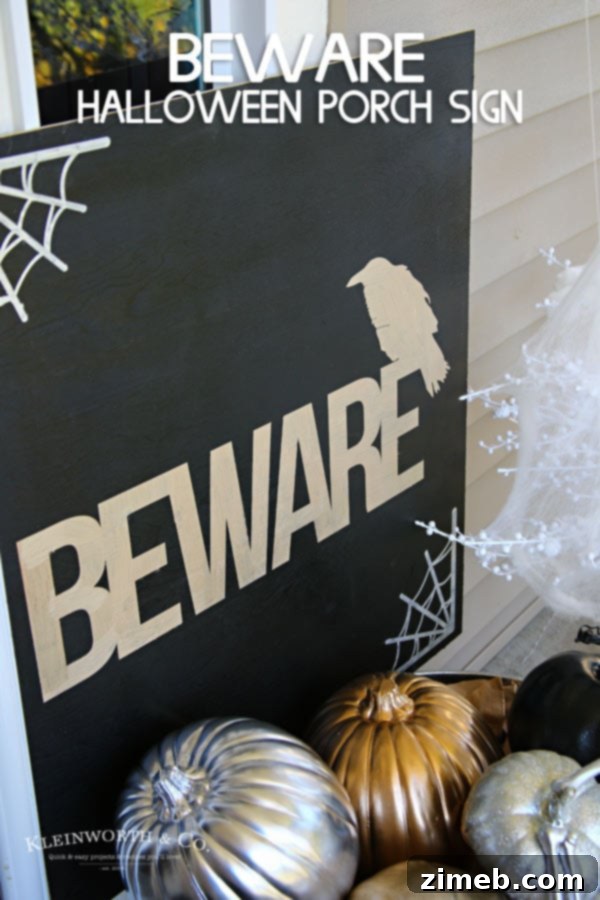
Uncover More Frightfully Fun Halloween Ideas!
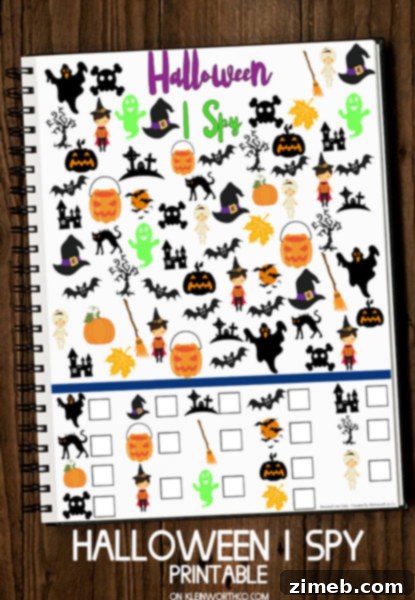
Free Halloween I Spy Printable: Keep the kids entertained with this engaging and spooky I Spy game, perfect for a quiet Halloween afternoon.

Creepy Halloween Spider Cupcakes: Bake up some deliciously spooky treats that are sure to be a hit at any Halloween party, featuring adorable (and edible!) spiders.
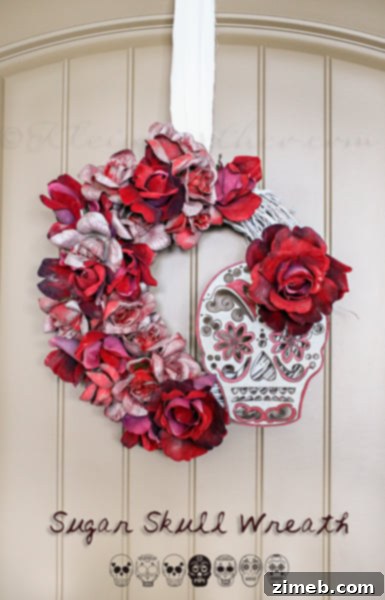
Sugar Skull Wreath: Add a vibrant and cultural touch to your decor with this beautiful Sugar Skull inspired wreath, a celebration of Dia de los Muertos.
Dive deeper into the world of Halloween inspiration with these fantastic ideas from fellow bloggers:
40 of the BEST Homemade Halloween Decorations | Kitchen Fun with My 3 Sons: An extensive collection of creative and easy-to-make decorations to transform your home.
Floating Wicked Witch Hat Luminaries | Polka Dot Chair: Create a magical and whimsical outdoor display with these enchanting floating witch hats.