
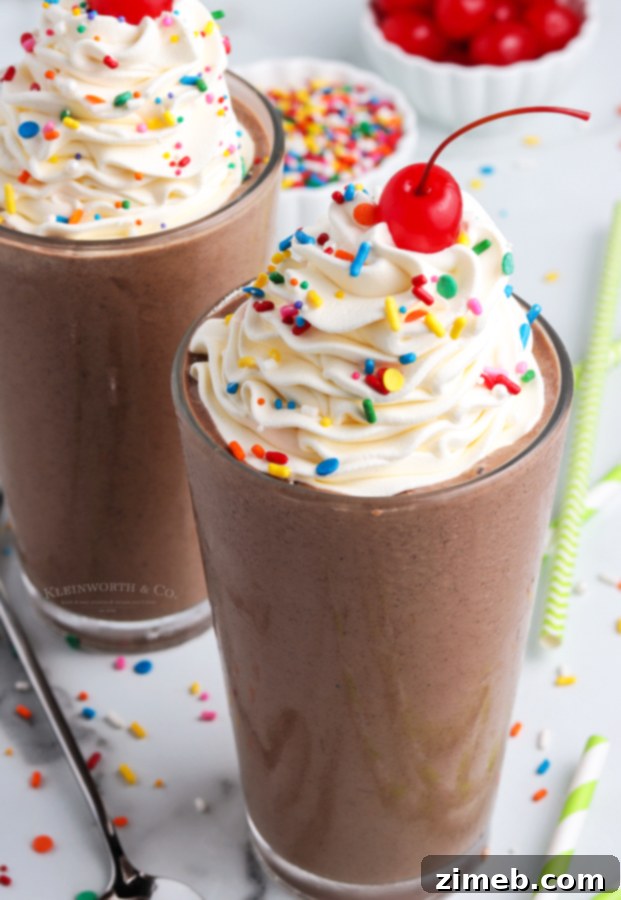
Welcome to the ultimate guide on crafting the perfect Chocolate Milkshake right in your own kitchen! This easy-to-follow recipe unlocks the secrets to creating not just a classic chocolate shake, but also empowers you to explore a universe of milkshake flavors. With simple ingredients and your favorite ice cream, you’re just minutes away from a delightful, creamy treat that’s ideal for any occasion, any time of year. Whether you’re celebrating a special moment or simply craving a refreshing indulgence, a homemade milkshake always hits the spot.
Do you frequently find yourself dreaming of the rich, invigorating taste of a cold, decadent Chocolate Milkshake? For many, it’s a staple sweet treat, often ordered during dining experiences out. But what if we told you that mastering the art of making a truly exceptional milkshake at home is not only achievable but surprisingly simple? Forget the long lines and the restaurant price tags – your blender and a few key ingredients are all you need to whip up a gourmet-quality shake.
The process is far less complicated than most people imagine. You won’t need a lengthy list of exotic ingredients to prepare this delightful beverage. In fact, this recipe is designed for ease and accessibility. What’s more, the beauty of a homemade milkshake lies in its infinite customization possibilities. From experimenting with a spectrum of ice cream flavors to incorporating exciting add-ins, you can tailor every shake to your precise preferences, elevating a simple dessert into an extraordinary culinary creation.
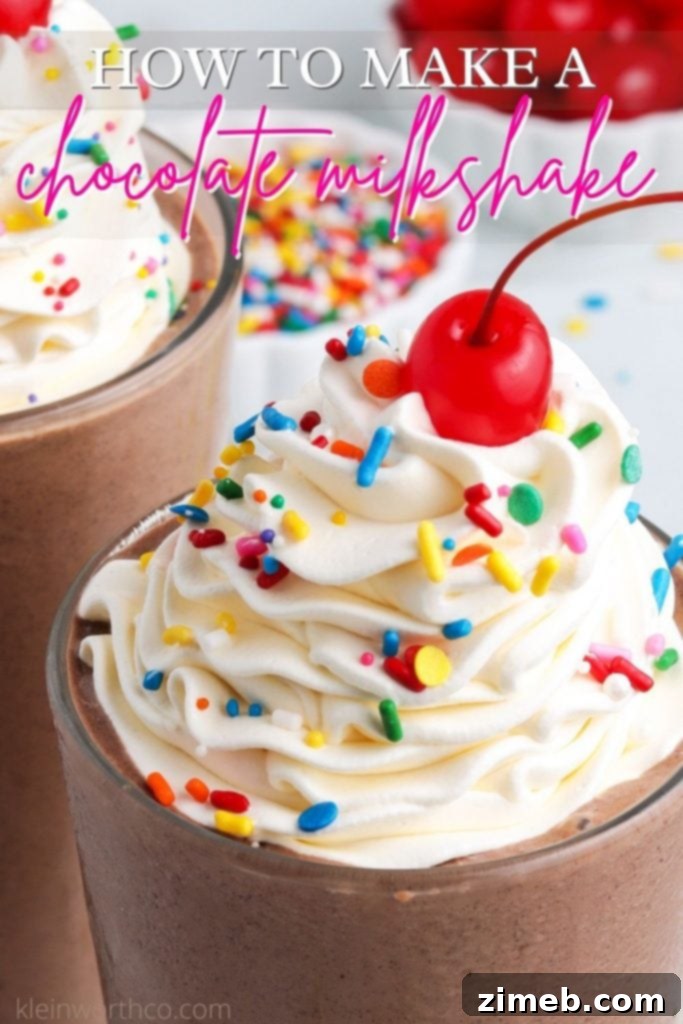
For many of us, growing up, enjoying a milkshake was a truly special occasion. It wasn’t just a drink; it was a symbol of celebration, a reward for an achievement, or a highlight of a family outing. These cherished memories naturally imbue this classic treat with a sense of excitement and nostalgia. It’s this deep-rooted association with something extraordinary that makes the simplicity of creating such a delicious dessert at home even more appealing. Now, those “special event” feelings can be easily recreated and enjoyed whenever the craving strikes, making every sip a trip down memory lane and a celebration in itself.
Crafting the Perfect Chocolate Milkshake at Home
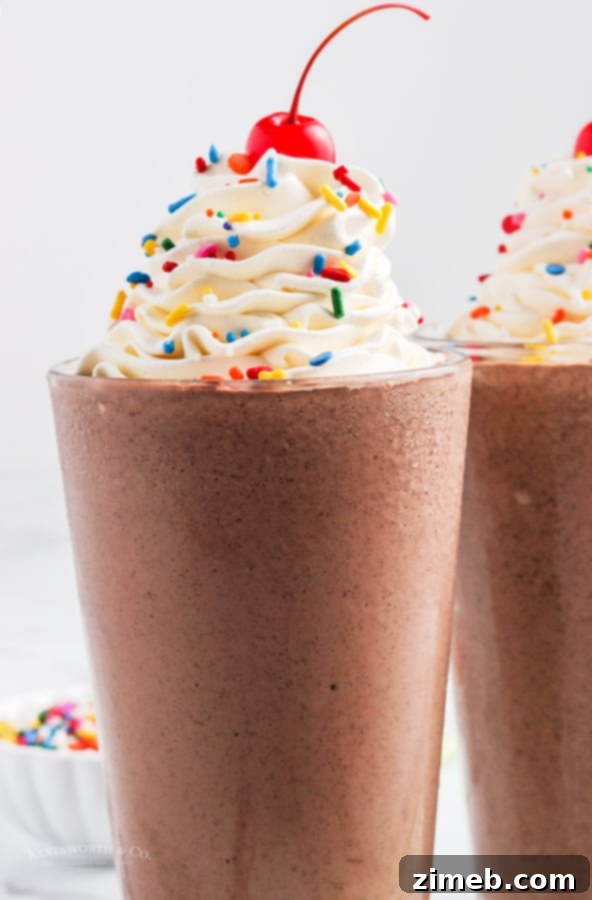
Making a homemade chocolate milkshake is an incredibly rewarding experience. It’s a classic American indulgence that transcends seasons, bringing joy whether you’re cooling down on a hot summer day or seeking comfort on a chilly evening. The combination of cold ice cream, rich chocolate syrup, and creamy milk creates a symphony of flavors and textures that is truly unmatched. This section will delve into the essence of what makes a great chocolate milkshake and how you can achieve that perfect balance of sweetness and richness.
Frequently Asked Questions About Homemade Milkshakes
Before you dive into blending your masterpiece, let’s address some common questions that arise when making milkshakes. Understanding these aspects will help you customize your drink to perfection and avoid any common pitfalls.
Do I have to use chocolate ice cream for a chocolate milkshake?
While chocolate ice cream is the traditional choice for a classic chocolate milkshake, it’s absolutely not a strict requirement. The beauty of homemade milkshakes is the freedom to customize. If you’re not a fan of chocolate ice cream, or simply want to try something different, feel free to substitute it with your favorite flavor. Vanilla ice cream provides a fantastic neutral base that allows the chocolate syrup to shine through, creating a rich chocolate flavor without the double dose of chocolate from the ice cream. Strawberry, coffee, or even mint chip ice cream can lead to exciting and delicious flavor combinations when paired with chocolate syrup. Don’t hesitate to experiment with basic flavors or more adventurous options containing additional mix-ins like cookie dough or brownie pieces. The ultimate goal is to create a milkshake that you genuinely enjoy drinking, so let your taste buds be your guide!
Milkshake Variations & Expert Tips for Optimal Creaminess
Unleash your inner milkshake artist with these creative variations and essential tips to perfect your blend:
- **Vanilla Chocolate Twist:** For a slightly milder chocolate flavor that still packs a punch, try this recipe with creamy vanilla ice cream as your base.
- **Double Chocolate Indulgence:** Elevate the chocolate factor! For an ultra-rich experience, double the amount of chocolate syrup or incorporate a scoop of a rich double chocolate mixture.
- **Textural Delights:** Add an exciting crunch or melt-in-your-mouth surprise with milk chocolate chips, mini chocolate chips, or delicate chocolate shavings blended in or sprinkled on top.
- **Achieving Extra Thickness:** For an exceptionally thick milkshake, add about half a cup of ice cubes to the blender with your other ingredients. This not only chills the shake further but also adds body.
- **Consistency Control:** To make your milkshake thicker, simply use less milk. For a thinner, more sippable consistency, gradually add more milk until you reach your desired texture.
- **The Perfect Serve:** If your milkshake is extra thick and loaded with delicious add-ins, consider serving it with a wide straw or even a spoon to fully enjoy every decadent bite.
- **Creaminess is Key:** For the ultimate creamy milkshake, always opt for full-fat ice cream. Its higher fat content contributes significantly to a smoother, richer, and more luxurious texture.
- **Malted Magic:** Introduce a nostalgic, classic diner flavor by adding a scoop of malt milk powder. It adds a distinctive, delicious nuance that true milkshake aficionados adore.
- **Nutty Enhancements:** For a delightful contrast in texture and flavor, consider adding a tablespoon of peanut butter or a handful of chopped nuts like almonds or pecans.
- **Fruity Fusion:** While this is a chocolate milkshake, a small amount of complementary fruit, like a ripe banana or a few raspberries, can add a new dimension of flavor.
How long does it take to make a homemade milkshake?
One of the most appealing aspects of making a milkshake at home is its incredible speed and simplicity. The entire process is refreshingly quick and stress-free, typically requiring no more than five minutes from start to finish. You’ll spend approximately one minute gathering your essential ingredients and adding them to your blender. The blending itself takes just an additional three to four minutes, ensuring all components are perfectly combined into a smooth, creamy consistency. Once blended, it’s crucial to serve your milkshake immediately to fully savor its fresh, cold, and optimal texture. This rapid preparation time makes homemade milkshakes an ideal choice for a spontaneous craving or a quick dessert.
The Ultimate Chocolate Shake: Richness in Every Sip
A truly great chocolate shake offers a harmonious blend of sweetness and a deep cocoa flavor, creating a luxurious drink that satisfies the most intense sweet cravings. The choice of chocolate syrup plays a significant role here; a high-quality syrup will provide a richer, more authentic chocolate taste. When combined with the creamy texture of melted ice cream and milk, it transforms into a silky-smooth delight. This section celebrates the pure joy of a well-made chocolate shake, emphasizing its role as a perfect standalone treat or a delightful accompaniment to your favorite snack.
What toppings taste best with a chocolate milkshake?
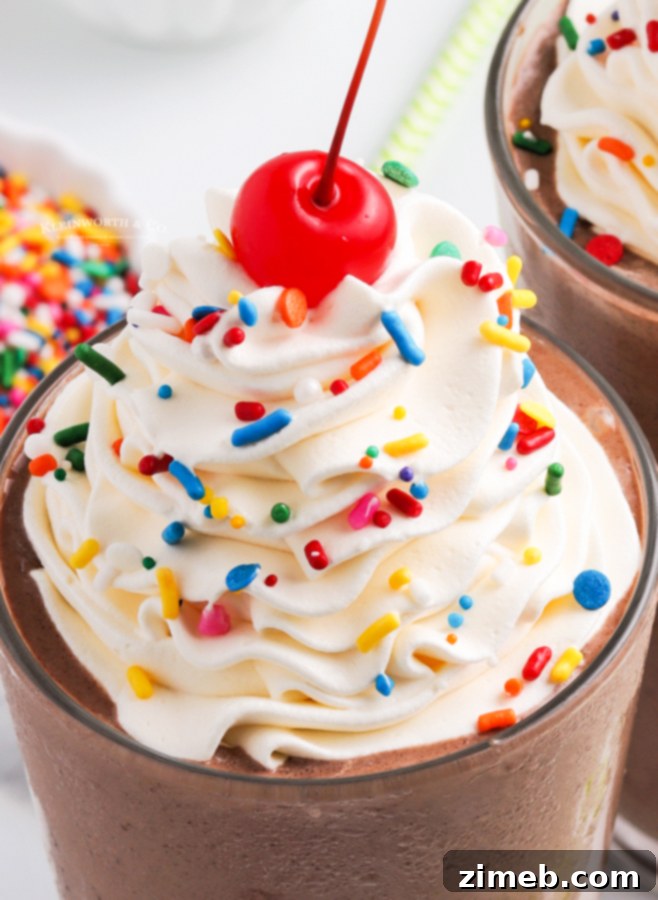
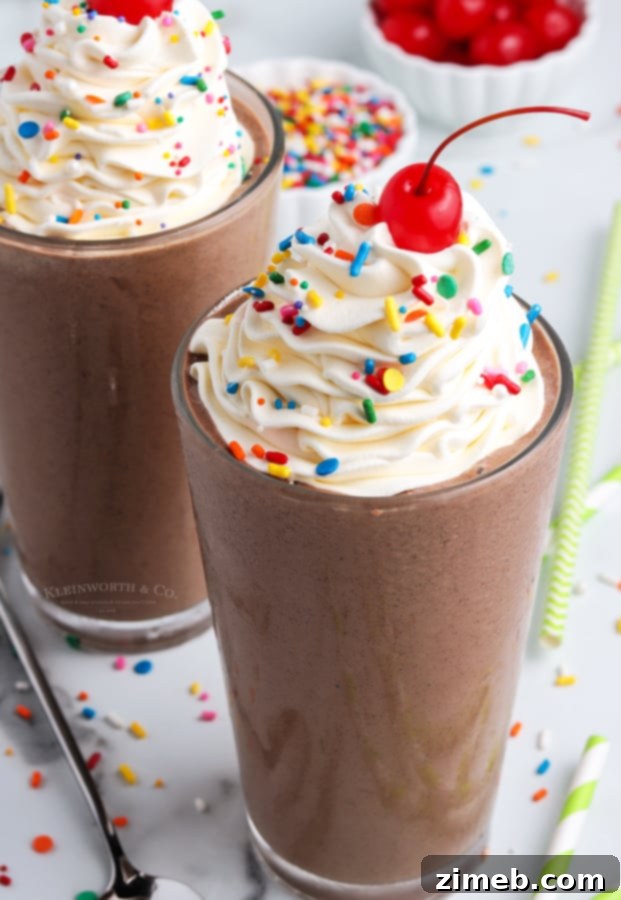
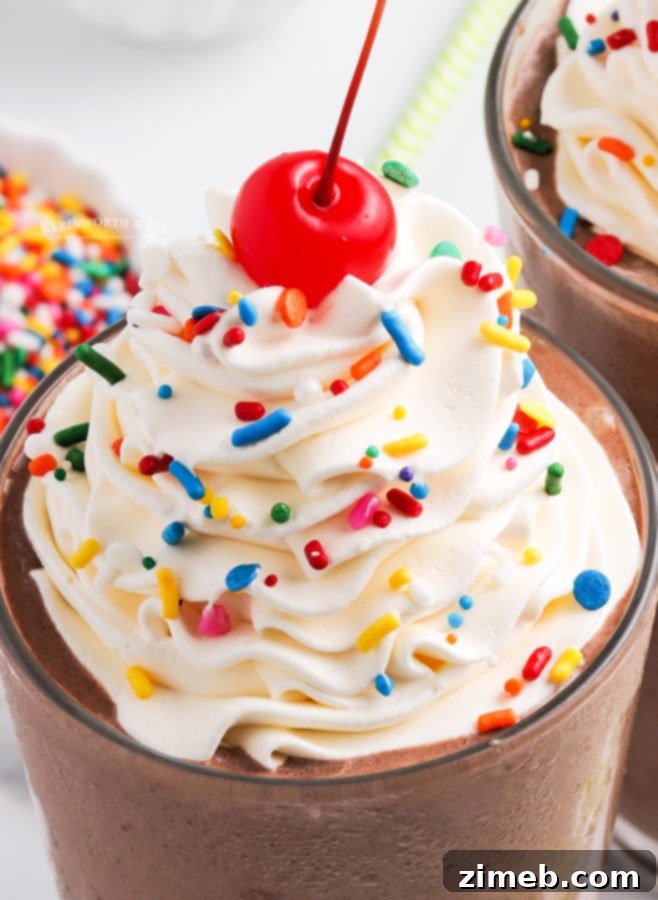
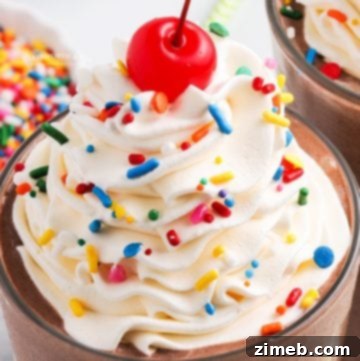
The right toppings can transform a delicious milkshake into an unforgettable culinary experience, adding both visual appeal and an extra layer of flavor and texture. Whipped cream is arguably the most iconic and beloved topping for any milkshake. Its light, airy, and creamy texture perfectly complements the richness of the shake beneath. You can choose from various whipped toppings, whether homemade or store-bought like Reddi-Wip or Cool Whip. Many brands now offer exciting flavored whipped toppings, such as chocolate or birthday cake, allowing you to match or contrast flavors beautifully. Beyond whipped cream, sprinkles are a classic addition, offering a delightful pop of color and a subtle crunch. For those seeking more adventurous toppings, consider adding chocolate bar crumbles for intense cocoa bits, crushed cereal for an unexpected texture, or crushed cookies (like Oreos or chocolate chip) for a comforting, familiar flavor. A maraschino cherry on top adds a final flourish, completing the picture of a classic dessert.
Can I add extra ingredients directly to the blender with the ice cream and milk?
Absolutely! Adding extra ingredients directly to the blender is one of the easiest ways to customize your milkshake and infuse it with unique flavors and textures. Once you’ve added your ice cream and milk, the blender becomes your canvas for culinary creativity. Many people love to toss in pieces of their favorite chocolate bars, colorful M&M candies, crushed Oreo cookies for a cookies-and-cream twist, or even chopped peanuts for a salty, nutty crunch. The possibilities are truly endless – think about your favorite dessert pairings. Do you love caramel? Add a swirl of caramel sauce. Crave a hint of coffee? A teaspoon of instant coffee powder can work wonders. The key is to choose ingredients that you know will complement your chosen ice cream flavor. Just remember to blend thoroughly to achieve your desired consistency, ensuring all the delightful add-ins are perfectly incorporated.
Indulgent Chocolate Milkshake Recipes and Inspirations
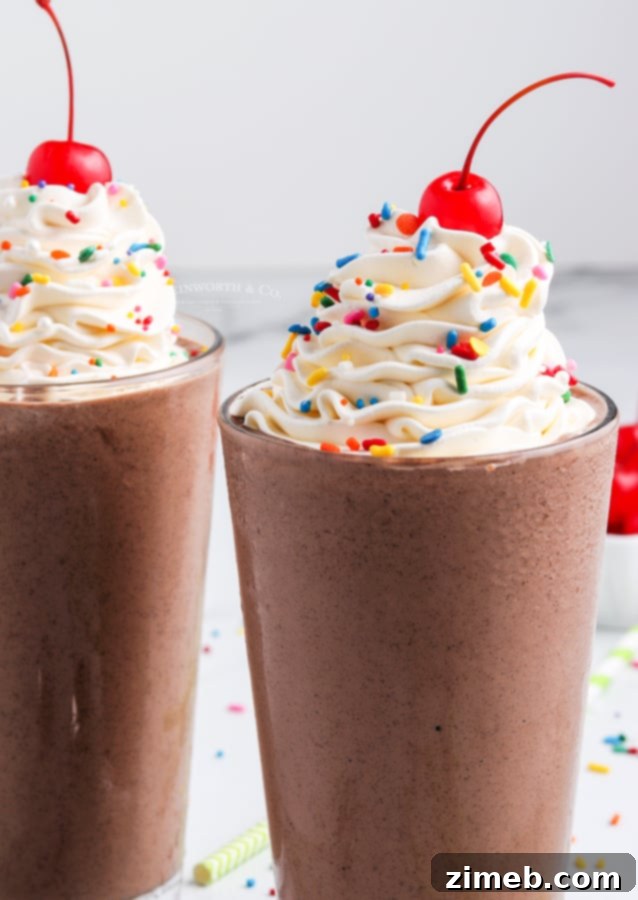
This section is dedicated to inspiring you to go beyond the basic chocolate milkshake. While the classic recipe is a masterpiece in itself, exploring variations can open up a world of new favorites. Consider creating a mint chocolate chip milkshake by adding a few drops of peppermint extract or using mint chocolate chip ice cream. For a richer, more intense chocolate experience, incorporate a spoonful of cocoa powder along with your chocolate syrup. Peanut butter chocolate milkshakes are another popular choice, offering a delightful salty-sweet combination. Don’t be afraid to experiment with different types of chocolate syrup—dark chocolate, milk chocolate, or even white chocolate—to find your preferred flavor profile. Each adjustment allows you to fine-tune your homemade creation, ensuring every shake is a personalized delight.
Is there a way to make dairy-free milkshakes?
Absolutely! For those with dairy allergies, lactose intolerance, or who simply prefer a plant-based diet, making delicious dairy-free milkshakes is entirely possible and remarkably simple. The key is to substitute traditional dairy products with their plant-based counterparts, which are now widely available in most grocery stores.
Instead of conventional ice cream, you’ll need to opt for dairy-free ice cream. The market offers a fantastic selection of dairy-free ice creams made from almond milk, coconut milk, oat milk, or cashew milk, available in a multitude of flavors, including rich chocolate, classic vanilla, and many others. Choose a flavor that will complement your milkshake perfectly.
In addition to dairy-free ice cream, you’ll also need an alternative to traditional cow’s milk. Popular choices include coconut milk, oat milk, or almond milk. Each offers a slightly different flavor and consistency. Coconut milk tends to be creamier and thicker, contributing to a rich texture. Oat milk is also known for its creamy consistency, making it an excellent choice for milkshakes. Almond milk, while a good option, is generally thinner. If using almond milk, you might need to use a bit more dairy-free ice cream or a few ice cubes to achieve a desirably thick and creamy milkshake texture from scratch. Experiment with different combinations to find your favorite dairy-free shake!
Mastering the Chocolate Ice Cream Milkshake
Creating a truly magnificent chocolate ice cream milkshake starts with understanding the interplay of its core components. The quality of your chocolate ice cream will significantly influence the final taste, so opt for a brand you love. The chocolate syrup reinforces that deep cocoa flavor, while the milk helps to emulsify everything into a smooth, drinkable consistency. This section aims to solidify your understanding of these elements, ensuring that every homemade chocolate milkshake you prepare is a delightful testament to your culinary prowess.
How to Make a Chocolate Milkshake: Step-by-Step Instructions
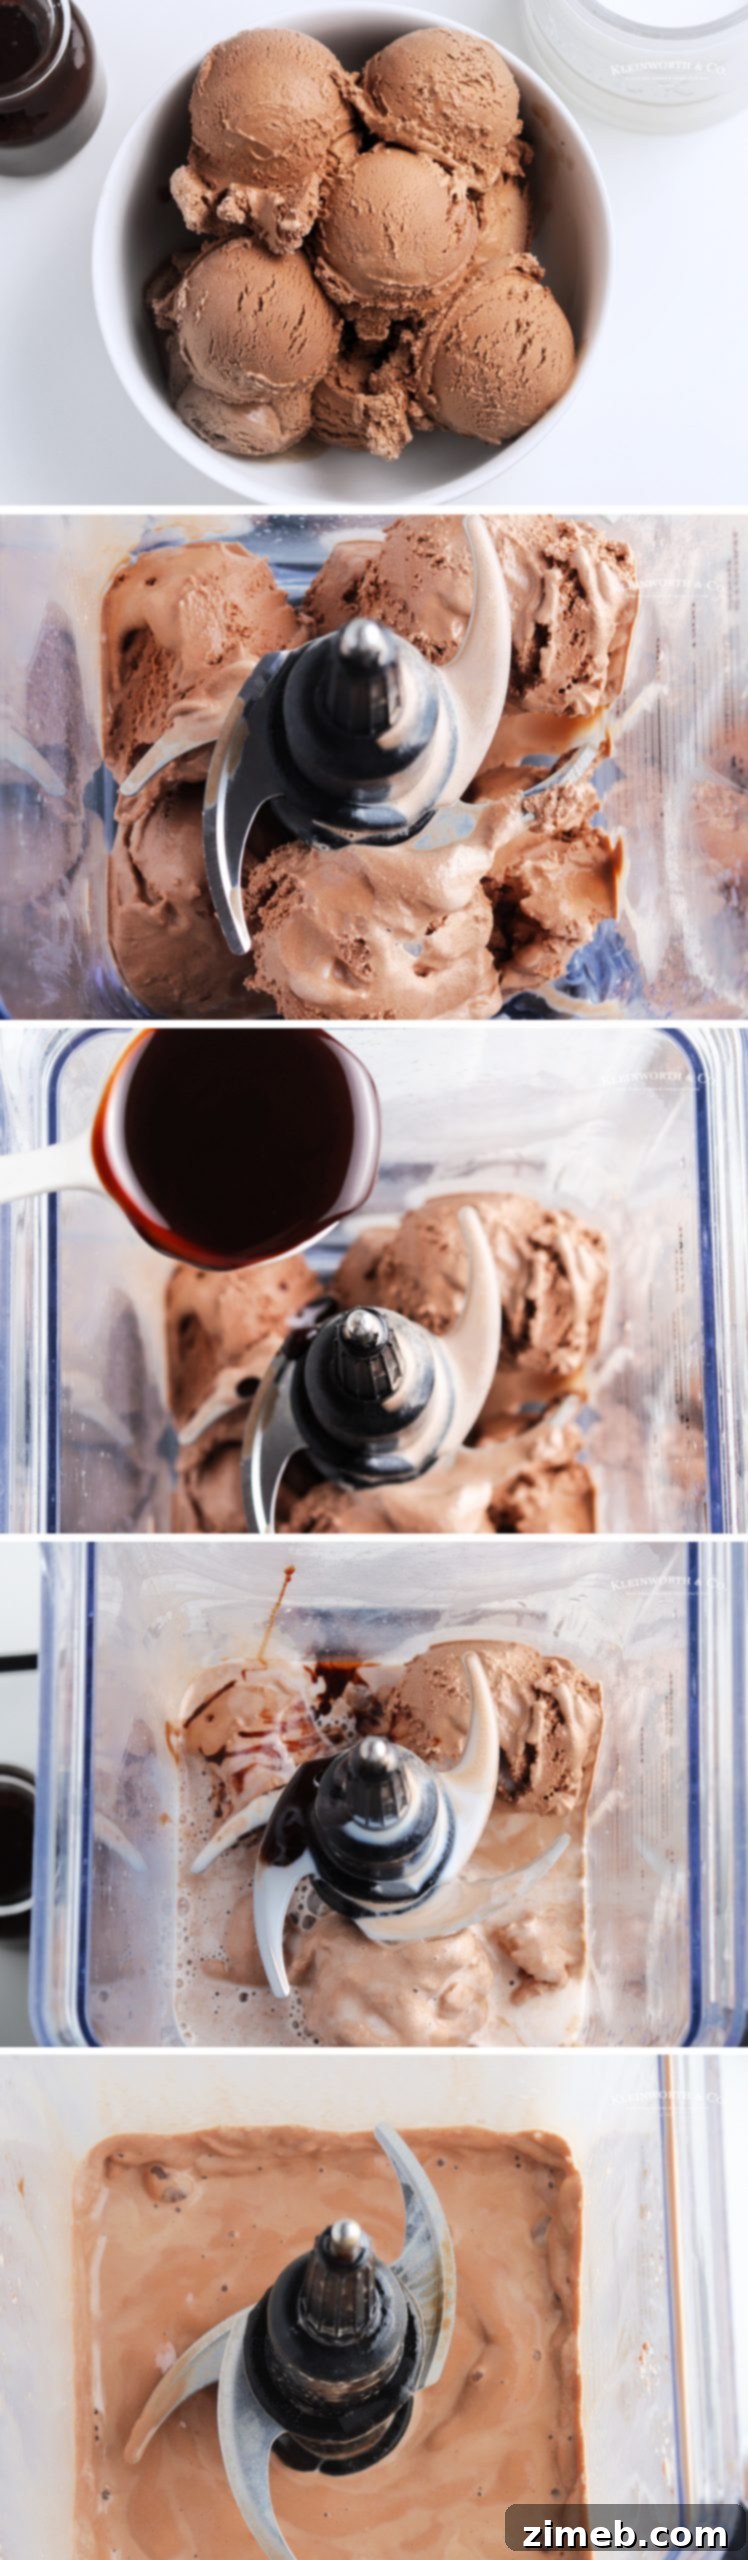
Making a chocolate milkshake is quick and easy. Follow these simple steps for a perfect, creamy blend every time:
- **Combine Ingredients:** Begin by scooping your favorite chocolate ice cream (or chosen alternative) into a sturdy blender.
- **Add Liquids:** Pour in the chocolate syrup and the whole milk (or dairy-free milk alternative).
- **Blend to Perfection:** Secure the blender lid and blend on medium-high speed until all ingredients are thoroughly combined and the mixture is smooth and creamy. Scrape down the sides if necessary to ensure even blending.
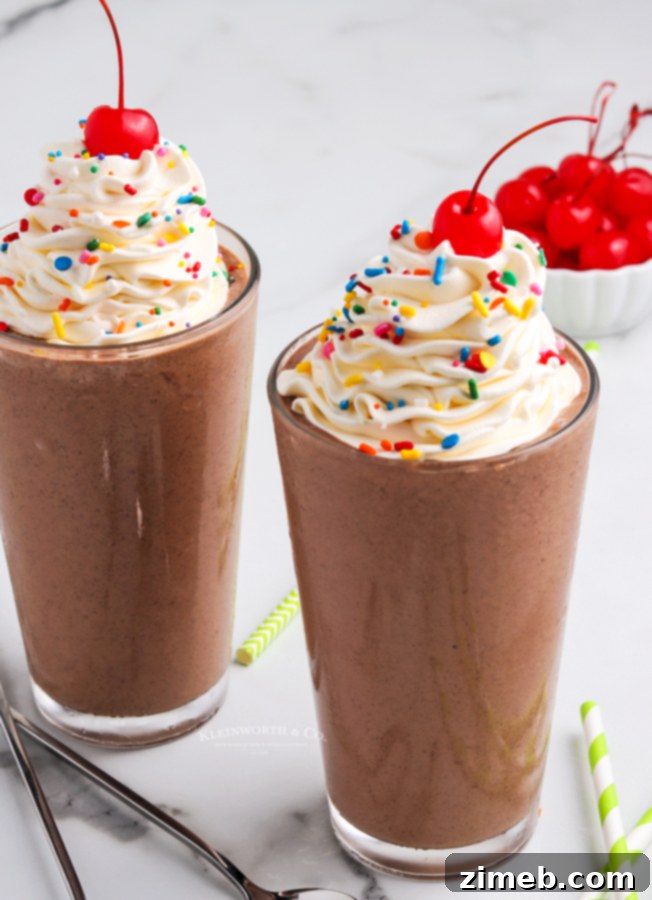
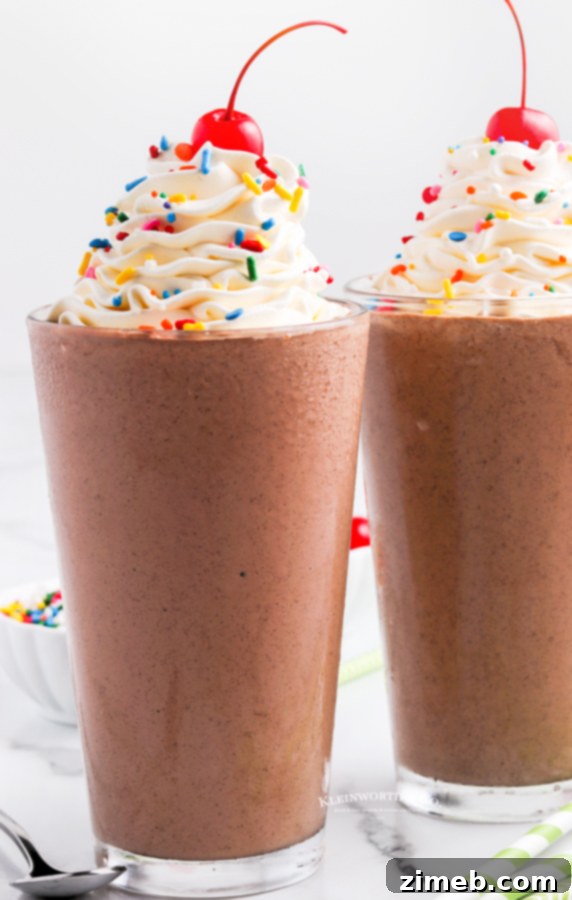
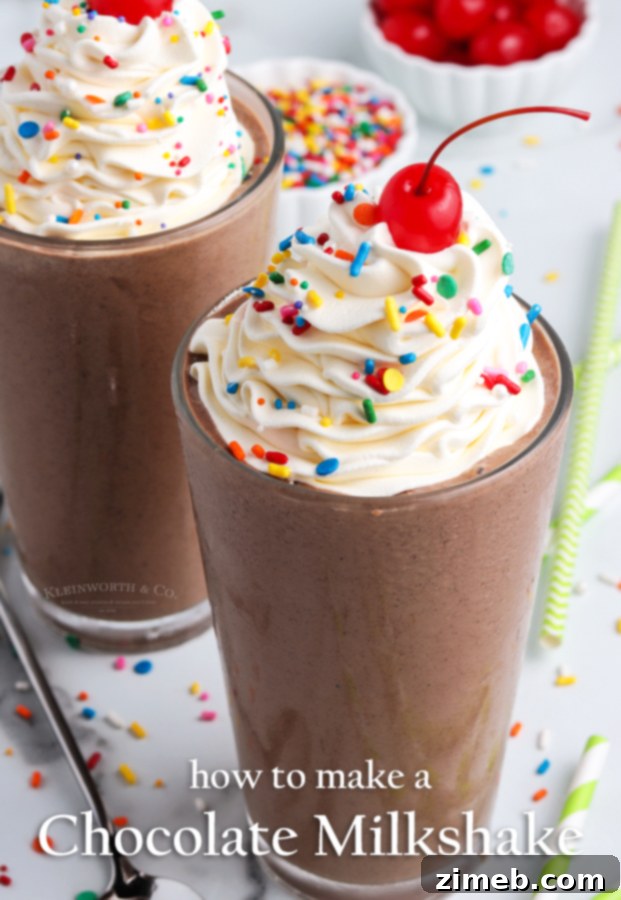
- **Serve Immediately:** Pour the freshly blended milkshake into a tall serving glass. Garnish generously with whipped cream, a sprinkle of your favorite toppings, and a vibrant maraschino cherry for that classic touch, if desired. Enjoy without delay!
Essential Ingredients for Your Chocolate Milkshake
Creating a truly delicious Chocolate Shake requires only a handful of fundamental ingredients. The quality of these components directly impacts the final taste and texture of your homemade treat. Here’s what you’ll need to have on hand:
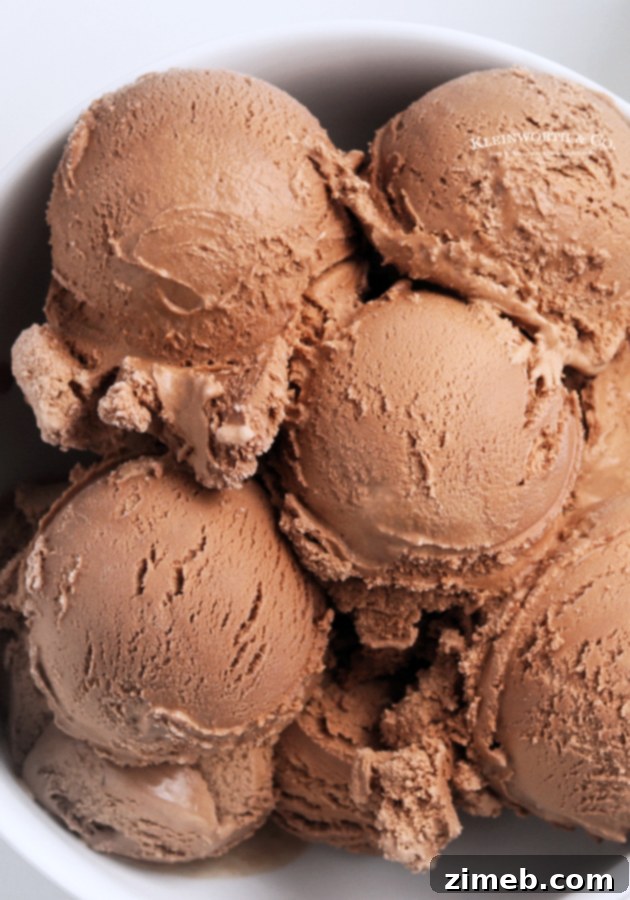
- Ice Cream: This is the foundation of your milkshake. While chocolate ice cream provides a rich, classic flavor, don’t limit yourself! Feel free to use any ice cream type you prefer, such as smooth vanilla for a more subtle chocolate flavor, sweet strawberry for a chocolate-berry blend, or even playful chocolate chip cookie dough for added texture. Any reputable brand of ice cream will work beautifully.
- Whole Milk: To achieve that signature creamy consistency, you’ll combine approximately ½ cup of whole milk with your chosen ice cream. Whole milk’s higher fat content contributes significantly to the milkshake’s rich and smooth texture. For a lighter shake, lower-fat milk can be used, but may result in a slightly thinner consistency.
- Chocolate Syrup: This ingredient is essential for enhancing and defining the chocolate flavor of your shake. While the brand can vary, a good quality chocolate syrup, like Hershey’s Chocolate Syrup, is an excellent and widely available choice. You can adjust the amount to suit your desired level of chocolate intensity.
These three items form the core of your milkshake. Beyond these, it’s highly recommended to have a selection of toppings available to elevate your drink into a gourmet experience. Consider classic additions like whipped cream, colorful sprinkles, and bright maraschino cherries to truly complete your homemade milkshake.
Recommended Toppings for Serving
- Whip cream (freshly made or from a can)
- Sprinkles (rainbow or chocolate)
- Maraschino cherries (with or without stems)
Can I freeze homemade milkshakes for later enjoyment?
While the idea of freezing milkshakes for later might seem convenient, it’s generally best to prepare and enjoy your milkshakes fresh and immediately after blending. Milkshakes are designed to be a cold, thick, yet still pourable and sippable treat. When you freeze a milkshake, the ingredients can separate, and the texture changes significantly. It often solidifies into a much harder, icier consistency, making it very difficult to drink through a straw. While you could technically re-blend it after thawing slightly, it may not fully regain its original creamy texture. For the best experience, prioritize making and serving your shakes right away.
How many servings does this recipe yield?
This recipe is perfectly portioned to create two satisfying milkshakes. It’s ideal for sharing with a friend or for enjoying a generous individual serving. If you’re hosting a larger gathering or simply need more delicious shakes, you can easily double or even triple the recipe. Just ensure your blender has sufficient capacity to accommodate the increased volume of ingredients.
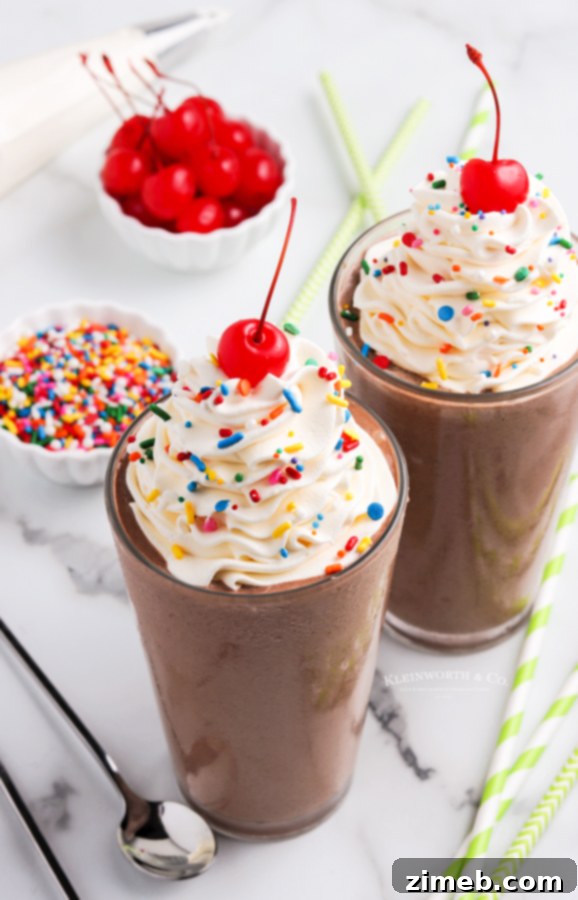
Essential Tools for Making Your Decadent Chocolate Milkshake
This homemade milkshake recipe is incredibly simple and delicious, making it perfect for any time of year. If you’re new to making milkshakes or just want to ensure you have the right equipment for the best results, here’s a list of essential items that will make the process even smoother and more enjoyable:
- Blender: A powerful blender is key to achieving a perfectly smooth and creamy milkshake texture.
- Ice Cream Scoop: A sturdy scoop makes portioning out your ice cream much easier and more efficient.
- Sprinkles: Essential for adding that fun, festive touch and a bit of crunch.
- Maraschino Cherries: The classic crowning jewel for any milkshake, adding a pop of color and a sweet taste.
- Ice Cream Serving Glasses: Tall, sturdy glasses not only look appealing but also enhance the overall milkshake drinking experience.
If you loved this Easy Chocolate Milkshake recipe, you’re sure to enjoy these other classic sweet treats too. Click each link below to discover more easy and printable recipes!
Lemon Lush Dessert
Check out this recipe
S’mores Cookie Sandwiches
Check out this recipe
Jello Jigglers Recipe
Check out this recipe
Frozen Bananas
Check out this recipe
Cookie Ice Cream Sandwiches
Check out this recipe
Banana Split Cake
Check out this recipe
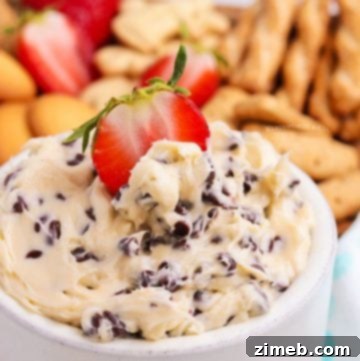
Cookie Dough Dip
Check out this recipe
If you cherish this recipe for Homemade Chocolate Milkshake as much as we do, please take a moment to leave a five-star review below. Your feedback helps us share these delightful recipes with more home cooks, so be sure to spread the word on Facebook and Pinterest!
CONNECT WITH YUMMI HAUS!
Be sure to follow me on my social media, so you never miss a post!
Substack, FB, Pinterest, IG, Email Subscription
Rate this Recipe
How to Make a Chocolate Milkshake
Ingredients
- 2 cups chocolate ice cream or your favorite flavor
- ½ cup whole milk
- 1 tbsp chocolate syrup
Serving
- Whip cream
- Sprinkles
- Maraschino cherries
Instructions
-
Add the ice cream to the blender.
-
Pour in the chocolate syrup and the milk.
-
Blend until well combined.
-
Serve immediately by pouring into a serving glass and topping with whip cream, sprinkles and a cherry if desired.
Nutritional information for the recipe is provided as a courtesy and is approximate. Please double-check with your own dietary calculator for the best accuracy. We at Yummi Haus cannot guarantee the accuracy of the nutritional information given for any recipe on this site.