
Easy Oreo Cake Mix Donuts: Your Ultimate Guide to Fluffy, Delicious Homemade Treats
There’s something undeniably comforting about starting the weekend with a fresh donut and a cup of coffee. That simple pleasure often feels out of reach for many of us, turning into a rare indulgence. While I cherish those moments, the reality is, getting to a donut shop early enough to snag the best treats can be a challenge. My local spot, for instance, is notorious for selling out quickly, meaning I’d have to convince my spouse to wake up at an ungodly hour just for a sugary delight – a tough sell!
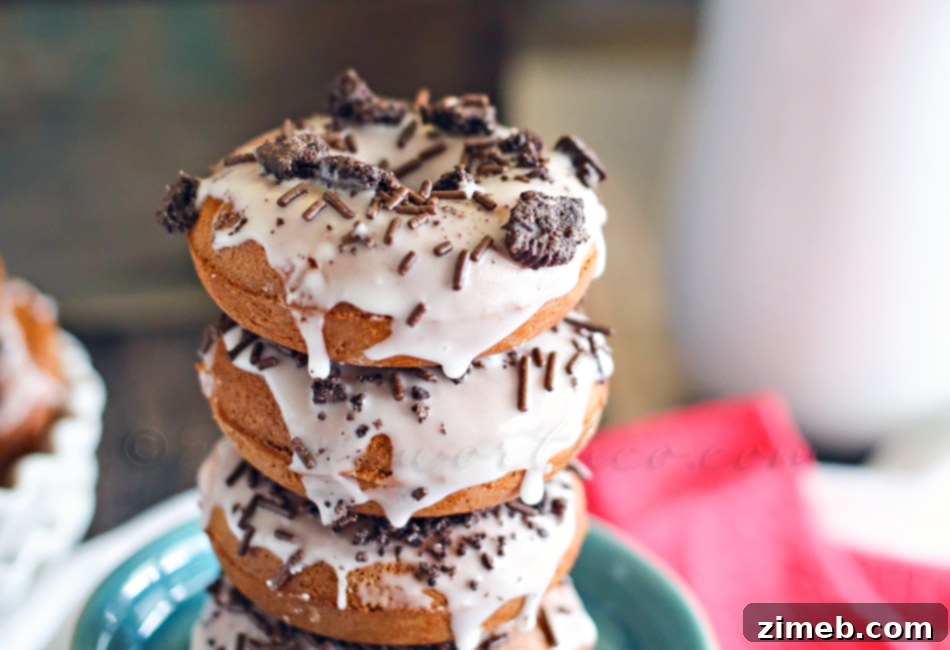
When I do manage to beat the rush, my go-to choice is always the delectable Oreo-topped chocolate donuts. The rich chocolate base, the creamy glaze, and the irresistible crunch of crumbled Oreos are simply a match made in heaven. Realizing that relying on a timely donut run wasn’t a sustainable habit, I decided to take matters into my own hands. My mission: to create my very own Oreo Cake Mix Donuts at home. And let me tell you, the results were beyond expectation – they were absolutely phenomenal!
This post contains some affiliate links. Click here to read my full disclosure policy.
The journey to these delightful homemade donuts began a couple of years ago when I stumbled upon a Mini Donut Maker on sale at Target for around $20. At the time, I questioned if it would be a worthwhile investment or just another kitchen gadget destined for the back of the cupboard. Little did I know, this compact device would become one of my most cherished kitchen tools, opening up a world of easy, homemade donut possibilities. It truly transformed my weekend cravings into a simple, enjoyable baking experience.
The Magic of Cake Mix Donuts: Effortless Indulgence
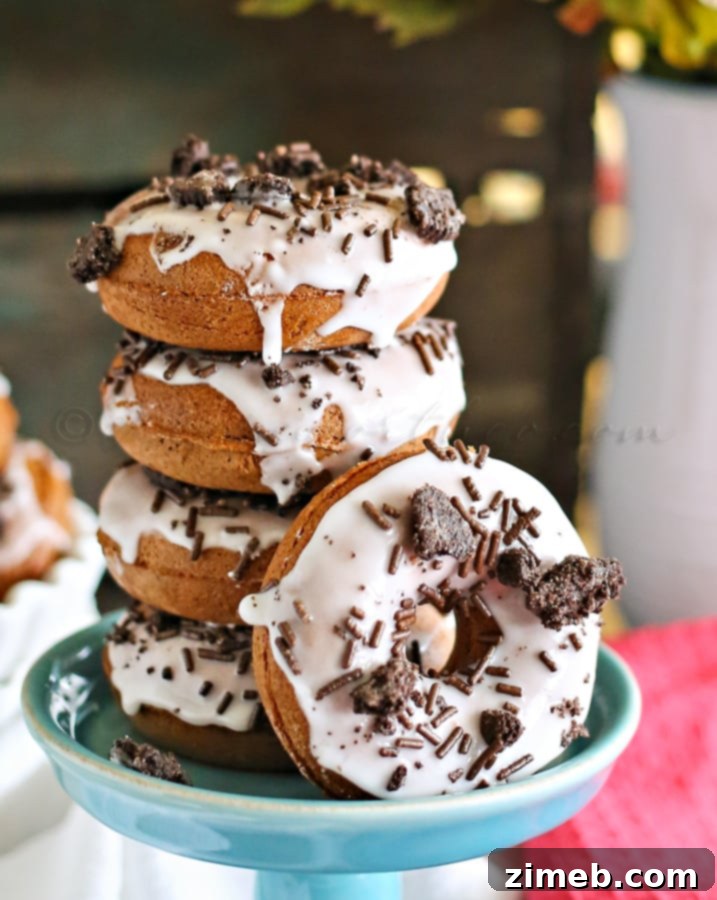
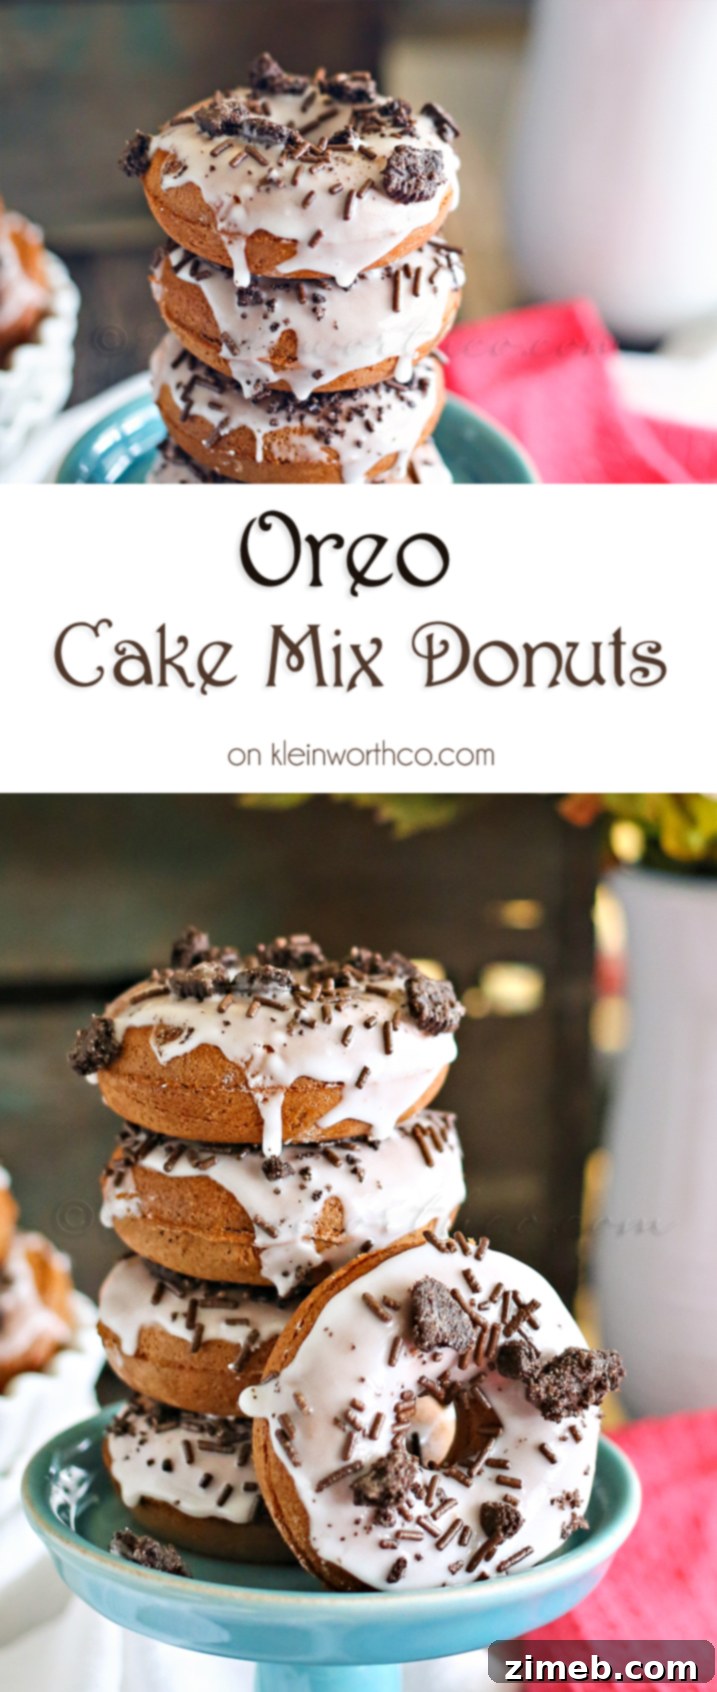
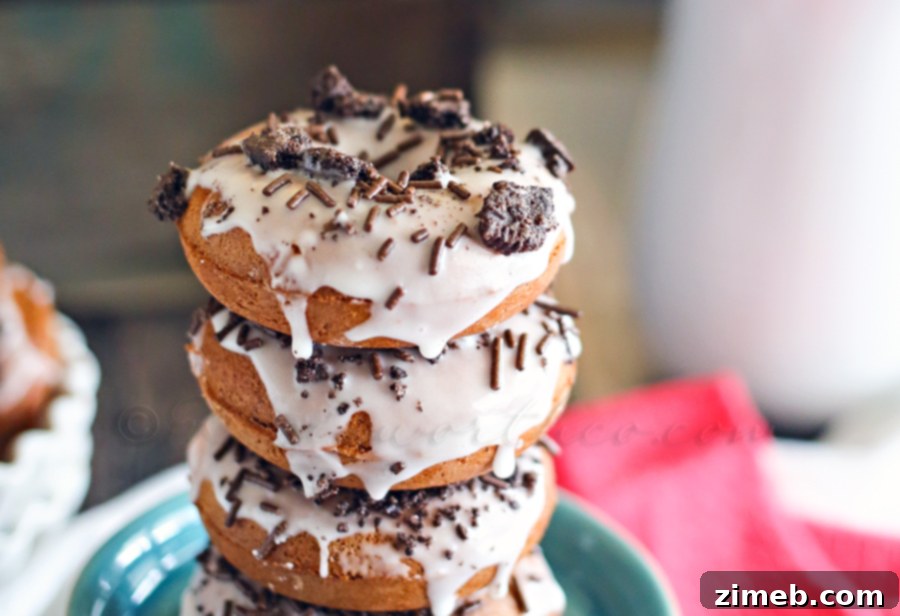
What makes these particular donuts so special, and so incredibly easy, is the secret ingredient: cake mix! Yes, you read that right. We’re talking about incredibly moist and light milk chocolate donuts that come together with minimal fuss, all thanks to a simple box of cake mix. To elevate them to perfection, they are then generously topped with a luscious cream glaze and a scattering of crumbled Oreo Cookies. This method eliminates the need for complex recipes or deep-frying, making homemade donuts accessible to everyone, regardless of their baking experience.
My spouse often teases me, insisting that these are clearly a dessert, not a breakfast item, especially given they’re crafted from cake mix and crowned with frosting and Oreos. And, let’s be honest, he probably has a point! However, I am a firm believer in the joy of having cake for breakfast, particularly on leisurely weekends. Life is too short not to enjoy these little moments of sweetness, whether you categorize them as breakfast, brunch, or an afternoon pick-me-up. These Oreo Cake Mix Donuts blur the lines in the most delicious way possible, making them a perfect treat for any time of day.
Your Questions Answered: Cake Mix Donut FAQ
Before diving into the recipe, let’s address some common questions that often arise when making these delightful cake mix donuts. Understanding these details will help ensure your baking experience is smooth and successful, allowing you to enjoy perfectly moist and flavorful treats every time.
Can These Cake Mix Donuts Be Frozen?
Absolutely! Freezing these donuts is a fantastic way to prepare them ahead of time or store leftovers. The key is to freeze them before applying the glaze and toppings. I recommend arranging them in a single layer on a baking sheet or paper plate and freezing until solid. Once frozen, you can transfer them to a zip-top freezer bag or an airtight container to save space. This prevents them from sticking together and makes it easy to grab just a few whenever a craving strikes. When you’re ready to enjoy, simply thaw them at room temperature and then proceed with glazing and decorating.
How Many Servings Does This Recipe Yield?
This recipe is quite generous, producing approximately 24 to 30 mini donuts. The exact number can vary slightly depending on how much batter you spoon into each well of your donut maker. This makes it an ideal recipe for family gatherings, parties, or simply ensuring you have plenty of delicious treats to last throughout the week (or to share with very lucky friends!). It’s a whole lot of mini donuts, perfect for satisfying any sweet tooth.
Can This Recipe Be Made in a Standard-Size Donut Pan in the Oven?
Yes, if you don’t own a mini donut maker, you can certainly bake these in a standard-size donut pan in your oven. This method will yield about 18 regular-sized donuts. To bake them in the oven, preheat your oven to 350°F (175°C) and bake for approximately 10-12 minutes, or until a toothpick inserted into a donut comes out clean. The texture will be slightly different from those made in a donut maker, but they will still be wonderfully moist and delicious.
Can This Recipe Be Doubled?
Indeed! This recipe is incredibly adaptable, and we often double it, especially when we’re hosting a larger crowd or simply want to have extra on hand. If you’re planning a big brunch or a party, doubling the ingredients is definitely recommended. Just be sure to use a large enough bowl for mixing the batter and ensure your donut maker (or oven) has enough capacity for multiple batches.
Can This Be Made with Another Flavor of Cake Mix?
The versatility of using cake mix shines here! You can experiment with almost any type or flavor of cake mix to create different donut varieties. Imagine vanilla cake mix donuts with a rainbow sprinkle glaze, or a red velvet version with a cream cheese frosting. The possibilities are endless! The only exception would be angel food cake mix, as its unique leavening and consistency make it unsuitable for this specific donut recipe. For best results, stick to standard cake mixes like chocolate, vanilla, yellow, or even strawberry.
Crafting Your Oreo Donut Masterpiece: Step-by-Step Instructions
Creating these incredible Oreo Cake Mix Donuts is surprisingly simple and incredibly rewarding. Follow these easy steps to bring these moist and flavorful treats to life in your own kitchen.
- **Prepare Your Donut Maker:** Begin by preheating your mini donut maker. This ensures it’s hot and ready to cook the batter evenly as soon as you’re finished mixing.
- **Whip Up the Batter:** In a large mixing bowl, combine the contents of your milk chocolate cake mix (just the dry powder, not prepared batter), one egg, ¼ cup of canola oil, and 1 cup of water. Whisk these ingredients together until the batter is mostly smooth. A few small lumps are acceptable, but avoid overmixing, as this can lead to tougher donuts.
- **Fill the Wells:** Once your donut maker is hot and the “ready” light (if applicable) indicates it’s at optimal temperature, carefully spoon about 2 tablespoons of batter into each donut well. Be careful not to overfill, as the batter will expand during cooking.
- **Cook to Perfection:** Close the lid of your donut maker and allow the donuts to cook for approximately 5-6 minutes. Cooking times can vary slightly depending on your specific donut maker model, so keep an eye on them until they are golden brown and cooked through.
- **Cool Your Donuts:** Gently remove the cooked donuts from the maker and place them on a wire rack to cool completely. This is crucial for achieving the perfect texture and allowing the glaze to set properly. Continue this process with the remaining batter until all your donuts are cooked.
- **Prepare the Glaze:** While the donuts are cooling, combine 1 cup of confectioners sugar, 2-3 tablespoons of milk, and 2 teaspoons of vanilla extract in a small bowl. Whisk vigorously until the mixture is completely smooth and free of lumps. Adjust the milk quantity as needed to achieve a pourable but not too thin consistency.
- **Glaze and Decorate:** Once the donuts are fully cooled, dip the top of each donut into the prepared glaze, allowing any excess to drip off. Return the glazed donuts to the wire rack.
- **Add Your Toppings:** Immediately after glazing, and before the glaze has a chance to harden, generously sprinkle the top of each donut with crumbled Oreo cookies and chocolate jimmies. This ensures the toppings adhere beautifully to the fresh glaze.
- **Allow to Set:** Let the glazed and decorated donuts set on the wire rack for about 15-20 minutes. This allows the glaze to firm up, making them less sticky and easier to handle before serving.
Storage & Freshness: Keeping Your Donuts Delicious
After all your hard work (or rather, easy work!) in making these delightful treats, you’ll want to ensure they stay fresh and delicious for as long as possible. The best way to store leftover Oreo Cake Mix Donuts is in an airtight container at room temperature. They typically stay fresh for 2-3 days this way. If your kitchen tends to be on the warmer side, or if you prefer a slightly firmer glaze, I would recommend refrigerating them. Just be sure to bring them back to room temperature for about 15-20 minutes before enjoying for the best flavor and texture. For longer storage, remember our earlier tip about freezing them un-iced, which extends their shelf life significantly.
Essential Ingredients for Your Oreo Cake Mix Donuts
Gathering your ingredients is the first step to creating these incredible treats. Here’s a simple list of what you’ll need to make these homemade Oreo donuts a reality:
- 1 box of milk chocolate cake mix (just the powder, do not prepare the batter as per box instructions)
- 1 large egg
- ¼ cup canola oil
- 1 cup water
- 1 cup confectioners sugar (for the glaze)
- 2-3 tablespoons milk (for the glaze)
- 2 teaspoons vanilla extract (for the glaze)
- 5-6 crumbled Oreo cookies (for topping)
- 2 tablespoons chocolate jimmies (optional, for topping)
Products I Love When Making Cake Mix Donuts
This Oreo donut recipe is incredibly straightforward and yields utterly delicious results. If you’re anything like me, you might already have most of these items stashed in your pantry. However, if you’re new to the world of homemade donuts, you might feel a tad apprehensive. Don’t be! This recipe is designed for ease. To help you get started, I’ve compiled a list of the key products and tools I find indispensable when whipping up this fantastic breakfast (or dessert!) recipe:
- Chocolate Cake Mix: The foundation of our easy donuts. Choose your favorite brand for the best results.
- Canola Oil: Essential for moisture in the donut batter.
- Confectioners Sugar: The key ingredient for creating that smooth, decadent glaze.
- Vanilla Extract: Adds a touch of warmth and depth to our simple glaze.
- Chocolate Jimmies: These delightful sprinkles add a festive touch and extra chocolatey crunch.
- Oreo Cookies: The star topping! Make sure to crumble them well for the best texture.
- Mini Donut Maker: My personal favorite for perfectly baked, bite-sized donuts without any frying.
If you love this Oreo Cake Mix Donuts recipe, you’re going to love these other donut recipes too. Please click each link below to find the easy, printable recipe!
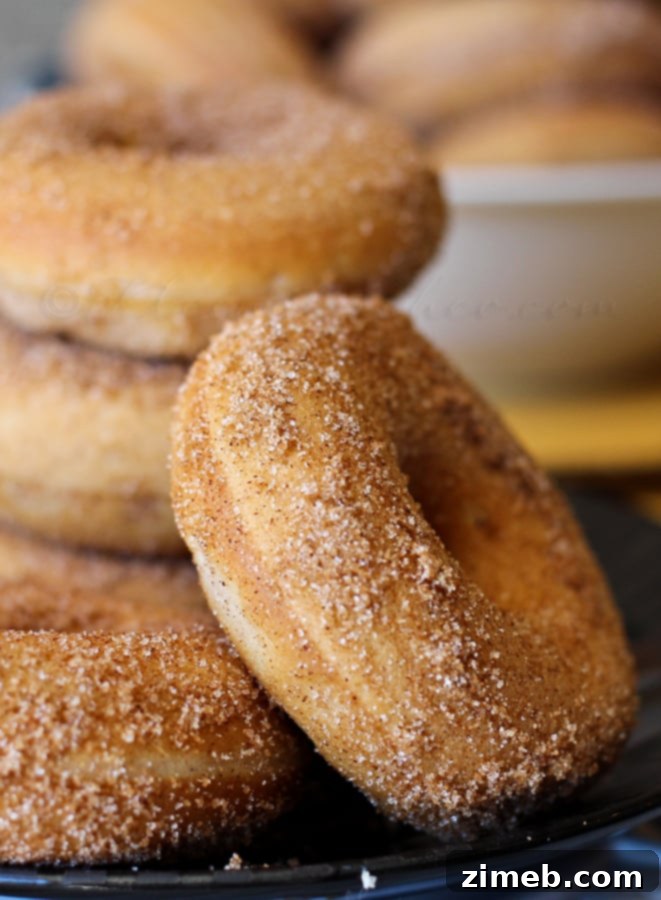
Churro Donuts

Blueberry Pie Donuts
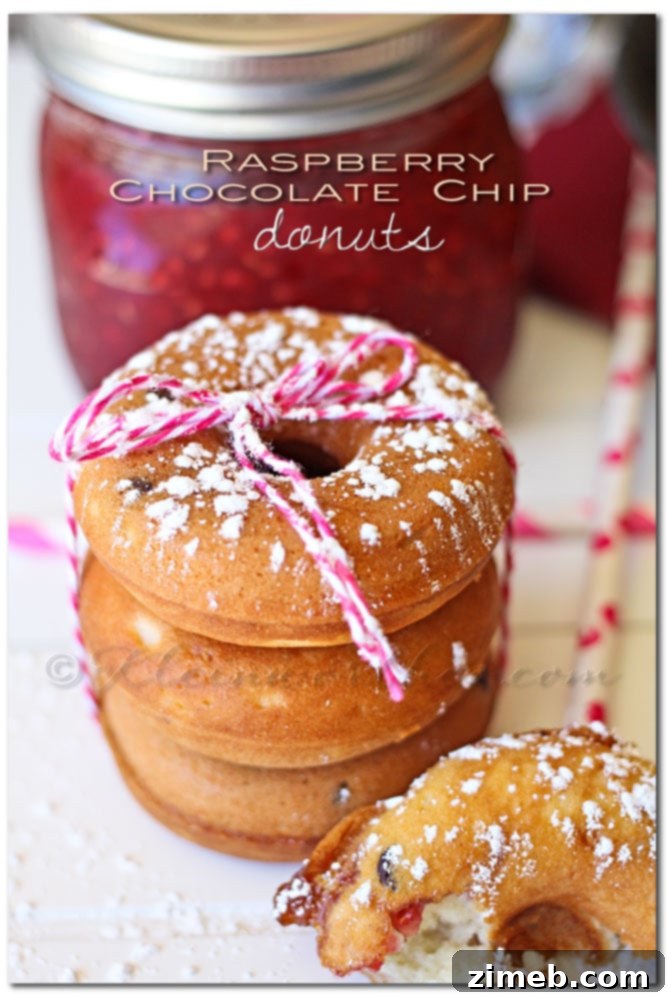
Raspberry Chocolate Chip Donuts
More Great Cake Mix Recipe Ideas
The versatility of cake mix extends far beyond just donuts! It’s a fantastic shortcut for a myriad of delicious desserts and treats. If you’re looking for more ways to use that convenient box of cake mix, explore these other delightful recipes:
Cake Mix Snickerdoodles
Red Velvet Cake Mix Cookies
Red Velvet Cake Mix Crinkle Cookies
Patriotic Cake Mix Cookies
Frosted Funfetti Cake Mix Cookies
Funfetti Cake Mix Bars
St. Patrick’s Day Cake Mix Cookie Bars
Birthday Cookies
Andes Mint Cookies
Zombie Cookies
Gooey Butter Cookies
Snowman Cookies
Final Thoughts on Your Homemade Oreo Donut Adventure
These homemade Oreo donuts, made effortlessly with cake mix, are more than just a recipe; they’re an invitation to bring a little extra joy and sweetness into your home. The simple process, the delightful chocolate and Oreo flavors, and the perfectly moist texture make them an instant favorite for any occasion. Whether you’re a seasoned baker or just starting out, this recipe promises delicious results and a lot of happy faces.
If you’ve enjoyed making this recipe for Oreo Cake Mix Donuts as much as I do, please consider leaving a five-star review. Your feedback helps others discover these wonderful treats! Don’t forget to help me share the joy by sharing this recipe on Facebook and Pinterest!
CONNECT WITH KLEINWORTH & CO!
Be sure to follow me on my social media, so you never miss a post!
FB, Pinterest, IG, Email Subscription
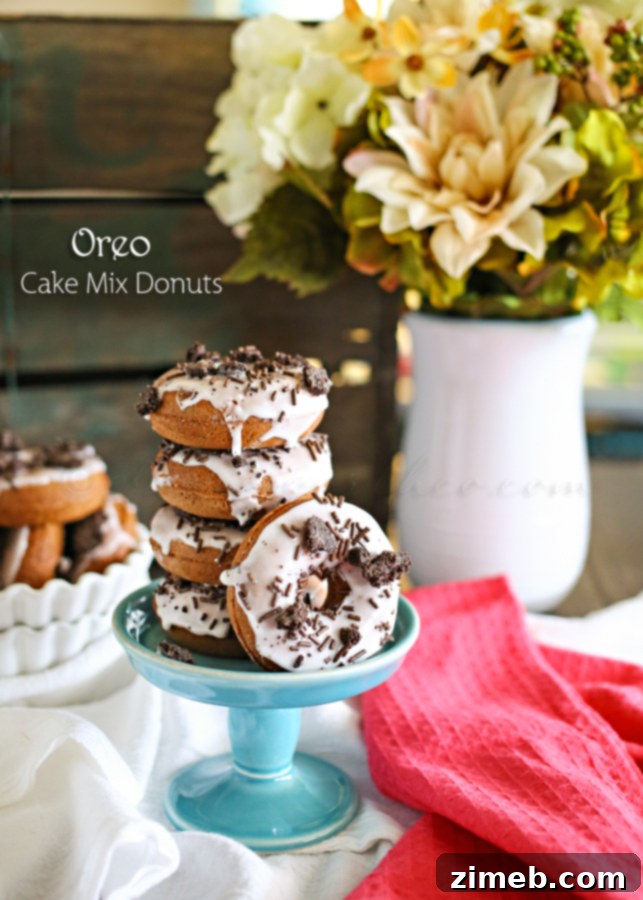

Oreo Cake Mix Donuts
Course: Breakfast
Servings: 24 donuts
Oreo Cake Mix Donuts, Moist & light milk chocolate donuts made simply from cake mix & topped with a cream glaze & crumbled Oreo Cookies. Great Breakfast!
Print Recipe | Pin Recipe
Prep Time: 5 mins
Cook Time: 25 mins
Total Time: 30 mins
Ingredients
Donuts
- 1 box milk chocolate cake mix (just the powder- don’t make the batter)
- 1 egg
- ¼ cup canola oil
- 1 cup water
Glaze
- 1 cup confectioners sugar
- 2-3 tbsp milk
- 2 tsp vanilla extract
Topping
- 5-6 crumbled Oreo cookies
- 2 tbsp chocolate jimmies
Instructions
- Preheat mini donut maker while you prepare your batter.
- Combine the cake mix, egg, oil & water in a large bowl & whisk well until mostly smooth.
- Once your donut maker is hot & ready, spoon about 2 tbsp of batter into each donut well.
- Close the lid & cook approx 5-6 minutes.
- Remove & place on wire rack to cool. Continue with remaining batter.
- Once donuts are cooked & cooled combine glaze ingredients in small bowl & whisk until fully combined.
- Dip each donut into the glaze to coat the top & return to the wire rack.
- Immediately sprinkle with Oreo crumbles & chocolate jimmies before your glaze hardens.
- Allow them to set before serving.
Nutritional information for the recipe is provided as a courtesy and is approximate. Please double-check with your own dietary calculator for the best accuracy. We at Yummi Haus cannot guarantee the accuracy of the nutritional information given for any recipe on this site.