
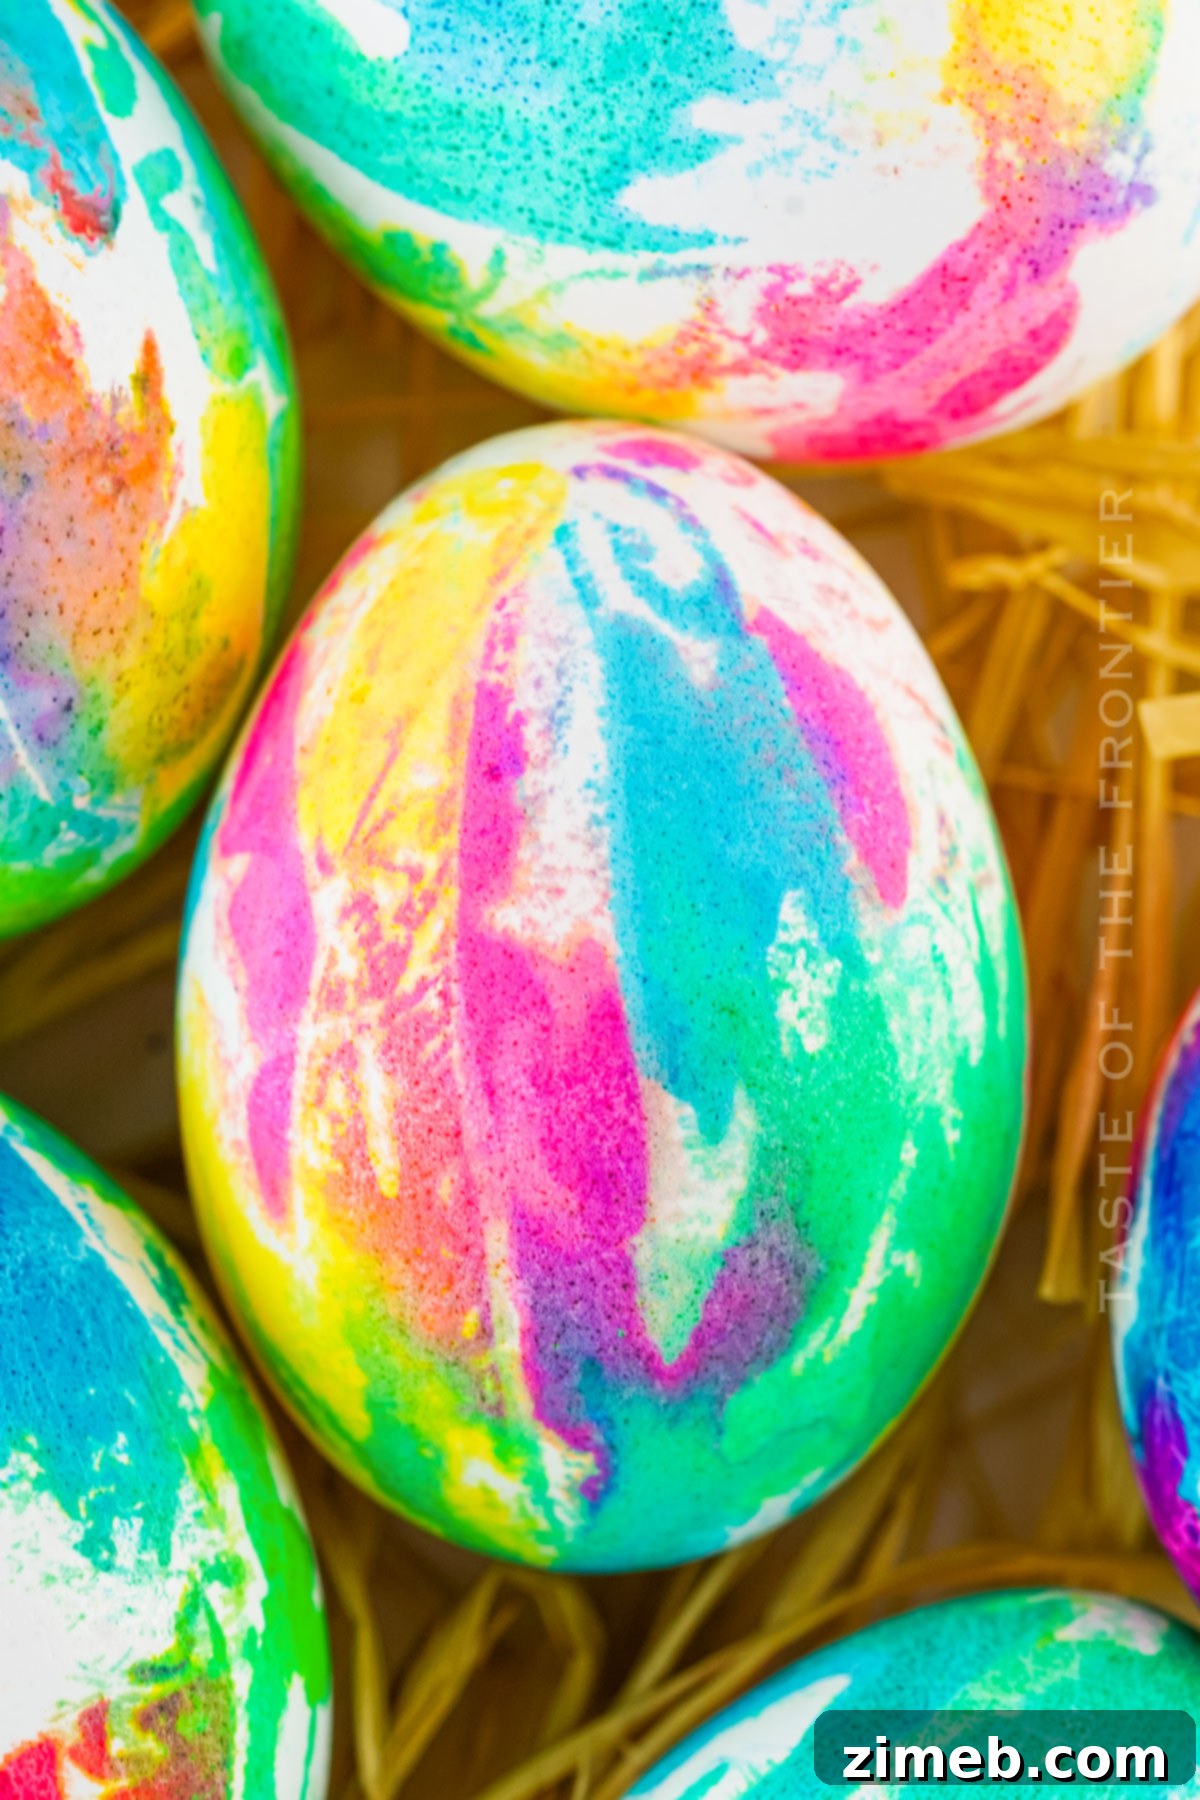
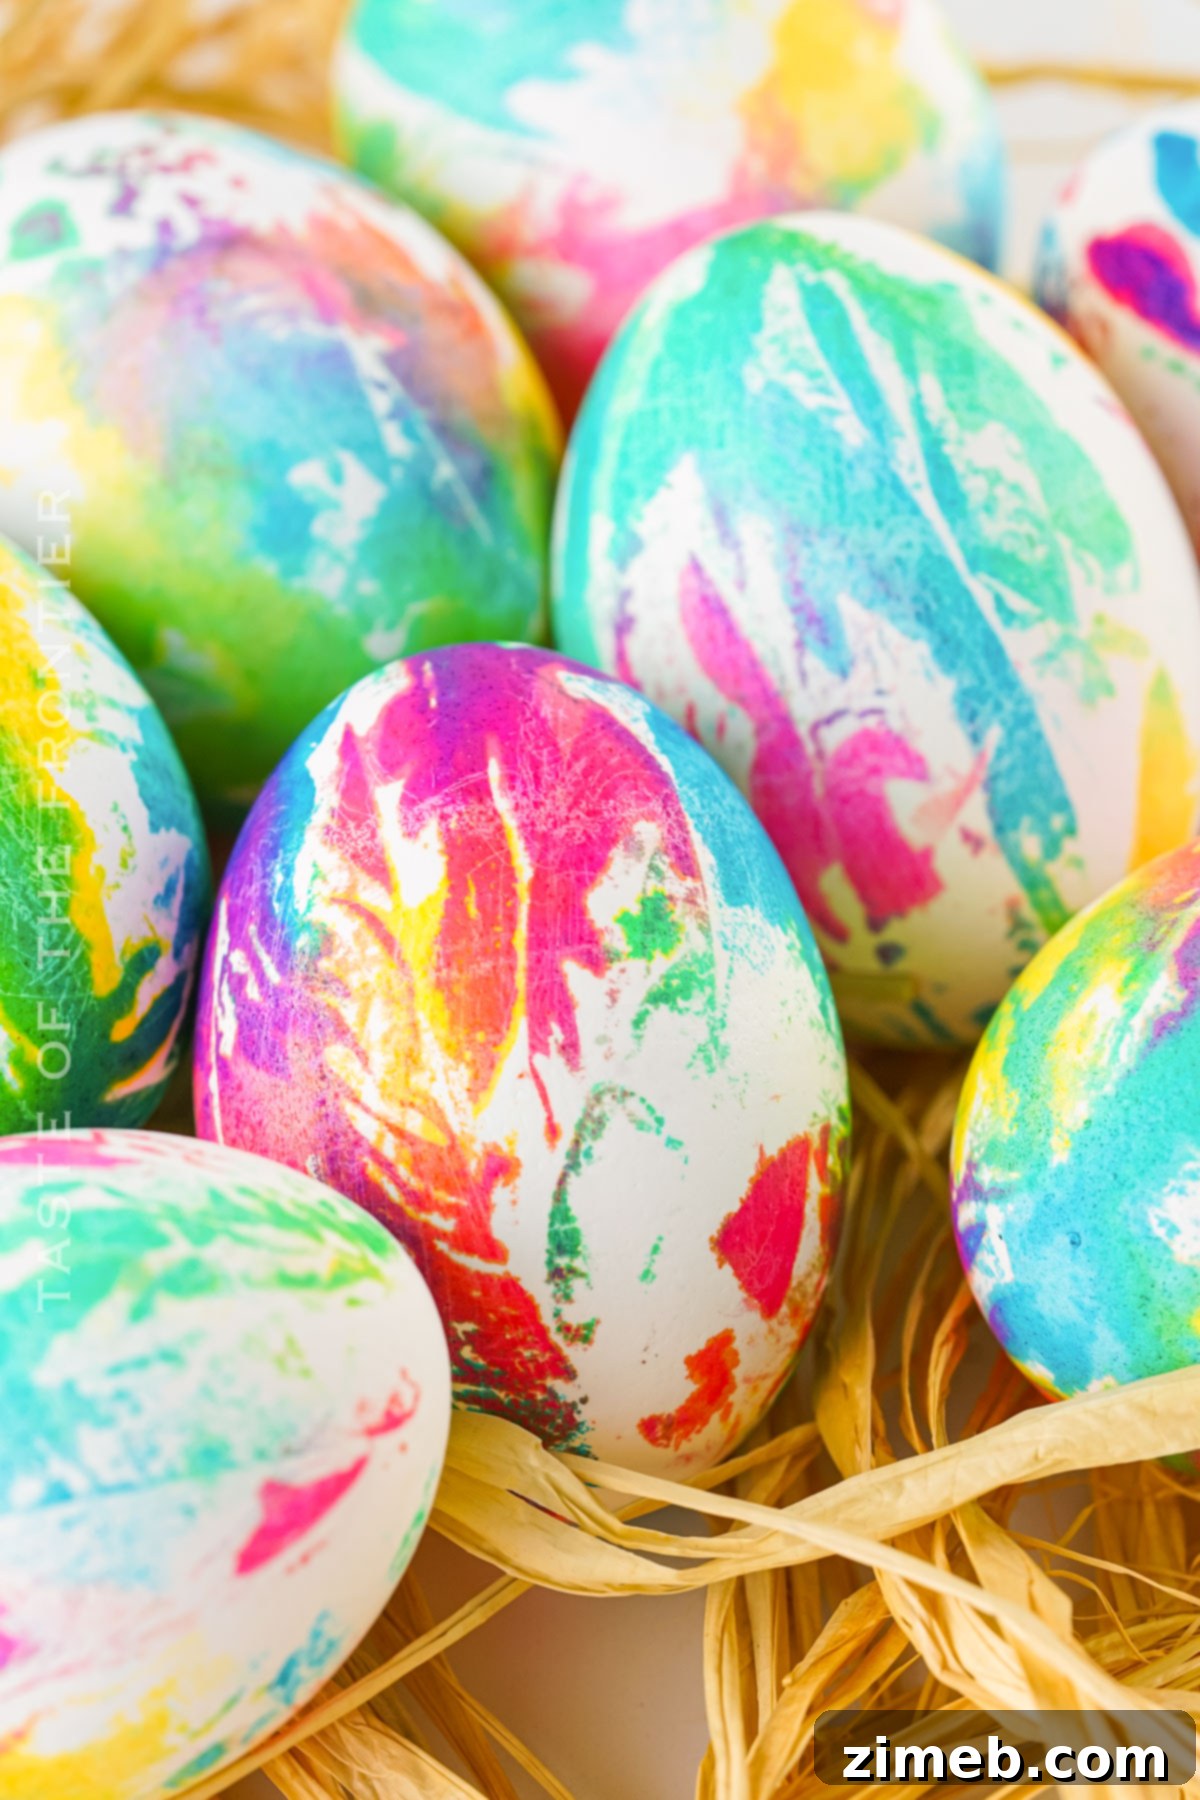
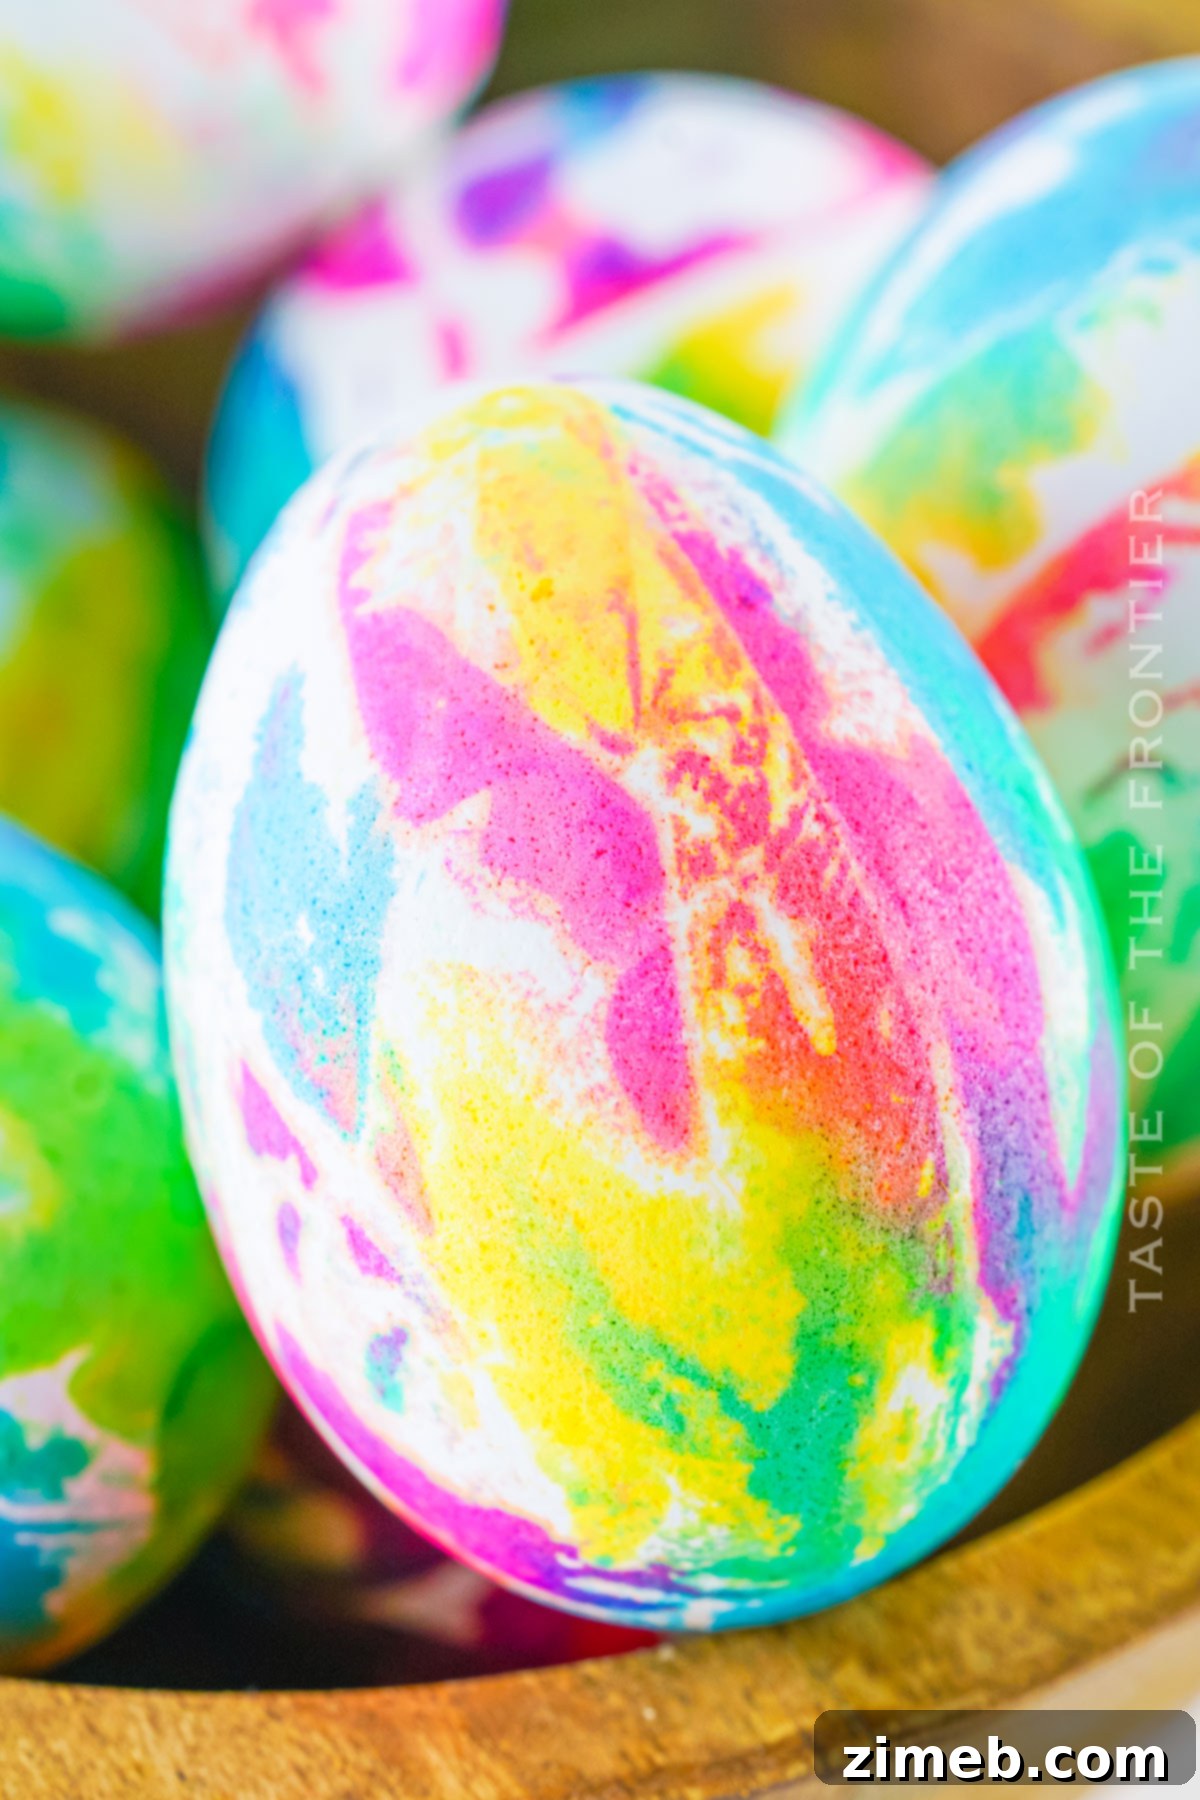
Using a swirl of vibrant food colors and a simple technique, transform your ordinary hard-boiled eggs into a groovy, colorful masterpiece and create stunning Tie-Dyed Easter Eggs! This isn’t just an Easter craft; it’s an experience.
Springtime burst forth with a symphony of colors, and what could be a more delightful way to celebrate this vibrancy than by crafting unique Tie-Dyed Easter Eggs? Perhaps you’ve never ventured beyond traditional egg dyeing methods before? If so, prepare to be amazed, because you are in for an exceptionally fun and visually rewarding treat!
This Easter, let’s step away from the mundane, store-bought egg dyeing kits. Instead, immerse yourself in a world of vivid, swirling patterns and brilliant hues with an incredibly easy and enjoyable technique. This method promises to yield Easter eggs so captivating, they’ll become the undeniable centerpiece of your Easter basket and spark conversations at your holiday gathering.
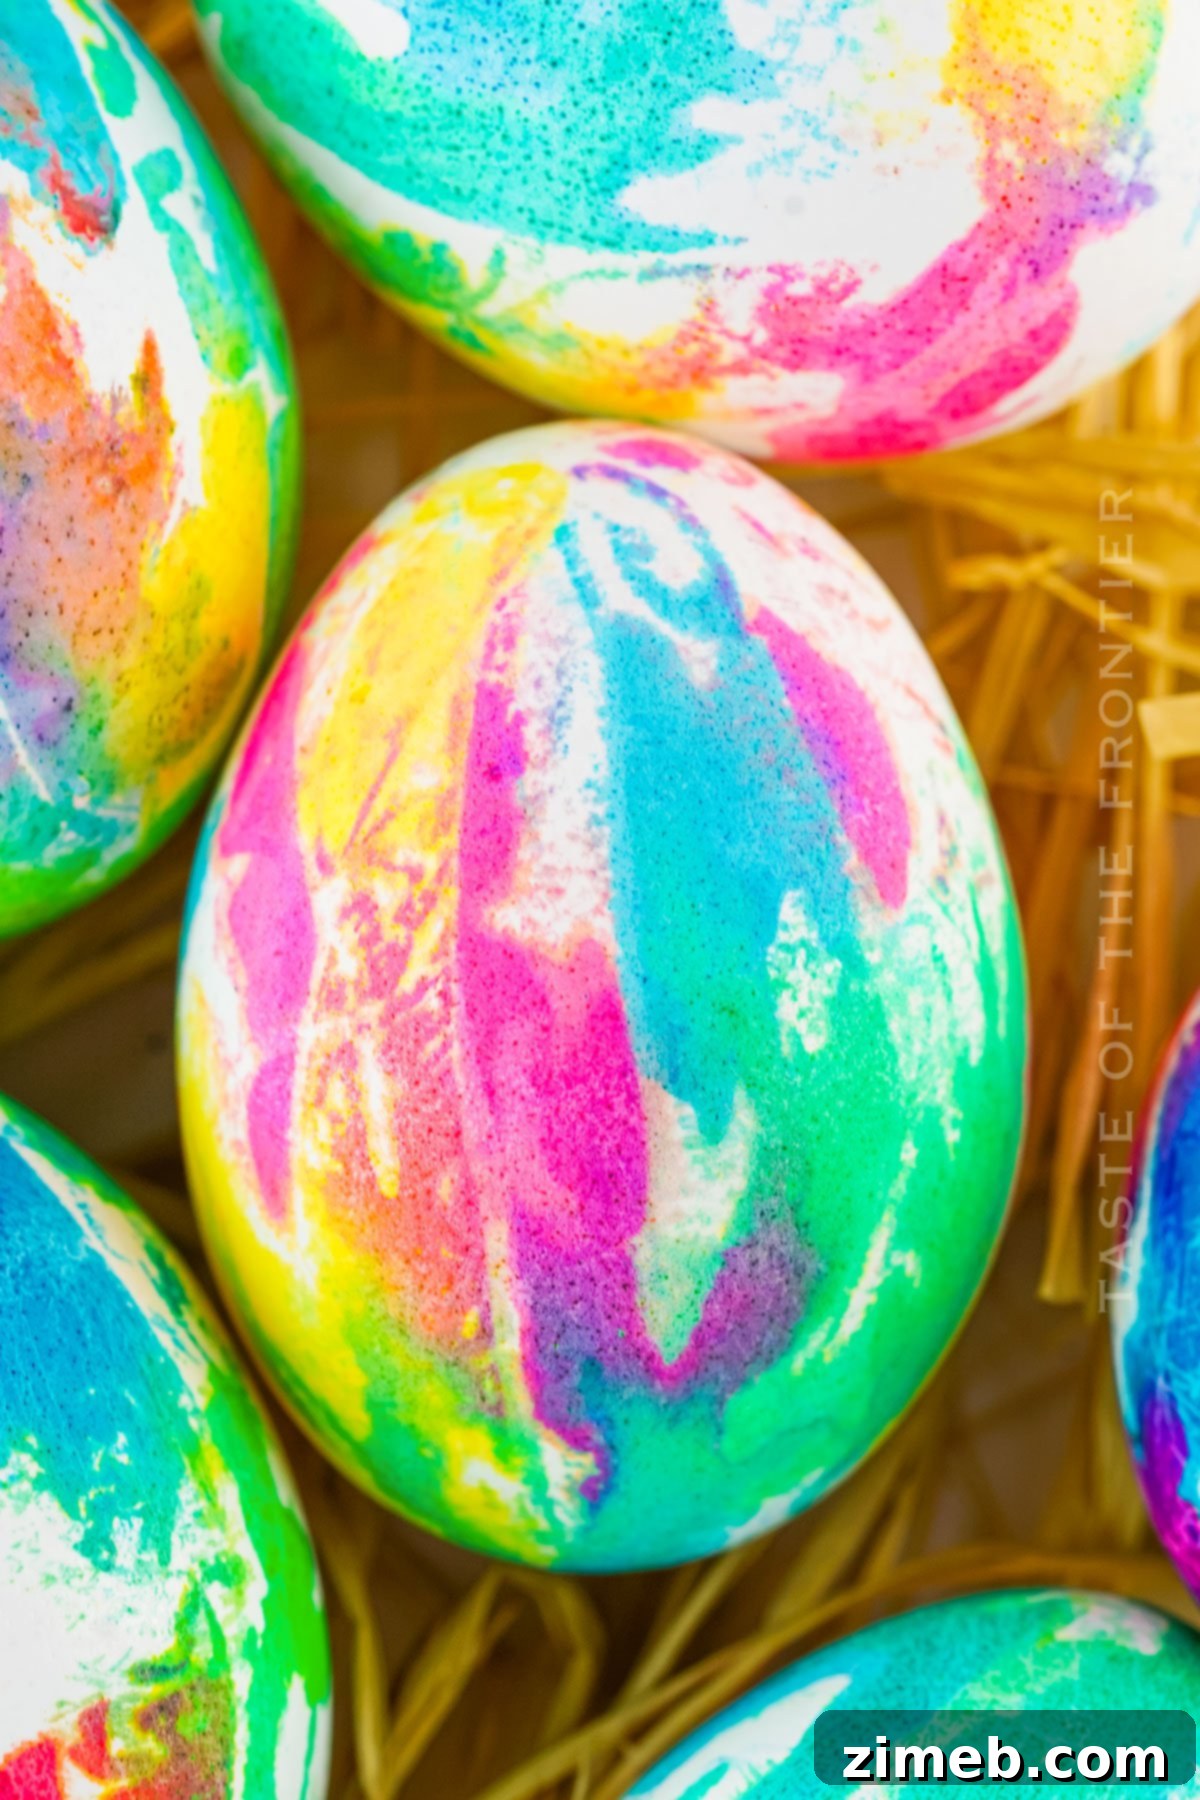
This Easter season, seize the opportunity to let your creativity shine brightly with these spectacular Tie-Dyed Easter Eggs. This craft isn’t just simple and budget-friendly; it’s also a fantastic way to bond with family and friends, resulting in visually stunning Easter eggs that are anything but ordinary. Imagine these beauties adorning your Easter table, instantly elevating the festive atmosphere!
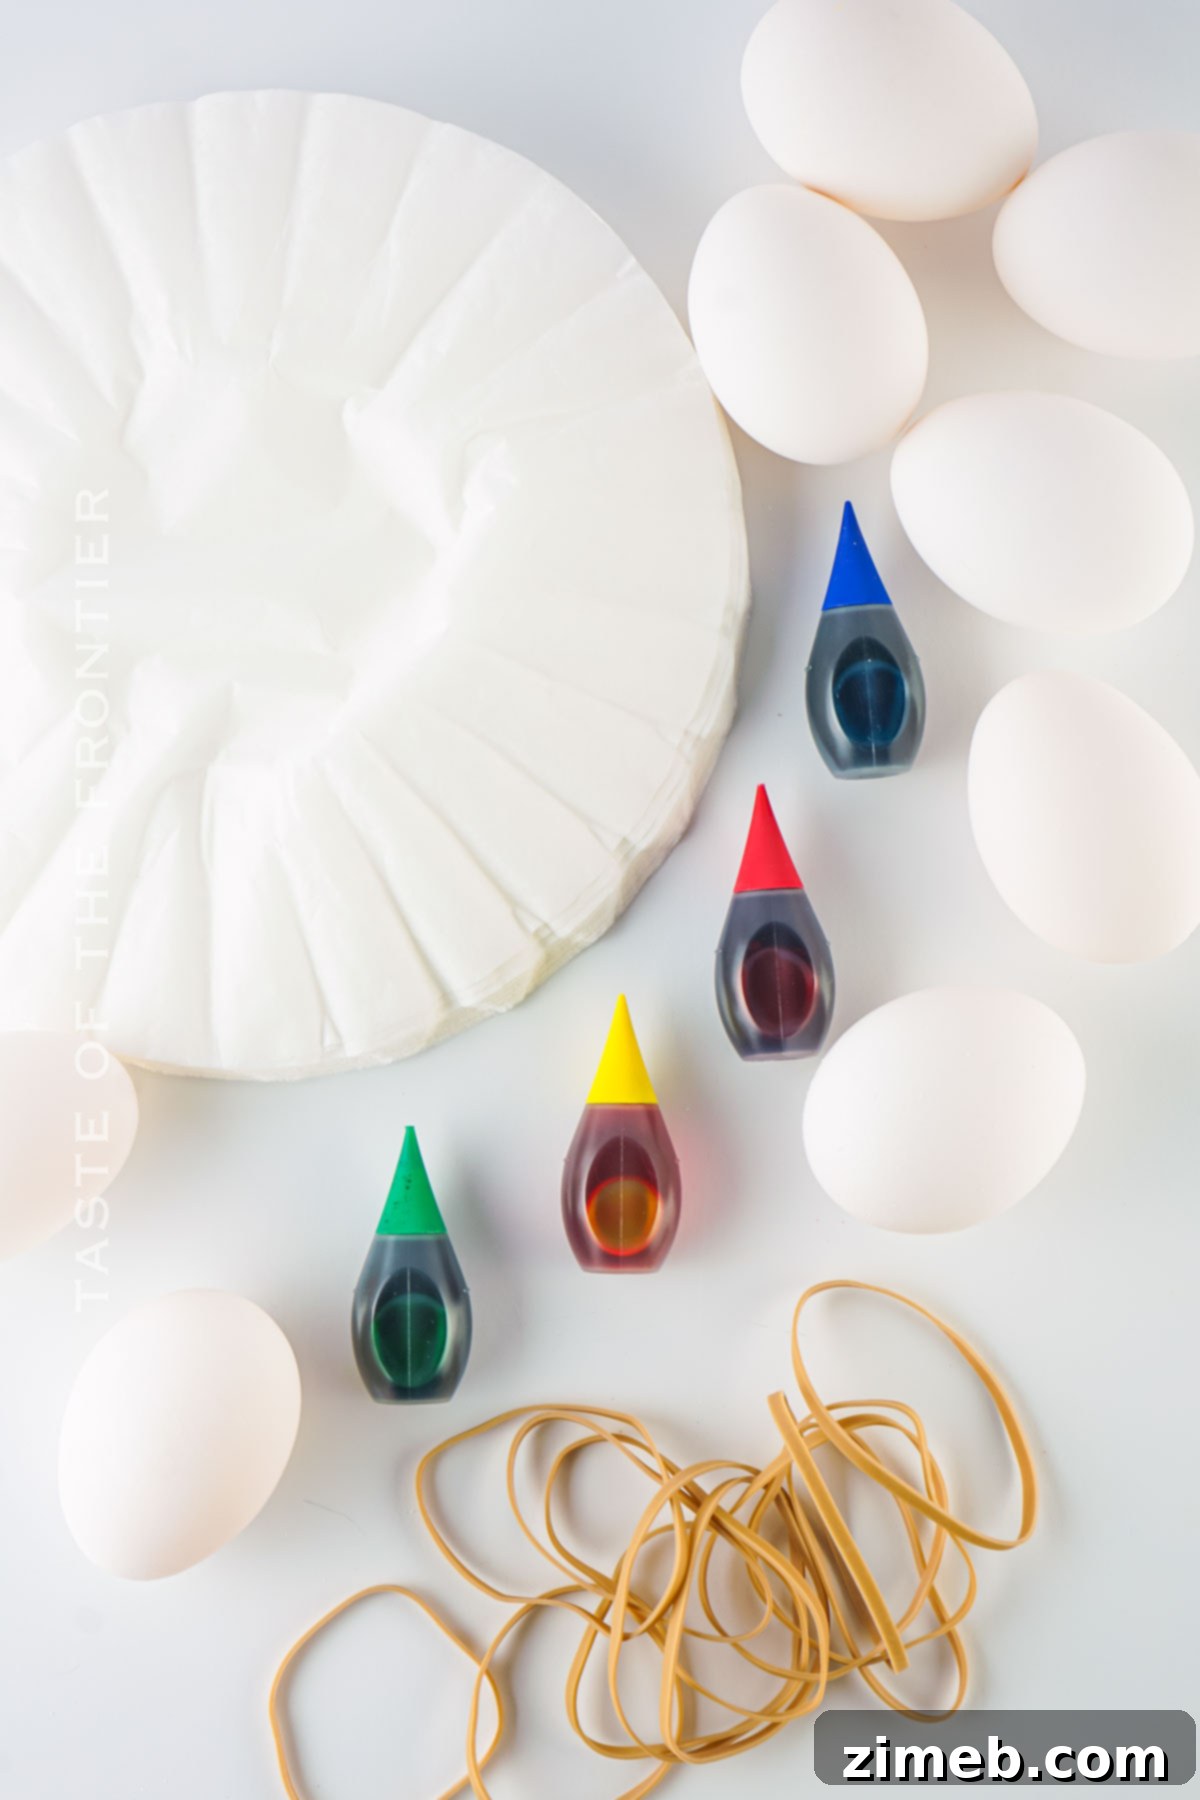
The magic happens with just a handful of common household items: coffee filters (or paper towels), rubber bands, and your favorite water-based food coloring. With these simple tools, you can transform plain hard-boiled eggs into true works of art, each boasting unique, mesmerizing patterns and a kaleidoscope of vibrant colors. The tie-dye effect ensures no two eggs are exactly alike, adding an element of surprise and delight to every creation.
Whether you’re planning an exciting Easter egg hunt for the kids or simply want to add a splash of cheerful color to your holiday decor, these Tie-Dyed Easter Eggs are guaranteed to be a massive hit. Both children and adults will be enchanted by the process and the spectacular results. It’s an activity that brings smiles, laughter, and a sense of accomplishment to everyone involved.
For those trying this Easter egg decorating method for the very first time, or seasoned crafters looking for innovative ways to spice up their Easter traditions, tie-dyed eggs offer boundless possibilities for artistic expression and family fun. The simplicity of the technique combined with the stunning visual outcome makes it an ideal project for all ages and skill levels.
So, gather your supplies, call the family together, and prepare yourselves for an unforgettable crafting session. Get ready to create some of the most beautiful and unique Easter eggs you’ve ever seen. Happy Easter and joyful crafting to all!
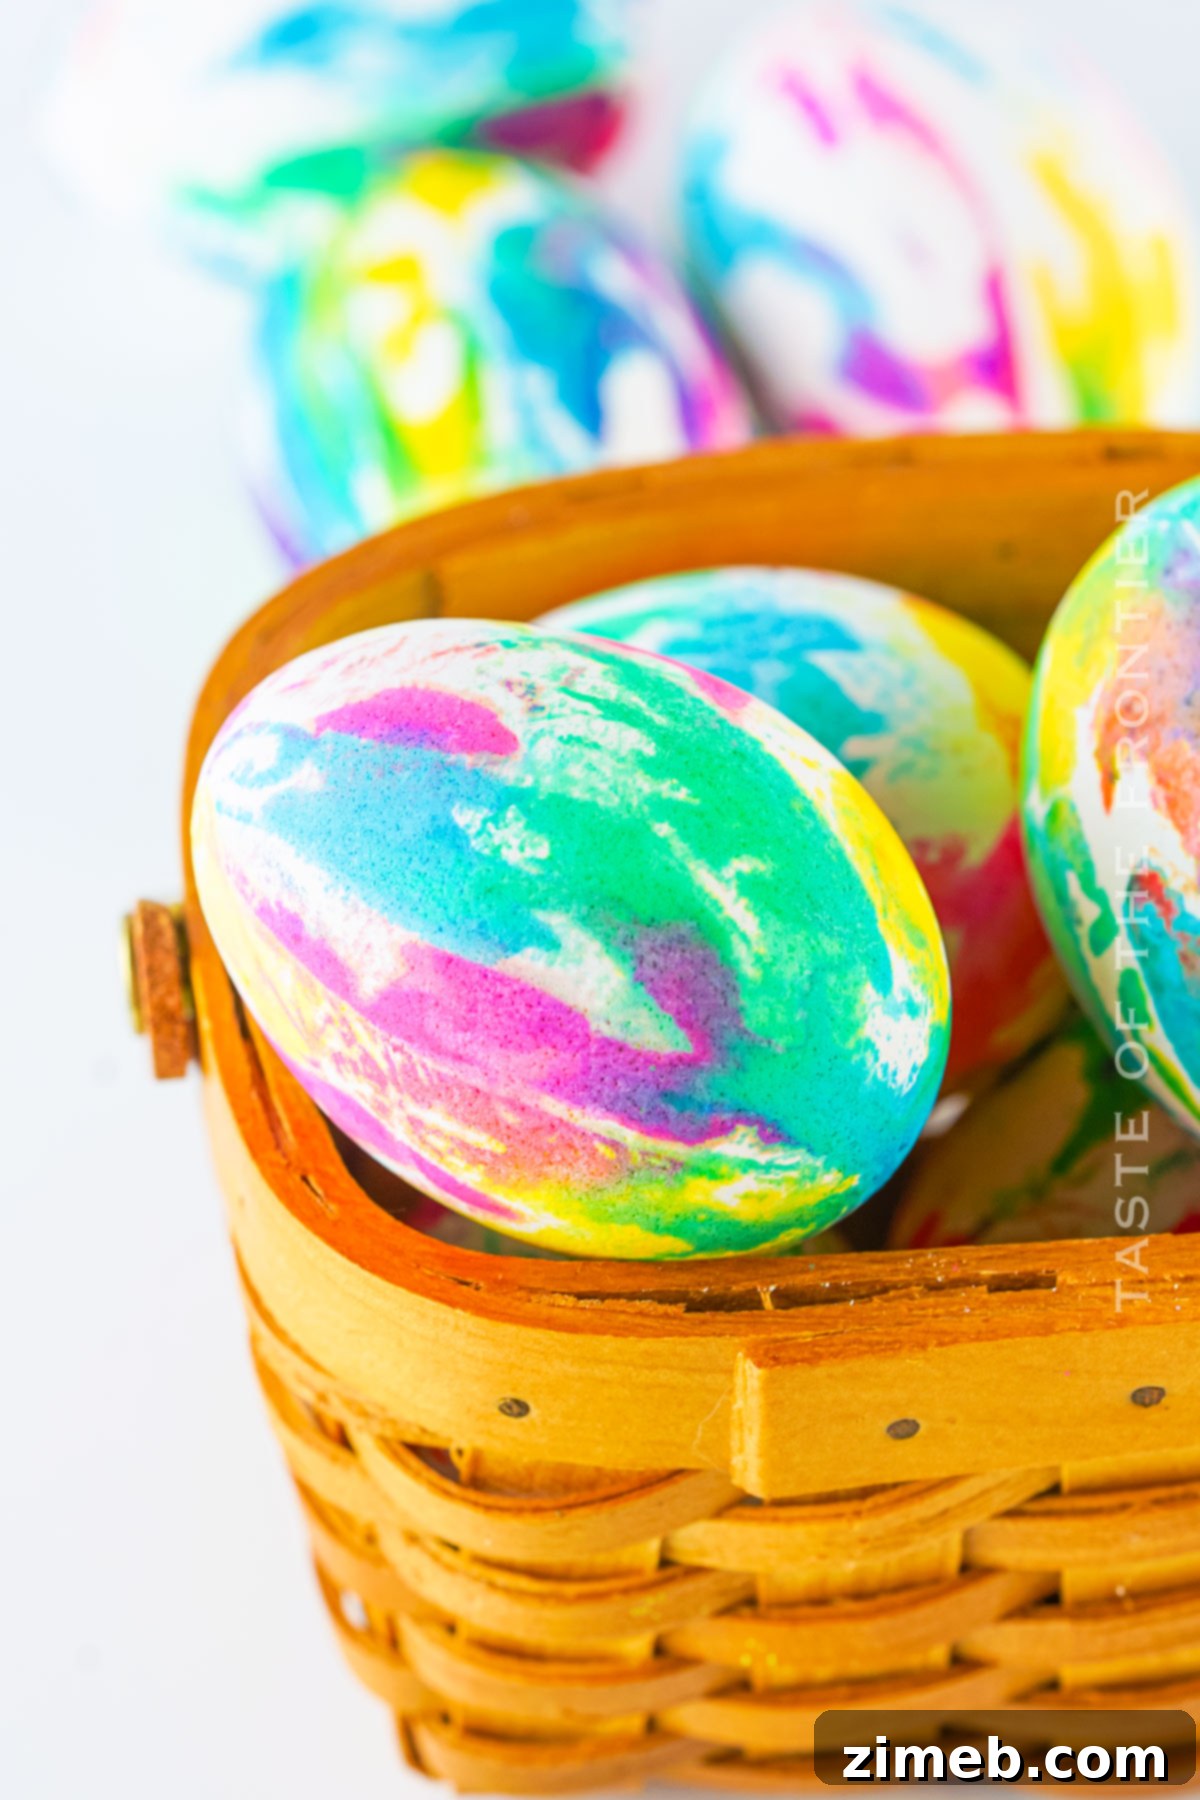
Common Questions About Creating Tie-Dyed Easter Eggs
Embarking on a new craft project often brings up a few questions. Here are some of the most common inquiries about making Tie-Dyed Easter Eggs, along with helpful answers to ensure your dyeing experience is smooth and successful.
Can I use this tie-dye method with both white and brown eggs?
Absolutely! The beauty of this technique is its versatility. While white eggs provide a pristine, blank canvas that allows the vibrant colors to truly pop and shine brightly, brown eggs offer a richer, deeper, and more muted backdrop for the dye. This results in uniquely beautiful eggs with earthy, darker hues that have a wonderfully rustic charm. Experiment with both to see which effect you prefer!
How can I achieve the most vibrant colors on my tie-dyed eggs?
The secret to achieving intensely vibrant colors lies in the quality of your food coloring and the saturation of the coffee filter. Gel food coloring typically offers more concentrated pigments than liquid food coloring, leading to richer, deeper shades. For even more intense results, you can prepare your dye by mixing a few drops of gel food coloring with a tiny amount of water (just enough to make it spreadable) or even a teaspoon of white vinegar in a small cup. The longer the eggs remain wrapped in the color-saturated coffee filters, the more time the dye has to penetrate the shell, resulting in bolder and more vivid colors. Don’t be afraid to generously apply the drops of food coloring!
What’s the easiest way to dry the eggs without smudging the beautiful dye?
After gently unwrapping your beautifully dyed eggs, handle them with care to preserve their intricate patterns. The easiest way to prevent smudging is to either delicately pat the eggs dry with a fresh, clean paper towel or, even better, place them on a wire cooling rack positioned over a baking sheet. This setup allows air to circulate around the entire surface of the egg, ensuring an even and smudge-free drying process. Give them ample time to air dry completely for the best, long-lasting results. Avoid stacking them or placing them on absorbent surfaces that might lift the dye.
Storage Tips for Your Hard-Boiled Easter Eggs
Hard-boiled eggs are a beloved snack, especially for kids! Easter often means an abundance of these protein-packed delights. Here’s how to properly store your tie-dyed masterpieces so they can be enjoyed safely.
Refrigerator
Once your tie-dyed eggs are completely dry, store them in the refrigerator. For optimal freshness and to prevent any moisture buildup, place them in an airtight container. Alternatively, you can return them to their original egg carton, lining the bottom with a few paper towels to absorb any lingering excess moisture. Properly stored, hard-boiled eggs can last for up to one week in the refrigerator.
Freezer
Freezing is generally not recommended for hard-boiled eggs. The freezing and thawing process can significantly alter their texture, often making the egg whites rubbery and watery, and sometimes affecting the taste. It’s best to enjoy your beautiful tie-dyed eggs fresh within a week.
Expert Tips for Perfect Tie-Dyed Easter Eggs
Making Tie-Dyed Easter Eggs is an incredibly engaging activity that’s perfect for the whole family. Involve the kids and watch their faces light up as they witness the magical transformation of plain eggs into colorful wonders. It’s truly a fantastic way to create lasting Easter memories, making a good Easter egg recipe an even more delightful experience!
- Protect Your Hands: Food coloring can stain! To avoid having rainbow-colored hands for days, wear rubber gloves (disposable kitchen gloves or latex gloves work perfectly) throughout the dyeing process, especially when unwrapping the eggs.
- Coffee Filters vs. Paper Towels: While paper towels can certainly work in a pinch, I’ve found that coffee filters are superior for this technique. Their circular shape and slightly denser texture provide a better wrap for the egg and facilitate more even and vibrant color transfer, leading to more defined tie-dye patterns.
- Achieve Unique Tie-Dye Effects: For truly distinct and intricate tie-dye patterns, don’t just secure the coffee filter around the egg smoothly. Before you secure it with a rubber band, gently twist the coffee filter around the egg. This creates folds and creases that allow the colors to seep in unevenly, resulting in gorgeous, unpredictable swirls and abstract designs.
- Experiment with Color Mixing: Unleash your inner artist! Don’t be limited by single colors. Experiment by layering different shades or applying drops of complementary colors next to each other to create custom hues and gradients. Just remember that combining too many colors, especially contrasting ones like red and green directly, can sometimes lead to muddy or brownish tones. A good rule of thumb is to stick to 3-4 related colors or primary colors for the most striking results.
- Create Pastel Watercolor Effects: If you prefer a softer, more delicate look, a spray bottle can be your best friend. Instead of dropping concentrated food coloring, dilute your food coloring with a little water in a spray bottle. A light misting over the wrapped egg will give you a beautiful, subtle pastel, watercolor-like effect that is equally charming.
Gather Your Simple Ingredients
This year, the Easter Bunny is definitely stepping up its game with creativity! While traditional Easter eggs are always lovely, tie-dyed Easter eggs elevate the fun and visual appeal to a whole new level of excitement and artistry.
- Hard-boiled eggs: Ensure these are completely cooled to room temperature. Warm eggs can absorb dye differently and might be too fragile to handle.
- Coffee filters or paper towels: Coffee filters are highly recommended for the best results due to their shape and texture.
- Water-based food coloring: Opt for gel food coloring if you desire more intense and vibrant colors, as they are typically more concentrated.
- Rubber bands or twist ties: Essential for securely wrapping the coffee filters around your eggs.
- Paper towels: For drying your hands and gently patting the finished eggs.
- Rubber gloves (optional but highly recommended): To keep your hands mess-free and prevent staining.
Step-by-Step Guide: How to Make Stunning Tie-Dyed Easter Eggs
Through numerous experiments, I’ve refined this method to consistently deliver the most impressive results. Follow these simple steps precisely, and you’ll achieve beautifully tie-dyed eggs that are sure to impress everyone!
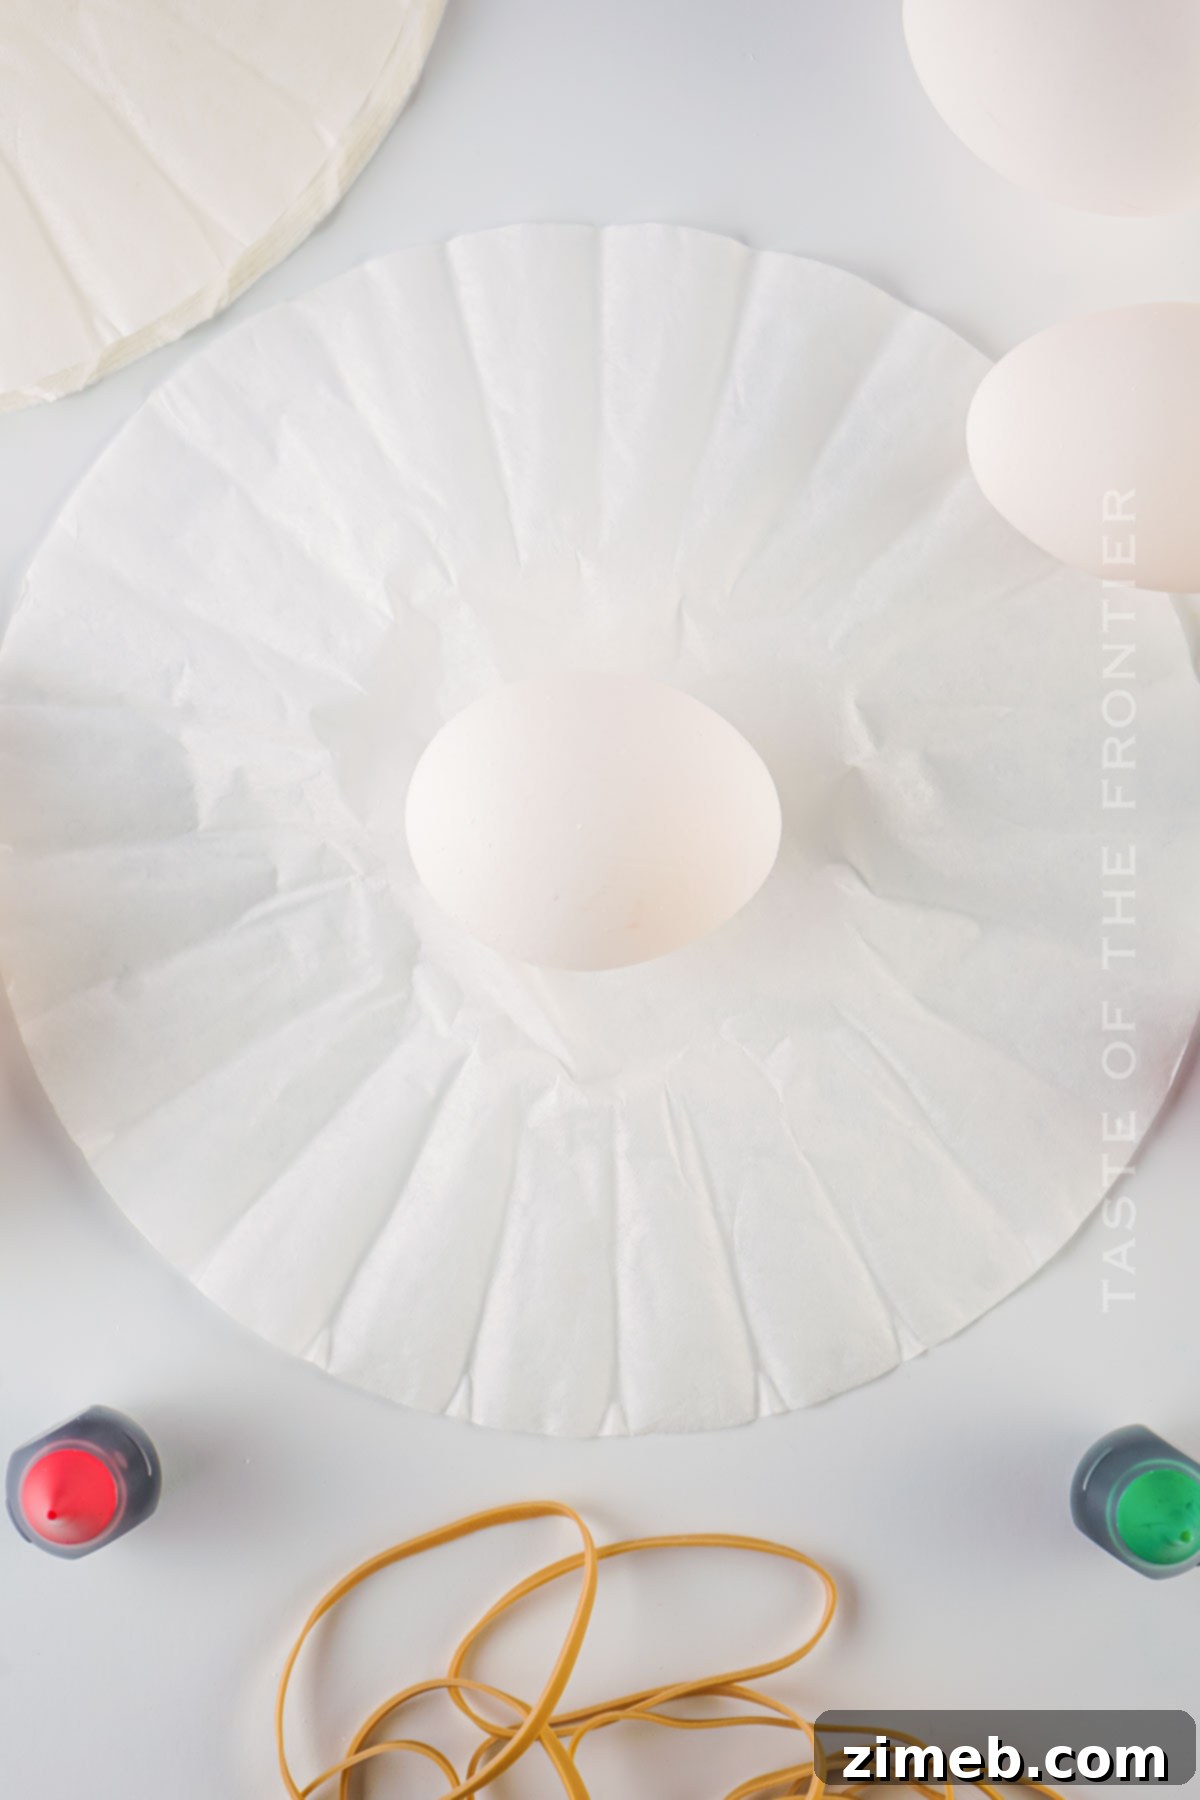
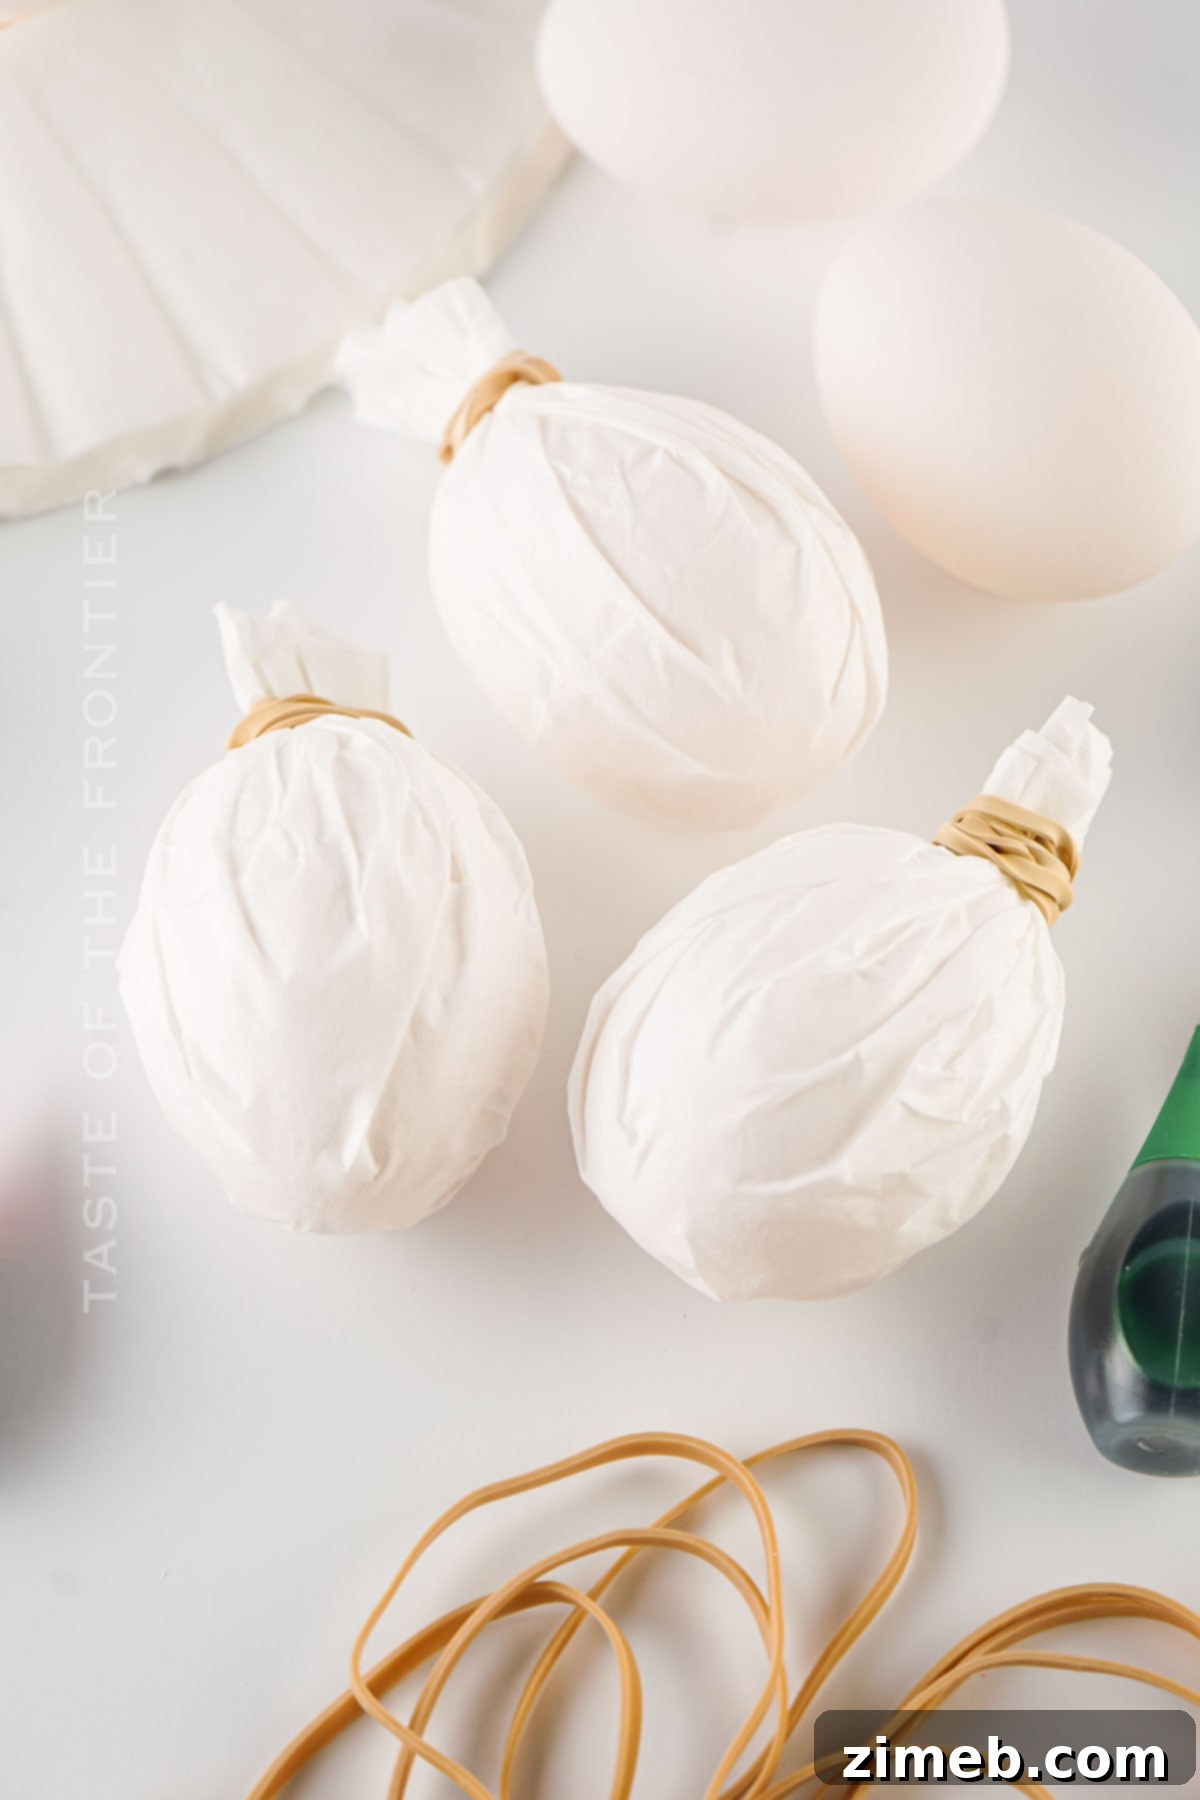
- Wrap the Egg: Take one hard-boiled egg and place it directly in the center of a single coffee filter. Carefully gather the edges of the coffee filter around the egg, pulling them tightly towards the tip or top of the egg. Secure this gathered portion firmly with a rubber band, ensuring the coffee filter remains snugly wrapped around the egg. For more intricate tie-dye patterns, you can gently twist the filter before securing it.
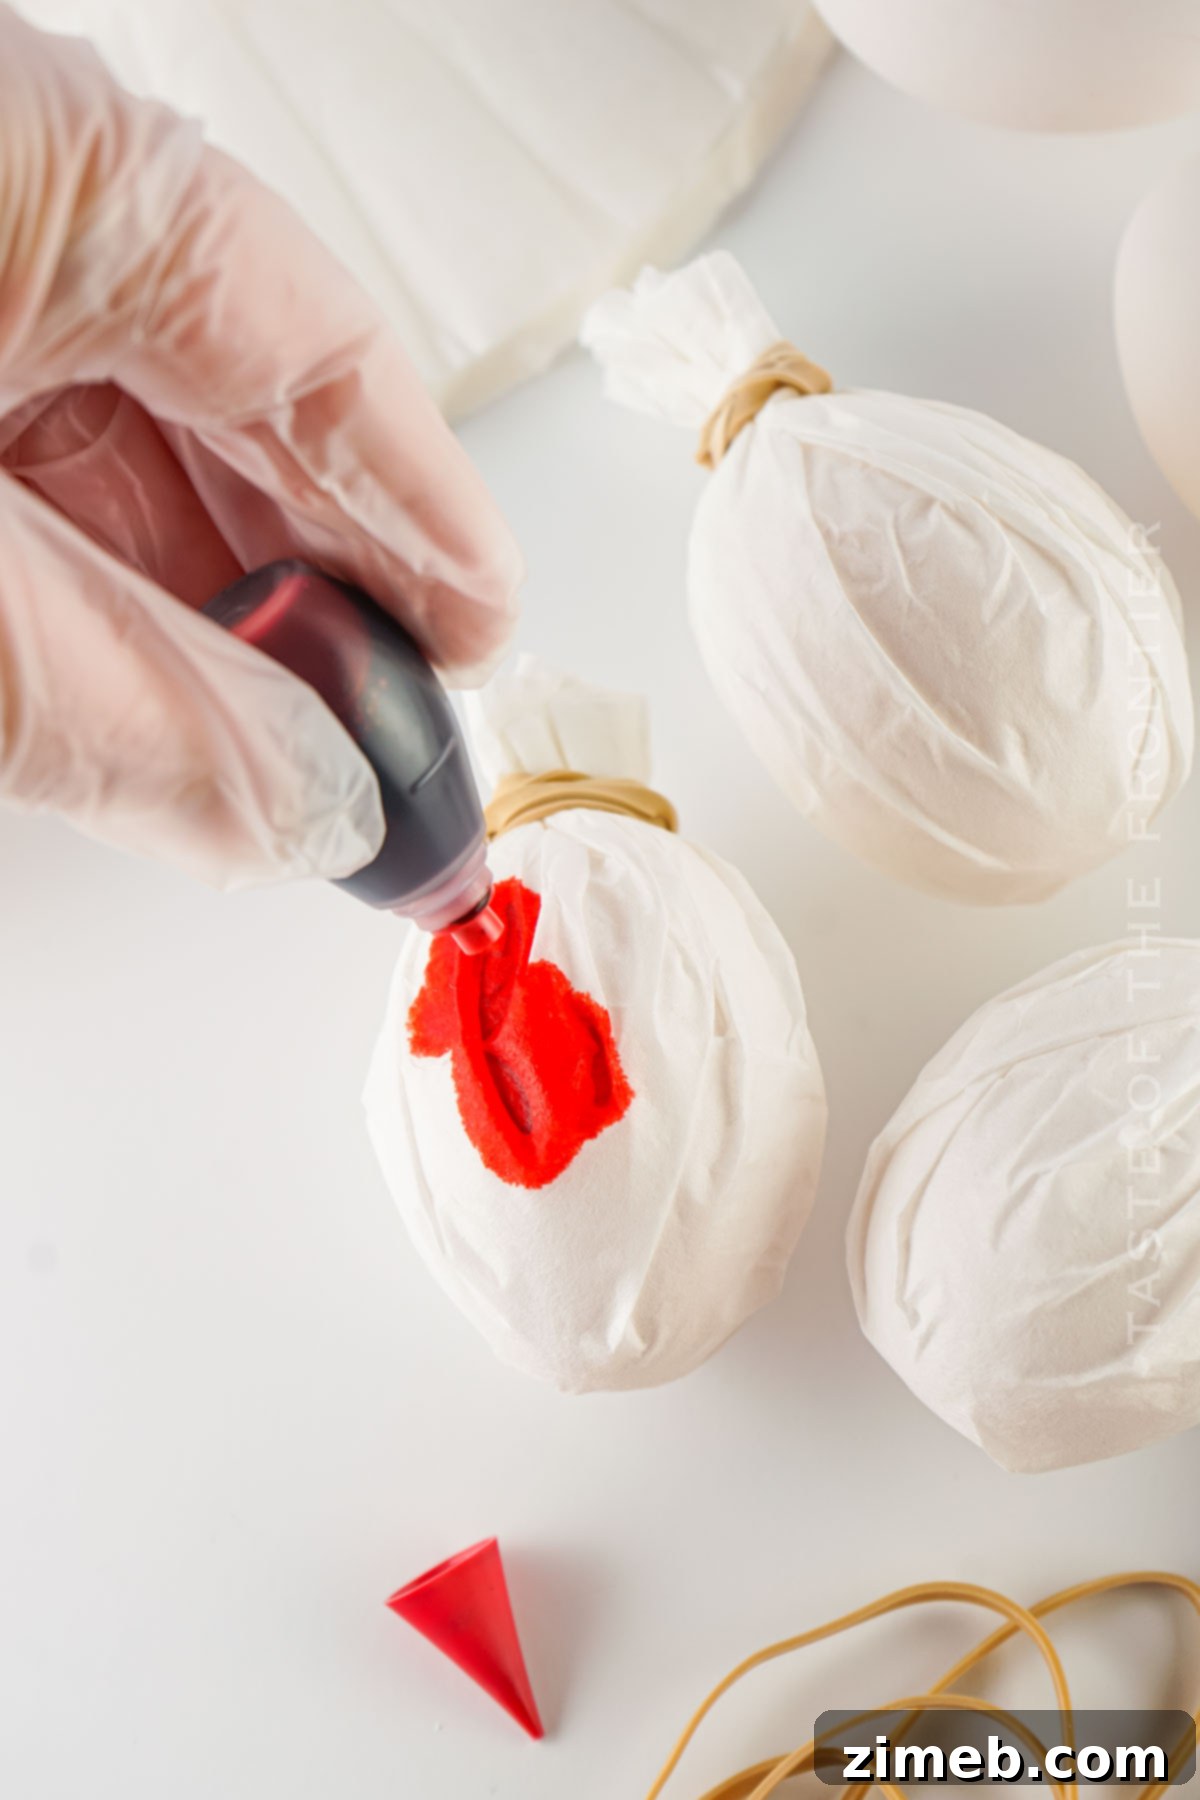
- Apply the Colors: Begin applying your chosen food coloring. Start with one color, placing a single drop at a time in various random spots across the wrapped coffee filter. Continue this process with as many colors as you desire. I personally find that using 4 different basic colors—red, green, blue, and yellow—yields a fantastic, vibrant spectrum, as shown in the images. Keep adding drops until the coffee filter surrounding the egg is mostly saturated with color. Remember, a little food coloring goes a long way, as the colors will spread and blend within the damp filter.
- Let the Colors Develop: Once the eggs are fully coated with color on their coffee filter wraps, allow them to sit undisturbed for approximately 5 minutes. This crucial resting period gives the food coloring ample time to penetrate the eggshell and develop rich, vibrant tie-dye patterns.
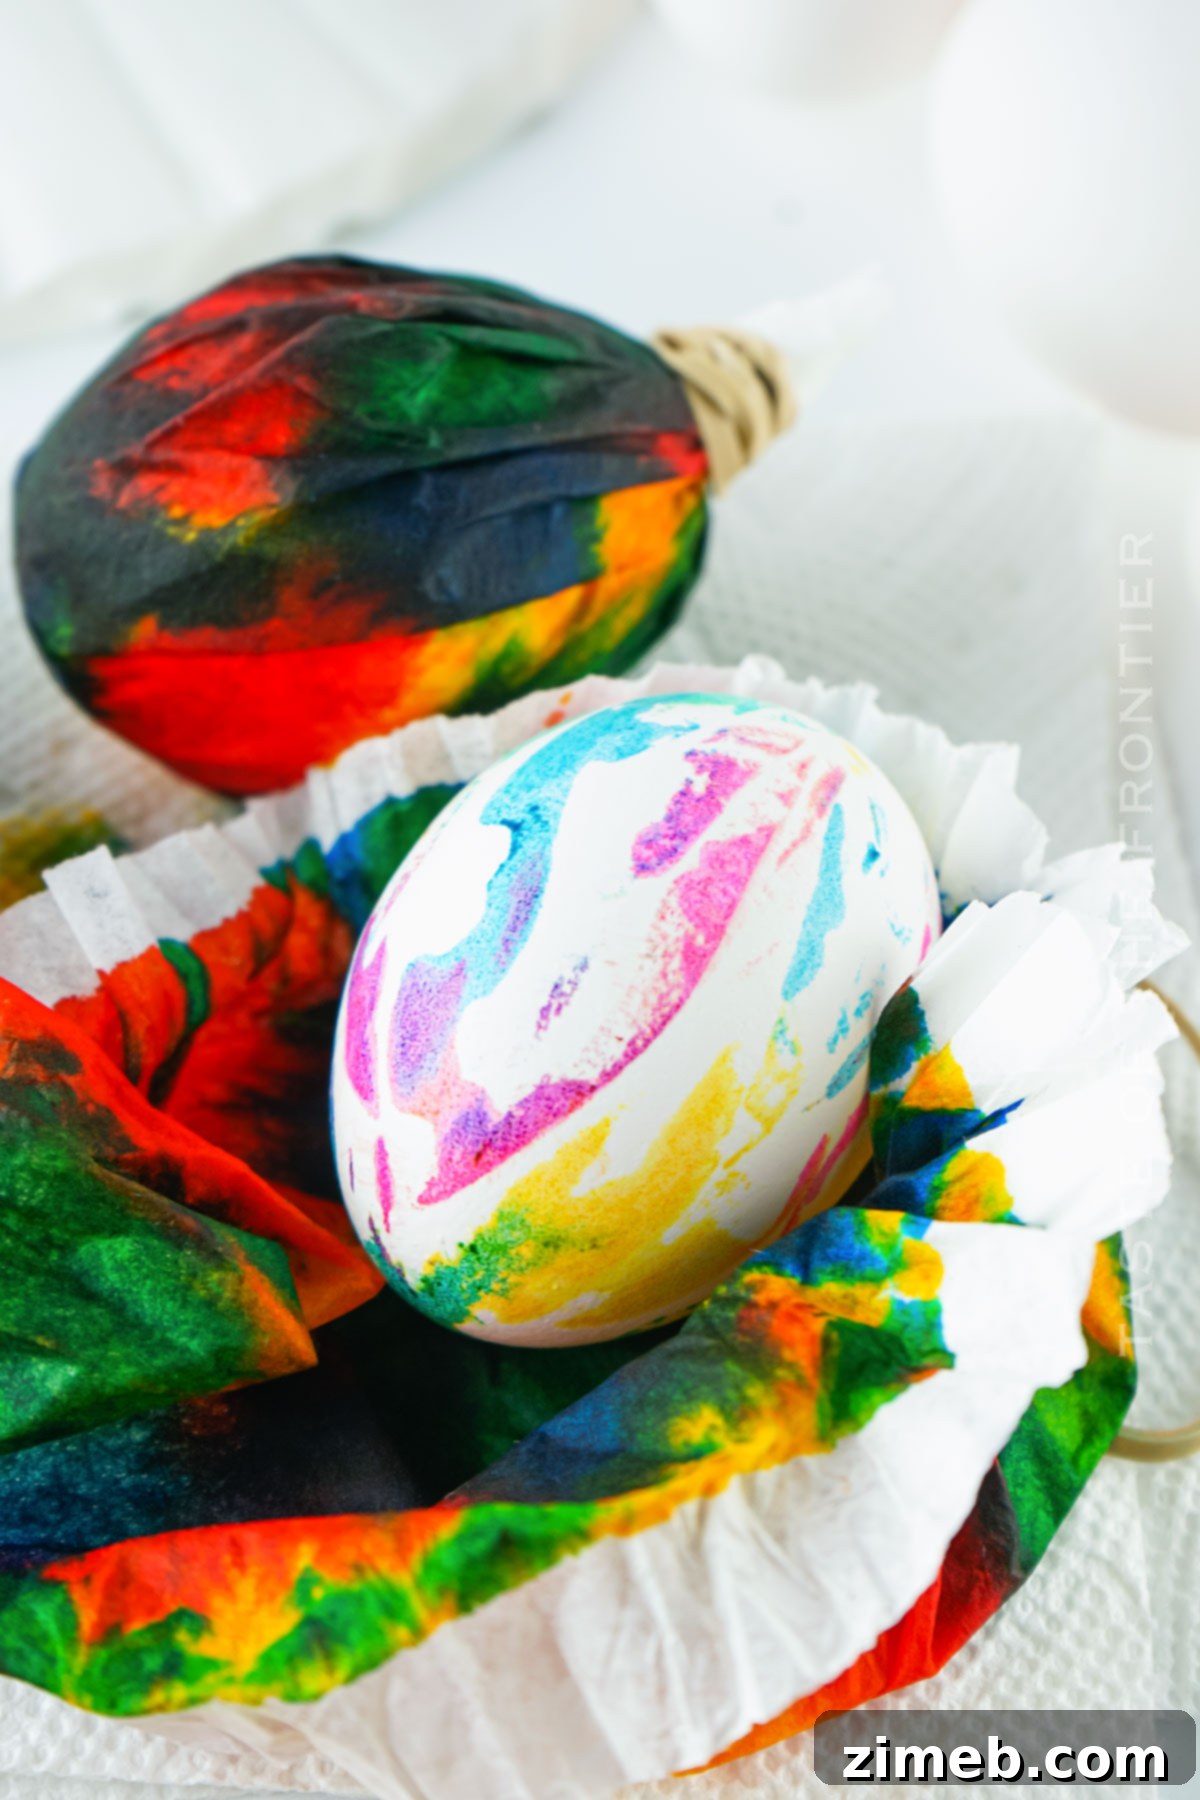
- Unwrap and Pat Dry: If you wish to keep your hands spotless, now is the time to don your rubber or latex gloves. Gently unwrap each egg from its coffee filter cocoon. You’ll be amazed by the unique and vibrant patterns that have formed! Carefully pat the newly revealed, tie-dyed eggs dry with a clean paper towel to remove any excess moisture or dye.
- Final Drying: To ensure the colors are fully set and smudge-proof, place the eggs back into an empty egg carton or on a wire rack. Allow them to air dry for an additional 5 minutes. Once dry, your spectacular Tie-Dyed Easter Eggs are ready to be displayed, hidden for a hunt, or enjoyed!
Essential Kitchen Supplies for Tie-Dyed Easter Eggs
Easter is such a joyful and playful time! Last year, I opted for the easy route with plastic eggs, but it simply didn’t capture the same charm and hands-on fun. These tie-dye eggs are helping me rekindle the festive spirit this year! Here’s a list of essential kitchen supplies to get you started:
- Coffee filters or your preferred wrapping material: While coffee filters are highly recommended for their shape and absorption, you can experiment with sturdy paper towels if preferred.
- Small bowls or cups: Useful if you decide to pre-mix your food coloring with a little water or vinegar for varying intensities.
- A cooling rack or cookie sheet lined with paper towels: Ideal for air drying your eggs evenly and preventing smudges.
- A collection of rubber bands or twist ties: For securely fastening the wrapping material around each egg.
- Rubber gloves: (Optional, but highly recommended for mess-free hands).
What to Serve With Your Colorful Tie-Dyed Easter Eggs
Beyond being a beautiful craft, these tie-dyed Easter eggs are hard-boiled and perfectly edible! While Easter candy might be the traditional accompaniment (and let’s be honest, everyone loves it!), these gorgeous eggs fit right into any festive spread. Here are some ideas for how to serve them:
- Festive Brunch Pairings: Present these eye-catching eggs alongside classic Easter treats such as warm hot cross buns, a fresh spring salad, or a quiche for a truly memorable Easter brunch. Their vibrant colors will add an instant festive touch to your table.
- The Ultimate Easter Egg Hunt: Integrate your tie-dyed eggs into your annual Easter egg hunt. Their unique and vibrant patterns will make them stand out, adding a fun and colorful twist that children of all ages will absolutely adore. Imagine the excitement as they discover these miniature works of art!
- Deviled Eggs with a Twist: Transform your tie-dyed hard-boiled eggs into stunning deviled eggs. The colorful whites will make a dramatic and unexpected presentation, elevating a classic appetizer to gourmet status.
- Simple & Healthy Snack: Offer them as a healthy, protein-rich snack. Their appealing colors make them much more inviting, especially for kids who might otherwise be picky about plain hard-boiled eggs.
Why You Should Make Tie-Dyed Easter Eggs This Year
Forget the strong smell of vinegar solutions often associated with traditional egg dyeing! This method offers a refreshing and delightful alternative. Don’t you agree that having various creative approaches to holiday traditions makes them even more special and enjoyable?
- They’re a **creative and fun way to celebrate** the vibrant spirit of Easter and the beautiful arrival of spring. It’s an activity that truly embodies the joy of the season.
- This project is a **great hands-on activity for kids**, offering an enjoyable craft that’s equally satisfying to create and proudly display. It fosters creativity and fine motor skills.
- Tie-dyed Easter Eggs add a **unique and deeply personal touch** to your Easter traditions, making them more memorable and cherished for years to come. Each egg tells a colorful story!
- The process is **surprisingly simple and requires minimal cleanup**, especially compared to traditional dye baths. This makes it a stress-free option for busy families.
- Each egg is a **one-of-a-kind masterpiece**, meaning you’ll have a collection of eggs as unique as the individuals who made them.
Creative Variations and Add-Ins for Your Tie-Dyed Easter Eggs
I would absolutely love to see your incredible tie-dye egg creations! Please share your photos and ideas with me; it’s always inspiring to see the amazing artistry you bring to these projects. Here are some fantastic ways to customize and enhance your tie-dyed eggs:
- Go Natural with Dyes: For an eco-friendly and equally beautiful tie-dye experience, incorporate natural dyes. Think vibrant beet juice for beautiful pinks, turmeric for sunny yellows, or red cabbage for blues and purples. While the process might vary slightly, the results can be stunning and chemical-free.
- Experiment with Wrapping Materials: Don’t limit yourself to coffee filters. Try different wrapping materials like scraps of old silk ties (the 100% silk ones can transfer their patterns!), cheesecloth for a delicate speckled effect, or even plastic wrap for a more defined, crinkled look. Each material will yield a distinct tie-dye pattern.
- Post-Dye Embellishments: Once your eggs are completely dry and the tie-dye patterns are set, take them to the next level with additional decorations. Apply festive stickers, sprinkle them with a touch of fine glitter for sparkle, or use a permanent marker to add intricate designs, dots, or even facial expressions.
- Ombre Effect: Instead of multiple drops of color, try dipping a portion of the wrapped egg into a single dye solution, then gradually dipping less of the egg or dipping for shorter periods. This can create a beautiful ombre or gradient effect.
If you loved this easy and creative egg recipe, you’re going to adore these other fun egg ideas too! Click each link below to discover more easy and printable recipes for all your egg-cellent needs!
Dye Eggs with Rice
Skip the water and vinegar cups and make beautifully Dyed Eggs using a simple rice technique instead. It’s less messy and offers a delightful change from the traditional chaos of dyeing eggs.
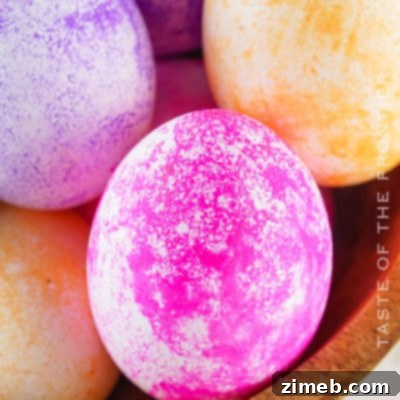
Check out this recipe
Kool-Aid Dyed Eggs
Add a splash of vibrant fun to your Easter egg decorating with our Kool-Aid Dyed Eggs! These are vibrantly colored, incredibly easy to make, and always a huge hit with the kids.
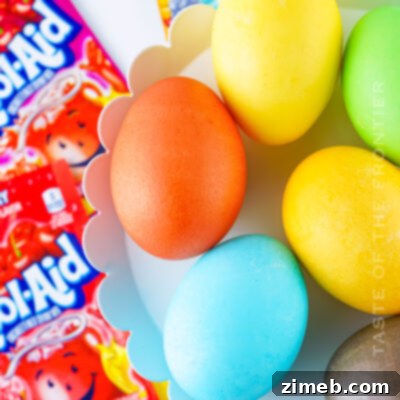
Check out this recipe
How to Dye Eggs
With Easter approaching, you won’t want to miss this essential tutorial for How to Dye Eggs using classic vinegar and food coloring – no fancy kit required. It’s so easy and creates beautiful results!
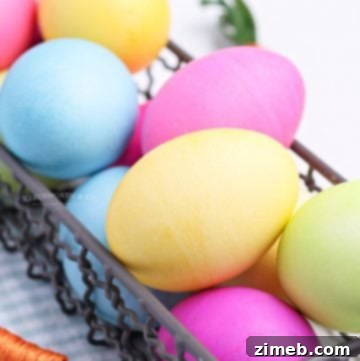
Check out this recipe
Colored Deviled Eggs
Elevate your appetizer game with our vibrant Colored Deviled Eggs! Perfect for parties, holidays, or any occasion where you want to add a delightful pop of color and flavor to your table.
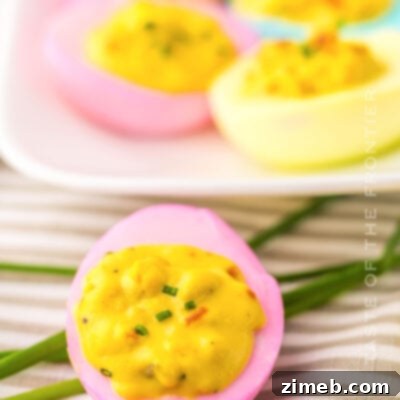
Check out this recipe
More Great Egg Recipes for Any Occasion
Eggs are incredibly versatile, forming the base for countless delicious dishes. Here are some more fantastic recipes featuring eggs that you’ll want to add to your culinary repertoire:
- Hard Boiled Eggs – Perfect Every Time
- Soft Boiled Eggs
- Keto Egg Muffins
- Over Easy Eggs
CONNECT WITH YUMMI HAUS!
Be sure to follow me on my social media channels, so you never miss a post or a delicious new recipe!
Substack, Facebook, Pinterest, Instagram, Email Subscription
Tie-Dyed Easter Eggs
Using a swirl of vibrant food colors and a simple technique, transform your eggs into a groovy experience and make Tie-Dyed Easter Eggs!
Course: Appetizer, Snack
Servings: 12 servings
Pin Recipe
Save Recipe
Prep Time: 5 mins
Rest/Dry Time: 10 mins
Total Time: 15 mins
Ingredients
- 12 Hard-boiled eggs, cooled to room temperature
- Water-based food coloring (preferably gel for more intense colors)
Instructions
- Place one egg in the middle of one coffee filter and wrap it tightly, bringing the excess coffee filter to the tip of the egg and securing it with a rubber band.
- Start with one color of food coloring, putting one drop at a time in random spots around the wrapped egg. Do this with as many colors as you like, however, I like to use 4 different colors, the basic red, green, blue, and yellow. Do this until the coffee filter around the egg is mostly filled with food coloring. It spreads, so a little goes a long way.
- Leave the color-coated wrapped eggs to sit for 5 minutes.
- Using rubber/latex gloves if desired, gently unwrap the eggs and pat them dry with a paper towel.
- Set them back in the egg carton or on a wire rack to dry for about 5 minutes.
Notes
- You can use whatever combination of colors you like. Just note that the colors will turn out a little different than the colors you put on the egg. This is because the colors mix and end up lighter than they go on. For example, red will often appear as pink.
- You can also use paper towels in place of coffee filters, but I felt the coffee filters were so much easier and worked better for color transfer and achieving distinct patterns.
- The coffee filters work for all sizes of eggs. I tried them with the largest eggs I could find, and they still fit perfectly.
- This method works wonderfully with brown or fresh farm eggs as well. The colors tend to come out darker and more muted on brown eggs, but they are still very pretty and have a unique charm.
- The longer you leave the eggs wrapped in the dye-saturated filters, the darker and more intense their colors will become. Similarly, saturating the filter with a generous amount of dye will also contribute to darker hues.
Equipment
- Coffee filters
- Rubber bands
- Paper towels
- Rubber gloves (optional)
Nutrition
Serving: 1g (per egg, approximate)
Nutritional information for the recipe is provided as a courtesy and is approximate. Please double-check with your own dietary calculator for the best accuracy. We at Yummi Haus cannot guarantee the accuracy of the nutritional information given for any recipe on this site.
Love this recipe?
Follow @KleinworthCo for even more tasty recipes!