
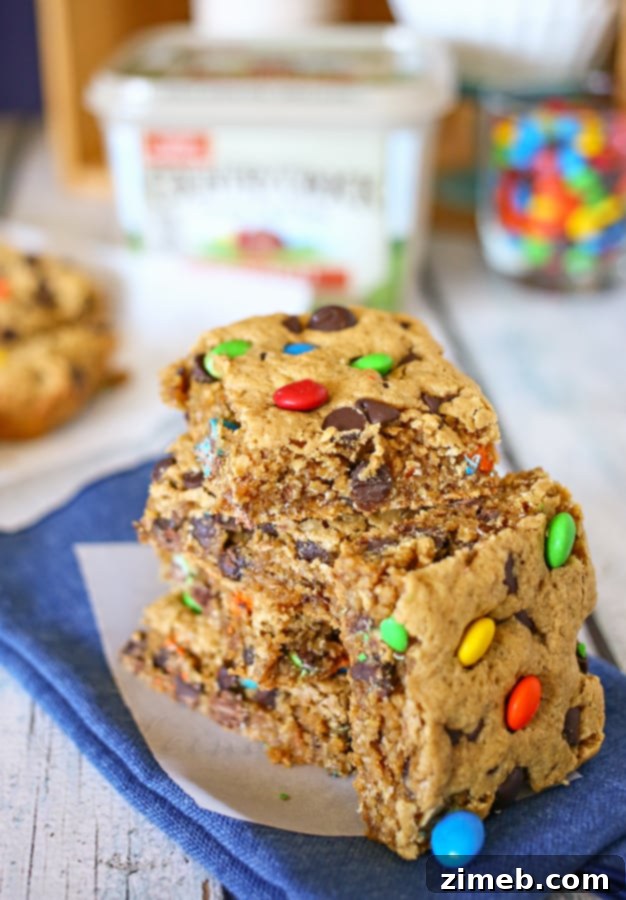
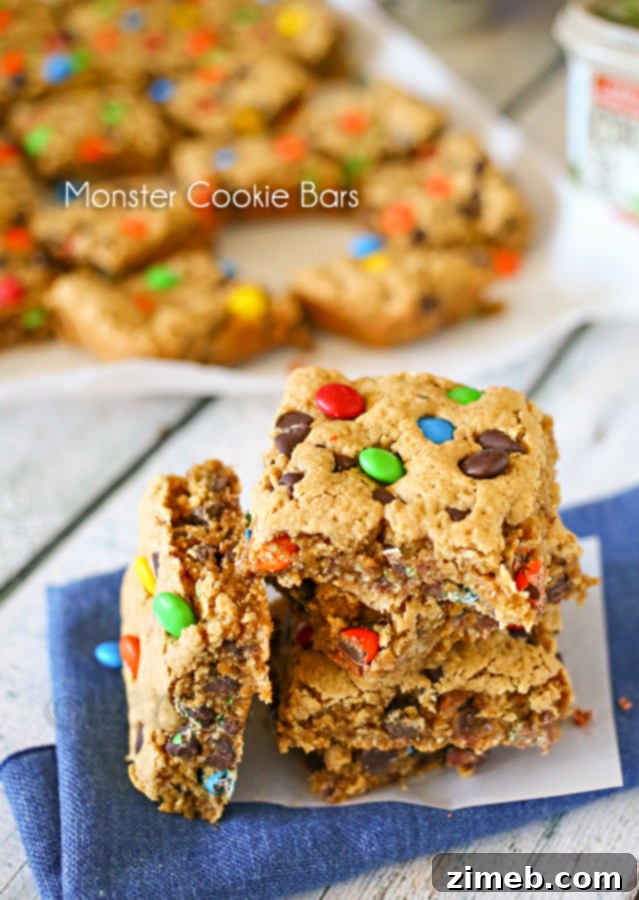
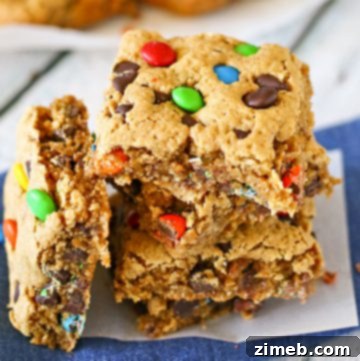
If you’re craving a deliciously satisfying and incredibly easy dessert, these **Monster Cookie Bars** are an absolute game-changer! Imagine the rich, nutty flavor of peanut butter perfectly blended with hearty oats, studded with generous amounts of chocolate chips and vibrant M&M’s. This is more than just a cookie; it’s a delightful, chewy, and utterly irresistible bar that promises to become a family favorite. Skip the hassle of individual cookies and dive into the simplicity and pure joy of baking these fantastic bar treats!
For what feels like ages, I’ve had monster cookies on my mind. Every time I stumble upon a new recipe, I get a fresh burst of inspiration, yet somehow, the actual baking never quite materializes. Perhaps it’s because traditional cookies often demand a certain commitment: waiting for butter to soften to room temperature, chilling the dough, and the meticulous process of scooping and baking batch after batch. When a sweet craving hits, that waiting game can feel almost unbearable!
Recipe Rundown: A Closer Look at These Perfect Bars
Delve into what makes these Monster Cookie Bars truly special, from their delightful texture to their balanced flavor and incredible ease of preparation.
Texture Sensation
These Monster Cookie Bars boast a wonderfully **chewy and soft** interior, providing a satisfyingly dense and hearty bite. The addition of M&M’s and chocolate chips introduces sporadic bursts of **crunchy sweetness**, contrasting beautifully with the tender oat and peanut butter base. Depending on how long you bake them, you might even achieve delightfully crispy edges while keeping the center slightly gooey – a truly perfect combination!
A Symphony of Flavors
Prepare your taste buds for a **rich, sweet, and perfectly balanced slightly salty** flavor profile. The creamy peanut butter delivers a distinct nutty and subtly savory foundation, harmonizing exquisitely with the deep sweetness of brown sugar, granulated sugar, and, of course, the vibrant chocolatey goodness of M&M’s and dark chocolate chips. The hearty oats contribute a warm, toasty depth, rounding out this delightful medley of classic cookie flavors.
Effortless Baking
One of the biggest advantages of these Monster Cookie Bars is their remarkable **ease of preparation**. They are incredibly **super easy to make**, making them an ideal project for beginner bakers or for those busy days when you need a quick, crowd-pleasing treat without much fuss. Since they’re baked as bars, there’s **no need to scoop individual cookies**, which significantly reduces preparation time and simplifies the entire process.
Why This Recipe is a Winner
I absolutely adore this recipe because it’s so **easy to make** and delivers maximum flavor with minimum effort. There’s **no requirement for chilling the dough** or needing any special, fancy equipment. It’s the ultimate solution for satisfying a strong sweet tooth without dedicating an entire afternoon to baking. These bars are a testament to the fact that incredibly delicious homemade treats can also be wonderfully straightforward.
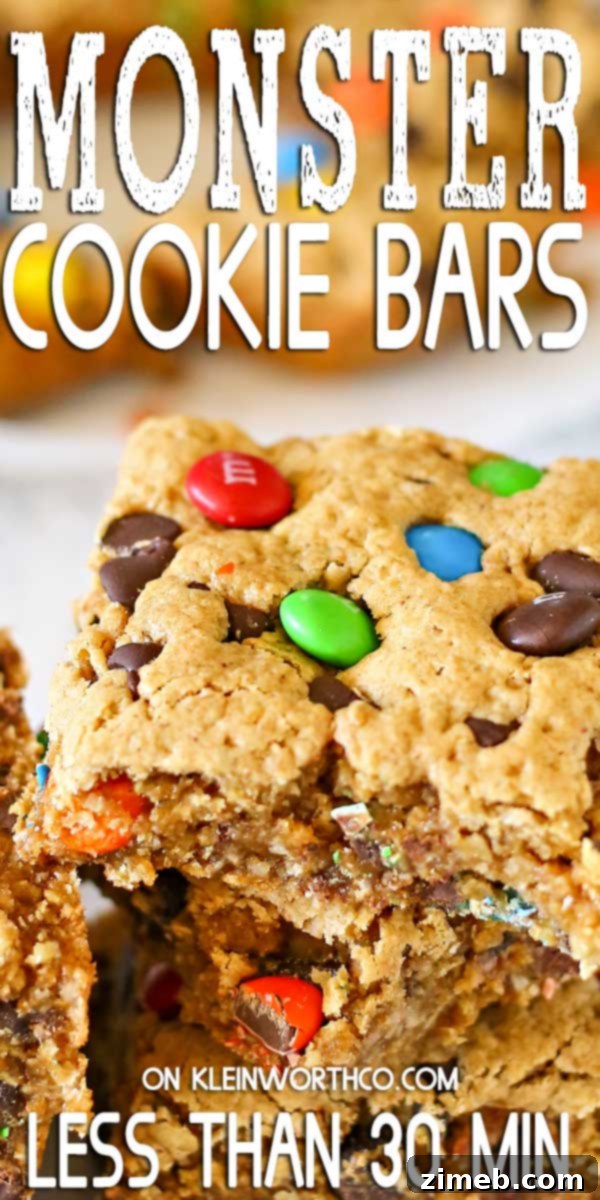
Table of Contents
- Recipe Rundown: A Closer Look at These Perfect Bars
- The Joy of Cookie Bars: Why Bars are Better
- Monster Cookie Bar Ingredients
- How to Make Monster Cookie Bars: Step-by-Step Instructions
- Tips for Perfect Monster Cookie Bars
- Frequently Asked Questions About Monster Cookie Bars
- Storage and Freshness Tips
- Customization Ideas for Your Cookie Bars
- Serving Suggestions
- Essential Baking Supplies for Monster Cookie Bars
- More Yummy Bar Recipes You’ll Love
The Joy of Cookie Bars: Why Bars are Better
This is where Monster Cookie Bars truly shine – they embody simplicity, speed, and deliciousness all rolled into one. Forget the laborious process of chilling dough, meticulously rolling out individual cookies, or waiting patiently for each small batch to bake before the next can enter the oven. With these bars, you get all the beloved flavors of a classic monster cookie in a fraction of the time and with minimal fuss. It’s a huge win in my book, especially when that craving for something sweet simply won’t wait!
When I finally brought these scrumptious bars to the family, they were absolutely thrilled. I had been talking about making them for a while, and the anticipation made the first bite even more delightful. These bars strike the perfect balance of peanut butter, oats, and chocolate – a true harmony of flavors and textures. They’re an excellent compromise when one person in the house, perhaps a spouse, is craving classic oatmeal raisin cookies, while another (like me!) is always reaching for chocolate chip. It’s truly the best of both worlds, perfectly combined into one amazing treat.
I tend to cut these bars into generous portions, ensuring that one piece is absolutely sufficient for a satisfying dessert. Although, I must admit, on one particularly indulgent occasion, I might have added a scoop of homemade ice cream on top. It was pure bliss! These versatile bars are not just for dessert; they make fantastic after-school snacks, delightful additions to potlucks, or a wonderful pick-me-up with your afternoon coffee.
Monster Cookie Bar Ingredients
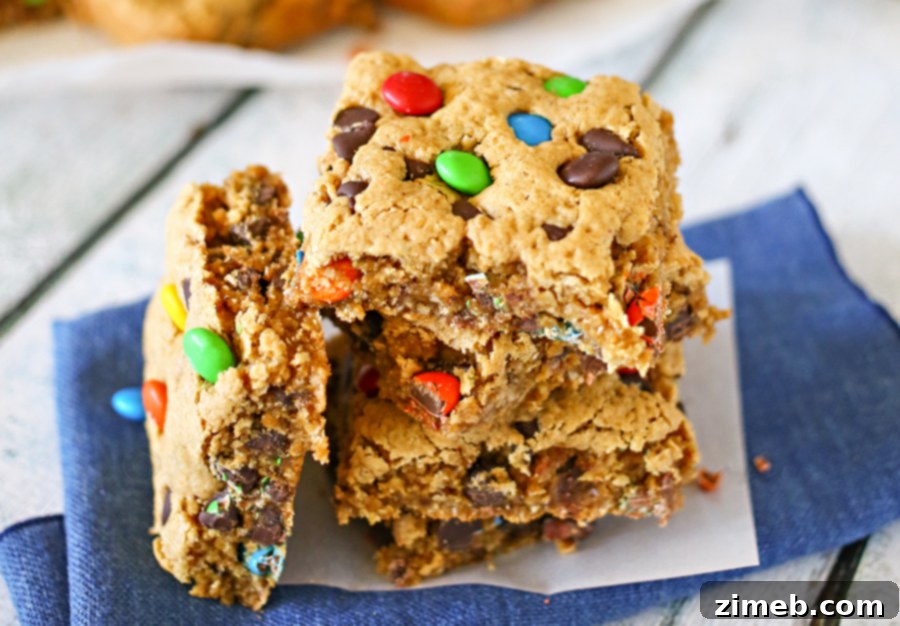
Crafting these delectable Monster Cookie Bars requires a simple list of pantry staples, most of which you probably already have on hand. The magic happens when these humble ingredients come together to create a treat that’s far greater than the sum of its parts. Here’s what you’ll need to gather:
- Brown Sugar: Provides moisture and a deep, caramel-like sweetness crucial for that chewy texture.
- Granulated Sugar: Adds sweetness and helps with crisp edges.
- Margarine (or butter): The fat base that binds everything together and contributes to richness.
- Eggs: Act as a binder and add structure to the bars.
- Vanilla Extract: Enhances all the other flavors, giving the bars a warm, inviting aroma.
- Creamy Peanut Butter: Essential for the signature monster cookie flavor and contributes to the soft, moist texture.
- Quick-Cook Oats: Offer a satisfying chewiness and a wholesome, hearty element.
- Baking Soda: The leavening agent that helps the bars rise slightly and contributes to their tender crumb.
- Candy-Coated Chocolate Candies (M&M’s): Provide vibrant color, extra chocolatey goodness, and a delightful crunch.
- Dark Chocolate Chips: Introduce rich pockets of melted chocolate throughout the bars, deepening the overall flavor.
How to Make Monster Cookie Bars: Step-by-Step Instructions
Follow these straightforward steps to create your own batch of irresistible Monster Cookie Bars. It’s truly as easy as mix, spread, and bake!
- Prepare Your Oven and Pan: Preheat your oven to 350°F (175°C). Lightly grease a 9×13 inch baking sheet with sides, or line it with parchment paper for easy removal and cleanup.
- Cream Sugars and Fat: In the large bowl of an electric mixer (or with a sturdy hand mixer), combine both the brown sugar and granulated sugar with the softened margarine. Beat them together on medium speed until they are just combined and light, usually a minute or two.
- Incorporate Wet Ingredients: Add the eggs one at a time, mixing well after each addition. Stir in the vanilla extract until fully incorporated.
- Add Peanut Butter: Next, add the creamy peanut butter to the mixture. Continue to mix on low speed until the peanut butter is smoothly blended into the batter.
- Combine Dry Ingredients: Slowly add the quick-cook oats and baking soda to the wet mixture. Mix well until all the dry ingredients are just incorporated. Be careful not to overmix at this stage.
- Fold in the Goodies: Gently fold in the dark chocolate chips and the majority of the candy-coated chocolate candies. Reserve a small handful of candies to press into the top of the bars once they are out of the oven.
- Spread the Dough: Transfer the thick cookie dough into your prepared baking sheet. Using your fingers or a spatula, spread it out into an even layer, pressing firmly to ensure it’s compact and smooth.
- Bake to Perfection: Bake for 15-18 minutes, or until the edges are golden brown and set, but the center still looks slightly soft. The bars will continue to firm up as they cool.
- Finishing Touch: Immediately after removing the pan from the oven, press the reserved handful of candy-coated chocolates onto the warm surface of the bars. This adds a beautiful pop of color and ensures they adhere nicely.
- Cool Before Cutting: Allow the Monster Cookie Bars to cool completely in the pan on a wire rack before attempting to cut them. This allows them to fully set, making for clean, neat slices.
Tips for Perfect Monster Cookie Bars
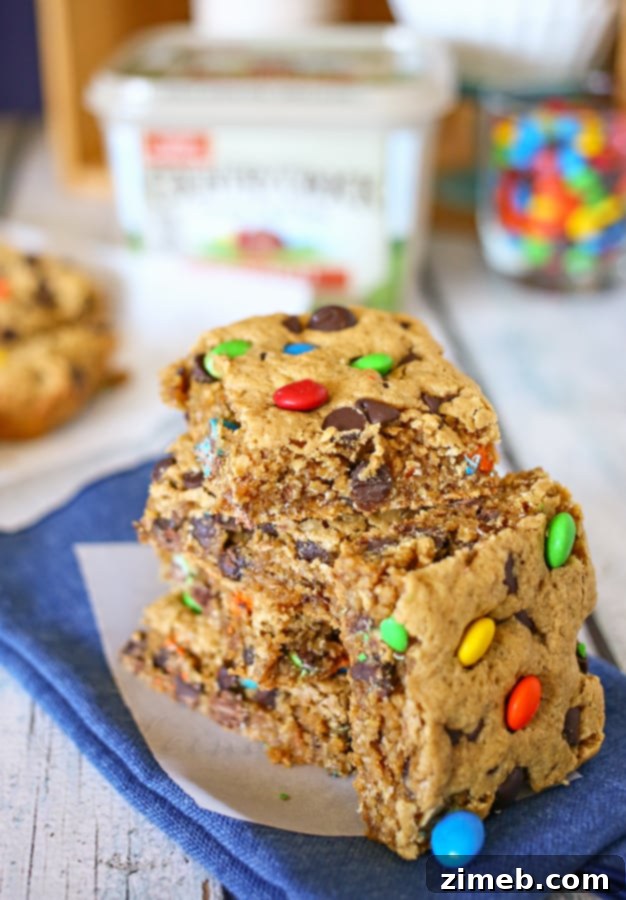
Achieving bakery-quality Monster Cookie Bars at home is surprisingly simple, especially with a few insider tips:
- Don’t Overbake! This is perhaps the most crucial tip for moist and chewy bars. Remove the bars from the oven when the edges are set and lightly golden, but the center still appears slightly soft. They will continue to bake and set as they cool in the pan, ensuring a perfectly gooey interior.
- Choose Your Peanut Butter Wisely: For the best texture and moisture, I highly recommend using creamy peanut butter (such as Jif or Skippy) rather than natural peanut butter. Natural peanut butter tends to be oilier and can sometimes lead to drier, more crumbly bars.
- Press Evenly: When spreading the dough into the baking pan, make sure to press it down firmly and evenly. This ensures consistent thickness throughout the pan, leading to uniform baking and a consistent chew in every bite.
- The M&M Trick: Reserving a small portion of M&M’s to press into the top of the bars immediately after they come out of the oven is a fantastic way to boost their visual appeal. The warmth of the bars will help the candies adhere beautifully.
- Cool Completely: Patience is a virtue when it comes to cutting bar cookies. Allowing the bars to cool completely in the pan before slicing prevents them from crumbling and results in clean, well-defined squares or rectangles.
- Pan Choice: A good quality 9×13 inch baking pan with at least 1-inch high sides is ideal. Lining it with parchment paper that extends over the sides creates “handles” for easy lifting and cutting once cooled.
Frequently Asked Questions About Monster Cookie Bars
Here are some commonly asked questions to help you master your Monster Cookie Bar baking:
What makes Monster Cookie Bars different from regular cookies?
Monster Cookie Bars stand out due to their unique combination of ingredients – specifically **oats, peanut butter, chocolate chips, and M&M’s**, which collectively contribute to their signature chewy, soft, and slightly crispy texture. The most significant difference, however, lies in their format. Instead of scooping and baking individual cookies, the entire batch of dough is spread into a pan and baked as a single unit, making them considerably faster and easier to prepare.
Can I use quick oats instead of old-fashioned oats?
Absolutely, yes! In this particular recipe, quick oats are actually recommended for a slightly softer and more uniform texture, which works wonderfully in bars. Old-fashioned oats will also work and will add a bit more chewiness and visible texture to your bars. Both varieties will yield delicious results, so feel free to use what you have on hand or what you prefer.
How do I keep my Monster Cookie Bars from getting too dry?
The most common culprit for dry cookie bars is **overbaking**. To avoid this, bake your bars just until the edges are set and lightly golden, but the center still looks slightly soft or even a little underdone. They will continue to firm up as they cool in the pan. Additionally, using creamy peanut butter (rather than natural varieties, which can be less moist) and ensuring your margarine or butter is at room temperature will help retain moisture and contribute to a deliciously soft bar.
Can I use butter instead of margarine?
Yes, absolutely! Butter works perfectly fine as a substitute for margarine in this recipe, and many prefer its richer flavor. Just ensure that your butter is at **room temperature and softened** before you begin mixing. This will help it cream properly with the sugars, creating a smooth and well-combined dough.
Can I use a hand mixer?
Certainly! A hand mixer will work just as effectively as an electric stand mixer. You might find it requires a little more effort and arm strength, especially when mixing in the oats and peanut butter, as the dough can become quite thick. However, the end result will be just as fantastic.
Can I use a sugar substitute?
While I haven’t personally tested this recipe with sugar substitutes, it is possible to try. If you choose to do so, I recommend using a product that offers a **1:1 sugar swap** to maintain the intended sweetness and consistency. Please be aware that texture might be slightly altered. If you experiment with a substitute, I’d love to hear how it turns out!
How many servings does this recipe yield?
When cut into approximately 20 moderately sized bars, this recipe yields a generous amount. However, you have complete flexibility to cut them smaller for a party or larger for a substantial individual dessert, depending on your preferences and the occasion.
Can this recipe be doubled?
This recipe produces a substantial amount of dough that typically fills a standard electric mixer bowl quite well. While you could prepare two separate batches of dough back-to-back and then bake them together in two pans (or consecutively in one pan), I generally **do not recommend attempting to mix a double batch of this dough all at once** in a single mixer bowl. It’s likely to overflow and be too much for most home stand mixers to handle efficiently.
Storage and Freshness Tips for Your Monster Cookie Bars
To keep your delicious Monster Cookie Bars fresh and chewy for as long as possible, proper storage is key. Once completely cooled, transfer the bars to an airtight container. They will stay fresh at room temperature for up to 3-4 days. If you prefer, you can also wrap the entire pan tightly with foil or plastic wrap and keep them on the counter. For longer storage, you can freeze individual bars (once cooled) in an airtight container or freezer-safe bag for up to 2-3 months. Thaw at room temperature before enjoying.
Customization Ideas for Your Cookie Bars
One of the joys of baking is the ability to personalize recipes to your taste. Monster Cookie Bars are incredibly versatile! Here are some ideas to make them uniquely yours:
- Vary the Chocolate: Instead of just dark chocolate chips, try milk chocolate, white chocolate, peanut butter chips, or even a mix of different types.
- Nutty Additions: Enhance the crunch and flavor by adding chopped pecans, walnuts, or almonds. Just be mindful of allergies!
- Different Candies: While M&M’s are classic, feel free to experiment with other candy-coated chocolates or even chopped candy bars for a fun twist.
- Extract Variations: A tiny hint of almond extract alongside vanilla can add another layer of flavor.
- Spice It Up: A pinch of cinnamon or nutmeg can add a subtle warmth, especially appealing during cooler months.
Serving Suggestions
These Monster Cookie Bars are incredibly versatile and can be enjoyed in many ways. While they are undeniably delicious on their own, especially with a cold glass of milk, they also pair beautifully with a scoop of vanilla ice cream, creating an instant warm cookie sundae. Serve them at parties, pack them in lunchboxes for a special treat, or enjoy them with your morning coffee for a delightful start to the day. They also make excellent homemade gifts for friends and family, perfect for holidays or just to show you care.
Essential Baking Supplies for Monster Cookie Bars
This Monster Cookie Bars recipe is designed to be super easy and requires only a few basic kitchen tools. If you’re new to baking cookie bars, don’t be nervous – you’ll love how simple and satisfying this process is! Here’s a list of the essential items I rely on to make this cookie bar recipe come to life effortlessly:
- 9×13 Inch Baking Pan: A sturdy pan is crucial for even baking and easy slicing.
- Measuring Cups and Spoons: For accurate ingredient proportions, ensuring consistent results every time.
- Rubber Spatulas: Ideal for scraping down the mixer bowl and gently folding in the chocolate and candies.
- Electric Mixer (Stand or Handheld): While a stand mixer makes creaming butter and sugar a breeze, a powerful hand mixer will also do the job perfectly.
- Parchment Paper: Highly recommended for lining the baking pan; it prevents sticking and makes lifting the cooled bars out incredibly simple for neat cutting.
More Yummy Bar Recipes You’ll Love
If you love this Easy Monster Cookie Bars recipe, you’re going to love these other treats too. Please click each link below to find the easy, printable recipe!
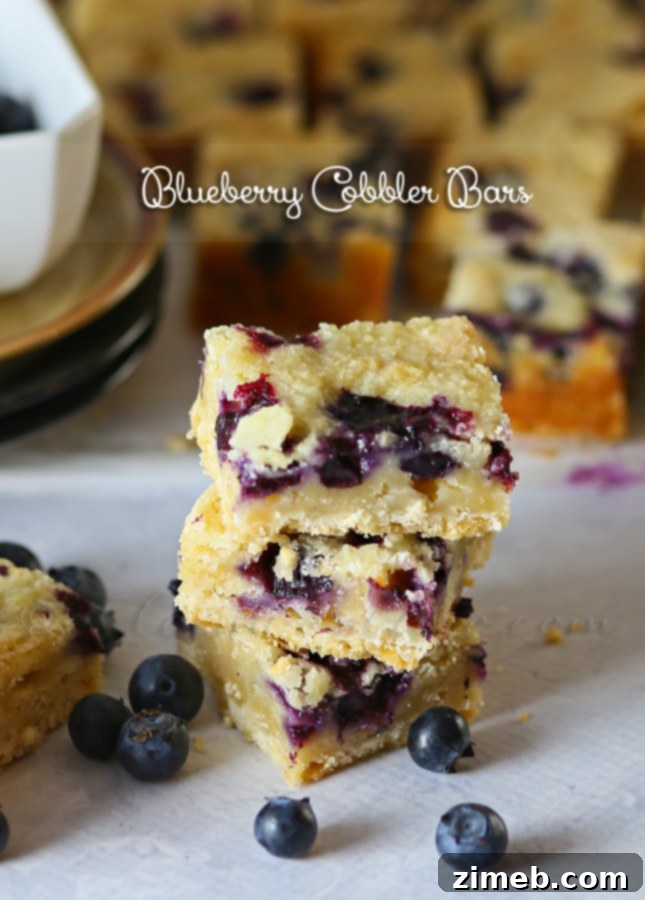
Blueberry Cobbler Bars
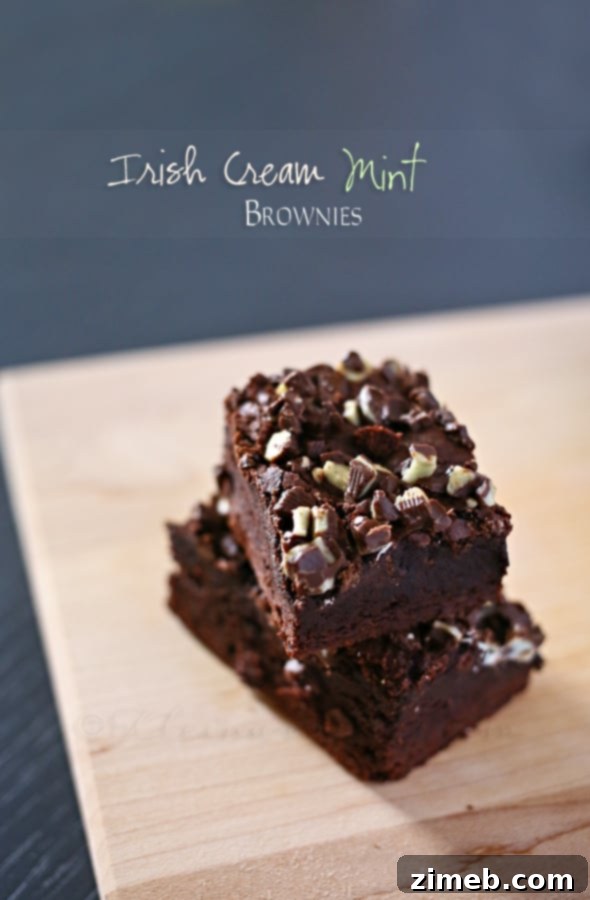
Irish Cream Mint Brownies
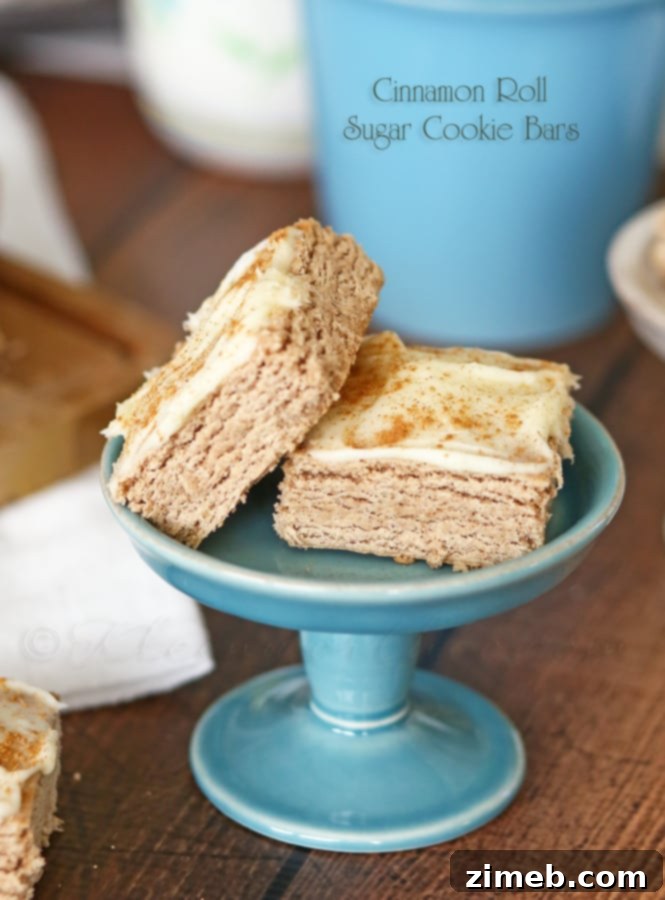
Cinnamon Roll Sugar Cookie Bars
If you love this recipe for Monster Cookie Bars as much as I do, please consider leaving a five-star review below, and be sure to help me share the deliciousness on Facebook and Pinterest!
CONNECT WITH YUMMI HAUS!
Be sure to follow me on my social media, so you never miss a post!
Substack |
Facebook |
Pinterest |
Instagram |
Email Subscription
Monster Cookie Bars
★★★★★ Rate this Recipe
Course: Dessert
Servings: 20 bars
If you are looking for more yummy bar recipes then these Monster Cookie Bars are perfect. Peanut butter & oats come together into an easy cookie bar recipe that is absolutely delicious!
📌 Pin
Prep Time: 7 mins
Cook Time: 18 mins
Total Time: 25 mins
Ingredients
- 1 cup brown sugar
- 1 cup granulated sugar
- ½ cup margarine (or unsalted butter, softened)
- 3 eggs
- 1 tbsp vanilla extract
- 1 ½ cups creamy peanut butter
- 4 ½ cups quick-cook oats
- 1 tsp baking soda
- 3 cups candy-coated chocolate candies (M&M’s)
- 1 cup dark chocolate chips
Instructions
- Preheat the oven to 350°F (175°C). Prepare a 9×13 inch baking pan by greasing or lining with parchment paper.
- In the bowl of an electric mixer, combine brown sugar, granulated sugar, and margarine. Beat until just combined.
- Add eggs and vanilla extract; mix until well blended.
- Add peanut butter and mix until thoroughly incorporated.
- Slowly mix in the quick-cook oats and baking soda until just combined. Do not overmix.
- Gently fold in the dark chocolate chips and most of the candy-coated chocolate candies. Reserve a small handful for topping.
- Spread the dough evenly into the prepared baking pan, pressing flat with your fingers or a spatula.
- Bake for 15-18 minutes, or until golden around the edges and slightly soft in the center.
- Immediately after removing from the oven, press the reserved candy-coated chocolates into the warm top of the bars.
- Allow the bars to cool completely in the pan on a wire rack before cutting into desired sizes.
Nutrition
Serving: 1 bar | Calories: 486kcal | Carbohydrates: 59g | Protein: 9g | Fat: 25g | Saturated Fat: 6g | Cholesterol: 29mg | Sodium: 258mg | Potassium: 307mg | Fiber: 3g | Sugar: 46g | Vitamin C: 0.1mg | Calcium: 93mg | Iron: 4mg | Net Carbohydrates: 34g
Nutritional information for the recipe is provided as a courtesy and is approximate. Please double-check with your own dietary calculator for the best accuracy. We at Yummi Haus cannot guarantee the accuracy of the nutritional information given for any recipe on this site.
Love this recipe?
Follow @KleinworthCo for even more tasty recipes!