
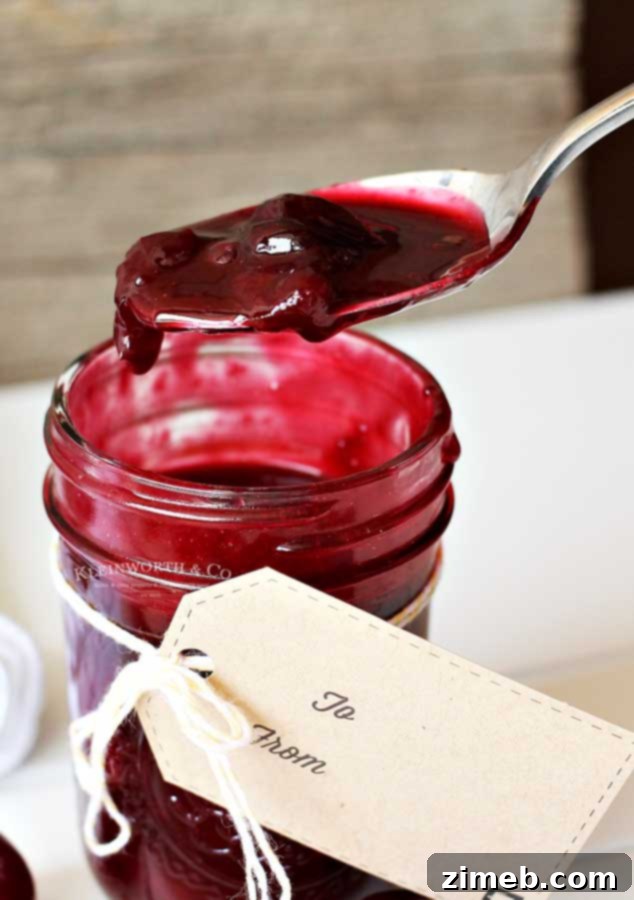
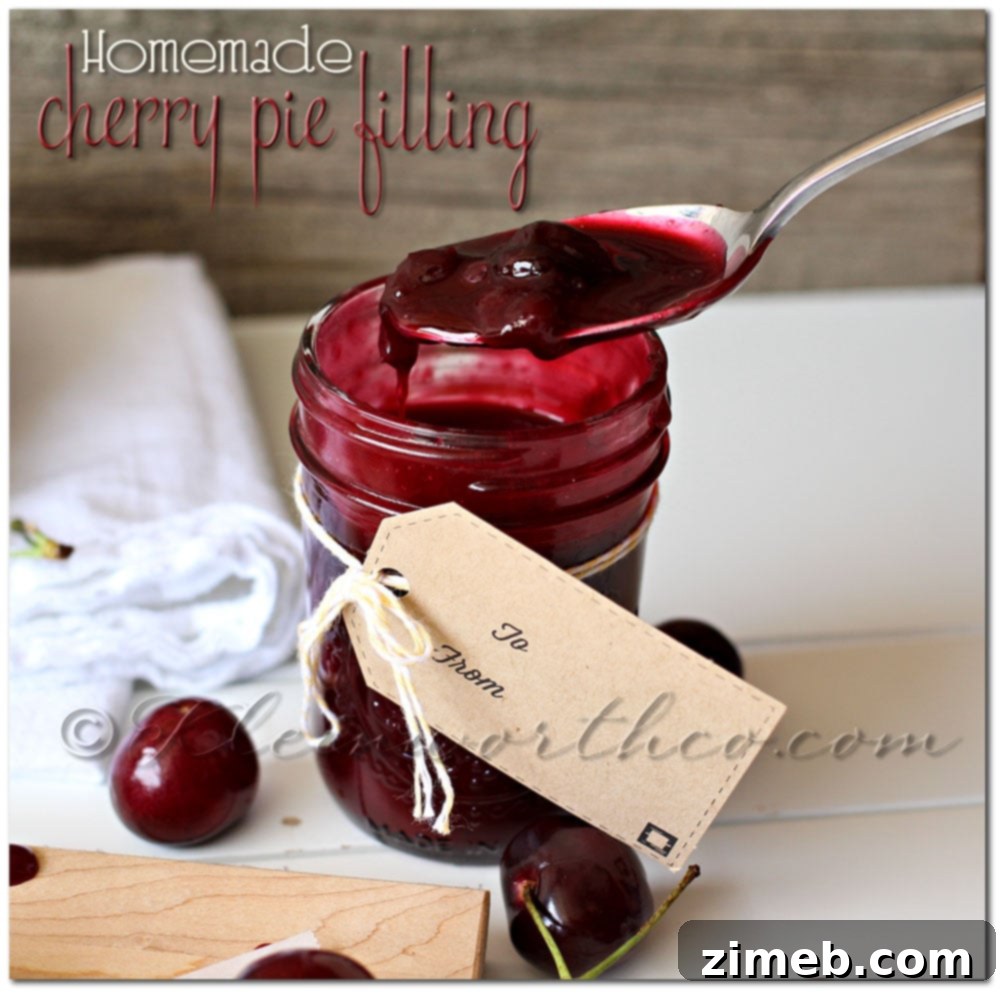
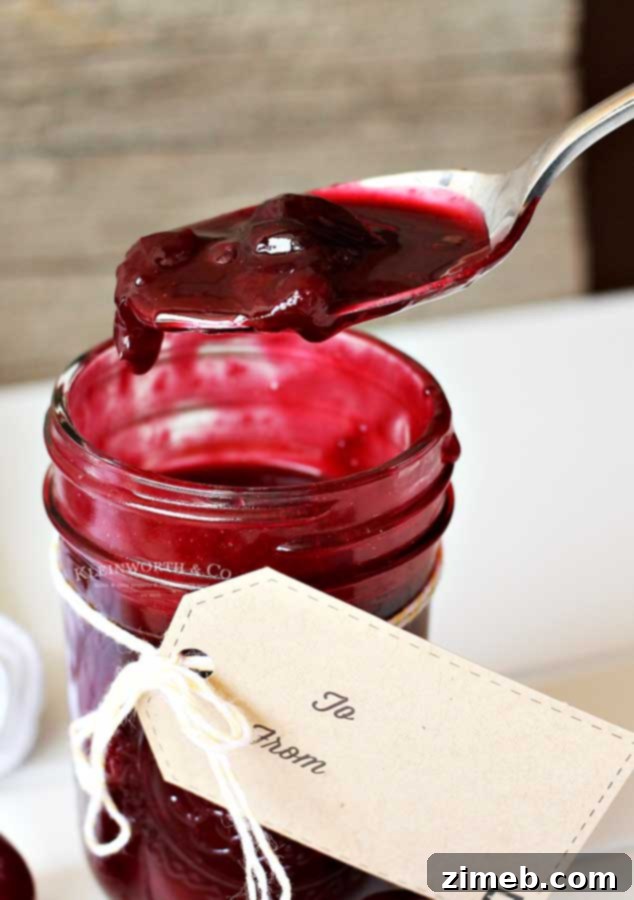
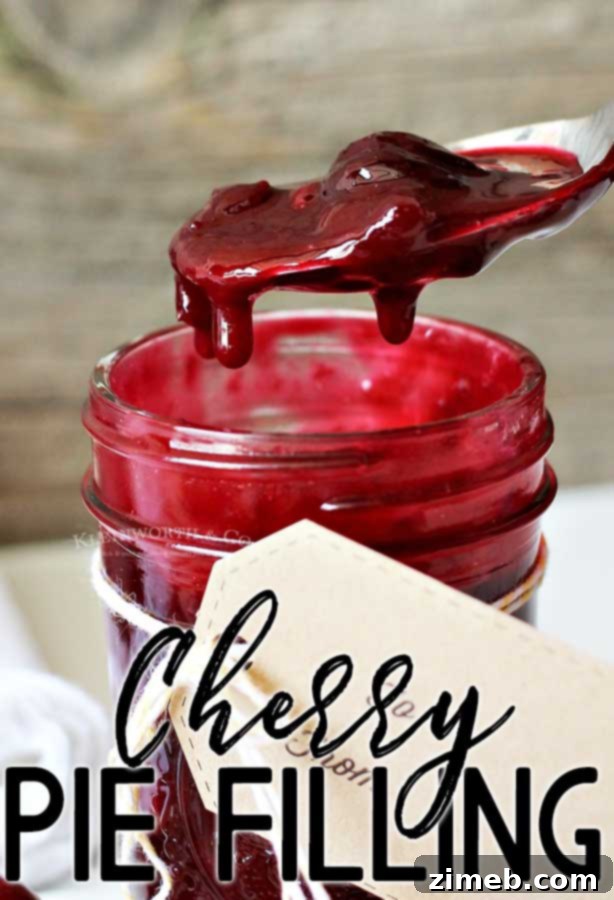
Creating your own **Homemade Cherry Pie Filling** is surprisingly simple and incredibly rewarding. This vibrant, sweet, and tangy concoction isn’t just for pies; it transforms into a delightful topping for countless desserts, from rich cheesecakes to creamy ice cream sundaes and fluffy pancakes. Forget the bland, overly processed canned versions—once you taste the fresh, bright flavor of a homemade cherry filling, you’ll never go back.
Is there anything quite as comforting as a warm cherry pie, especially during cherry season? While a whole pie is a classic, sometimes you crave that luscious cherry goodness without the full commitment of baking a crust. That’s where this versatile homemade filling truly shines. It allows you to savor the rich flavor of cherries as a luxurious drizzle or a generous dollop on nearly anything you desire, offering maximum flavor with minimal effort.
This recipe ensures a perfectly balanced filling, thick enough to hold its shape in a pie yet pourable enough to cascade beautifully over your favorite treats. The best part? It’s remarkably easy to prepare and can be stored in the refrigerator for quick access whenever a craving strikes. Imagine elevating your plain vanilla ice cream with a spoonful of this homemade delight, perhaps with a sprinkle of graham cracker crumbs for an irresistible crunch. It’s truly a delectable, All-American classic, perfect for any time of year.
Scroll to the bottom for the Printable Recipe Card!

The Undeniable Charm of Homemade Cherry Pie Filling
This post contains some affiliate links. Click here to read my full disclosure policy.
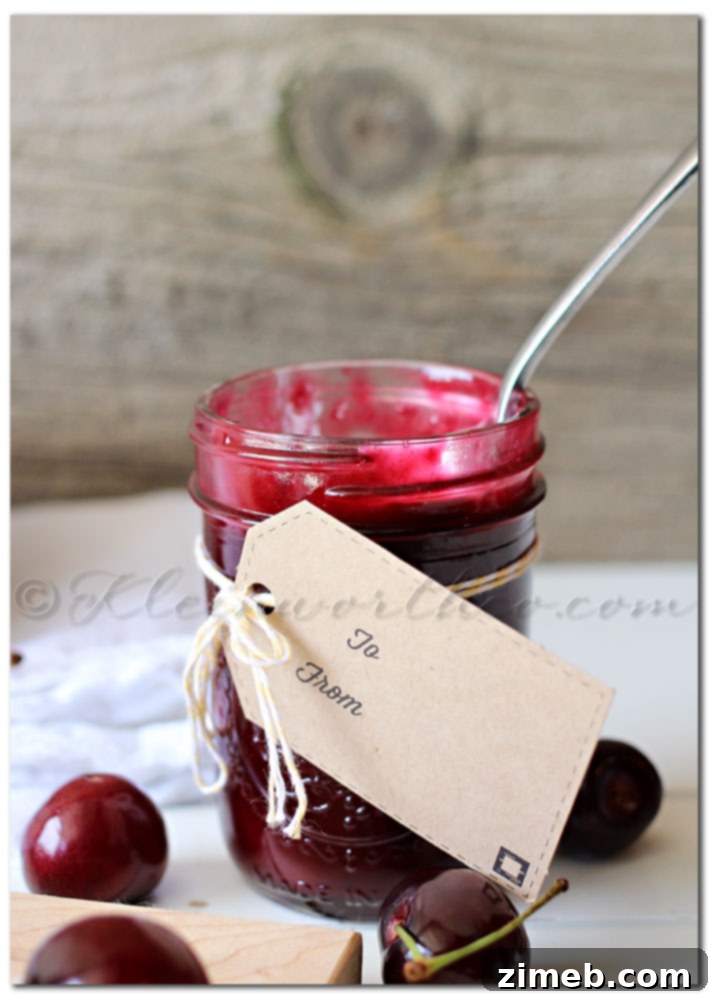
My appreciation for fresh cherries and the magic of cooking with them truly blossomed when I met my husband. We were fortunate enough to live near an area dotted with picturesque orchards, and cherry-picking became a cherished seasonal tradition. There’s something uniquely satisfying about hand-picking ripe, juicy cherries directly from the branch, knowing they’ll soon transform into something delicious in your kitchen. I quickly fell head over heels for the sweet-tart flavor of fresh cherries, and during peak season, our kitchen was always stocked with these ruby jewels.
Inevitably, we’d find ourselves with an abundance of cherries—more than we could possibly enjoy fresh before they began to spoil. It was a delightful challenge that spurred my creativity and led me to discover the joy of making recipes that would extend our enjoyment of this fantastic fruit. This is precisely how my beloved **homemade cherry pie filling recipe** came to be. It’s not just a way to preserve the summer’s bounty; it’s a delicious foundation for an array of desserts, from classic pies and decadent cheesecakes to simple parfaits and breakfast bowls. Having a jar of this gorgeous filling on hand feels like a secret weapon for instant dessert gratification.
Frequently Asked Questions About Cherry Pie Filling
Can I use frozen cherries for this recipe?
Absolutely! Frozen cherries work wonderfully in this recipe, making it a year-round delight. When using frozen cherries, it’s best to thaw them completely first. Once thawed, gently pat them dry with a paper towel to remove any excess moisture. This step helps prevent the filling from becoming too watery and ensures the perfect consistency. You’ll find the flavor and texture are nearly identical to using fresh cherries.
Can I use a sugar substitute in this recipe?
While I haven’t personally experimented with sugar substitutes in this specific recipe, many readers have reported success with 1:1 sugar replacements designed for baking. If you choose to use a sugar substitute, look for one that measures cup-for-cup like granulated sugar to maintain the correct sweetness and volume. Please note that the texture might vary slightly, and I’d love to hear about your results if you give it a try!
Can this homemade cherry pie filling be frozen?
Yes, it can, and it’s a fantastic way to enjoy this delicious filling throughout the year! I often prepare several batches, allowing them to cool completely before transferring them into freezer-safe containers or heavy-duty freezer bags. Be sure to leave a little headspace for expansion if using rigid containers. When you’re ready to use it, simply thaw the filling in the refrigerator overnight or gently warm it on the stovetop. It retains its wonderful flavor and texture beautifully after freezing.
How many servings does this recipe yield?
This recipe typically makes about 12-16 ounces of delicious cherry pie filling. The exact number of servings will depend entirely on how you choose to use it. This amount is ideal for filling a single standard 9-inch pie crust, providing a generous layer of fruity goodness. However, I often find myself using about half of a batch to create a stunning topping for a decadent 10-inch New York cheesecake, or a few spoonfuls at a time to enhance individual desserts. It’s perfect for customizing your dessert creations!
Can I double this recipe?
You absolutely can, and I often do, especially during peak cherry season or when preparing for holiday gatherings! Doubling the recipe works perfectly, allowing you to create a larger batch for multiple uses or for canning. Keep in mind that when you increase the quantity, the cooking time might be slightly longer, as it will take a bit more time for the cherries to soften and for the mixture to thicken properly. Just be patient and stir frequently to ensure even cooking.
How to Make Delicious Homemade Cherry Pie Filling
Making this **easy cherry pie filling recipe** from scratch is incredibly straightforward. With just a few simple steps, you’ll have a vibrant, flavorful filling ready to elevate your desserts.
- In a medium-sized saucepan, combine your prepared cherries (pitted and sliced in half) with water over medium heat. Stir occasionally to prevent sticking and encourage even cooking. Continue to cook until the cherries begin to release their natural juices and soften to your desired tenderness, which typically takes about 10-15 minutes.
- While the cherries are gently simmering, prepare your thickening mixture. In a separate small bowl, whisk together the granulated sugar, cornstarch, a dash of cinnamon (for that warm, comforting spice), and a pinch of salt until thoroughly combined. This dry mixture is crucial for achieving the perfect thick consistency.
- Once your cherries have cooked for the recommended 10-15 minutes and are soft and juicy, carefully pour the dry sugar-cornstarch mixture into the saucepan. Stir immediately and thoroughly to incorporate it evenly with the cherries and their juices.
- Continue cooking the mixture over medium heat, stirring constantly to prevent lumps and ensure even thickening. You’ll notice the mixture beginning to thicken within about 2-3 minutes, transforming into a glossy, luscious filling.
- Once the desired thickness is achieved, remove the saucepan from the heat. Stir in the lemon or lime juice. This addition is key for brightening the cherry flavor and adding a lovely tart counterpoint to the sweetness.
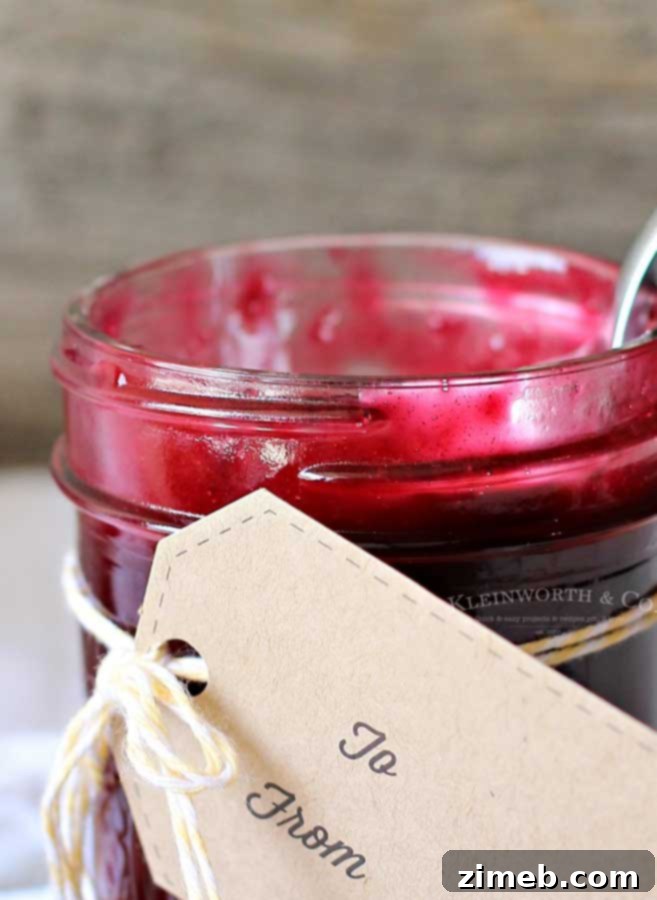
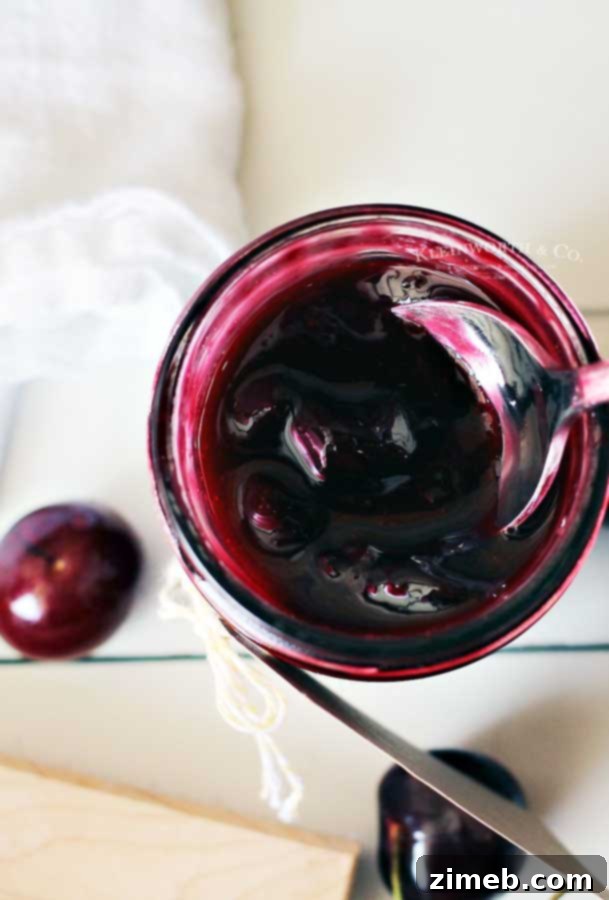
- Carefully transfer the hot cherry pie filling into a clean glass jar or an airtight container. Allow it to cool completely at room temperature before transferring it to the refrigerator. Once chilled, it will thicken further and be ready for all your culinary creations.
What is the best way to store leftover cherry pie filling?
For optimal freshness and safety, any leftover **homemade cherry pie filling** should be stored in an airtight container in the refrigerator. When properly chilled, it will maintain its delicious flavor and quality for up to 7 days. Always ensure the filling has cooled completely before refrigerating it. Avoid leaving it out at room temperature for extended periods to prevent spoilage.
Can this recipe be canned for long-term storage?
While I haven’t personally canned this specific recipe, cherry pie filling is a popular item for home canning. If you choose to can it, it’s crucial to follow tested canning guidelines and safety procedures to ensure proper preservation. You would typically fill sterilized canning jars with the hot mixture, leaving a ½-inch headspace at the top. Wipe the sealing edge of the jar clean with a damp paper towel, adjust the lids and bands, and then process the jars in either a boiling water bath canner or a pressure canner for the appropriate amount of time, adjusting for your specific elevation. Always consult a reliable canning guide for precise instructions and processing times to ensure food safety.
To make the best Homemade Cherry Pie Filling, you will need…
- Fresh or frozen pitted cherries, preferably sliced in half for easier cooking and uniform texture.
- Water, to help the cherries release their juices and create the initial liquid base.
- Granulated sugar, to sweeten the tart cherries to perfection.
- Cornstarch, the essential thickening agent that gives the filling its luscious consistency.
- A dash of cinnamon, for a hint of warm spice that complements the cherries beautifully.
- A pinch of salt, which subtly enhances all the flavors.
- Fresh lemon or lime juice, to add a bright, acidic lift that makes the cherry flavor pop.
Essential Tools for Your Kitchen When Making Cherry Pie Filling
This **best cherry pie filling recipe** is incredibly straightforward and delicious. If you’re new to making homemade pie filling, you might feel a little nervous, but I promise it’s easier than you think! To help you along, I’ve compiled a list of tools I find absolutely indispensable when whipping up this delectable filling. These items make the process smooth and enjoyable:
- Cherry Pitter: This tool is a game-changer! Pitting cherries by hand can be tedious, but a good pitter makes quick work of it, saving you time and mess.
- Medium Saucepan: A sturdy saucepan with a heavy bottom is essential for even cooking and preventing scorching as the filling thickens.
- Granulated Sugar: A pantry staple, good quality sugar is key for the perfect sweetness.
- Cornstarch: This is your secret weapon for achieving a thick, glossy, and perfectly set filling without cloudiness.
- Ground Cinnamon: A dash of good quality cinnamon adds warmth and depth to the bright cherry flavor.
- Table Salt: Just a pinch balances the sweetness and enhances the overall taste profile.
- Fresh Lemon or Lime Juice: A squeeze of citrus brightens the entire filling and prevents it from being overly sweet.
- Heat-Resistant Spatulas: Essential for stirring continuously without scratching your saucepan and for scraping every last bit of delicious filling.
- Glass Jars: Perfect for storing your homemade filling in the refrigerator or freezer, keeping it fresh and ready for use.
More Delicious Dessert Recipes to Inspire You
If you’re a fan of delightful desserts, especially those featuring fruit or a flaky crust, you’ll love these other treats. Each link below leads to an easy, printable recipe that will surely become a favorite!
Easy AWARD WINNING Pie Crust
This simple pie crust recipe, passed down through generations, requires just 5 ingredients to create a tender, buttery foundation for any pie. A true family treasure!
Check out this recipe
French Apple Pie
Indulge in this exquisite French Apple Pie, generously loaded with warm cinnamon and nutmeg, and crowned with a buttery, brown sugar crumble. It’s the ultimate dessert for any festive occasion, particularly your Thanksgiving holiday feast.
Check out this recipe

Easy Cherry Pie – Air Fryer
Enjoy a light and flaky pie crust filled with sweet cherry pie filling, all made effortlessly in your air fryer, no oven needed! Serve it with a scoop of vanilla ice cream for a perfect treat.
Check out this recipe

Easy Oreo Cannoli Cream Pie
This Easy Oreo Cannoli Cream Pie is a simple, no-bake recipe ideal for any holiday party or family gathering. It’s guaranteed to be a crowd-pleaser and quickly rise to the top of your dessert favorites list!
Check out this recipe

30-Minute Strawberry Pie
This 30-Minute Strawberry Pie, featuring a delightful, flaky homemade crust, is incredibly easy to prepare. It’s the ultimate summer dessert, perfect for all your warm-weather gatherings and celebrations!
Check out this recipe
Apple Pie Mug Cake
Experience all the cozy flavors of cinnamon and apple pie in an incredibly easy 3-minute mug cake. Quick and effortless desserts simply don’t get any better than this comforting treat.
Check out this recipe

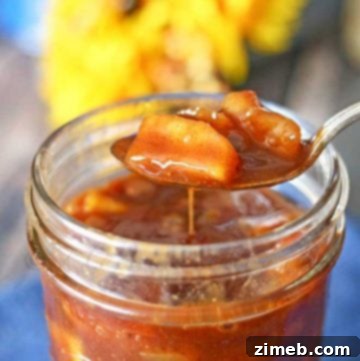
Caramel Apple Pie Filling
Apple pie, America’s beloved classic, gets an upgrade with apples coated in cinnamon and enveloped in a rich caramel glaze. This Caramel Apple Pie Filling makes creating this delicious dessert wonderfully easy.
Check out this recipe
German Sweet Chocolate Pie
Indulge in the rich, decadent flavors of this German Sweet Chocolate Pie. A perfect dessert that will leave everyone asking for more.
Check out this recipe

Embrace the Sweetness of Cherry Filling
If you love this recipe for **Homemade Cherry Pie Filling** as much as I do, please consider leaving a five-star review below. Your feedback helps me share these delicious creations with more home bakers and dessert enthusiasts! Don’t forget to share your amazing results on Facebook and Pinterest—I love seeing your culinary masterpieces!
This homemade cherry filling is absolutely heavenly!
CONNECT WITH KLEINWORTH & CO!
Be sure to follow me on my social media channels, so you never miss a post!
Facebook, Pinterest, Instagram, Email Subscription
Rate this Recipe
Homemade Cherry Pie Filling
Course: Dessert
Servings: 16 ounces
Homemade Cherry Pie Filling is simple to make. Use it not only to fill your pies but it makes a great topping on cakes and ice cream too.
Pin Recipe
Prep Time: 5 mins
Cook Time: 18 mins
Ingredients
- 2 cups pitted cherries – sliced in half
- 1 tbsp water
- ⅓ cup granulated sugar
- 2 tbsp cornstarch
- dash of cinnamon
- pinch of salt
- 1 tbsp lemon or lime juice
Instructions
- In a medium saucepan, combine cherries & water over medium heat. Stir occasionally and cook until the cherries release their juices & soften. -about 10-15 minutes.
- While the cherries are cooking, whisk sugar, cornstarch, cinnamon & salt together in a separate bowl.
- Once your cherries have cooked 10-15 minutes, pour in the dry mixture & stir well.
- Continue to cook, stirring constantly until mix thickens. About 2-3 minutes.
- Remove from heat & stir in the lemon or lime juice.
- Carefully transfer to glass jar & let cool in refrigerator.
Nutritional information for the recipe is provided as a courtesy and is approximate. Please double-check with your own dietary calculator for the best accuracy. We at Yummi Haus cannot guarantee the accuracy of the nutritional information given for any recipe on this site.
Love this recipe?
Follow @KleinworthCo for even more tasty recipes!