
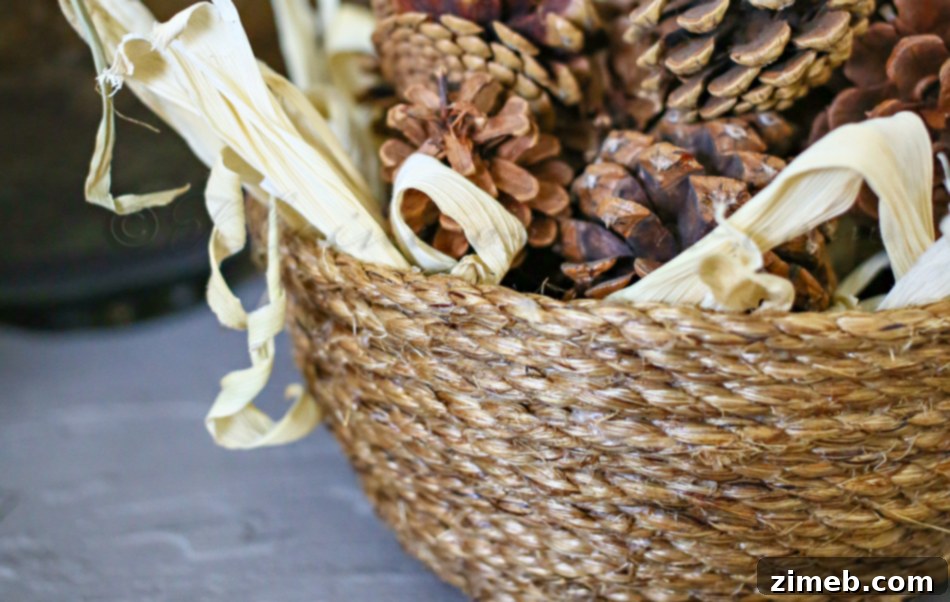
Craft Your Own Stunning DIY Sisal Basket: An Easy Guide to Stylish Home Storage
Creating beautiful and functional pieces for your home doesn’t have to be complicated or expensive. After settling into our new home a few months ago, I’m thrilled to finally share one of the easiest and most rewarding DIY projects I’ve tackled recently: a custom DIY Sisal Basket. This project proves that with just a few affordable materials and a little patience, you can craft a unique storage solution or decorative accent that perfectly complements your space. I was able to transform a fraction of a $20 spool of sisal rope into a charming basket for our hearth, and I’m excited to show you exactly how you can do the same. (Please excuse the varying lighting in some of the process photos; they were taken in our previous home.)
Why a DIY Sisal Basket is the Perfect Home Project
There’s immense satisfaction in personalizing your living environment with handmade items. A DIY sisal basket offers a multitude of benefits beyond just its aesthetic appeal:
- Cost-Effective Elegance: Store-bought sisal baskets can be quite expensive. Crafting your own significantly reduces the cost, allowing you to achieve a high-end look on a budget.
- Customization at Your Fingertips: You control the size, shape, and even the subtle texture of your basket. Want a wide, shallow basket for magazines? Or a tall, narrow one for throws? The bowl you choose dictates the final form.
- Natural & Rustic Charm: Sisal rope brings an organic, earthy texture that instantly adds warmth and character to any room. It blends seamlessly with various decor styles, from modern farmhouse to coastal chic.
- Versatile Functionality: These baskets aren’t just for show! They are incredibly practical for storing blankets, toys, magazines, kindling, towels, or even serving as a stylish cover for potted plants (with a protective liner).
- Rewarding & Accessible Craft: This project is surprisingly straightforward, making it ideal for crafters of all skill levels. The process is meditative and the end result is something you’ll be proud to display.
- Eco-Friendly Choice: Sisal is a natural, renewable fiber, making this an environmentally conscious craft choice for those looking to incorporate sustainable elements into their home.
Essential Materials You’ll Need
One of the beauties of this DIY sisal basket project is how few materials are required. Gather these items, and you’ll be ready to start crafting your very own:
- Large Spool of Sisal Rope: The star of our project! Sisal is renowned for its strength, durability, and beautiful natural texture. The amount you’ll need depends on the size of your desired basket, but a large spool typically goes a long way. You can find sisal rope at hardware stores or craft supply shops.
- Mod Podge Matte: This all-in-one glue, sealer, and finish is crucial for giving your basket its structure and durability. The matte finish ensures a natural, non-shiny appearance that complements the sisal. Ensure you have a generous amount on hand.
- Large Bowl (or other mold): This will serve as your mold for shaping the basket. Choose a bowl with the desired diameter and depth for your finished basket. Consider bowls with smooth, outward-sloping sides for easier removal. Glass, plastic, or metal bowls work best.
- Plastic Wrap: An absolute must for preventing the sisal and Mod Podge from sticking to your chosen mold. Standard kitchen plastic wrap works perfectly.
- Paintbrush: A sturdy paintbrush for applying the Mod Podge evenly and generously to the rope.
- Scissors: For cutting the sisal rope.
- Clamp (or clothespin): Useful for holding the end of the rope in place while the Mod Podge begins to set, especially at the end of the coiling process.
- Optional: Gloves (to keep your hands clean), a protective surface (like newspaper or a plastic sheet) to work on.
Step-by-Step: Crafting Your Beautiful Sisal Basket
Now that you have all your materials, let’s dive into the simple yet satisfying process of creating your sisal basket. Remember, patience during the drying phase is key!
Step 1: Prepare Your Mold
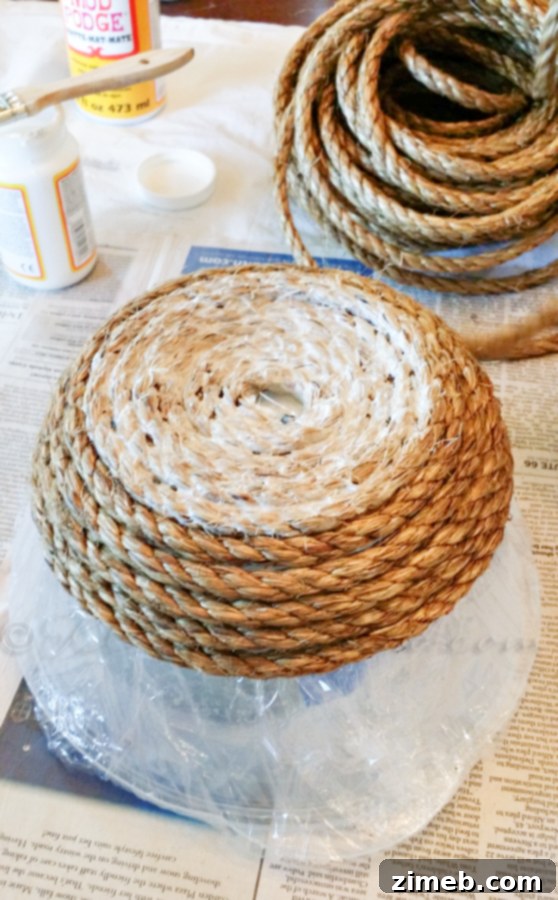
Begin by completely covering the outside of your large bowl with plastic wrap. Ensure the plastic wrap is smooth and taut, without too many wrinkles, as any imperfections might transfer to your basket. Overlap the plastic wrap slightly to ensure full coverage and that it stays securely in place. This crucial step creates a non-stick barrier, allowing your finished sisal basket to easily release from the mold once dry.
Step 2: Begin the Base Coil
I started coiling the rope in a circle on the bottom of the bowl.
Place your plastic-wrapped bowl upside down on your protected work surface. Take the end of your sisal rope and begin coiling it tightly in a flat spiral at the very center of what will become the base of your basket. The tighter and neater you make this initial coil, the more stable and attractive your basket’s base will be. Aim for a very compact, flat circle. This forms the foundation of your basket.
Step 3: Apply Mod Podge Generously
I brushed on a decent amount of Mod Podge to coat the rope heavily.
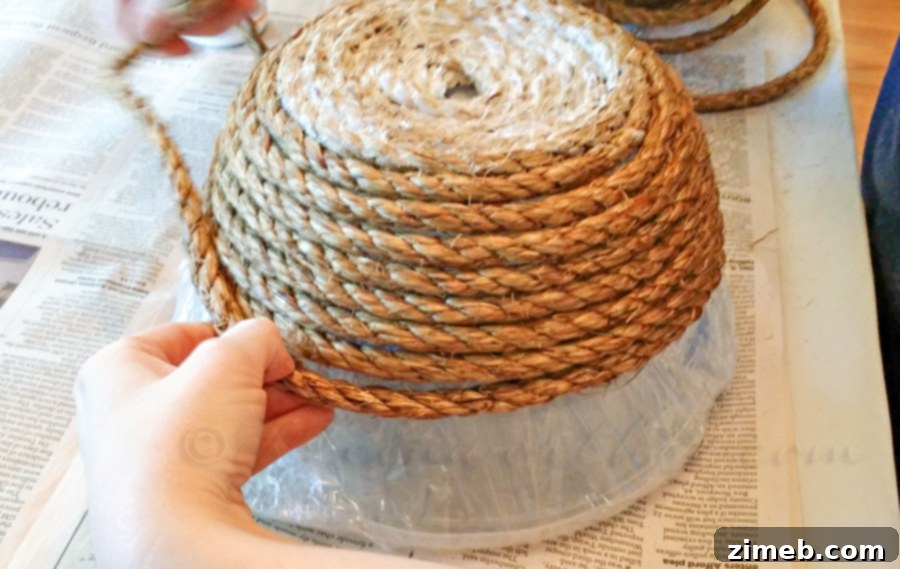
Once you have a small section of your base coiled (perhaps 2-3 inches in diameter), it’s time to introduce the Mod Podge. Using your paintbrush, apply a generous amount of Mod Podge directly onto the coiled rope. You want to heavily coat the rope, ensuring it’s saturated and that the individual strands are firmly glued together. Mod Podge acts as both an adhesive to bind the rope and a stiffener to give your basket its durable shape. Don’t be shy with the application; a good coating now will ensure a strong finished product.
Step 4: Build the Sides of Your Basket
Then just repeated every so often as I wrapped.
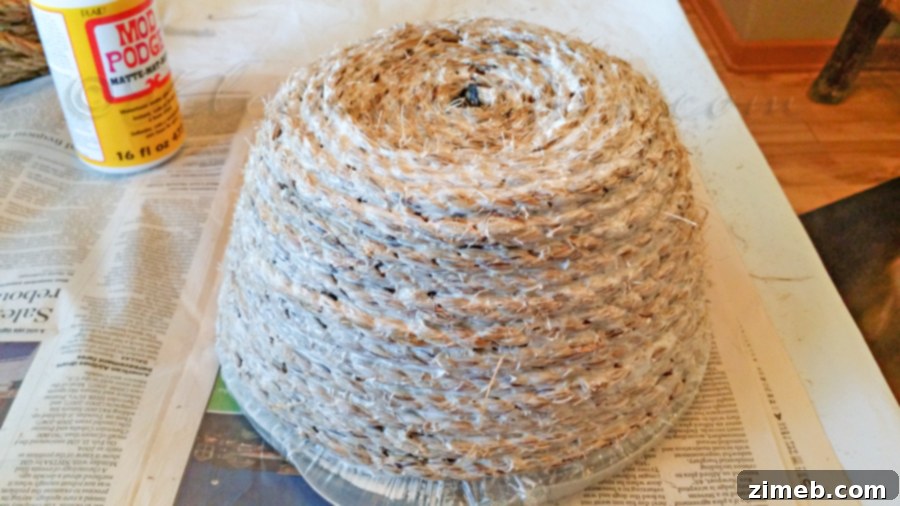
Continue coiling the sisal rope, now moving upwards along the sides of the inverted bowl. As you wrap, ensure each new layer of rope is pressed firmly against the previous one, following the contour of your bowl precisely. Every few inches, or as you feel necessary, stop and apply another liberal coat of Mod Podge. The key is to keep the rope well-saturated and adhering to itself. This continuous coiling and gluing process is what gradually builds the shape and structure of your basket. Maintain consistent tension on the rope as you coil to avoid gaps or unevenness.
Step 5: The Final Touches and Drying
Once completely wrapped around the bowl and you’ve reached your desired height for the basket, carefully cut the sisal rope. Tuck the end securely into the last coil and apply a bit more Mod Podge to hold it in place. If needed, use a clamp or clothespin to temporarily hold this end piece firmly against the basket until it starts to set. Now, apply another THICK and even coat of Mod Podge over the entire exterior of your newly formed sisal basket. This final heavy layer ensures maximum stiffness and durability. Set your basket aside to dry completely. This is the part that requires the most patience – allow it to dry undisturbed for at least 48 hours, or even longer for larger or thicker baskets. Rushing this step can compromise the basket’s structure.
Step 6: Unmold and Display
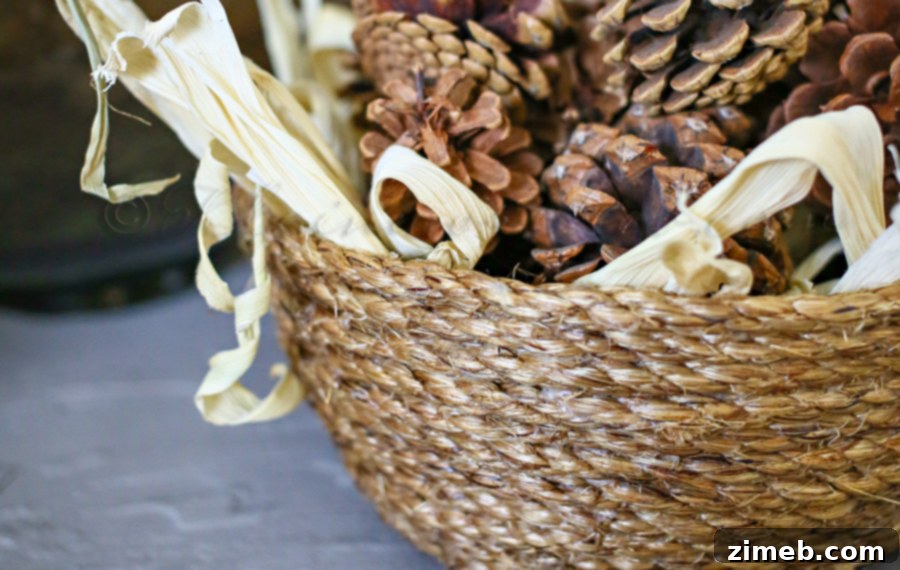
Once your sisal basket is thoroughly dry and feels hard and rigid to the touch, it’s time for the exciting reveal! Gently pull the basket off the bowl. The plastic wrap should peel away easily from both the basket and the bowl. Discard the plastic wrap, and admire your beautiful, handmade creation! It’s now ready to be displayed and put to good use in your home. The satisfaction of seeing your own basket come to life is truly wonderful.
Creative Ways to Style Your New Sisal Basket
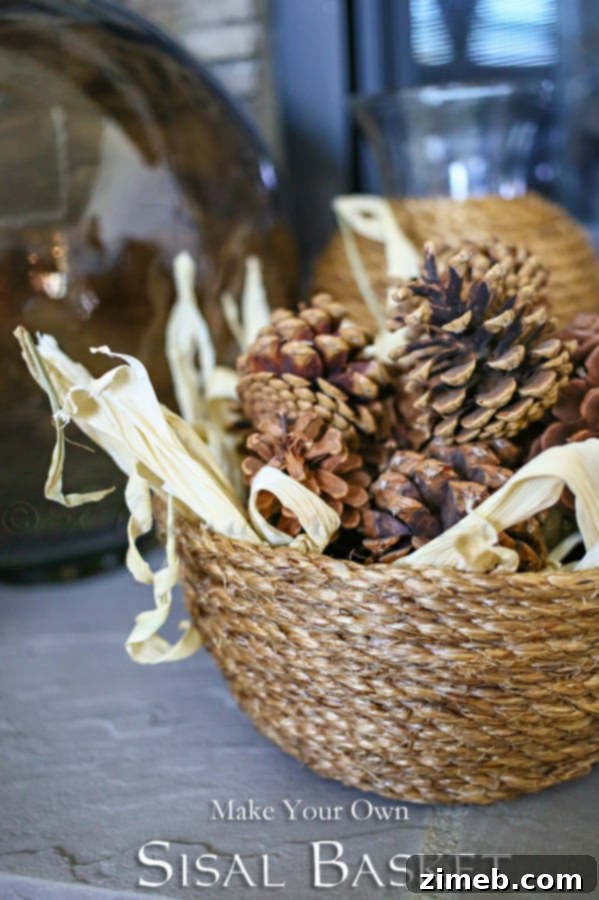
Now that you’ve crafted your stunning sisal basket, it’s time to integrate it into your home decor! Its natural texture and versatile shape make it a perfect addition to almost any room. Here are some ideas:
- By the Hearth: As initially intended, it’s perfect for storing kindling, firestarters, or even a cozy throw blanket for those chilly evenings.
- Living Room: Use it to neatly store extra throw blankets, magazines, or remote controls. It can also stand alone as a beautiful floor accent.
- Bedroom: A great spot for extra pillows, a rolled-up yoga mat, or even as a laundry hamper for delicates.
- Bathroom: Roll up guest towels or store extra toilet paper in a stylish and accessible way.
- Nursery or Playroom: A charming solution for organizing small toys, stuffed animals, or books.
- Entryway: Keep hats, gloves, or even pet leashes neatly tucked away.
- Planter Cover: For a touch of greenery, place a potted plant inside your sisal basket. Just be sure to use a waterproof liner inside the basket to protect it from moisture.
Tips for Success & Customization
To ensure your DIY sisal basket project goes smoothly and to inspire further creativity, consider these additional tips:
- Consistency is Key: Try to maintain consistent tension on the rope as you coil and apply Mod Podge evenly. This helps create a uniform and sturdy basket.
- Patience with Drying: We cannot stress this enough – allow ample drying time. If the Mod Podge isn’t fully cured, your basket might lose its shape or feel flimsy.
- Experiment with Ropes: While sisal is wonderful, you could try other natural fibers like jute, cotton rope, or even clothesline for different textures and looks. Each will absorb Mod Podge differently, so test a small section first.
- Add Handles: Before the final Mod Podge coat, you could incorporate rope handles by looping a section of rope and securing it firmly within the basket’s structure, then coating it all.
- Color Your Creation: While the natural sisal color is beautiful, you could paint your finished basket with acrylic or chalk paint for a pop of color, or even dye the rope before starting the project.
- Clean Up: Mod Podge is water-soluble when wet, so clean your brush and any spills immediately with warm water.
Explore More Easy & Fun Home DIY Projects
If you loved creating your DIY sisal basket, you’ll be thrilled to discover how many other simple projects can transform your home. Handmade decor adds personality and warmth that store-bought items simply can’t match. Here are a few more creative endeavors to inspire your next crafting session:
Easy Rope Vase
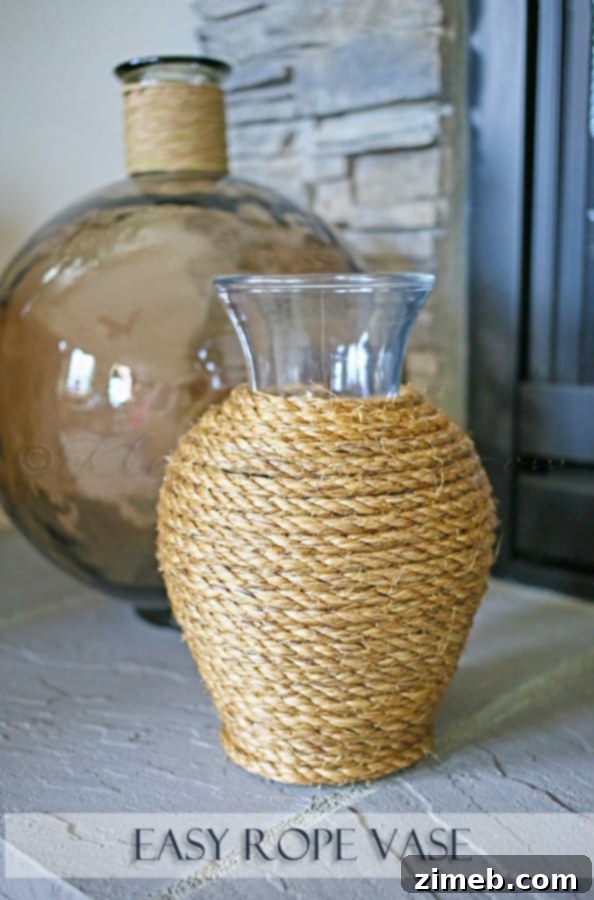
Easy Rope Vase
Elevate a plain glass vase or jar into a stylish decorative piece using the same rope-wrapping technique. This project is perfect for adding rustic charm to your floral arrangements or as a standalone accent. It’s an excellent way to upcycle old containers and give them a fresh, new purpose.
Re-Purpose Ornaments {DIY}
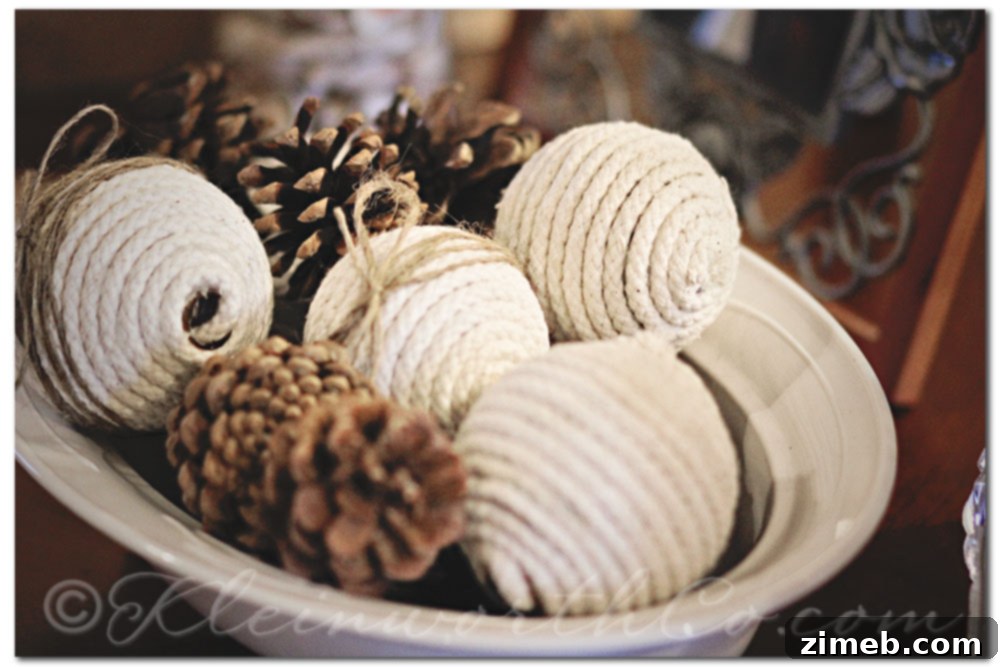
Re-Purpose Ornaments
Give your old or plain ornaments a stunning makeover! This project shows you how to transform forgotten baubles into elegant, refreshed decor pieces. Whether for holidays or year-round display, it’s a fantastic way to add a personalized touch to your home accents without buying new.
Corn Husk Fall Place Setting & Free Printable
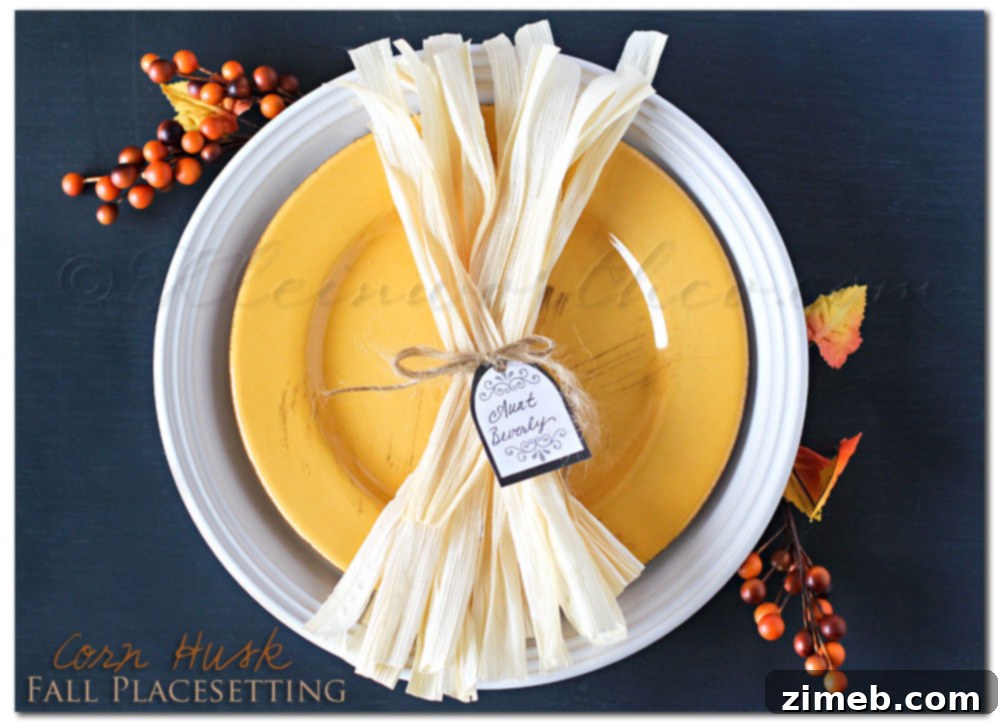
Corn Husk Fall Place Setting & free Printable
Embrace the warmth of autumn with a beautifully crafted fall place setting. This project provides a charming and seasonal way to decorate your dining table, complete with a free printable to add that special touch. It’s perfect for Thanksgiving, fall gatherings, or simply bringing the beauty of the season indoors.
Conclusion: Your Handmade Home Awaits!
Creating your own DIY Sisal Basket is a truly rewarding endeavor. It’s a testament to how simple materials can be transformed into beautiful, functional, and personalized home decor. Not only is it an incredibly easy project, but it also offers a fantastic sense of accomplishment and a unique piece that reflects your personal style. Whether you need stylish storage for your hearth, a cozy spot for blankets, or simply a charming accent piece, this sisal basket is a versatile addition to any home.
Don’t let time slip away – gather your materials and embark on this satisfying craft project today. You’ll love the results, and your home will thank you for the unique, handmade touch. Happy crafting!
To see where I am linking today- visit HERE