
This project post is a part of a paid marketing campaign with Snap. While this post is sponsored, the project idea and all opinions expressed are entirely my own. My commitment is to bring you genuine inspiration and practical solutions for your creative endeavors.
Transform Your Workspace: The Ultimate DIY Office Organizer Board
Creating an inspiring and organized workspace is crucial for productivity, creativity, and overall well-being. For too long, my own office space has been a source of frustration rather than inspiration. After downsizing and relocating, I found myself in an environment that lacked the organization I once enjoyed. The clutter was overwhelming, making it difficult to focus and diminishing my enjoyment of the creative process. This disarray has driven me to embark on a complete office revamp, transitioning into a larger studio space where everything can finally have its designated home. As part of this exciting transformation, one essential element I envisioned was a decorative yet functional way to keep important reminders and cherished photos visible without adding to desk clutter. I already rely on wall organizers for practical notes, but I yearned for something that could blend utility with aesthetic appeal, especially for displaying personal mementos.
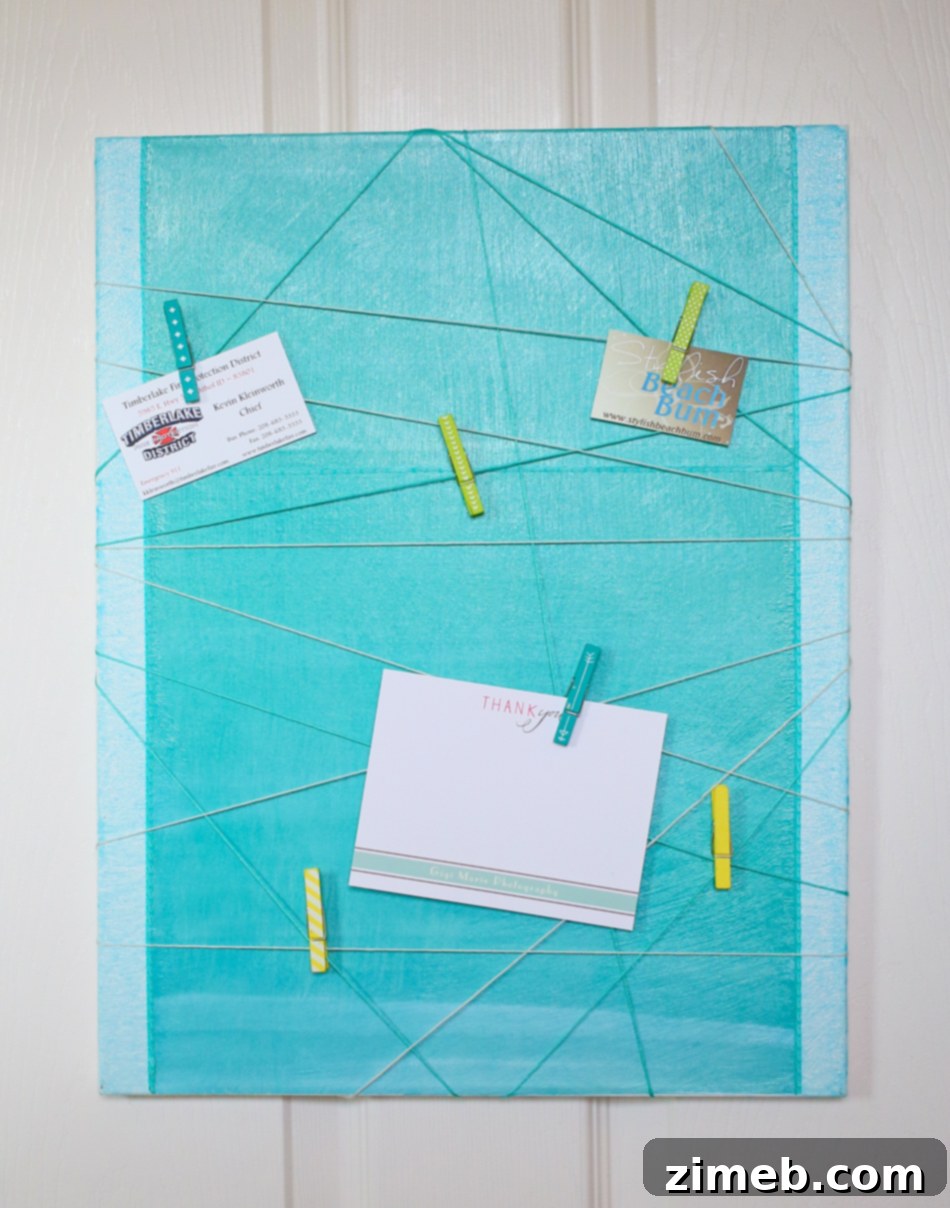
With the prospect of having my own dedicated studio space – a significant upgrade from merely a corner of a room – I can now combine practical storage with beautiful decorative elements. This allows for a harmonious blend of functionality and personal expression, creating an atmosphere that promotes mental peace and happiness. This realization sparked the idea for my latest DIY project: an Office Organizer Board. Designed to add a vibrant pop of color to the wall in one of my favorite hues, this board also offers a unique and visually engaging way to display photographs and other small items. It’s more than just an organizer; it’s a piece of custom art that reflects my style and supports my daily workflow.
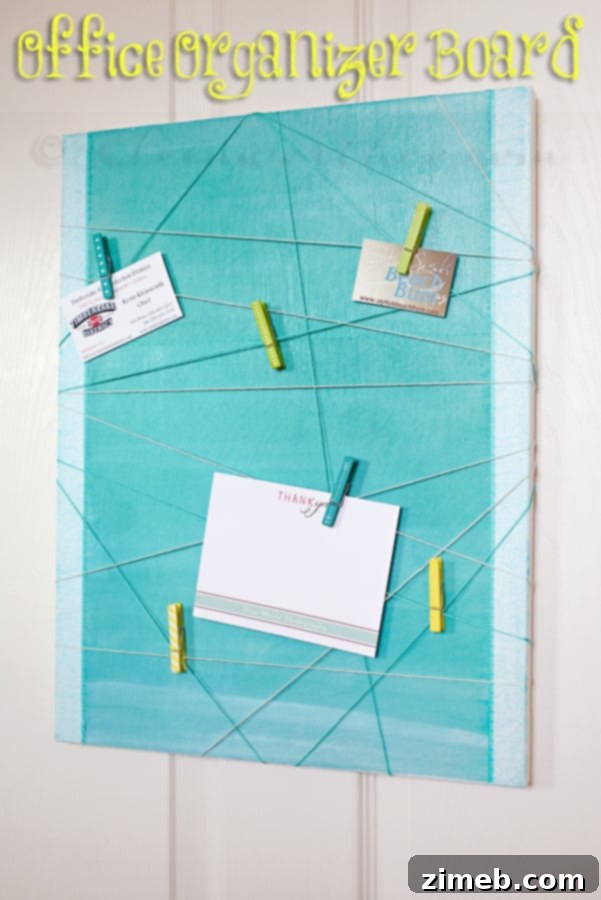
I eagerly anticipate hanging this vibrant organizer board in my newly designed space!
Designing Your Dream Organizer: Inspired by Creative Collections
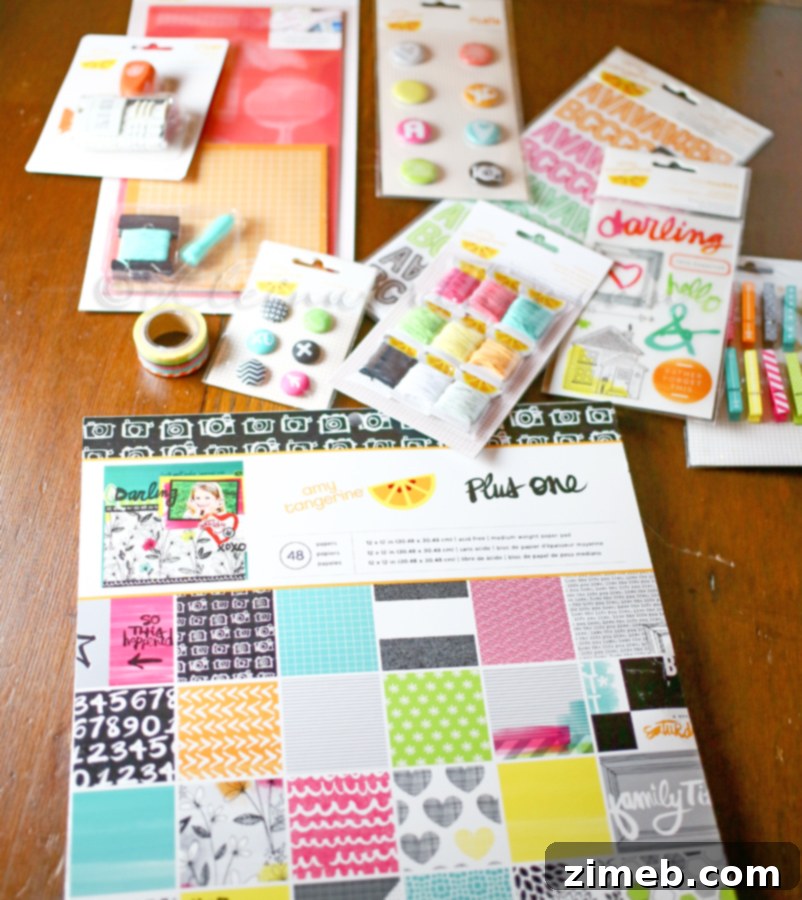
To kickstart this project, I sought inspiration from popular paper craft collections renowned for their cohesive themes and beautiful designs. I specifically drew ideas from the aesthetic of collections such as the “Amy Tangerine Plus One” paper craft line. Such collections typically feature a rich assortment of papers and embellishments, allowing for easy coordination and creative expression. These comprehensive bundles often include a basic kit with foundational papers, an embroidery kit for textured details, an embellishment kit for decorative accents, and a stamping kit for personalized touches. While specific product availability can vary, the principle remains: choosing a collection that offers diverse patterns and textures will elevate your project.
Incorporating elements like Project Life Mini Kits, which offer a streamlined approach to memory keeping and organization, can also be highly beneficial. These kits often come with pre-designed cards and smaller papers perfect for accents. The beauty of modern paper craft lines is their accessibility, often available in discounted bundles, making it easy to gather all your supplies without breaking the bank. Always keep an eye out for new releases and special promotions from your favorite craft suppliers to find the perfect materials for your next DIY adventure.
Step-by-Step Guide: Crafting Your Personalized Office Organizer Board
Materials You’ll Need:
- One blank canvas (choose a size that fits your space)
- Mod Podge (Matte or Gloss, depending on desired finish)
- Coordinating scrapbook papers (at least two different patterns, with duplicates if needed for canvas coverage)
- Scissors or a craft knife and cutting mat
- Mod Podge Sheer Color (Blue or a color of your choice)
- Dry brush for texturing
- Thin decorative tape or Washi tape
- Finishing nails (approximately 12, depending on canvas size)
- Hammer
- Embroidery floss in coordinating colors (e.g., turquoise and silver)
- Clothespins (decorative or plain, for holding items)
- Optional: Ruler, pencil, sandpaper (for canvas prep)
The Crafting Process:
Step 1: Preparing Your Canvas Base
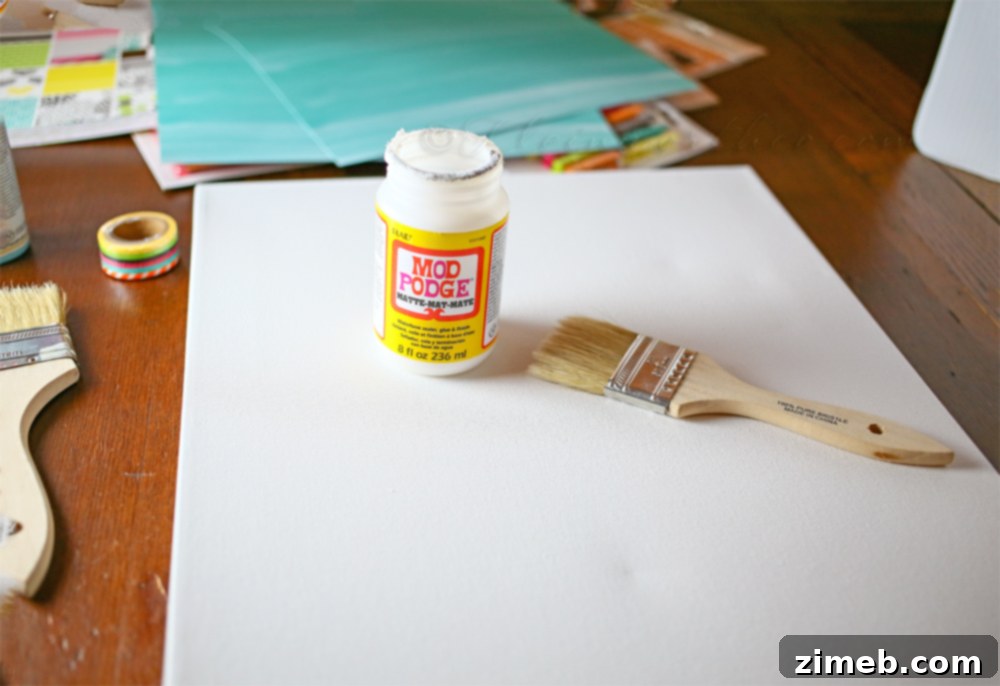
Begin by preparing your canvas. Ensure it’s clean and free of dust. If desired, you can lightly sand any rough edges for a smoother finish. Then, apply an even coat of Mod Podge across the entire surface of the canvas. This creates a tacky base for your scrapbook paper, ensuring strong adhesion and preventing bubbles. Work efficiently to ensure the Mod Podge doesn’t dry prematurely.
Step 2: Adhering Your Decorative Papers
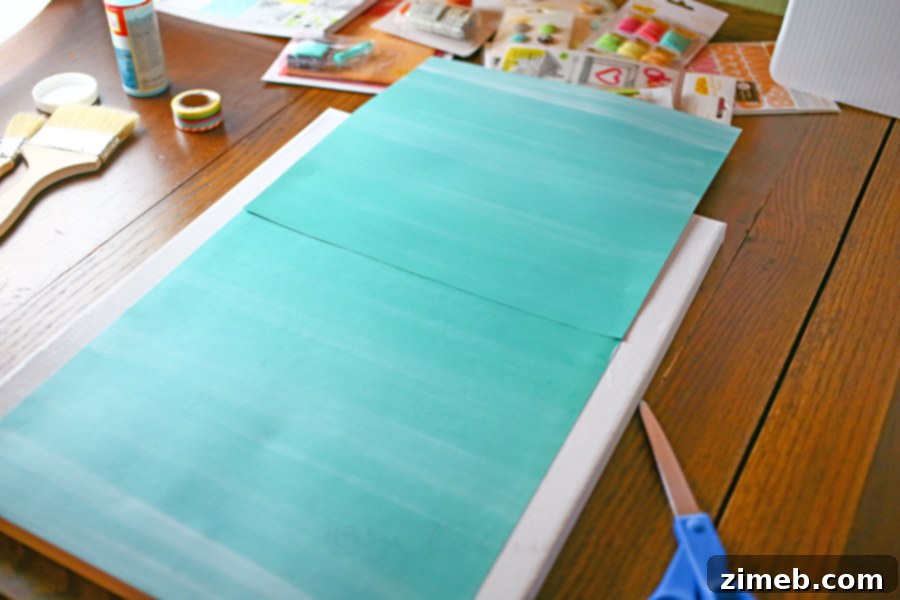
Carefully place your chosen scrapbook papers onto the Mod Podge-coated canvas. For this project, I used two matching sheets, chosen for their beautiful watercolor-like turquoise pattern. The beauty of using paper from a coordinated collection is that colors and patterns naturally complement each other, simplifying the design process. Smooth out any air bubbles by gently pressing from the center outwards. Once the papers are positioned, use a craft knife or scissors to trim any excess paper extending beyond the canvas edges, ensuring a clean, professional finish.
The scrapbook paper bundle I used offered two sheets of each print, along with several other coordinating patterns across various themes. While numerous turquoise options were available, this particular watercolor-inspired design captivated me. I had initially envisioned painting this effect, so finding a paper that already delivered my desired aesthetic significantly accelerated the project’s completion, allowing me to achieve the look I wanted with ease.
Step 3: Sealing and Adding Texture
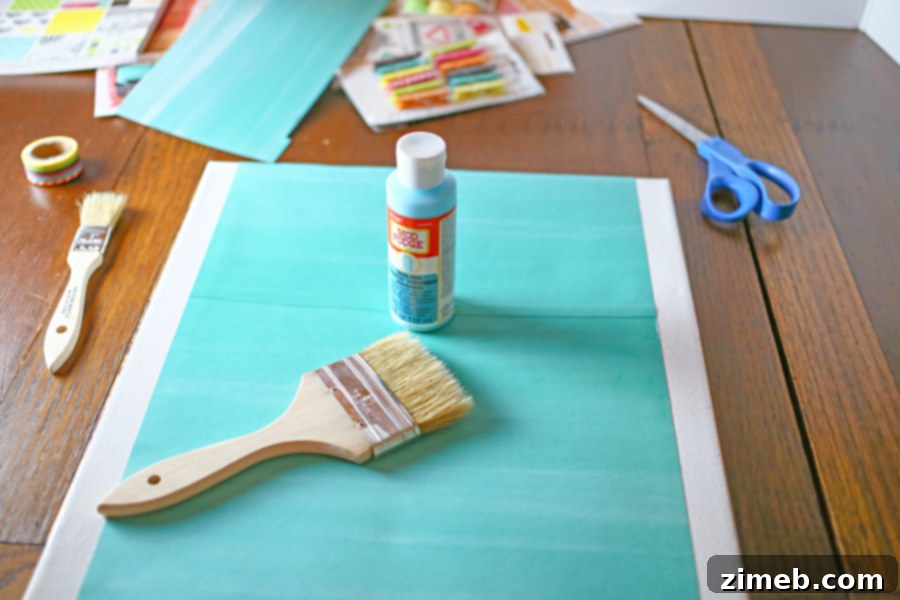
Once the scrapbook papers are firmly adhered and dry, it’s time to seal and add an artistic touch. Apply a layer of Mod Podge Sheer Color in blue over the entire surface. This not only seals the paper, providing durability and protection, but also adds a subtle tint that enhances the watercolor effect. Pay special attention to the white edges of the canvas, ensuring they are fully covered. For an added artistic touch, I applied a bit more of the Sheer Color and, using a dry brush, gently brushed it across the surface. This technique creates a beautiful, textured finish that mimics painted brushstrokes, deepening the illusion that the color was applied by hand.
Step 4: Finishing the Edges with Decorative Tape
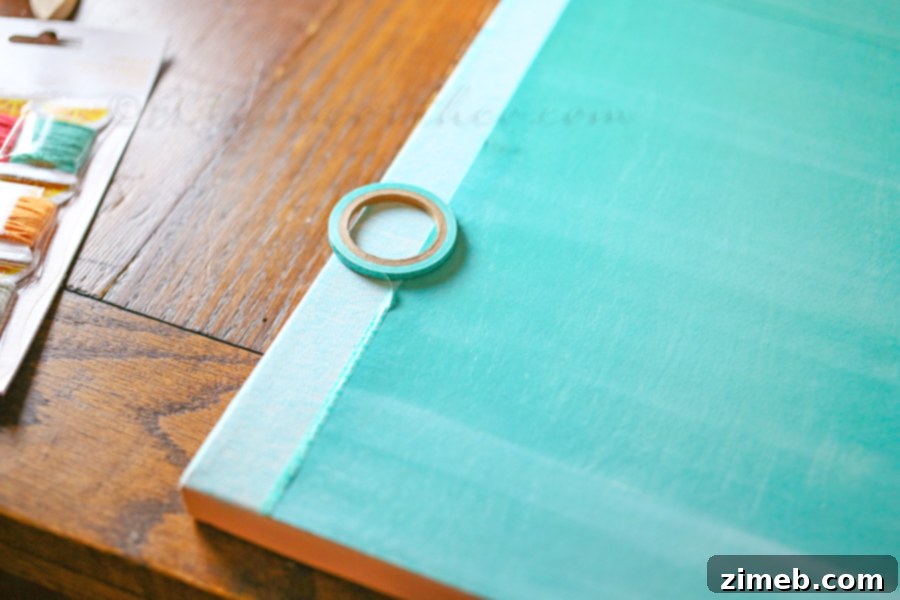
After the Mod Podge Sheer Color has completely dried, enhance the board’s appearance by adding a thin, coordinating decorative tape. Apply this tape along all the edges of the canvas and precisely over any areas where your scrapbook papers overlapped. This step not only adds a polished, finished look but also helps to further secure the paper edges, preventing any lifting over time. Choose a tape that complements your paper patterns for a cohesive design.
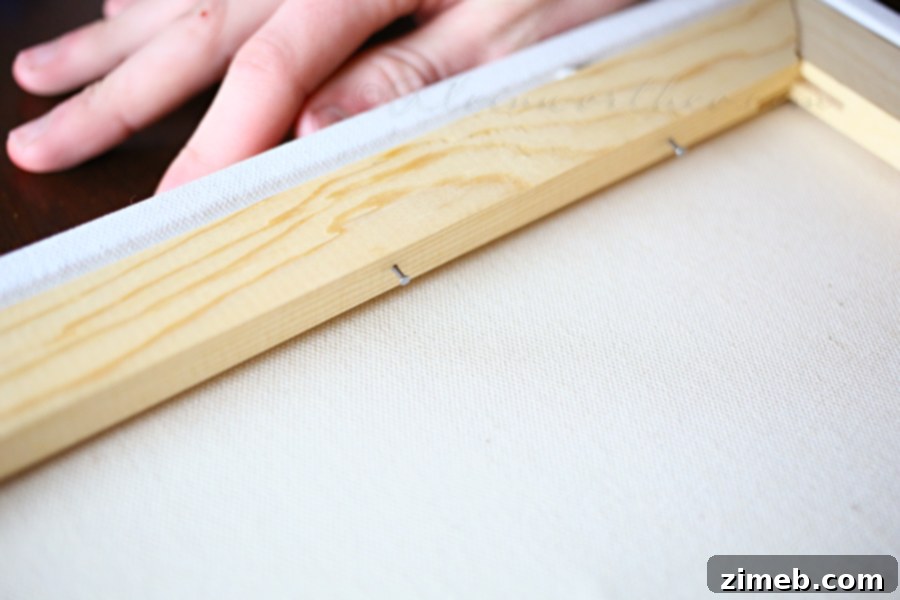
Step 5: Creating Anchor Points for Stringing
Flip your canvas over to the back side. Using a hammer, carefully install finishing nails around the perimeter. For this project, I placed three nails evenly spaced on each of the four sides. These nails will serve as the anchor points for your embroidery floss, allowing you to create a dynamic, crisscross pattern for displaying items. Ensure the nails are securely hammered in, but not so far that they poke through to the front of the canvas.
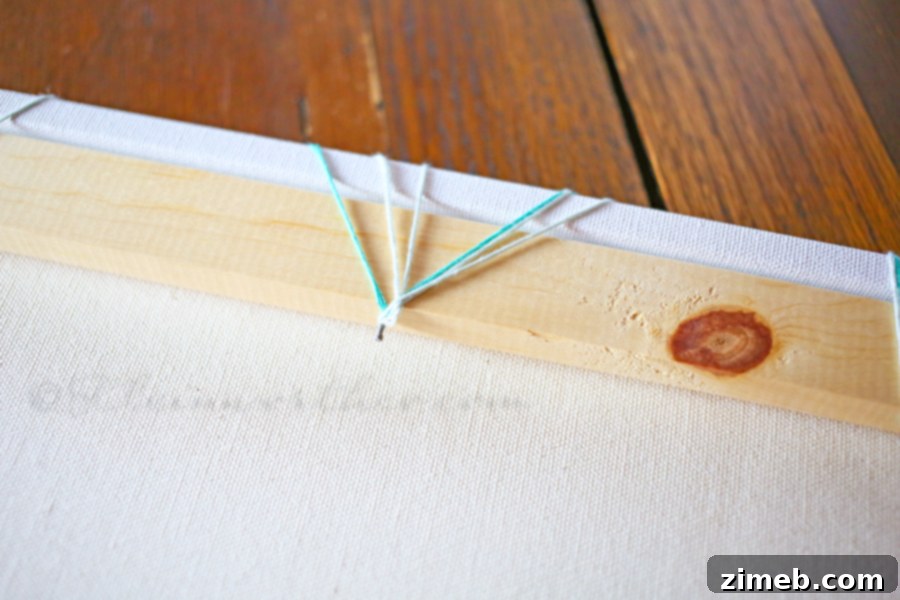
Step 6: The Creative Stringing Process
Now for the fun part: adding the strings that will hold your photos and notes! Take your embroidery floss – I chose a vibrant coordinating turquoise and a subtle silver accent color. Tie one end of the turquoise floss securely to one of the finishing nails. Then, begin stringing the floss from one nail to another in a random, artistic pattern. Use the nails as anchor points, weaving the floss across the canvas to create an interesting visual grid. Once you’re satisfied with the turquoise pattern, repeat the process with the silver floss, overlapping and intertwining it with the turquoise for added depth and visual interest. Ensure the floss is taut but not overly stretched. Once both colors are wrapped to your liking, tie the ends tightly to a nail and trim any excess floss. Your board is now ready to be adorned!
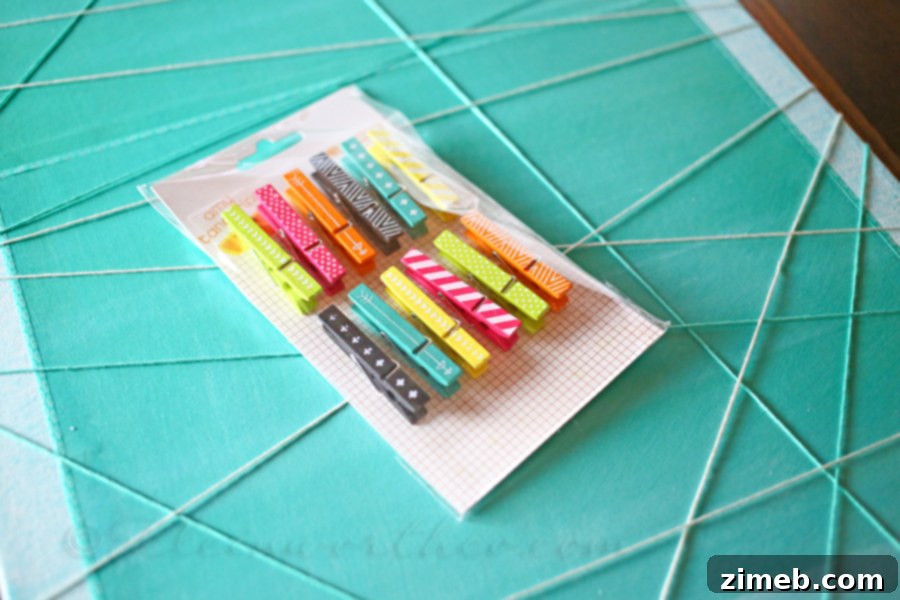
Step 7: Adding the Final Personal Touches
To complete your organizer board, select a variety of clothespins. I chose a mix of coordinating shades and added cute pops of yellow and chartreuse to introduce more visual interest and playfulness. These colorful clips will hold your photos, notes, or any other mementos you wish to display. Experiment with placement and content to truly personalize your board.
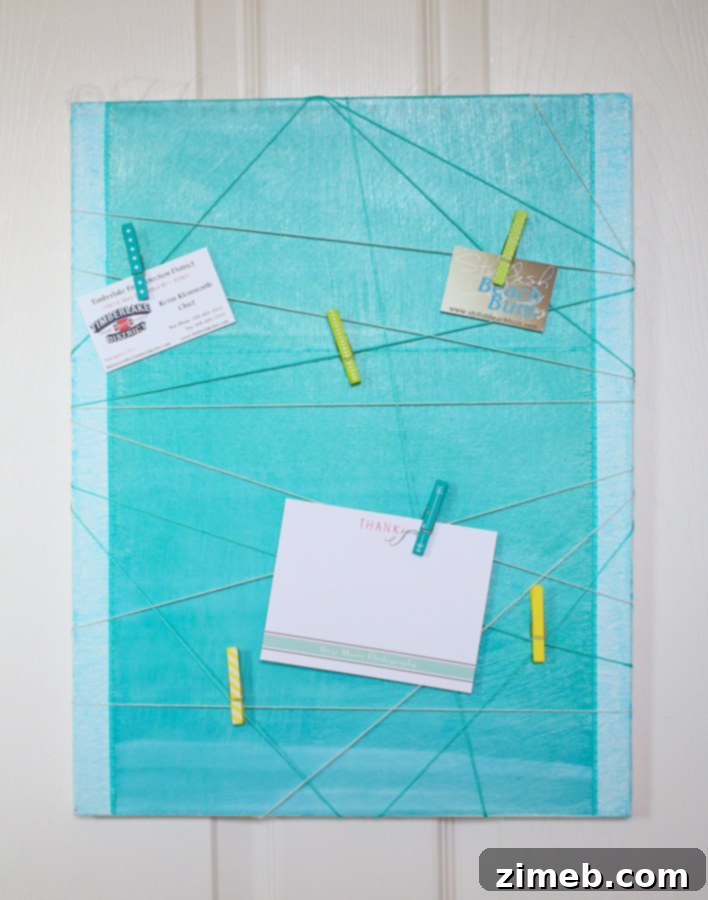
And there you have it – a beautiful, functional, and personalized organizer board, ready to display your cherished photos, inspirational quotes, or important reminders!
Unleash Your Creativity: Customization and Beyond
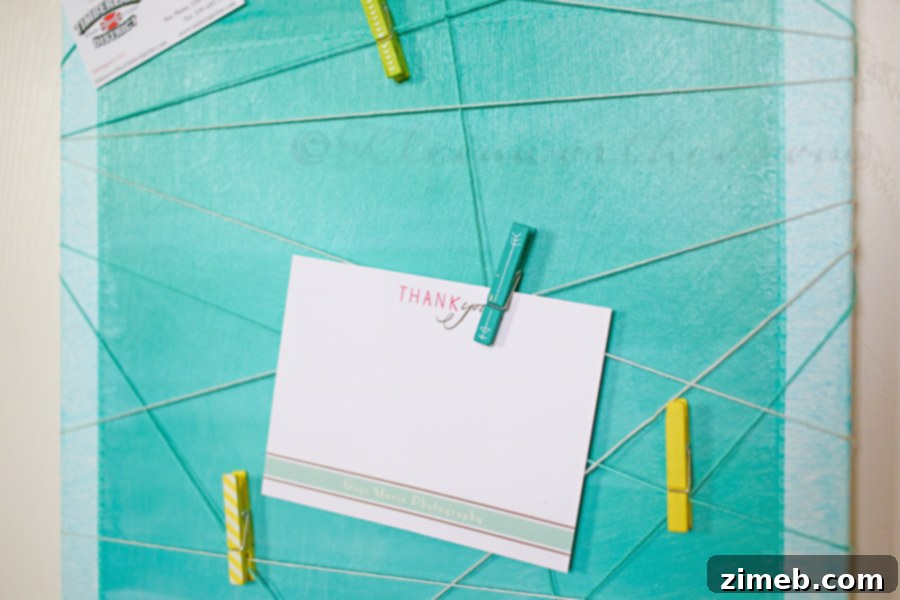
I absolutely adore this project! The possibilities for customization are endless, allowing you to tailor this organizer board to any room or aesthetic. Imagine creating larger versions for each of the kids’ rooms, perhaps with themes that reflect their hobbies or favorite colors. For a child’s space, you could use playful, bright papers and character-themed clothespins. In a kitchen, a similar board could serve as a stylish command center for grocery lists, recipes, and family notes, using rustic or modern farmhouse-style papers. For an entryway, it could hold keys, mail, and reminders before heading out the door.
You can experiment with different types of base materials too. Instead of a canvas, consider a cork board for easy pinning, or a piece of thin plywood for a more robust feel. The background can be painted, decoupaged with fabric, or even covered with wallpaper remnants for a unique look. Vary the stringing pattern – from a neat grid to a completely freeform design – to match your style. Add small embellishments like fabric flowers, buttons, or charms to the nails or the board itself. The key is to make it uniquely yours, a reflection of your personality and a functional piece of art that enhances your environment.
For this project, I was particularly inspired by the aesthetics of creative collections like the renowned “Plus One” collection, which, upon its release, quickly became a top-selling signature line in the paper craft world. Its popularity often led to it being sold out in many stores and online, a testament to its beautiful designs and versatility. While specific collections may come and go, the vibrant spirit and cohesive design principles they embody continue to inspire countless DIY projects.
Embrace the spirit of creativity and personal expression. This project is a fantastic way to transform a plain canvas into a dynamic and personalized element of your decor.
What creative twists would you add to your own DIY Office Organizer Board? Share your ideas!
To explore more of my DIY projects and where I find my inspiration, visit HERE.