
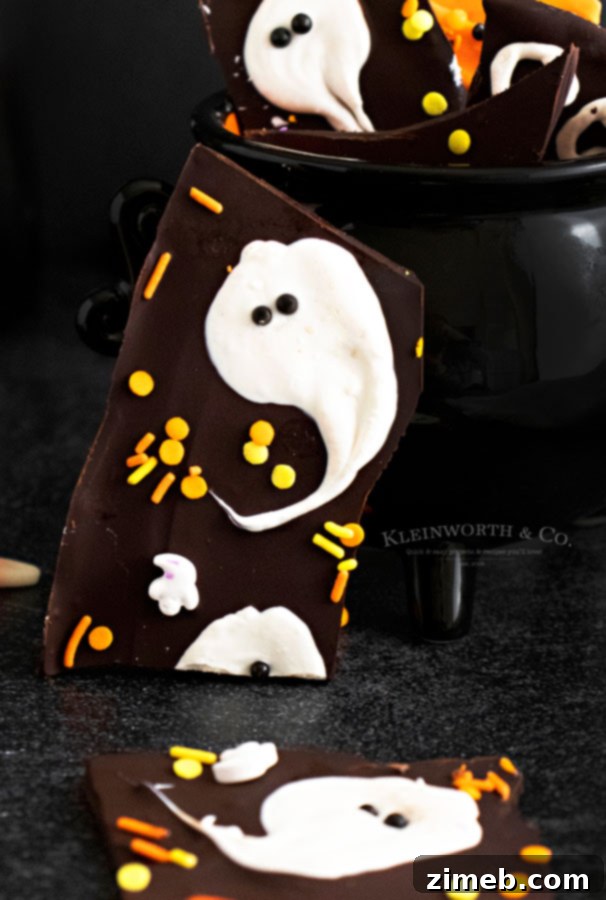
Candy Lovers! Get ready to conjure up some magic in your kitchen with this incredibly easy and utterly enchanting Halloween Bark recipe. Bursting with the rich flavors of white and dark chocolate, and adorned with an array of festive candies, this spooky treat is the ultimate addition to all your ghoulish celebrations. It’s not just a dessert; it’s a canvas for your Halloween creativity, guaranteed to be a hit with ghosts, goblins, and grown-ups alike!
When it comes to crafting seasonal treats, my philosophy is always centered on simplicity and resourcefulness. Life can be hectic, and finding time for elaborate baking projects often feels impossible. That’s why I adore recipes that are both straightforward and allow me to utilize ingredients I already have on hand. This Halloween Bark embodies that perfectly, transforming a few basic items into a spectacular, eye-catching dessert.
Like many enthusiastic home bakers, I confess to a slight obsession with collecting cute sprinkles, themed candies, and festive decorations. My pantry shelves are a testament to grand intentions, filled with visions of dozens of intricate holiday recipes. But then, reality sets in, schedules fill up, and those ambitious plans often get scaled back. More often than not, I’m left with a delightful but daunting surplus of seasonal goodies.
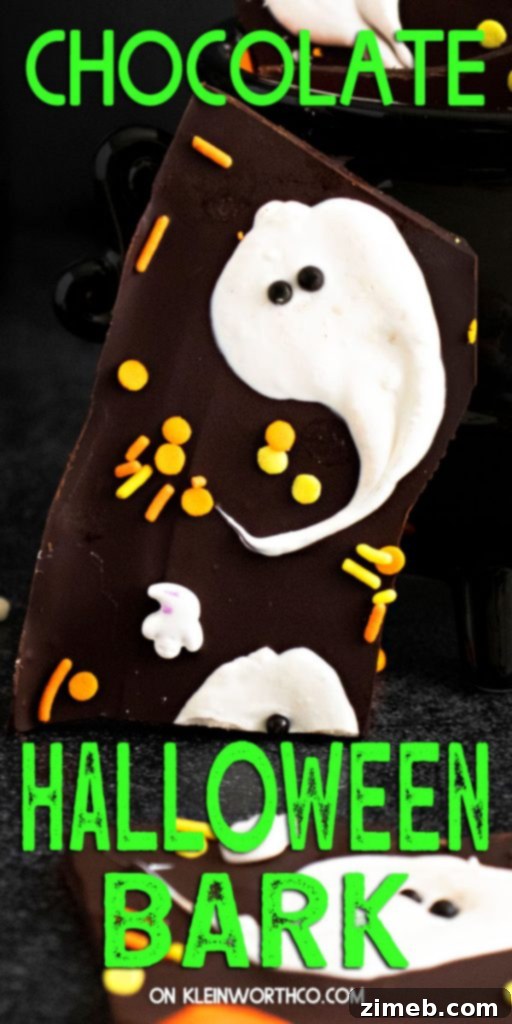
This is precisely where the charm of Halloween Candy Bark truly shines. It’s the ideal solution for using a generous amount of those adorable seasonal supplies all at once, creating a treat that everyone adores. The best part? It looks incredibly impressive, giving the illusion of complex culinary skills, yet in reality, it’s one of the easiest desserts you can make. It’s a crowd-pleaser that delivers on both visual impact and delicious flavor, leaving everyone happy and satisfied. Plus, who can resist the combination of rich chocolate and a medley of their favorite candies?
What is Halloween Bark? Your Ultimate Guide to Spooky Chocolate Bark
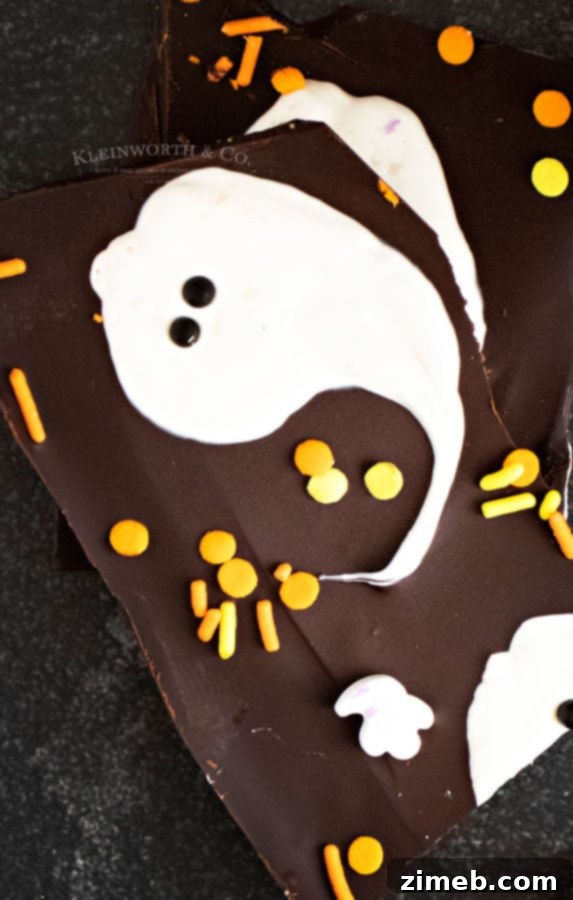
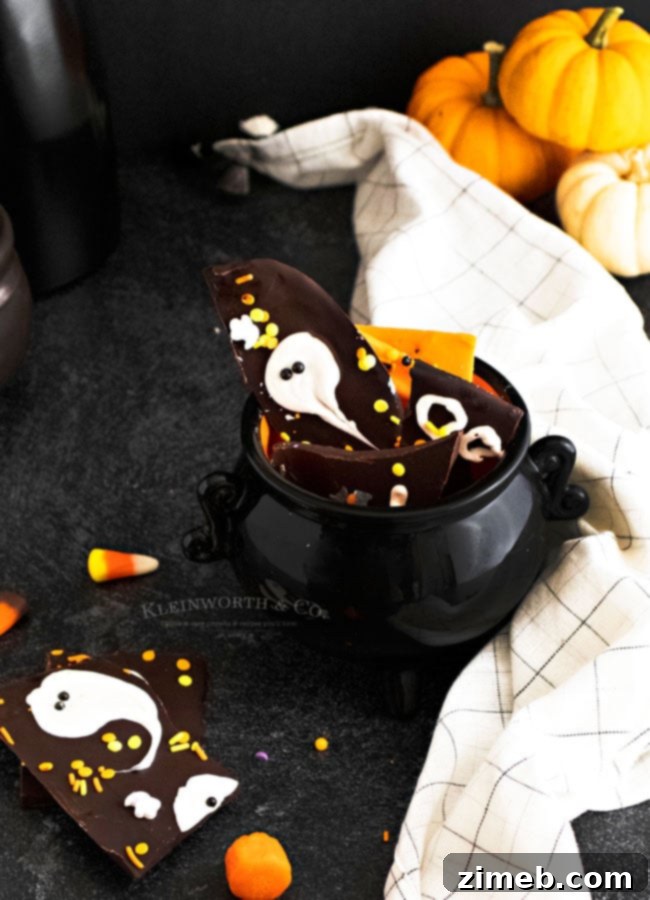
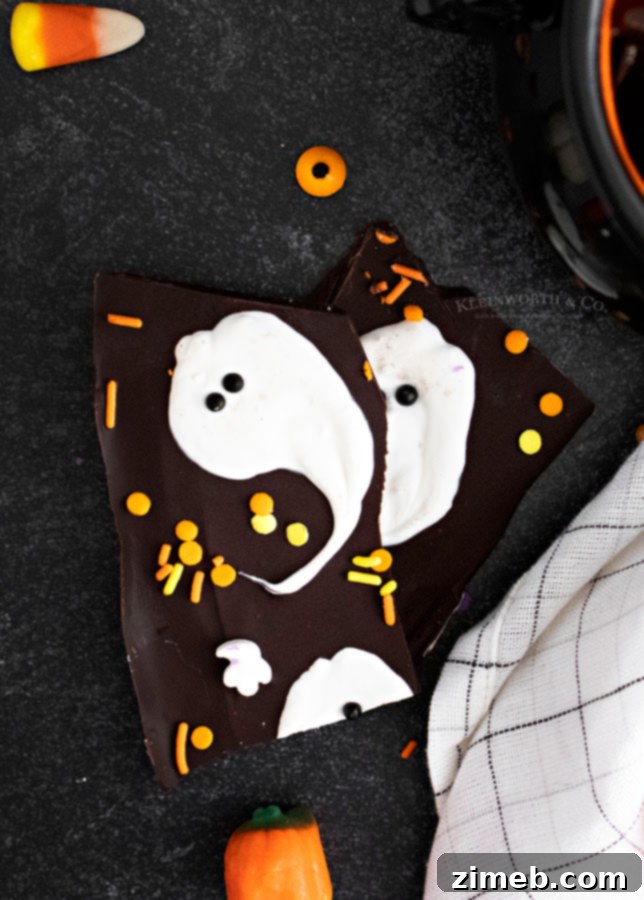
Chocolate bark is a delightful confection consisting of melted chocolate spread thinly and then topped with various ingredients like nuts, dried fruit, candies, or sprinkles. Once the chocolate sets, it’s broken into irregular pieces, resembling tree bark, hence the name. Halloween Bark takes this concept and infuses it with all the festive spirit of the spooky season. Imagine layers of rich, smooth chocolate—dark, white, or even vibrant orange—blanketed with an assortment of eerie sprinkles, candy eyes, mini chocolate candies, and candy corn. It’s a no-bake dessert that offers endless possibilities for customization, making it perfect for last-minute party preparations or a fun activity with kids.
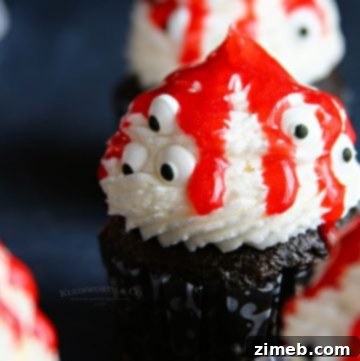
Elevate your Halloween dessert spread with these equally enchanting Broken Glass Cupcakes – they’re sure to be a frightfully good treat!
Essential Ingredients for Your Halloween Bark Masterpiece
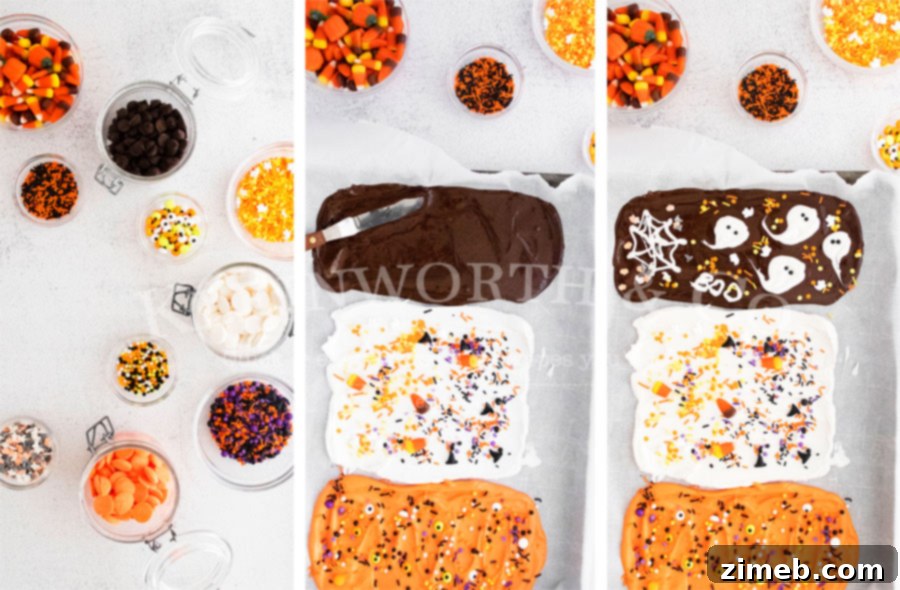
Creating this spectacular Halloween Bark requires only a few key ingredients. The beauty of bark lies in its flexibility, allowing you to easily adapt it based on your preferences and what you have available. Here’s what you’ll typically need to assemble this fun, festive treat:
- Dark Chocolate Chips: These form the foundational layer, offering a rich, classic chocolate flavor. You can use semi-sweet, milk, or bittersweet chocolate chips depending on your taste.
- White Chocolate Melting Wafers: Essential for creating vibrant, contrasting layers and for any decorative piping. Melting wafers are highly recommended over regular white chocolate chips, as they melt more smoothly and consistently.
- Orange Chocolate Melting Wafers: To add a traditional Halloween hue to your bark. These can often be found in specialty baking stores or online during the fall season.
- Sprinkles to Decorate: A spooky assortment of Halloween-themed sprinkles is a must! Think pumpkins, ghosts, bats, or a mix of orange, black, and purple.
- Candy Eyes to Decorate: These tiny edible eyes instantly transform your bark into a cast of playful monsters.
- Candy Corn to Decorate: A classic Halloween candy that adds both color and a distinct texture.
- Reese’s Pieces to Decorate: For an extra burst of peanut butter and chocolate flavor, and their iconic orange and yellow colors.
Feel free to experiment with other Halloween candies like gummy worms, mini chocolate bars, or crushed cookies to make your bark truly unique!
Frequently Asked Questions About Making and Storing Chocolate Bark
Making chocolate bark is generally straightforward, but a few common questions often arise. Here’s a detailed look at how to ensure your Halloween Bark is perfect every time, along with tips for storage and variations.
What is the best way to store leftover Halloween chocolate bark?
To keep your Halloween Bark at its best, store it in an airtight container in the refrigerator for up to 2 days. Beyond this period, chocolate can sometimes “bloom.” Chocolate bloom refers to the appearance of a grayish-white film on the surface of chocolate. There are two main types: fat bloom, caused by fat separation and recrystallization, and sugar bloom, caused by moisture condensing on the surface and dissolving sugar, which then recrystallizes. While bloomed chocolate is perfectly safe to eat, it won’t be as visually appealing or have the same smooth texture. Storing it in a cool, dark place away from direct sunlight and temperature fluctuations can also help prevent blooming.
Can I use a sugar-free chocolate substitute for this recipe?
While I haven’t personally experimented with sugar-free chocolate substitutes for this specific bark recipe, many readers have successfully used them in similar contexts. Sugar-free chocolates often have different melting properties and may require slight adjustments to achieve the desired consistency. If you decide to try it, I recommend melting a small test batch first to gauge its behavior. Please do let me know how it turns out if you give it a try – your feedback helps other bakers!
Can this chocolate bark be frozen for longer storage?
Yes, chocolate bark can be frozen, but there’s a caveat: the chocolate may experience blooming (as described above) upon thawing. Freezing can cause temperature fluctuations that encourage fat or sugar bloom, resulting in a less pristine appearance. If you choose to freeze it, wrap the bark tightly in plastic wrap and then place it in an airtight container or freezer bag. To thaw, transfer it to the refrigerator overnight to minimize condensation and temperature shock, which can worsen blooming. While the appearance might be affected, the taste should remain largely intact.
How many servings does this Halloween Bark recipe yield?
This recipe is designed to yield approximately 18 one-ounce servings. The exact number will, of course, depend on how large or small you break the individual pieces. If you’re serving a large gathering, feel free to scale up the recipe! It’s an excellent option for parties as it can be made in advance and easily portioned for guests.
Simple Steps to Create Your Spooktacular Halloween Bark
Making this festive chocolate bark is easier than wrangling a ghost! Follow these clear steps for a perfectly eerie and delicious treat:
- Prepare Your Workspace: Begin by lining a standard sheet pan with parchment paper. This crucial step prevents the chocolate from sticking and ensures easy removal once the bark has set.
- Melt the Dark Chocolate: Add your dark chocolate chips to a small, microwave-safe bowl. Microwave on high for 30 seconds, then remove and stir thoroughly. Repeat this process for an additional 30 seconds, stirring again. At this point, your chocolate should be smooth and beautifully shiny. If you still see any stubborn lumps, microwave for a final 15 seconds and stir until completely melted and uniform. Alternatively, you can use a double boiler for a more controlled melting process.
- Spread the First Layer: Carefully pour the melted dark chocolate onto the prepared parchment paper. Using an offset spatula or the back of a spoon, gently spread the chocolate into an even layer, aiming for about 1/4” thickness. Work relatively quickly, as chocolate begins to set as it cools.
- Add Initial Toppings: While the dark chocolate layer is still wet and warm, generously sprinkle your chosen decorations, such as Halloween sprinkles or candy corn. This ensures they adhere firmly to the chocolate. Speed is key here to avoid the chocolate hardening before you’re done.
- Repeat for Additional Layers (Optional, but recommended for visual appeal): If you’re adding white or orange chocolate layers, repeat steps 2-4 for each color. Melt the white or orange chocolate wafers in separate bowls. Drizzle or spread the melted colored chocolate over the dark chocolate layer. You can create marble effects by swirling the layers gently with a skewer or toothpick. Immediately add more sprinkles, candy eyes, Reese’s Pieces, or any other decorations to these fresh layers.
- Chill to Set: Transfer your assembled chocolate bark to the freezer and allow it to set for at least 30 minutes. This quick chill helps the chocolate harden uniformly and ensures your toppings are securely embedded.
- Break into Pieces: Once the chocolate bark is fully frozen and firm, remove it from the freezer. You can now break it into large, irregular pieces using your hands. For a more controlled break, score it lightly with a fork or knife before applying pressure. The pieces should snap off cleanly.
- Store Properly: Store your finished Halloween Bark in an airtight container in the refrigerator for up to 2 days to maintain its freshness and prevent blooming.
Tips for Creating the Most Spooktacular Halloween Bark
To ensure your Halloween Bark is absolutely perfect, consider these additional tips:
- Quality Chocolate Matters: While any chocolate chips work, higher quality chocolate often melts more smoothly and tastes better. Melting wafers (like Wilton Candy Melts) are superior for white and colored chocolates as they contain different fats designed for easy melting and setting.
- Prevent Overheating: When microwaving, always use short intervals (30 seconds, then 15 seconds) and stir well between each. Overheated chocolate can seize, becoming thick and crumbly. If this happens, you might be able to salvage it by stirring in a tiny bit of vegetable shortening or coconut oil, a teaspoon at a time.
- Work Quickly: Chocolate sets fast, especially when spread thinly. Have all your sprinkles and candies ready and organized before you start melting the chocolate so you can apply them immediately.
- Achieve a Marble Effect: For a visually appealing marble design, drizzle the melted white or orange chocolate over the base dark chocolate layer while both are still wet. Then, use a toothpick or skewer to gently swirl the colors together. Don’t overmix, or the colors will blend too much.
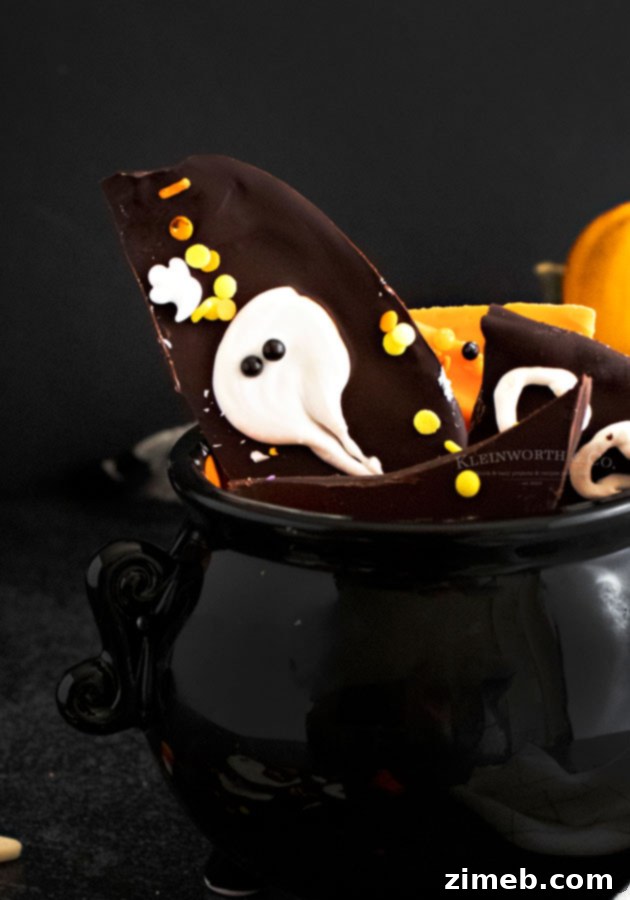
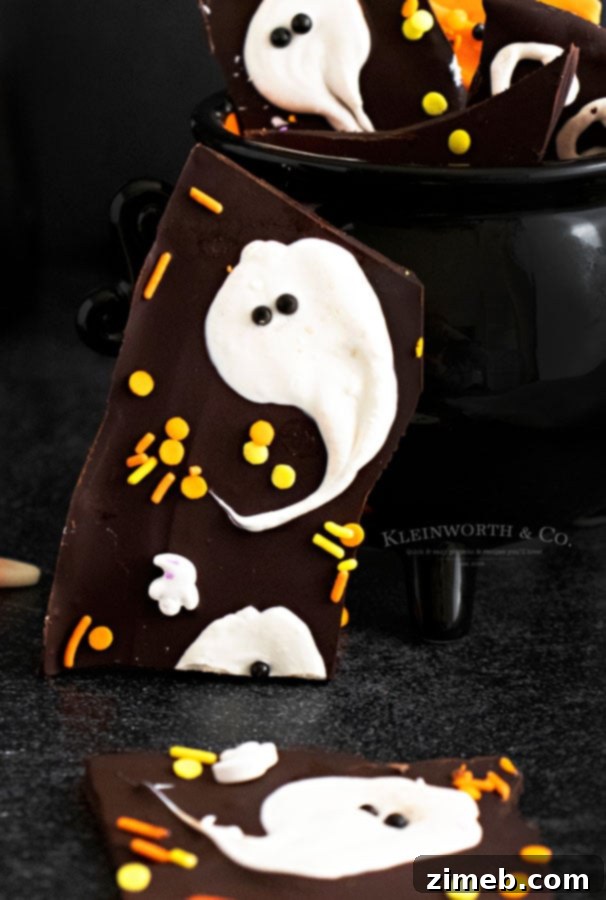
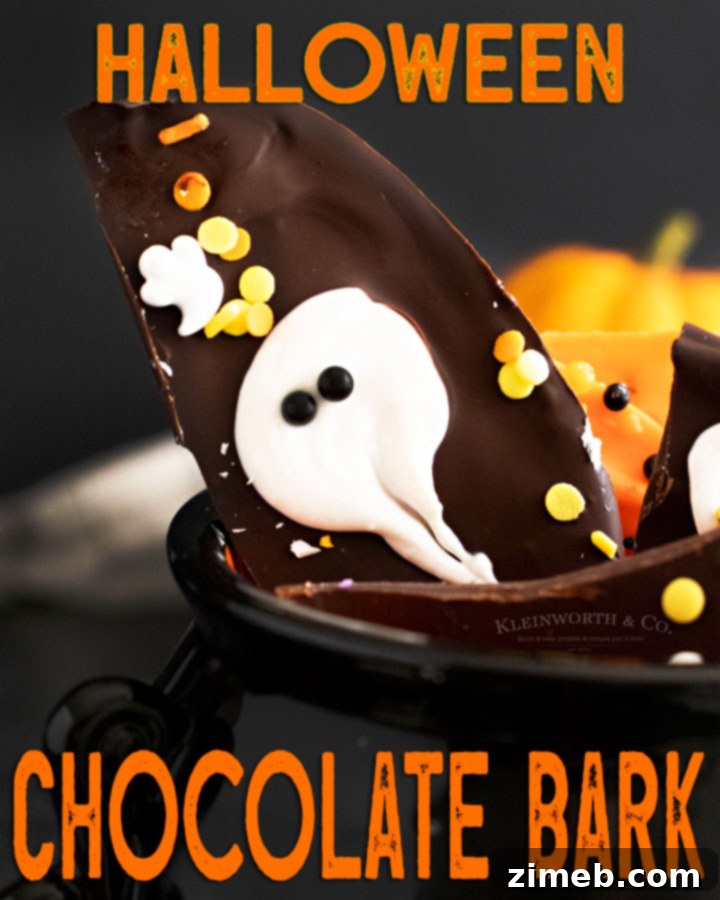
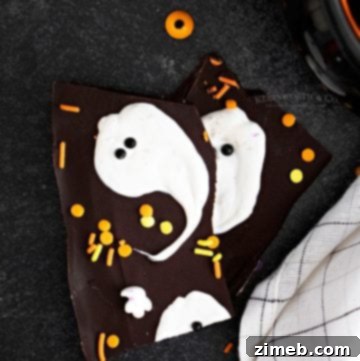
- Create Spooky Shapes: To make specific designs like ghosts or spiderwebs, melt a small amount of white chocolate. Transfer about 1/4 cup to a plastic piping bag or a Ziploc bag with a tiny corner snipped off. Pipe designs directly onto the wet chocolate base. For ghost shapes, pipe a small dollop and drag it slightly downwards to create a tail, then add candy eyes.
- Kid-Friendly Fun: This is an excellent recipe for getting kids involved! Let them choose and sprinkle their favorite toppings. Just supervise them, especially around hot melted chocolate.
- Customize Your Toppings: Don’t limit yourself to the suggested toppings. Get creative! Crushed Oreo cookies for “dirt,” mini marshmallows for “ghosts,” pretzels for a salty crunch, or even edible glitter can add extra flair.
My Favorite Tools for Effortless Halloween Bark
This chocolate bark recipe is not only delicious but also incredibly simple to prepare, making it perfect for both seasoned bakers and beginners. If you’re like me during the busy Halloween season, you might already have most of these items on hand. But if you’re new to making chocolate bark and feeling a bit nervous, don’t worry! These tools will make the process a breeze:
- A Variety of Sprinkles: The more spooky and colorful, the better! Having a selection allows for creative designs.
- 9×13 Inch Sheet Pan (1/4 Sheet): This size is ideal for spreading your bark to the perfect thickness.
- Offset Spatula: This tool is a game-changer for spreading melted chocolate evenly and smoothly, ensuring consistent thickness.
- Piping Bags: Perfect for drizzling extra chocolate or creating intricate designs like ghosts or spiderwebs.
- Parchment Paper: Absolutely essential for non-stick release and easy cleanup.
- Microwave-Safe Bowls: For efficiently melting your different chocolate varieties.
If you adore this Easy Halloween Bark recipe, you’ll undoubtedly love these other frightfully fun and easy treats too. Click each link below to discover their simple, printable recipes!
More Spooky & Sweet Treats for Your Halloween Gathering
Beyond this incredible Halloween Bark, there’s a whole world of easy and delicious Halloween desserts waiting to be explored. Here are some of my top recommendations to complete your spooky spread:
-
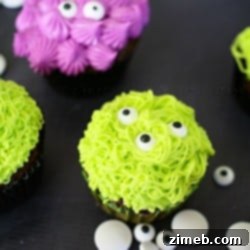
Ghoulish Monster Halloween Cupcakes
These super cute cupcakes are a fantastic dessert for any Halloween party. Kids will absolutely giggle at these fun and spooky monster treats, adorned with colorful frosting and edible eyes!
Check out this recipe

-
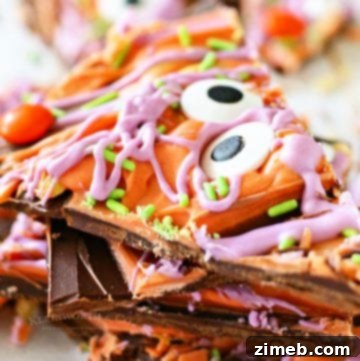
Monster Bark
Looking for another fun and easy Halloween treat? This adorable Monster Bark takes just a couple of ingredients and a few minutes to make. It’s another brilliant way to use up leftover candies and the kids just love it!
Check out this recipe
-
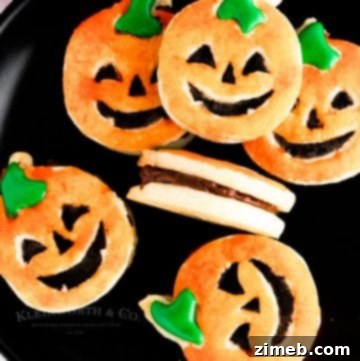
Pumpkin Shaped Chocolate Stuffed Shortbread Cookies
Buttery shortbread cookie sandwiches generously stuffed with a creamy chocolate filling make these Pumpkin Shortbread Cookies absolutely perfect for Halloween. A delightful twist on a classic!
Check out this recipe
-
Monster Cupcakes
Monster Cupcakes are the ideal treat for your Halloween party. With funny eyes and vibrant, colorful frosting, these easy desserts will undoubtedly delight all the ghouls and goblins at your celebration.
Check out this recipe
-
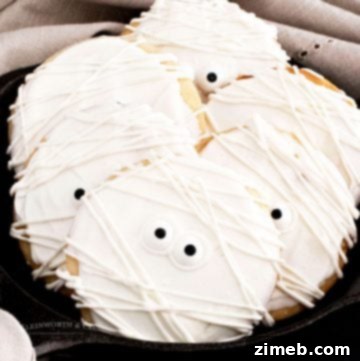
Mummy Shortbread Cookies
These Mummy Shortbread Cookies are the perfect decorated Halloween cookies, featuring delightful flavors of vanilla, cinnamon, and nutmeg. They’re both cute and surprisingly easy to make!
Check out this recipe
-
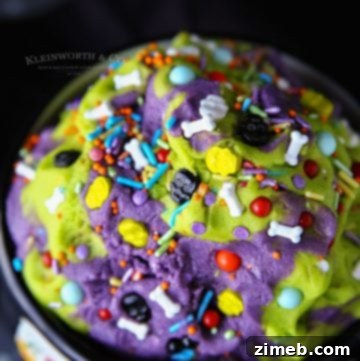
Sugar Skull Cookie Dough
Sugar Skull Cookie Dough offers a quick and easy Halloween treat. This vibrant green and purple egg-free cookie dough, loaded with adorable sugar skull sprinkles, makes for a perfect Day of the Dead dessert.
Check out this recipe
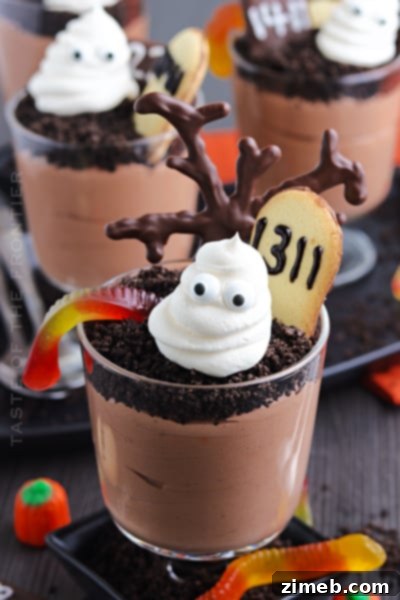
Don’t miss our Ghosts in the Graveyard Dessert – it’s a creamy, chocolatey treat that’s perfectly spooky for the season!
More No-Bake Chocolate Bark Recipes to Enjoy
If you’re a fan of the simplicity and versatility of chocolate bark, you’re in for a treat! Here are more fantastic no-bake bark recipes perfect for any occasion:
Mixed Nut Bark
Potato Chip Bark
Monster Halloween Bark
Oreo Peppermint Bark
Peppermint Bark Cookies
Gingerbread Bark
Easter Bark
If you’ve enjoyed making this easy and festive Halloween Bark recipe as much as I do, please consider leaving a five-star review below. Your feedback helps other candy lovers discover this delightful treat! And don’t forget to help me spread the spooky cheer by sharing your creations and this recipe on Facebook and Pinterest!
DON’T MISS THESE HOLIDAY E-BOOKS!


CONNECT WITH YUMMI HAUS!
Be sure to follow me on my social media, so you never miss a post!
Substack, FB, Pinterest, IG, Email Subscription
Rate this Recipe
Halloween Bark
Candy Lovers! This spooky Halloween Bark Recipe is made with white & dark chocolate, candy & more- perfect for all your ghoulish celebrations.
Course: Dessert
Servings: 18
Pin Recipe
Prep Time: 10 mins
Setting Time: 30 mins
Total Time: 40 mins
Ingredients
- ¾ cup dark chocolate chips
- ¾ cup white chocolate melting wafers
- ¾ cup orange chocolate melting wafers
- Sprinkles to decorate
- Candy eyes to decorate
- Candy corn to decorate
- Reese’s Pieces to decorate
Instructions
- Line a sheet pan with parchment paper.
- Add the dark chocolate chips to a small microwave-safe bowl. Microwave on high for 30 seconds. Stir. Microwave again for an additional 30 seconds. Stir again. By this point, your chocolate should be smooth and shiny. If there are still large lumps, microwave for an additional 15 seconds and stir again.
- Pour the chocolate onto the prepared parchment paper and spread it out until it is 1/4” thick. This is easiest to do with an offset spatula.
- Add any sprinkles, candy, or decorations while the chocolate is still wet— work quickly as it will start to harden immediately.
- Repeat with the remaining chocolate flavors, sprinkles, and toppings.
- Transfer the chocolate bark to the freezer and allow it to set for at least 30 minutes.
- While the chocolate bark is still frozen, break it into large pieces with your hands (or you can use a fork or knife by just poking it through the chocolate and it will break into large pieces).
- Store in an airtight container in the refrigerator for up to 2 days.
Notes
- Any chocolate chips will work in this recipe— semi-sweet, milk, bittersweet, etc. Just use what you have on hand.
- You can substitute white chocolate for the melting wafers, although it does not melt as easily or as smoothly. Melting wafers are highly recommended for the best results.
- To make shapes, transfer 1/4 cup of melted white chocolate to a plastic bag. Cut a very small corner tip off the bag and use the chocolate to pipe ghost or spider web designs directly onto the bark.
- The exact sprinkles you use are completely up to you. I like to use a mix that I collect from various stores & online retailers— pumpkins, ghosts, witch hats, etc.
- If your candy wafers start to separate or clump during melting, add 1 tablespoon of solid vegetable shortening or coconut oil. Microwave for 30 seconds and then whisk it vigorously until smooth.
Nutritional information for the recipe is provided as a courtesy and is approximate. Please double-check with your own dietary calculator for the best accuracy. We at Yummi Haus cannot guarantee the accuracy of the nutritional information given for any recipe on this site.
Love this recipe? Follow @KleinworthCo for even more tasty recipes!