
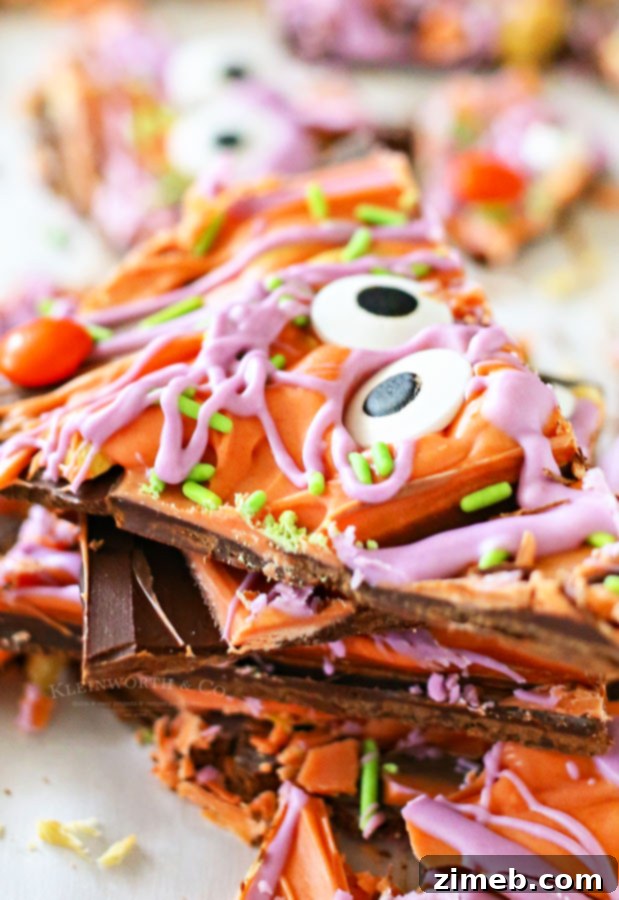
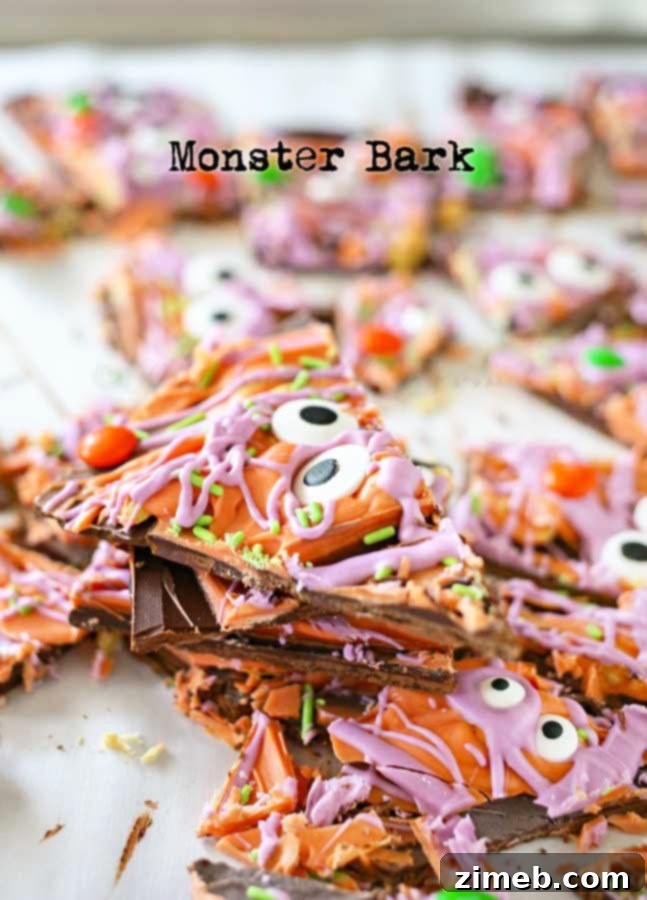
Looking for an incredibly fun, effortless, and visually striking Halloween treat? This adorable Monster Bark recipe is your answer! Requiring just a handful of common ingredients and mere minutes to assemble, it’s a delightful activity that children absolutely adore, and a spooky snack that grown-ups will find irresistible. Get ready to transform your kitchen into a spooky wonderland with this vibrant, customizable, and unbelievably simple chocolate bark.
The magic of the holidays, especially Halloween, often revolves around creative projects and delicious treats. For me, crafting these special moments in the kitchen and sharing them with my family and all of you is truly the most rewarding part of what I do. It allows me to delve into the festive spirit, explore imaginative ideas, and bring forth charming, easy-to-follow recipes that celebrate the season.
There’s something uniquely satisfying about creating edible art that not only looks fantastic but also brings immense joy. This Monster Bark is a prime example – a playful concoction that embodies the fun and spooky essence of Halloween without demanding complex culinary skills or hours of effort. It’s about making memories as much as it is about making a treat.
Easy Monster Bark Recipe: Your Ultimate Halloween Treat
I genuinely hope that you’ll embrace these holiday ideas and find as much delight in making them as my family and I do. Recipes like this Easy Monster Bark are incredibly straightforward, making them perfect for involving children in the kitchen. Witnessing their creativity flourish as they sprinkle on toppings and arrange candy eyes is truly heartwarming.
My three children, with their boundless imagination, are always a joy to have around when I’m baking. Their ideas often spark new twists on classic treats, and their enthusiasm is contagious. Plus, they’re fantastic helpers, especially for tasks that require a keen eye – like separating all the vibrant green and orange M&M’s from a large bag to ensure our Monster Bark truly pops with Halloween colors! This simple act of sorting becomes part of the fun, a collaborative effort that strengthens our bond and creates lasting memories around our favorite holiday traditions.
They are such good sports, always ready to lend a hand without hesitation, even when faced with seemingly mundane kitchen duties. Their willingness to assist makes our holiday preparations much more enjoyable and efficient. As my kids have grown older, our Halloween traditions have evolved. Trick-or-treating might be a thing of the past for them, but that doesn’t mean the festive spirit fades. We still find plenty of ways to celebrate the spooky season with enthusiasm and, of course, delicious homemade treats.
I always want to ensure they feel connected to the holiday magic. So, while they might not be knocking on doors, they still get to enjoy their fair share of Halloween goodies. They might even sneak a few pieces of Monster Bark from the communal bowl between packs of neighborhood trick-or-treaters. This year, my son will be working on Halloween night, which is a bit of a bummer, but it just means more Monster Bark for the girls and me to share while enjoying a spooky movie marathon!
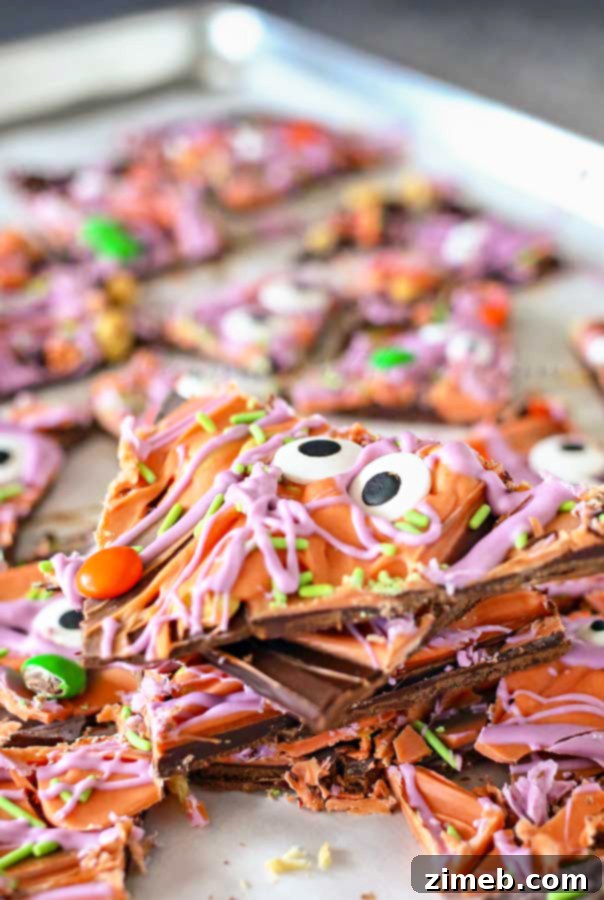
Crafting the Perfect Halloween Chocolate Monster Bark
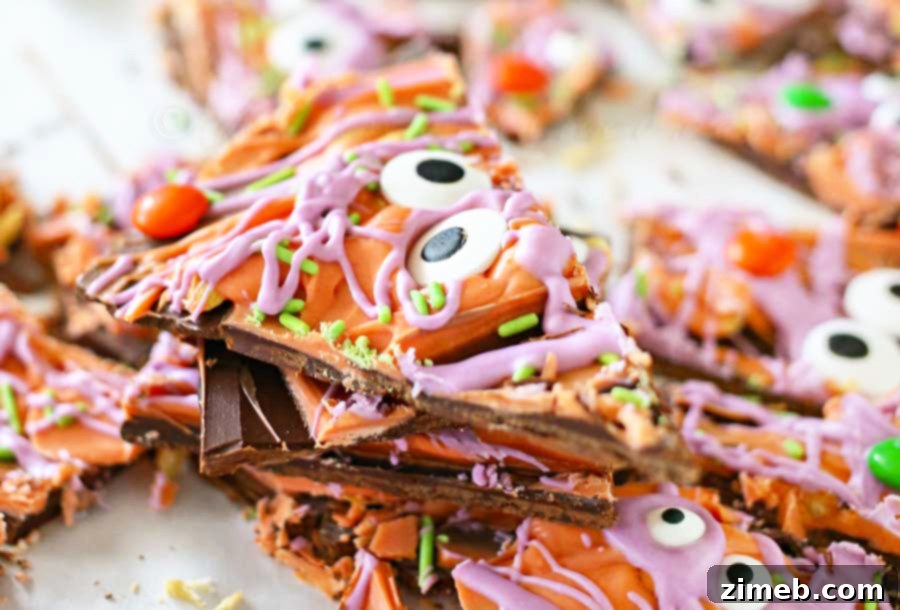
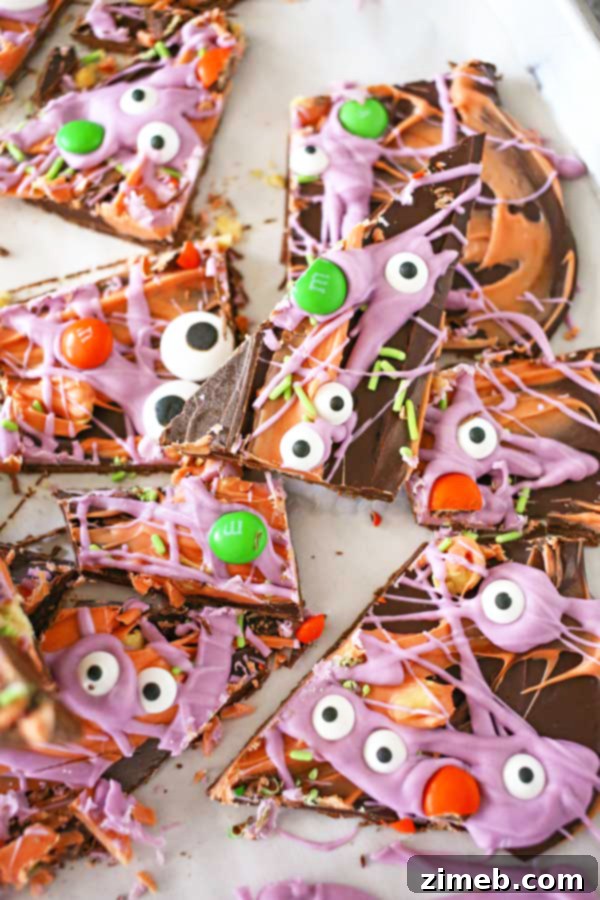
Monster Bark isn’t just a treat; it’s a canvas for creativity. The combination of rich chocolate, crunchy peanuts, and a playful assortment of colorful candy melts, sprinkles, and candy eyes makes it a standout for any Halloween gathering. It’s an excellent no-bake option that delivers maximum impact with minimal effort, allowing you more time to enjoy the festivities.
The beauty of this recipe lies in its simplicity and versatility. You can easily adapt the colors to suit any theme, but for Halloween, the traditional orange, purple, and green against a milk chocolate base truly evoke a whimsical, monster-inspired vibe. This bark is perfect for school parties, office potlucks, or simply as a festive snack to enjoy with family during a Halloween movie night. Each piece is a unique work of art, bursting with flavor and fun.
Commonly Asked Questions About Monster Bark
What is the best way to store leftover Monster Bark?
To preserve the freshness and crunch of your Monster Bark, it’s crucial to store it correctly. Once fully set and broken into pieces, place any leftover bark in an airtight container or a zip-top bag. Keep it at room temperature, away from direct sunlight or heat, for up to two weeks. Proper storage ensures the chocolate retains its snap and the toppings stay vibrant and delicious. Avoid refrigeration unless your home is unusually warm, as the condensation can sometimes affect the chocolate’s texture.
How Do You Make Monster Bark? A Simple Step-by-Step Guide
Creating this eye-catching Monster Bark is surprisingly simple, making it a fantastic project for cooks of all skill levels, especially those involving children. The key is to work efficiently once the chocolate is melted, ensuring all your festive toppings are ready to go. Here’s a breakdown of the easy process:
- **Prepare Your Workspace:** Line a standard jelly roll pan (approximately 10×15 inches) with parchment paper. This is crucial for easy removal of the bark once it’s set. Set it aside for immediate use.
- **Melt the Base Chocolate:** In a microwave-safe bowl, gently heat your milk chocolate candy melts according to the package directions. Typically, this involves microwaving in 30-second intervals, stirring well after each, until the chocolate is fully melted and beautifully smooth. Avoid overheating, which can cause the chocolate to seize.
- **Create the Chocolate Canvas:** Pour the melted milk chocolate onto your prepared parchment paper. Using an offset spatula or the back of a spoon, carefully smooth it out into a thin, even layer across the pan. Aim for a consistent thickness to ensure even setting.
- **Add the First Layer of Toppings:** If you’re including peanuts, sprinkle them evenly over the still-wet chocolate layer immediately after spreading. This ensures they adhere firmly to the base.
- **Introduce Monster Colors:** In two separate, smaller microwave-safe bowls, melt the orange and purple candy melts following the same gentle heating method. Once smooth, drizzle these colorful chocolates over the milk chocolate layer in a random, artistic pattern. You can use a spoon or a piping bag with a small tip for more control.
- **Decorate with Spooky Details:** Quickly sprinkle the green jimmies over the colored chocolate drizzles. Then, randomly place both small and large candy eyes and the orange and green M&M’s across the entire surface. Speed is essential here; if the chocolate sets before you add your decorations, they won’t stick.
- **Chill to Perfection:** Carefully transfer the entire tray to the refrigerator. Allow it to chill for approximately 30 minutes, or until the chocolate is completely firm and snaps easily.
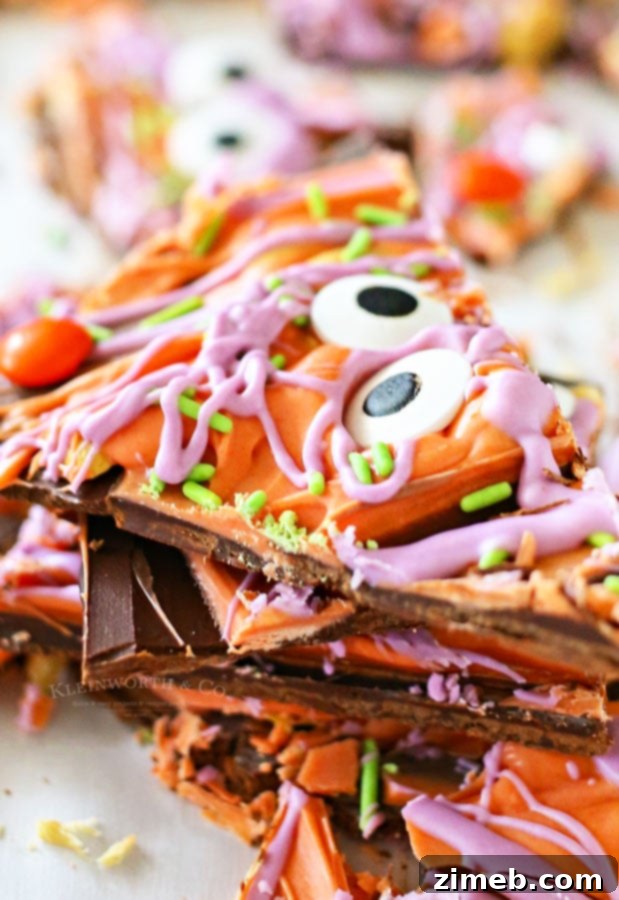
- **Break and Serve:** Once thoroughly chilled, remove the tray from the refrigerator. To break the bark into irregular, monster-like pieces, simply poke the chilled chocolate with a sturdy fork or a butter knife. Arrange on a platter and enjoy your spooky, delicious creation!
More Delicious Chocolate Halloween Treats
If you’re a fan of no-bake chocolate treats, especially those with a festive twist, you’re in for a delight. This Monster Bark is just the beginning! The world of chocolate bark is vast and varied, offering endless possibilities for flavor combinations and seasonal themes. From crunchy and savory to sweet and minty, there’s a bark for every palate and occasion. Keep this recipe in your holiday rotation and explore other creative ways to use chocolate and your favorite toppings.
Can this Monster Bark recipe be doubled?
Absolutely, this recipe is incredibly forgiving and scales beautifully! You can easily double or even triple the ingredients to make a larger batch, which is often a necessity for bigger Halloween parties or when you want to have plenty of treats to share. When doubling, you might need a larger sheet pan or simply use two pans to maintain a thin layer, which helps with setting. Just keep in mind that a thicker layer of chocolate, or a larger volume, might take a bit longer to set completely in the refrigerator. Plan for an extra 15-30 minutes of chilling time to ensure it’s firm enough to break cleanly.
Can this Monster Bark be frozen for later enjoyment?
Yes, you can freeze Monster Bark, but there’s a small caveat to consider. Chocolate, when frozen and then thawed, can sometimes undergo a process called “blooming,” where cocoa butter rises to the surface, creating a grayish or streaky appearance. While this doesn’t affect the taste or safety of the chocolate, it can make it look less appealing. If aesthetics are not your top priority, freezing is a great option for extending its shelf life. To minimize blooming, wrap the bark tightly in plastic wrap and then place it in an airtight freezer-safe container. It can be stored for up to 3 months. Thaw it slowly in the refrigerator before bringing it to room temperature for serving.
Essential Ingredients for Your Monster Bark Masterpiece
The beauty of this Monster Bark recipe lies in its simplicity and the vibrant impact achieved with just a few key components. Gathering these ingredients is the first step towards creating a truly memorable Halloween treat:
- Milk Chocolate Candy Melts: These form the rich, creamy base of your bark. Candy melts are designed to melt smoothly and set firmly, providing the perfect foundation.
- Orange Candy Melts: Essential for adding those classic Halloween hues and a playful drizzle.
- Purple Candy Melts: Complements the orange, creating a truly monstrous and colorful effect.
- Salted Peanuts (Optional): Adds a delightful crunch and a hint of savory balance to the sweetness. Feel free to omit if you prefer a nut-free version or substitute with other nuts.
- Green Jimmies: These classic sprinkles provide a pop of green, enhancing the spooky, fun aesthetic.
- Small Candy Eyes: Crucial for bringing your monsters to life, adding personality and charm to each piece.
- Large Candy Eyes: For bigger, bolder monster expressions that stand out.
- Orange & Green M&M’s: A burst of color and a familiar candy crunch, perfectly aligned with the Halloween theme.
Can I use regular chocolate chips instead of candy melts for this recipe?
This is a frequently asked question, and while chocolate chips might seem like a convenient substitute, I strongly recommend sticking with candy melts for this Monster Bark recipe. The reason lies in the science of chocolate tempering. Candy melts are specifically formulated to melt smoothly and set up firm and shiny without the need for tempering, a complex process that professional chocolatiers use to achieve the perfect texture and appearance with real chocolate.
When you melt regular chocolate chips, especially white or colored ones, they can become quite thick and sometimes “seize” – turning into a lumpy, unusable mess if exposed to even a tiny bit of moisture or if overheated. While adding a touch of coconut oil can sometimes help thin out melted chocolate chips for spreading, it’s not a foolproof solution and can alter the final texture and flavor. To ensure a creamy, easy-to-spread base and vibrant, smooth drizzles that set beautifully without hassle, candy melts are undeniably the superior choice for this no-fail bark recipe. They guarantee a perfect result every time, making your Monster Bark look as good as it tastes!
Explore More Delightful No-Bake Chocolate Bark Recipes
If you enjoyed the simplicity and fun of making this Monster Bark, you’re in luck! The world of no-bake chocolate bark is full of exciting possibilities, perfect for any season or occasion. These recipes are quick, customizable, and always a crowd-pleaser, making them ideal for last-minute treats or thoughtful homemade gifts. Dive into these other fantastic bark creations:
Mixed Nut Bark: A classic combination of crunchy nuts and smooth chocolate, offering a satisfying texture and rich flavor.
Potato Chip Bark: The ultimate sweet and salty indulgence, where crispy potato chips meet decadent chocolate for an unexpected delight.
Oreo Peppermint Bark: A festive favorite, combining crushed Oreo cookies and refreshing peppermint with layers of white and dark chocolate.
Peppermint Bark Cookies: While not strictly bark, these cookies capture the beloved peppermint bark flavor in a chewy, delightful form.
Gingerbread Bark: Infused with the warm spices of gingerbread, this bark is a cozy treat perfect for the holiday season.
Easter Bark: Bright and cheerful, this bark is adorned with pastel candies and sprinkles, making it a perfect spring-time confection.
Recommended Products for Effortless Monster Bark Creation
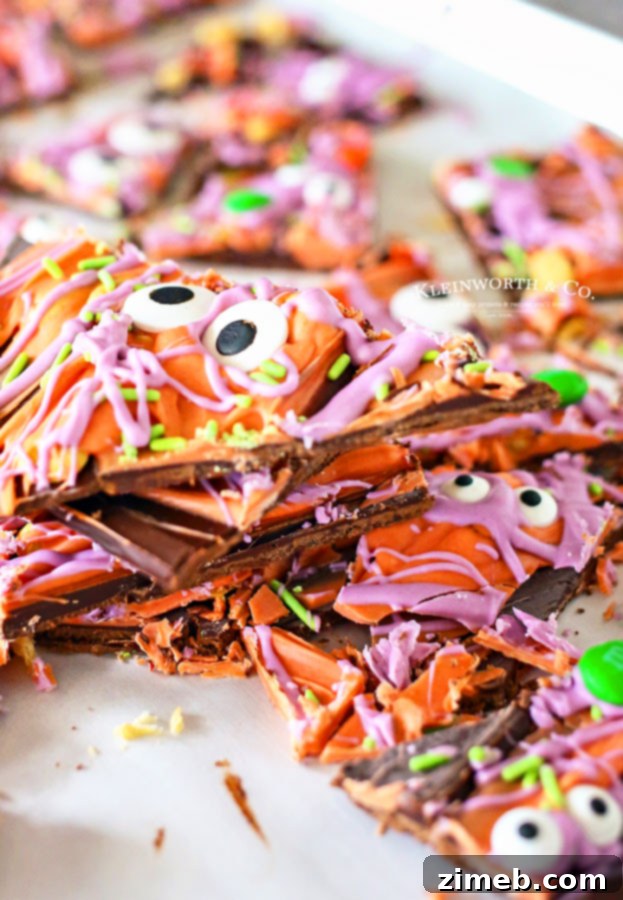
This Halloween Monster Bark recipe is truly SUPER EASY and incredibly delicious. Whether you’re a seasoned baker who likely has these items on hand or a first-timer feeling a bit nervous about making homemade chocolate bark, you’re going to love how straightforward it is. To ensure your success and make the process as smooth as possible, I’ve compiled a list of the exact products I rely on when whipping up this delightful treat. These tools and ingredients are essential for achieving the perfect texture and vibrant, spooky look for your Monster Bark.
- Milk Chocolate Candy Melts: The base for our delicious bark, ensuring a smooth melt and firm set.
- Orange Candy Melts: For vibrant Halloween drizzles and contrasting colors.
- Purple Candy Melts: Adds another layer of spooky color and visual interest.
- Salted Peanuts: (Optional) Provides a fantastic salty crunch to balance the sweetness.
- Green Jimmies: Classic green sprinkles to enhance the monster theme.
- Small Candy Eyes: Essential for giving your bark its adorable monster personality.
- Large Candy Eyes: For a mix of eye sizes, making your monsters even more whimsical.
- Orange M&M’s & Green M&M’s: Adds a pop of color and a satisfying candy crunch.
- Sheet Pan: A sturdy baking sheet is vital for spreading your bark evenly.
- Parchment Paper: Ensures easy removal and cleanup, preventing sticking.
- Mixing Bowl: For melting your chocolate safely and efficiently in the microwave.
If you love this Easy Monster Bark recipe, you’re going to love these other holiday and Halloween treats too. Each link below leads to an easy, printable recipe that promises more delicious fun!
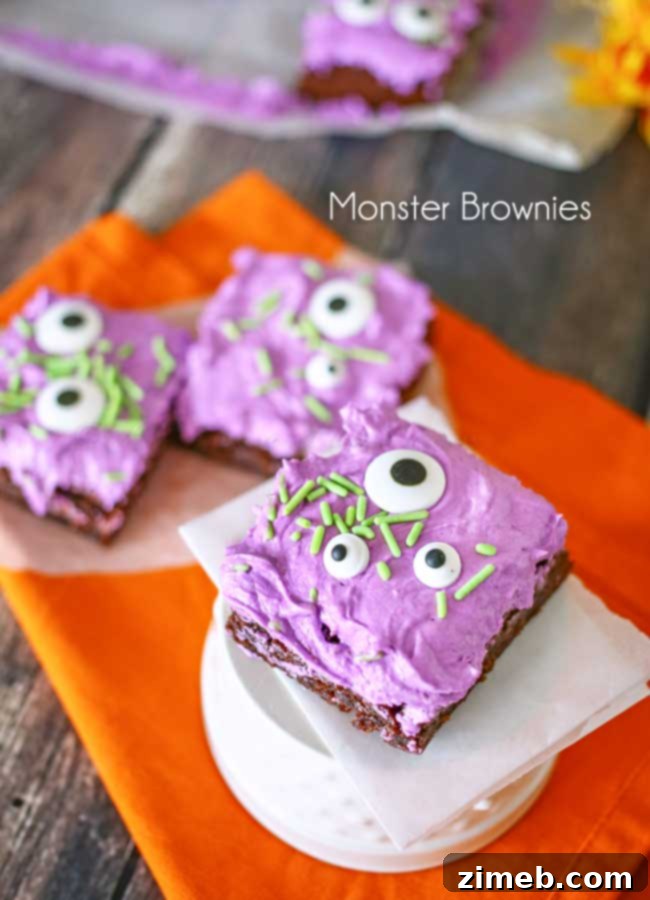
Monster Brownies
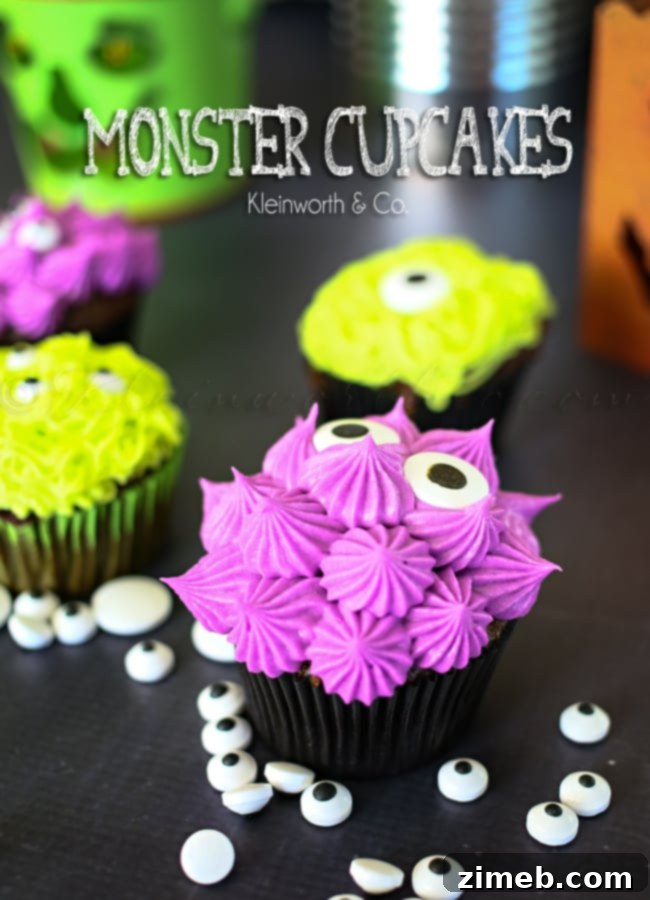
Monster Cupcakes
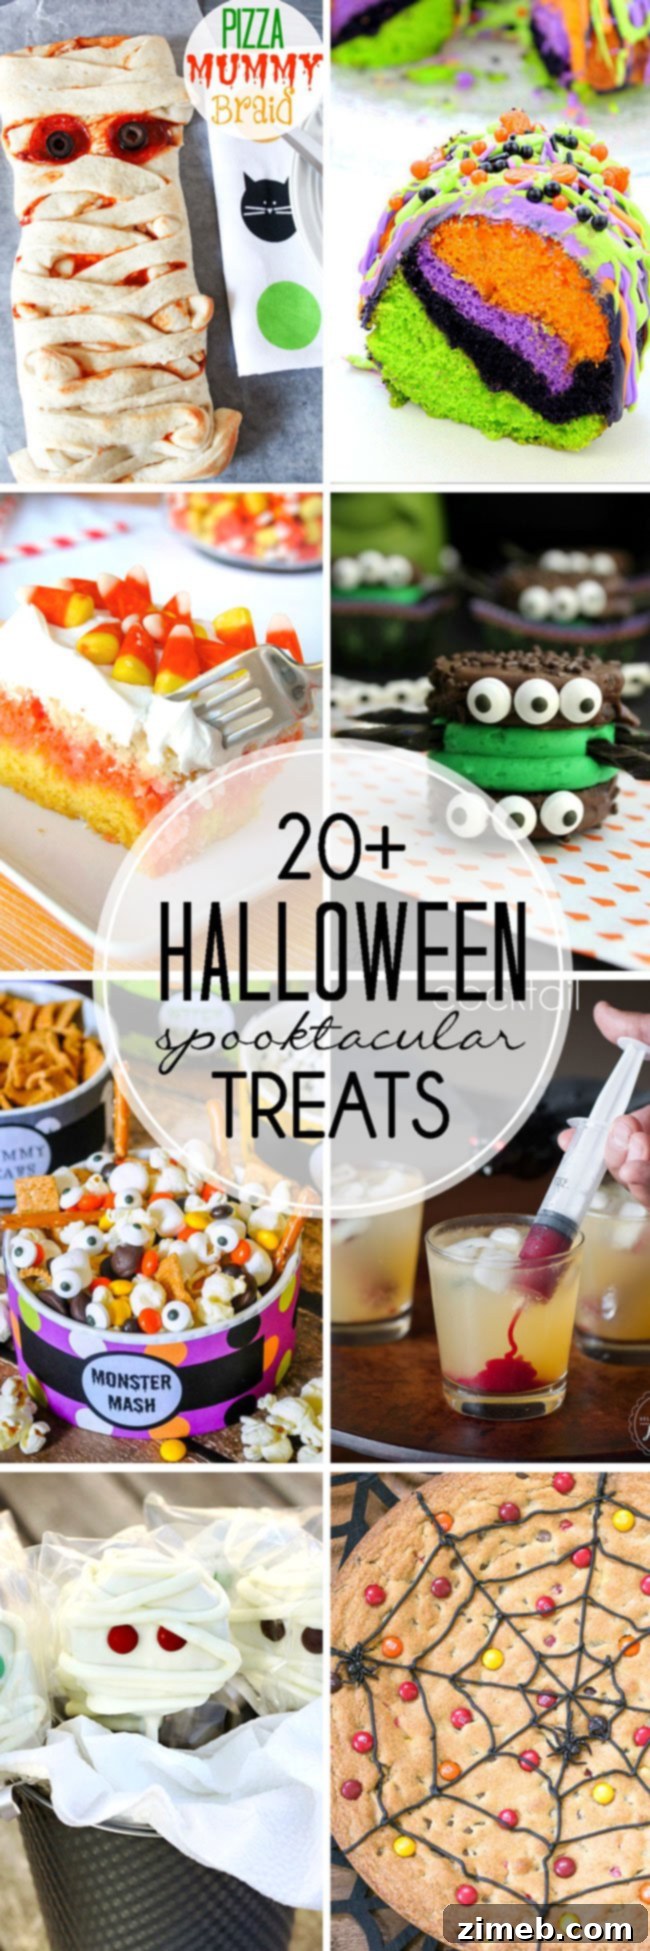
20+ Halloween Spooktacular Treats
If you adore this simple yet spectacular recipe for Monster Bark as much as I do, please consider leaving a five-star review below. Your feedback helps others discover delicious treats and supports our passion for creating and sharing. Don’t forget to help spread the Halloween cheer by sharing this recipe with your friends and family on Facebook and Pinterest!
DON’T MISS THESE HOLIDAY E-BOOKS!


CONNECT WITH YUMMI HAUS!
Be sure to follow me on my social media, so you never miss a post!
Substack, FB, Pinterest, IG, Email Subscription
PIN THIS TO SAVE FOR LATER
Rate this Recipe
Monster Bark
Dessert
12
Save
Saved!
Prep Time
10 minutes
Chill
30 minutes
Total Time
40 minutes
Ingredients
- 1 bag milk chocolate candy melts
- ½ bag orange candy melts
- ½ bag purple candy melts
- ¼ cup salted peanuts opt
- 2 tbsp green jimmies
- 1 pkg small candy eyes
- 1 pkg large candy eyes
- ¼ cup orange & green M&M’s
Instructions
-
Line a jelly roll pan with parchment and set aside.
-
In a small microwave-safe bowl, heat the milk chocolate candy melts to package directions, stirring halfway through until fully melted & smooth.
-
Pour the melted chocolate onto the prepared parchment & smooth out into a thin, even layer.
-
Sprinkle the peanuts on top of the chocolate layer.
-
Melt the orange & purple chocolates in the same way in 2 smaller bowls & drizzle over the chocolate layer in a random pattern.
-
Sprinkle the jimmies on top, add the eyes & M&M’s randomly. Work quickly so the chocolate doesn’t set before you have everything added.
-
Place the tray in the refrigerator to set for about 30 minutes.
-
Prior to serving, break into pieces by poking the chilled chocolate with a fork or butter knife.
Nutritional information for the recipe is provided as a courtesy and is approximate. Please double-check with your own dietary calculator for the best accuracy. We at Yummi Haus cannot guarantee the accuracy of the nutritional information given for any recipe on this site.
Love this recipe?
Follow @KleinworthCo for even more tasty recipes!