
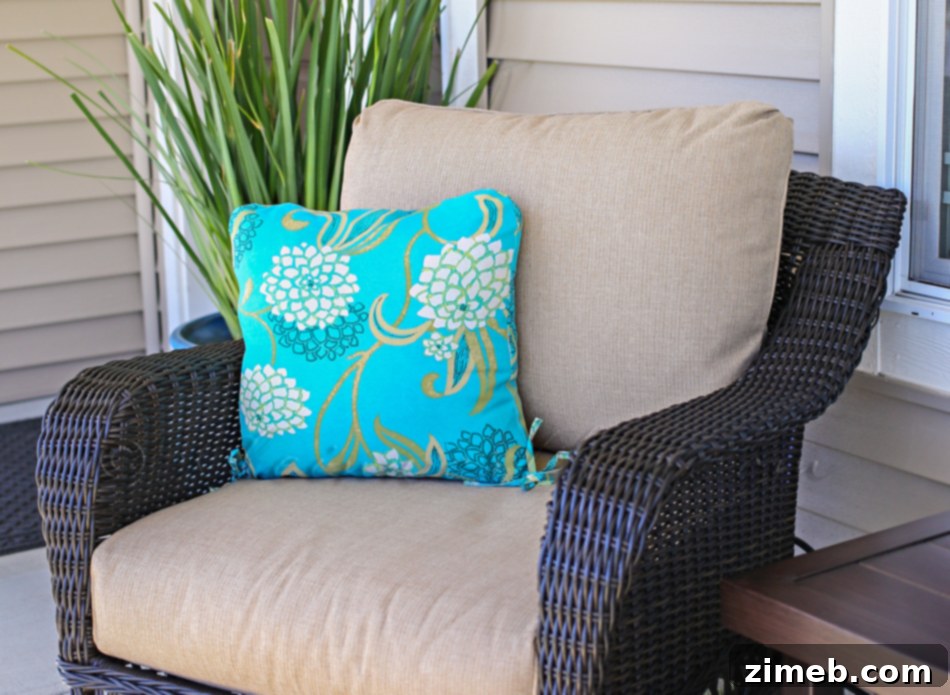
As the seasons transition, ushering in warmer days and longer evenings, our outdoor spaces become extensions of our homes. There’s an undeniable allure to spending time alfresco, whether it’s enjoying a quiet morning coffee or hosting vibrant gatherings with loved ones. To truly embrace this outdoor living, it’s essential to create an environment that’s not only comfortable but also visually appealing. Often, a complete overhaul can feel daunting and expensive. However, with just a few thoughtful touches, you can dramatically elevate the ambiance of your porch, patio, or deck. One of the simplest yet most impactful ways to refresh your outdoor decor is by focusing on accessories, specifically your outdoor pillows. Instead of splurging on costly new items, consider a creative and budget-friendly approach. This guide will walk you through an incredibly easy **DIY Outdoor Pillow Makeover** project that requires minimal sewing skills, transforming dull or outdated pillows into vibrant focal points. It’s an ingenious way to breathe new life into your outdoor seating areas for a fraction of the cost of buying brand new, achieving a high-end look without the high-end price tag.

With the arrival of pleasant weather, there’s nothing quite like unwinding on the porch, catching up with family, and tending to the front garden. This simple pleasure is amplified when your outdoor space feels inviting and beautiful. For us, that meant elevating our front porch’s aesthetic to achieve some serious curb appeal. We recently acquired some new outdoor chairs, which were comfortable but came with rather uninspired pillows. They were dull, monochromatic, and frankly, a bit “ho-hum.” They lacked the vibrant “pop” needed to make a statement from the street, and I immediately knew that a transformation was in order to truly personalize our outdoor retreat.
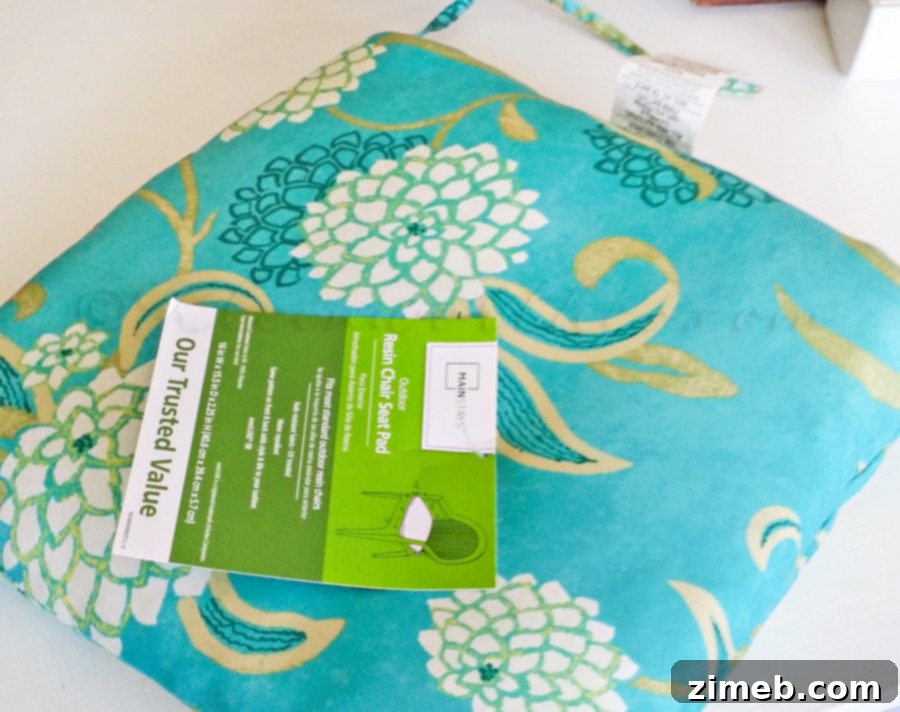
My initial quest began with searching for new outdoor pillows that would complement the beachy, serene color palette I envisioned for our porch. However, I quickly encountered a familiar dilemma: outdoor throw pillows can be surprisingly expensive, often retailing for $30 or more per cushion. Beyond the price tag, there was the practical concern of them constantly being tossed around by every gust of wind, ending up on the lawn or even in the neighbor’s yard. This frustration sparked a creative solution. Instead of buying traditional outdoor pillows, I decided to repurpose readily available and more affordable items. My brilliant idea? Purchasing inexpensive seat cushions that already featured the perfect colors and, crucially, had integrated ties. These ties would be essential for securing the pillows to the chairs, preventing them from becoming airborne. While these cushions were a bit flat for accent pillows, their vibrant covers and practical ties offered immense potential for a budget-friendly outdoor pillow makeover.
Transforming these basic seat cushions into plush, stylish outdoor throw pillows was surprisingly simple and required only a few basic steps. The beauty of this DIY project lies in its straightforwardness and the ability to upcycle materials you might already have. This not only saves money but also contributes to sustainable living by giving new purpose to old items. Here’s how I tackled this easy outdoor pillow hack:
Step-by-Step Guide to Your Outdoor Pillow Makeover
1. Preparing Your Base Cushion
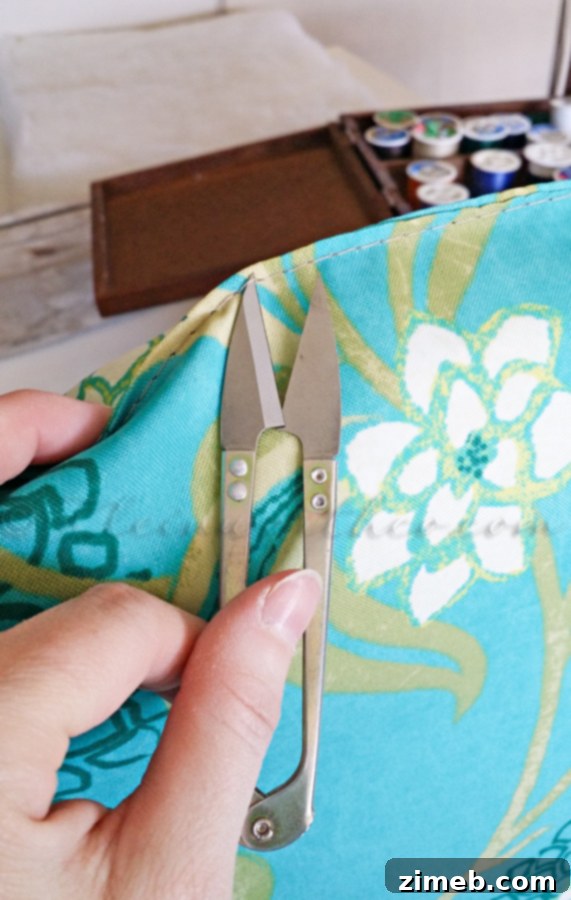
I started by carefully locating the existing seam on the seat cushion. Most manufactured cushions have a discreet, straight stitch that is relatively easy to undo. Using a small seam ripper or a sharp pair of scissors, I began to gently take out the stitches along one side of the cushion. The goal here is to create an opening large enough to easily access the interior and replace the stuffing without damaging the fabric. This method is far simpler than cutting new fabric or creating complex patterns, making it ideal for beginners or those looking for a quick update to their outdoor cushions.
2. Removing the Original Padding
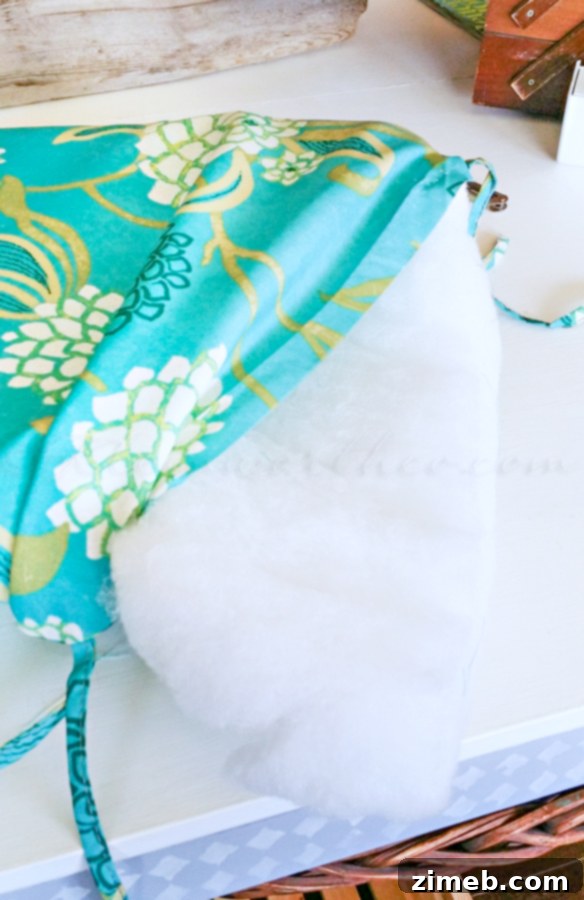
Once the seam was open, I proceeded to remove the original padding from inside the cushion cover. The reason for this step was twofold: first, the existing padding in these affordable seat cushions was often quite thin and lacked the plushness desired for a decorative throw pillow. Second, by removing it, I made space for a more substantial and supportive filling. It’s important not to discard this padding immediately; I always suggest holding onto such materials. You never know when they might come in handy for a future crafting endeavor or another home decor project you dream up. Repurposing even small scraps helps minimize waste and maximize value.
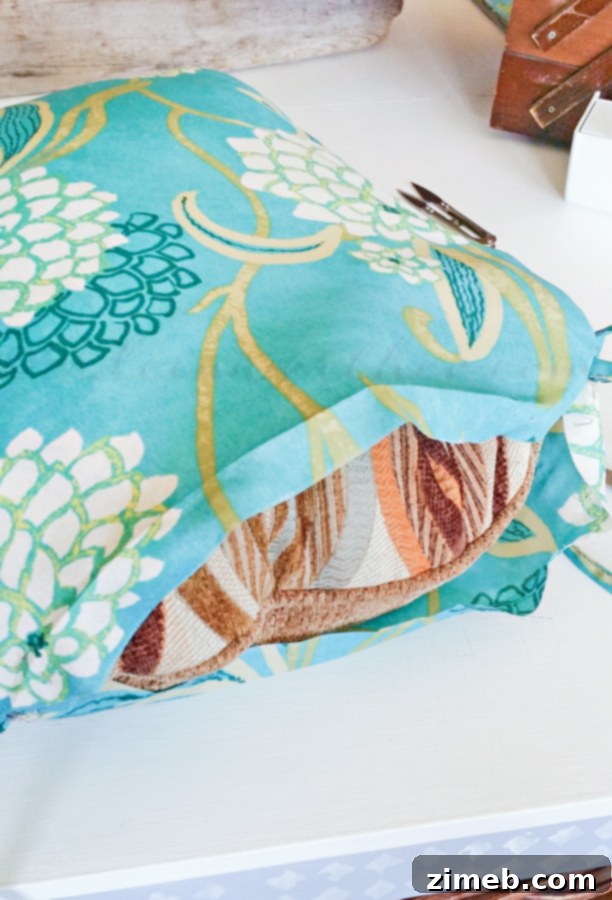
3. Inserting New, Luxurious Filling
This is where the real magic happens and where you can achieve significant savings! Instead of buying new pillow inserts, I reached for a stash of old throw pillows that had come with our previous couch. These pillows were never truly used, having languished in the back of a closet for ages, waiting for just such an opportunity. They were perfectly plump and offered the ideal density to transform the flat seat cushions into inviting accent pillows. I carefully stuffed these old pillows into the new cushion covers, ensuring they filled out every corner and created a full, luxurious look. This not only provided an excellent, free filling but also gave new life to items that would otherwise be clutter. If you don’t have old pillows, consider using polyester fiberfill, foam scraps, or even old blankets cut into pieces for a similar effect.
We never used them, and I had been hanging on to them in the back of the closet for just an opportunity like this. This simple act of upcycling is incredibly rewarding, turning forgotten items into functional and beautiful pieces for your home.
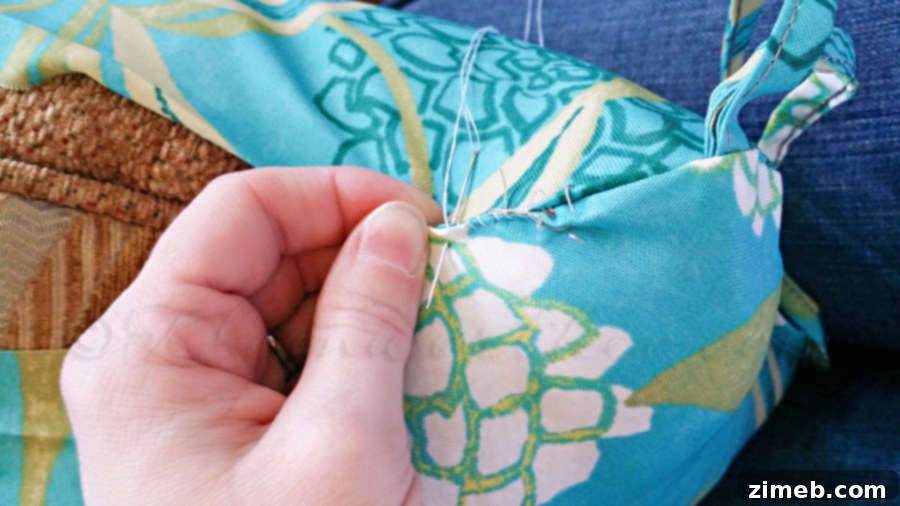
4. Securely Closing the Opening
With the new filling comfortably in place and the cushions looking much plumper and more inviting, the final step was to close the opening. I chose to hand stitch the seam using a simple whipstitch or ladder stitch. These stitches are perfect for closing openings on fabric, creating a neat, almost invisible finish. While some might opt for a sewing machine, hand stitching offers more control and is incredibly straightforward, especially for a short seam. It’s a quick process that requires only a needle and thread matching your cushion fabric. Once stitched, the transformation was complete!
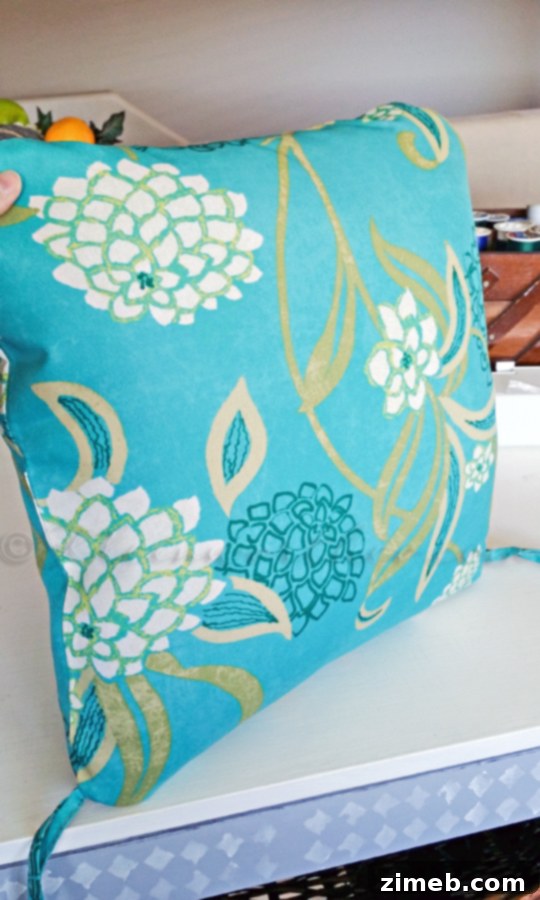
The results speak for themselves. For an investment of less than $20 (the cost of the new seat cushions), I was able to completely revamp these basic cushions into stylish, functional outdoor throw pillows. This project saved me a substantial amount – easily $40 or more – compared to purchasing standard outdoor throw pillows, which often lack the crucial feature of ties. The integrated ties mean I can now securely fasten these vibrant pillows to our outdoor chairs, ensuring they stay put even on the breeziest days. No more chasing runaway cushions across the yard!
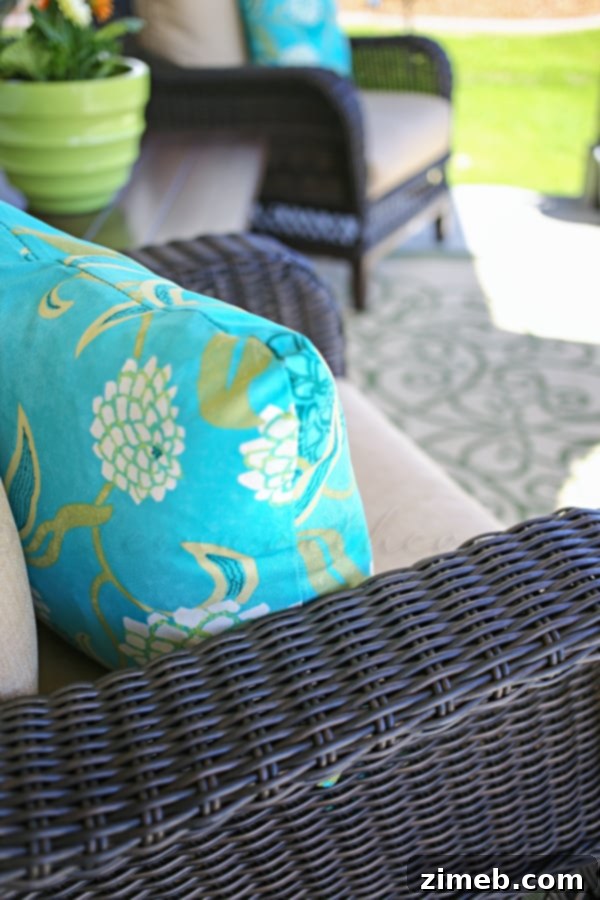
These new **DIY outdoor pillows** match our desired aesthetic much better than the original, drab pillows that came with the chairs. The vibrant colors I chose perfectly align with my favorite hues, adding a joyful and personalized touch to our porch decor. It’s truly amazing how such a simple project can make such a significant difference in the overall look and feel of an outdoor space.
Plus, they are my favorite colors – so that makes me happy!
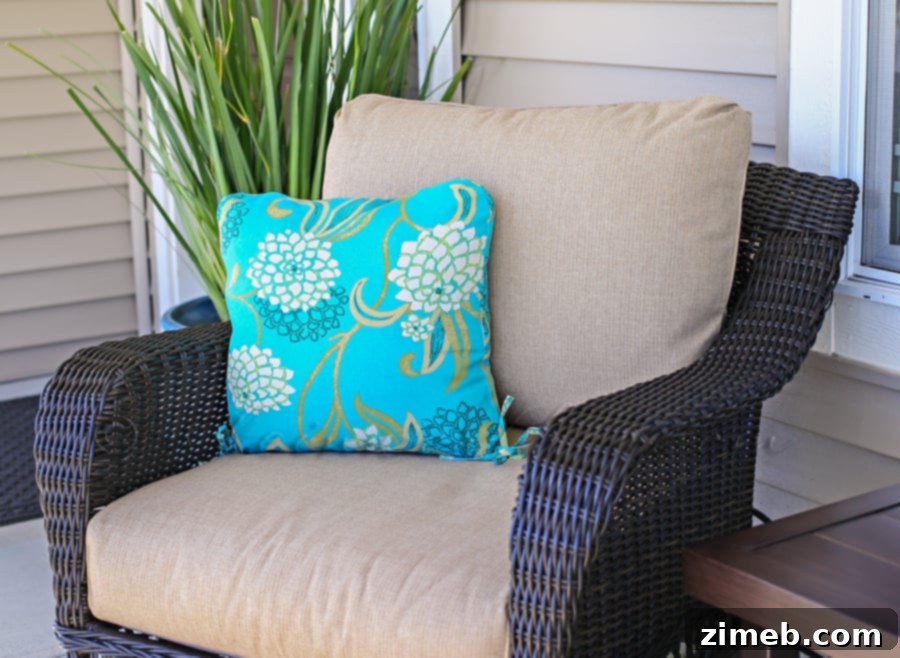
One of the most valuable aspects of this outdoor pillow hack is the peace of mind it provides. As you can see, by being able to tie them onto the chair, I no longer have to worry about them getting out of place or, worse, ending up in the neighbor’s yard after a strong gust of wind. This functional detail transforms a mere decorative item into a practical and resilient addition to any outdoor seating arrangement, especially for those living in windy areas.
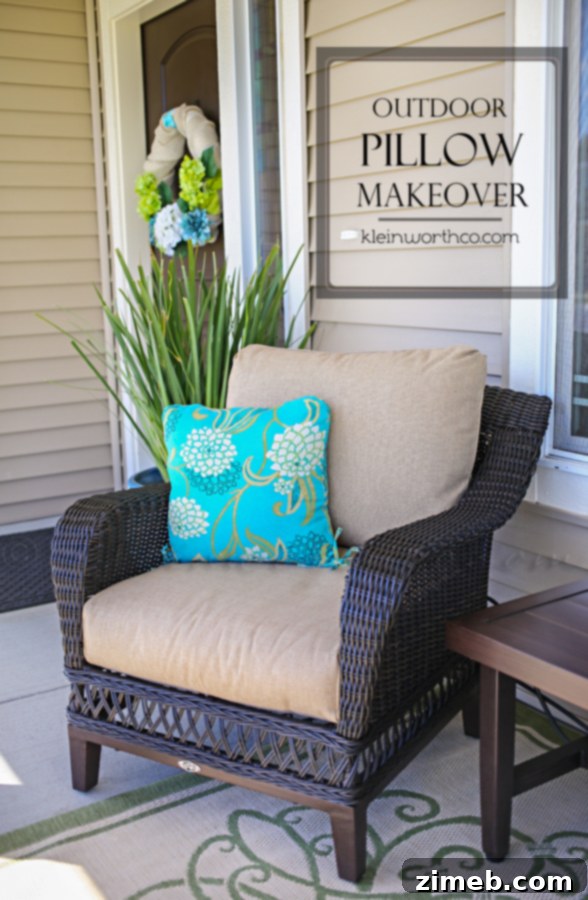
So there you have it! A little sneak peek into our entire front porch makeover! I’m absolutely thrilled with how these revamped outdoor pillows turned out and the immediate impact they’ve had. They truly pack a punch of color and personality, which was exactly what I aimed for. I firmly believe that your porch and entry area serve as a statement of who you are and a reflection of your home’s character. It’s the first impression guests receive and should speak to those passing by, expressing the unique personality of the home and its owners. This simple, budget-friendly DIY project has certainly helped our porch achieve that goal, transforming it into a welcoming and vibrant extension of our personal style. Stay tuned, as I’ll be sharing the complete front porch transformation here very soon!
I’ll be sharing the whole makeover here soon!
Looking for more simple DIY projects to enhance your home?
If you enjoyed this easy outdoor pillow makeover, you’ll love exploring other straightforward and impactful home improvement ideas. Here are a few more projects that can add charm, comfort, and style to your living spaces without requiring extensive time or a hefty budget. Dive into these creative ideas and make your home uniquely yours!
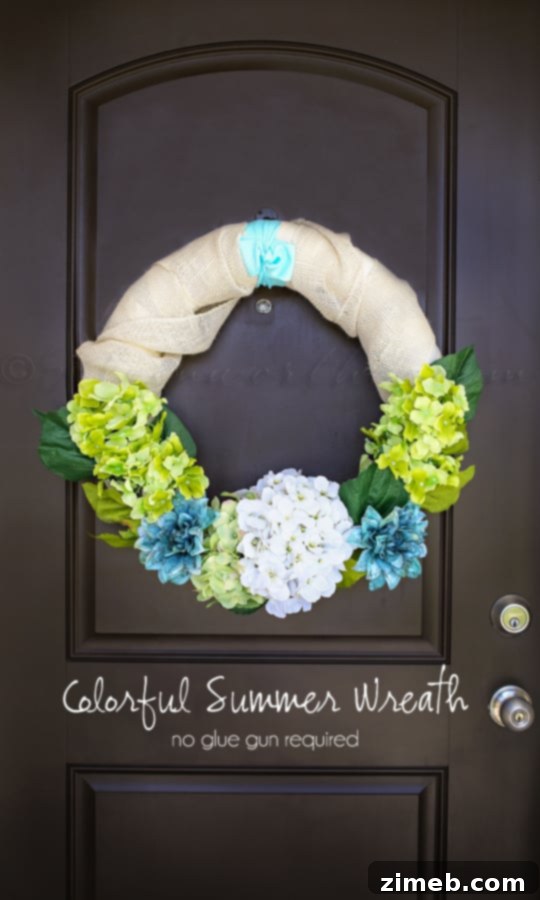
Colorful Summer Wreath

Easy Backyard Fire Pit

Change Can Lights to Pendant Lights {in less than 10 minutes}
To see where I am linking today – visit HERE for more inspiring projects!