
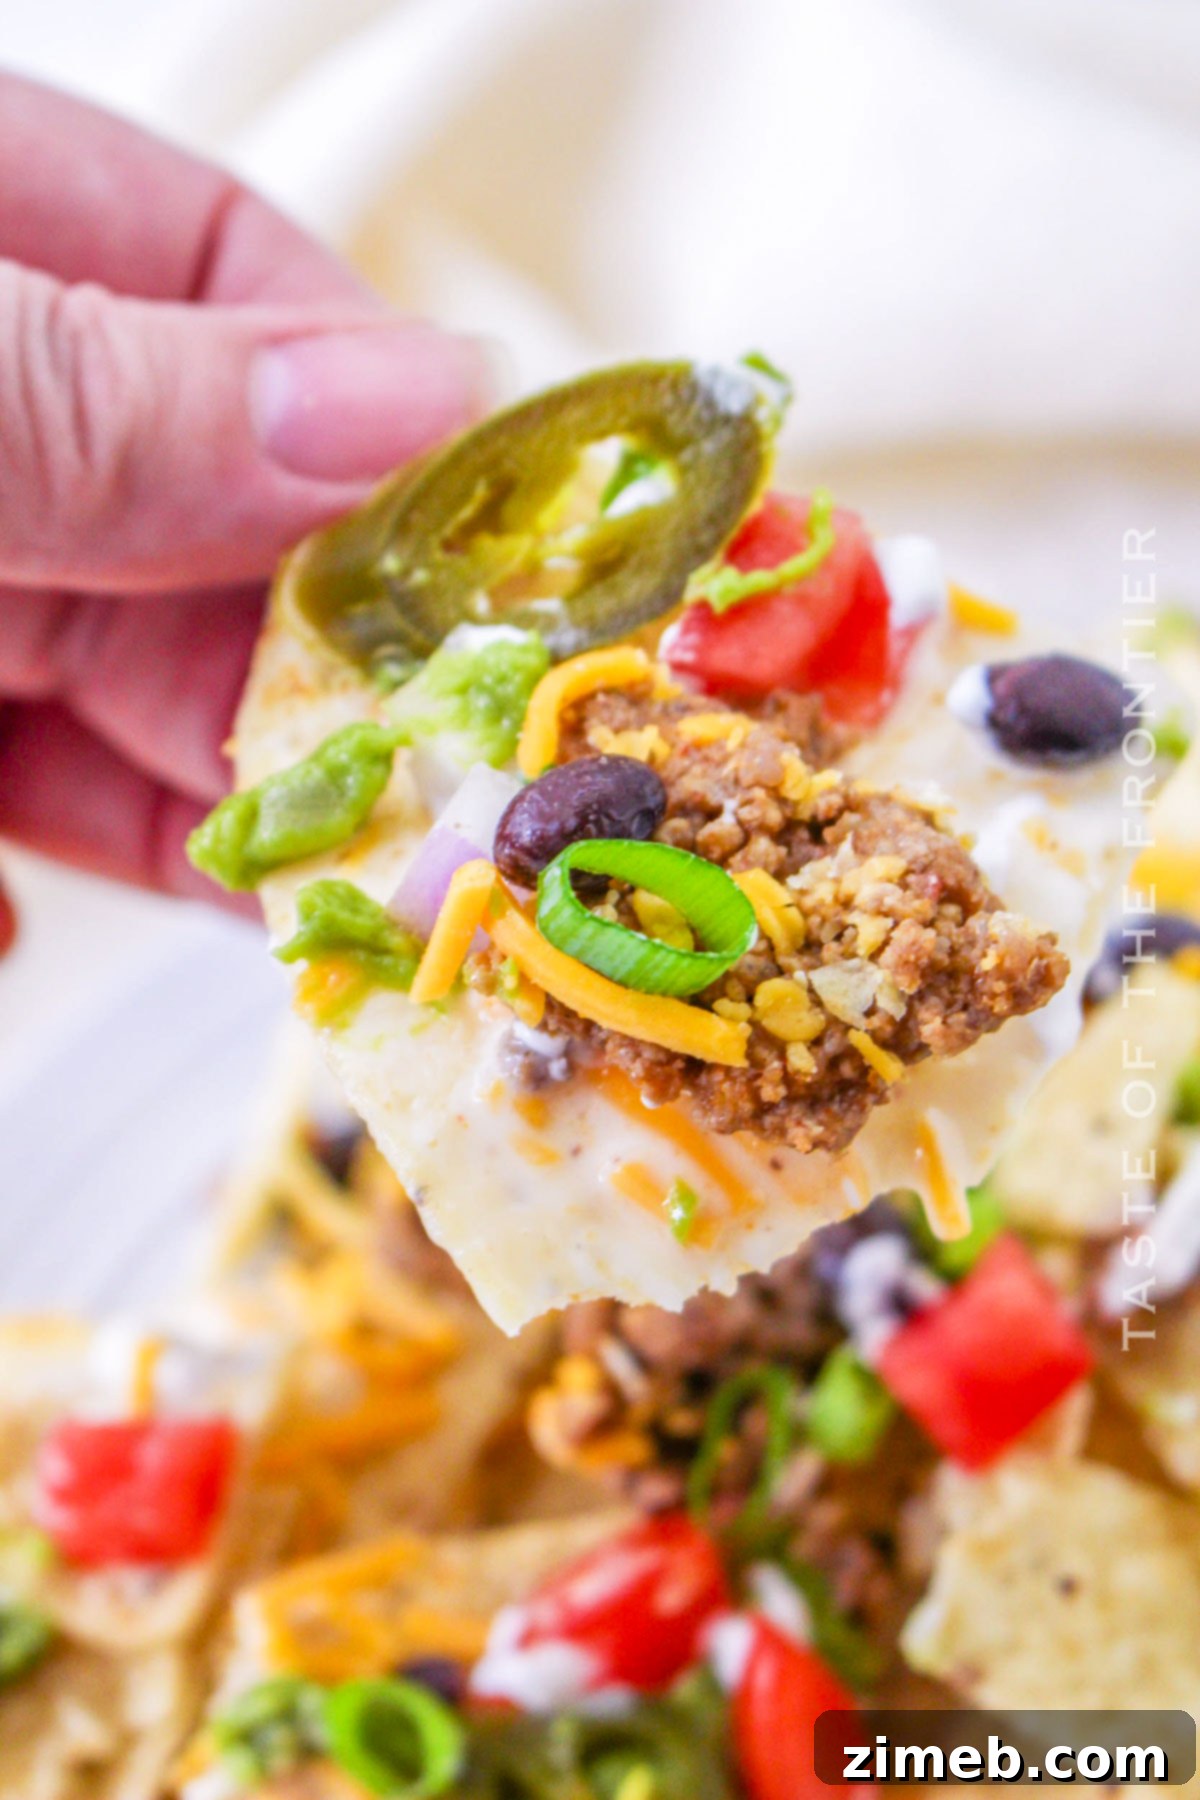
Dive into a mountain of deliciousness that’s not just a meal, but a vibrant celebration of flavors and creative presentation with Trash Can Nachos.
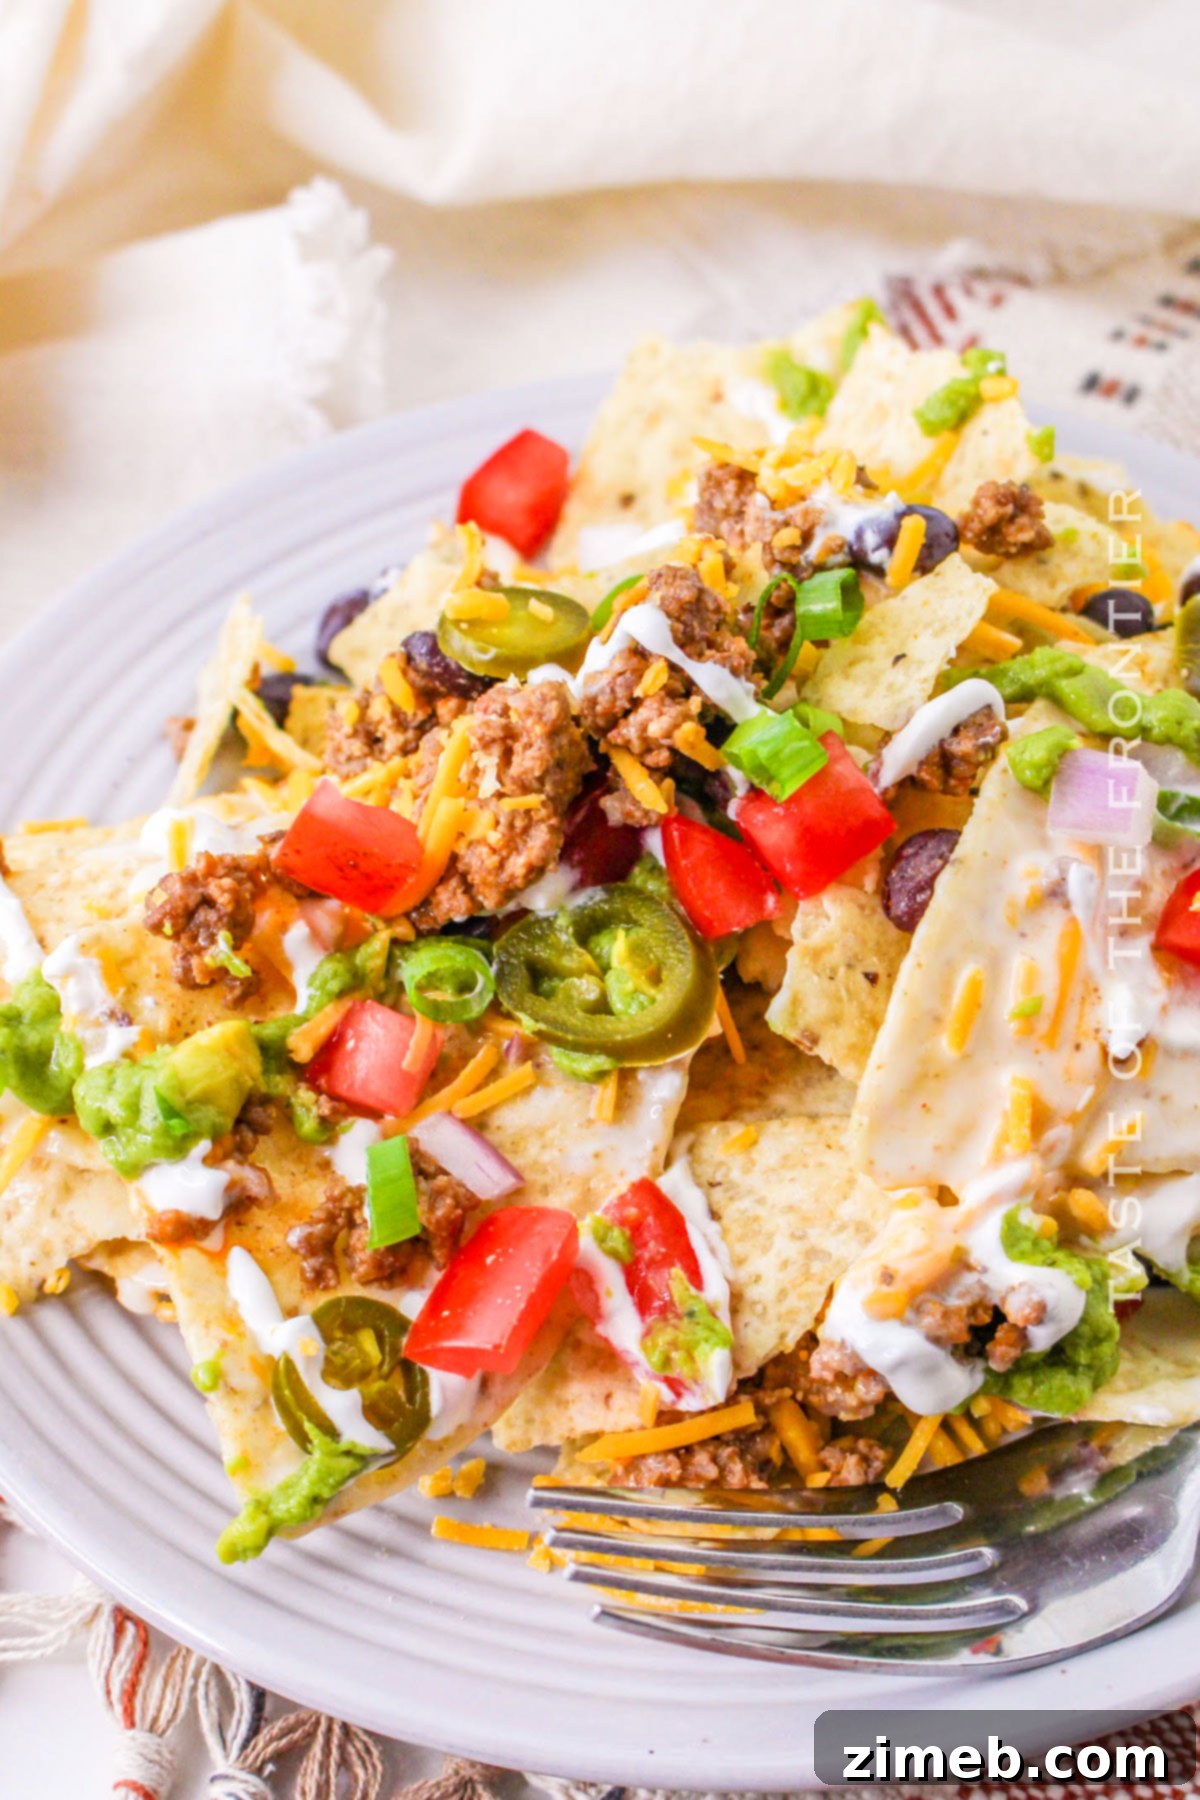
Get ready to transform your ordinary snack experience into an extraordinary culinary adventure! We’re about to unveil the secrets behind Trash Can Nachos, a spectacular dish that promises to be the show-stopping centerpiece of any gathering. Imagine a towering stack of perfectly crispy tortilla chips, each golden layer generously smothered with an abundance of warm, gooey queso dip, richly seasoned taco meat, and all your favorite vibrant nacho garnishes like fresh, diced tomatoes and zesty jalapenos. This isn’t just a recipe; it’s an invitation to a fiesta, a testament to savory goodness, and a surefire way to bring smiles to every face around the table.
Trash Can Nachos redefine indulgence. It’s a playful, utterly delicious, and visually impressive meal designed to bring people together. Whether you’re hosting a lively game day party, planning a casual movie night with family, or celebrating a special occasion like Father’s Day, these layered nachos are guaranteed to be a sensational hit. The unique “trash can” assembly method creates a truly memorable presentation, revealing an impressive, gravity-defdefying tower of cheesy, meaty, crunchy delight when inverted onto a platter. So, gather your ingredients, prepare for some layering fun, and get ready to impress your guests with the ultimate nacho feast. The best part? The sheer joy and communal spirit this epic dish brings to the table – enjoy every chip crevice and every cheese-drenched bite!
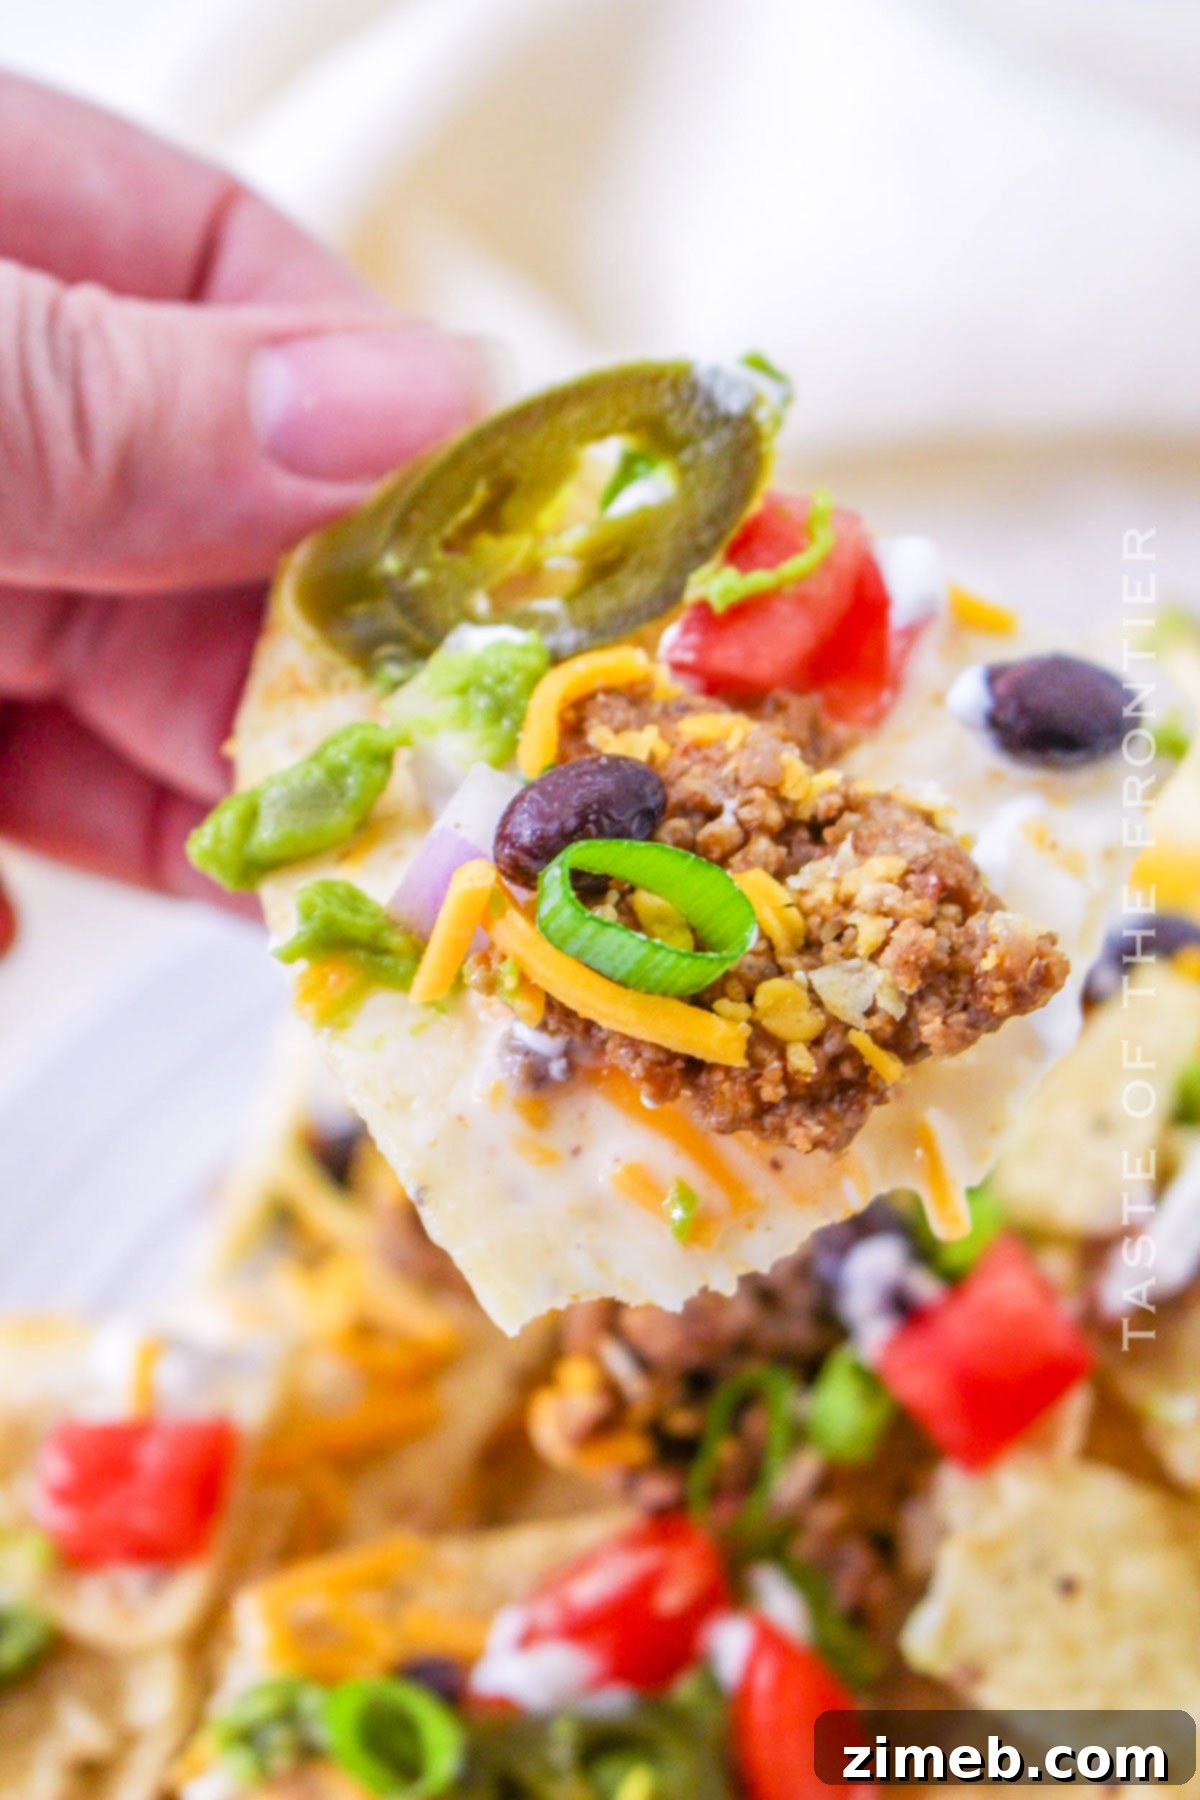
What Makes Trash Can Nachos So Special?
The name “Trash Can Nachos” might sound unconventional, but it refers to a brilliant and fun serving method rather than the ingredients themselves. This innovative approach involves layering all the delicious components inside a clean, food-safe container (often a small, new trash can or a large bucket) and then dramatically inverting it onto a serving platter. The result is a spectacular, self-standing tower of nachos, brimming with flavor from top to bottom. This unique presentation isn’t just for show; it ensures that every single chip gets its fair share of cheese, meat, and toppings, eliminating the dreaded “naked chip” syndrome often found in traditional nacho platters. It transforms a simple appetizer into an interactive culinary event, perfect for sharing and sparking conversation.
This method not only creates an incredible visual impact but also ensures an optimal distribution of ingredients. Unlike flat nachos where toppings tend to cluster on top, the layering process within the “trash can” guarantees a delightful mix of textures and flavors in every bite. From the initial crunch of a tortilla chip to the warm embrace of gooey queso, the savory notes of seasoned meat, and the fresh burst of garnishes, it’s a symphony for the taste buds. It’s the ultimate comfort food elevated to party-status, making it an ideal choice for any gathering where fun, flavor, and a memorable experience are on the menu.
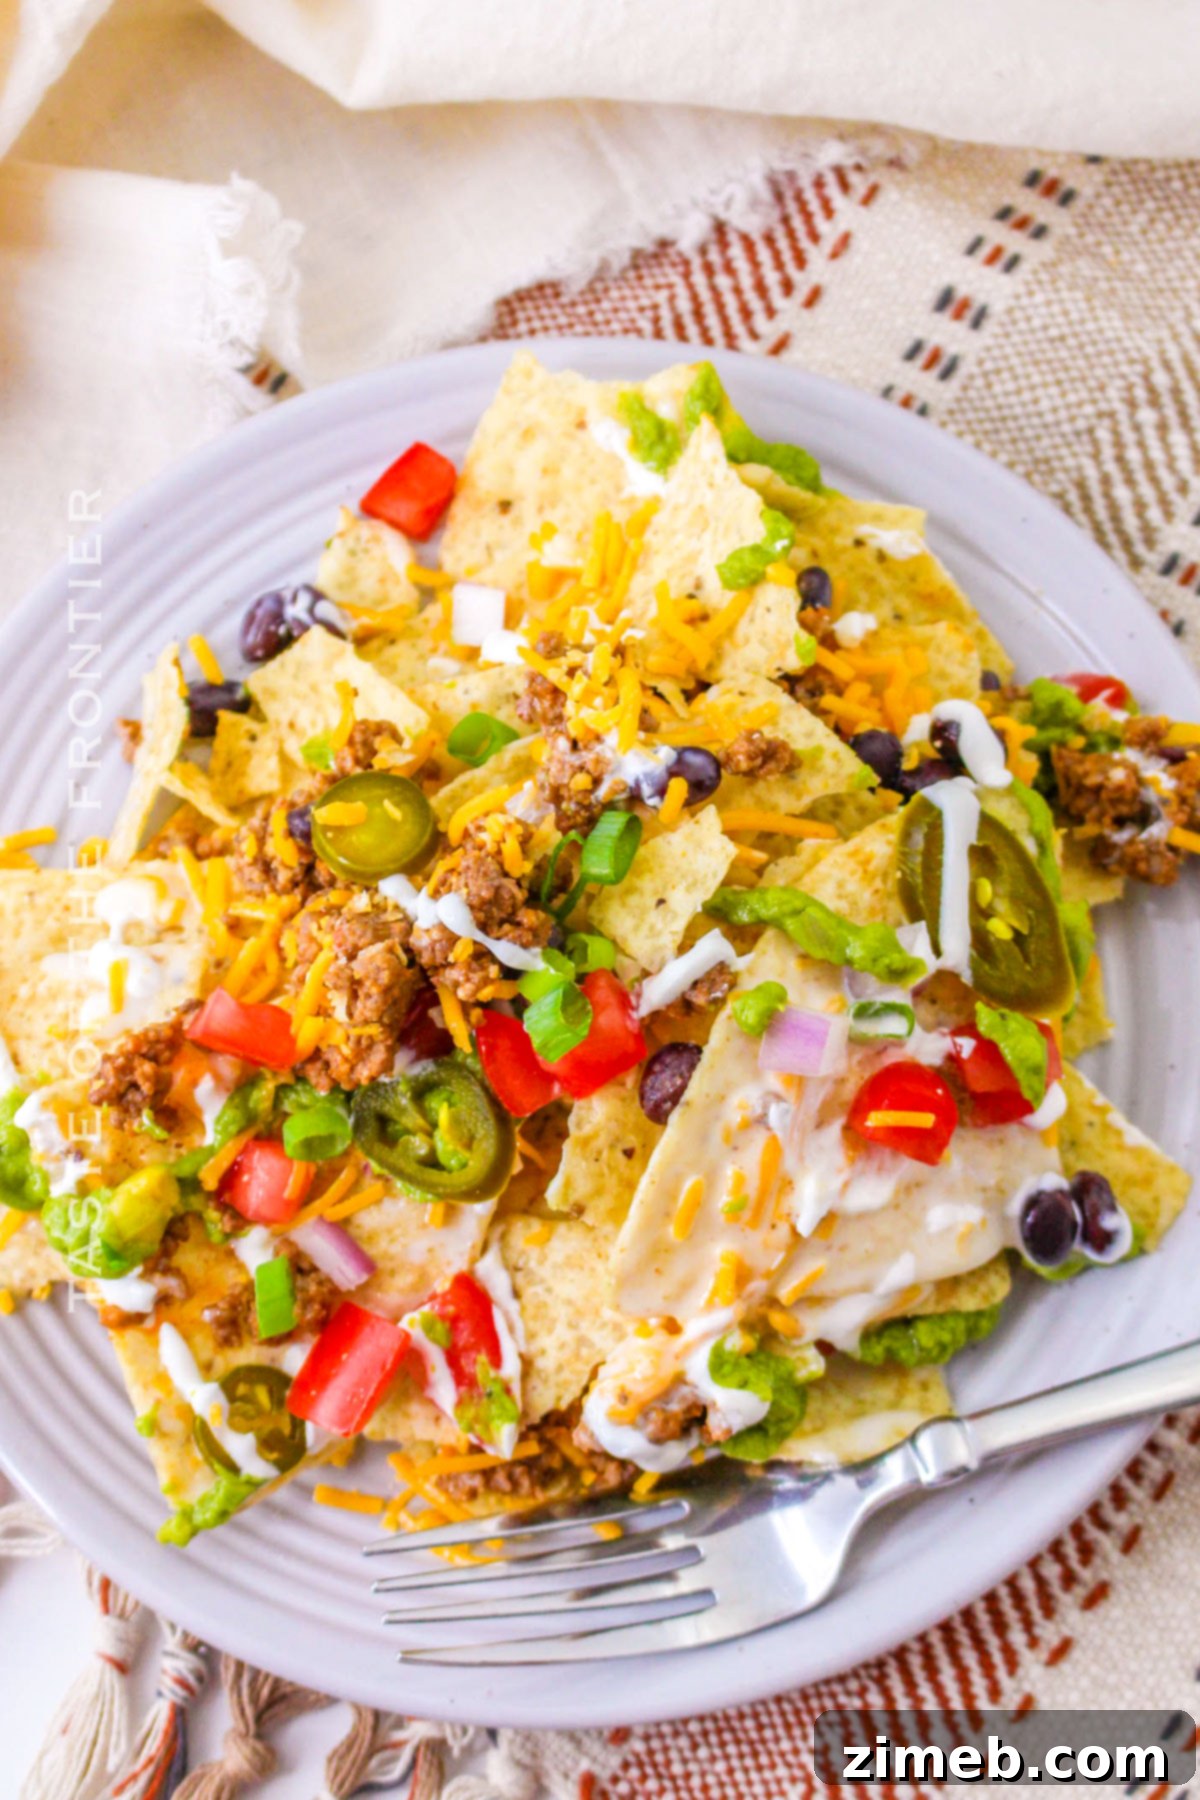
Common Questions About Crafting the Perfect Trash Can Nachos
Can I Substitute the Taco Meat?
Absolutely! The beauty of famous trash can nachos lies in their incredible versatility. While seasoned taco meat made from ground beef or turkey is a classic choice, feel free to get creative with your protein. You can easily substitute it with succulent carne asada, tender cooked beef, savory shredded chicken, or even flavorful pork carnitas. The key is to maintain a rich, savory base and a satisfying texture that complements the crispy chips and gooey cheese. Whatever your choice, ensure the meat is well-seasoned and cooked thoroughly on medium heat to bring out its best flavor, making it a perfect partner to the ooey-gooey cheese sauce and other delightful layers in your nachos recipe.
For a vegetarian twist, consider using a hearty plant-based ground “meat” alternative, spiced lentils, or a mixture of roasted sweet potatoes and black beans. These options provide excellent flavor and texture, ensuring everyone can enjoy this spectacular dish. Don’t be afraid to experiment with different seasonings to match your chosen protein; a smoky chipotle or a vibrant blend of cumin and chili powder can elevate your nachos to new heights.
What’s the Best Way to Layer the Nachos for Optimal Flavor?
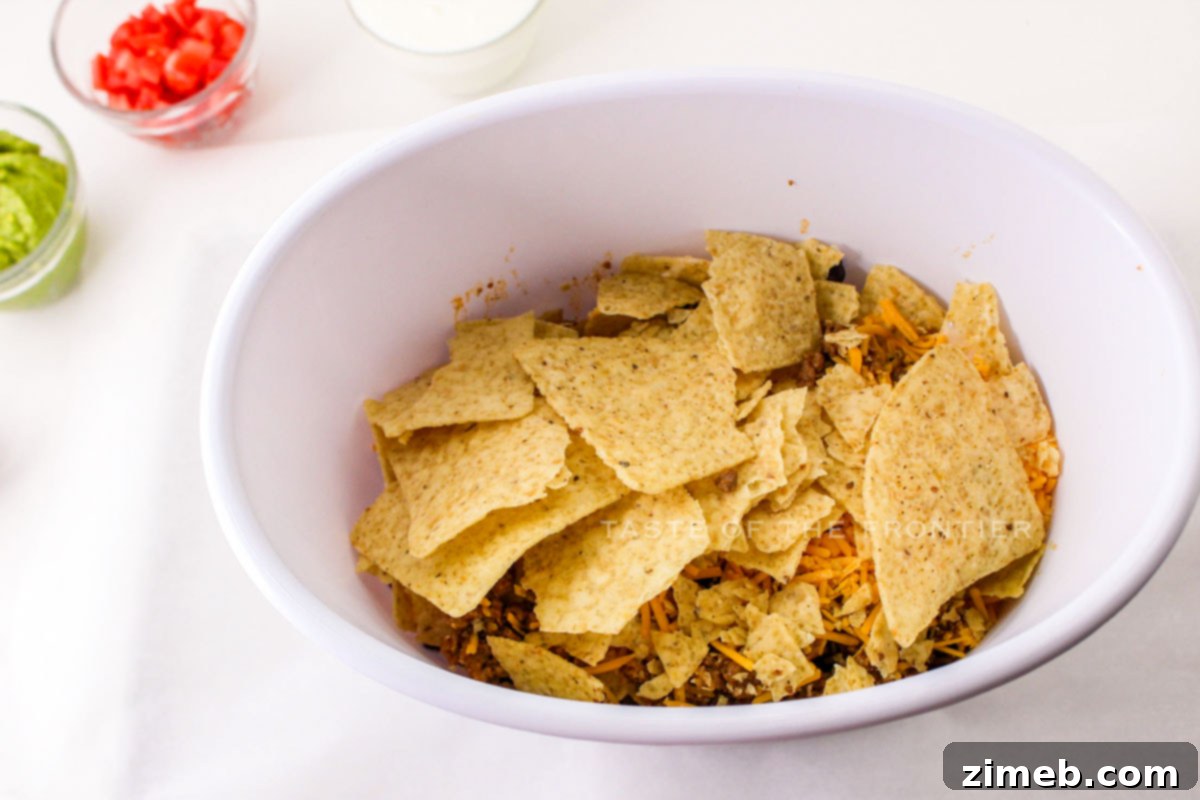
Building your nacho masterpiece is like constructing a delicious, edible tower, layer by tantalizing layer. The secret to evenly distributed flavor and preventing soggy chips lies in the technique. Start by spreading a thin, initial layer of super melty cheese sauce at the very bottom of your empty tin or large bowl. A homemade queso using a mixture of sharp cheddar cheese, whole milk, and a touch of heavy cream works wonders, creating an irresistible, creamy foundation. This initial cheese layer is crucial as it helps to ‘glue’ the first layer of chips in place and prevents them from becoming too dry. Next, add an even layer of your favorite tortilla chips, creating a sturdy foundation for the flavors to come.
Then, generously sprinkle your choice of seasoned meat (or vegetarian alternative), black beans, and other desired toppings. Repeat these layers—chips, cheese, meat, toppings—until your container is almost full. The goal is to ensure every chip has the chance to mingle with the delicious components. For the grand finale, drizzle the remaining luscious cheese sauce over the top, followed by a dollop of cool sour cream or Mexican crema, and a final scattering of fresh garnishes. This methodical layering guarantees a harmonious blend of flavors and textures in every single bite once inverted.
Can These Nachos Be Made Ahead of Time?
While the tempting appeal of Trash Can Nachos might lead you to consider preparing them in advance, it’s generally best to assemble them just before serving. This crucial timing ensures that the tortilla chips remain wonderfully crispy and don’t succumb to sogginess under the weight of the warm, flavorful toppings and the irresistible ooey-gooey cheese sauce. The contrast between crispy chips and soft, warm toppings is a hallmark of truly great nachos, and pre-assembly can compromise this essential texture.
However, you can certainly prep many of the components in advance to streamline your assembly process on game day or party night. Cook and season your meat, chop all your fresh garnishes like shredded cheese, diced tomatoes, and sliced jalapenos, and prepare your guacamole and queso dip beforehand. Keep everything separate and refrigerated. When it’s time to serve, simply warm the queso, reheat the meat, and then it’s just a matter of layering everything quickly in your chosen container. This pre-preparation strategy allows you to delight your guests with a fun, fresh, and flavorsome dish without spending too much time in the kitchen when guests arrive.
Storage and Leftovers
Keep in mind that while Trash Can Nachos are an absolute crowd-pleaser, they are undeniably at their best when eaten immediately after assembly. Freshness is key to enjoying that perfect balance of crispy chips and warm, gooey toppings. Don’t worry too much about leftovers if you’re serving these to a hungry crowd – in my experience, they are devoured almost instantly!
Refrigerator: If, by some miracle, you do end up with leftover nachos, they can be stored in an airtight container in the refrigerator for up to 2 days. However, be aware that the chips will likely lose their crispness and become soft. Reheating can be done gently in the oven to try and revive some texture, but they won’t quite match their freshly made glory.
Freezer: Freezing is generally not recommended for assembled nachos. The delicate texture of the tortilla chips will be severely compromised upon thawing, resulting in a soggy, unappetizing dish. It alters the textures of most ingredients negatively, so it’s best to enjoy these fresh.
Pro Tips for Ultimate Trash Can Nachos
You’re going to fall in love with these nachos! They’re such a wonderfully delicious pile of fun that my family frequently requests them. It’s truly a great excuse to throw a party, if you ask me! To ensure your Trash Can Nachos are absolutely perfect every time, consider these expert tips:
- Choose Your Container Wisely: While the “trash can” method is iconic, you don’t necessarily need an actual trash can. A large, clean, food-safe bucket (about 1.5 gallons) or even a deep, wide bowl can work wonders. If you don’t have a suitable tall container, a large skillet or a sturdy sheet pan can still be used for layered nachos, though you’ll miss the dramatic inversion.
- Flavor Boost with Mexican Oregano: For an authentic and aromatic touch, sprinkle a bit of dried Mexican oregano between your layers. Its earthy, slightly citrusy notes will add depth to the overall flavor profile.
- Add a Zing with Pickled Jalapenos: Don’t shy away from heat! Minced pickled jalapenos add a fantastic tangy kick and a vibrant spice that cuts through the richness of the cheese and meat. For even more heat, include a few slices of fresh jalapeños.
- Explore Cheese Varieties: While white queso is a staple, experimenting with other cheeses can elevate your nachos. Consider adding shredded Monterey Jack for its excellent melting properties, creamy Asadero, or a blend of Colby and sharp cheddar for a more complex flavor.
- Finish with a Creamy Drizzle: Before serving, a final drizzle of Mexican crema or cool sour cream adds a refreshing counterpoint to the warm, savory ingredients. It provides a creamy texture and helps balance the flavors.
- Warm Your Tortilla Chips: Gently warming your tortilla chips in the oven for a few minutes before assembly can enhance their crispness and make them even more receptive to the warm cheese and toppings.
- Fresh Herbs for Brightness: A generous sprinkle of fresh cilantro or green onions at the very end adds a burst of color and a fresh, herbaceous flavor.
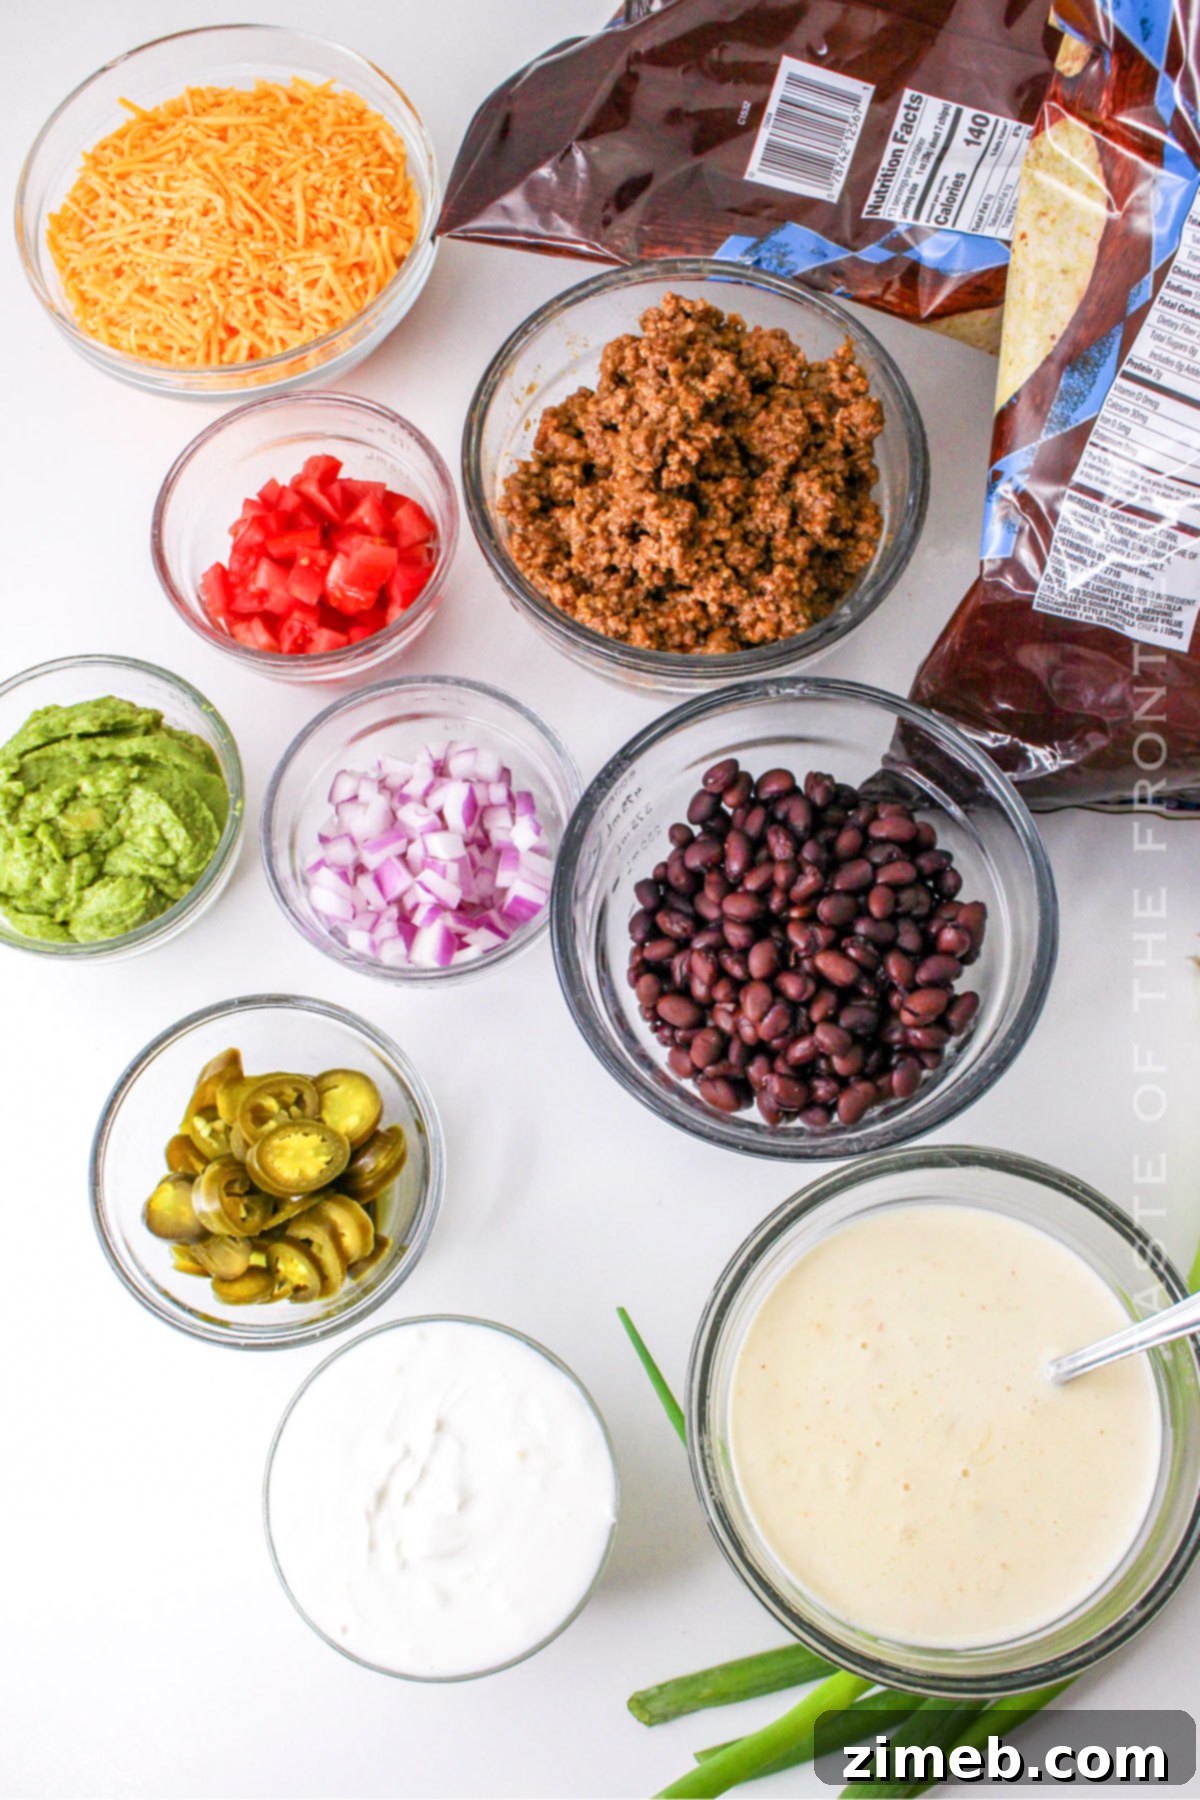
Essential Ingredients for Trash Can Nachos
These are all classic nacho ingredients, but we’re elevating them by using them in a slightly different and even more enjoyable way! The quality of your ingredients truly makes a difference in the final taste and experience of your Trash Can Nachos.
- Tortilla Chips: Choose sturdy, restaurant-style tortilla chips that can hold up to the weight of the toppings and the inversion process. Avoid thin, delicate chips that might break easily.
- White Queso Dip: A smooth, creamy, and warm white queso dip is paramount. Whether homemade or store-bought (prepared and warmed), its melt-in-your-mouth texture is key.
- Taco Meat: Lean ground beef or ground turkey, seasoned generously with your favorite taco seasoning blend, provides a savory and hearty base.
- Black Beans: Rinsed and drained black beans add a lovely earthy flavor, extra protein, and a satisfying texture.
- Guacamole: Fresh, homemade guacamole brings a creamy, rich, and distinctly Mexican flavor profile.
- Sour Cream: A dollop of cool, tangy sour cream offers a refreshing contrast and a creamy mouthfeel.
- Diced Tomatoes: Freshly diced tomatoes add a burst of juiciness and a touch of acidity.
- Red Onion: Finely diced red onion provides a crisp texture and a pungent, savory bite.
- Green Onions: Sliced green onions offer a mild, fresh onion flavor and a beautiful vibrant color.
- Jalapenos: Sliced fresh or pickled jalapenos for that essential spicy kick and a tangy crunch. Adjust to your preferred level of heat!

How to Assemble Your Legendary Trash Can Nachos
I’ve got some very simple steps here for you to create these legendary nachos. That’s one of the biggest things I love about this dish – they’re amazingly delicious yet incredibly simple to put together, making them perfect for any occasion!
- Prepare Your Container: First, ensure you have a clean, new food-safe trash can or a large bowl (approximately 1.5 gallons capacity) that you’re comfortable using for food. Begin by adding a generous layer of sturdy tortilla chips to the bottom.
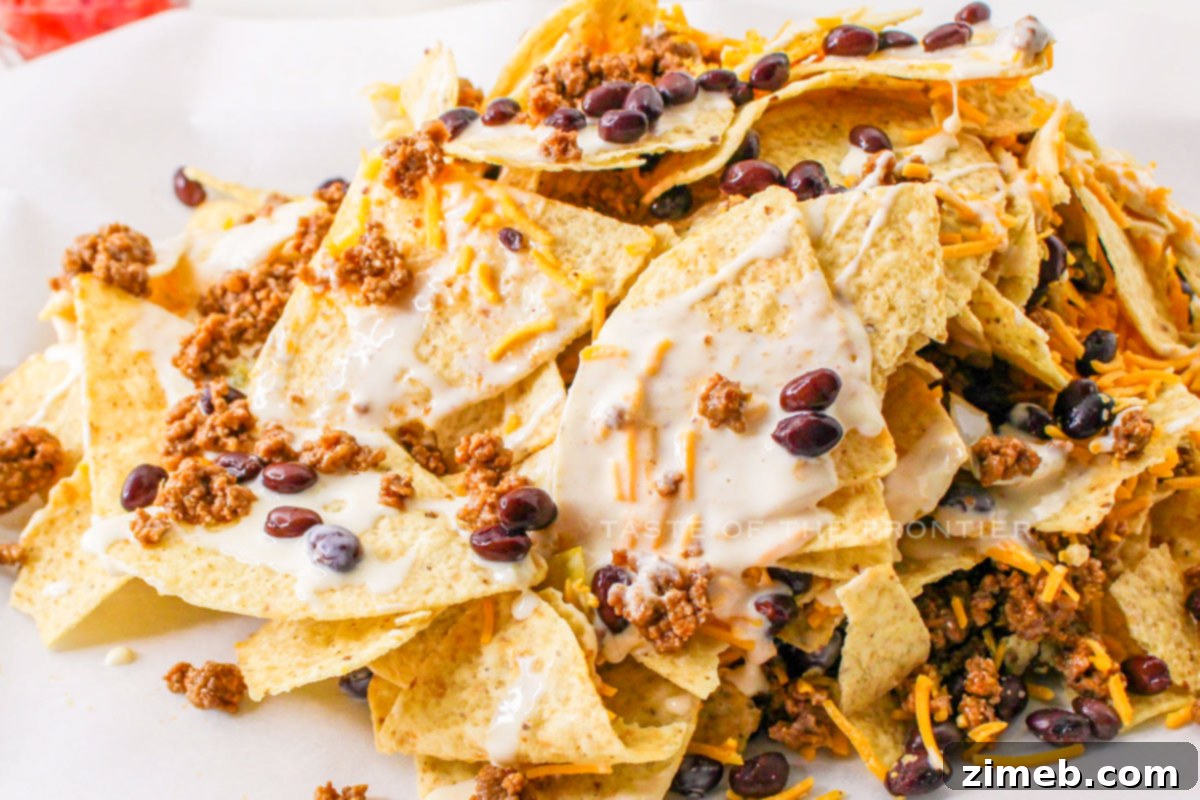
- First Cheese Layer: Drizzle the chips generously with your warmed queso dip. This ensures even coverage and helps bond the layers.
- Add Meat and Beans: Evenly sprinkle a layer of your seasoned taco meat and black beans over the queso-covered chips.
- Repeat the Layers: Continue to layer chips, queso dip, taco meat, and black beans. Press down gently after each layer to compact the nachos slightly, ensuring they hold their shape when inverted. Repeat this process until your bowl or trash can is completely full, right up to the brim.
- The Grand Reveal: When you’re ready to serve, place a large serving platter or baking sheet firmly over the top of your filled container. With one swift, confident motion, invert the container onto the platter. Carefully and slowly remove the bowl or can to reveal your spectacular, gravity-defying tower of Trash Can Nachos!
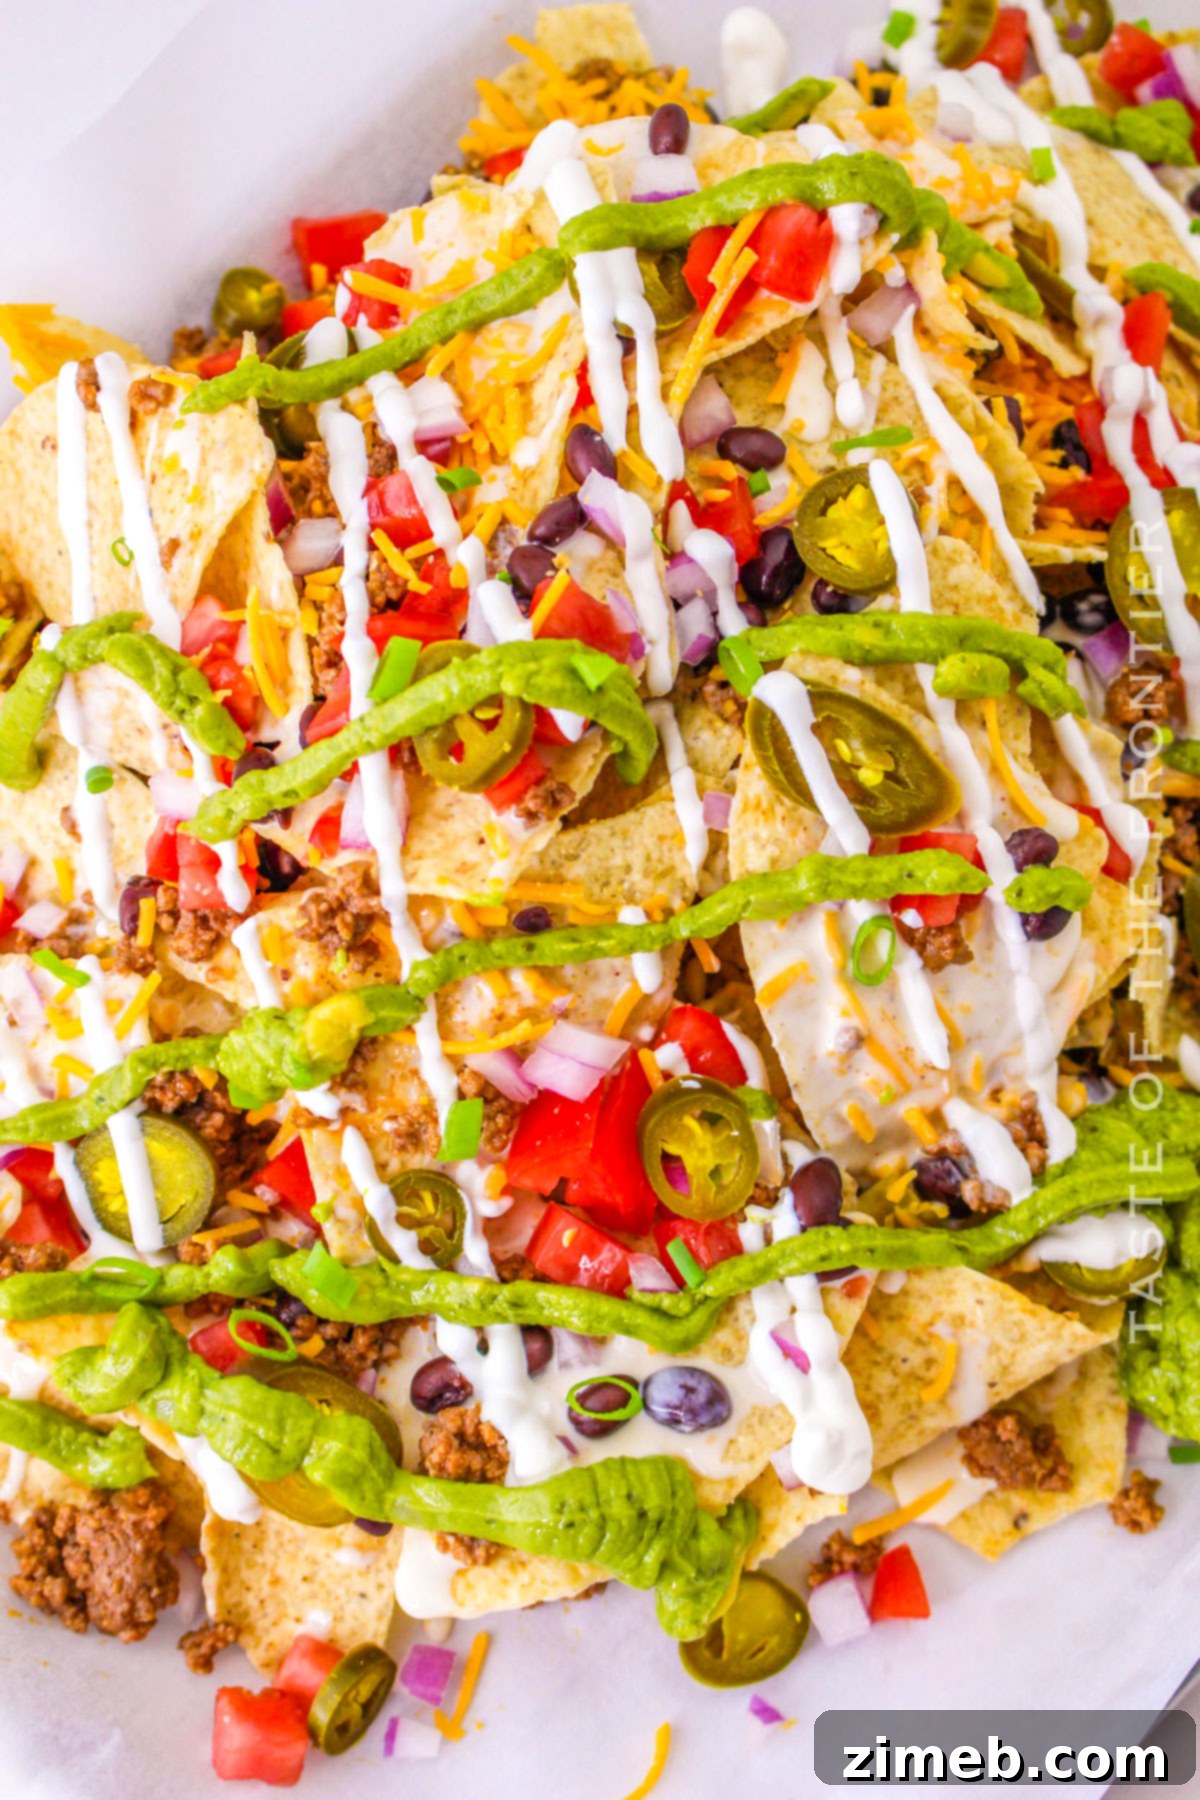
- Creamy Drizzles: If desired, gently drizzle the entire nacho tower with fresh guacamole and a generous amount of sour cream or Mexican crema.
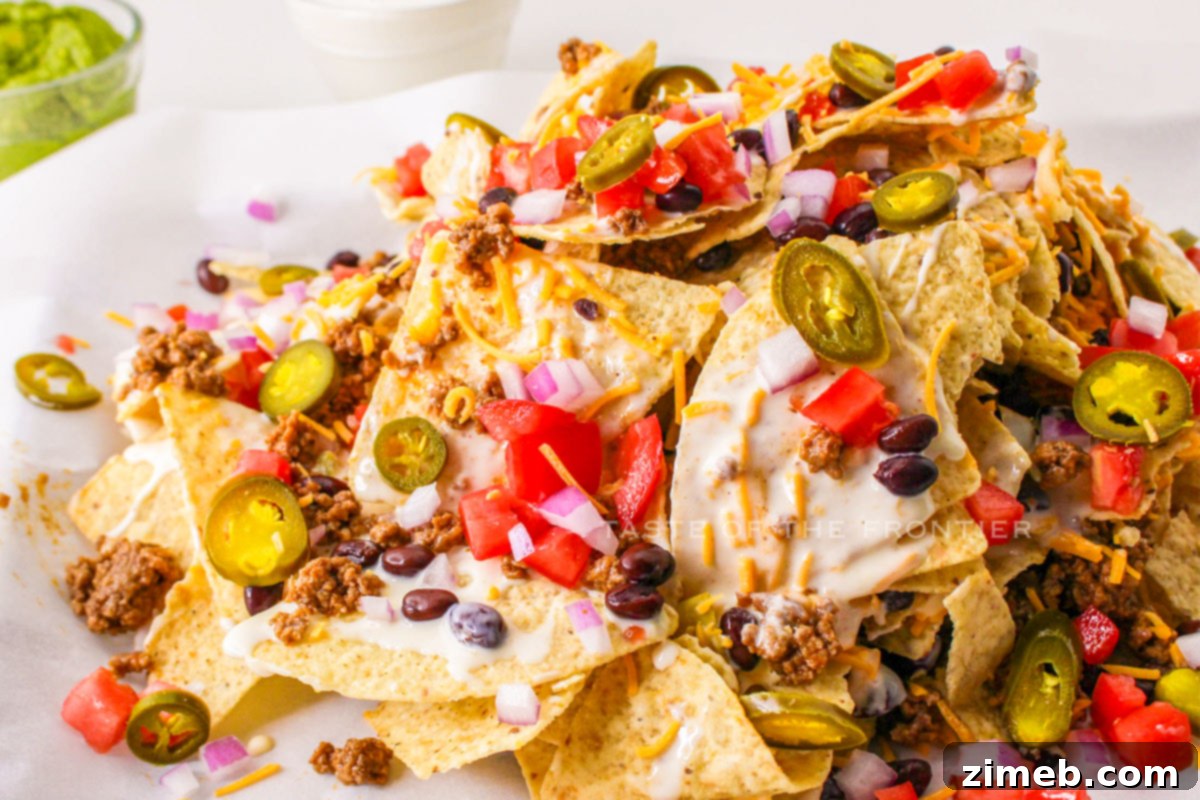
- Final Garnishes: Finish your masterpiece by garnishing the nachos with your preferred fresh toppings. Sprinkle with vibrant diced tomatoes, crisp diced red onion, thinly sliced green onions, and zesty sliced jalapenos for a burst of color and flavor. Serve immediately and watch them disappear!
Kitchen Supplies You’ll Need for Trash Can Nachos
You won’t need anything overly complicated for this recipe. In fact, the required kitchen supplies are about as basic as you can get, which is another win for simplicity and ease! Here’s what you’ll need to create your impressive nacho tower:
- Large Bowl or Clean Trash Can (about 1.5 gallons): This is the star of the show for assembly and inversion. Ensure it’s thoroughly cleaned and food-safe.
- Large Serving Platter or Baking Sheet: Essential for receiving your inverted nacho tower. Choose one with a slight rim to keep all the delicious toppings contained.
- Ladle for Queso Dip: A ladle makes it easy to evenly distribute the warm, gooey queso between the chip layers without making a mess.
- Spoons for Garnishes: Various spoons for serving and sprinkling your fresh toppings like guacamole, sour cream, and diced vegetables.
What to Serve With Trash Can Nachos
While Trash Can Nachos are a complete meal in themselves, pairing them with some complementary sides and beverages can elevate the entire dining experience. Do you have any favorite Mexican dips you usually serve? Bring them right on in! I personally love having some salted avocado slices or a fresh fruit salsa on the side – just another idea to enhance the flavors!
- Fresh Guacamole and Zesty Salsa: A separate bowl of fresh guacamole and vibrant salsa (pico de gallo or a spicy red salsa) allows guests to add extra dollops to their individual servings.
- Refreshing Beverages: Cool, crisp beverages are a must to complement the rich and savory flavors. Consider serving classic margaritas, ice-cold Mexican beer, or a refreshing pitcher of agua fresca.
- A Simple Side Salad: To balance the richness of the nachos, a light and crisp side salad with a zesty lime vinaigrette can be a welcome addition. Think mixed greens with corn, black beans, and a sprinkle of cotija cheese.
- Quartered Limes: Offer plenty of lime wedges for guests to squeeze over their nachos. A squeeze of fresh lime juice adds a bright, tangy acidity that really wakes up the flavors.
- Extra Dipping Sauces: Beyond guacamole and salsa, consider offering a bowl of warm refried bean dip, a spicy habanero cream, or a mild avocado crema for more dipping options.
Why You Should Make Trash Can Nachos Immediately
I’m telling you, this unique version of nachos has to be experienced at least once in your life. Chances are, your regular nacho routine just won’t seem as exciting after you’ve savored the delight of these, haha! Here’s why Trash Can Nachos are an absolute must-try:
- Perfect for Special Occasions: Whether it’s a birthday, a major game day, a holiday gathering, or just an excuse to celebrate, these nachos make any event feel special and festive.
- Unforgettable Fun Way to Enjoy a Meal: The assembly and dramatic reveal are interactive and highly entertaining, making it a fantastic experience to share with friends and family. It’s truly a conversation starter!
- Infinitely Customizable: With a plethora of options for meat, cheese, and toppings, you can easily tailor these nachos to suit any dietary preference or flavor craving. Every batch can be a new adventure!
- A Show-Stopping Centerpiece: Forget boring serving platters. The towering presentation of Trash Can Nachos creates an incredible visual focal point that will wow your guests and leave a lasting impression.
- Guaranteed Flavor in Every Bite: The strategic layering ensures that every single tortilla chip is loaded with delicious cheese, savory meat, and fresh toppings, eliminating bland or dry chips.
- Simple to Master: Despite their impressive appearance, Trash Can Nachos are surprisingly easy to make, requiring basic cooking skills and minimal complex techniques.
Exciting Variations and Creative Add-Ins for Your Nachos
The beauty of nachos lies in their adaptability, and Trash Can Nachos are no exception. If you’ve got any other fantastic ideas for additions or creative variations to this recipe, please let me know in the comments below! I always love hearing from you and discovering new ways to enjoy this dish!
- Elevated Protein Choices: For a richer, meatier twist, consider adding tender slices of marinated skirt steak, smoky grilled chicken, slow-cooked pulled pork, or even spicy chorizo.
- Cheese Experimentation: Beyond white queso, feel free to experiment with different cheese bases. A homemade blend of sharp cheddar and creamy Monterey Jack, or even the nostalgic appeal of Velveeta (for an extra smooth, melty experience), can transform the flavor.
- Aromatic Garlic Infusion: Incorporate finely minced garlic cloves or a generous dash of garlic powder into your taco meat or queso dip for an added layer of robust flavor.
- Smoky BBQ Notes: Drizzle a touch of your favorite barbecue sauce between layers for a deliciously smoky and slightly sweet flavor profile, especially if using pulled pork or grilled chicken.
- Roasted Vegetable Medley: Add roasted bell peppers, corn, or sweet potatoes for extra sweetness, texture, and nutritional value.
- Spicy Kick with Chipotle: For an extra smoky heat, mix a spoonful of adobo sauce from canned chipotles into your taco meat or queso.
- Fresh Herbs: Beyond cilantro, try sprinkling fresh oregano or a touch of chopped green chilies for added depth and freshness.
- Tropical Twist: For something unexpected, add a layer of fresh mango salsa or pineapple chunks for a sweet and tangy counterpoint to the savory flavors.
If you love this easy appetizer recipe, you’re going to love these other game-day snacks too. Please click each link below to find the easy, printable recipe!
Smoked Queso Dip
Break out the Traeger for this easy, cheesy party snack – Smoked Queso Dip. It’s simple to make and the smoky flavor is INCREDIBLE.
Check out this recipe

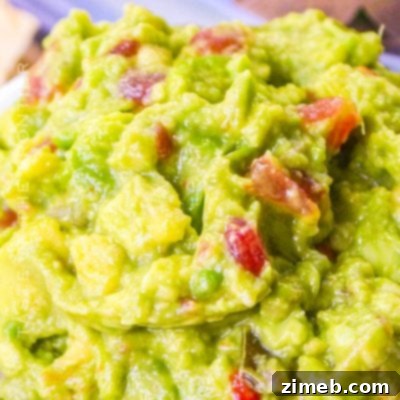
Easy Guacamole
Quick and Easy Guacamole is made with just 2 ingredients and can be made in just a few minutes. Perfect for game day, holidays, and parties.
Check out this recipe
Smoked Cream Cheese
Smoked Cream Cheese is perfectly seasoned, and smoked over low heat with a touch of applewood. It’s the perfect addition to any hors d’oeuvre tray, or it can be used as a dip for chips or fresh vegetables.
Check out this recipe

Mexican Street Corn Salad
Mexican Street Corn Salad is refreshing and delicious. Served as an appetizer or side dish. Perfect for game day snacks or Cinco de Mayo celebrations! This one is a favorite!
Check out this recipe

Cream Cheese Salsa Dip
This Cream Cheese Salsa Dip is an easy-to-make appetizer with the perfect amount of heat and flavor to keep you coming back for more.
Check out this recipe

More Great Nacho Recipes to Explore
If you’ve fallen in love with the concept of creative nachos, you’re in luck! There’s a whole world of delicious variations to explore, each offering a unique twist on this beloved dish. Here are a couple more fantastic nacho recipes you might enjoy trying for your next family meal or party:
Smoked BBQ Bacon Nachos
Shredded Chicken Nachos
CONNECT WITH YUMMI HAUS!
Be sure to follow me on my social media, so you never miss a post!
Substack, Facebook, Pinterest, Instagram, Email Subscription
Trash Can Nachos
Course: Appetizer, Main Course, Snack
Servings: 8 servings
Dive into a mountain of deliciousness that’s not just a meal, but a celebration of flavors and creative presentation with Trash Can Nachos.
Pin Recipe
Save Recipe
Prep Time: 25 mins
Total Time: 25 mins
Ingredients
- 30 ounces tortilla chips (1 to 2 bags, choose sturdy chips)
- 2 cups white queso dip (prepared and warmed)
- 1 pound taco meat (from ground beef or ground turkey, seasoned)
- 15 ounces black beans (rinsed and drained, 1 can)
- 1 cup guacamole (prepared)
- 1 cup sour cream
For Garnish:
- Diced tomatoes
- Diced red onion
- Sliced green onions
- Sliced jalapenos (fresh or pickled)
Instructions
- In a new, clean, food-safe trash can OR a LARGE bowl (about 1.5 gallons capacity), add a generous layer of tortilla chips to the bottom.
- Drizzle the chips as desired with the warmed queso dip, ensuring even coverage.
- Add a sprinkle of seasoned taco meat and rinsed black beans over the queso dip.
- Repeat the layers of tortilla chips, queso dip, taco meat, and black beans. Gently press down after each layer to compact the ingredients, continuing until the bowl or trash can is full.
- When ready to serve, place a large serving platter or baking sheet firmly over the top of the filled container. With a swift, confident motion, invert the container onto the platter. Carefully and slowly remove the bowl or can to reveal the nacho tower.
- If desired, drizzle the entire nacho tower with prepared guacamole and sour cream.
- Garnish the nachos generously with your preferred toppings, such as diced tomatoes, diced red onion, sliced green onions, and sliced jalapenos. Serve immediately.
Equipment
- Clean trash can OR a LARGE bowl (about 1.5 gallons)
- Large serving platter or baking sheet
- Ladle for queso dip
- Spoons for garnishes
Nutrition
Serving: 1 serving | Calories: 923kcal | Carbohydrates: 91g | Protein: 33g | Fat: 51g | Saturated Fat: 15g | Cholesterol: 48mg | Sodium: 1239mg | Potassium: 570mg | Fiber: 12g | Sugar: 2g | Vitamin C: 3mg | Calcium: 160mg | Iron: 3mg | Net Carbohydrates: 78g
Nutritional information for the recipe is provided as a courtesy and is approximate. Please double-check with your own dietary calculator for the best accuracy. We at Yummi Haus cannot guarantee the accuracy of the nutritional information given for any recipe on this site.
Love this recipe?
Follow @KleinworthCo for even more tasty recipes!