
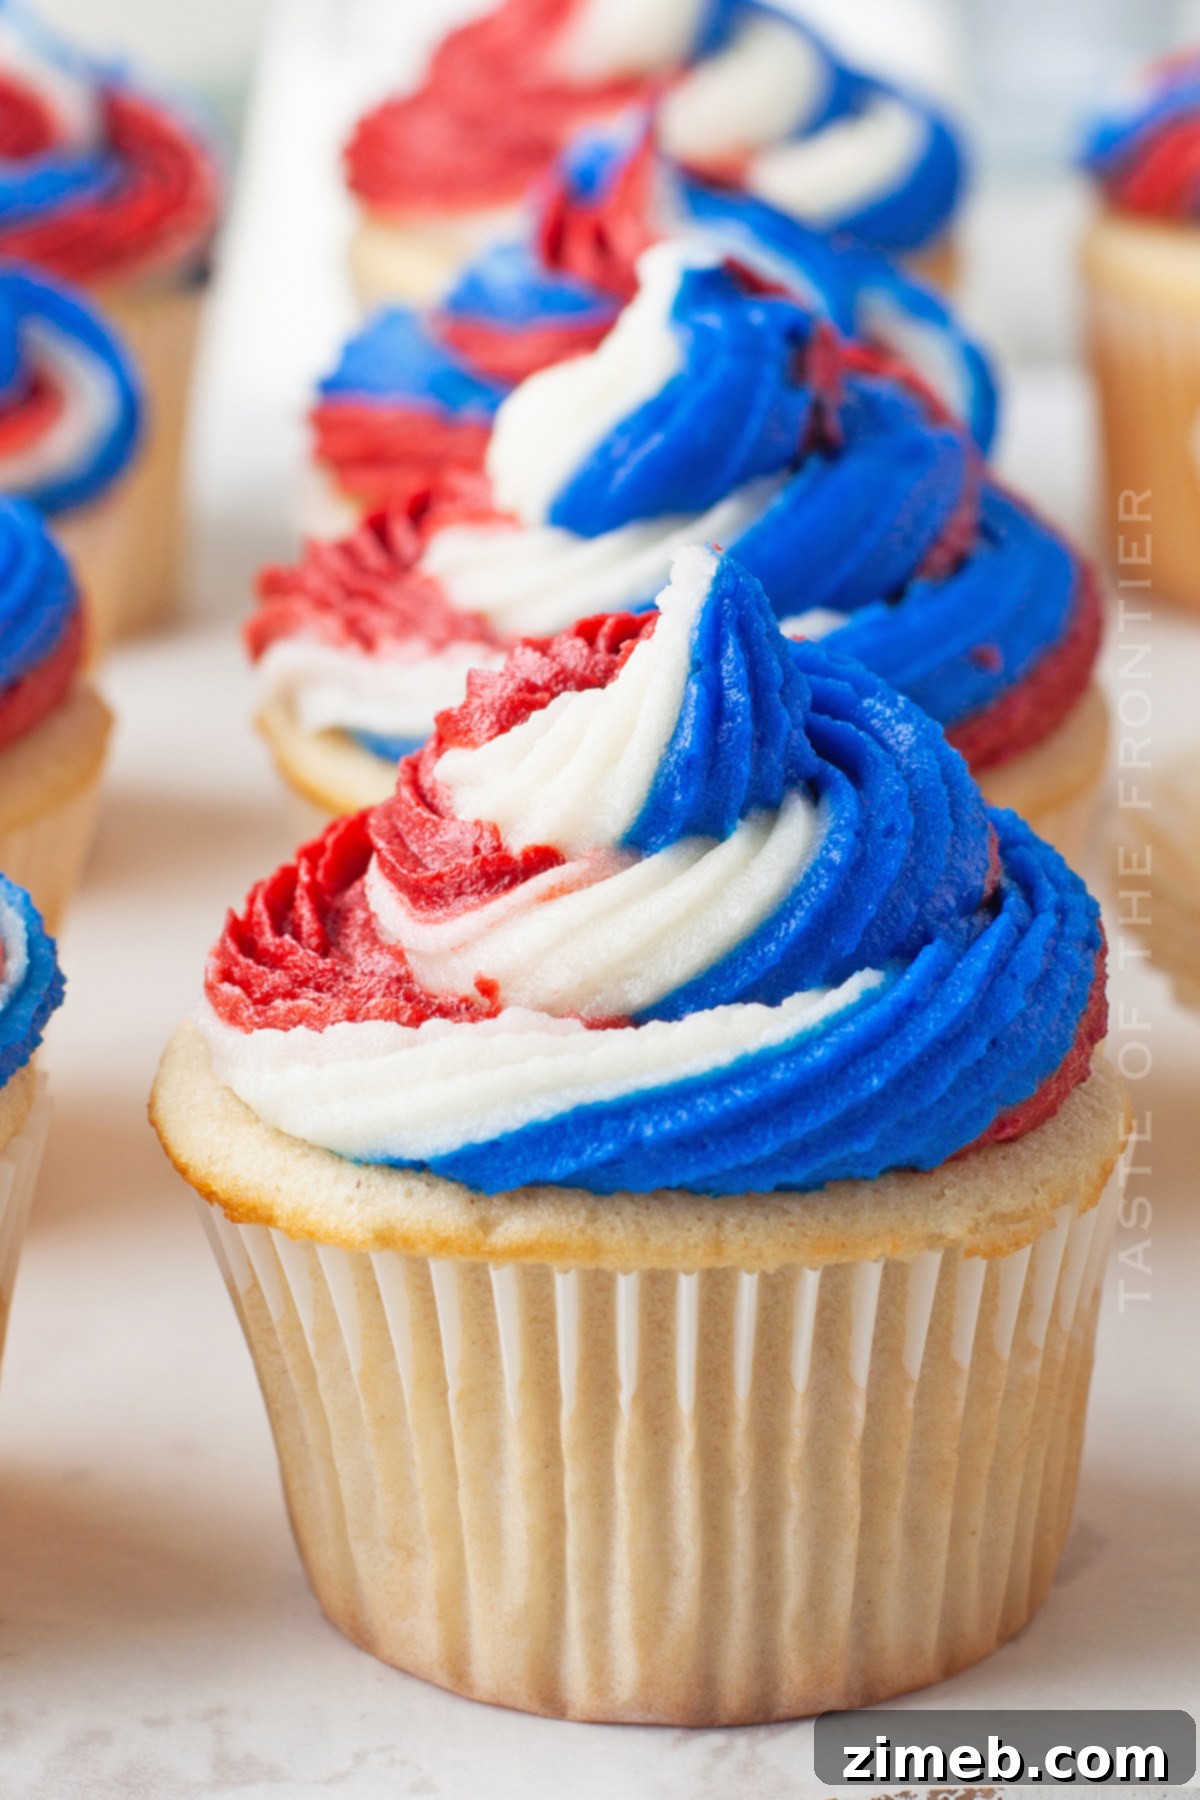
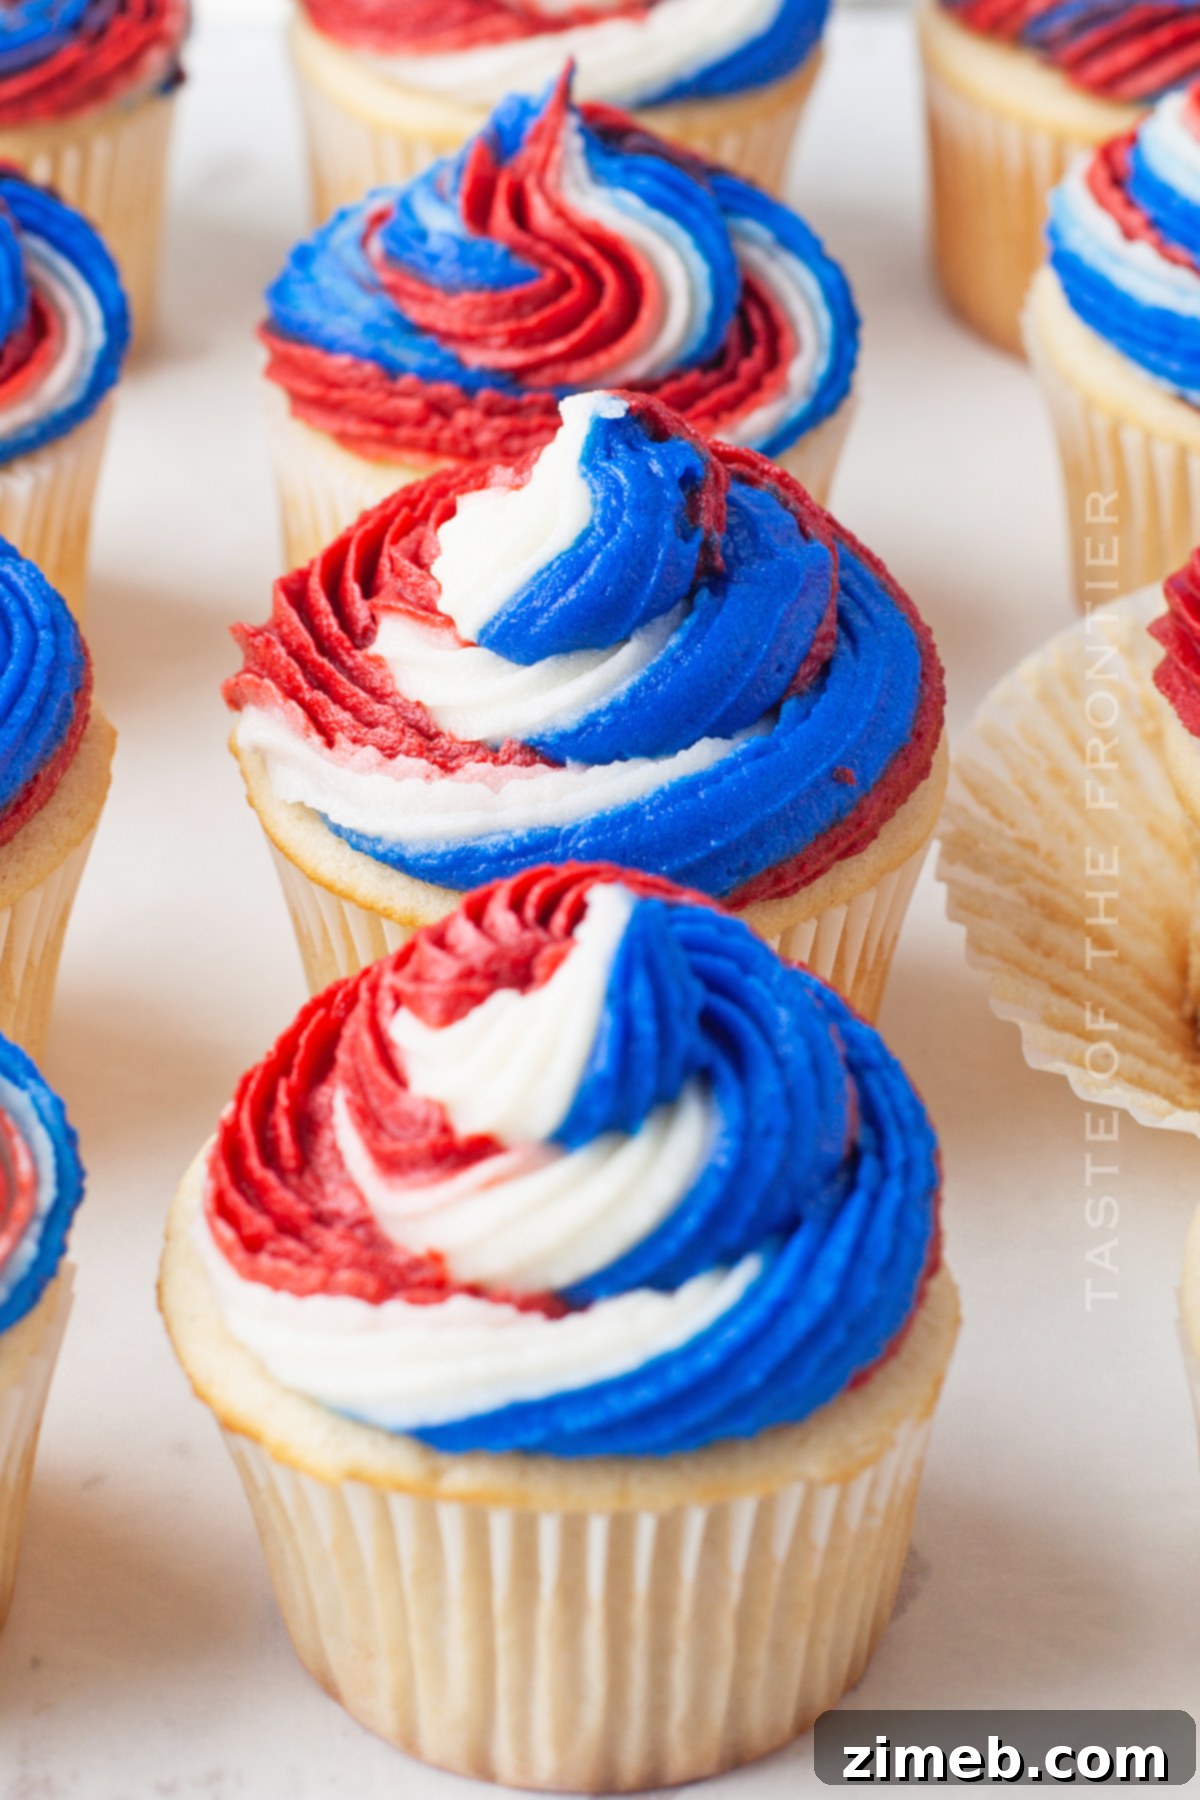
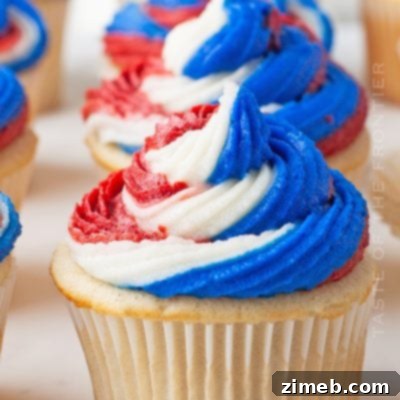
Whether you’re planning a lively Fourth of July barbecue, a reflective Memorial Day picnic, or any gathering celebrating national pride, these stunning Red, White, and Blue Cupcakes are destined to be the star of your dessert table. Prepare for rave reviews!
Are you searching for the ultimate festive and patriotic treat to elevate your upcoming holiday celebrations? Look no further! These vibrant Red, White, and Blue Cupcakes offer a delightful blend of flavor and patriotic charm, making them the perfect confection for any occasion honoring the red, white, and blue.
Crafting these visually striking and incredibly delicious patriotic cupcakes begins with a foundational recipe for simple, moist white chocolate cupcakes. Once your cupcakes are perfectly baked to a golden hue and have cooled completely, the real fun begins: decorating them with swirls of beautifully colored buttercream frosting. This recipe guides you through every step to ensure your festive treats are not only delicious but also visually spectacular.
PIN THIS RECIPE FOR LATER!
Celebrating with Patriotic Flavors: A Personal Journey to Perfect Cupcakes
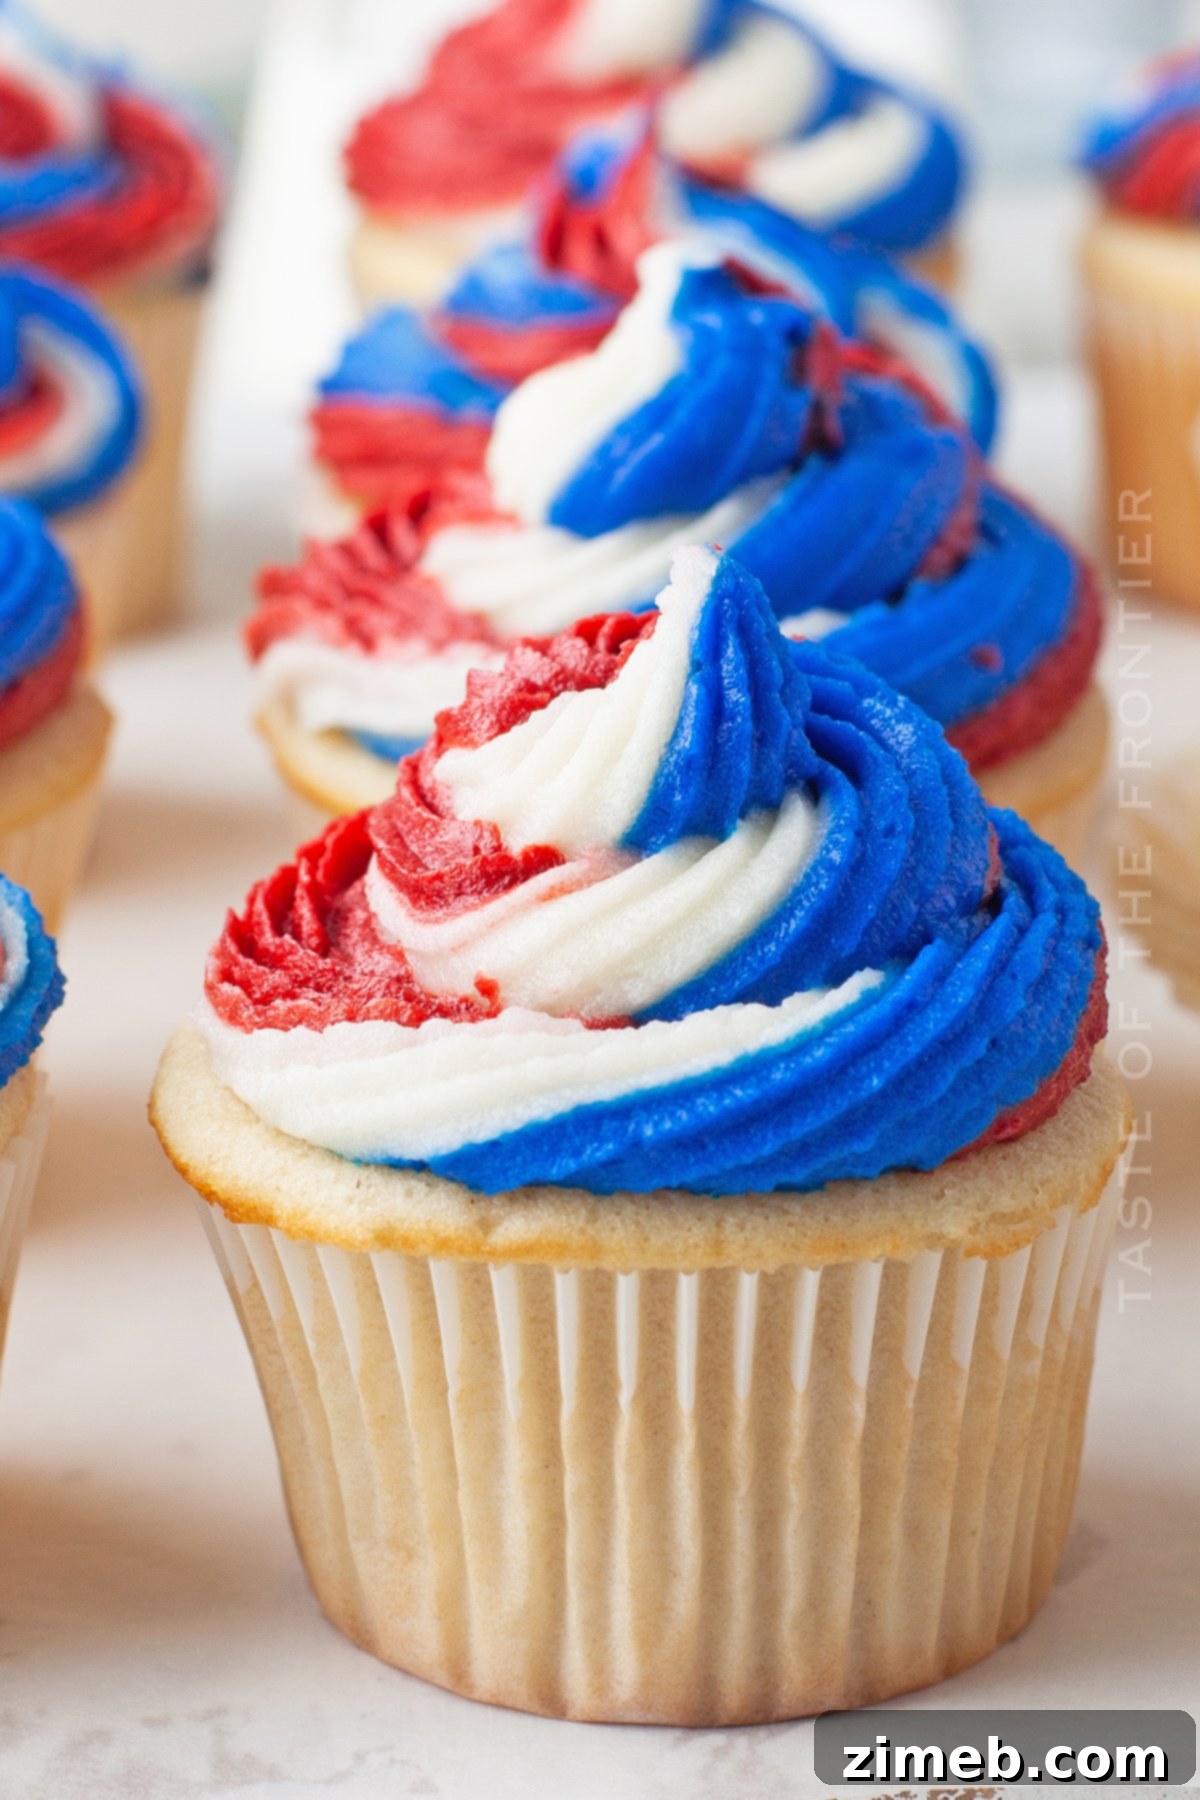
For me, there’s a special magic in patriotic holidays. Perhaps it’s the captivating combination of red, white, and blue hues that always catches my eye, or maybe it’s the simple joy that these celebrations typically fall during the glorious summer months. The warmth, the sunshine, and the opportunity to shed heavy layers always make these times feel extra special. Whatever the reason, these holidays inspire a certain culinary creativity, and these white chocolate cupcakes, crowned with their artful swirl of red, white, and blue buttercream frosting, truly make my heart sing.
The journey to perfecting this recipe is one I’m thrilled to share. It all began when my son needed a truly patriotic treat for a friend’s birthday party. I had long harbored a desire to create swirl-frosted cupcakes, and this seemed like the perfect opportunity to bring that vision to life. However, my initial attempts were, shall we say, less than perfect. The summer heat proved to be an unexpected challenge, causing the frosting to melt prematurely and preventing the beautiful swirls from forming as I envisioned. It was a disheartening flop!
But true passion doesn’t back down from a challenge. Every summer since, I dedicated myself to refining this recipe. I experimented with temperatures, frosting consistencies, and piping techniques until I finally achieved the flawless results you see today. I’m absolutely delighted to share this perfected recipe with you, knowing that you’ll cherish these cupcakes as much as my family and I do. Imagine the smiles when you present these stunning homemade treats, leaving your friends amazed that they didn’t come from a professional bakery!
Commonly Asked Questions About Patriotic Cupcakes
To ensure your baking experience is as smooth and successful as possible, here are answers to some frequently asked questions about making and storing these delightful red, white, and blue treats:
What is the Best Way to Store Red, White, and Blue Cupcakes?
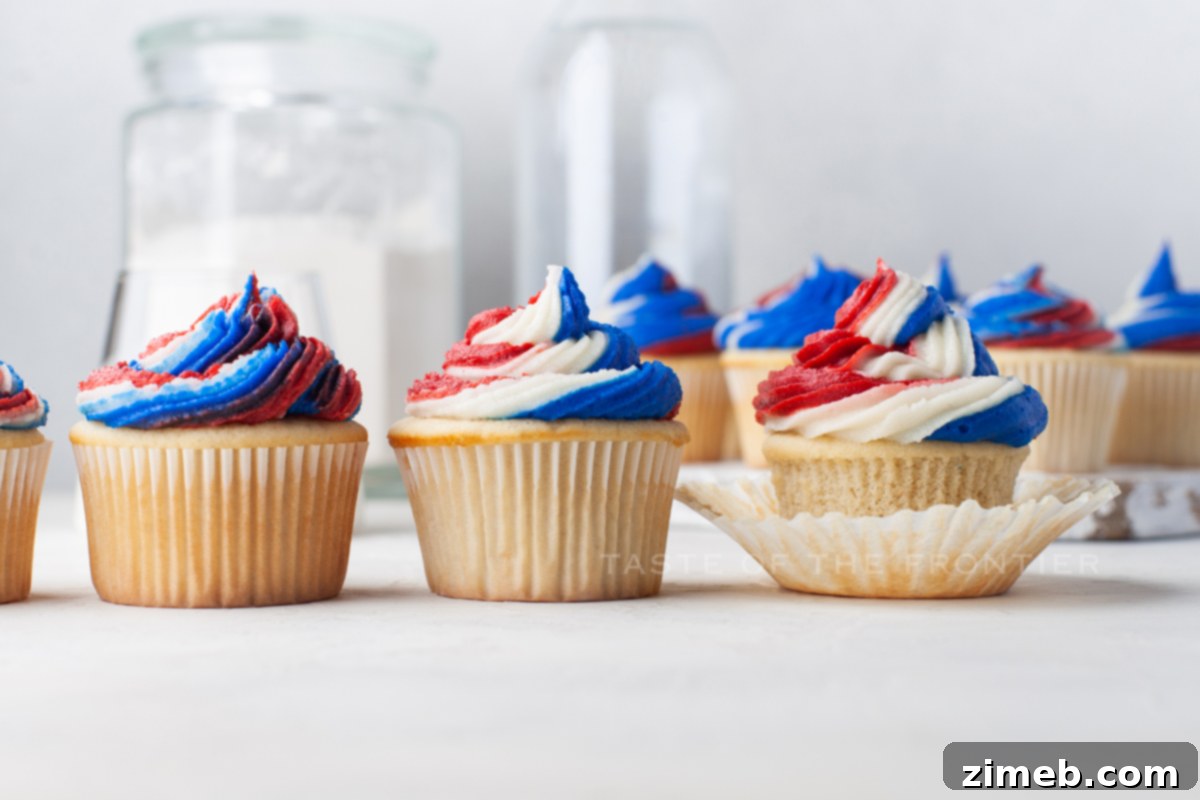
For optimal freshness, unfrosted cupcakes can be stored in an airtight container at room temperature for up to four days. Once these beauties are frosted, I highly recommend refrigerating them. This is primarily due to the butter and dairy content in the luscious buttercream frosting, which keeps it stable and delicious. However, be mindful of your choice of sprinkles: if you’re using delicate sanding sugar or nonpareils, their colors might bleed when stored in a moist environment like the refrigerator. Sturdier jimmies and star sprinkles, on the other hand, typically hold up wonderfully to refrigeration.
What’s The Secret to Incredibly Moist Cupcakes?
The key to achieving wonderfully moist and fluffy cupcakes lies in creating numerous tiny air bubbles within your batter that expand beautifully during baking. The most common pitfall to avoid is overmixing. Overmixing develops the gluten in the flour too much, leading to dense, heavy cupcakes instead of light and airy ones. Always mix your batter at a low speed, and stop just as all the ingredients are combined. A few small lumps are perfectly fine and often preferred over an overmixed batter.
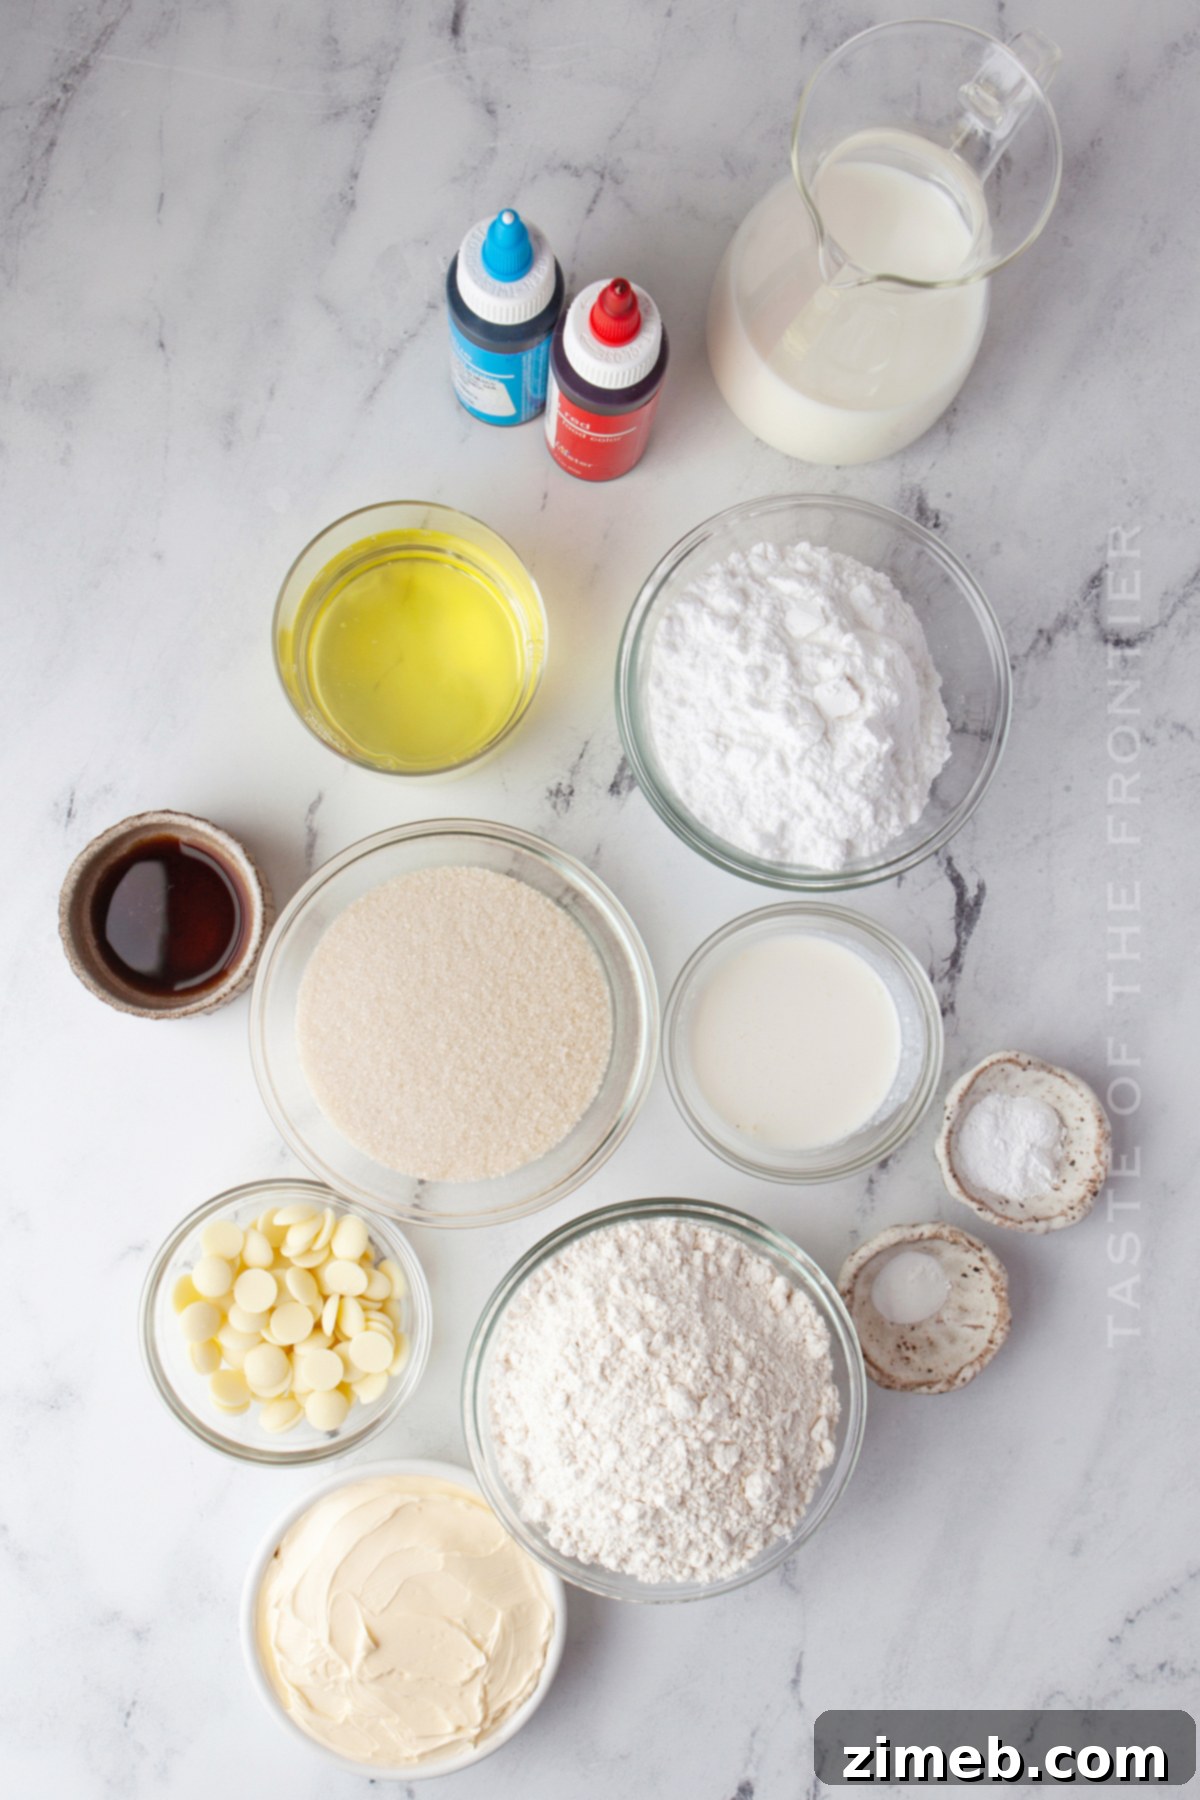
Ingredients for Delicious White Chocolate Cupcakes
- Butter – softened (essential for a smooth batter)
- Granulated sugar + extra for the egg whites (for sweetness and structure)
- White chocolate (for that distinctive, rich flavor)
- All-purpose flour (the foundation of your cupcake)
- Baking powder (provides lift and lightness)
- Baking soda (works with acidic ingredients for a tender crumb)
- Milk (adds moisture and helps activate leavening agents)
- Vanilla extract (enhances overall flavor)
- Egg whites (whipped for an airy texture)
Why Do Ingredients Need to be at Room Temperature for Baking?
Using room temperature ingredients is a fundamental secret to successful baking, especially for cupcakes. When butter, eggs, and dairy are at room temperature, they emulsify much more effectively with other ingredients. This means they blend together smoothly and evenly, preventing any pockets of unmixed butter or inconsistent batter. Crucially, this emulsion traps air, which expands during baking, resulting in a lighter, fluffier, and perfectly textured baked good. Cold ingredients can cause the batter to curdle and will not incorporate properly, leading to a denser, less desirable texture.
What Exactly Do You Mean by “Softened Butter”?
Softened butter is butter that is pliable enough to leave an indentation when gently pressed, but not so soft that it’s greasy or melting. It should still hold its shape. Typically, this means removing your butter from the refrigerator about an hour before you plan to start baking. This allows it to reach the ideal consistency for creaming with sugar, which is a crucial step in creating light and airy cupcakes.
How to Quickly Soften Butter to Room Temperature
Sometimes, even with the best intentions, we forget to take butter out in advance. Don’t worry, there are a few clever tricks to get your butter to that perfect room temperature state without melting it completely:
Method One: The Countertop Approach
The most straightforward way is to plan ahead. Take your butter (and any other chilled ingredients like eggs or milk) out of the fridge and leave them on the counter for at least 30 minutes to an hour while you gather and prepare your other baking supplies. This natural warming process is often the best for ideal texture.
I usually pull all my cold ingredients out onto the counter right at the beginning of my baking process. This not only ensures they warm up sufficiently but also helps me confirm I have everything I need before I’m halfway through a recipe and realize I’m missing something crucial.
However, during colder months, 30 minutes might not be enough time, or perhaps you’re simply not as organized as you’d like to be on a particular day (it happens to the best of us!). That’s where these next two tricks come in handy.
Method Two: The Microwave Trick (Use with Caution!)
For a quicker solution, you can use the microwave, but extreme care is needed to avoid melting the butter. Place the butter, still wrapped in its paper (ensure it’s not foil-wrapped!), in the microwave. Microwave it for 2 seconds, then flip it over. Microwave for another 2 seconds, flip again, and continue this pattern, microwaving for 2 seconds on each side. Stop as soon as it feels soft enough. This method is usually enough to get it perfectly softened. **A crucial warning: overly softened or melted butter from the microwave WILL negatively alter the final result of your recipe, leading to greasy, dense baked goods. Do NOT overdo it.**
Method Three: The Warm Water Bath
My third, and often favorite, method is to place the wrapped sticks of butter (and eggs, if needed) into a zip-top bag to protect them from water. Then, submerge the bag in a bowl of warm (not hot!) water. The gentle warmth of the water will bring the ingredients to room temperature efficiently and evenly, without the risk of melting. This method is often the perfect way to achieve ideal “room-temperature” ingredients when time is short.
Troubleshooting: Why Did My Chocolate Wafers Seize When Melting?
When chocolate wafers transform into a chunky, grainy mess instead of a smooth, creamy liquid, it’s referred to as “seized” chocolate. This common issue typically occurs for two main reasons: overheating or accidental contact with water or steam. In the case of overheating, the chocolate simply burns, altering its texture and flavor. More commonly, seizing happens when even a tiny amount of water or steam comes into contact with the melting chocolate. Chocolate is rich in hydrophobic oils (water-fearing), and when water is introduced, it causes the cocoa solids to clump together, separating from the fats and creating that undesirable, gritty texture. To prevent this, always ensure your melting utensils and bowls are completely dry, use a double boiler method with care, or microwave at short intervals on low power, always referring to the package directions for the best melting technique.
Crafting Your Delicious White Chocolate Cupcakes
How to Make White Chocolate Cupcakes
- Preheat your oven to 350 degrees F (175 degrees C). Line a cupcake pan with paper liners. Set this aside.
- In the bowl of a stand mixer fitted with the paddle attachment, cream the softened butter with all but 1 ½ tablespoons of the granulated sugar until the mixture is light and fluffy. This should take about 3-5 minutes.
- Gently melt the white chocolate. You can do this in the microwave in 20-second intervals, stirring after each, until completely smooth. Be careful not to burn it. If you have a high-wattage microwave, use 50% power to prevent the chocolate from seizing.
- Add the melted white chocolate to the creamed butter and sugar mixture, mixing until just combined.
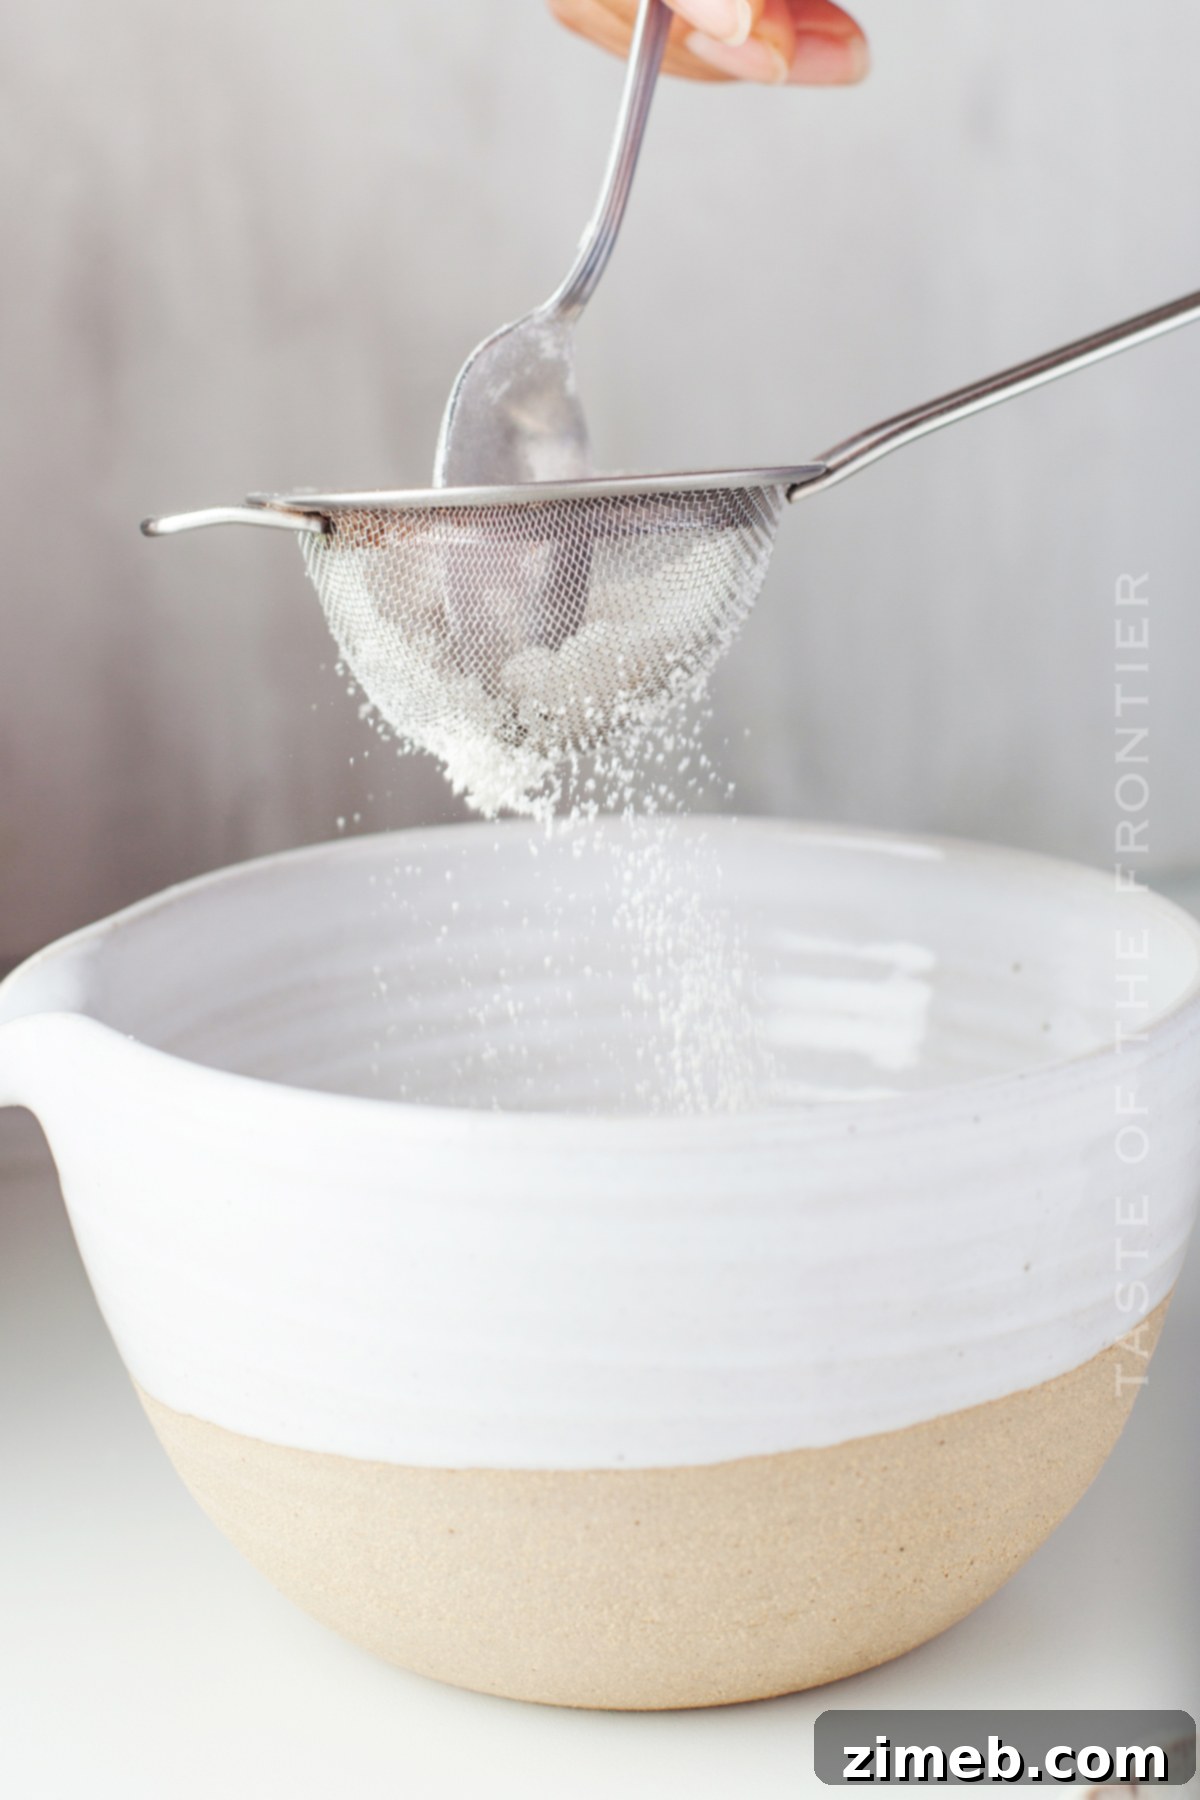
- In a separate bowl, whisk together the sifted all-purpose flour, baking powder, and baking soda. Gradually add this dry mixture to the wet ingredients, alternating with the milk and vanilla extract. Mix on low speed until everything is just combined. Remember, do not overmix, as this can lead to tough cupcakes.
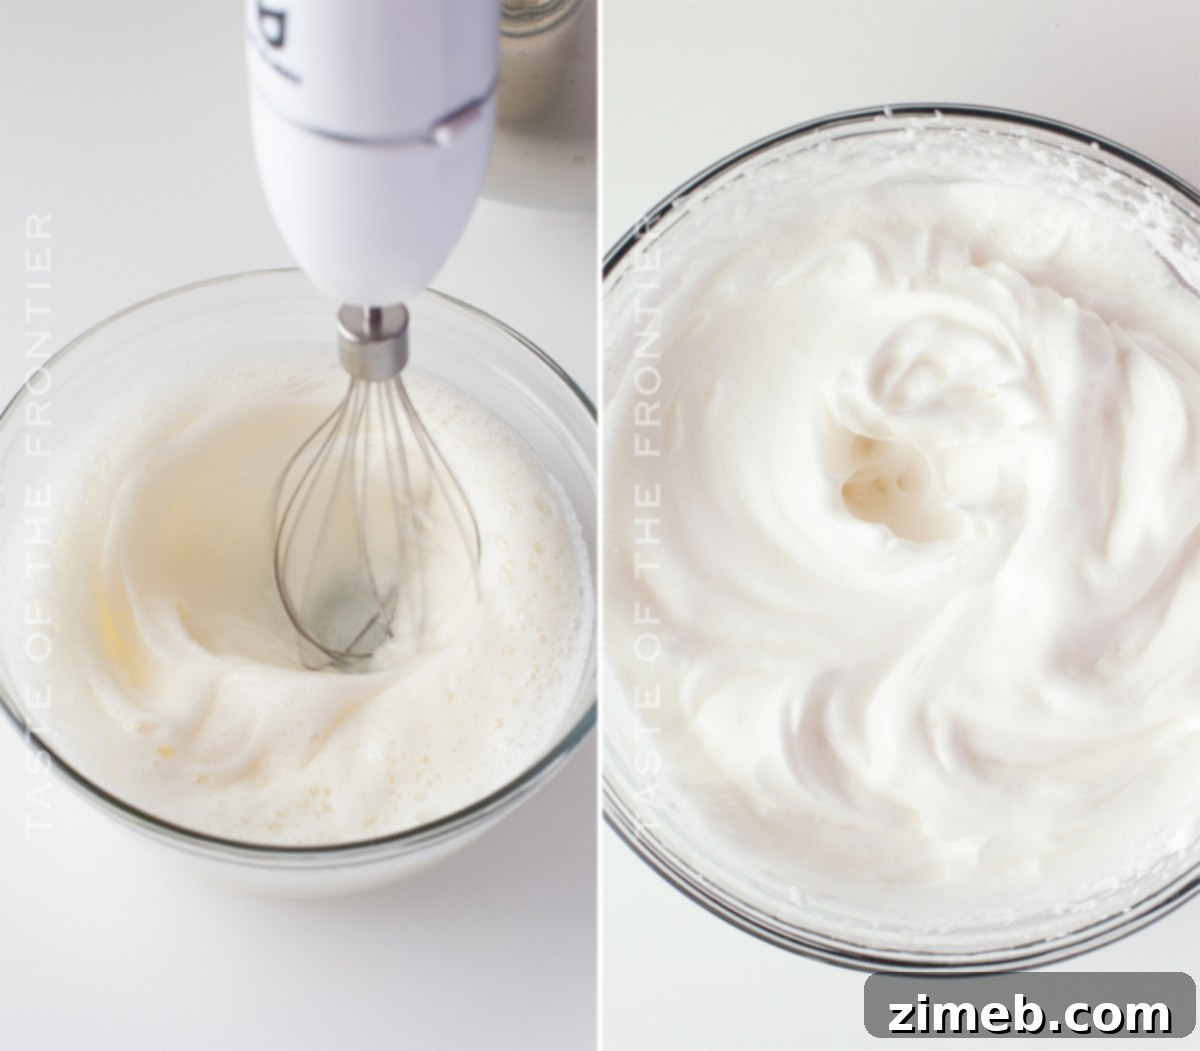
- In another clean, dry bowl, whisk the egg whites (preferably with a whisk attachment on your stand mixer or a hand mixer) until they form soft peaks and are light and fluffy.
- Gradually add the reserved 1 ½ tablespoons of granulated sugar to the egg whites, little by little, continuing to whisk until stiff, glossy peaks form.
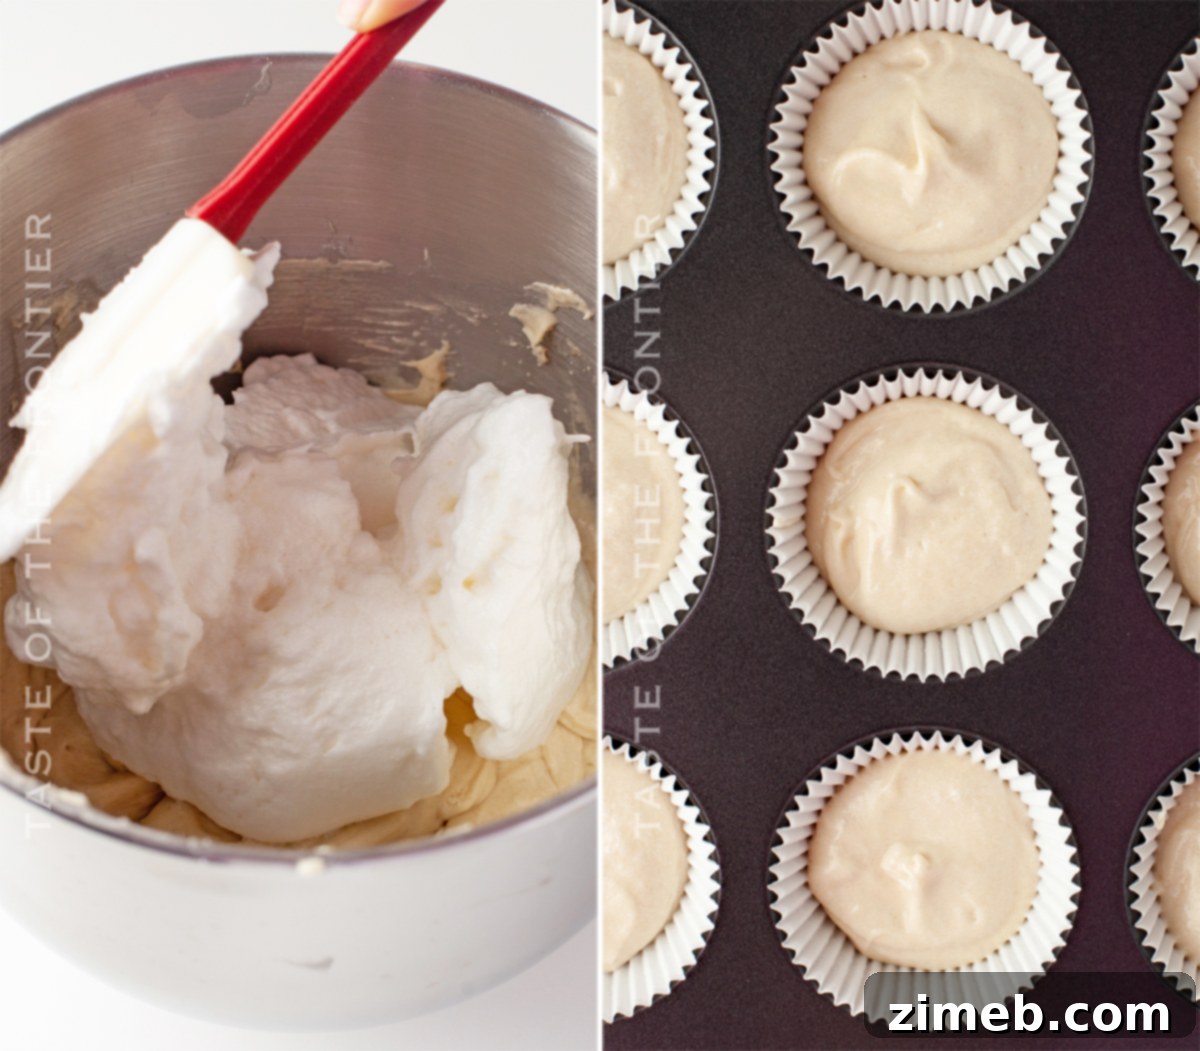
- Carefully fold the whipped egg whites into the cupcake batter in two additions, using a spatula. Be gentle to retain as much air as possible for fluffy cupcakes.
- Distribute the batter evenly into your prepared cupcake liners, filling each approximately two-thirds of the way full. This ensures they bake nicely without overflowing.
- Bake for 19-20 minutes, or until a toothpick inserted into the center of a cupcake comes out clean, and the tops spring back when gently pressed.
- Allow the cupcakes to cool completely on a wire rack before attempting to frost them. Warm cupcakes will cause your beautiful buttercream frosting to melt and slide off.
Can I Freeze White Chocolate Cupcakes?
Absolutely! White chocolate cupcakes freeze exceptionally well. To freeze them, ensure they are completely cooled. Then, individually wrap each unfrosted cupcake tightly in plastic wrap, followed by a layer of aluminum foil. Store them in an airtight freezer-safe container or bag for up to two months. Thaw overnight in the refrigerator or at room temperature for a few hours before frosting and serving.
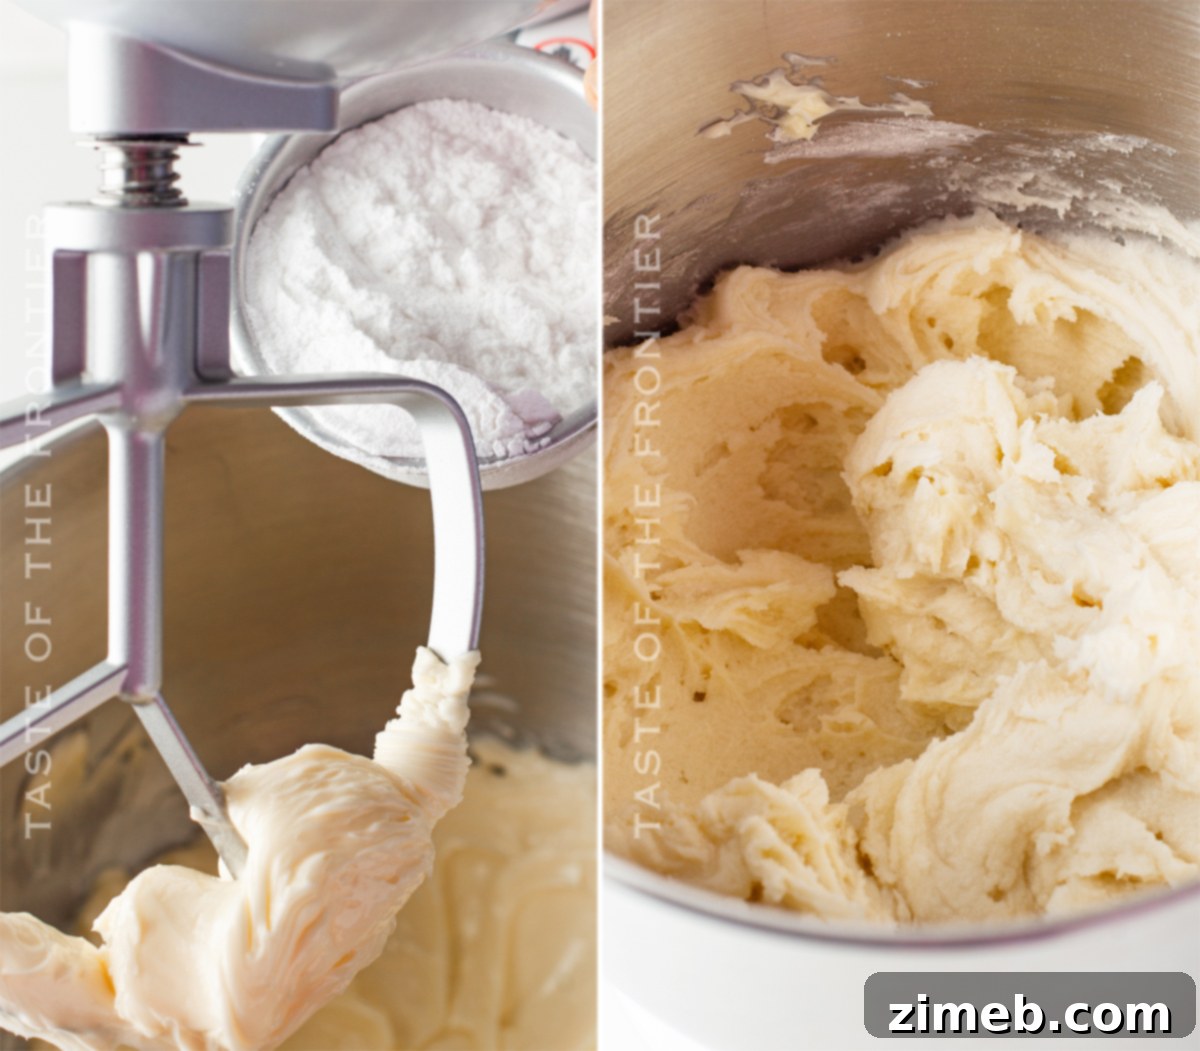
Ingredients for Luscious Buttercream Frosting
- Confectioner’s sugar – sifted (for a smooth, lump-free frosting)
- Butter – softened (the base of your creamy frosting)
- Vanilla extract (for a classic, sweet flavor)
- Whipping cream (adds richness and a lighter texture)
- Food coloring of your choice – this recipe primarily uses red and blue gel food coloring to achieve vibrant patriotic hues.
How to Make Creamy Buttercream Frosting
- Using a stand mixer fitted with the paddle attachment, cream the softened butter until it is light, pale, and fluffy. This aeration is key for a truly delightful buttercream.
- Gradually add the sifted confectioner’s sugar, little by little, alternating with the vanilla extract and whipping cream. Continue mixing until the frosting is incredibly fluffy and smooth.
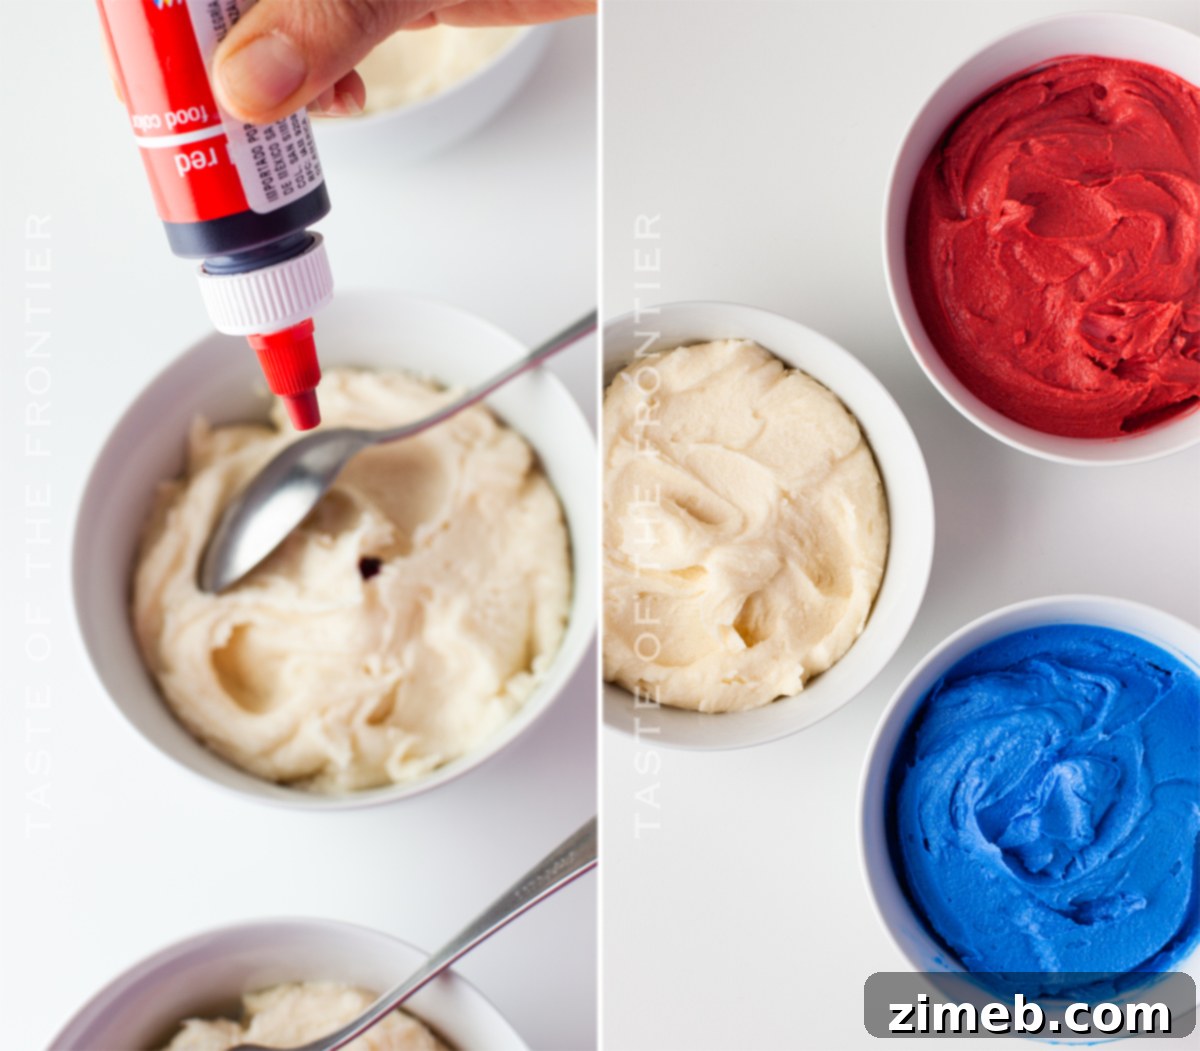
- Once your buttercream is perfect, divide it evenly into three separate bowls. For precise distribution, I recommend using a kitchen scale.
- Add your chosen food coloring (red to one bowl, blue to another) to two of the bowls. Mix each until the color is vibrant and evenly distributed throughout the buttercream. Leave the third bowl of frosting plain for the white color.
- Carefully transfer each colored frosting into individual piping bags.
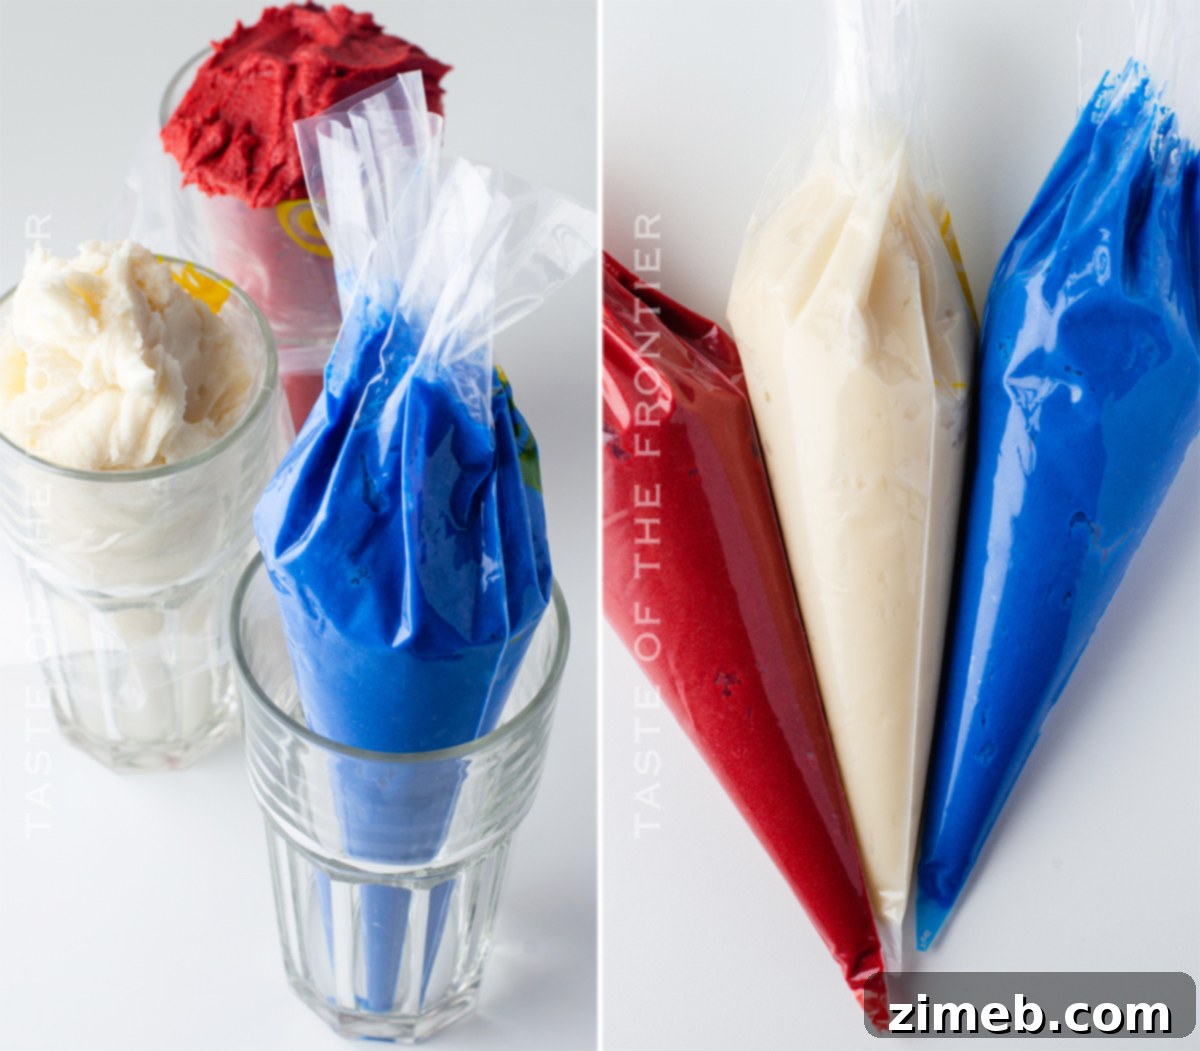
Expert Tips for Perfect Patriotic Frosting
- Vanilla Extract Choice: For the purest, brightest white frosting, opt for clear vanilla extract. Regular vanilla extract can impart a slight off-white or yellowish tint due to its natural color. However, if clear vanilla isn’t available, regular vanilla extract will still provide delicious flavor.
- Adjusting Consistency: Buttercream consistency can vary based on ambient temperature and ingredient exactness. If your frosting is too thick, add a tiny bit more heavy whipping cream (half a teaspoon at a time). If it’s too thin, sift in a little more confectioner’s sugar (a tablespoon at a time) until you reach your desired piping consistency.
- Developing Deep Colors: Don’t feel you need to overdo the food coloring right away. The colors in buttercream tend to deepen and become more vibrant as the frosting sits, especially overnight. To achieve rich, saturated red and blue hues without adding too much liquid, consider making your colored frostings and refrigerating them overnight. This also allows the frosting to firm up slightly, making it even easier to pipe and hold its shape beautifully.
Can I Use Any Type of Food Coloring to Create Swirls in My Buttercream Frosting?
While you can technically use any type of food coloring, gel food coloring is highly recommended for creating vibrant, distinct swirls in your buttercream frosting. Gel food colorings are much more concentrated than liquid food colorings, meaning you need less to achieve intense colors. This is crucial because adding too much liquid food coloring can thin out your buttercream, making it difficult to pipe and hold its shape. Gel colors deliver maximum impact with minimal alteration to your frosting’s consistency.
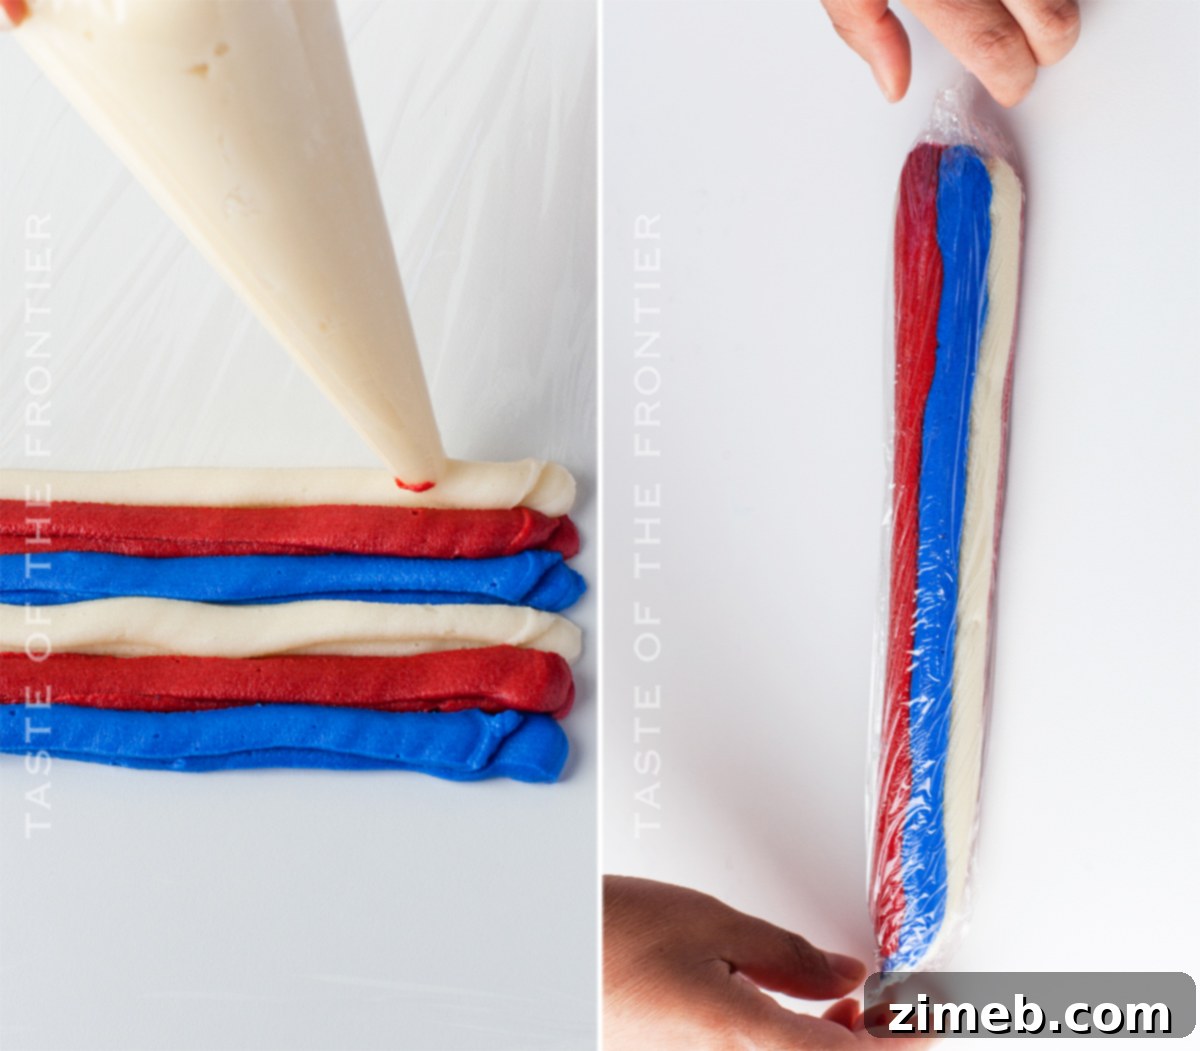
Mastering the Art of Swirled Frosting Colors
Creating those show-stopping, multi-colored swirls is easier than you think with this simple technique:
- Lay a large piece of plastic wrap flat on your counter.
- Take your piping bag filled with blue frosting and pipe a generous line of blue frosting onto the plastic wrap. This line should be roughly the length of your empty piping bag (the one you’ll use for decorating) and fill it almost completely lengthwise. Repeat this step once more on top of the first blue line, creating a double-thick strip of blue.
- Repeat the same process for the red frosting, piping two thick lines next to the blue. Then, do the same for the white frosting, piping two thick lines next to the red. You should now have two blue, two red, and two white stripes of frosting on your plastic wrap.
- Carefully roll one edge of the plastic wrap inwards until it touches the last color, ensuring the blue frosting meets the white frosting. This action will naturally form a cylinder shape with the different colored stripes.
- Twist and tie up both ends of the plastic wrap cylinder to seal the frosting inside.
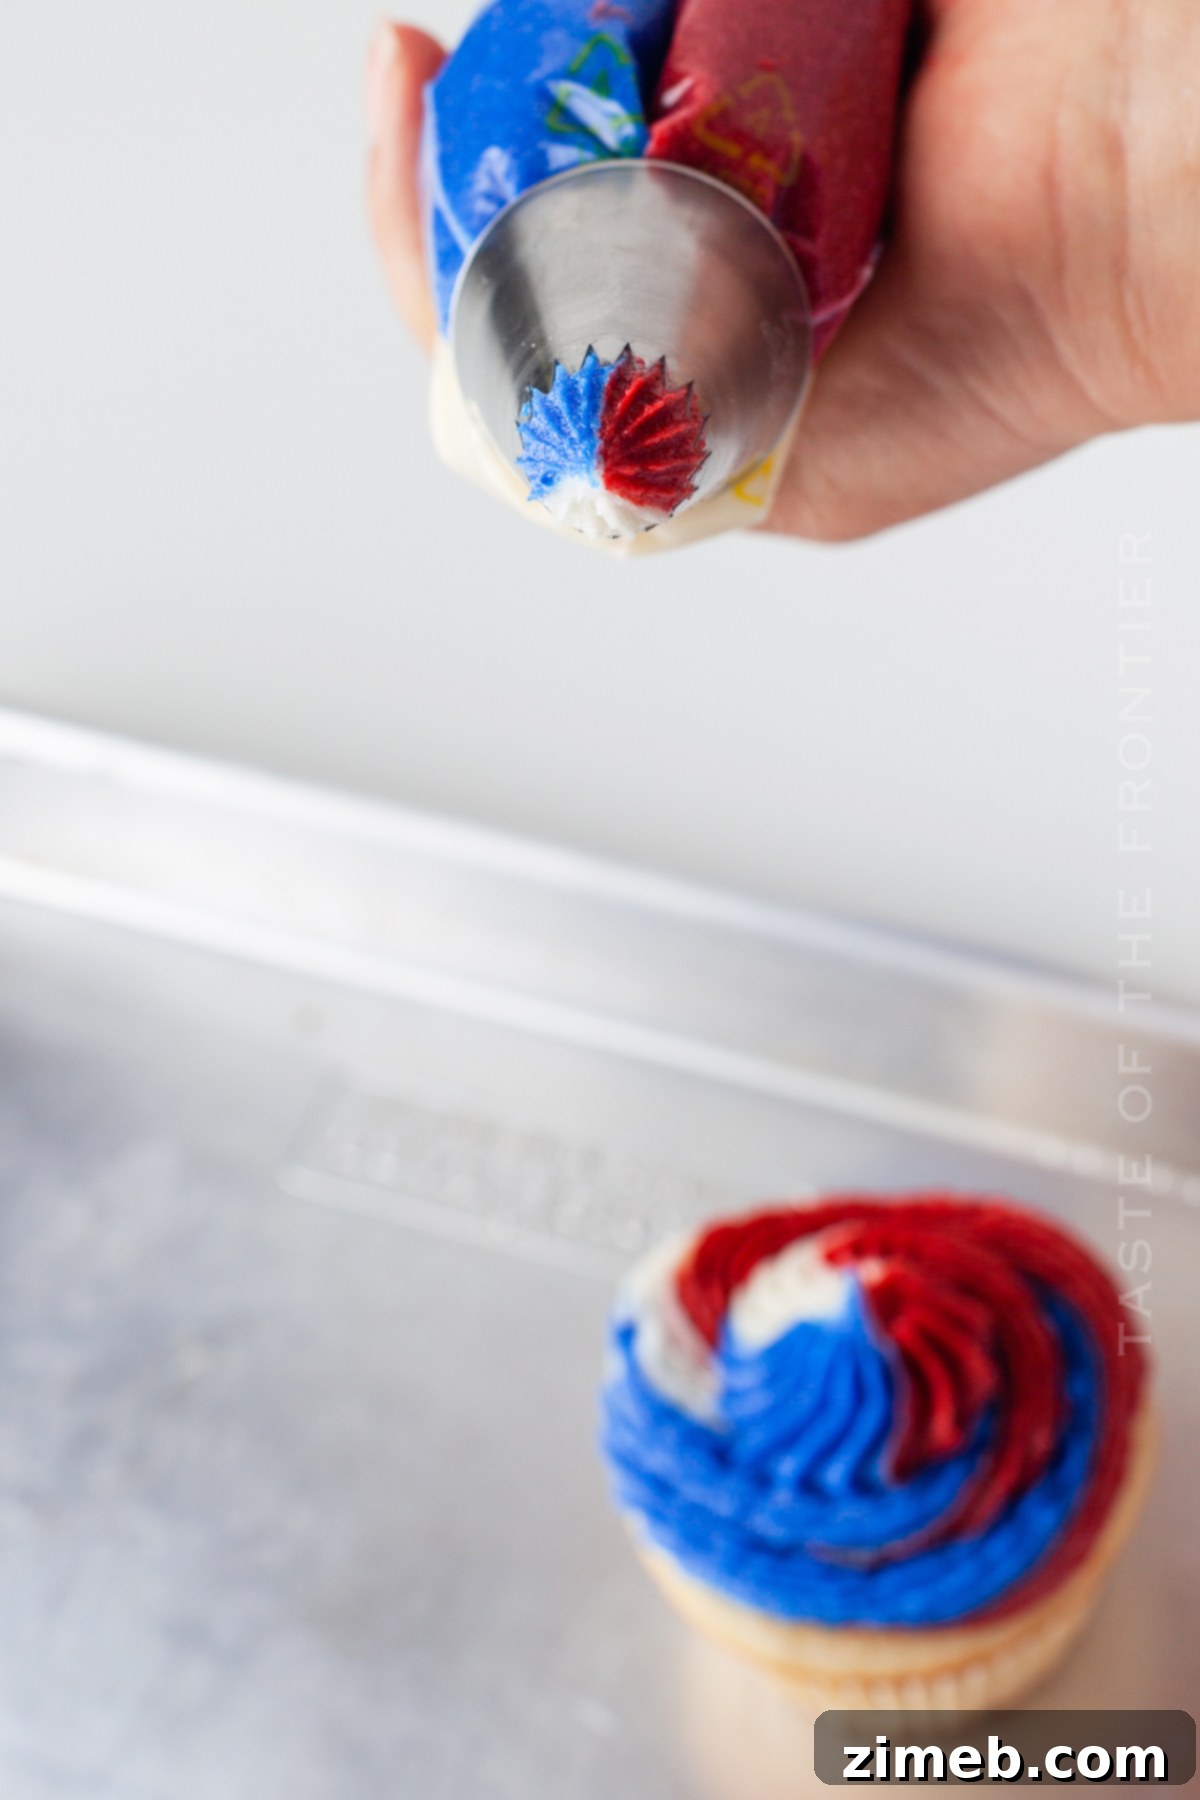
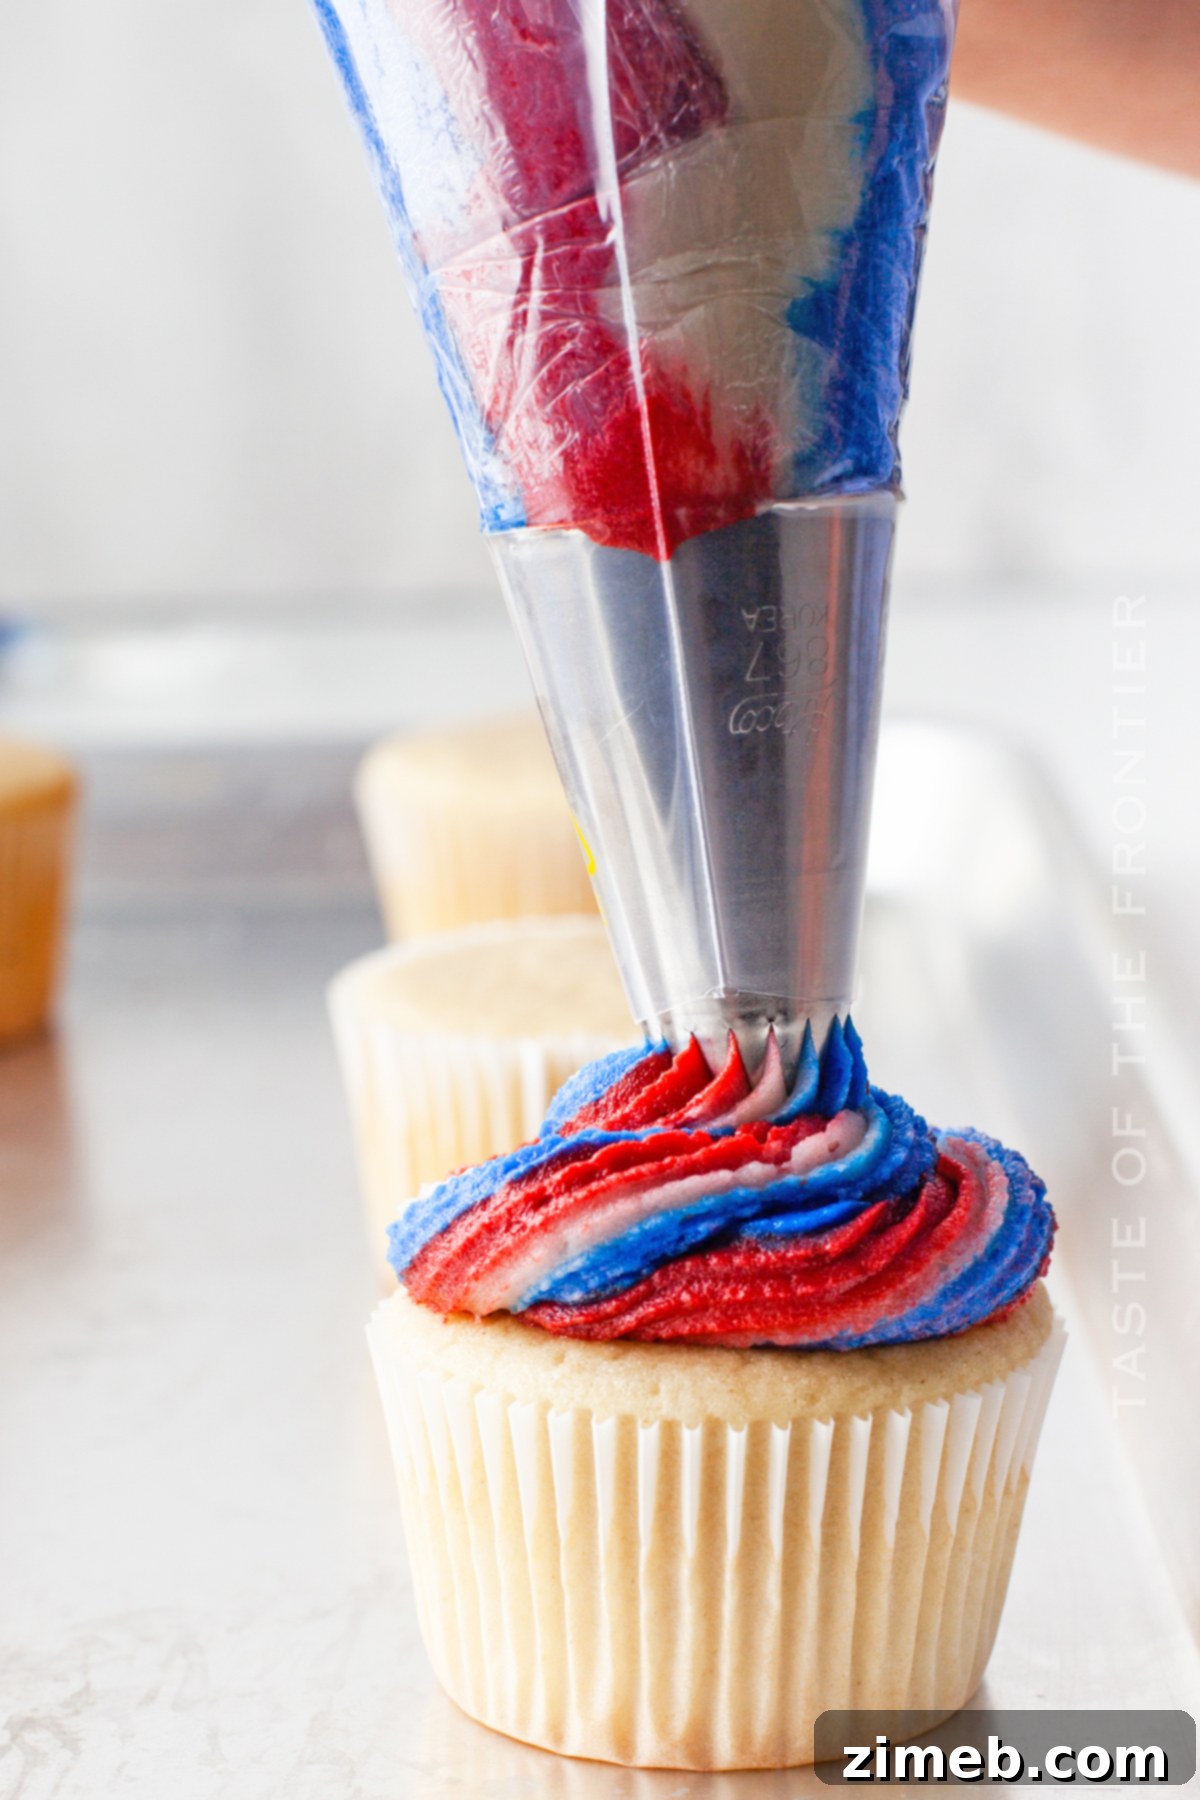
- Snip off one of the tied ends of the plastic wrap cylinder. Place this cut end into the tip of another piping bag that already has your chosen decorating tip (like a #1M star tip) in place. This clever method allows your icing to emerge in a beautiful, distinct three-color swirl without the colors smudging together inside the bag.
- Begin by piping a small, quarter-sized round dollop of frosting directly in the center of your cooled cupcake, moving straight up and down. Do not swirl this initial dollop. This acts as a sturdy base and support for the center of your main swirl, preventing it from sinking.
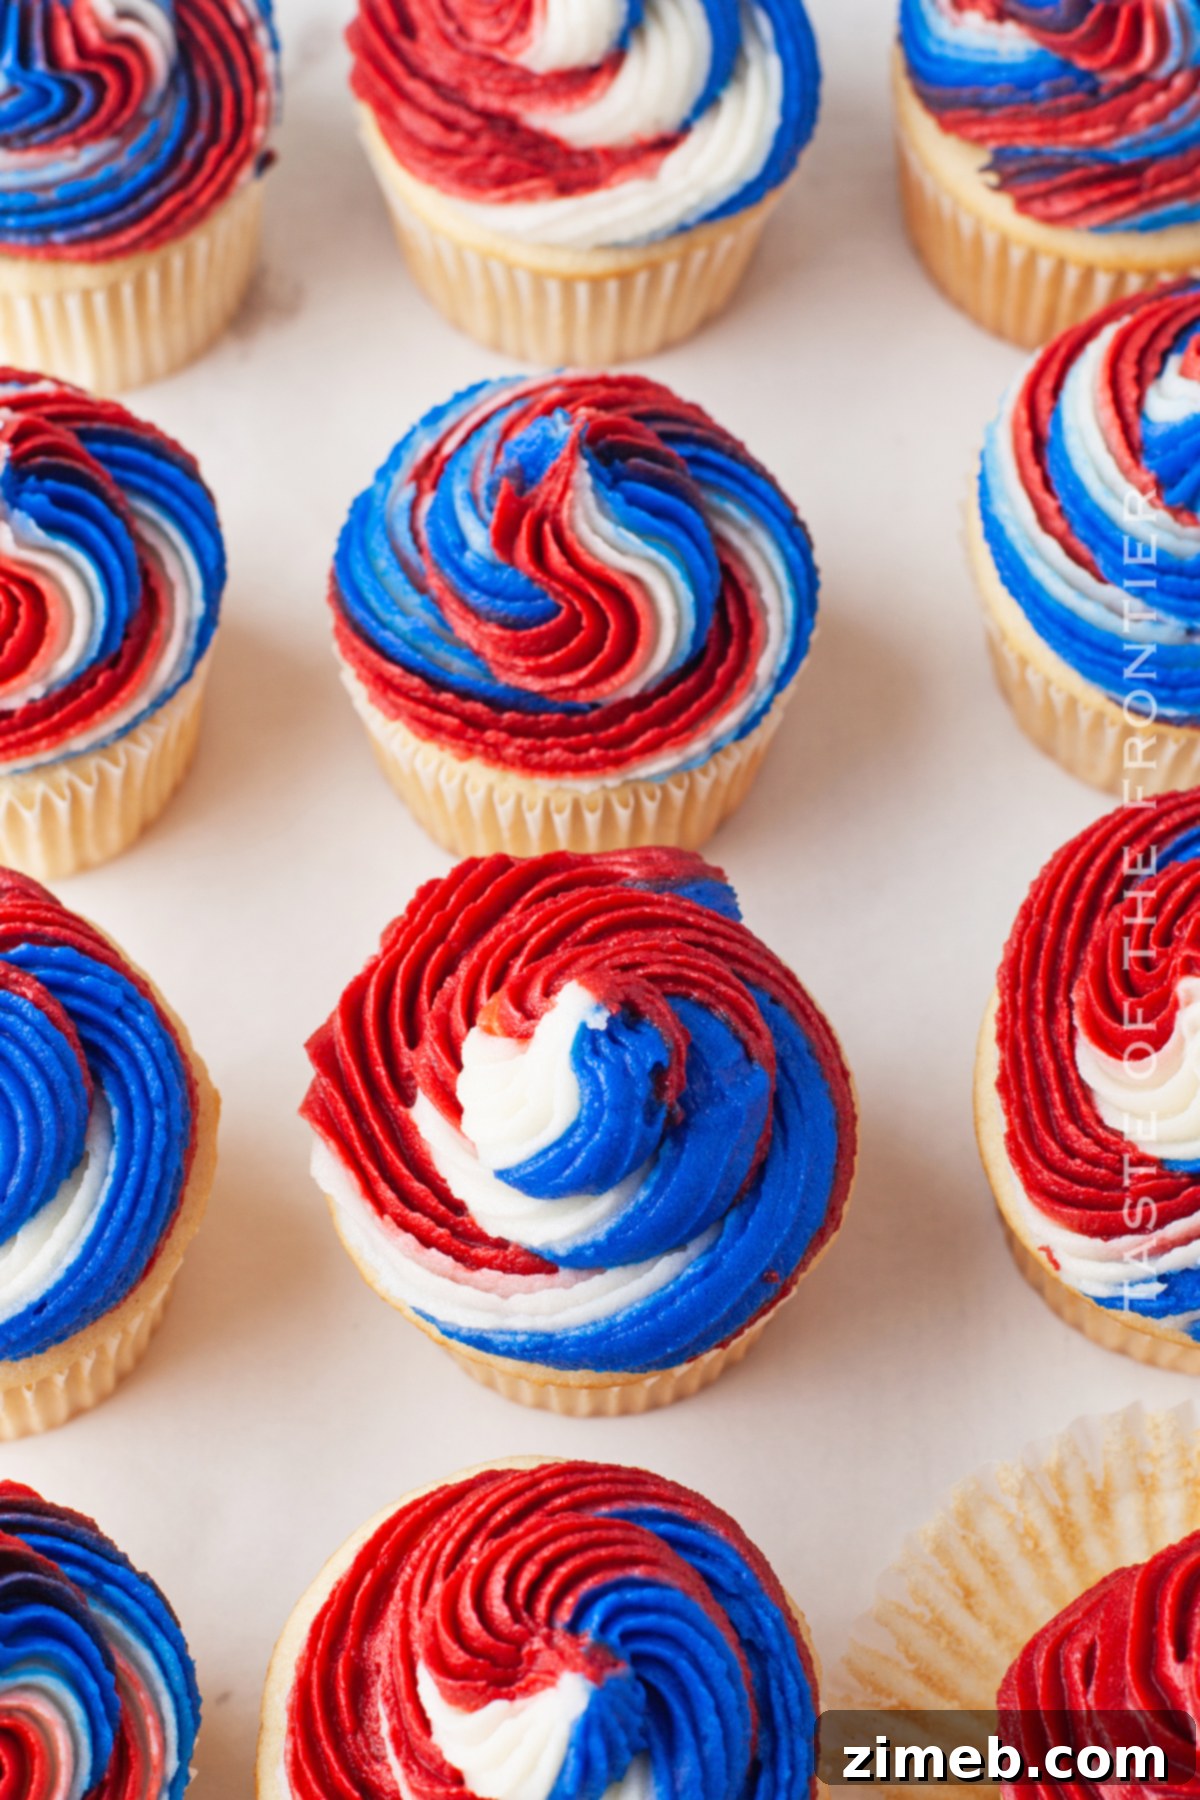
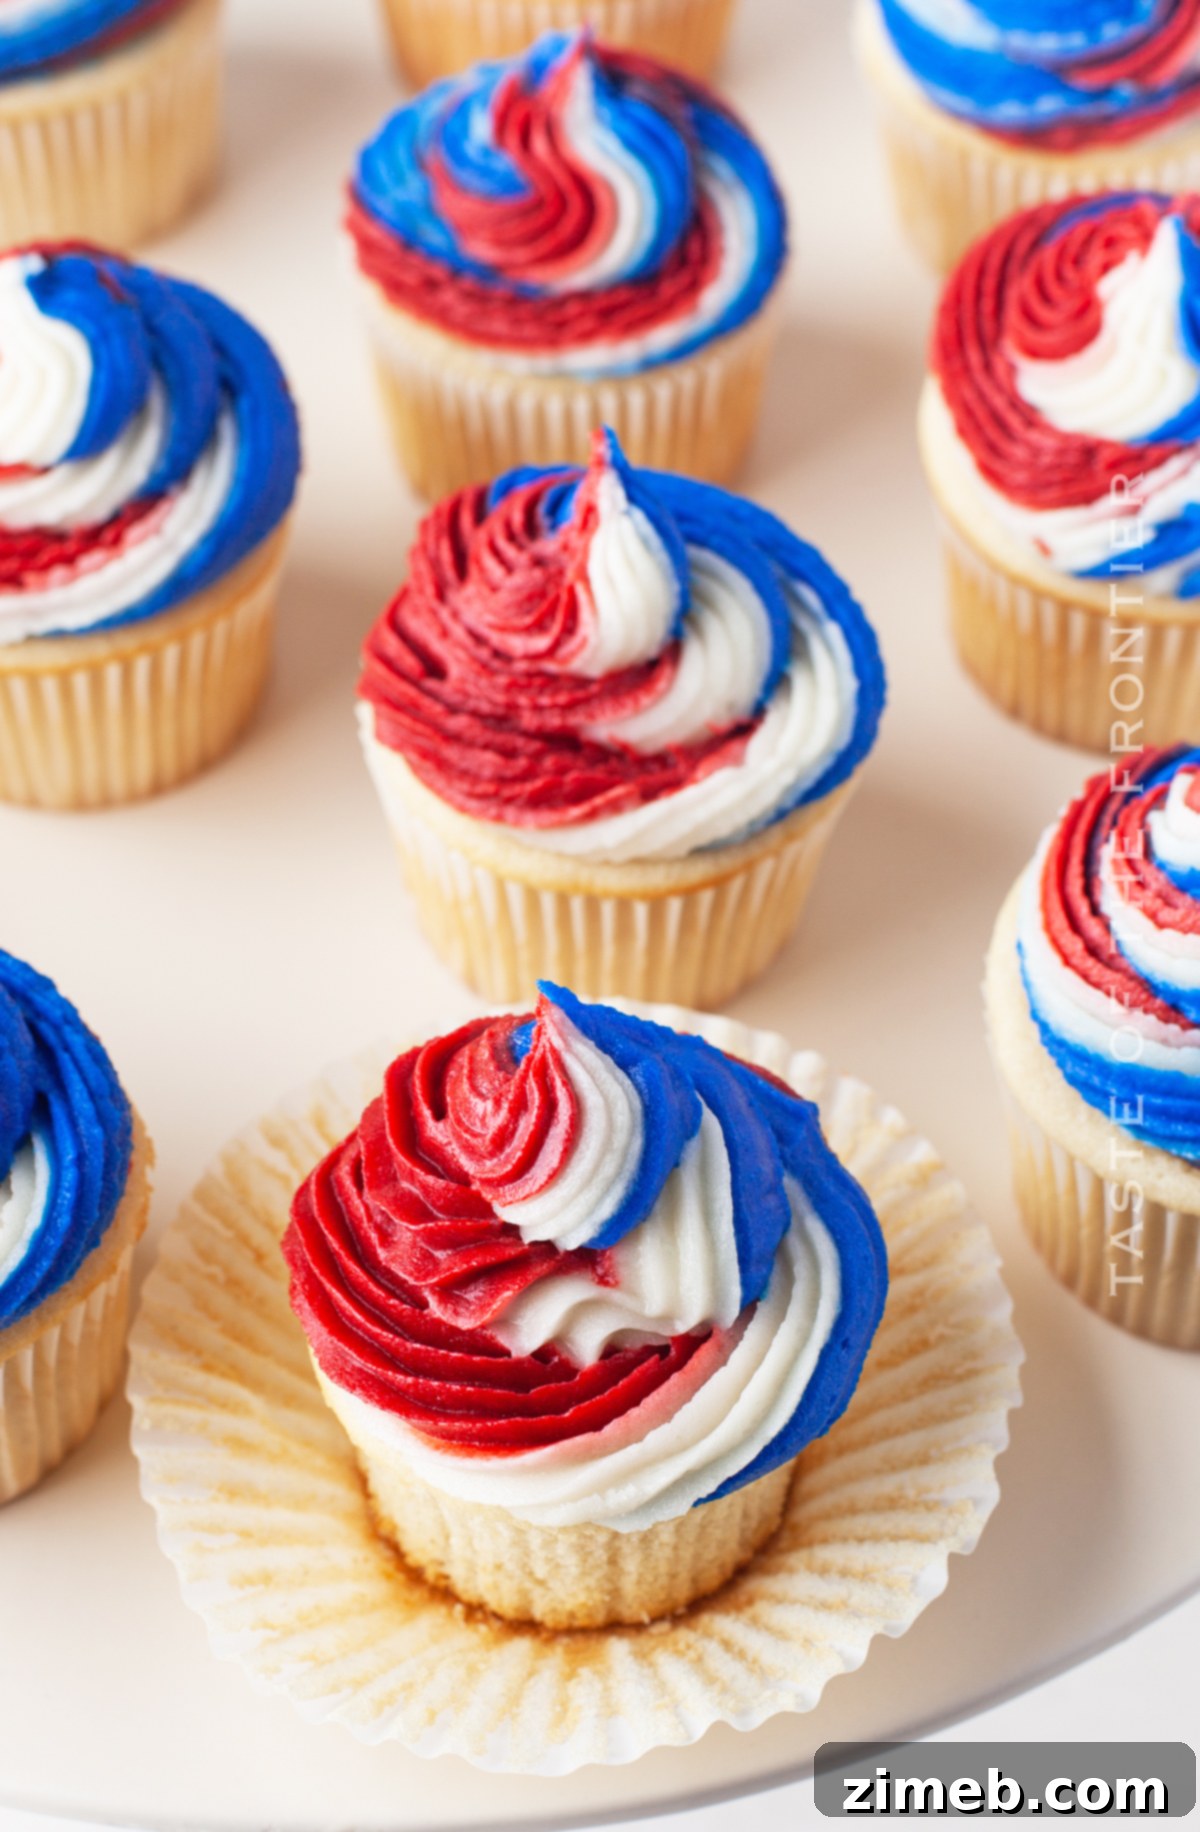
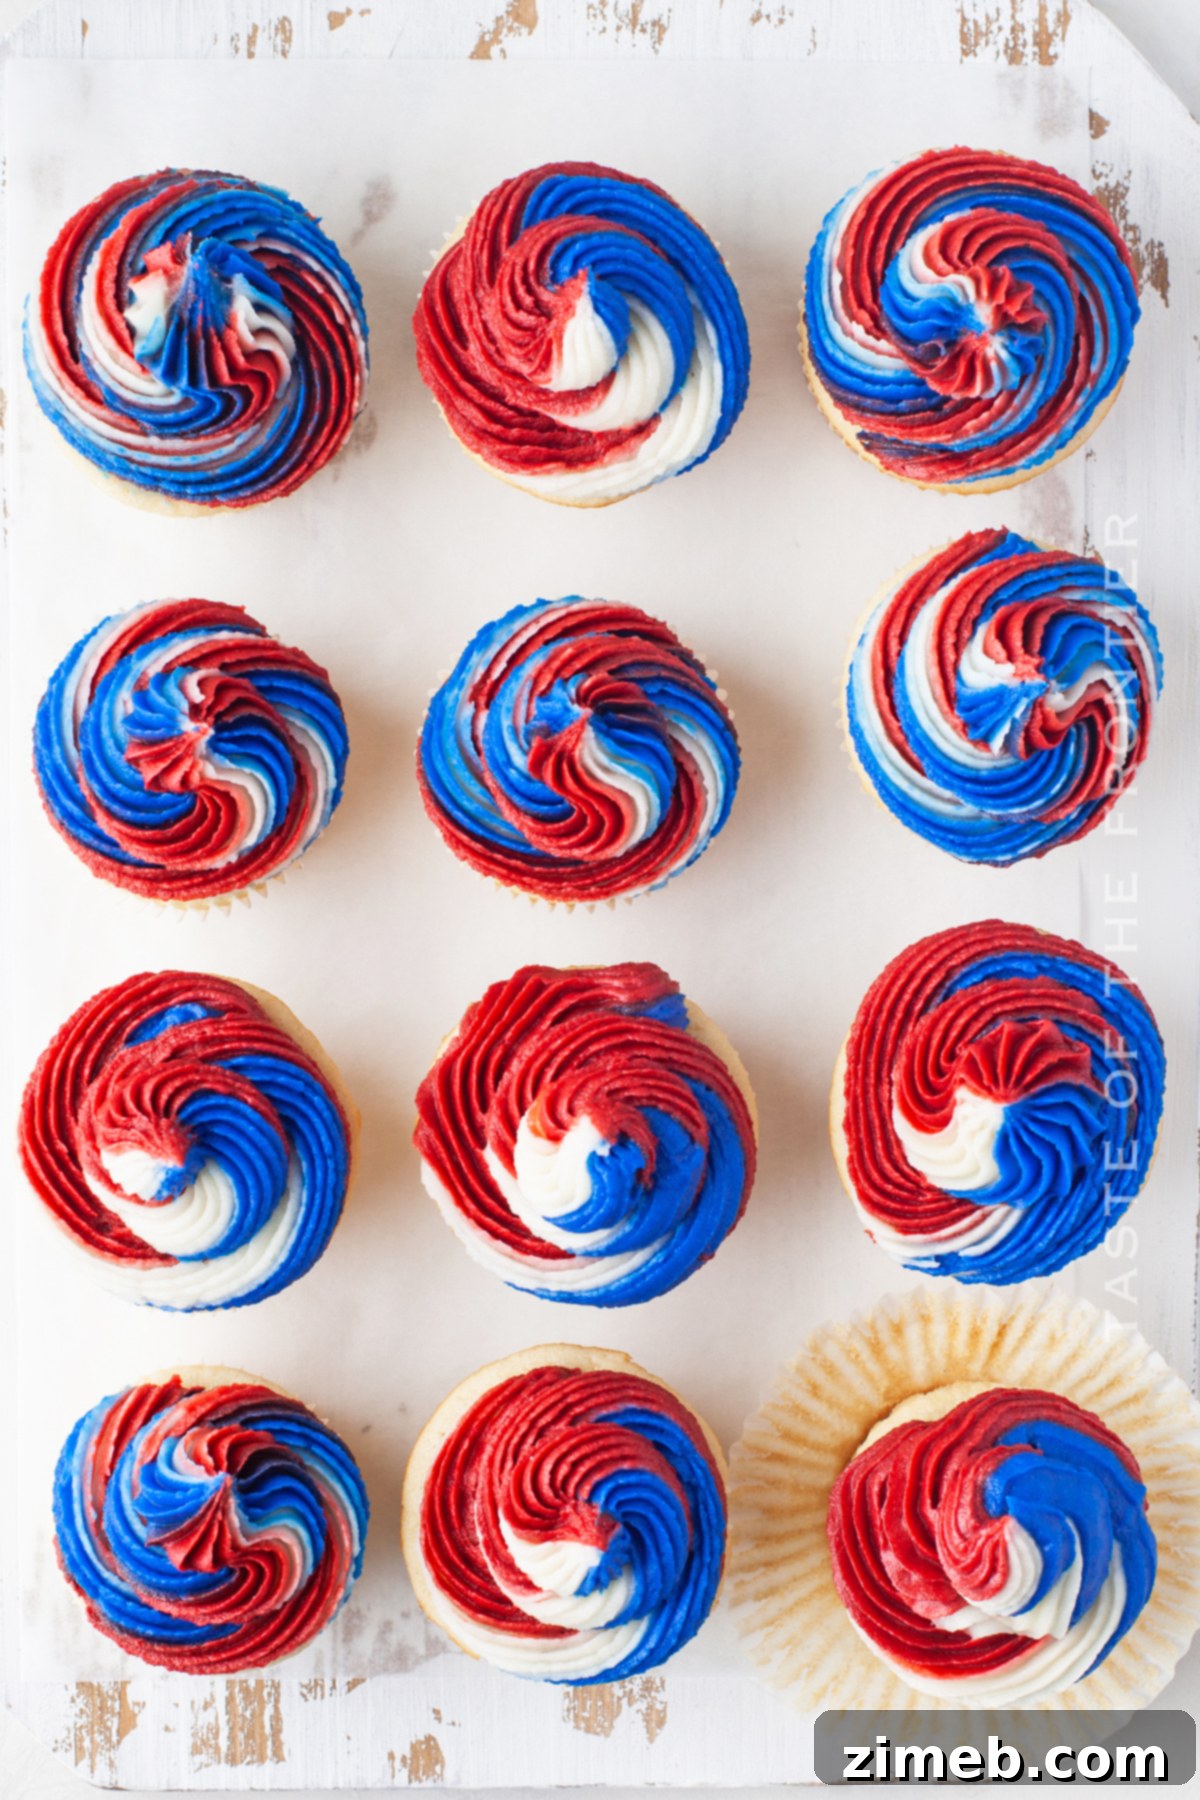
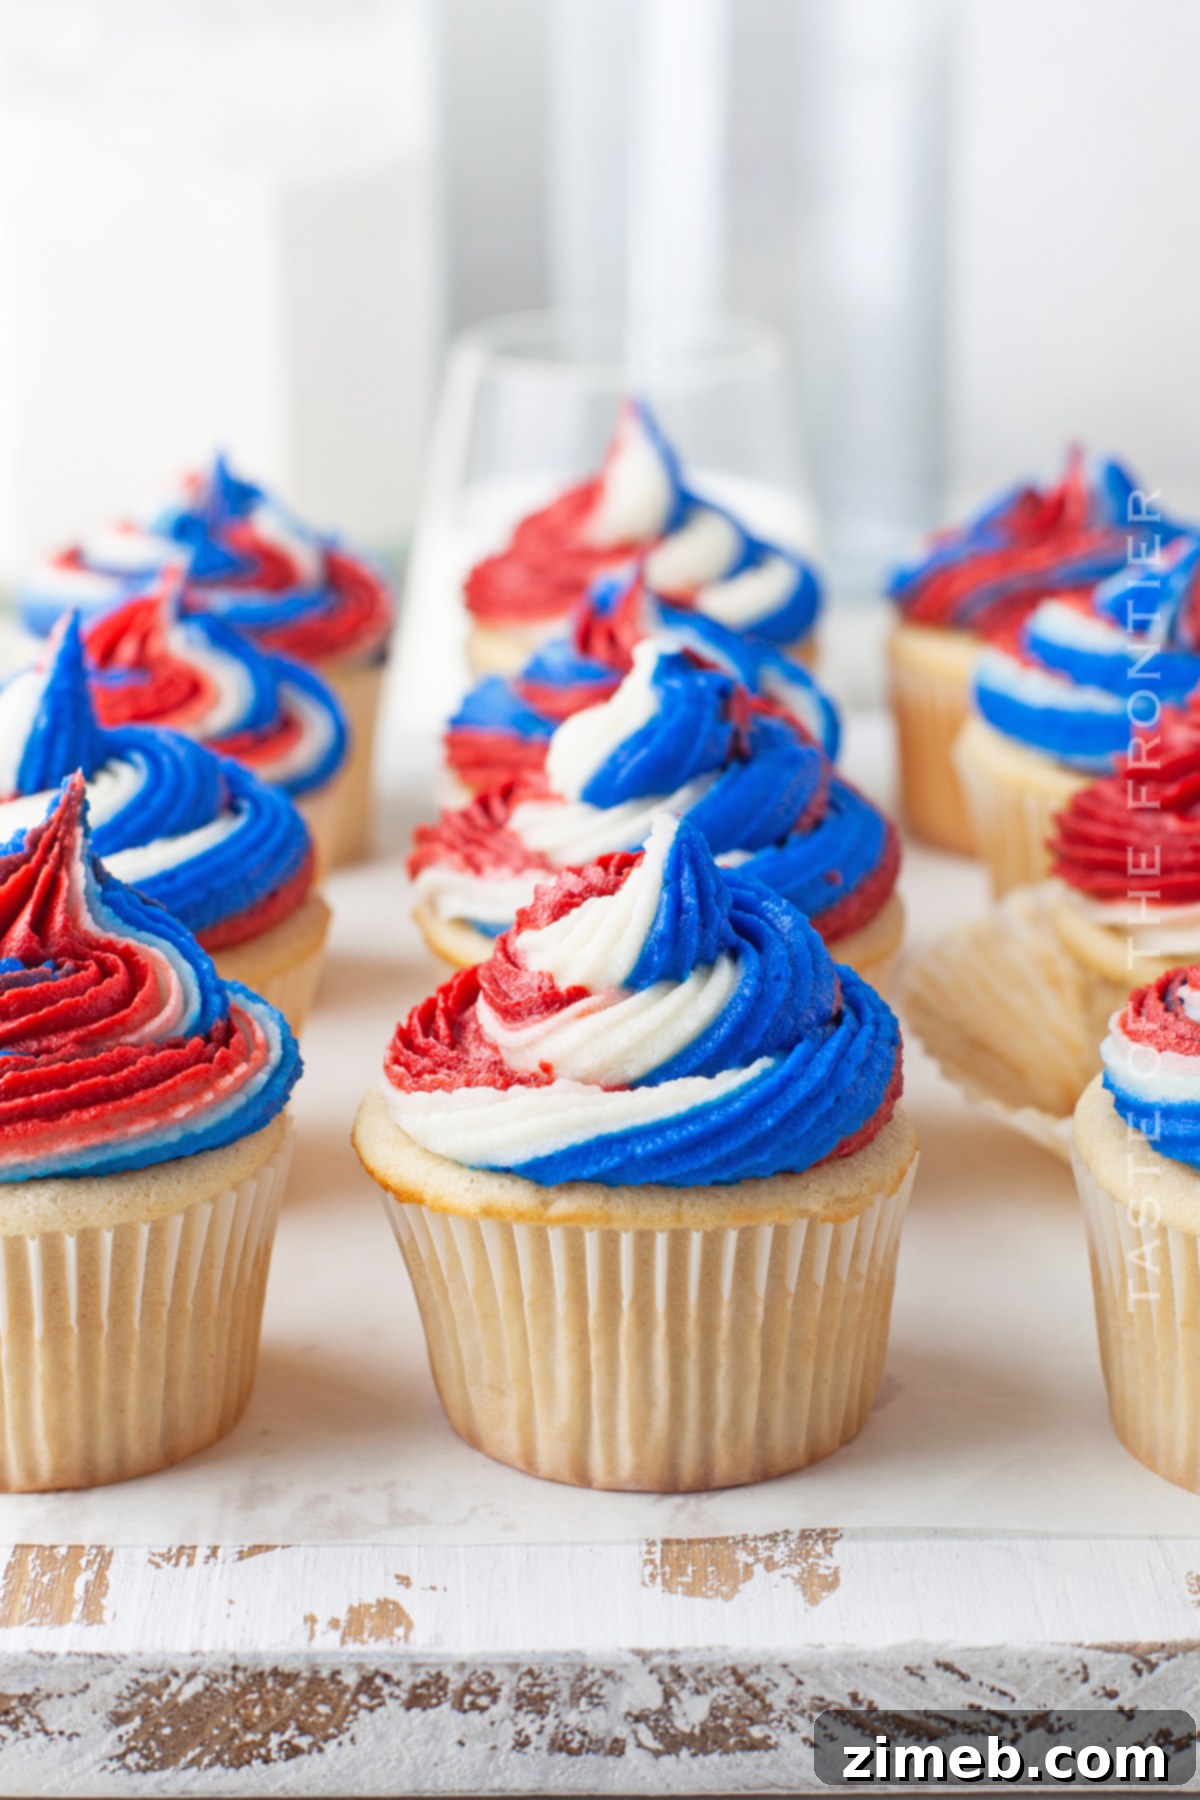
- Finally, starting from the outside edge of the cupcake and working inwards, pipe a large, continuous swirl around the central dollop of frosting. Wrap the colorful swirl around the center for a visually stunning and perfectly patriotic finish on each cupcake.
How Do I Store Buttercream Frosting?
Properly made buttercream frosting can be a lifesaver for advance preparation. Store any leftover or prepared buttercream frosting in an airtight container in the refrigerator for up to two weeks. When you’re ready to use it, simply take it out of the fridge and let it come to room temperature. You might need to re-whip it for a minute or two with a mixer to restore its fluffy, pipeable consistency.
Discover More Patriotic Holiday Treats!
If you’re already inspired by these delightful cupcakes, be sure to explore more festive recipes perfect for Memorial Day, Fourth of July, and all your summer gatherings. These treats will add even more red, white, and blue charm to your celebrations:
- Patriotic Mini Cheesecakes: Bite-sized delights that are as charming as they are delicious.
- Free Printable Patriotic Temporary Tattoos: A fun, non-edible way to show your spirit!
- 1776 Patriotic T-Shirt Tutorial: Get crafty with a festive DIY project.
- Patriotic Cake Mix Cookies: Super easy and quick cookies using a simple cake mix base.
- Patriotic Chocolate Chip Skillet Cookie: A giant, shareable cookie for a crowd.
Can I Freeze Buttercream Frosting?
Yes, you can absolutely freeze buttercream frosting! This is a fantastic way to prepare ahead or save leftovers. Simply place the buttercream in an airtight, freezer-safe container and store it in the freezer for up to three months. When you’re ready to use it, transfer the container to the refrigerator and let it thaw overnight. Once thawed, give it a good whip with your stand mixer or hand mixer to restore its smooth and fluffy texture before piping.
Essential Products for Your 4th of July Cupcakes Journey
This cupcake recipe is incredibly easy and yields absolutely delicious results! If you’re anything like me, you might already have most of these items on hand. Or perhaps you’re venturing into homemade cupcakes for the first time and feel a little nervous – rest assured, you’re going to love them! I’ve curated a list below of the must-have tools and ingredients that I simply can’t bake without when creating this fantastic cupcake recipe.
- Clear vanilla extract: Crucial for maintaining true white frosting colors.
- Cupcake wrappers: For easy baking and presentation.
- Stand mixer: A true game-changer for effortless creaming and whipping.
Optional Decorations to Elevate Your Cupcakes
- Plastic decorator bags: For clean and easy piping.
- #1M decorator tip: A classic for beautiful swirls, or choose your favorite tip for unique designs.
If you love this easy patriotic cupcake recipe, you’re going to adore these other festive patriotic recipes too. Click each link below to find the easy, printable recipe and continue your holiday baking adventure!
Patriotic Pinwheel Cookies
Patriotic Pinwheel Cookies are the perfect dessert for the 4th of July, Memorial Day or just to celebrate all things red, white, and blue. Their striking swirl design makes them a delightful visual treat as well as a delicious one!
Check out this recipe
Patriotic M&M’s Cookie Bars
Patriotic M&M’s Cookie Bars are the perfect quick and easy treat to serve at all your Memorial Day, 4th of July or any patriotic holiday celebration. These chewy bars are packed with colorful candies!
Check out this recipe
July 4th Rice Krispie Treats
We all scream for these easy-to-make July 4th Rice Krispie Treats. This classic childhood favorite gets a patriotic makeover, making it the perfect treat to celebrate our nation’s independence with!
Check out this recipe
Patriotic Cookie Dough Brownie Bars
Patriotic Cookie Dough Brownie Bars are thick and fudgy brownies topped with edible cookie dough & patriotic M&M’s for a super delicious holiday treat. A truly indulgent layered dessert!
Check out this recipe
Chewy Patriotic Brownie Cookies
Chewy Patriotic Brownie Cookies are a soft & fudgy cookie recipe that will satisfy any brownie lover out there. Loaded with chocolate chips & patriotic M&M’s, these will be the hit at all your summer parties.
Check out this recipe
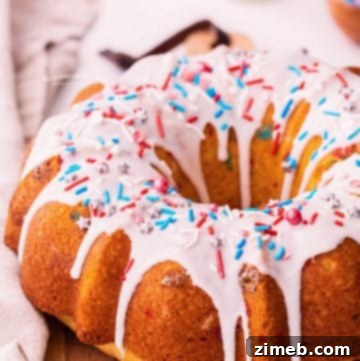
4th of July Cake
This stunning 4th of July Cake is the perfect dessert to enjoy while celebrating Independence Day. This funfetti-style bundt cake is so easy to make and incredibly delicious, a guaranteed crowd-pleaser!
Check out this recipe
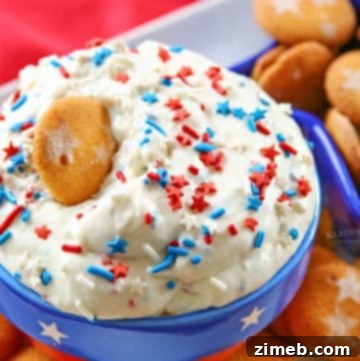
Patriotic Cake Batter Dip
Kick off your holiday with a bang & serve this Patriotic Cake Batter Dip at your 4th of July celebration. Simple & easy to make, it’s absolutely perfect when paired with NILLA Wafers. YUM!
Check out this recipe
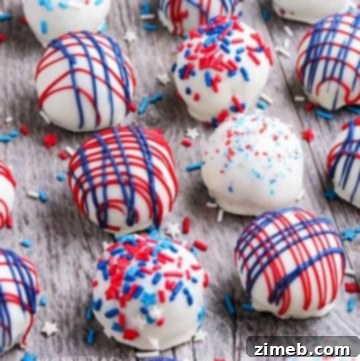
4th of July Truffles
Celebrate with these delicious no-bake 4th of July Truffles. Easy to make with chocolate Oreo truffles and adorned with festive red, white, and blue chocolate decorations!
Check out this recipe
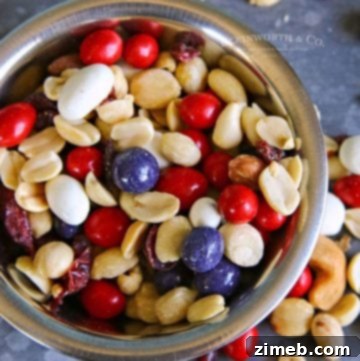
Patriotic Trail Mix Recipe
Patriotic Trail Mix Recipe is the perfect snack for all your holiday celebrations. Great for Memorial Day or 4th of July parties. This salty-sweet grub is a favorite to eat during all the patriotic family events like parades & fireworks too.
Check out this recipe
4th of July Cupcakes
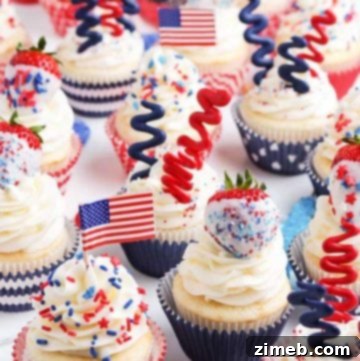
This year celebrate Independence Day with these deliciously adorable 4th of July Cupcakes with homemade candy melt sparklers! They are also great served for Memorial Day, Flag Day, and Labor Day!
Check out this recipe
If you love this easy patriotic cupcake recipe for Red, White, and Blue Cupcakes as much as I do, please take a moment to write a five-star review below. Your feedback helps immensely! Also, be sure to help me share this delightful recipe with your friends and family on Facebook and Pinterest!
CONNECT WITH YUMMI HAUS!
Be sure to follow me on my social media channels, so you never miss a delicious post or a baking tip!
Substack, Facebook, Pinterest, Instagram, Email Subscription
Rate this Recipe
Red, White, and Blue Cupcakes
Whether you’re hosting a Fourth of July barbecue or a Memorial Day picnic, these Red White, and Blue Cupcakes are sure to be a hit.
Pin Recipe
Ingredients
Cupcakes
- 9 tablespoons butter – softened (130 g)
- ¾ cup granulated sugar and 1½ tablespoons extra for the egg whites
- ¼ cup white chocolate
- 2 cups all-purpose flour
- 1 teaspoon baking powder
- ¼ teaspoon baking soda
- 1 cup PLUS 1 tablespoon milk
- 1 teaspoon vanilla extract
- 3 egg whites
Buttercream
- 5½ cups confectioner’s sugar – sifted (800 grams)
- 2 cups butter – softened (400 grams)
- 1 teaspoon vanilla extract
- 2 tablespoons whipping cream
- Food coloring of your choice (This recipe is made with red and blue)
Instructions
Cupcakes
- Preheat the oven to 350 degrees F. Place cupcake papers in a cupcake pan. – Set aside.
- In a stand mixer, cream the butter with all but 1 ½ tablespoons of the sugar until fluffy.
- Place the white chocolate in the microwave at 20 second intervals until completely melted. Make sure not to burn. If you have a high watt microwave, use 50% power so you don’t seize the chocolate.
- Add the white chocolate to the sugar mixture.
- Add the sifted flour, baking powder, and baking soda, alternating with the milk and vanilla. Mix until combined. Be careful to not over mix.
- In another bowl, whisk the egg whites until they are light and fluffy.
- Add in the 1 ½ tablespoons of reserved granulated sugar, little by little.
- Once the egg whites form peaks, fold them into the cupcake mixture.
- Distribute the batter evenly into cupcake liners, filling each liner about ⅔ of the way up.
- Bake for 19 – 20 minutes at 350 or until you the toothpick test comes out clean or they spring back when gently pressed in the center.
- Make sure your cupcakes are completely cooled before adding the icing. If not the frosting can melt.
Buttercream
- Using a stand mixer, cream the butter until light and fluffy.
- Add in the sifted confectioner’s sugar, little by little, alternating with the vanilla and whipping cream.
- Mix until fluffy and then divide into three separate bowls. Distribute evenly, I would suggest using a kitchen scale.
- Add in the food coloring to 2 of the bowls and mix until the color is even throughout all the buttercream. Reserve the 3rd for the white.
- Transfer each color into a piping bag.
Decorating
- Take a piece of plastic wrap and lay it on your counter.
- Then take the blue color piping bag and spread a line over the plastic wrap. The line should measure approximately the length of your piping bag. It should fit into the bag and fill it almost completely in length. Repeat once again on top so you have a line that is double the thickness.
- Continue doing the same thing for the red color, then the white, and repeat each color once more until there are two blue lines, two white, and two red.
- Roll one edge in until it touches the last color which should be white. At the end, the blue touches the white color. This will give you the shape of a cylinder.
- Tie up the ends.
- Cut one of the ends and place that part into the tip of another piping bag with your decorating tip already in place. This way your swirl of icing will be three colors and the colors won’t smudge together.
- Pipe a quarter-sized round of frosting in the center of the cupcake- going straight up and down. Don’t swirl just yet. This will be the support for the center of the swirl you are about to make so the center doesn’t sink.
- Then add a large swirl onto each cupcake around the frosting you just added, from the outside inwards, wrapping around the center dollop for a nice colorful swirl.
Equipment
- 1 Stand mixer
- 2 cupcake pan
- 4 piping bag with tip
Nutritional information for the recipe is provided as a courtesy and is approximate. Please double-check with your own dietary calculator for the best accuracy. We at Yummi Haus cannot guarantee the accuracy of the nutritional information given for any recipe on this site.
Love this recipe?
Follow @KleinworthCo for even more tasty recipes!