
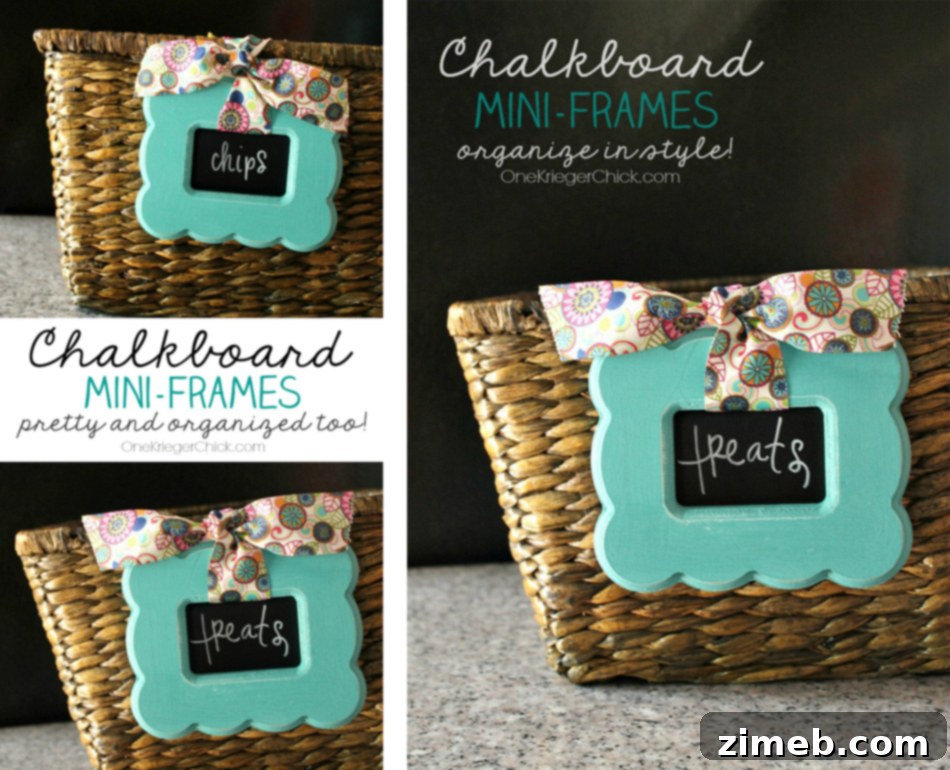
Hello, fellow home decor enthusiasts and organization aficionados! We are absolutely thrilled to bring you a truly charming and practical DIY project today, one that promises to transform your living spaces with both functionality and style. We are incredibly excited to welcome our dear friend, Ariean from OneKriegerChick, who is here to share her ingenious idea for creating adorable and highly versatile Chalkboard Mini Frames. These little gems are not only perfect for bringing a touch of personalized organization to any room but also perfectly align with current home decor trends, especially with their rustic-chic appeal. It’s as if Ariean knew exactly what many of us needed to add a refreshed and organized touch to our homes, delivering a wonderful dose of inspiration that’s both easy to achieve and incredibly impactful. A huge thank you to Ariean for sharing her creativity and vision with us! Get ready to dive into this really fun and rewarding project that will elevate your home organization game.
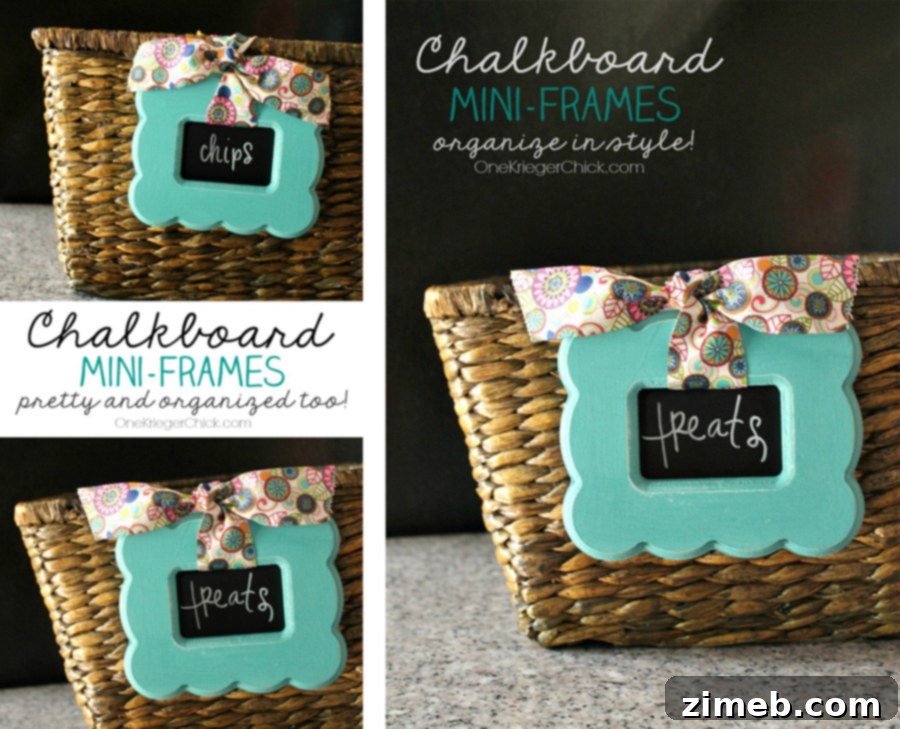
Hi everyone! It’s Ariean here from OneKriegerChick, and I’m delighted to share a simple yet incredibly effective way to infuse personality and order into your home. Today, we’re tackling the often-overlooked challenge of anonymous storage. I’ll show you how I took some utterly mundane, uninspired storage baskets and gave them a delightful, practical, and aesthetically pleasing update using these customizable Chalkboard Mini Frames. This project is a fantastic blend of DIY crafting and smart home organization, proving that even the most functional items can be beautiful. By adding these charming labels, you can effortlessly identify contents, reduce visual clutter, and add a bespoke touch to your decor. Let’s transform those boring baskets into stylish and functional pieces!
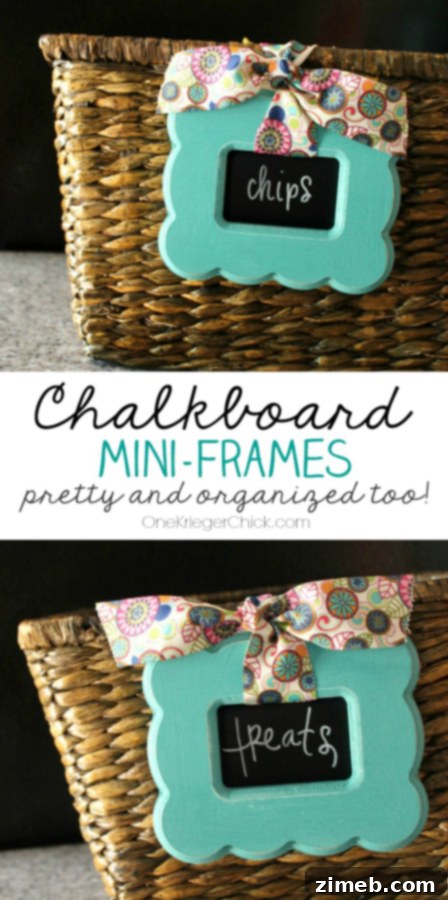
For quite some time, I had a pair of plain, rather uninspiring baskets residing on top of my fridge. While they served a purpose, they lacked any distinguishing features, making them a source of minor frustration. One basket reliably held our family’s supply of chips and pretzels, while the other was the designated hiding spot for various treats – usually leftover candy I wanted to keep out of immediate reach of little hands. The problem was, only I possessed the secret knowledge of which basket contained what. This meant constant peeking, guesswork, or the occasional accidental snack choice. Beyond their lack of clear identification, these baskets were simply boring. Their neutral, unpainted surfaces offered no visual interest and certainly didn’t contribute to the overall aesthetic of my kitchen. They were functional but entirely devoid of charm and in desperate need of a splash of color and some clear labeling to make them truly useful and visually appealing.
My vision was to transform these drab containers into something vibrant and stylish, giving them a new lease on life. The first step in this revitalization process was painting. I began by applying a clean, even coat of white paint to each basket. This served as an excellent primer, creating a uniform base and ensuring that the subsequent color would truly pop. Once the white coat was thoroughly dry, I moved on to the star of the show: a beautiful turquoise chalk paint. I applied a generous and even layer of this charming color, allowing its velvety matte finish to completely transform the baskets’ appearance. Chalk paint is wonderful for its ability to adhere to various surfaces with minimal prep and for its distinctive, slightly distressed look, which I intended to enhance further. To achieve that coveted shabby-chic, well-loved aesthetic, I carefully sanded the edges of the baskets with fine-grit sandpaper. This technique gently removed small amounts of paint from prominent areas, revealing hints of the white undercoat and the original basket material beneath, adding depth and character. Finally, to seal the paint, protect the finish, and truly bring out the rich turquoise color and textural nuances, I applied a coat of clear wax. Buffing the wax after application imparted a subtle sheen and a durable finish, ensuring my newly vibrant baskets would withstand daily use while looking absolutely stunning.
Crafting Your Chalkboard Mini Frames: A Step-by-Step Guide
With the baskets beautifully refreshed, the next exciting phase was to create the functional and decorative chalkboard labels. This step brings the “mini frames” concept to life, providing that essential element of clear, changeable identification. First, I carefully cut a section of chalkboard vinyl to fit the back of each mini frame. Chalkboard vinyl is a fantastic material for this purpose; it’s self-adhesive, durable, and creates a perfect erasable surface. If you don’t have chalkboard vinyl readily available, don’t worry! A simple and equally effective alternative is to take a piece of heavyweight paper or thin cardboard and paint it with chalkboard paint. Just make sure to allow adequate drying and curing time for the paint before proceeding to ensure it’s fully functional as a chalkboard surface. Once your chalkboard material is ready, tape it securely to the back of the frame using a strong adhesive tape, such as duct tape or strong craft tape. It’s crucial to only tape the sides and the bottom edges of the vinyl or painted cardboard. The very top edge needs to remain open and untaped for the next, equally important step in our assembly process.
Now, let’s add that charming ribbon element that not only allows the frame to hang but also adds a lovely decorative touch.
Run a length of your chosen ribbon through the top opening of the frame. This is precisely why we left the top edge of the chalkboard vinyl untaped – to create a channel for the ribbon to pass through smoothly and securely. You can thread the ribbon from the front, over the top of the chalkboard insert, and out through the back, or vice versa, creating a loop that will serve as the hanger for your label. Choose a ribbon color and texture that complements your newly painted baskets or the overall decor of your space. A simple twine offers a rustic feel, while a satin ribbon can add a touch of elegance.
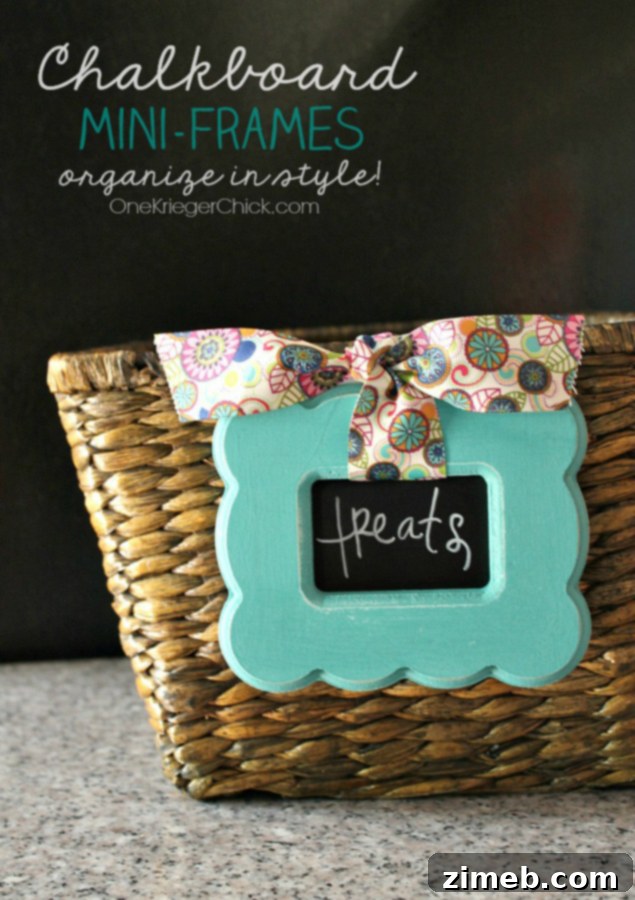
Finally, it’s time for the creative part: adding your labels! This is where your Chalkboard Mini Frames truly become personalized and practical. You can use a traditional piece of chalk or, for a more permanent and vibrant finish, a chalkboard marker. An excellent tip for achieving neat and attractive lettering is to first sketch out your label with regular chalk. This allows you to experiment with different fonts, sizes, and layouts without commitment. If you make a mistake or want to try a different style, simply wipe it away and start fresh. Once you’re happy with your chalk design, carefully trace over it with your chalkboard marker. This provides a crisp, defined, and long-lasting label that resists smudging better than regular chalk. Of course, this step can actually be done before taping the vinyl to the frame if you find it easier to work on a flat surface – it’s entirely up to your preference and what feels most comfortable for your crafting style. With the labels now clearly displayed, my baskets are not only beautiful but also perfectly organized, eliminating any confusion about their contents.
And there you have it! What started as a couple of plain, anonymous storage baskets has been transformed into a set of pretty, organized, and clearly labeled containers. This simple DIY project brings both aesthetic appeal and practical functionality to my home, proving that a little creativity can go a long way in tidying up and beautifying your space. These chalkboard mini frames are endlessly versatile; you can change the labels as often as your storage needs evolve, making them a sustainable and smart organizational solution. No more guessing, just clear, charming labels that add a touch of handcrafted elegance to everyday items.
We hope this project inspires you to look at your own storage solutions with fresh eyes and consider how a few simple updates can make a significant difference. From drab to fab, these chalkboard mini frames offer a stylish way to keep your home tidy and visually appealing. If you’ve enjoyed this creative approach to home organization and want to explore more ways to streamline and beautify your living spaces, you’re in luck! Ariean from OneKriegerChick has a wealth of fantastic ideas that merge practicality with charming aesthetics. Here are a few more organizing ideas that she’s shared, perfect for tackling other common household challenges with a DIY spirit.
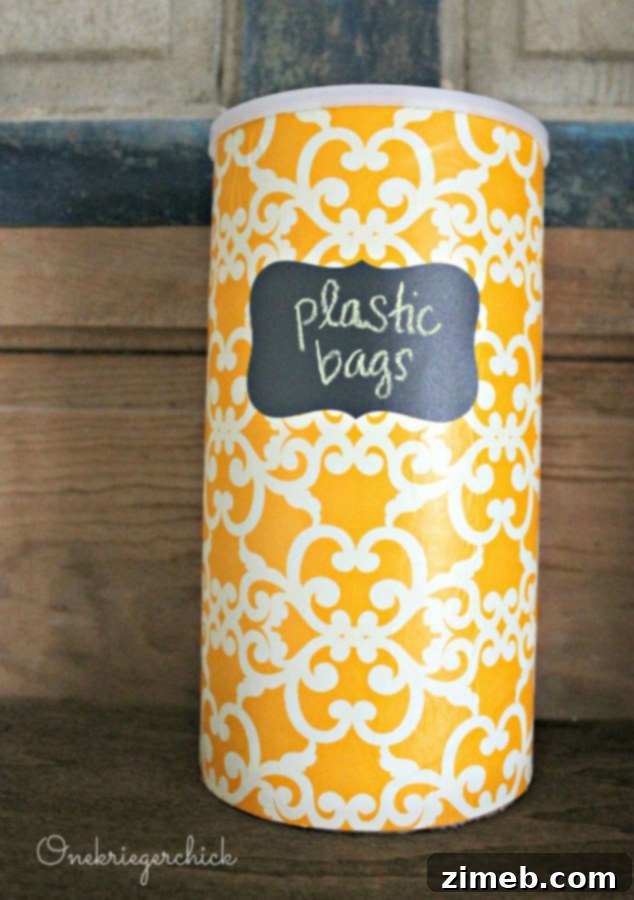
Looking for a clever way to keep those plastic grocery bags tidy and accessible? This brilliant transformation turns an everyday item into a functional storage solution. Learn how to repurpose an oatmeal canister into a discreet and organized holder for your plastic bags. It’s an eco-friendly and space-saving idea!
{Oatmeal Canister to Plastic Bag Storage}
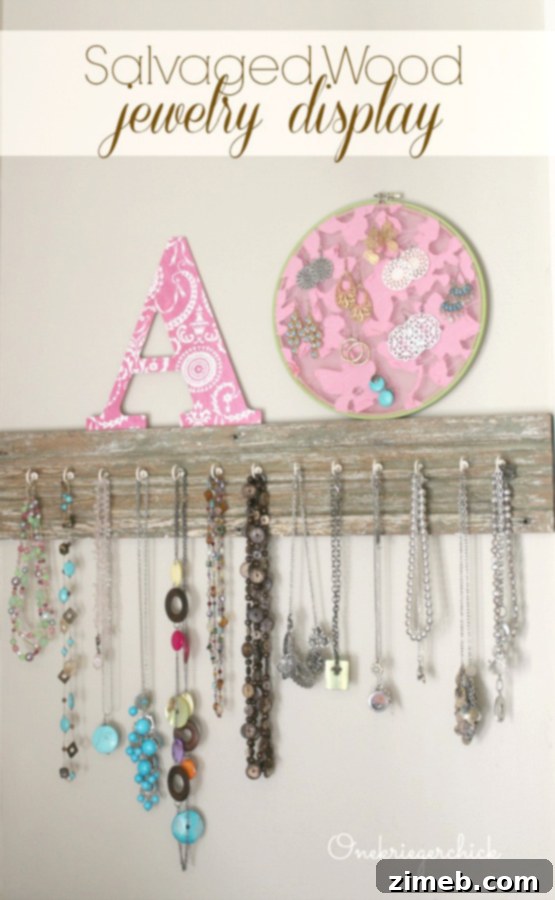
Tired of tangled necklaces and missing earrings? Discover how to create a stunning and functional jewelry display using salvaged wood. This project is not only incredibly easy but also adds a rustic, personalized touch to your bedroom or dressing area, keeping your precious accessories organized and beautifully showcased.
{Salvaged Wood Jewelry Display}
Want more great project ideas to spark your creativity and enhance your home?
If you’re eager for more inspiring DIY projects, home decor ideas, and clever organizational hacks, Ariean has even more to offer. Her passion for creating beautiful and functional items shines through in every tutorial. Explore these additional projects that cover everything from personalized apparel to charming home accents, proving that with a little effort, you can infuse your personality into every corner of your living space.

Coffee T-Shirt
Show your love for that morning brew with a custom-designed t-shirt! This fun project offers a printable design for a “But First… Coffee” tee, perfect for gifting or adding to your own wardrobe. It’s a simple way to create personalized apparel that reflects your personality and passion.
Summer Anchor Chalkboard Art
Bring a touch of coastal charm to your home with this beautiful Summer Anchor Chalkboard Art. This DIY piece is perfect for adding seasonal decor or a nautical theme to any room. Learn how to create stunning chalkboard lettering and imagery that can be customized to your taste.
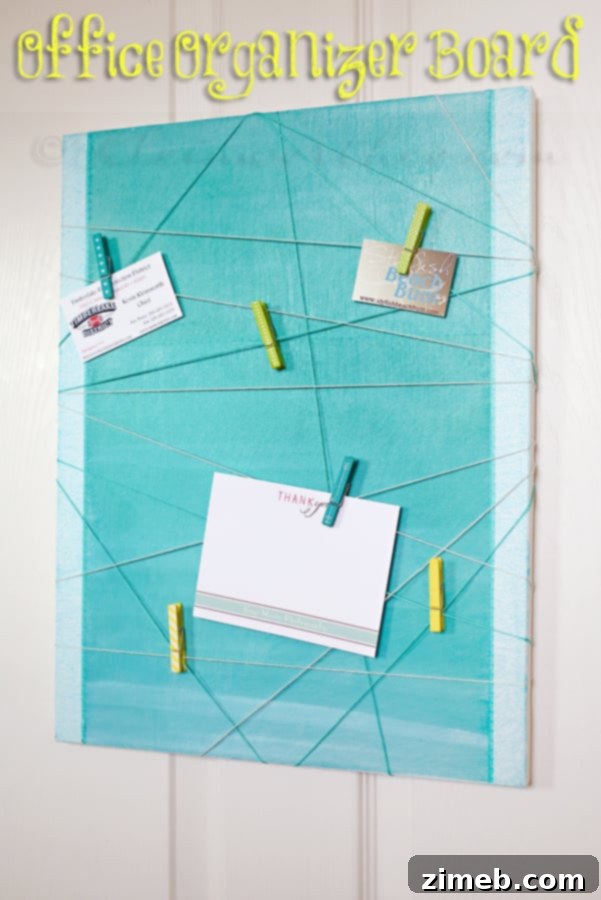
Office Organizer Board
Transform your workspace into a hub of productivity with a DIY Office Organizer Board. This project is essential for keeping your desk clutter-free and all your important notes and supplies neatly arranged. Customize it to fit your specific organizational needs and boost your efficiency in style.
To see where I am linking today- visit HERE