
Mastering Homemade Beef Tallow: A Comprehensive Guide to Rendering Beef Fat for Culinary and Skincare Excellence
Unlock the incredible versatility of homemade beef tallow and elevate your cooking and self-care routine. Forget about expensive store-bought versions filled with questionable additives; making your own pure, rich beef tallow is surprisingly simple, requiring just one ingredient, no special tools, and a few straightforward steps. This traditional fat, revered for centuries, offers a healthy and flavorful alternative to conventional oils and butter, bringing a depth of taste and nutritional benefits that modern cooking fats often lack.
Homemade beef tallow isn’t just a perfect substitute for oil in the kitchen; it’s a culinary cornerstone packed with essential fats and unparalleled flavor. This rendering technique harks back to an era long before hydrogenated vegetable shortenings and highly processed oils dominated the market. By transforming raw beef fat into golden, clarified tallow, you’re not only embracing a time-honored practice but also gaining access to a superior cooking medium and a nourishing ingredient for natural skincare.
Beyond its culinary prowess, the benefits of beef tallow extend to personal care. Imagine creating a luxuriously moisturizing body butter for your skin that is completely natural, free from synthetic chemicals, and surprisingly free of any discernible beefy or fatty aroma. Tallow is a natural wonder, brimming with skin-loving nutrients that can deeply hydrate and protect.
The process of rendering beef tallow is remarkably straightforward. Minimal prep work, often less than 5 minutes, is all that’s required before your oven takes over. The most critical step involves preparing sterile mason jars, ensuring your homemade tallow remains fresh and mold-free for extended storage. Even if this is your very first foray into rendering fat, rest assured: this guide simplifies every step, guaranteeing success and a bountiful yield of high-quality beef tallow.
What Is Beef Tallow Exactly?
Beef tallow is essentially pure, rendered beef fat. The rendering process involves slowly melting raw beef fat over several hours at a low temperature, which allows all impurities—such as water, gelatinous tissues, and protein solids—to separate and settle or cook away. What remains is a clarified, stable fat.
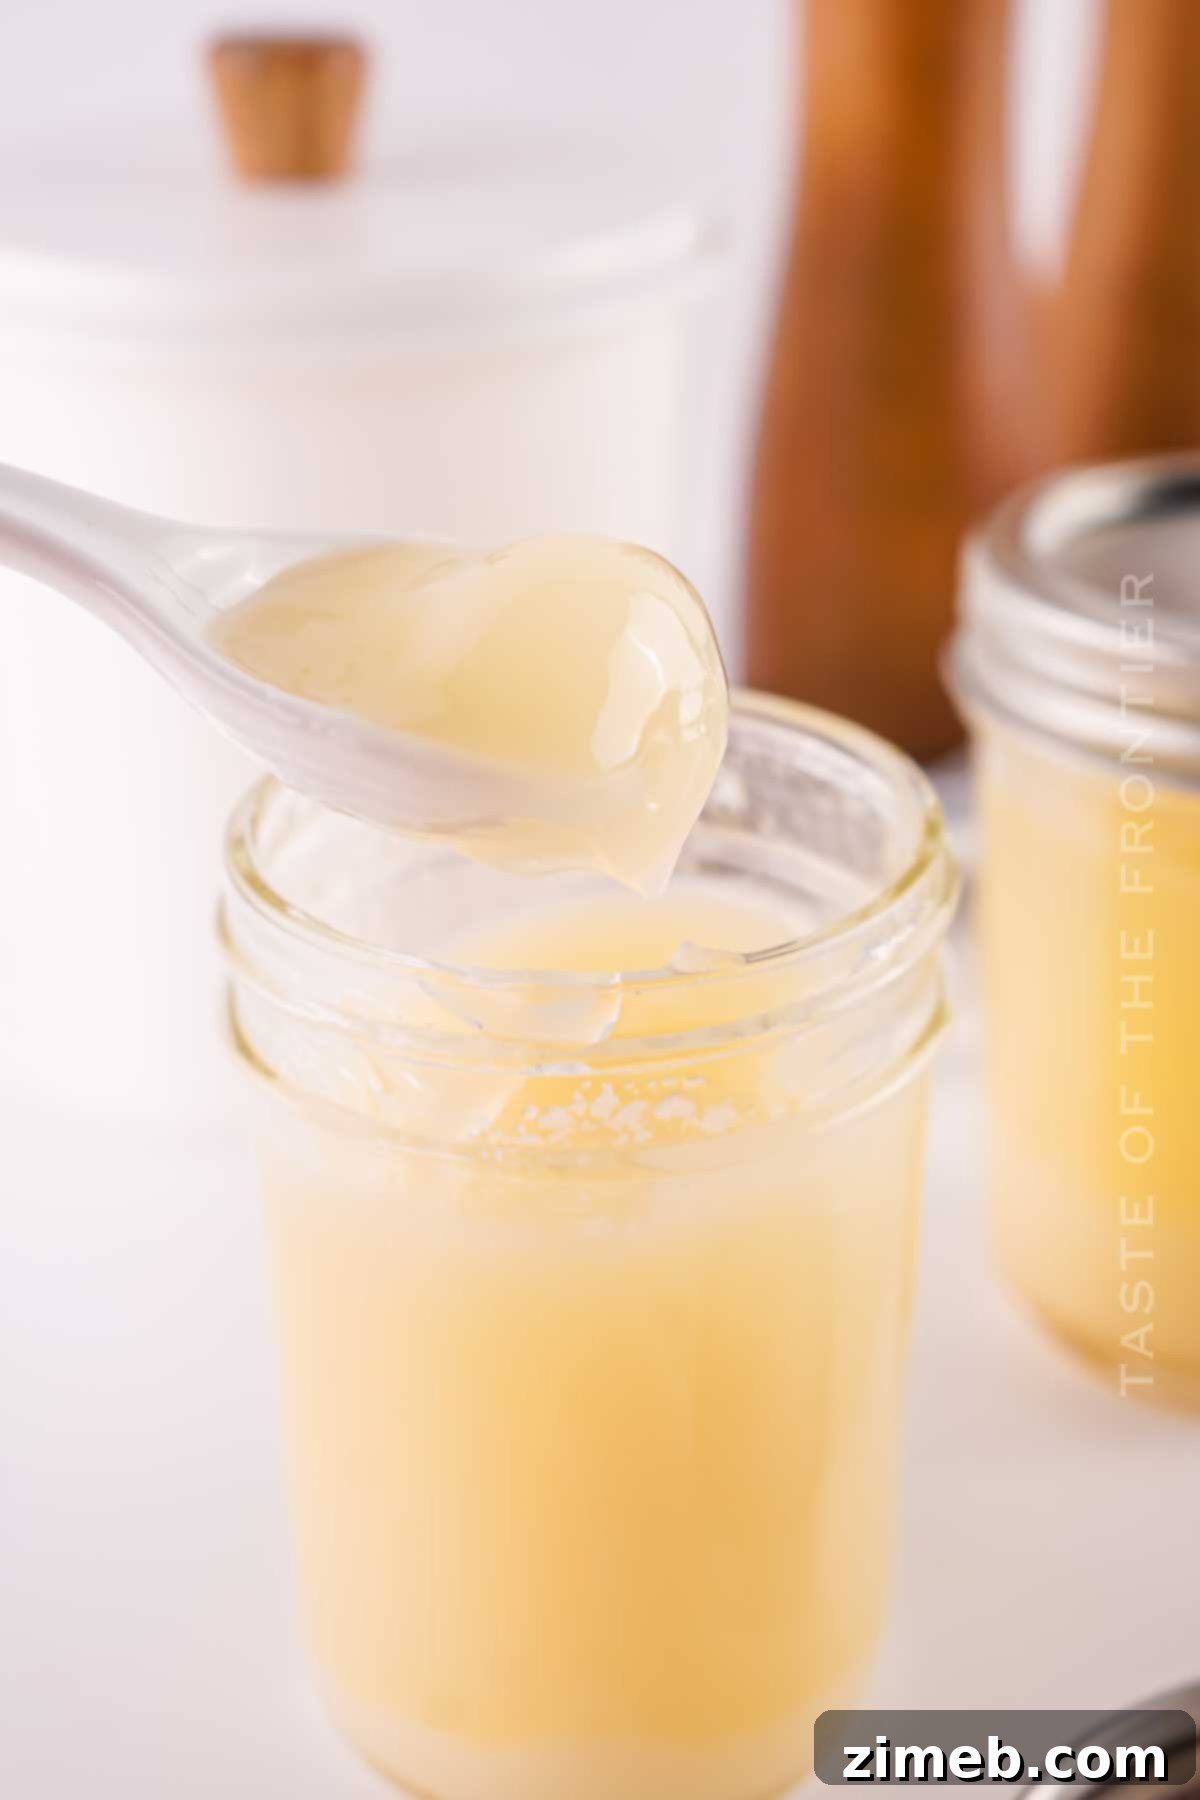
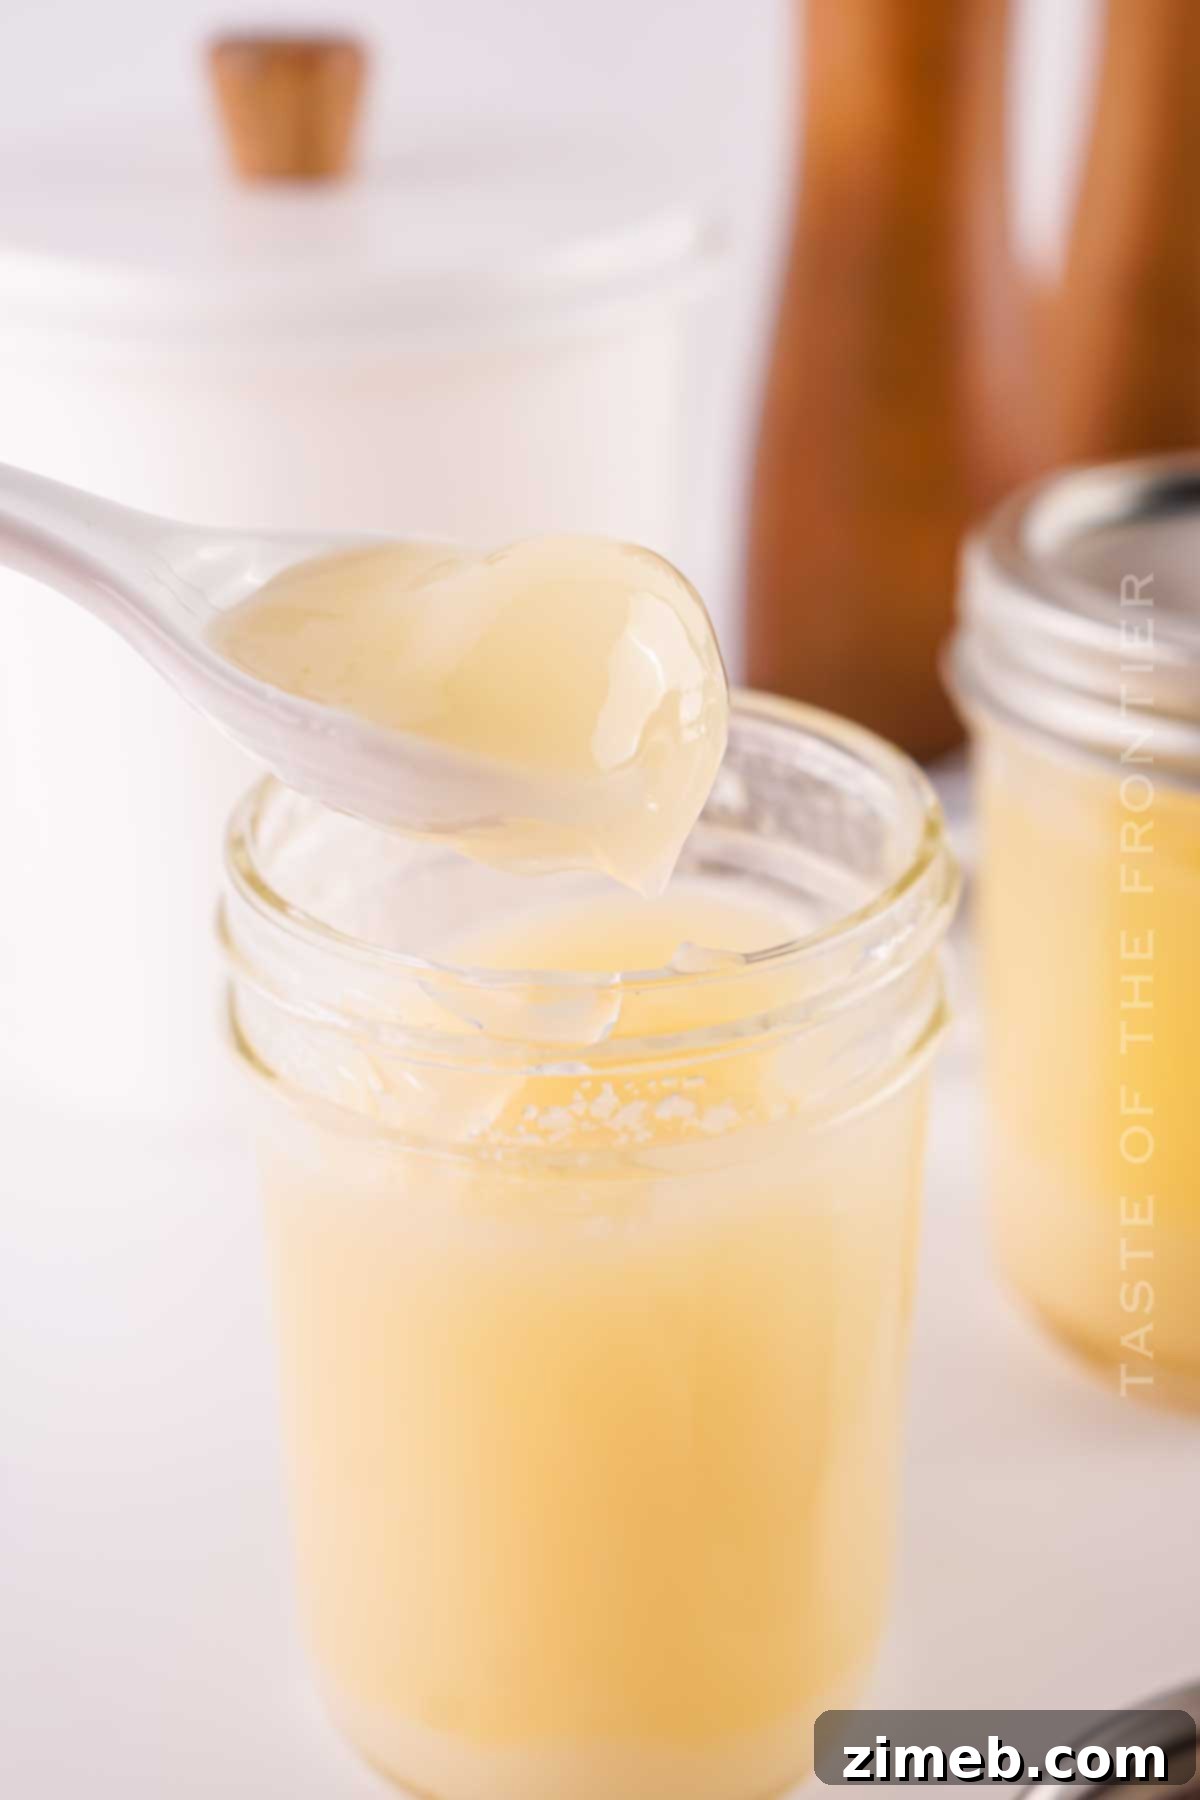
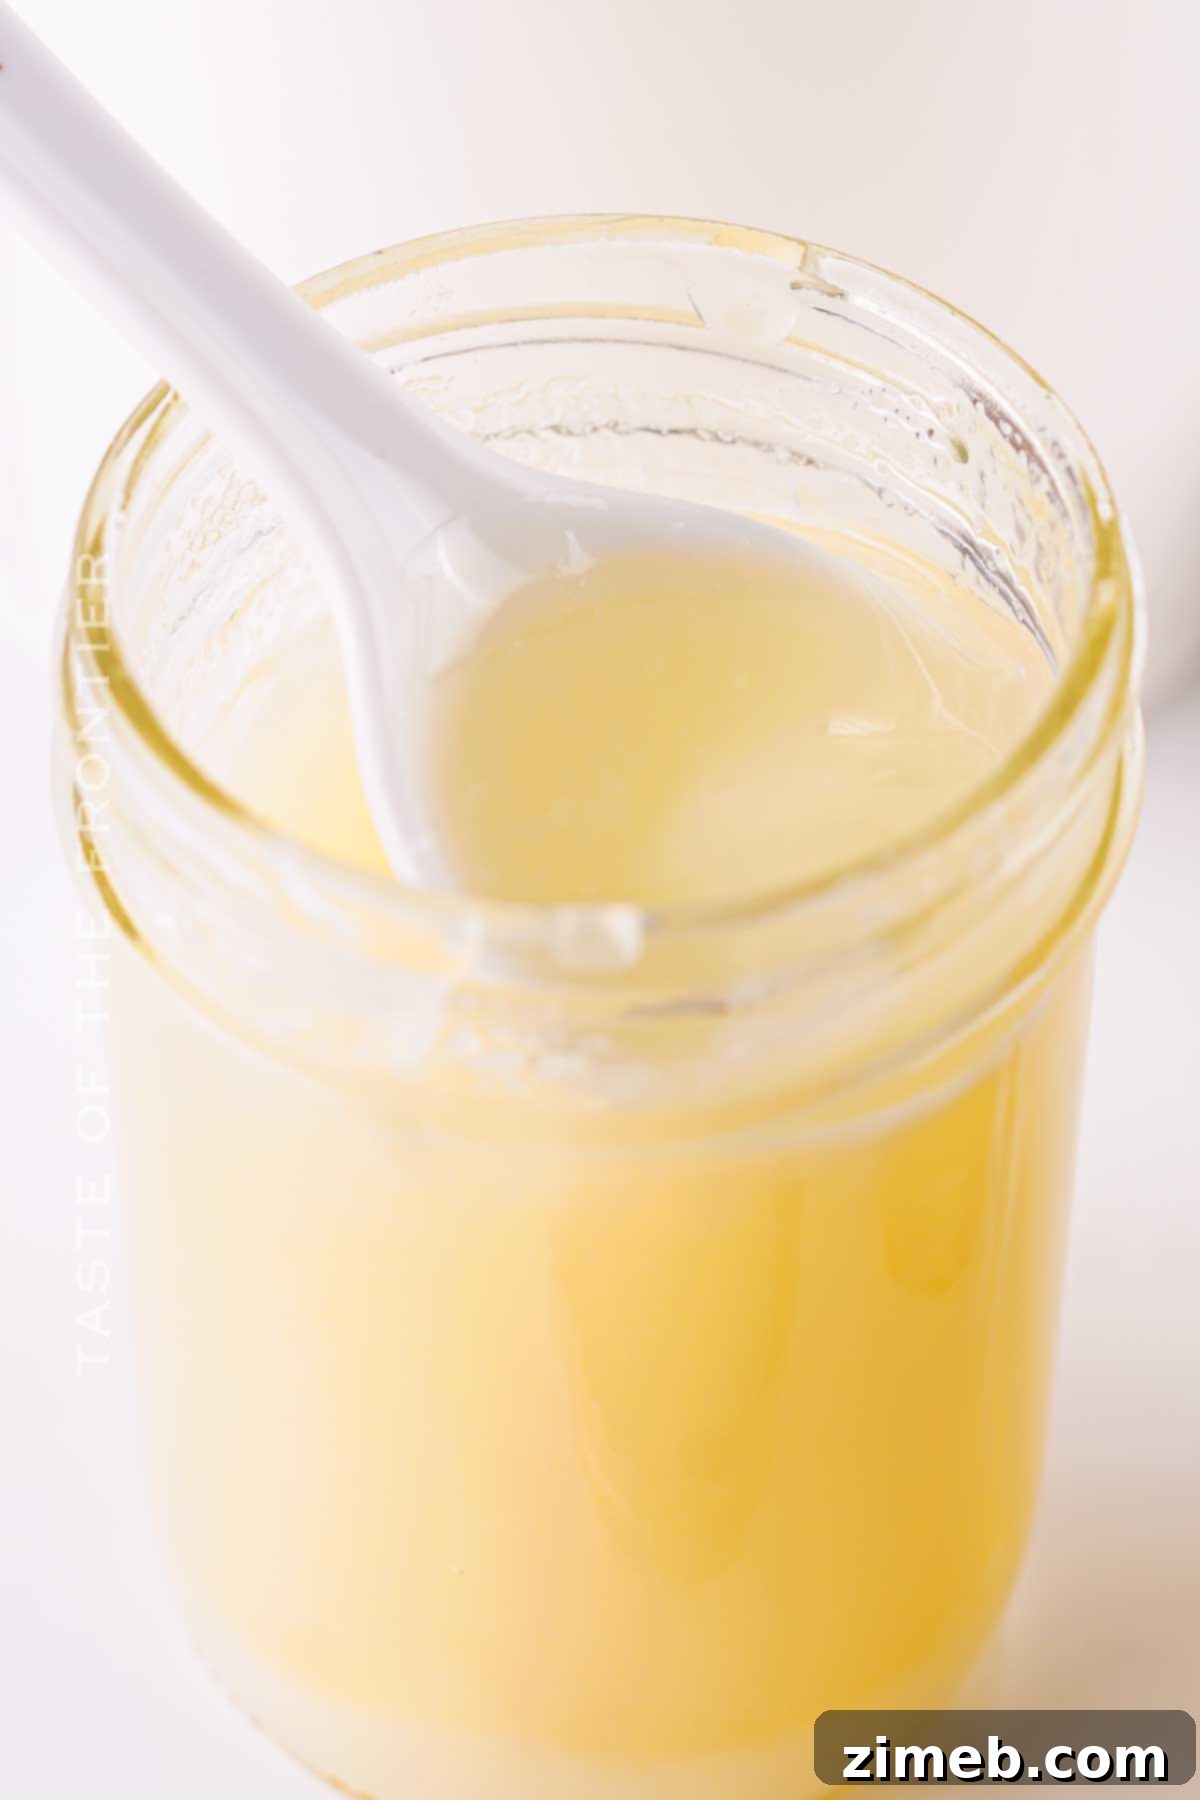
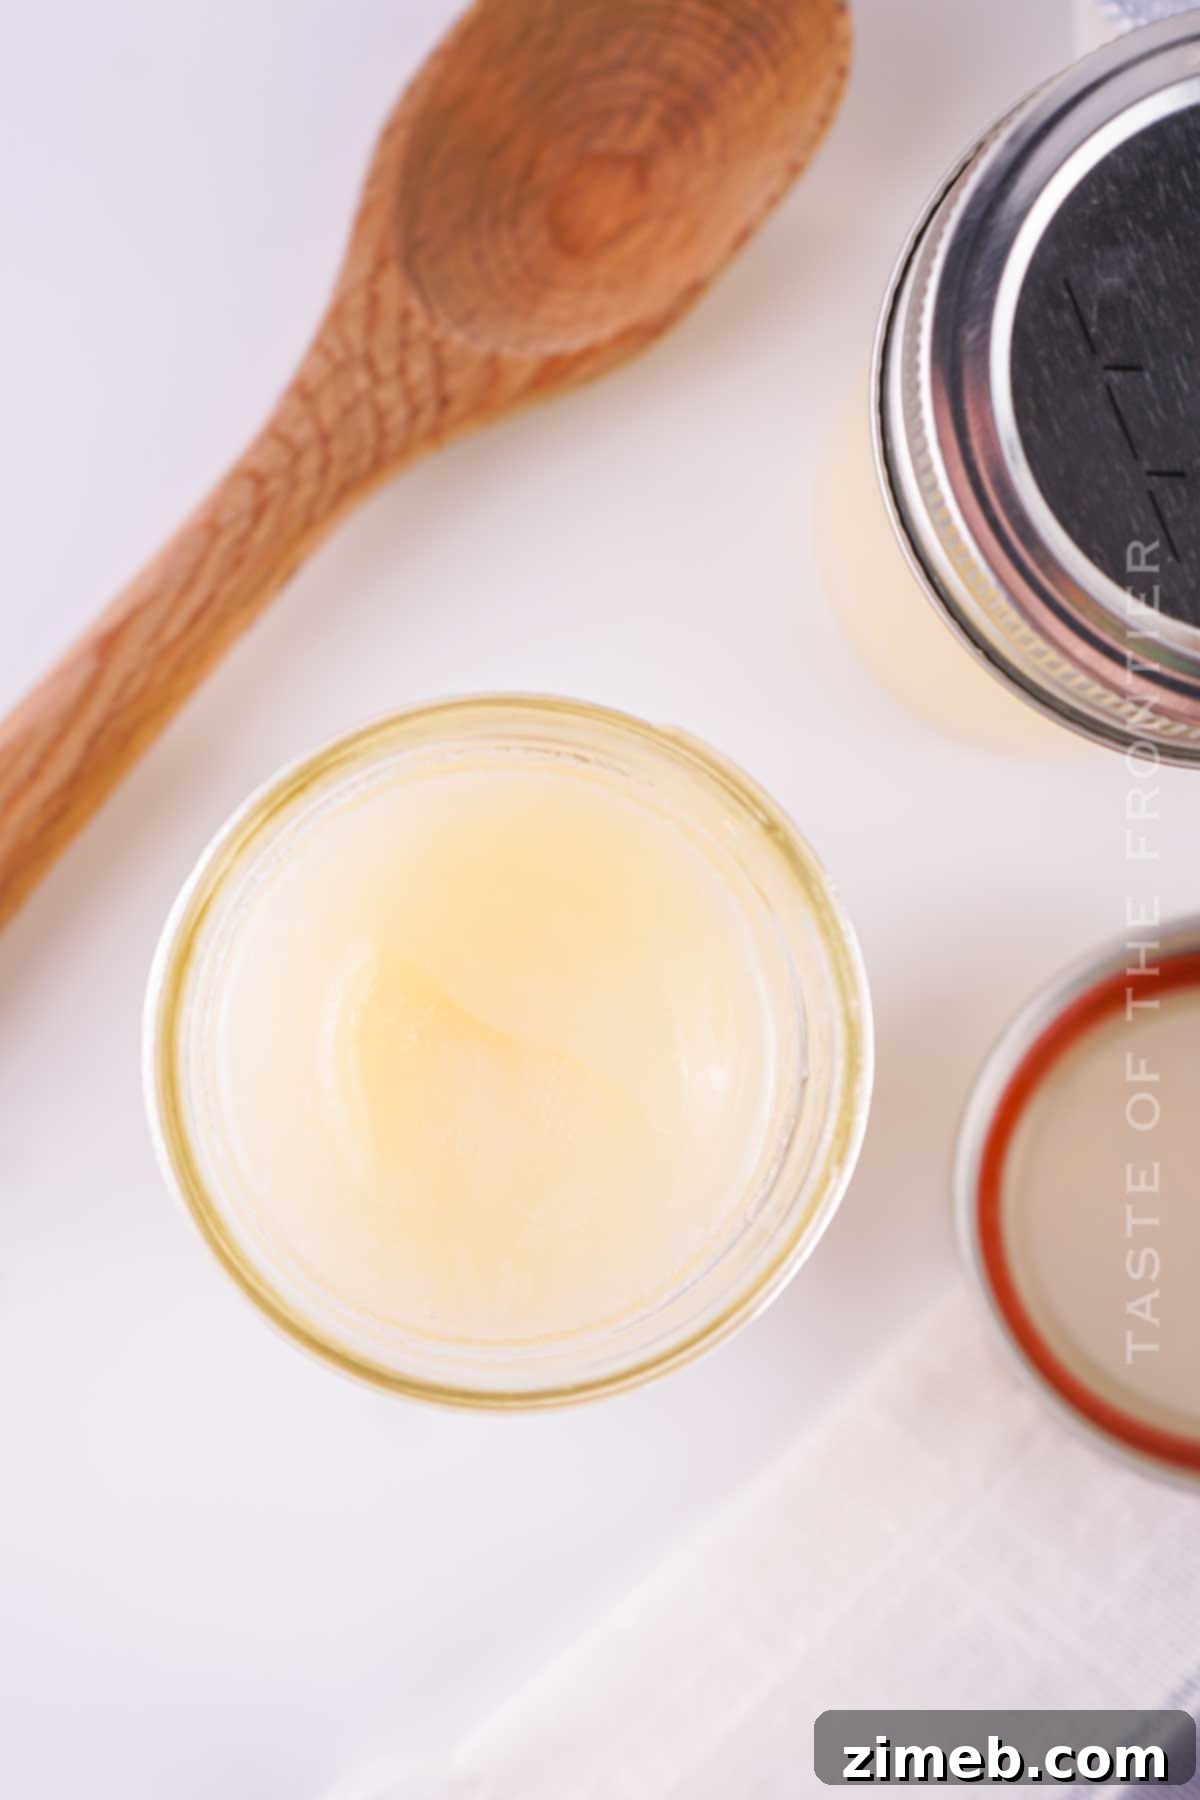
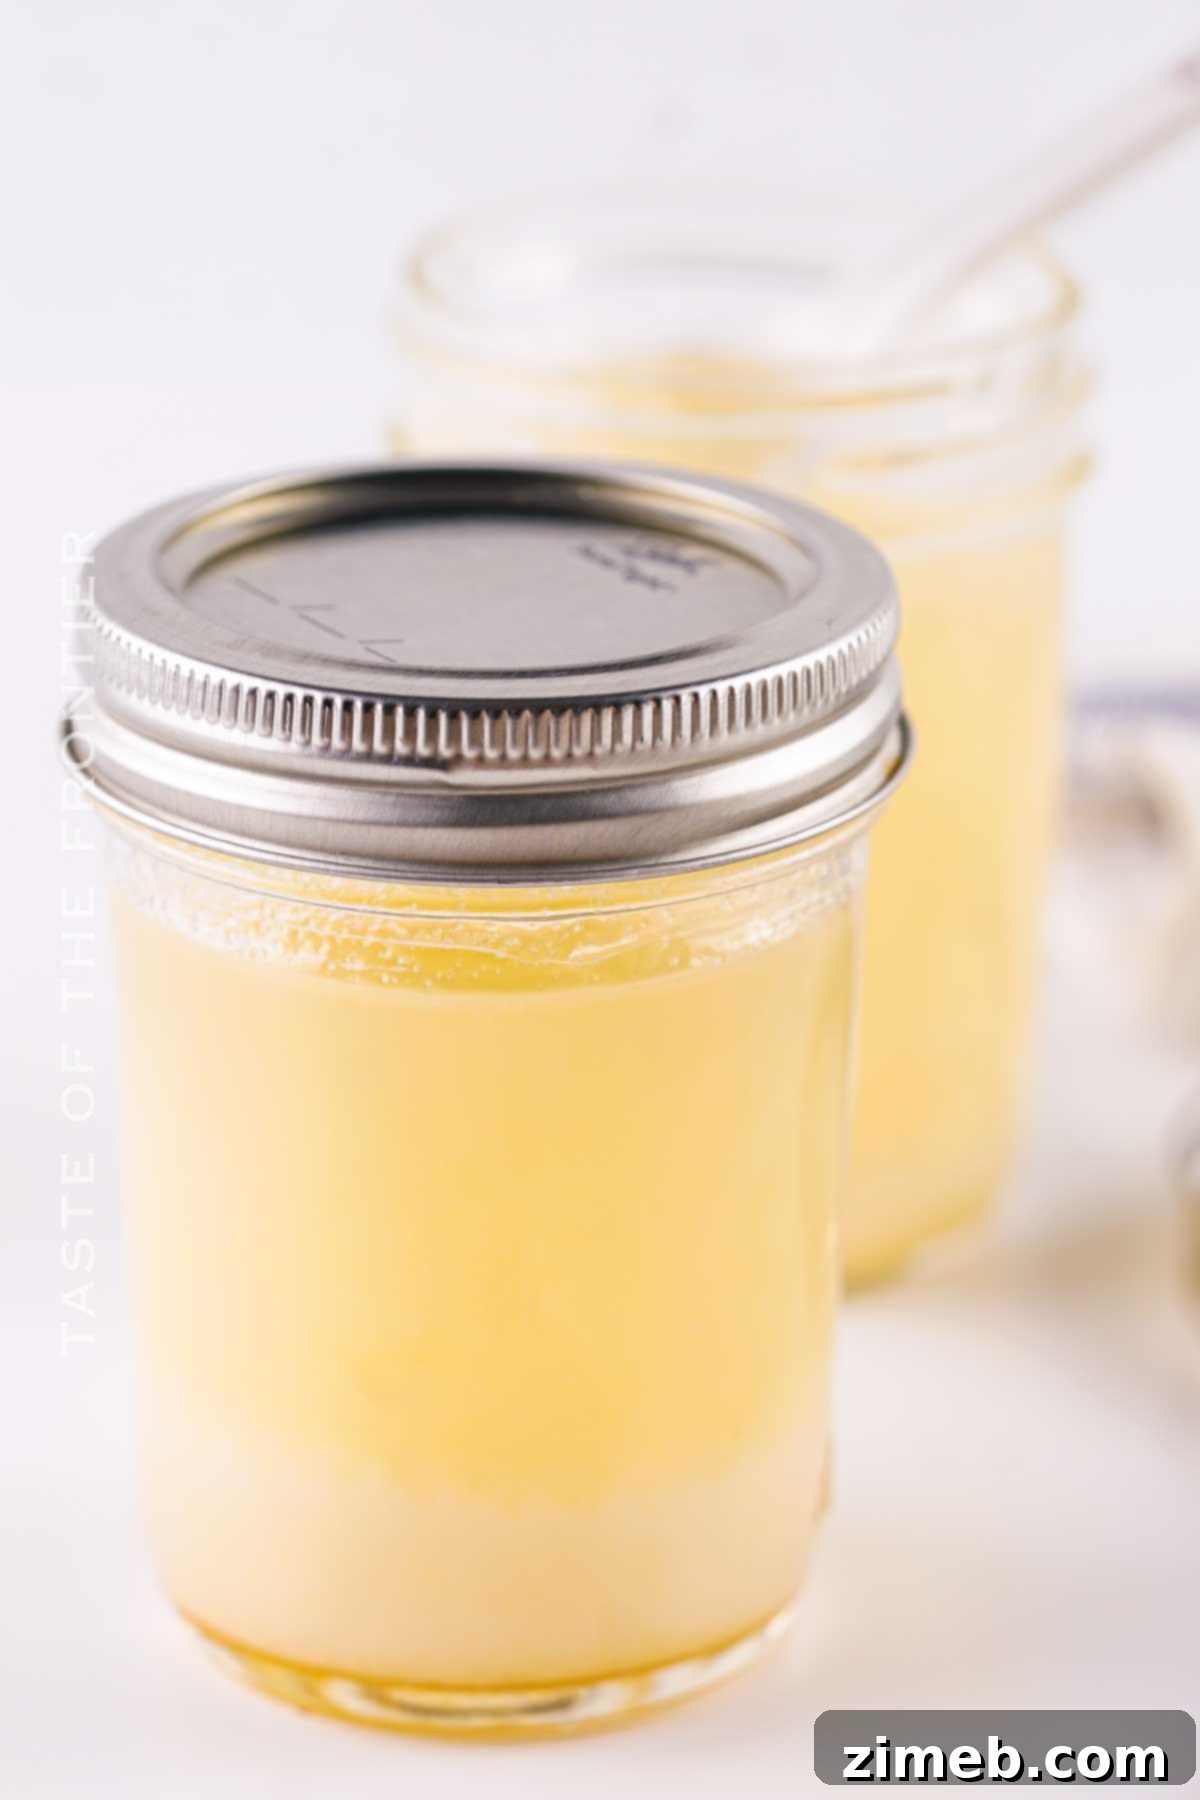
The term “tallow” specifically refers to the pure, liquid component derived from solid animal fat once it has been subjected to this slow melting process. When cold, raw beef fat is hard and opaque. In contrast, pure beef tallow transforms into a translucent golden-yellow liquid when warm, solidifying into a creamy white, soft, and remarkably clean-smelling fat when cooled. Its consistency is often compared to coconut oil at room temperature, softening and melting readily with gentle heat.
This incredibly versatile fat boasts a myriad of uses both in and out of the kitchen. Industrially, it has been used in candle making and soap production for centuries due to its stability and texture. In the home, it shines as a premier cooking and frying fat, offering a high smoke point that makes it ideal for nearly any culinary application. Beyond cooking, beef tallow is experiencing a resurgence in popularity for homemade skincare products, including deeply moisturizing body butters, nourishing lip balms, and traditional handmade soaps. Its inherent qualities make it not just cheap and accessible, but also healthy and undeniably delicious.
Sourcing the Key Ingredient: Quality Beef Fat
As implied by its name, the sole ingredient required for making pure beef tallow is beef fat, and the quality of this fat is paramount. For every 2 pounds of fresh beef fat, you can expect to yield approximately 30 ounces of finished beef tallow. Crucially, no additional salt, pepper, or water is needed; the rendering process relies solely on the fat itself.
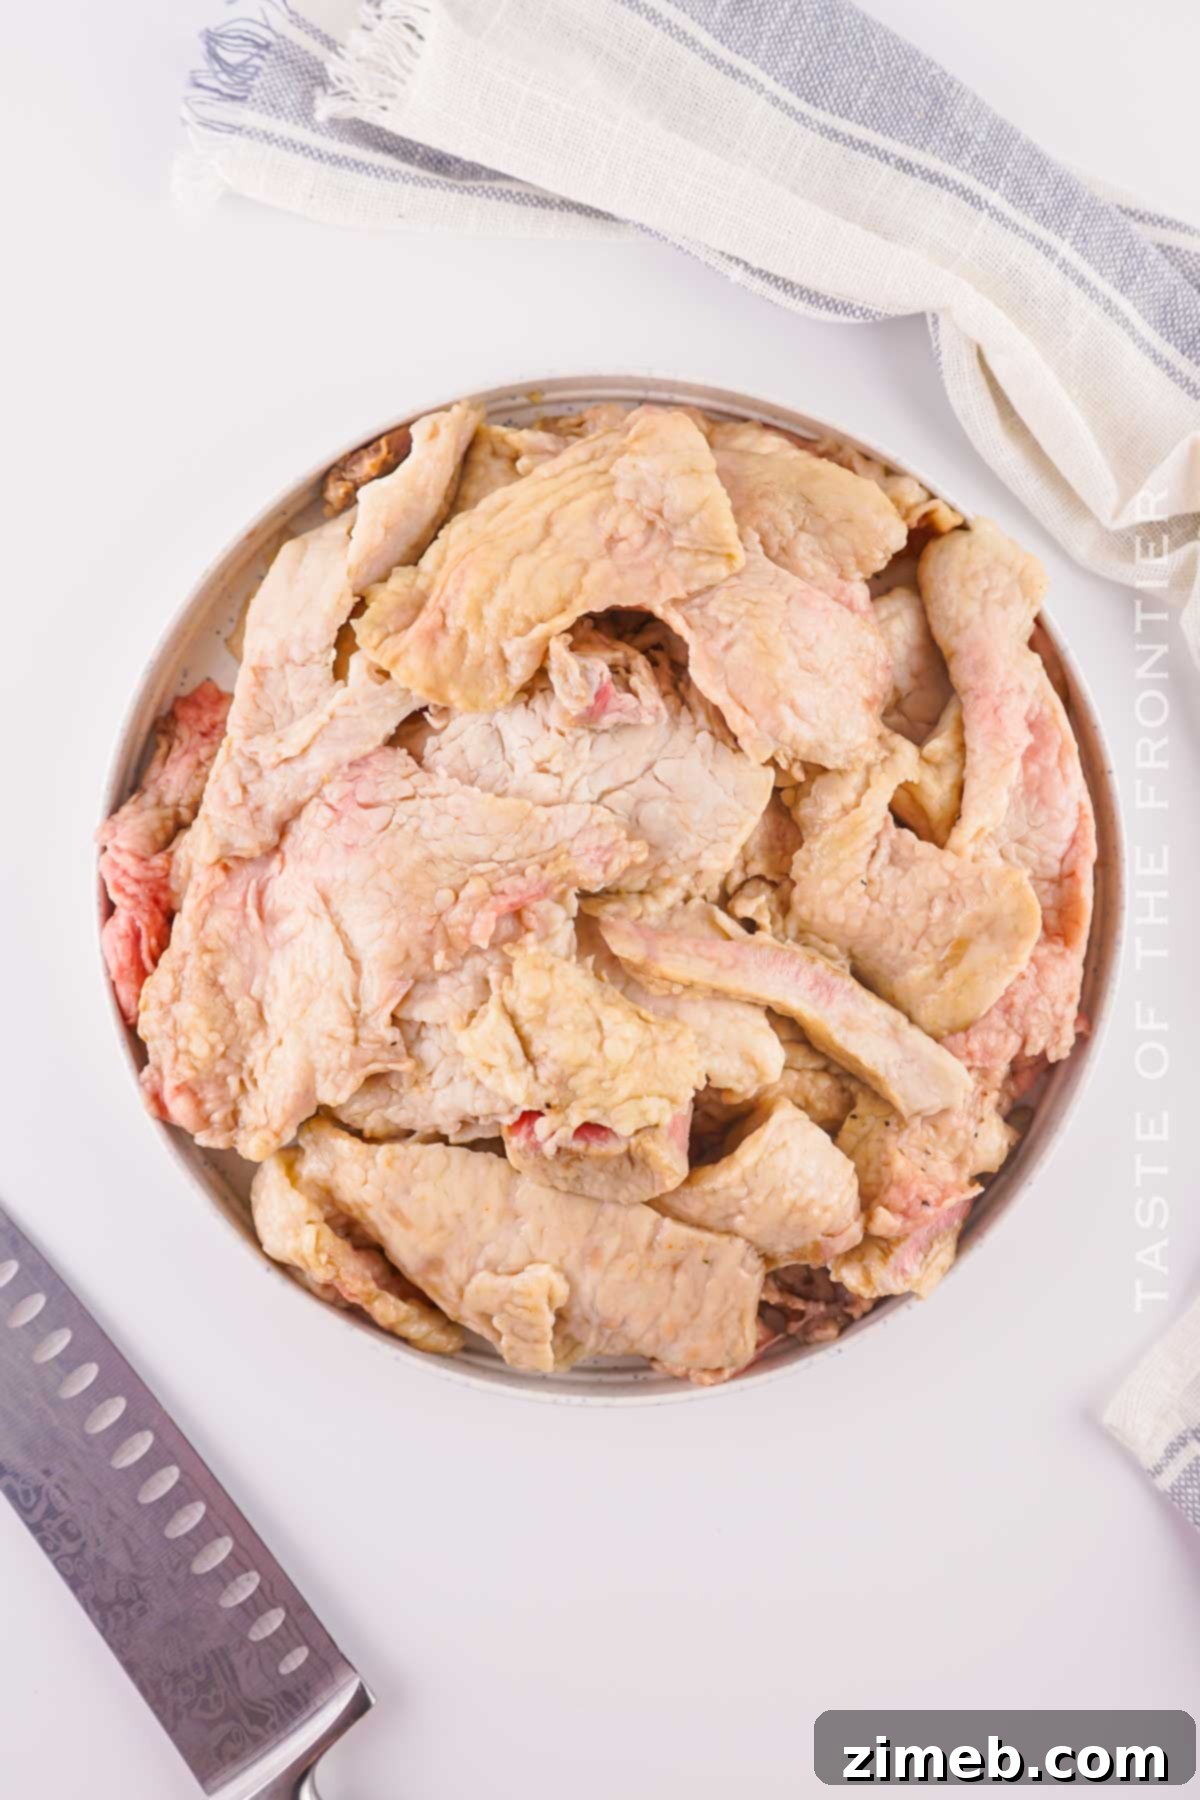
The freshness of your beef fat is vital. It should either be fresh from the butcher or properly frozen, as fat can go rancid relatively quickly. Before rendering, always perform a smell test: if the fat has a strong, off-putting, or rancid odor, it is unsuitable for making tallow and should be discarded. A neutral or faintly beefy smell is ideal.
When it comes to the type of fat, you have several excellent options. Many home cooks utilize beef brisket fat trimmings or any fat you’ve trimmed off other cuts of meat. This makes homemade tallow a cost-effective choice, as you’re using what might otherwise be discarded. Alternatively, you can purchase beef fat directly from a local butcher. They often have access to superior varieties like kidney fat, also known as leaf fat or beef suet, which is highly prized for rendering. Leaf fat typically contains less saturated fat and often produces a whiter, cleaner tallow with a milder flavor profile.
For maximum health benefits, it is strongly recommended to source fat from grass-fed or organic beef. These animals consume a more natural diet, resulting in fat that is richer in beneficial nutrients like conjugated linoleic acid (CLA), Omega-3 fatty acids, and fat-soluble vitamins. Additionally, fat from younger animals tends to produce a whiter and cleaner tallow, further enhancing its appeal. For easier handling and cutting, store your beef fat in the refrigerator until you are ready to begin the rendering process.
Essential Kitchen Equipment for Tallow Making
While the process is simple, having the right tools makes rendering beef tallow even easier and ensures a high-quality finished product:
- Fine Mesh Strainer: This is crucial for separating the rendered tallow from any solid impurities, such as small bits of meat or crispy fat cracklings (called “graves” or “cracklings”). For an even purer, clearer tallow, line your fine mesh strainer with a layer of cheesecloth, a coffee filter, or even a paper towel. These additional filters catch the tiniest residues, resulting in a more refined product.
- 8×8 Baking Dish (or larger): Ideal for the oven rendering method. Choose a sturdy, oven-safe dish with adequate depth to contain the melting fat. A wider surface area can also help the fat render more efficiently.
- Mason Jars for Storage (or similar airtight containers): Sterilized glass jars are essential for safely storing your finished tallow, preventing spoilage, and maintaining its shelf life. Wide-mouth glass jars are particularly convenient for pouring and scooping.
- Funnel (optional but recommended): A kitchen funnel greatly simplifies the task of pouring hot, melted tallow into jars, minimizing spills and ensuring a clean transfer.
- Sharp Knife and Cutting Board: For preparing the raw beef fat. Avoid using a wooden cutting board for raw meat/fat to prevent cross-contamination and absorption of odors. Plastic or glass boards are preferable.
How To Make Your Own Tallow: Step-by-Step Guide (Oven Method)
Making beef tallow is a surprisingly easy process, though it does require patience as the fat slowly renders. The reward of having a stock of your own high-quality beef tallow is immeasurable.
- Preheat the Oven: Begin by preheating your oven to a very low temperature, specifically 250 degrees F (120 degrees C). The key to perfectly rendered tallow is a slow, gentle heat, which allows the fat to melt without burning or developing an off-flavor.
- Prepare the Beef Fat: Using a sharp knife on a non-porous cutting board (plastic or glass is recommended), cut the raw beef fat into large, manageable pieces. While a specific size isn’t critical, ensure that no single piece is excessively large, as smaller chunks will render more efficiently and uniformly. If your fat isn’t purely white or has some blood or tiny meat bits, consider soaking it in ice water for about an hour before cutting. This helps to leach out impurities and keeps the fat firm for easier chopping.
- Arrange for Rendering: Place all the cut beef fat into an 8×8 inch baking dish or a similarly sized oven-safe pan. Ensure the fat pieces are spread in a relatively even layer to promote even rendering.
- Begin Baking: Transfer the baking dish to the preheated oven and bake for approximately 3 hours. As the oven gently heats, you will observe the solid fat slowly transforming, melting into a clear, golden liquid. The rendering process is complete when the rendered beef fat begins to lightly brown, and the solid cracklings that remain are golden and crisp.
- Carefully Remove from Oven: Once rendering is complete, very carefully remove the hot dish from the oven. Exercise extreme caution, as hot fat can splash and cause severe burns. You may allow it to cool slightly for easier handling, but don’t let it cool too much, as it will start to solidify, making straining difficult.
- Strain the Liquid Tallow: Position a fine-mesh strainer (preferably lined with cheesecloth or a coffee filter for extra purity) over a heat-proof pourable measuring cup or a large bowl. Slowly and carefully pour the melted fat through the strainer. This essential step removes any remaining solid impurities, meat bits, and cracklings, ensuring your tallow is clean and pure.
- Jar and Seal: Immediately, while the tallow is still hot and liquid, pour it from the measuring cup or bowl into your pre-sterilized glass jars. Fill the jars, leaving a small headspace, and secure the lids tightly. Working quickly prevents the tallow from solidifying prematurely.
- Cool and Set: Allow the jars of hot tallow to cool completely to room temperature. As it cools, the tallow will transition from translucent golden to opaque white and firm. Once at room temperature, tighten the lids one final time. For optimal setting and separation of any residual water, you can store the jars upside down in the refrigerator for 48 hours or until the tallow is fully set. If any gelatinous layer forms at the bottom of the cooling bowls before jarring, this is edible and can be saved for other uses!
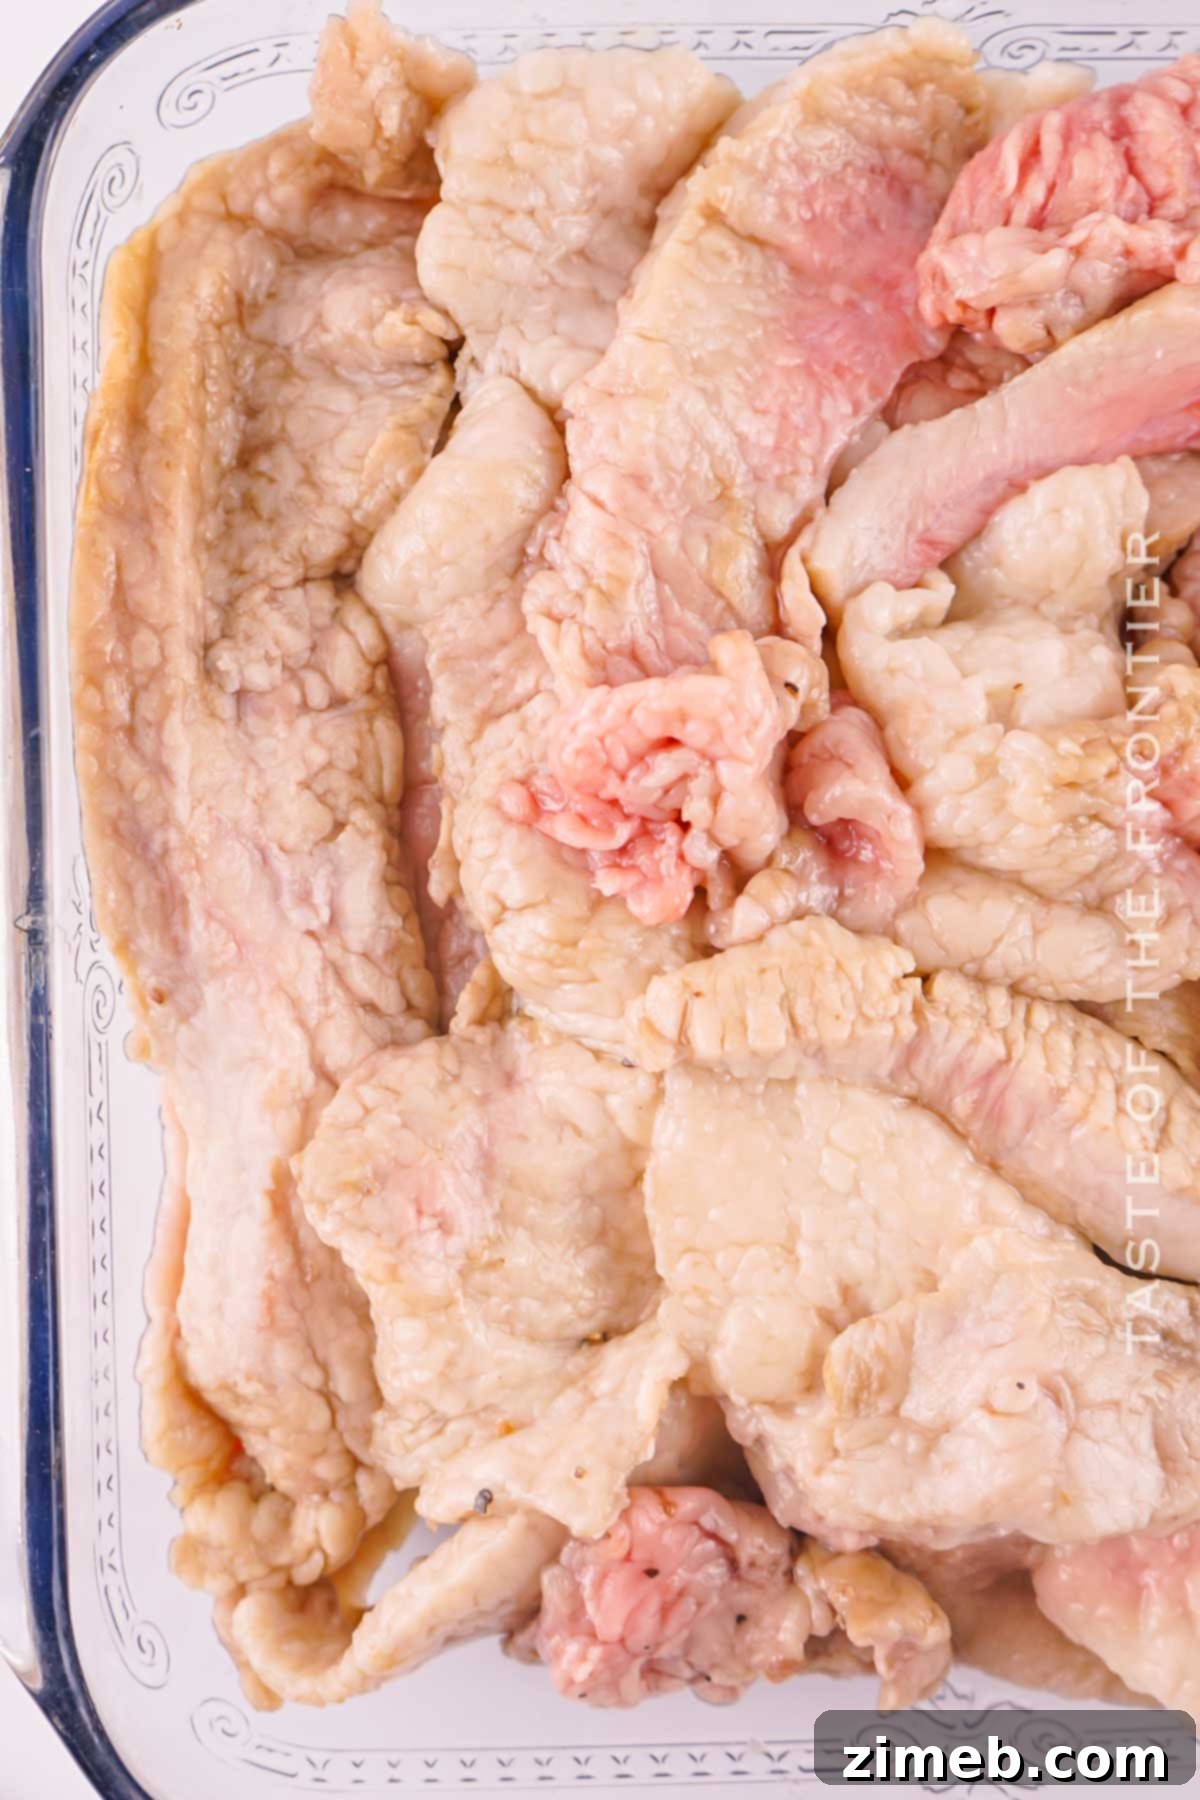
Alternative: Slow Cooker Tallow Rendering
The slow cooker method is another excellent way to render beef fat, particularly if you prefer a hands-off approach or want to minimize the cooking odors in your kitchen. The lower heat settings of a slow cooker result in a very slow rendering process, often yielding a clearer tallow with an even milder, less “beefy” aroma. Due to the prolonged cooking time and potential for strong smells, some choose to set their crock pot on a patio or in a well-ventilated area outside.
For best results, ensure your slow cooker has a large enough capacity to accommodate all the raw fat, as it will gradually reduce in volume. The rendering process in a slow cooker can take significantly longer than in an oven, so plan accordingly.
- Prepare the Fat: Cut your beef fat into 1-2 inch cubes. Consistent sizing helps ensure even rendering.
- Slow Cook: Place all the cubed fat into your slow cooker. Critically, do not cover the pot with the lid. This allows moisture to evaporate, which is essential for dry rendering and prevents steaming the fat. Cook on the “low” setting for 7-8 hours, or until the solid fat pieces start to lightly brown and become crispy. During this time, periodically skim off any foam, small meat bits, or other impurities that rise to the surface. Stir the fat gently every 30 minutes to prevent sticking and ensure even heat distribution.
- Strain and Store: Once the fat is fully rendered and the cracklings are golden, carefully strain the hot liquid tallow through a cheesecloth-lined strainer into your sterilized jars. Secure the lids and allow the tallow to cool and set as described in the oven method.
Alternative: Stovetop Tallow Rendering
The stovetop method is perhaps the most traditional and quickest way to render beef tallow, though it requires more active monitoring. Like other methods, low heat is key to preventing the fat from burning.
- Simmering the Fat: In a large, heavy-bottomed pot or stockpot, place all the cubed beef fat. Begin simmering the fat over very low heat. It’s crucial not to increase the temperature too quickly or allow the fat to boil, as this can scorch the tallow and impart an unpleasant flavor.
- Monitor and Stir: Stir the fat occasionally with a wooden spatula, paying particular attention if you notice any bubbling on the surface, which indicates the heat might be too high. Gently scrape down any bits that stick to the sides of the pot to ensure they don’t burn. Continue cooking for approximately 4 hours, or until the fat has fully melted and the cracklings are golden and crisp.
- Strain and Jar: Once the tallow is beautifully rendered, carefully remove the pot from the heat. Strain the hot liquid tallow into a heat-proof bowl and then immediately divide it among your sterile glass jars. Seal the jars and allow the tallow to cool and solidify at room temperature before refrigerating.
How To Sterilize Jars for Beef Tallow Storage
Sterilizing your jars is a critical step to ensure your homemade beef tallow has a long, stable shelf life and remains free from mold or bacterial growth. This simple process eliminates any microorganisms that could otherwise contaminate your tallow. Always allow the sterilized jars to cool before filling them with hot tallow to prevent thermal shock, which could cause the glass to crack.
The easiest method for home sterilization is using your oven:
- Clean Thoroughly: Wash your glass jars and their lids (if they are metal and heat-safe; rubber seals should be sterilized separately, usually by boiling) thoroughly with hot, soapy water. Rinse them completely to remove all soap residue.
- Arrange in Oven: Place the clean, wet jars and lids (metal parts only) separately on a baking sheet. The residual water inside the jars will turn to steam during sterilization, helping to sanitize them.
- Heat Sterilization: Place the baking sheet with jars into a cold oven. Gradually bring the oven temperature up to around 250°F (120°C) and leave the jars for 20 minutes. Alternatively, you can preheat the oven to 325°F (160°C) and sterilize for 15 minutes.
- Cool Before Use: Once sterilized, turn off the oven and allow the jars to cool gradually inside the oven, or carefully remove them with clean oven mitts and let them cool on a clean towel. Only fill the jars once they have returned to room temperature.
Proper Storage for Homemade Beef Tallow
Correct storage is essential to maximize the shelf life of your homemade beef tallow and maintain its quality. Properly rendered and stored tallow can last surprisingly long due to its stability and lack of water content.
In an airtight container, homemade beef tallow is generally shelf-stable at cool room temperature for up to a month. This makes it convenient for regular use without needing refrigeration. To significantly extend its freshness, store your tallow in the refrigerator, where it can remain good for up to 3 months. For even longer preservation, beef tallow freezes exceptionally well in a freezer-safe, airtight container, lasting for up to 3 months, and often much longer. Anecdotally, some well-sealed jars of tallow have been known to last for up to a year or more without spoilage.
You’ll know if tallow has gone bad if it develops a strong, unpleasant, rancid smell, or if you see visible mold growth. Properly rendered tallow should have a neutral or slightly beefy aroma. For the ultimate long-term storage, vacuum-sealed and frozen beef tallow can potentially last indefinitely, making it an excellent pantry staple to have on hand.
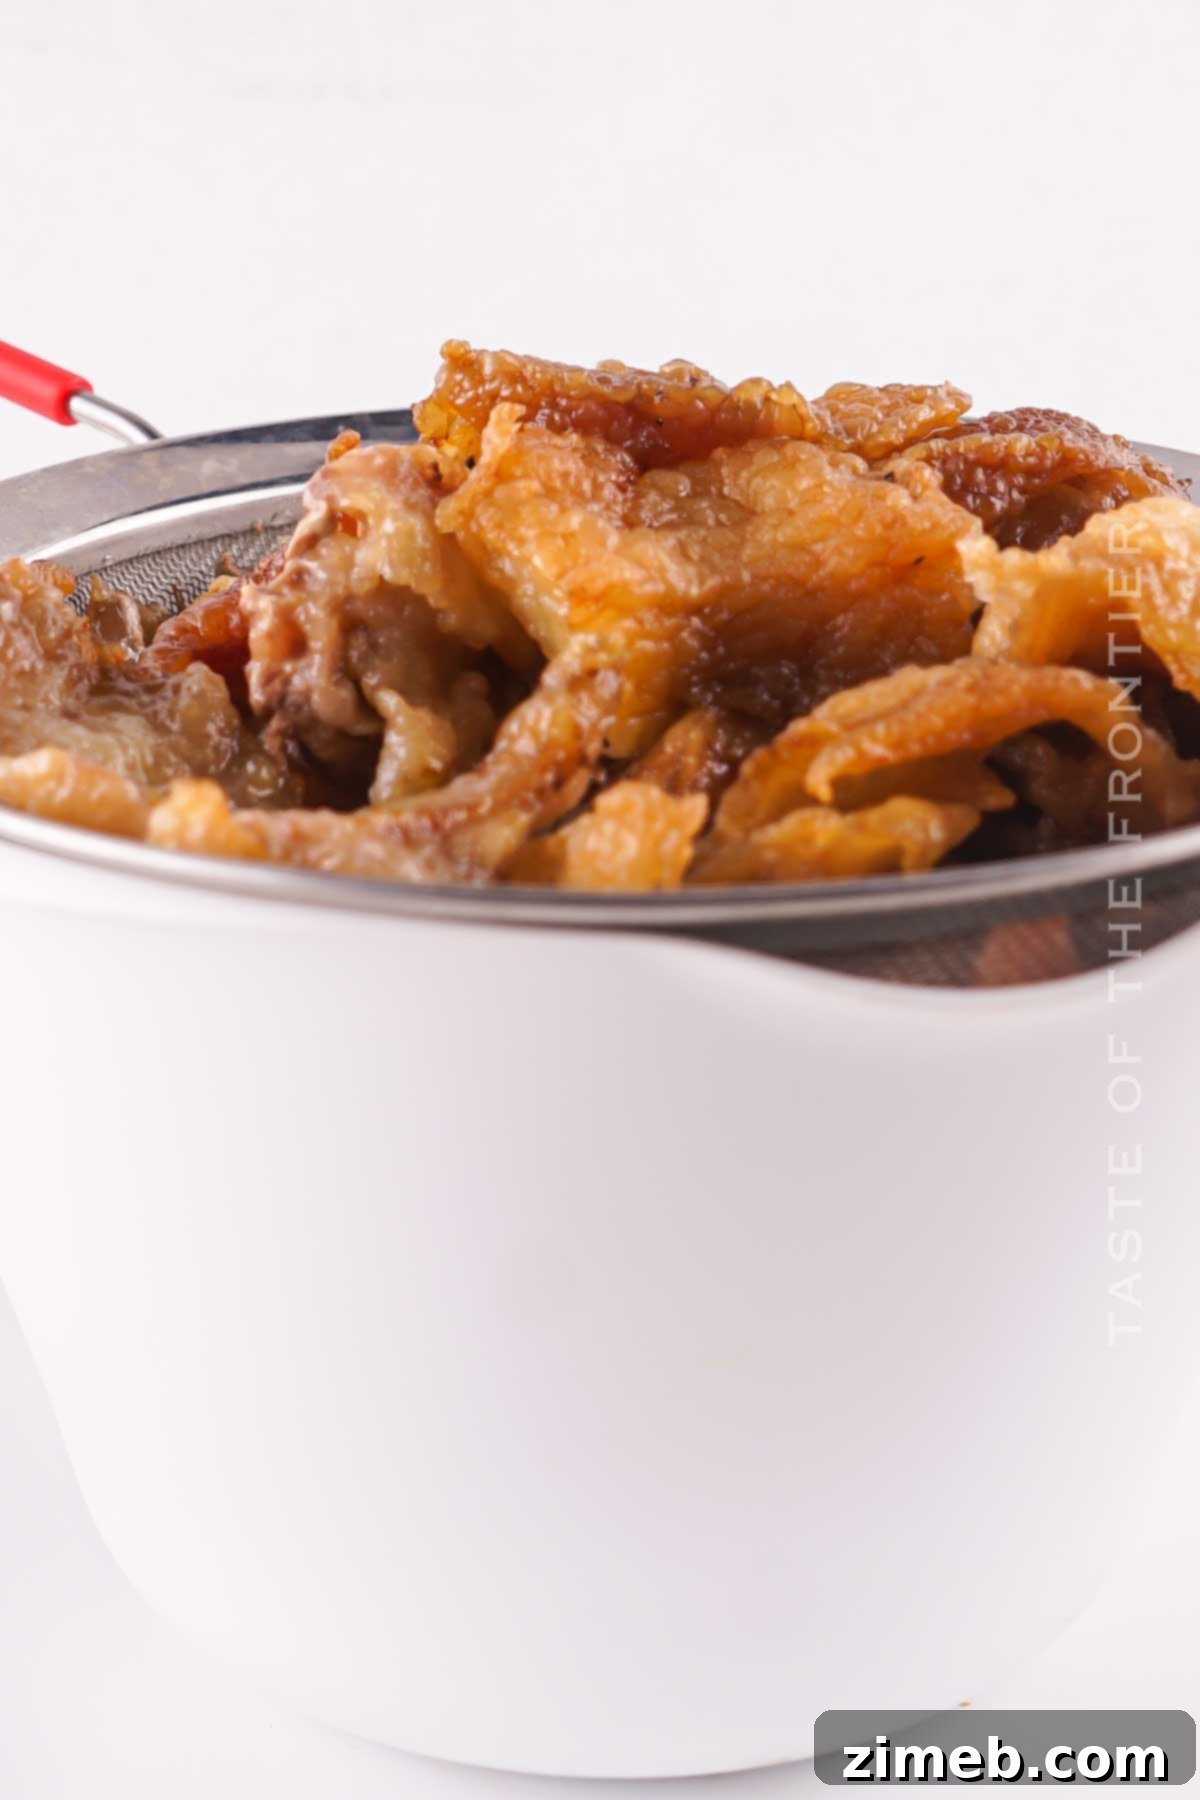
The Versatile Uses and Benefits of Homemade Beef Tallow
A simple mason jar filled with this “liquid gold” becomes an indispensable asset, offering a wide array of applications both in the kitchen and in your daily routine. Here are some of the fantastic uses for your personal stash of high-quality beef tallow:
- Seasoning Cast Iron Skillets: Tallow is an exceptional choice for seasoning and maintaining cast iron cookware. Its high smoke point and stable fat composition create a durable, non-stick surface, protecting your pans for years to come.
- High-Heat Cooking and Frying: With a remarkably high smoke point of 420ºF (215ºC), beef tallow is an ideal replacement for less stable vegetable oils and butter in savory dishes. This makes it perfect for searing steaks to perfection, sautéing vegetables, or stir-frying, all while imparting an incredible depth of flavor. Many culinary experts argue that tallow, especially from grass-fed sources, is a healthier option than even coconut oil for high-heat cooking due to its fatty acid profile. Imagine the rich, savory taste of steak cooked in beef tallow or the unbeatable crispness of potatoes, especially wedges or homemade french fries, when prepared with this traditional fat—truly a game-changer!
- Baking and Pastries: For bakers, beef tallow can create exceptionally rich and flaky pie crusts, and it lends a wonderful texture and savory note to homemade breads. It’s particularly outstanding in savory pies, biscuits, or a classic cornbread, delivering a rustic, hearty flavor that butter or vegetable oils simply cannot replicate.
- Deep Frying: Its high smoke point makes tallow an excellent fat for deep frying. Unlike olive oil, which has a lower smoke point and can break down at high temperatures, tallow remains stable, offering a clean frying medium that imparts delicious flavor to everything from fried chicken to crispy doughnuts (for a truly unique, old-fashioned taste).
- Creating Flavorful Gravy: The rendered beef fat that might be left in the pan after roasting meat, especially if you let it render until it’s a light brown, forms an excellent base for rich, deeply flavored gravies.
- Natural Skincare Products: Beyond the kitchen, beef tallow is experiencing a major revival in the natural beauty world. Rich in stearic acid, oleic acid, and fat-soluble vitamins, it is a superior ingredient for deep moisturizing. Use it to create luxurious body butters, nourishing balms, or add it to homemade soaps and whipped soaps. Tallow’s unique fatty acid profile closely mimics the natural oils found in human skin, making it incredibly biocompatible, promoting skin health, elasticity, and reducing inflammation without a greasy residue or strong scent.
- Significant Health Benefits: Incorporating grass-fed beef tallow into your daily diet offers substantial health advantages. It’s a rich source of healthy saturated and monounsaturated fats, along with crucial fat-soluble vitamins A, D, E, and K2. These vitamins are vital for overall well-being, supporting a healthy heart, strengthening the immune system, and sharpening cognitive function. Tallow also provides a full spectrum of beneficial fatty acids, including conjugated linoleic acid (CLA) and Omega-6 and Omega-3 in a balanced ratio. These fat-soluble vitamins are only properly absorbed when consumed with fat, making tallow an ideal vehicle. Notably, grass-fed beef tallow boasts higher levels of Vitamin D than many conventional cooking oils like canola.
Pro Tips for Perfect Homemade Beef Tallow
Achieving perfectly clear, pure, and long-lasting beef tallow is easier with these expert tips:
- PRO TIP for Water Separation: After jarring, store the warm jars of tallow upside down in the fridge to set. This ingenious method encourages any residual water, which is heavier than fat, to separate and pool at the bottom of the jar (now the top when inverted). Once the tallow has fully solidified, you can easily pour off this water layer before flipping the jar back over. This significantly extends the life of your tallow and prevents any potential mold growth caused by moisture.
- Purifying Fat with an Ice Water Soak: If your raw beef fat isn’t perfectly white and still contains some blood or small bits of meat, a preliminary soak in ice water can work wonders. Simply submerge the fat in enough ice water to cover it completely and let it soak for about an hour. This process helps to draw out impurities and also keeps the fat firm and cold, making it much easier to cut into uniform pieces.
- Optimizing Rendering Speed: The smaller your pieces of fat, or the smaller the batches you render, the faster the fat will melt down. While this guide keeps things simple, for ultimate efficiency and a very fine tallow, you can even grind the fat in a food processor or a meat grinder before rendering. Another advanced technique is to partially melt the fat, then blend it with an immersion blender before continuing the cooking process.
- The Critical Step of Straining: Never skip straining the liquid tallow! This is perhaps the most crucial step for purifying the fat, removing all solid impurities, and ensuring a clean, neutral flavor. The cleaner the tallow, the longer it will last and the better it will perform in both cooking and skincare.
- Understanding Tallow’s Texture: When stored in the refrigerator, homemade tallow will solidify into a firm but soft solid, much like cold butter. However, when left at room temperature, it will soften considerably and become thinner, resembling the texture and melting point of coconut oil. This makes it easy to work with straight from the jar for many applications.
- Don’t Worry About Minor Meat Bits: If you find a few random, tiny pieces of meat still attached to your beef fat trimmings, don’t fret. These will cook down just fine during the rendering process and will be removed during the straining phase.
- Rendering with a Smoker: For those with a smoker, it presents a unique and flavorful way to render beef fat. The low, consistent heat of a smoker works perfectly for this process. You can even use disposable aluminum foil pans for easy cleanup, stacking a double layer to prevent burning. The bottom grate of your smoker is often the best position for even, slow rendering.
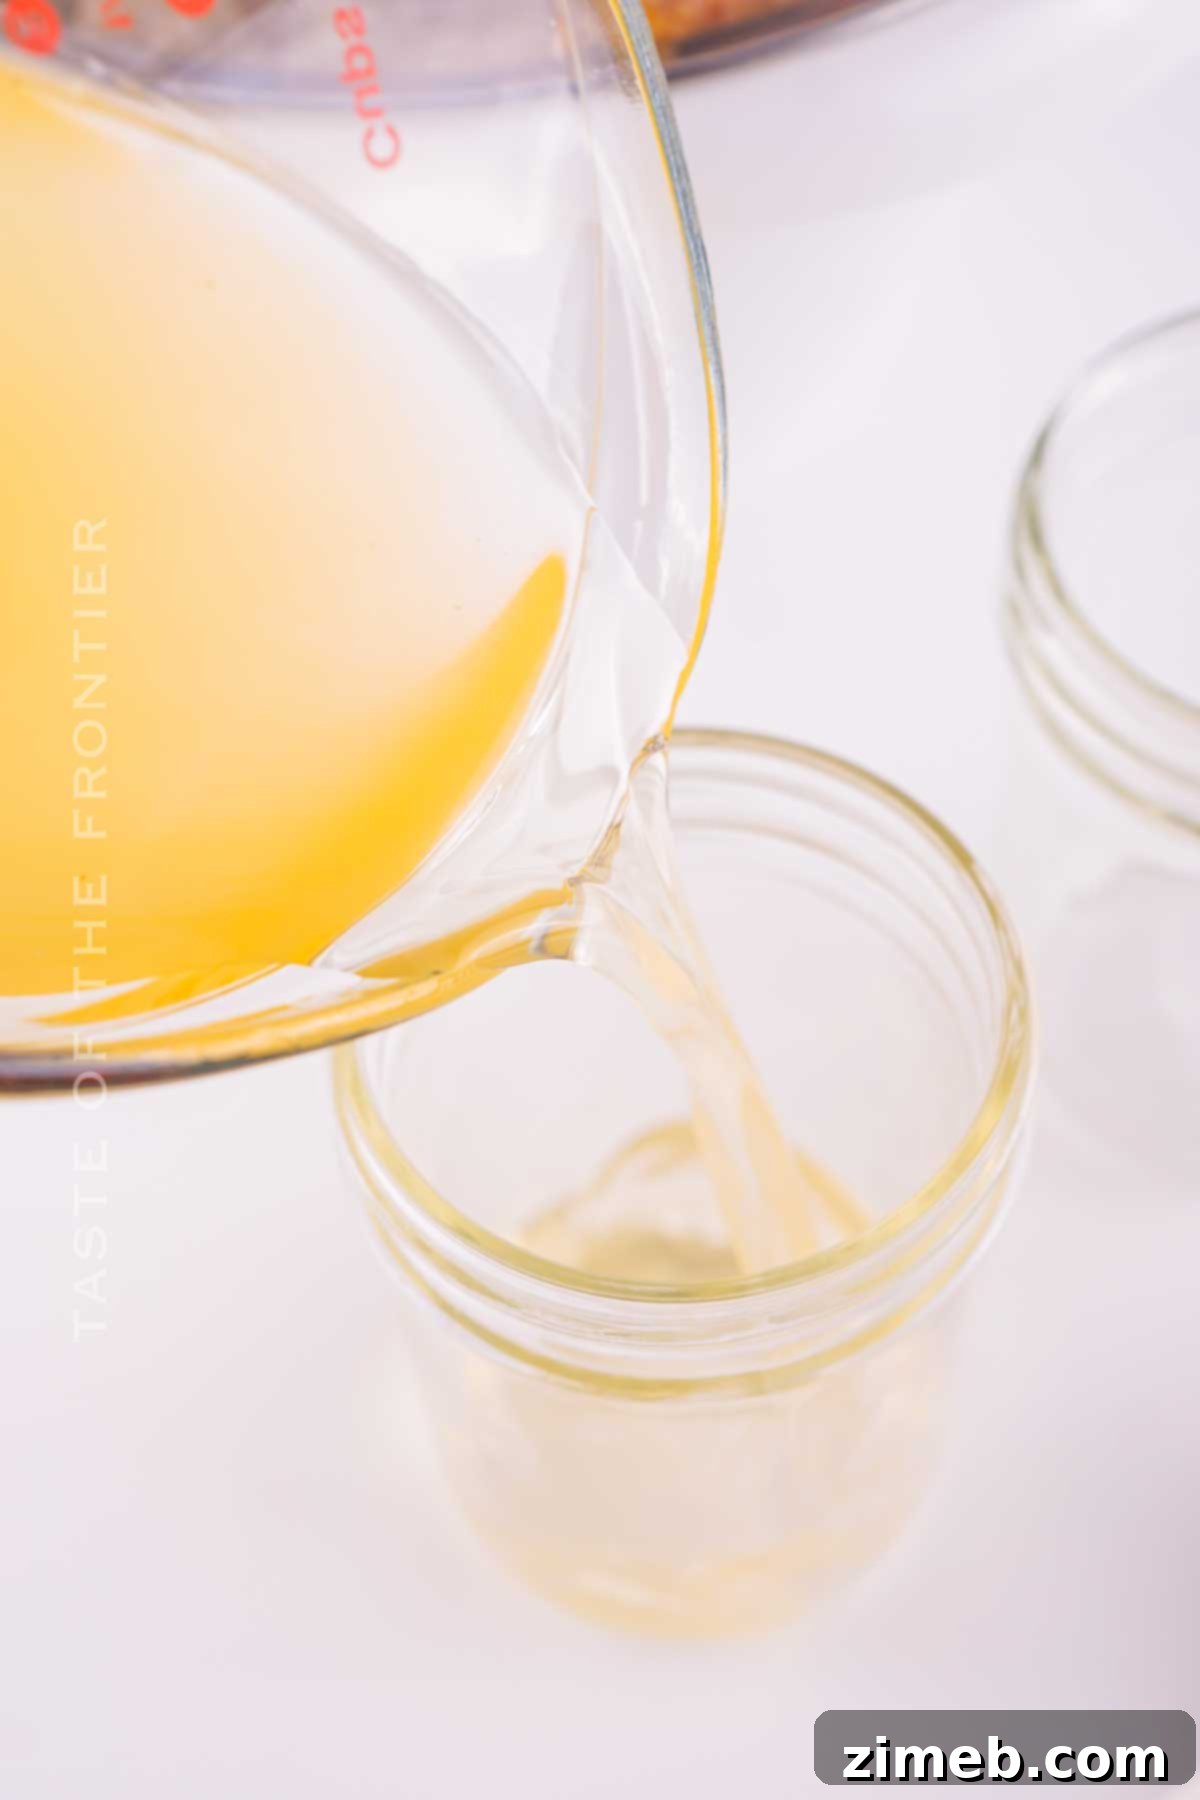
Common Questions on Making Beef Tallow
How To Achieve Pure White Tallow?
To produce a beautifully pure white tallow once it solidifies, several factors are key. Firstly, slow rendering at a very low temperature is paramount, as this gently separates the fat without scorching it. Secondly, thorough straining through a fine mesh filter, ideally lined with cheesecloth or a coffee filter, is essential to remove all impurities, meat bits, and any solid skin that might have formed. For an even cleaner, whiter tallow, some choose to render the fat once, allow it to cool and solidify, then gently re-melt it and strain it a second time. This double-rendering and straining process removes even the most minute particles, resulting in a remarkably pure and pristine white tallow.
Can I Use Pork Fat or Other Animal Fats to Make Tallow?
While the rendering process is fundamentally the same across different animal fats, the terminology and characteristics of the resulting fats differ. “Tallow” specifically refers to rendered fat from ruminant animals like beef or mutton. Pork fat, when rendered, is known as “lard” and tends to be slightly softer in texture than beef tallow, often with a more neutral flavor profile. Chicken fat, when rendered, is called “schmaltz” and is famous for its distinctive savory flavor, particularly in Jewish cuisine. So, while you can absolutely render pork fat or chicken fat using the same methods described here, the final product will be known by its respective name and will have slightly different culinary properties and flavors.
Is It Better to Render Tallow Wet or Dry?
I consistently advocate for dry rendering fat. This method involves melting the fat slowly without adding any water. The primary reason for this preference is related to storage and shelf life: introducing water to the fat, especially when storing it in jars, significantly increases the risk of mold growth and spoilage. While water is not strictly necessary for the fat to melt (as fat will liquefy with heat alone), wet rendering does extract more flavor compounds. However, for a pure, stable, and long-lasting tallow, dry rendering is the superior choice, ensuring minimal moisture content and maximum preservation.
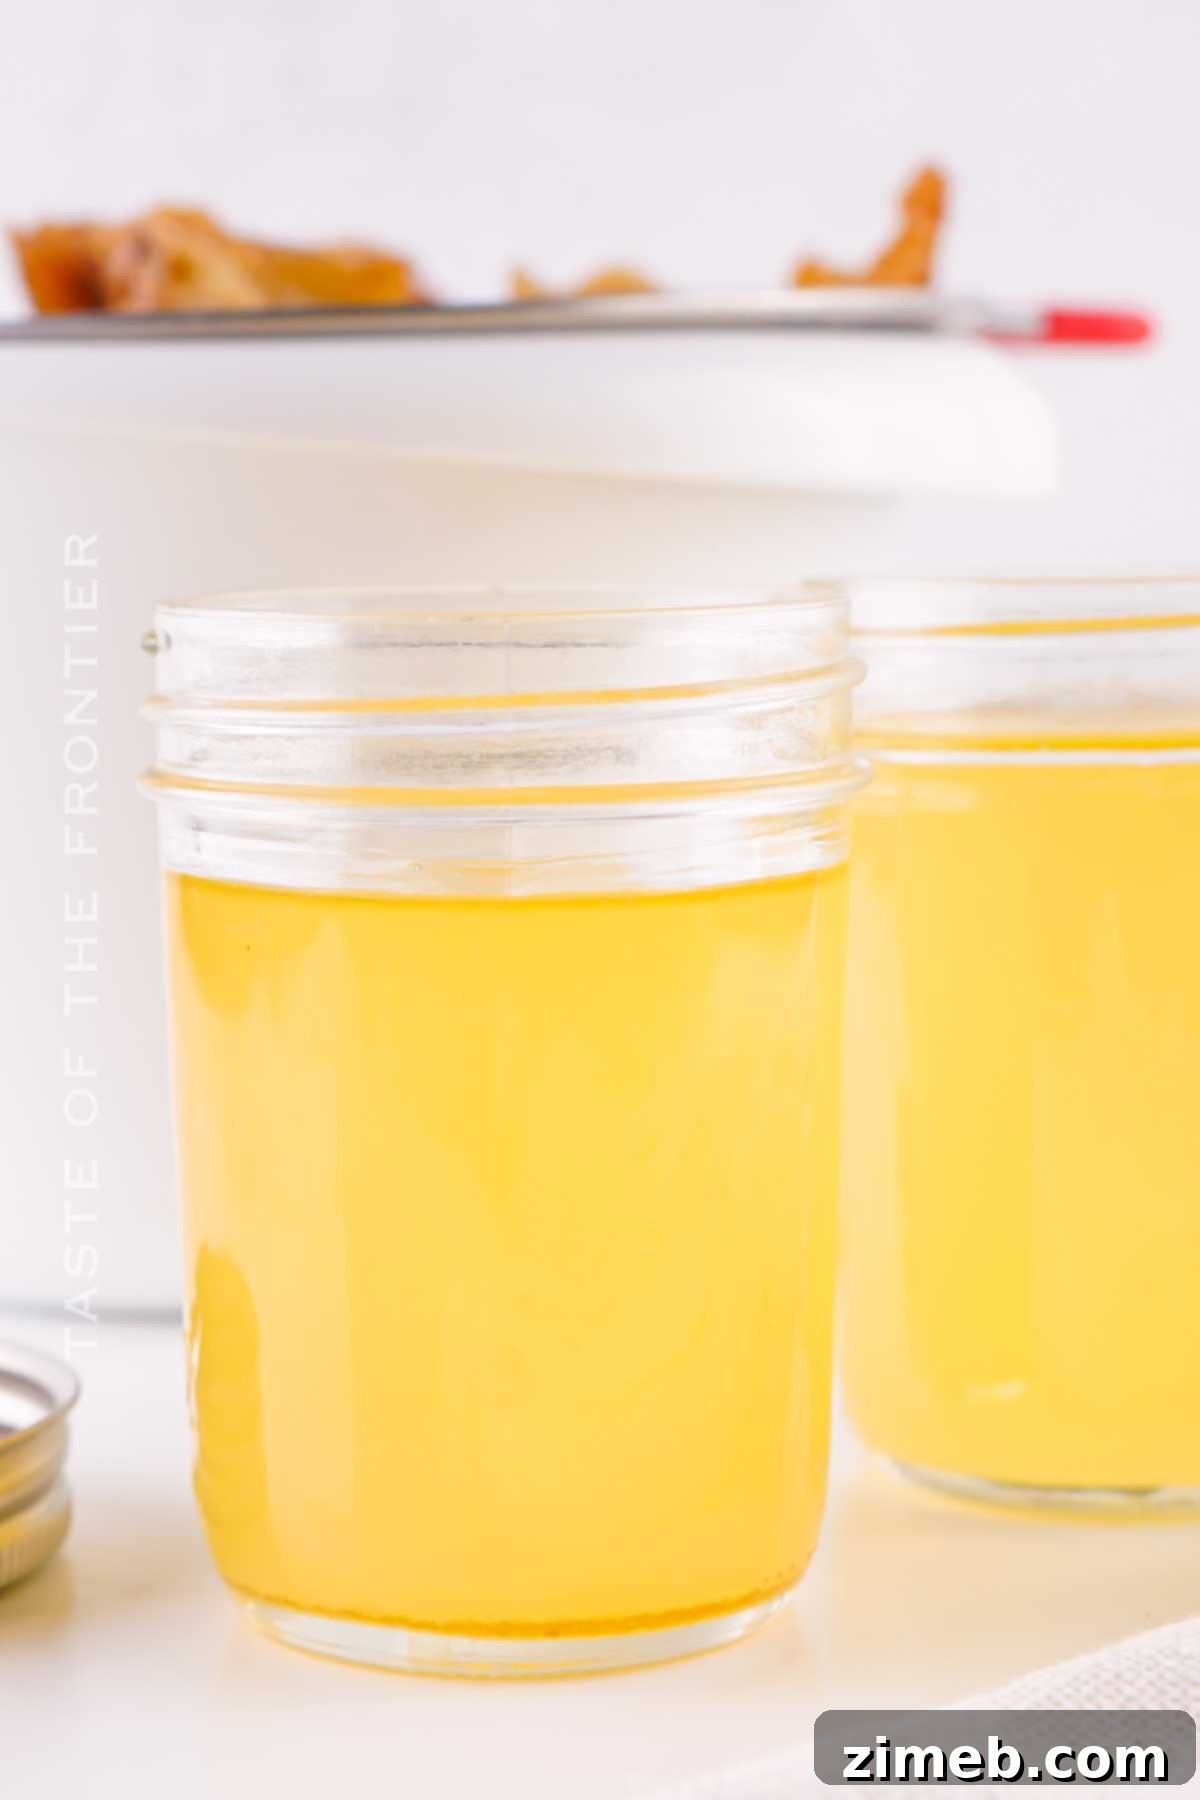
If you’ve enjoyed mastering this simple yet essential recipe for homemade beef tallow, you’ll undoubtedly appreciate exploring other fundamental kitchen basics. Creating your own staples from scratch not only enhances flavor but often proves healthier and more economical. Here are some other incredible homemade basics to inspire your culinary journey:
Explore More Homemade Essentials
Transform your kitchen with these easy, printable recipes:
- Keto Marinara Sauce: A versatile, sugar-free, low-carb sauce perfect for pasta, pizza, or simply enjoying on its own.
- Homemade Brown Sugar: With just two ingredients and about 10 minutes, you can create your own fresh brown sugar.
- Homemade Mayonnaise: An easy, foolproof recipe for fresh, delicious mayonnaise using a handful of ingredients and a blender.
- Hot Honey: A simple way to add a delightful kick to your favorite dishes.
- Strawberry Simple Syrup
- Taco Seasoning
- Buffalo Sauce
- Turkey Gravy
- Homemade Ranch Dressing
CONNECT WITH YUMMI HAUS!
Be sure to follow me on my social media, so you never miss a post!
Substack, FB, Pinterest, IG, Email Subscription
Homemade Beef Tallow
Ingredients
- 2 pounds fresh beef fat
Instructions
-
Preheat the oven to 250 degrees F (120°C).
-
Cut the beef fat into large, manageable pieces. A plastic or glass cutting board is recommended.
-
Place the cut fat into an 8×8 inch baking dish.
-
Bake for 3 hours, or until the fat has melted and the cracklings are lightly browned.
-
Carefully remove the dish from the oven. Be cautious of hot splatters. Allow to cool slightly but not solidify.
-
Pour the melted fat through a fine mesh strainer (lined with cheesecloth if desired) into a heat-proof measuring cup or bowl.
-
Immediately transfer the melted fat from the bowl/measuring cup into sterile glass jars and secure the lids tightly.
-
Let the tallow cool completely to room temperature. Once cool, tighten the lids again and place the jars in the refrigerator for 48 hours, or until fully set.
Notes
● Homemade beef tallow is shelf-stable for up to a month in an airtight container at room temperature. For longer storage, refrigerate for up to 3 months or freeze for up to 3 months (or longer).
● PRO TIP: Store jars upside down in the fridge to set. This helps separate any residual water from the fat. Once set, you can pour off the water to extend the tallow’s shelf life and prevent mold.
● When chilled, tallow will be a soft solid. At room temperature, it will soften and become thinner, much like coconut oil.
● Beef tallow’s high smoke point makes it excellent for high-heat cooking and frying, reducing smoke in your kitchen while adding incredible flavor. Use it as a direct substitute for butter or other cooking fats.
● If your fat trimmings contain small pieces of meat, it’s perfectly fine; they will cook down and be strained out.
Equipment
-
Fine mesh strainer (and cheesecloth/coffee filter optional)
-
8×8 baking dish
-
Mason jars for storage (or similar wide-mouth glass jars)
-
Funnel (optional)
Nutrition
Nutritional information for this recipe is provided as a courtesy and is approximate. Please double-check with your own dietary calculator for the best accuracy. We at Yummi Haus cannot guarantee the accuracy of the nutritional information given for any recipe on this site.