
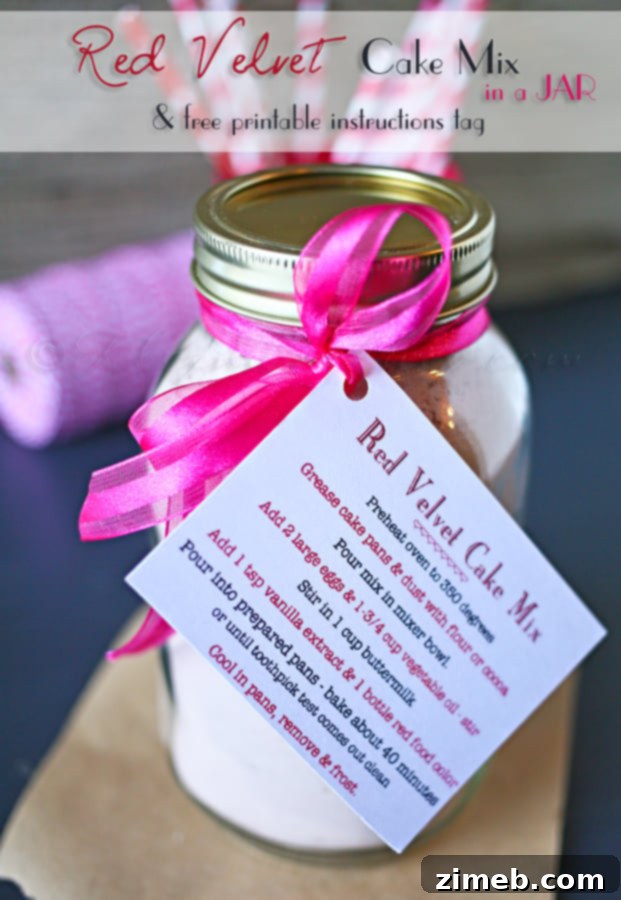
Do you ever find yourself frustrated when a recipe calls for a specific cake mix flavor you don’t have on hand, like Red Velvet? While store-bought mixes offer undeniable convenience, especially for busy days, they often come with a trade-off in terms of ingredient quality and flavor customization. For many home bakers, the allure of baking from scratch lies in the ability to control every component, ensuring fresh, high-quality ingredients and avoiding artificial additives. Yet, the convenience of a pre-portioned mix is hard to ignore. This dilemma often leads to a pantry stocked with a few common cake mix flavors, but the moment a unique recipe surfaces, like a festive Red Velvet for Valentine’s Day, it can send you scrambling to the store. This very scenario sparked the inspiration for our homemade Red Velvet Cake Mix – a perfect blend of scratch-made quality and effortless convenience, designed to keep your pantry well-stocked and your baking frustration-free.
Homemade Red Velvet Cake Mix: Your Key to Effortless Baking
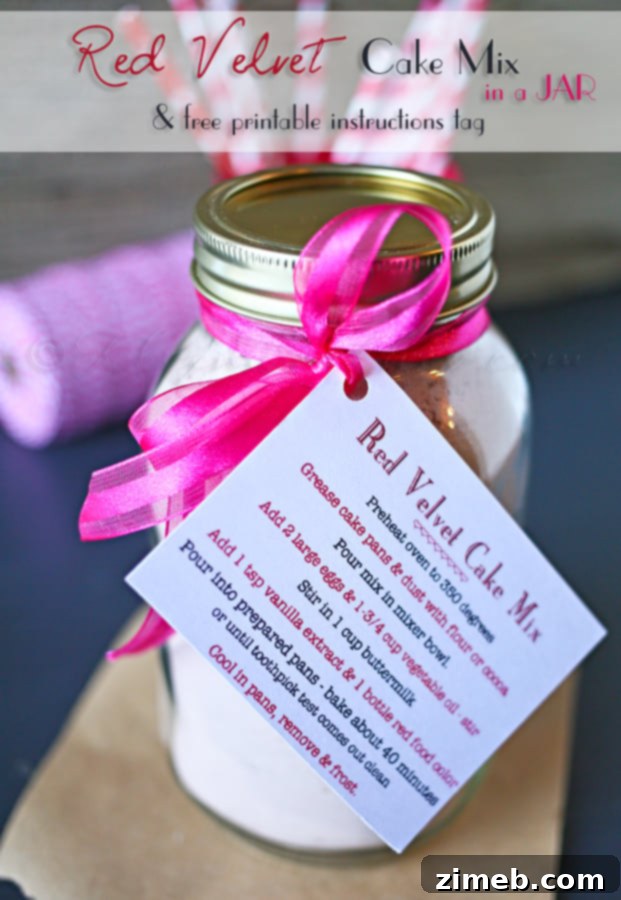
The joy of baking often comes from the process itself, from combining simple ingredients to create something truly delicious. However, modern life often demands efficiency. This is where homemade cake mixes truly shine. Imagine having all the dry ingredients for your favorite Red Velvet cake perfectly measured and ready to go, stored beautifully in a jar. No more last-minute grocery runs for a specific boxed mix, no more compromising on quality, and no more unnecessary additives. This approach allows you to stock your kitchen with bulk staples like flour, sugar, and cocoa powder, which are far more economical and versatile. It empowers you to create delicious treats whenever the craving strikes, knowing exactly what goes into your food. Our DIY Red Velvet Cake Mix isn’t just about saving time; it’s about reclaiming control over your ingredients while embracing the convenience that pre-made mixes offer. It’s the best of both worlds for the discerning home baker.
Why Choose a Homemade Cake Mix?
The benefits of making your own cake mixes extend far beyond mere convenience. Firstly, **ingredient control** is paramount. When you prepare your own mix, you select fresh, high-quality ingredients, avoiding the preservatives, artificial colors, and flavors often found in commercial products. This results in a cleaner, more natural-tasting cake. Secondly, it’s remarkably **cost-effective**. Buying staples in bulk, such as large bags of flour and sugar, is significantly cheaper than purchasing individual boxed mixes. This strategy not only saves money in the long run but also ensures you always have essential baking components readily available. Thirdly, **customization** becomes effortless. While this recipe provides a classic Red Velvet base, knowing the components means you can subtly adjust spices, cocoa levels, or even add unique flavor notes to suit your preferences for future batches. Lastly, the **peace of mind** that comes from knowing exactly what you’re feeding your family is invaluable. A homemade mix transforms a complex recipe into a simple, mindful act of baking.
The Allure of Red Velvet
Red Velvet cake holds a special place in the hearts of many, revered for its striking color, tender crumb, and subtly tangy cocoa flavor. Originating in the early 20th century, its distinctive hue was once a natural reaction between cocoa powder and acidic ingredients like buttermilk and vinegar. Today, a touch of red food coloring enhances this vibrant characteristic, making it a showstopper for holidays and celebrations, especially Valentine’s Day. The unique flavor profile, a delicate balance of chocolate and tang, makes it distinct from a traditional chocolate cake. Paired classically with a rich, creamy cream cheese frosting, Red Velvet is more than just a cake; it’s an experience. Having a homemade Red Velvet Cake Mix ready means you can easily whip up this beloved dessert, bringing its elegance and deliciousness to any occasion without the hassle of measuring every single dry ingredient each time.
Crafting Your Perfect Red Velvet Cake Mix
Creating this homemade Red Velvet cake mix is a straightforward process, designed for simplicity and efficiency. The key is to thoroughly combine all the dry ingredients, ensuring an even distribution so that every spoonful of your mix promises a perfectly balanced cake. Start with a large mixing bowl to give yourself ample space. Gradually add each ingredient, whisking well after each addition to prevent clumping and ensure everything is fully incorporated. This careful mixing is vital for the cake’s ultimate texture and flavor. Once fully combined, the mix is ready for storage. This recipe yields a generous amount, enough to fill a 2-quart jar, sometimes requiring a bit of gentle packing to fit it all in. The beauty of this process is in its simplicity – once done, you have a beautiful, ready-to-use mix that will make baking your next Red Velvet cake a breeze.
Ingredients for Your Homemade Red Velvet Cake Mix
- 2 ½ cups all-purpose flour
- ¼ cup unsweetened cocoa powder
- 1 teaspoon baking soda
- 2 teaspoons baking powder
- 1 teaspoon salt
- 2 cups granulated sugar
Instructions for Preparing the Mix
- Combine all dry ingredients (all-purpose flour, unsweetened cocoa powder, baking soda, baking powder, salt, and granulated sugar) in a large bowl.
- Whisk thoroughly until all ingredients are well combined and there are no visible clumps. This ensures an even distribution of leavening agents and flavor throughout the mix.
- Carefully transfer the whisked mix into a clean, dry 2-quart jar. You may need to gently pack the mix down to fit it all.
- Seal the jar tightly.
With your Red Velvet Cake Mix now prepared and stored, the next step is to ensure you have the necessary information for transforming it into a delicious, moist cake when the time comes. We’ve created a convenient printable tag that includes the additional wet ingredients you’ll need, along with detailed baking instructions. This tag can be easily attached to your jar, making it a perfect gift or simply a smart way to keep your baking process organized. No more searching for recipes or trying to remember proportions – everything you need will be right there with your mix. This thoughtful addition elevates the homemade mix from a simple ingredient blend to a complete, ready-to-bake solution.
Transforming Your Mix into a Delicious Red Velvet Cake
Once you’ve made your Red Velvet Cake Mix, the real magic happens when you’re ready to bake. This mix forms the perfect foundation for a tender, flavorful Red Velvet cake. To activate its full potential and bring it to life, you’ll simply need to add a few key wet ingredients. These ingredients contribute to the cake’s signature moistness, rich color, and distinct tangy flavor. The beauty of having the dry mix prepped is that the baking day becomes incredibly simple, cutting down on measuring and cleanup. Just a few steps stand between you and a magnificent, homemade Red Velvet masterpiece. Follow these instructions carefully, and you’ll be enjoying a slice of perfection in no time.
Additional Ingredients Needed for Baking the Cake
- 1 ½ cups buttermilk
- ½ cup vegetable oil
- 2 large eggs
- 1 tablespoon vanilla extract
- 2 tablespoons red food coloring (liquid or gel, adjust for desired depth of color)
- 1 teaspoon white vinegar
Baking Instructions for Your Red Velvet Cake
- Preheat your oven to 350°F (175°C). Grease and flour two 8-inch round cake pans or a 9×13 inch baking pan.
- In a large mixing bowl, combine the entire contents of your homemade Red Velvet Cake Mix.
- In a separate bowl, whisk together the buttermilk, vegetable oil, eggs, vanilla extract, red food coloring, and white vinegar until well combined.
- Gradually add the wet ingredients to the dry cake mix, mixing on low speed with an electric mixer until just combined. Do not overmix; a few lumps are acceptable.
- Divide the batter evenly between the prepared cake pans.
- Bake for 28-35 minutes for round pans, or 30-40 minutes for a 9×13 pan, or until a wooden skewer inserted into the center comes out clean.
- Let the cakes cool in the pans on a wire rack for 10-15 minutes before inverting them onto the rack to cool completely.
- Once cooled, frost with your favorite cream cheese frosting and enjoy!
Tips for the Perfect Red Velvet Cake
To elevate your Red Velvet cake from simply good to absolutely extraordinary, consider these helpful tips. **Don’t skimp on the food coloring:** Red Velvet is known for its vibrant hue. Use a good quality gel food coloring for the best, most intense red. **Use room temperature wet ingredients:** Eggs, buttermilk, and oil at room temperature emulsify better, leading to a smoother, more uniform batter and a finer crumb. **Avoid overmixing:** Overmixing develops the gluten in the flour, which can result in a tough, dense cake. Mix until just combined. **Cream cheese frosting is non-negotiable:** While other frostings can be used, the classic tangy cream cheese frosting is the perfect counterpoint to the cake’s subtle cocoa flavor and sweetness. **Storage:** Store frosted cake in an airtight container in the refrigerator for up to 3-4 days. Unfrosted cake layers can be wrapped tightly and frozen for up to a month. With these tips, your homemade Red Velvet Cake will be a showstopper every single time.
Nutritional Information Disclaimer
Please note that nutritional information for recipes, particularly homemade ones, can vary significantly based on exact ingredient brands, preparation methods, and serving sizes. Any nutritional information provided is intended as an estimate and courtesy only. We highly recommend using your own preferred dietary calculator for the most accurate and personalized information, especially if you have specific dietary needs or restrictions. We at [Your Blog Name, if applicable, otherwise omit] cannot guarantee the accuracy of nutritional information for any recipe on this site.
Here are the printable instructions to attach to your jar:
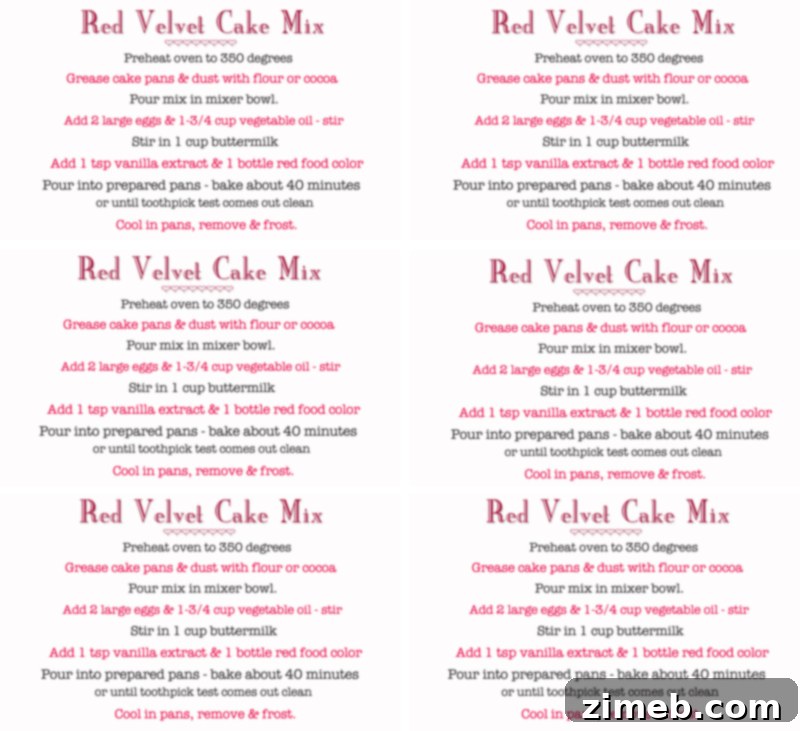
Download Printable Jar Tag HERE
Want More Red Velvet Delights?

Valentine Red Velvet Brownies
Final Thoughts on Baking with Confidence
Embracing the convenience of a homemade Red Velvet Cake Mix allows you to enjoy the best aspects of baking: the satisfaction of creating something delicious from scratch, combined with the ease of a ready-to-use foundation. This recipe is a testament to mindful baking – making smart choices in your kitchen that save time without compromising on flavor or quality. Whether you’re preparing for a special occasion like Valentine’s Day, or simply craving a comforting treat, having this mix on hand means you’re always just a few steps away from a perfectly moist and flavorful Red Velvet cake. We hope this DIY approach inspires you to explore more scratch-made conveniences and transforms your baking experience into something even more enjoyable and rewarding. Happy baking!