
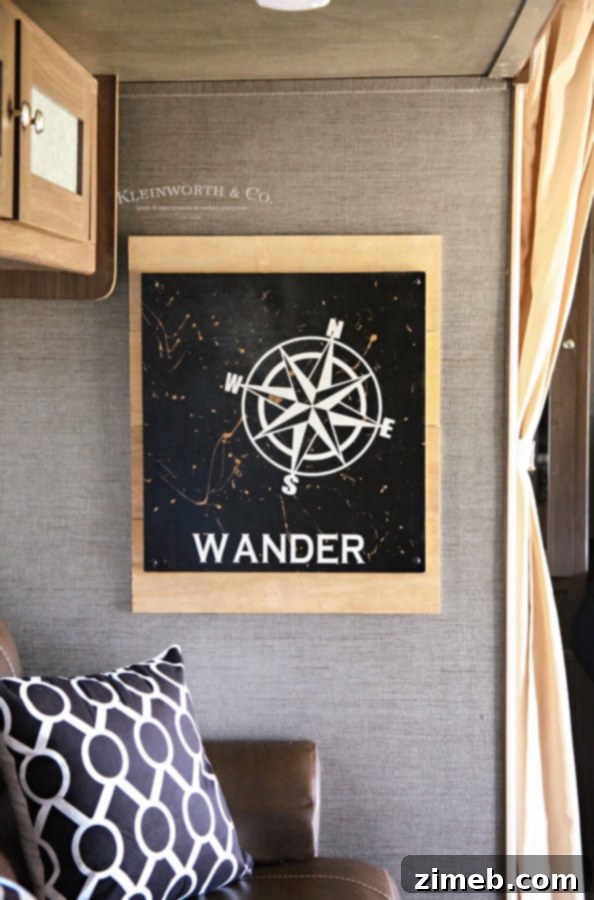
Transform Your Travel Trailer: Easy DIY Wander Sign Camper Decor with Cricut
There’s something uniquely invigorating about owning a travel trailer or RV. It’s the ultimate symbol of freedom, adventure, and the open road. For many, it becomes a second home, a sanctuary on wheels where memories are made and new horizons are discovered. Just like any cherished home, a travel trailer deserves to reflect your personal style and bring you comfort and joy. If you’ve recently joined the RV community, or are simply looking to refresh your mobile abode, you’ll know that transforming a generic interior into a personalized haven is key. We recently welcomed a new travel trailer into our family, and my first mission was to infuse it with a cool industrial black and white vibe. Naturally, it needed some bespoke art, and that’s where the idea for this easy-to-make Wander Sign Camper Decor, crafted with my trusty Cricut machine, was born.
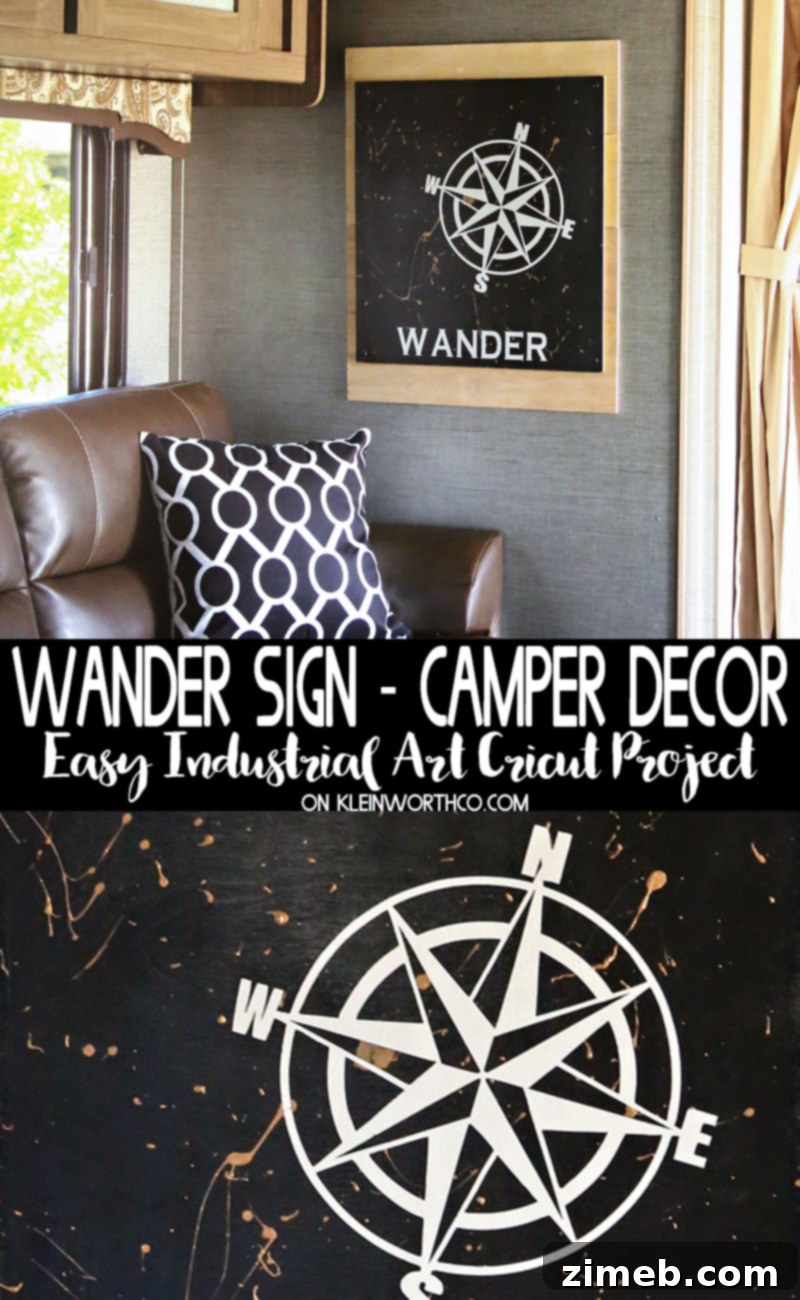
Personalizing Your Home Away From Home: Why DIY Camper Decor Matters
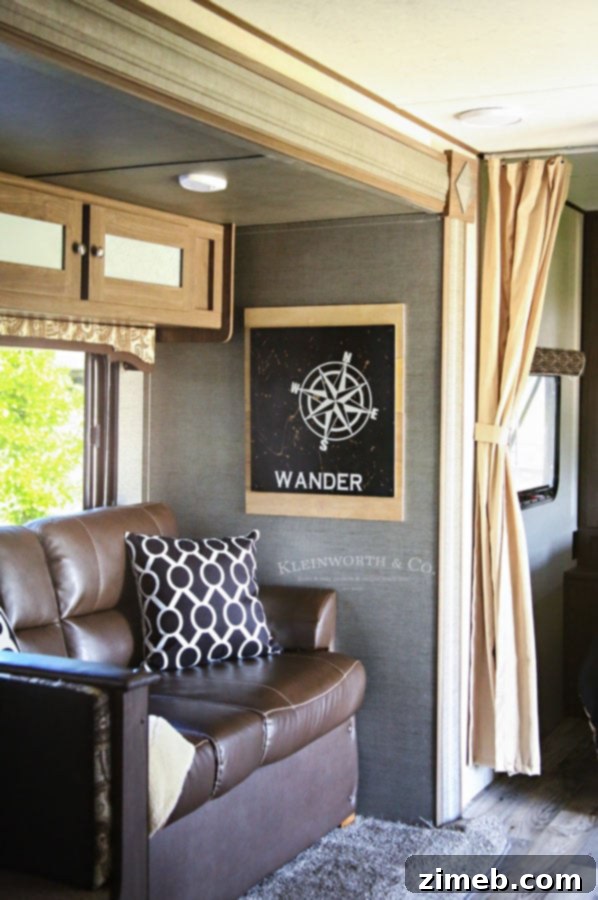
While our new travel trailer came with all the necessities, its interior, like many others, leaned heavily into a “beige everything” aesthetic. While practical, it lacked the warmth, character, and personal touch that truly makes a space feel like home. We believe that a travel trailer should be an extension of your personality, a cozy retreat that welcomes you after a day of adventure. This is precisely why embracing DIY camper decor is so rewarding. It allows you to break free from standard factory designs, adding unique touches that resonate with your passions and travel style. Our vision for this RV interior was a sleek, modern industrial look, grounded in a black and white palette, accented with metallic touches. This specific Wander Sign Camper Decor project was a perfect opportunity to kickstart that transformation, turning a simple piece of plywood into a statement of our adventurous spirit.
Unleash Your Creativity with Cricut for RV Decor
This post contains some affiliate links. Click here to read my full disclosure policy.
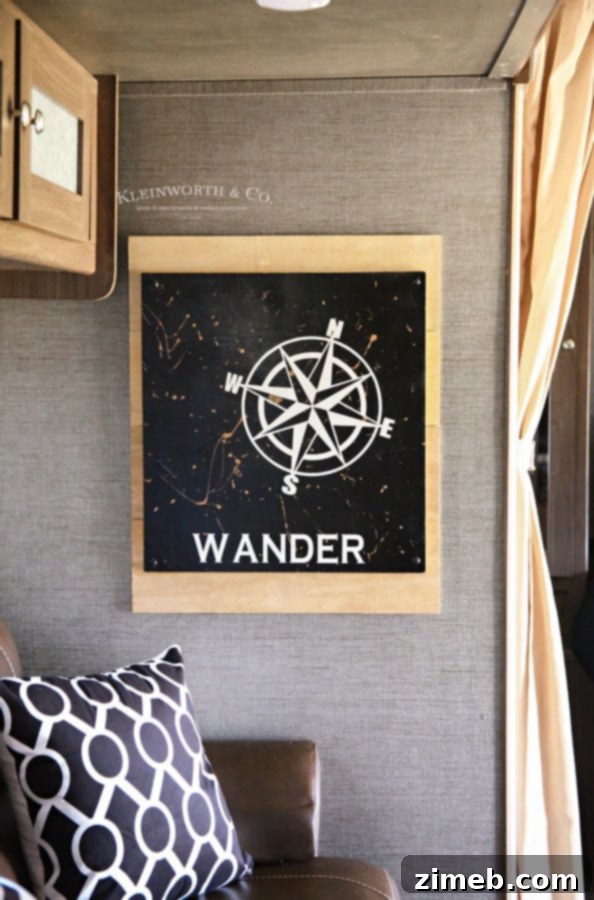
For anyone looking to personalize their RV or travel trailer, a Cricut machine is an invaluable tool. Its precision cutting capabilities open up a world of possibilities, from intricate vinyl decals to custom stencils and signs. For this project, the Cricut allowed us to create a crisp, professional-looking design that would have been challenging to achieve by hand. The versatility of a Cricut means you can design virtually anything – from playful quotes to complex graphics – and cut it from various materials, making it ideal for unique RV decor projects. The ease of use, even for beginners, is another significant advantage. With the Cricut Design Space software, you can upload your own images, choose from thousands of pre-made designs, or craft something entirely new, bringing your vision for personalized camper decor to life with remarkable accuracy.
Crafting Your Unique Wander Sign: A Step-by-Step Guide
Creating your own custom Wander Sign Camper Decor is a surprisingly straightforward process, especially when armed with a Cricut machine. The key lies in careful preparation and patience during each step to ensure a flawless finish. Here’s how we brought our industrial-themed wander sign to life:
1. Design and Prepare Your Canvas
First, I finalized my “Wander” art design within Cricut Design Space. This is where you can truly unleash your creativity, selecting fonts, graphics, and layouts that speak to your travel theme. Once the design was ready, I prepared my base: a thin piece of plywood. I opted for plywood because it offers a rustic, durable surface that perfectly complements an industrial aesthetic. I then painted this plywood piece with a smooth coat of white spray paint. This white base would serve as the backdrop for our design, offering a stark contrast to the black and copper elements to come.
2. Precision Cutting with Cricut and Vinyl Application
After the white paint dried completely, it was time for the Cricut to shine. I loaded the chosen vinyl into the machine and cut out my “Wander” design. Once cut, I carefully weeded the excess vinyl, leaving only the design elements I wanted to transfer. Then, using transfer tape, I precisely placed these vinyl cuts onto the center of the white-painted plywood board. The careful positioning here is crucial for the final look, ensuring everything is straight and well-aligned. The beauty of vinyl is its ability to create sharp, clean edges, which is essential for this reverse-stenciling technique.
3. Layering with Black Spray Paint
With the vinyl firmly in place, the next step involved painting over the entire surface with black spray paint. I specifically chose spray paint for this step because it provides an incredibly smooth and even coat, minimizing brush strokes or uneven textures. This even coverage is vital for achieving those super clean lines once the vinyl is removed. I applied several thin, even coats, allowing adequate drying time between each to prevent drips and ensure full opacity. This layer forms the main color of the industrial design, creating a bold foundation.
4. Adding the Industrial Copper Splatter
Once the black spray paint was thoroughly dry, it was time to add an edgy, artistic touch. I took some copper paint and, using the end of a paintbrush, gently flung small droplets onto the board. The goal was a random, organic splatter effect, giving the sign a distressed, well-traveled character that perfectly matched our industrial vision. This technique adds depth and interest, breaking up the stark black and white with a touch of metallic sheen. It’s a wonderfully expressive step that makes each sign truly unique.
5. The Reveal and Finishing Touches
The most satisfying part of the process is the reveal. Very carefully, using a weeding tool, I began to pull up all the vinyl. This step slowly uncovers the white base beneath, revealing the crisp “Wander” design in stunning contrast against the black and copper. The precision of the Cricut cuts truly shines here, resulting in clean, professional lines. After the vinyl was removed and any remaining paint dried overnight in a safe, undisturbed spot, we glued the finished sign onto another piece of raw plywood. This provided a sturdy backing and a natural, unrefined border, enhancing the industrial appeal. Simple yet impactful, this personalized sign instantly made the space feel more like home.

Tips for Success and Common Questions on Your DIY Camper Decor
Embarking on a DIY project always brings questions, and creating custom camper art is no different. Here are some insights from our experience:
What type of spray paint is best for camper projects?
For projects like this, I highly recommend Krylon spray paint. Their trigger mechanism is incredibly comfortable to use, preventing hand fatigue during larger projects, and it consistently delivers a smooth, even finish without clogging or drips. This quality ensures your base coats are perfect for subsequent layers and vinyl application.
What if my cut file needs adjustment after cutting?
This is a fantastic question and illustrates the flexibility of DIY crafting! Initially, our cut file for the “Wander” sign had the compass image and text as a single, integrated design. However, upon laying out the vinyl pieces, my family and I decided that the overall aesthetic would be improved if the compass graphic and the “Wander” text were separated. This allowed for more dynamic placement on the board. So, we simply cut the vinyl image away from the text and applied each vinyl section separately, achieving a more impactful and balanced look. Don’t be afraid to adjust your design mid-project if you feel it improves the final outcome; that’s the beauty of DIY!
Essential Tools and Materials for Your Wander Sign Camper Decor
Gathering the right supplies before you start will make your crafting process much smoother. For this particular Wander Sign Camper Decor project, you will need the following:
- Black spray paint: For the primary contrasting color and industrial feel.
- White spray paint: To create your base layer and the revealed design.
- Thin plywood: Your sturdy canvas for the sign.
- Cricut machine: The essential tool for precise vinyl cutting.
- Vinyl: For creating your “Wander” design and compass graphic.
- Cricut tools: Especially a weeding tool for removing excess vinyl.
- Transfer paper: To accurately transfer your vinyl design to the plywood.
- Cutting mat: For use with your Cricut machine.
- Copper paint: For that perfect industrial splatter effect.
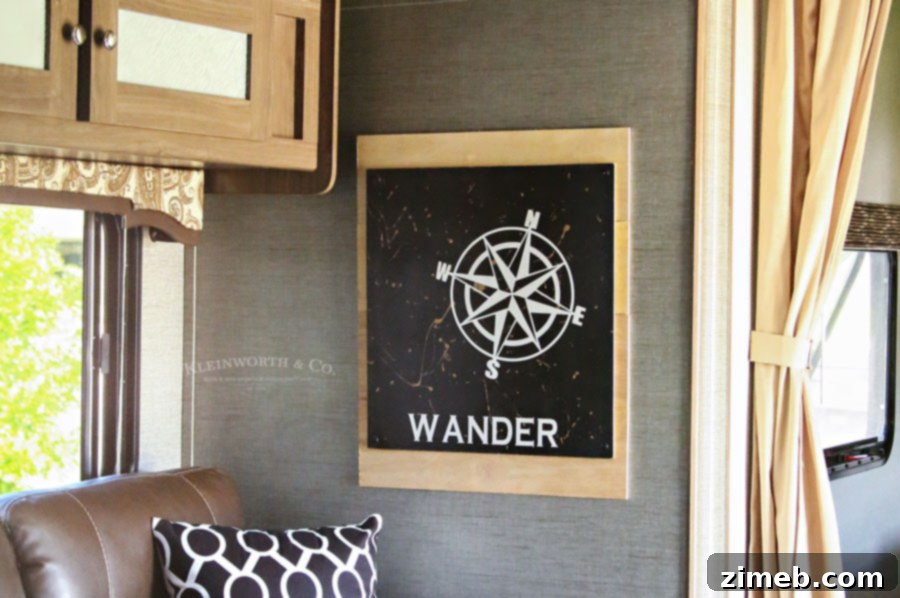
Indeed, adding this personalized piece of RV decor has made our new travel trailer truly feel like home. It’s amazing how a simple, custom-made sign can transform the entire atmosphere of a space, making it uniquely yours and ready for countless adventures.
Scroll to the bottom for the link to the project file on Cricut!
More Creative Cricut Projects for Camping & RV Life
The versatility of a Cricut machine extends far beyond just wall art. It’s a fantastic companion for anyone passionate about camping and RV life, enabling endless possibilities for personalization, organization, and fun. Imagine creating custom labels for your pantry and storage bins to keep your small RV kitchen organized, or crafting personalized mugs and tumblers for your morning coffee at the campsite. You can even design unique t-shirts or hats for your travel crew, making every outing special. The ability to cut vinyl, iron-on, cardstock, and many other materials means you can tackle almost any craft idea you dream up for your mobile sanctuary.
Looking for more fun Cricut projects to enhance your travel experiences? Here are some inspiring ideas:

Miss Sunshine T-Shirt Iron-On: Perfect for custom travel apparel!
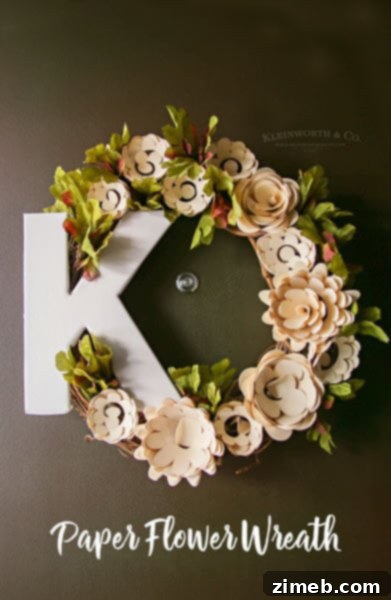
Paper Flower Wreath Cricut Tutorial: Add a touch of natural beauty to your camper’s interior or exterior.
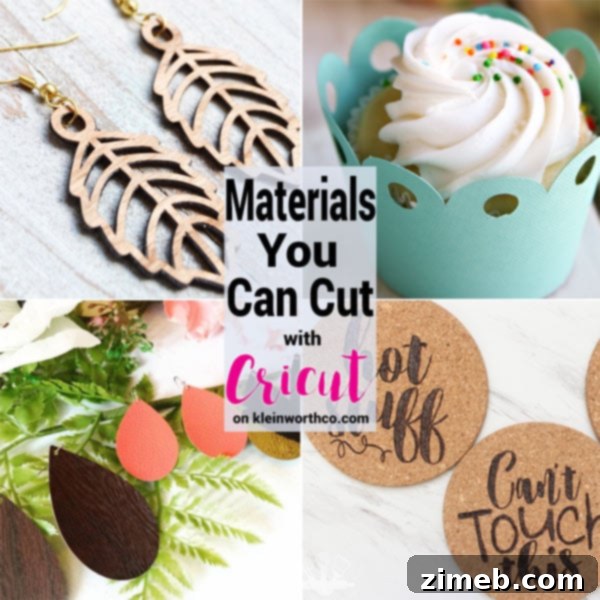
Materials You Can Cut with Cricut: A comprehensive guide to expand your crafting horizons!
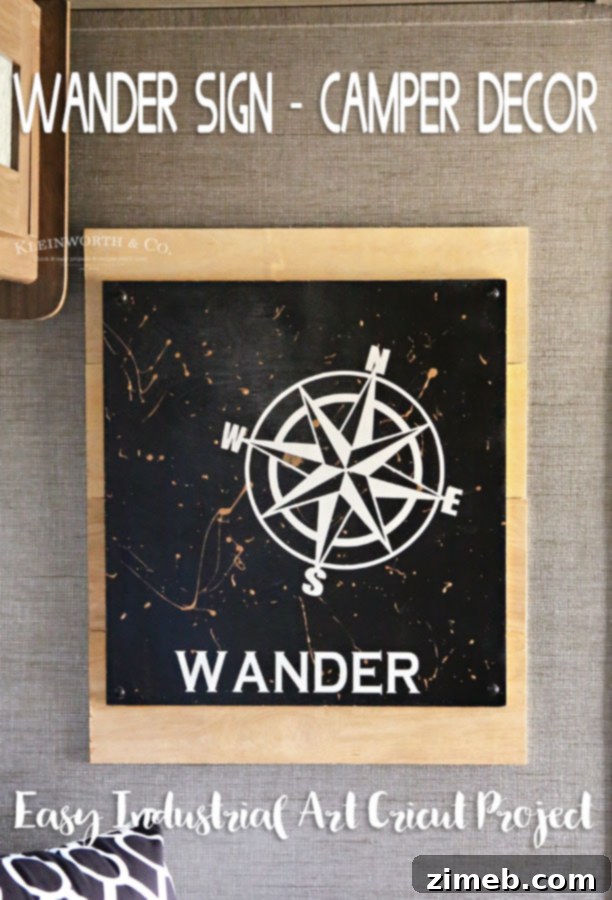
DOWNLOAD the image here & upload to the DESIGN SPACE
Embrace the spirit of adventure and personalization. Your RV is more than just a vehicle; it’s a mobile sanctuary awaiting your unique touch. Happy crafting and happy travels!
Don’t miss these great ideas from other creative bloggers, offering even more inspiration for your Cricut journey and RV decoration:
100 Cricut Explore materials | Hey Let’s Make Stuff
The 12 Most Common Cricut Questions from Beginners | It Happens in a Blink